Showing posts with label Crafty Gear 411. Show all posts

Wednesday, May 2, 2018

The Sewing Gear I Couldn't Live Without


As much as I'd love to be showing new tutorials & sewing up spring goodies, it's just not happening for me right now.  Man, is it hard to find down time these days!  This being my 4th newborn, this isn't a surprise, but while this little guy sleeps a lot, it's usually on me, which while super cuddly, makes doing anything else impossible.  I find I'm spending more time planning & thinking about sewing than the actual thing.  

This thoughts-only time got me to thinking about what sewing supplies are my absolute must-haves.  These are the things I use almost ever time and are so key to making things go well.  I thought I'd share the 5 items that are the Sewing Gear I Couldn't Live Without

I hate hemming, so of course 2 of my items are related to making that easier!

1. Clover Hot Ruler.  This tool is made for lazy sewers like me.  Instead of measuring slowly with a sewing gauge and pinning like crazy to get the hem just right.


You simply fold the hem up to the desired measurement line and press with an iron, since it's heat safe.  So much faster and more precise.


2. Paper Backed Fusible Tape.  This is a hemming favorite too.
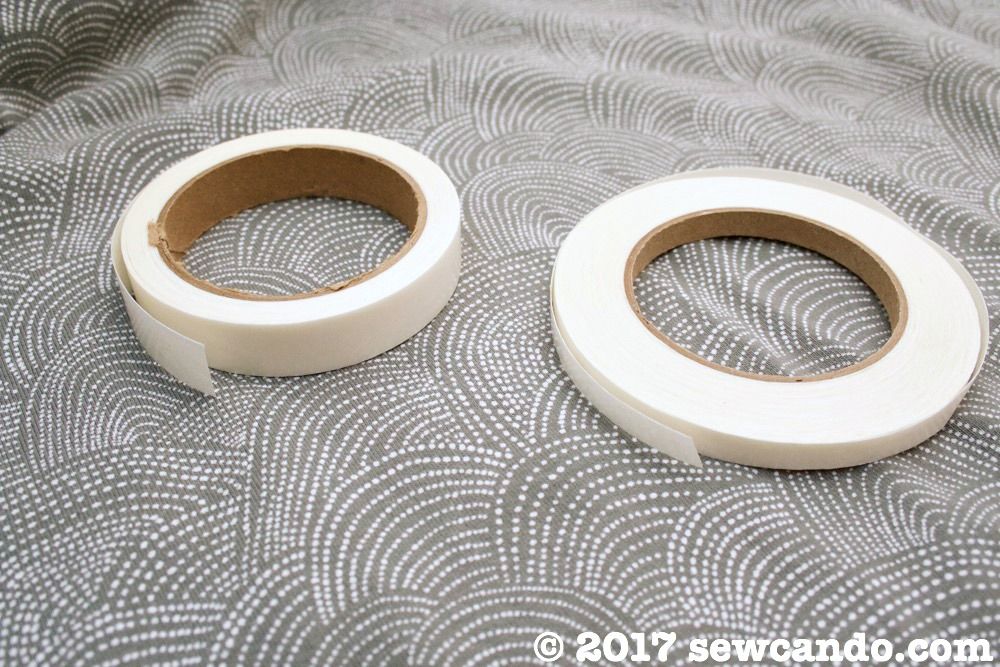


Choice the desired width - I usually use the 1/2 & 1/4 inch wide varieties.  Apply it to the wrong side along the fabric edge and then peel away the paper, fold it over so the sticky side presses against the fabric (or iron it in place if it's non-adhesive), then sew.  No need to measure or pin.  LOVE how it kills two birds with one stone.
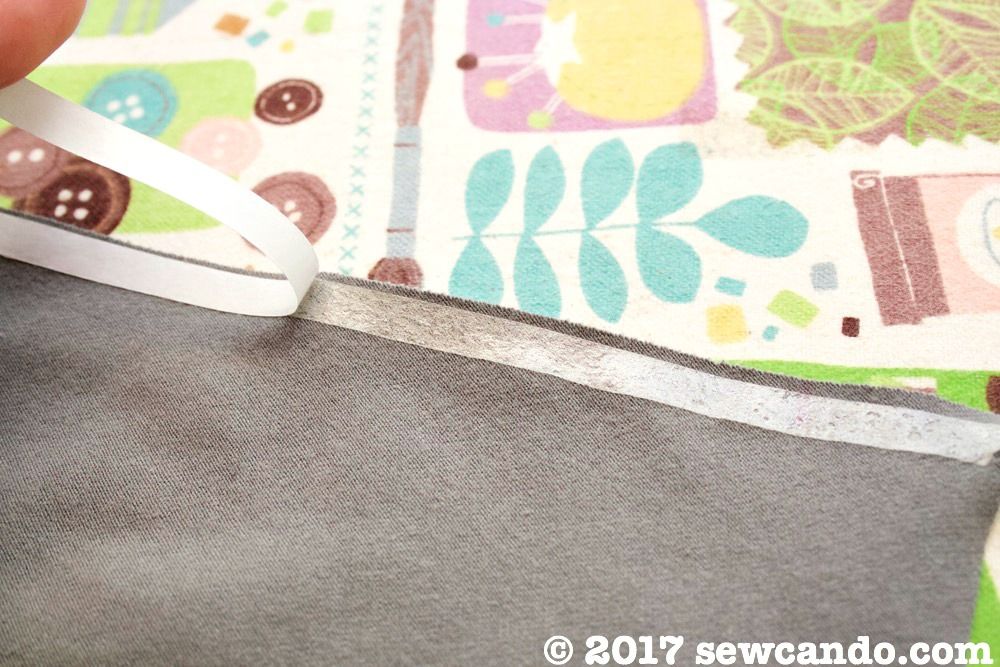


It also stabilizes the fabric so it won't pull or stretch while sewing.  I've found it to be a lifesaver with knit hems and for minimizing tunneling (when the fabric sticks up between stitch rows) with twin needles.


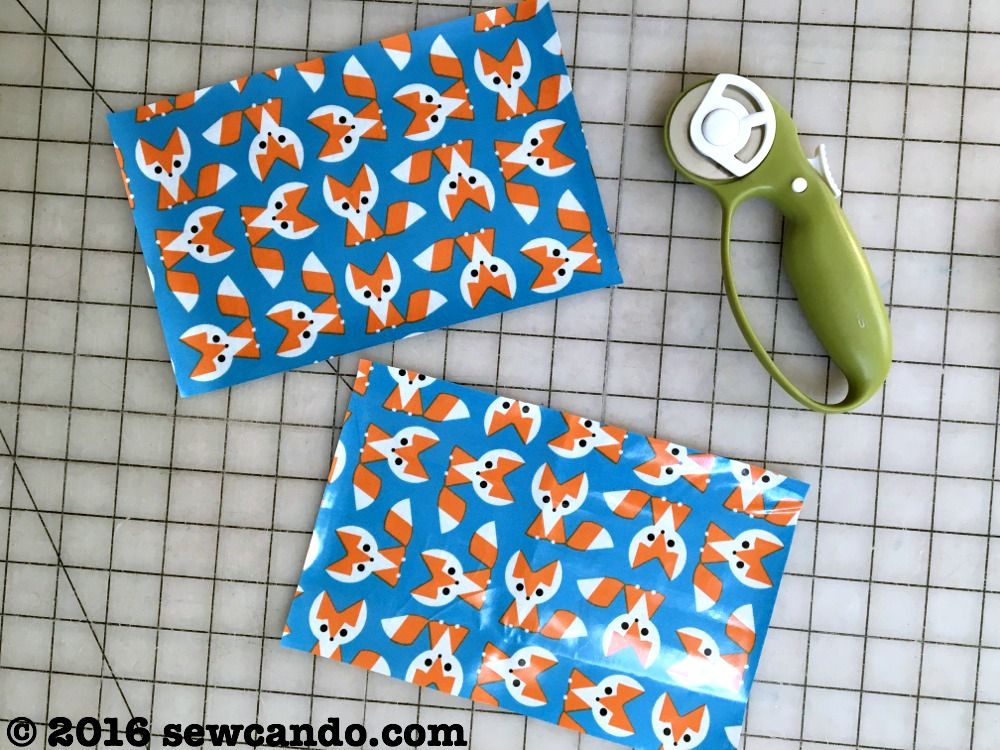
3. Rotary cutter.  Since I first bought one when I began sewing 9 years ago, I've never looked back.  It takes a little getting used to, but it makes cutting much quicker, easier around curves and to do perfectly straight lines (against a yard stick).


I also love being able to cut through several layers at once - even thick fleece, which is nearly impossible with shears.  The only con is you have to be VERY careful to keep fingers out of the way and get in the habit of clicking the button to retract the blade.  All it takes is one time not paying attention to give yourself a wicked bad cut.  That blade is sharp!!  

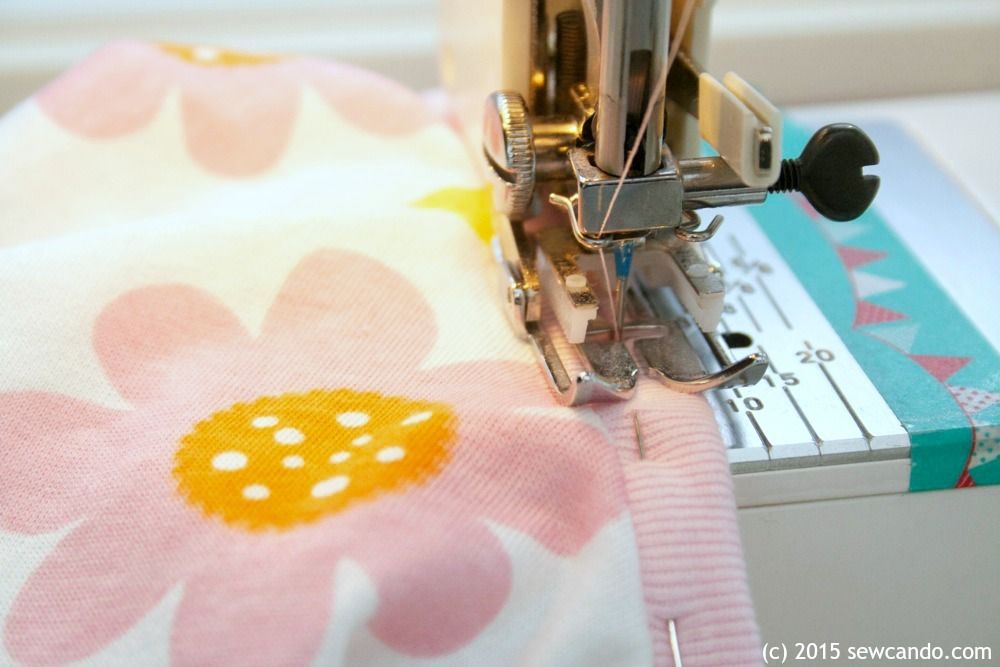
4. Walking Presser Foot This is usually an add-on accessory you buy separately from your sewing machine, but boy is it useful.  


It's handy with knits since it grips fabric from the top (instead of just the feed dogs underneath), so the even hold keeps layers from creeping or stretching while you sew.  

It's also great for quilting, heavy weight and fabrics like laminate or silky synthetics that can easily shift.  The photo below was a mix of fleece, metallic bias tape and chalkboard fabric for a chalkboard gift bag and the walking foot kept it all in place beautifully.  I use mine on nearly every project.


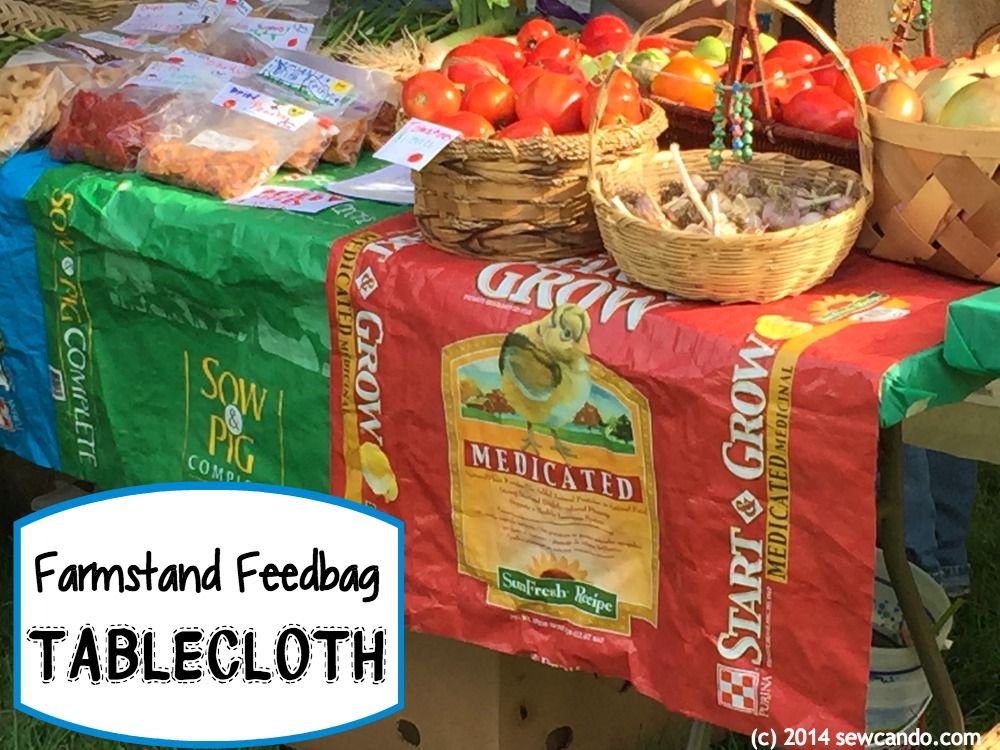
Heck, it even works on crazy materials like plastic feed bags. It was a lifesaver when I made this feedbag tablecloth:

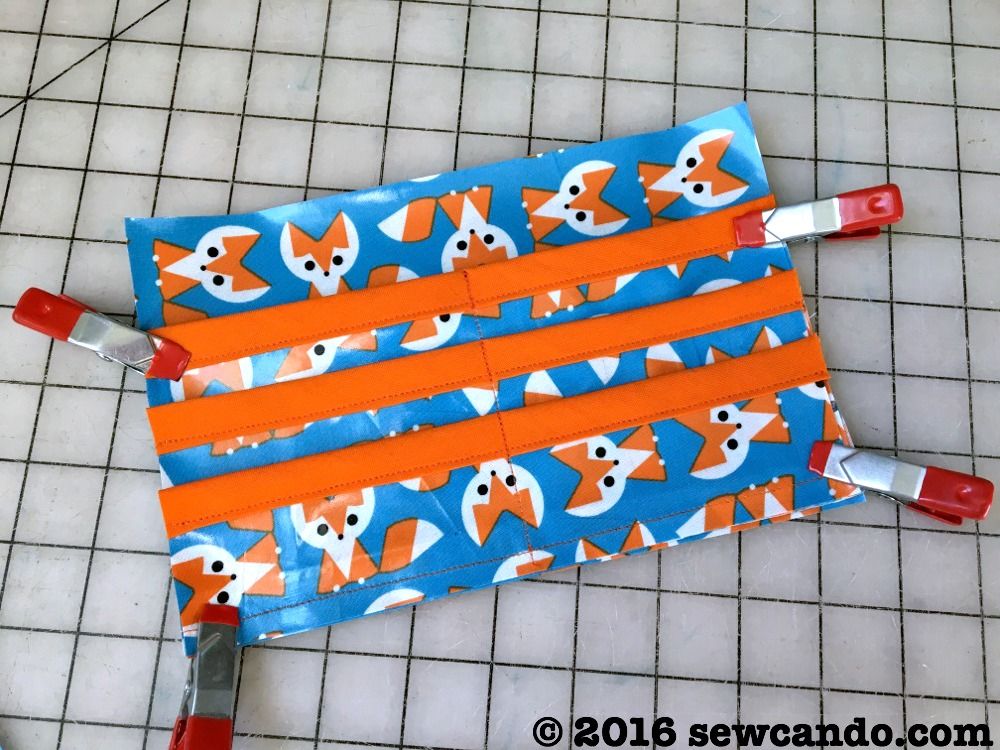
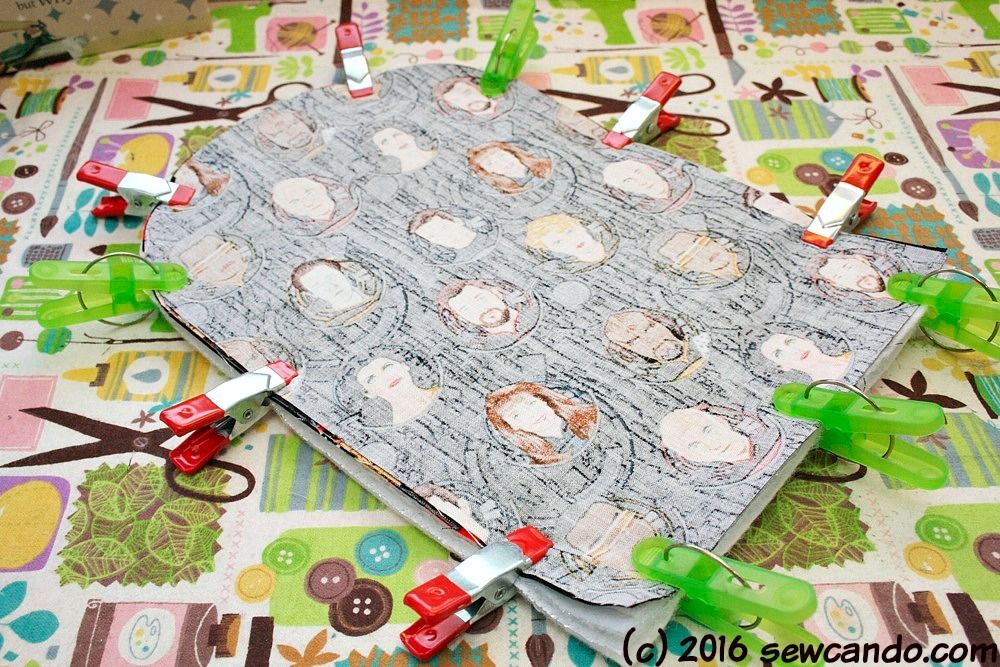
5. Mini Clips.  They are key for holding fabrics together when pins won't do.  I know there are some that are sold in craft stores, but really any small clips will work.  These were bought at a hardware store and have the rubber tips.  
  

Like doing small, folded bits like this drawstring for a pleather duffel bag:


Perfect with laminates that would show pinholes, like this pocketed laminated wallet project:

Or loads of layers like this insulated oven mitt project:

What are your favorite sewing tools?
Share them below!


SaveSaveSaveSaveSaveSave

Tuesday, March 26, 2013

Sewing With Laminated Cotton, Project Roundup & Fabric Giveaway!


This week I'm going to share some tips & tricks, project ideas and new tutorials for using one of my very favorite fabrics:

Laminated Cotton

And...A Chance to Win a $20 gift certificate from


What is laminated cotton? Cotton that's been coated on one side with a thin layer of laminate to render it water-resistant.  Similar to oilcloth & basic iron-on vinyl, but unlike those stiff & sticky fabrics, it does not contain BPA or phthalates (aka bad-for-you chemicals that leach out of some plastics).  This means it's safe for baby & kid's projects.  And while it's soft like regular cotton, it's got more strength, durability & form. 

What can you make with it?  The possibilities are endless, but here are a few simple ideas and links to specific tutorials beneath the photos:

~ Tablecloths, coasters, placemats & chair coverings
~ Cupholders, lunch bags, bibs, smocks & aprons
Click Here for: Snap-on Cupholder, Mommy & Me Apron Set,
 Easy Clean Bib, Insulated Lunch Sac

~ Bags, purses & totes
Click Here for: Off To Market Bag,  Messenger Bag, Around Town Bag

And later this week I'll be sharing two BRAND NEW laminated cotton tutorials:

AND

Tips on working with laminated cotton:

  • Unlike plain cotton which is usually 44 inches wide, many (but not all) laminated cotton is 54-56 inches wide.  So can be a lot more fabric to use!
  • It's a wipe clean fabric and usually can be washed, but it should be kept away from dryers & hot irons.  
  • Keep fabric rolled when stored, folding it will leave creases that can be tough to get out. It can usually be ironed on the wrong side with a press cloth on the low or medium setting.
  • Don't use pins - they'll leave permanent holes, so use bobby pins or clips to join fabrics or pin outside the seam area (in the "ditch")
  • The laminated side can stick under the presser foot & feed dogs when facing out, so add a drop of sewing machine oil under it or use tissue paper or lip balm to cover the right side fabric and then rip/wipe off when done. 

My lovely sponsor, Laminates, is a fabulous shop for finding loads of laminated cotton prints.  They also have great specialty patterns, laminate-friendly notions - even chalkboard fabric! 

Now how about trying for a $20 gift certificate so you can make your own laminated lovelies?  

Friday, September 28, 2012

Crafty Gear 411: How To Make Your Own Appliqués


Appliqués are a great way to turn something drab into fab and make coordinating looks.  Give a basic tote new style or a plain shirt some extra flair.  It's easy and inexpensive too - especially when using scraps.  Earlier this week I shared my how-to for making lined pants with fold-over detailing (aka Ants In My Pants) using some darling Timeless Treasures Itsy Bitsy Ant print fabric.  

Today's Crafty Gear 411 gives a quick run-down of making appliqués from scratch and shows how adding an appliqué to a plain tee makes a totally custom ensemble:
Here's how to make your own custom appliqués:

You'll Need
  • Item to appliqué
  • Paper & pencil
  • Cotton fabric
  • Paper-backed Fusible Web and Sew-In Stabilizer 
  • Sewing Notions: shears/rotary cutter, disappearing marker/tailor's chalk, iron & ironing board, press cloth, pins, coordinating threads)
  • Optional: hand sewing needle for detailing

To start, create an appliqué design on paper and decide what will be the basic outline shape(s) for the applique (fine detailing will come later in the stitching).  I wanted to make an ant on a picnic blanket, so I drew a three-segment body for my little ant on paper and used that as the pattern to pin onto some Soho Solid Black fabric and cut out:
I also cut a curved triangle shape from some coordinating Itsy Bitsy watermelon fabric for the picnic blanket and cut matching pieces for each from my fusible web:
Paper backed fusible allows you to fuse to materials together in a two-step process.  First, fuse the rough side of the fusible to the backs of the pieces with a dry, hot iron and let cool. Then peel off the paper backing and fuse them onto the front of the shirt/bag/whatever using a damp press cloth between applique and iron set to the wool setting.
To make a nice finish, and avoid fraying, edging around the entire design with satin stitching is ideal.  This is how most store-made appliquéd items look.  Satin stitch is really just a fancy name for using a wide zig-zag set to a very small stitch length (close to zero).  The trick is to line things up so the right side of stitches go just past the raw edge of the fabric to enclose it under the stitching and go slow around corners and curves for a uniform look.
This stitch is nice for adding design details too.  I used it to make the legs, mouth, eye and antennae by drawing them on with disappearing marker & chalk and then stitch over the markings.  If there's any part where there's a gap between stitches, just stitch over that spot again.  Easy fix!!
It's also best to use a good stabilizer on the back if you're appliquéing on a thin or stretchy fabric.  The stitches tend to pull a bit and get puckery on these materials - especially when there's a lot of stitching close together.  My stabilizer of choice for these sorts of projects is the kind you can tear away because it gives a good, solid backing and just rips away when done.  

For the really fine details hand stitching is the way to go.  I added a couple of hand stitches in blue for some the tiny eye detail - little accents like that can really add personality.
Now the appliqué is all set and a custom-created-by-you look is complete.  Enjoy!


Tuesday, June 5, 2012

Crafty Gear 411: Sewing Knits Without A Serger


Today's Crafty Gear 411 isn't really about "gear" per se, but about technique.  Having the right info is just as good as the right tools in my book.  I often hear people lamenting about sewing with knits.  Not just from beginners, but also from those with years of sewing experience.   And many people think that sewing knits means you need a serger, which is a nice item to have, but not required.  Since I'm going to be sharing some new knit tutorials this week, I thought I'd share how I sew my knits.  Frustration-free and not requiring a serger!
Even the most basic sewing machines have the ability to sew a few overlock or knit stitches.  Consult your machine's manual for all your specific options, but this knit stitch is my personal favorite and found on most machines:
It produces a stitch that is especially flexible, so it works ideally for joining stretch fabrics - especially those with 4-way stretch.  Just sew with a decent sized seam allowance (like the usual 5/8 inch used in most patterns) and then to trim down the seam allowance with shears when done.  Just be careful not to clip the stitching!
I also find using nylon thread in the bobbin adds a little extra stretchability for seams that will be pulled a lot (like neck holes).  The trick is to hand wind it so the pliable thread isn't fully stretched taut on the bobbin.  It works like a charm!

For hemming knits my go-to stitch is really a go-to needle.  Twin needles are just what they're called, a  single shank that has two actual needles that stitch two rows of stitches parellel to one another.  It's fast, precise and easy.  

And like the aforementioned stitches, most basic sewing machines can accomodate a twin needle.  Both my Janome HD1000 and Brother SE400 machines came with twin needles and have simple set-up to thread two spools.  My Janome literally involves no extra steps other than looping the threads on opposite sides before threading the needles and no special stitch selection.  It's that easy!
While using a basic straight stitch for two perfect rows of stitching on the top side,
The reverse side is "knitting" the threads together in a zig-zag for more stretch.  Ideally you want it to be very close to the edge, but since knits don't fray, there's no worry of unraveling.   And it's totally ok to leave that raw edge exposed (or just trim it down with shears when done).  So much easier than double folding a hem and much less bulky too.  It also gives a nice professional looking finish to sleeve, shirt and skirt hems.
I'll be showing how to use these techniques to construct some fun summer items this week (DIY rashguards & swimwear anyone??).  So get ready to say so long to any fears & frustrations and hello to loving sewing with knits!

Sharing this with my FAVE LINK PARTIES too-
Click HERE to check them out!

Friday, April 27, 2012

Crafty Gear 411: What Is Lutradur?


Today's Crafty Gear 411 is about a truly crafty material: Lutradur®.  A unique cross between fabric and paper. It is a 100% polyester, spun bond, non-woven, translucent web. It can be used for crafting, sewing, quilting, scrapbooking, wall art - just about everything you can dream up!


It's ideal for crafters of all sorts because it:
  • Can be cut, but does not fray
  • Works well as an overlay when put over paper as shown above
  • Looks delicate and filters light, but also has incredible strength
  • Works well with a wide range of glues & paints to add infinite colors or embellishments  
  • Can be heat set to 400 degrees or melted/singed for antiquing effects
  • Can be used like paper and run through an ink-jet printer to add graphics, photos or text and even be written on with pen or marker.  

I used my Cuttlebug & dies to cut a lovely butterfly shape and then overlapped pink and purple paint to make an ombre feel.


I die cut some scalloped shapes and then painted them with a sponge brush on freezer paper.  It was easy to peel them off when dry.  I used metallic fabric paint, opaque acrylics and glazes to get different shades and effects.


This is a close-up of the metallic:

By using liquid fabric softener to "paint them on" they give a sponge-painted look on the wall (or any other hard surface), but without the permanence.  Simply peel off and use again, somewhere else, without any damage:

I've also used iridescent glitter fabric paint on some shapes I handcut for my Rainbow Showers quilt and machine stitched them on for some added embellishment to my fabric appliques:

And by taping a piece to a sheet of cardstock, I was able to run it through my printer to make some dreamy-looking text & ghostly photos.  By coating the surface with gesso or a setting medium first (and drying before printing, obviously), the inks can look even brighter and no issues with smudges.  I just did it as-is just so you'd have an idea of the effect:

There are endless ways to use it, so it's a very practical medium, no matter what types of crafting you like to do.  Would you like to win a yard of Lutradur to play with, as well as several other useful crafty materials?  

Enter my Pellon Crafty Goods Giveaway HERE for a chance to win over $50's worth of crafting supplies! 


LinkWithin

Related Posts with Thumbnails

