Showing posts with label Laminated cotton. Show all posts

Wednesday, October 12, 2016

Fun With Foxes: Laminated Pocket Wallet Tutorial


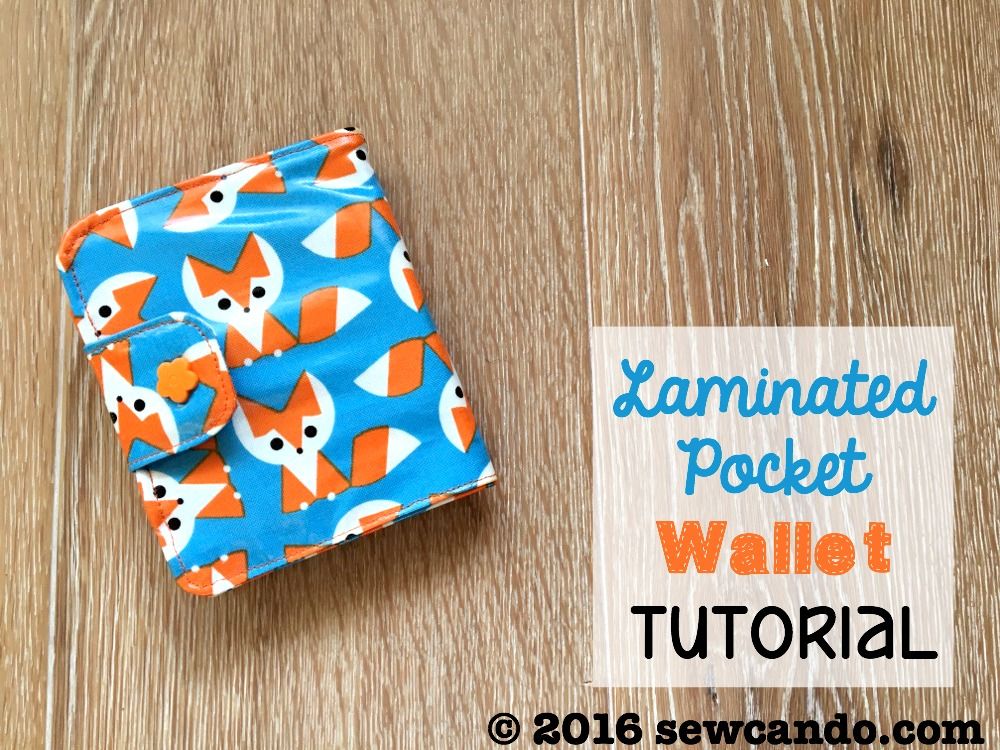
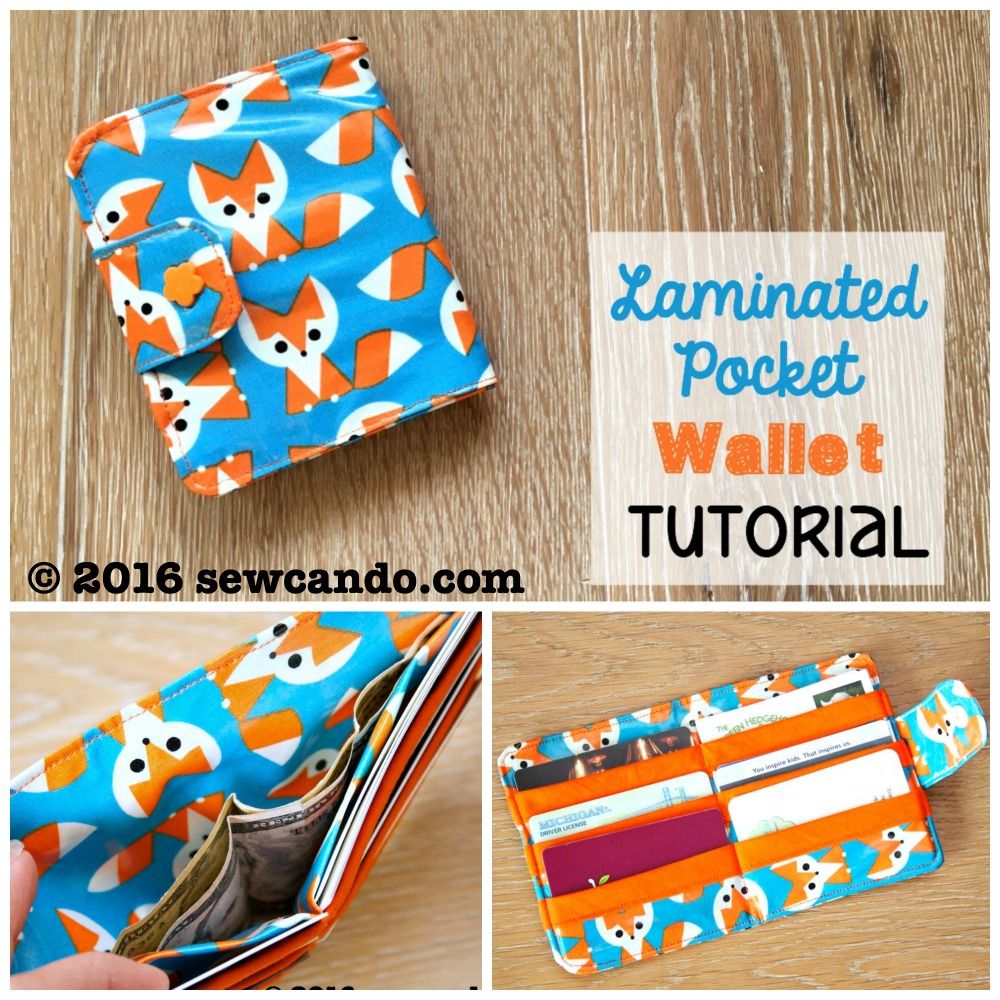
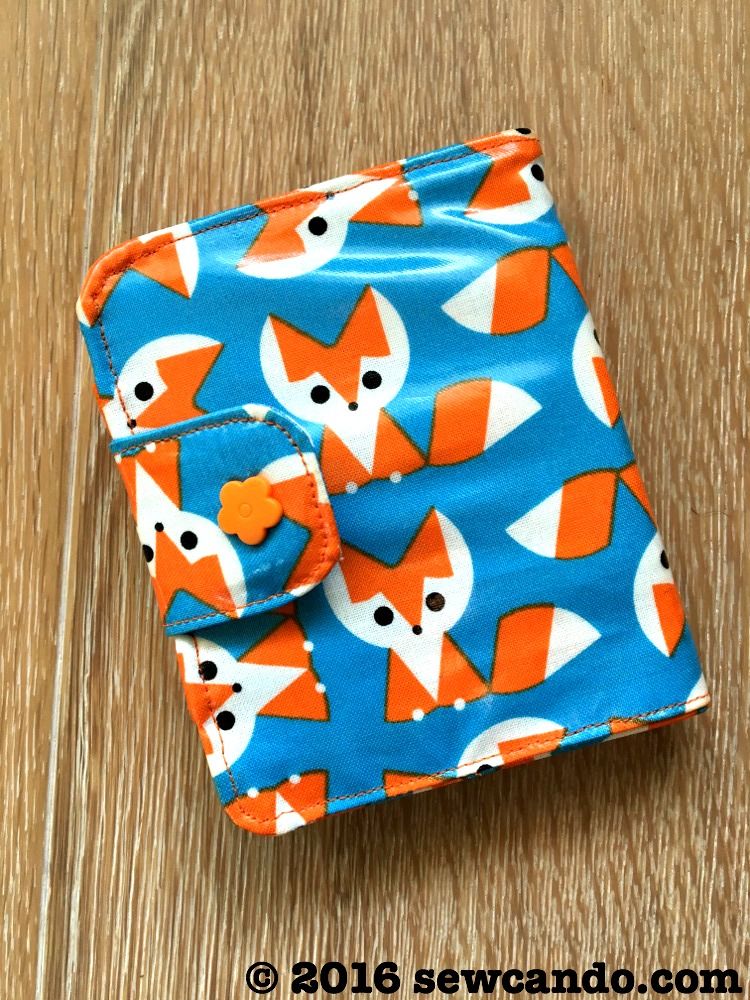
Today's how-to is one that can hold up to serious wear AND while keeping all your cash & cards organized.  This is a quick & practical project - you can make one in less than an hour with some lovely laminated cotton and my Laminated Pocket Wallet Tutorial!


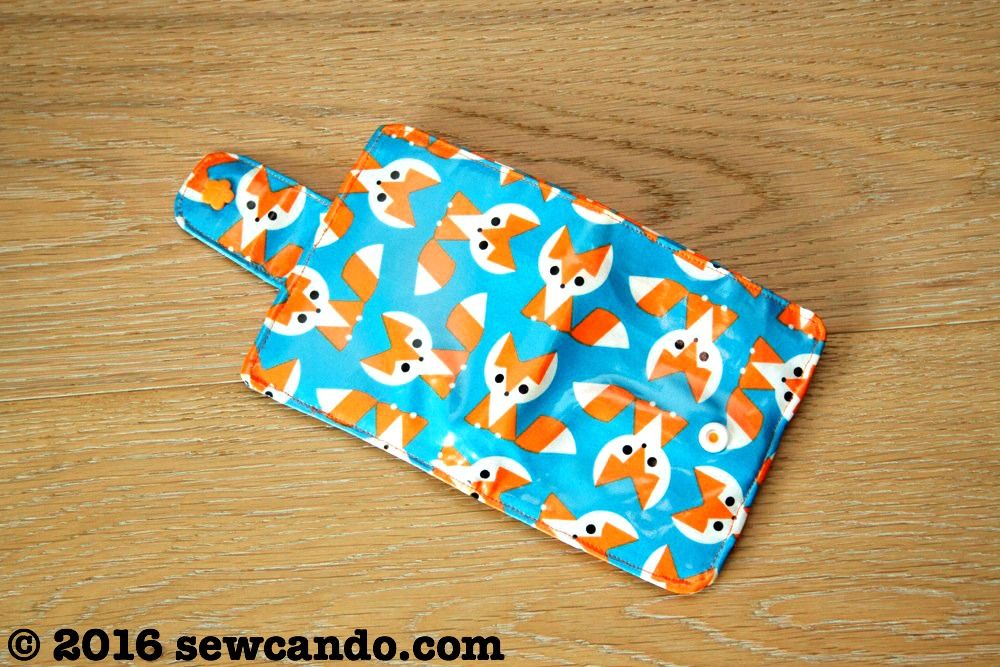
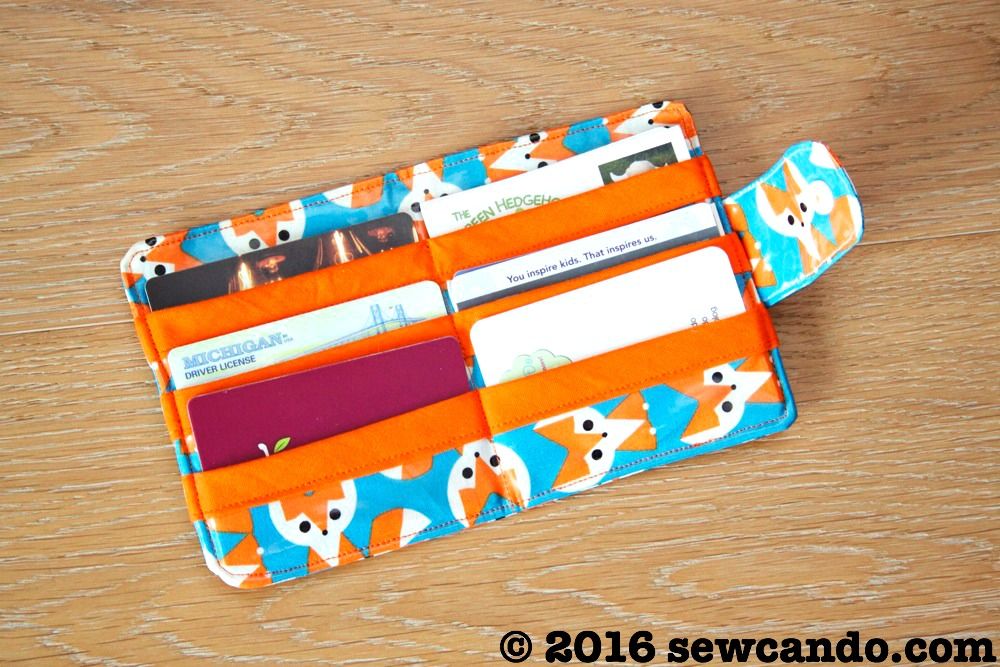
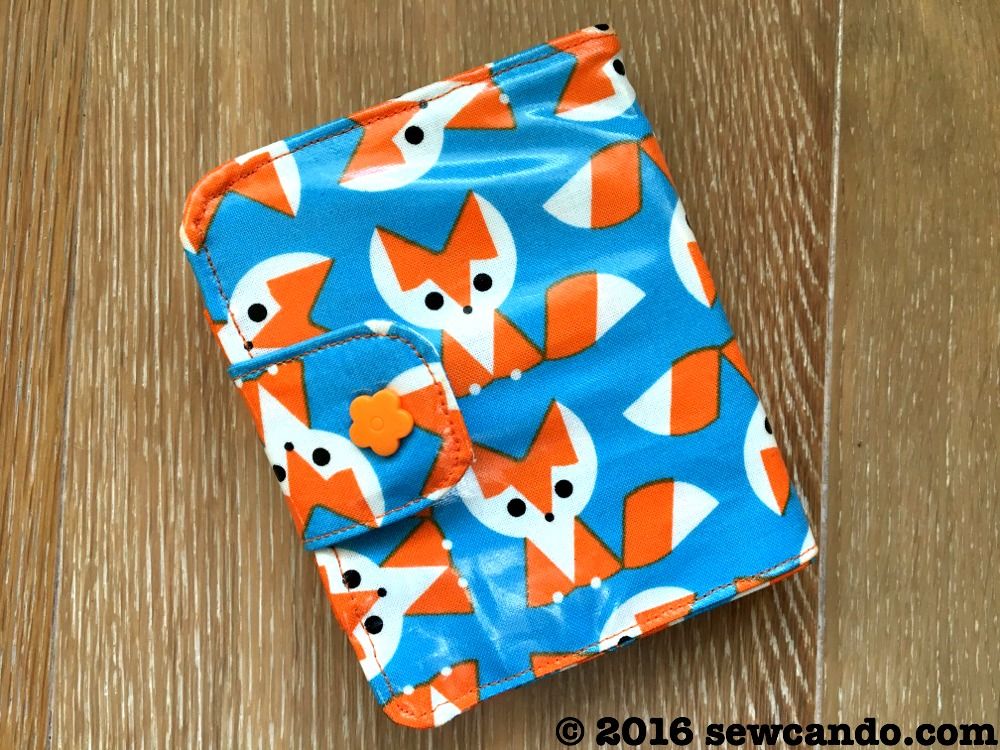
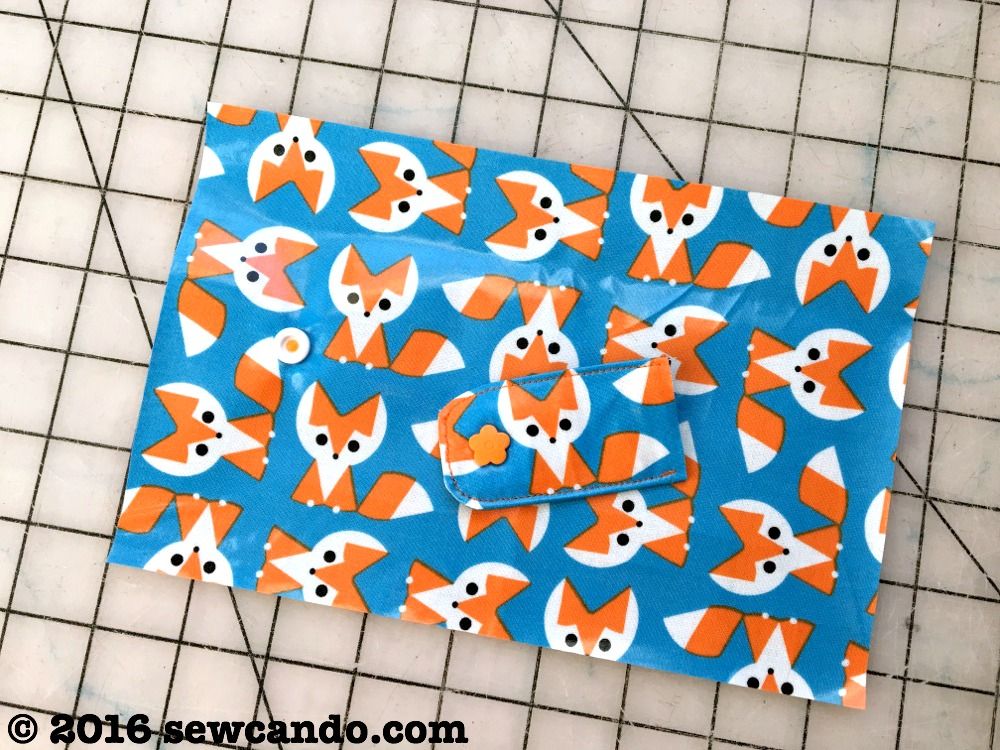
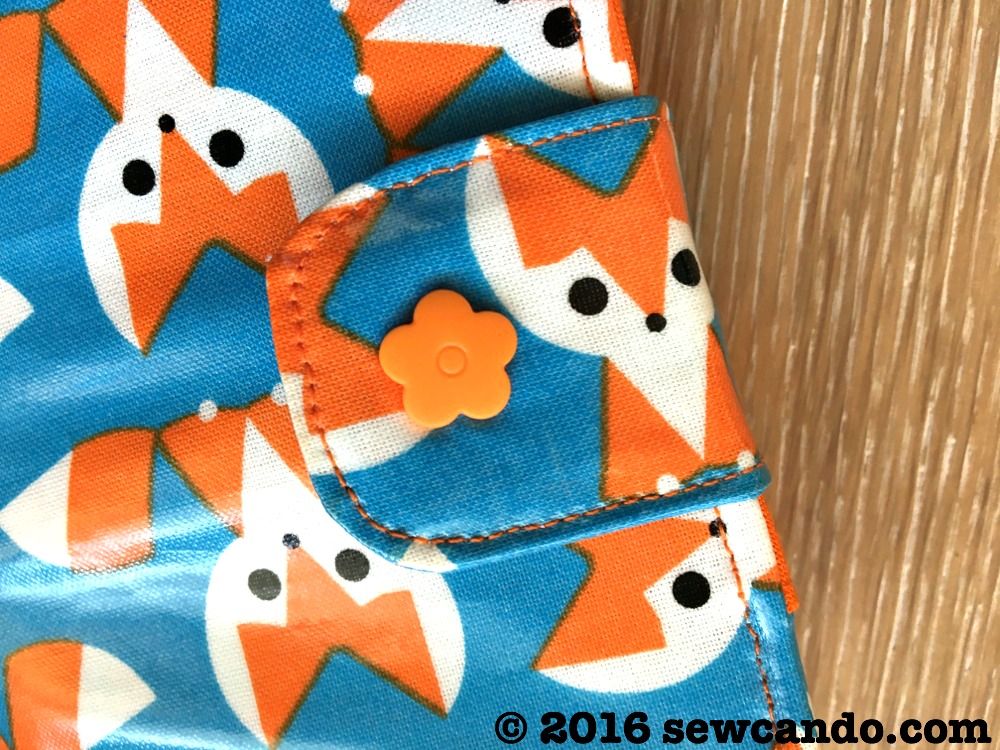
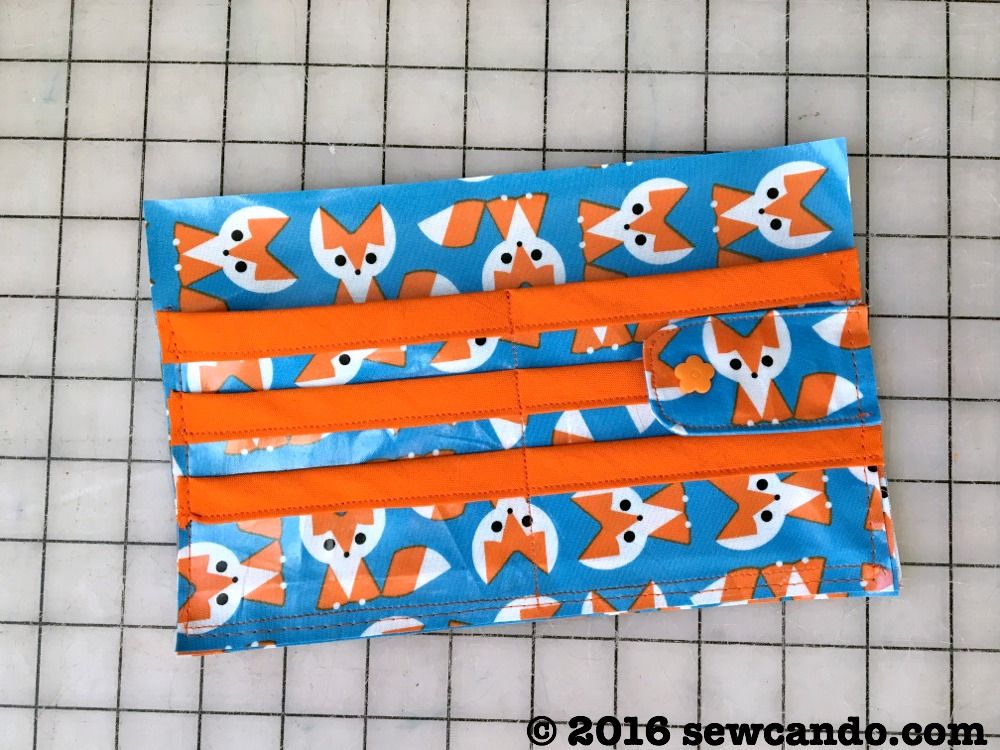
This wallet has any easy open snap closure and plenty of room for cards with 6 full size pockets.  Easy to see everything at a glance.  The laminated fabric adds a little extra grip to keep everything in place and add some stylish prints in the mix.  I wanted a fun look for fall, so I went with this cute fox print laminate to get durability and style: 


And because it doesn't use much fabric, it's also a very thrifty sew.  Using 56" wide laminate, just a 1/4 yard will make 3 wallets, so super economical!  


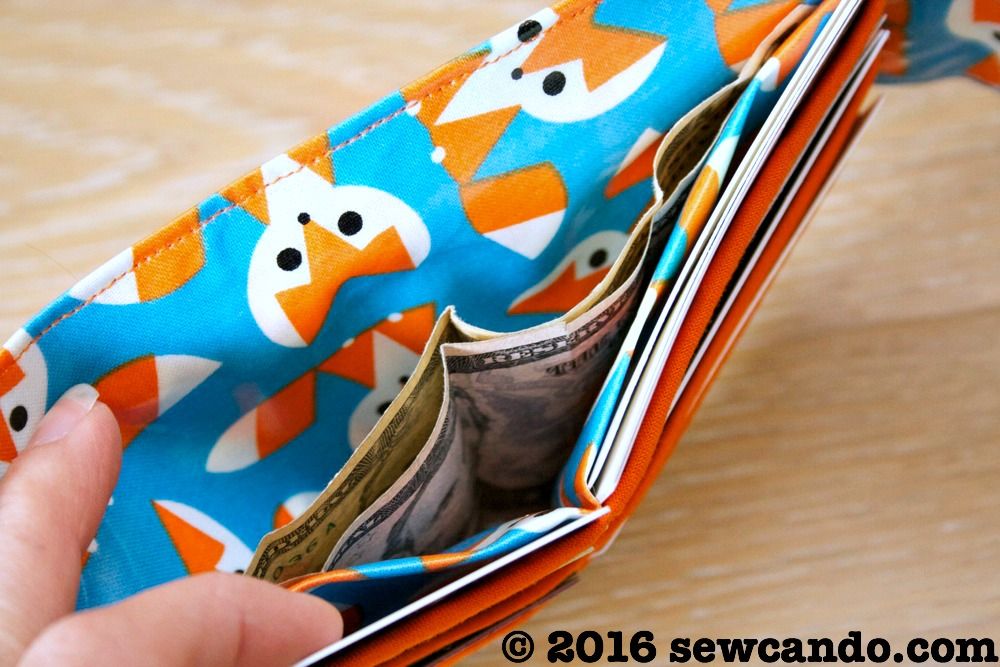
There's even a bill fold section for all your cash (or last couple of bucks in my case). 


This actually an update of my previous Chic Pocket Laminated Wallet that I did a few years back, but I've improved it with more step-by-step photos and a little extra on making bias tape to get a perfect match to whatever fabric you're using.  Laminate is not only easy to keep clean, but it wears like iron.  I used this version every day for over 3 years before making today's foxy one.  


Now, let's get to how to make it!


Materials:
- 1/4yd Laminated Cotton Fabric (I used Wide Eyed Foxes from Laminates).  
- Sewing Notions (shears/rotary cutter, ruler, disappearing marker)
- Flat Clips (I use hair clips, but binder clips, bobby pins or Wonder-clips also work)
- Lip balm (this makes the laminate smoothly move under the presser foot)
- Plastic snaps
- Optional: Walking Foot 

Cutting the wallet pieces: 
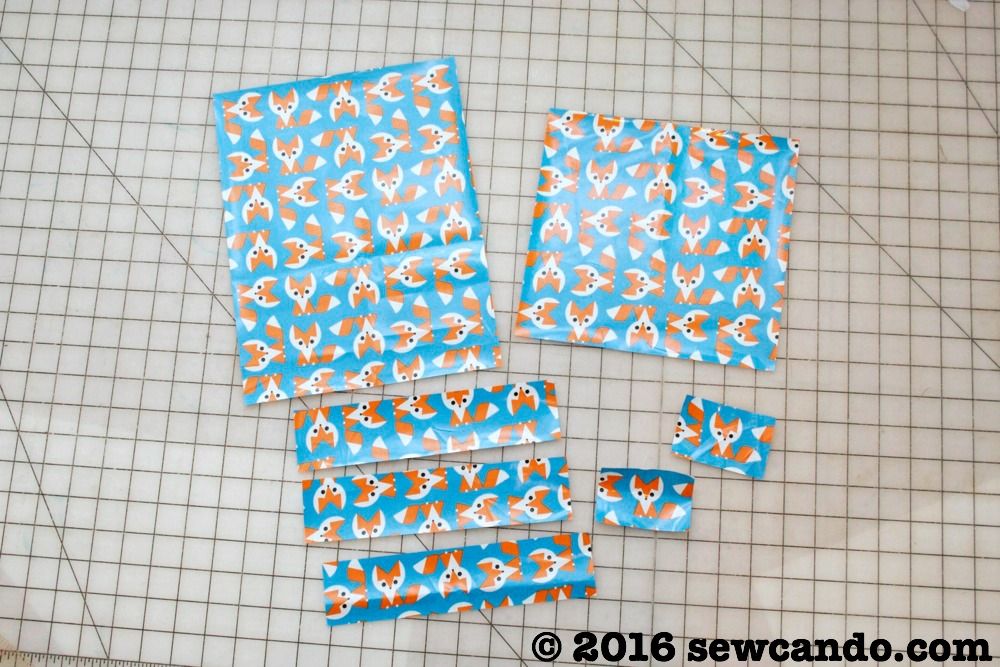
(3) 8.5in wide x 2in high strips for the card pockets
(1) 8.5in wide x 11in high piece for the wallet body
(2) 2in wide by 3in high pieces for the closure strap
(1) 8.5in wide x 8in high piece for the bill pocket. 
(2) 1in x 1in pieces for reinforcing the snap areas.  I like to use scrap bits of stabilizer, but bits of laminate will also work.


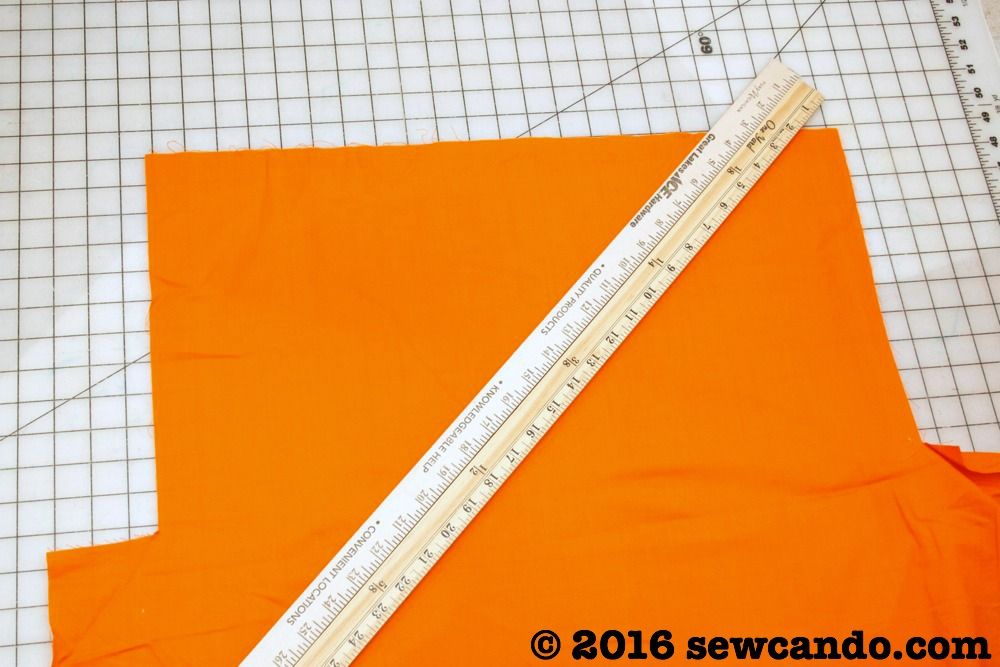
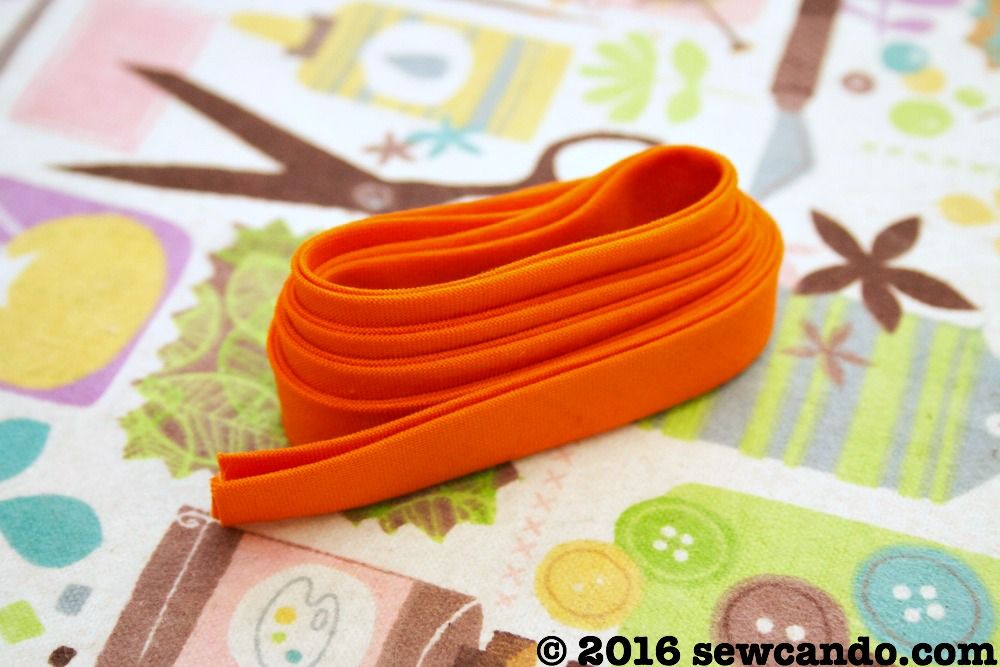
I started out by making some bias tape.  I had some cotton that was a perfect shade of orange, so I cut a half yard piece of fabric along the bias (45 degree angle).  I cut a strip that was 2 inches wide - very easy when using two yard sticks together:


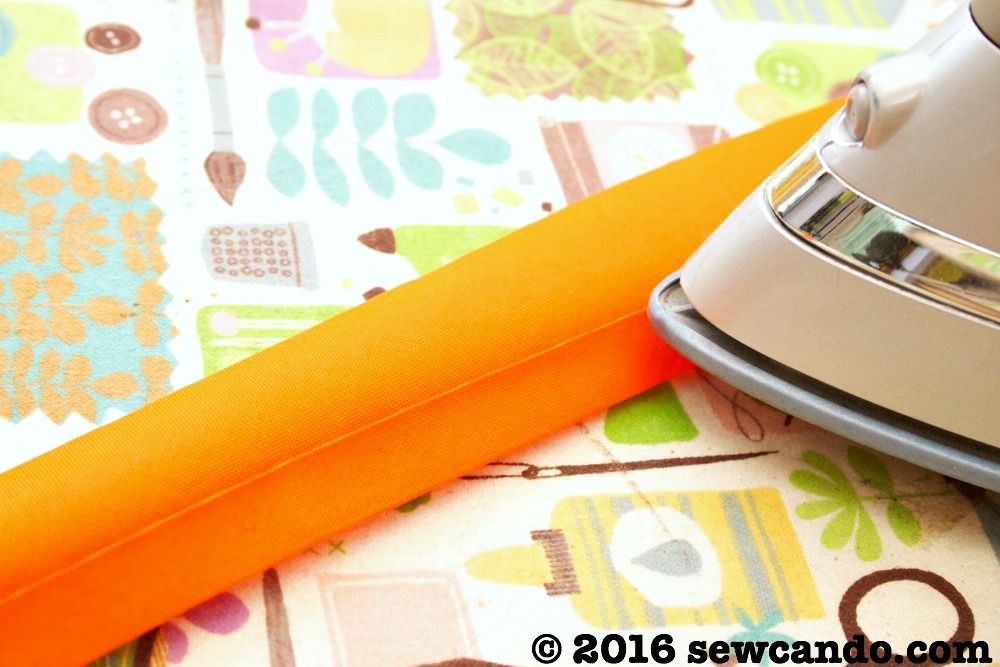
I folded and pressed my strip lengthwise first and then fold in the raw edges to the fold I'd made and pressed:


I then pressed along the center fold again and my bias tape was good to go:


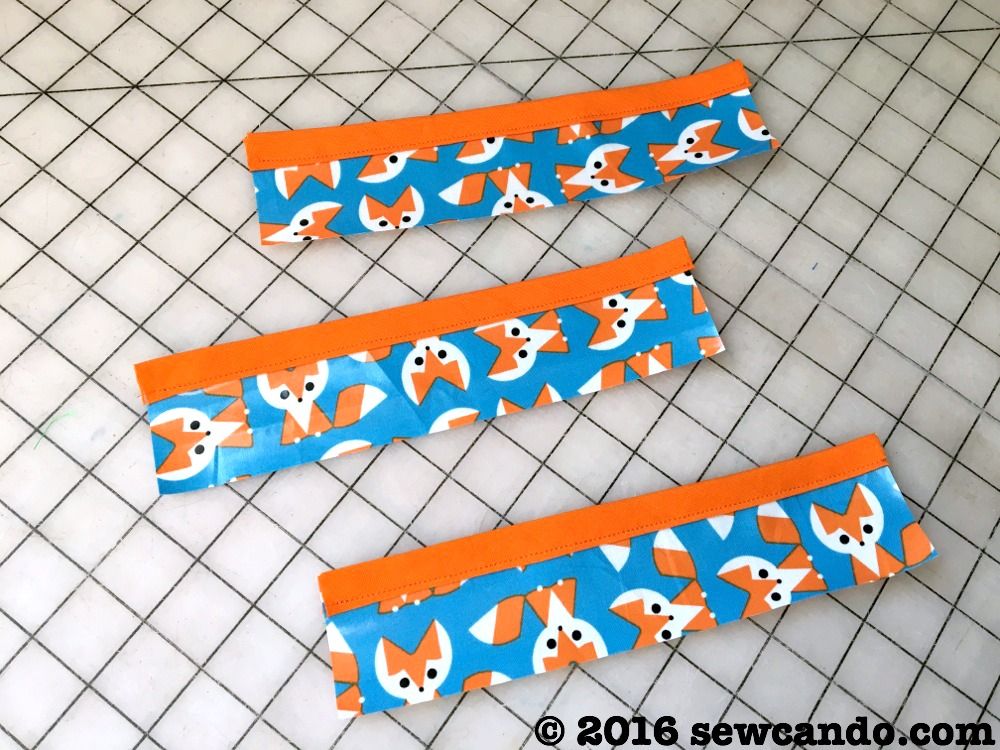
I stitched the bias tape along the top edge of the pocket pieces.  


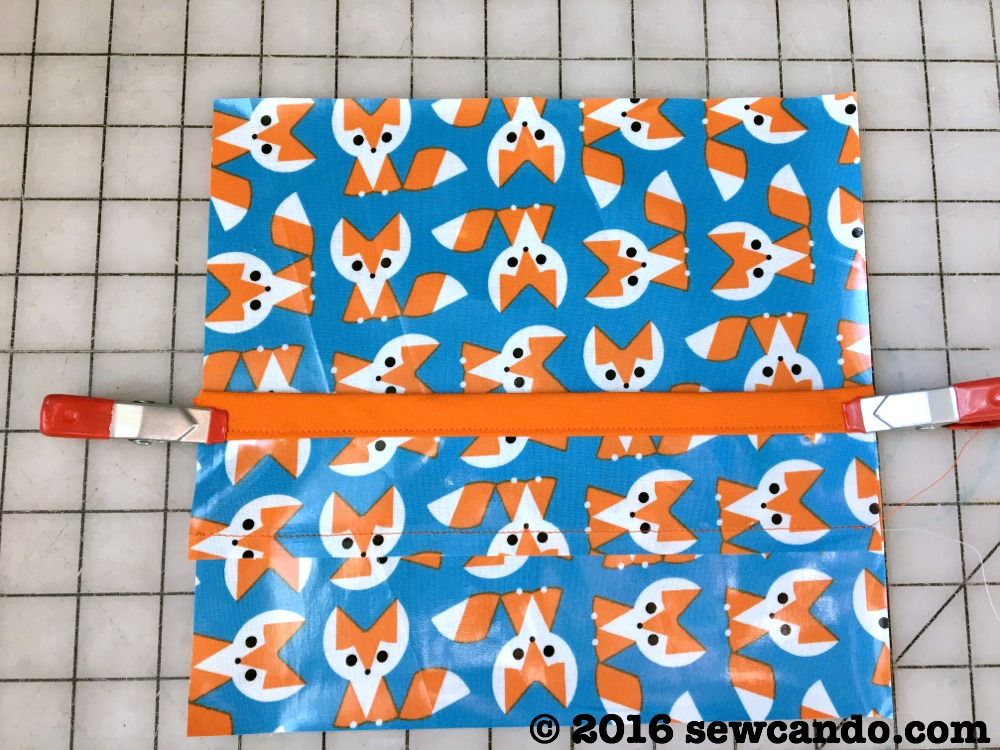
Then I lined up the first strip, bias taped side up along the center of the 8.5in x 8in piece and clip on sides.  


I always run a bit of lip balm along the laminate surface where I will be stitching.  This will prevent the laminate from sticking under the presser foot and is easy to just wipe away when done.  I stitched 1/4" from the raw bottom of the strip:


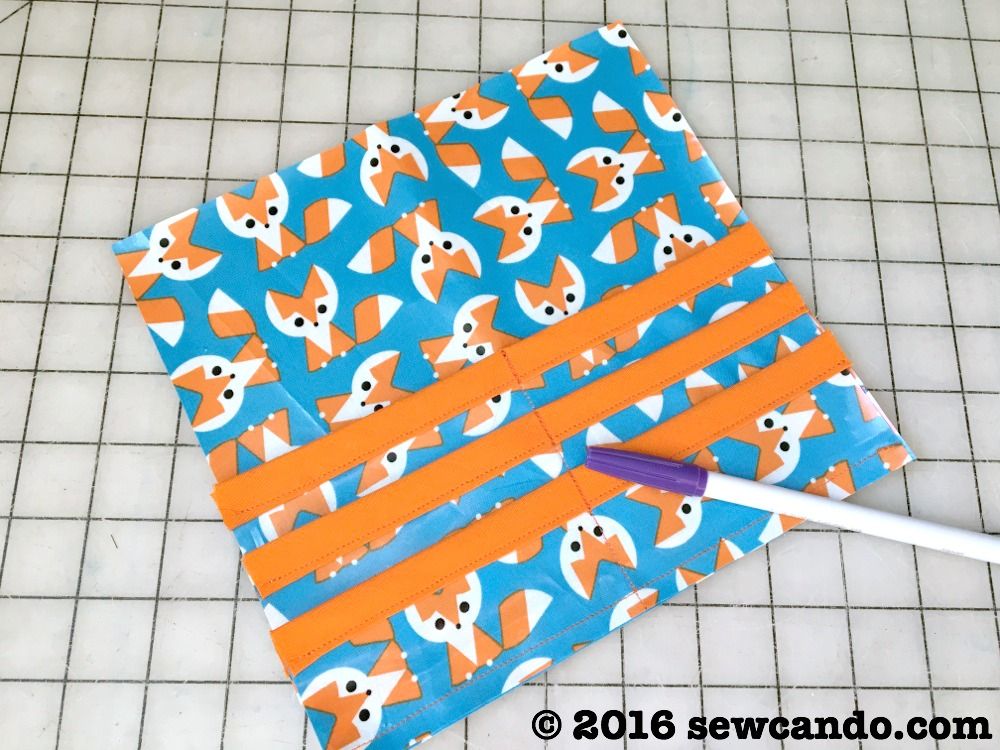
Next I layered second pocket over the first, 1 inch down from the top of the first pocket and repeated with stitching the 2nd & 3rd pockets into place.  Next I marked a vertical line down the center of the pocket cascade and topstitch.  That partitioned the pockets into 6 card sized spaces.


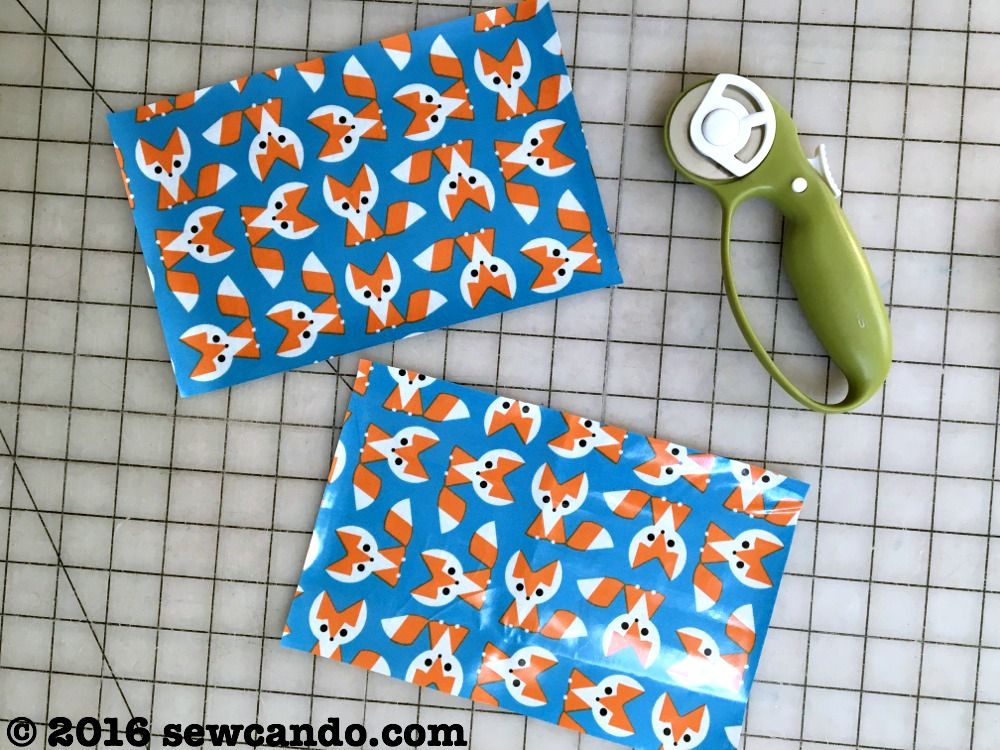
I then took the 8.5in x 11in rectangle and cut it in half widthwise so there were two 8.5in x 5.5in rectangles to make the body of the wallet.  Since there are so many rectangular pieces, I find it easier to cut that part at this point so nothing would accidentally get mixed up as I worked.


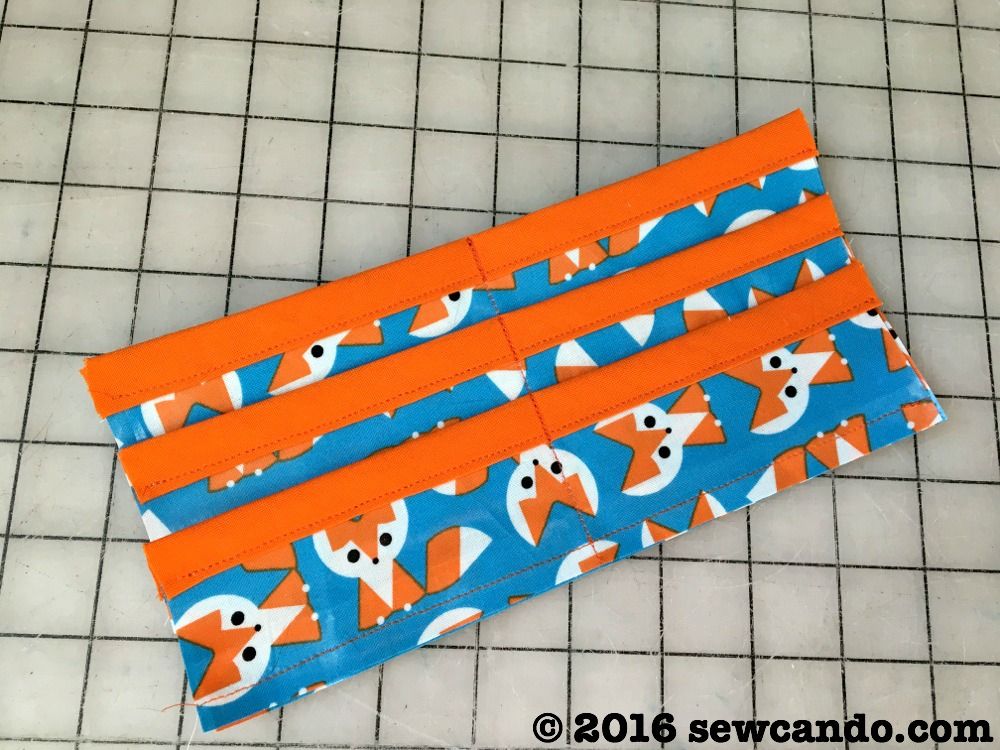
I folded the pocketed piece in half lengthwise with the wrong sides together, so there was only the pocketed section showing:


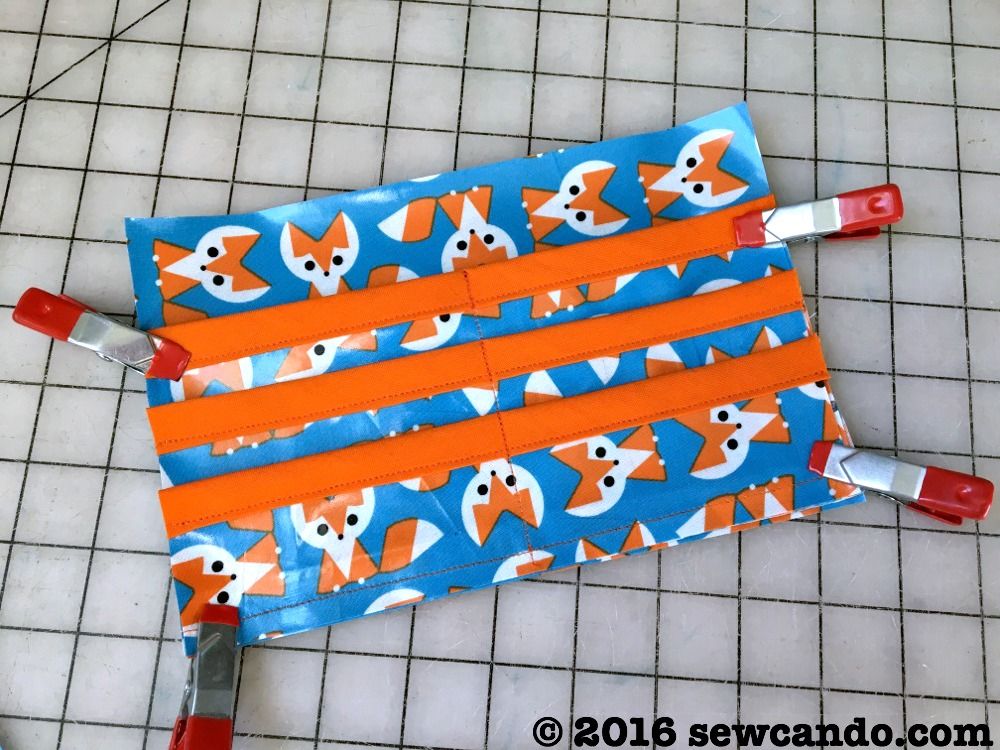
This piece was laid on top of one of the newly cut body pieces, lining up the bottom edges, and then clipped together.  


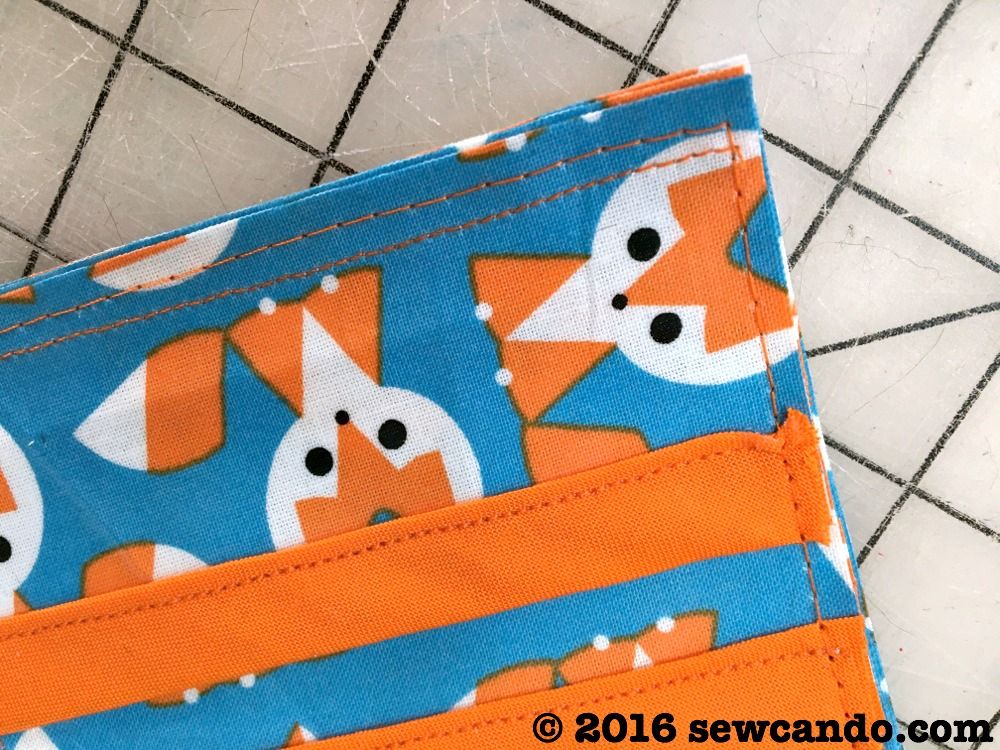
The layers were basted together along sides and bottom 1/8 in from the raw edges.  This created the bill pocket behind the card pockets.  


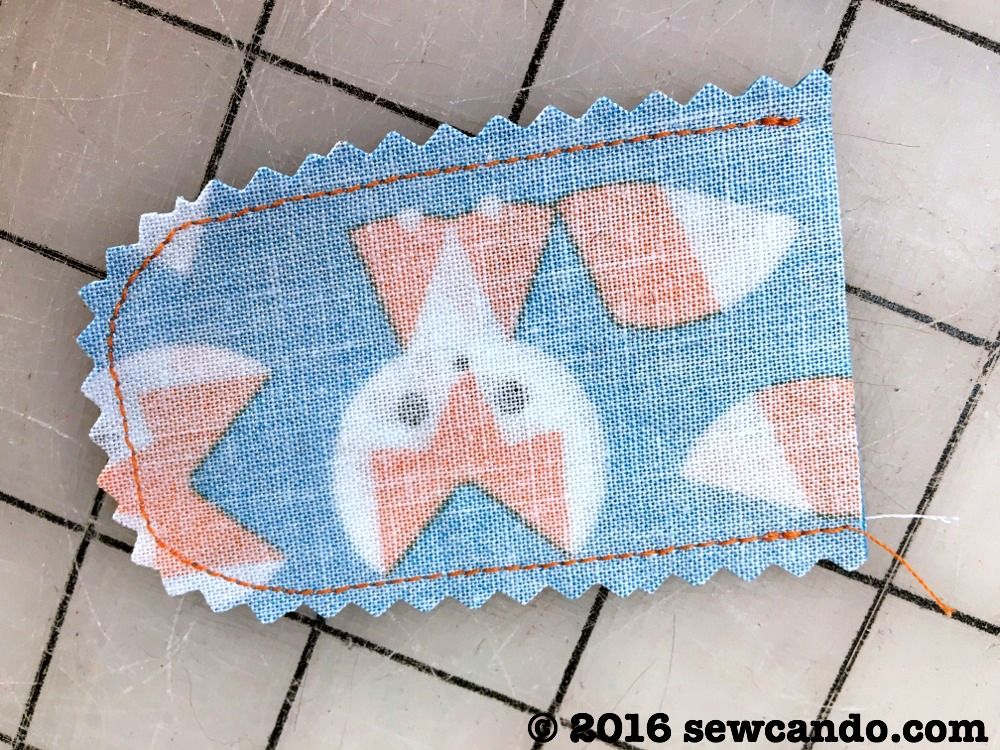
I took the two strap pieces and, with right sides facing, stitched together with a 1/4 in seam allowance.  I curved the corners for a softer look, and then trimmed & clipped around them so they'd round when turned right side out.  


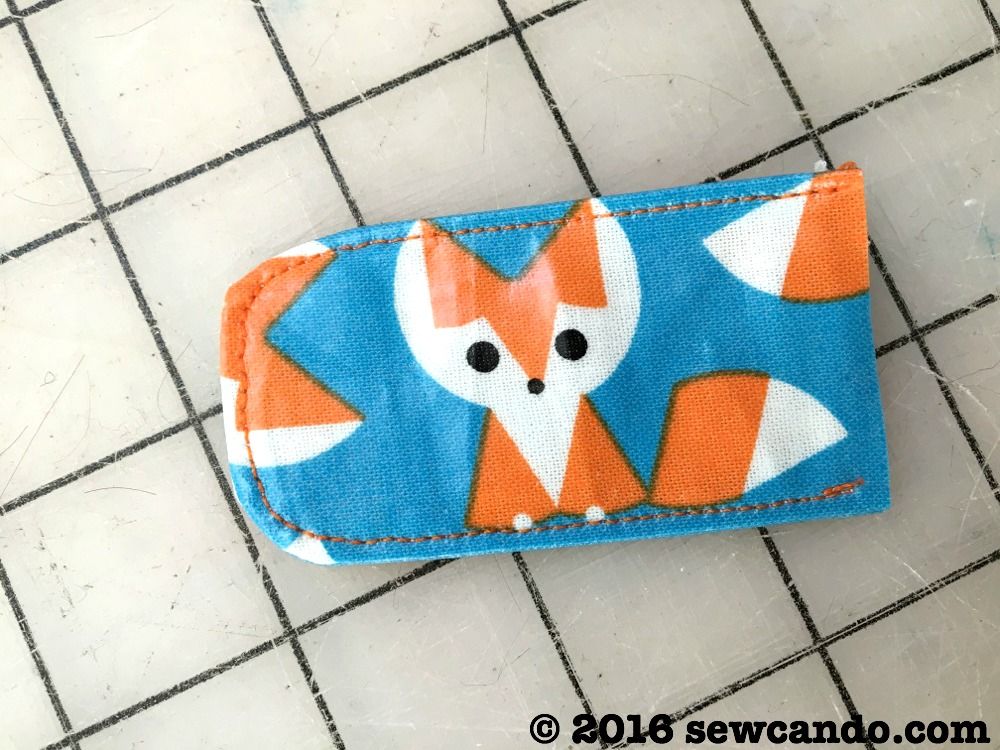
Then ran a quick dab of lip balm along the edge and topstitched:


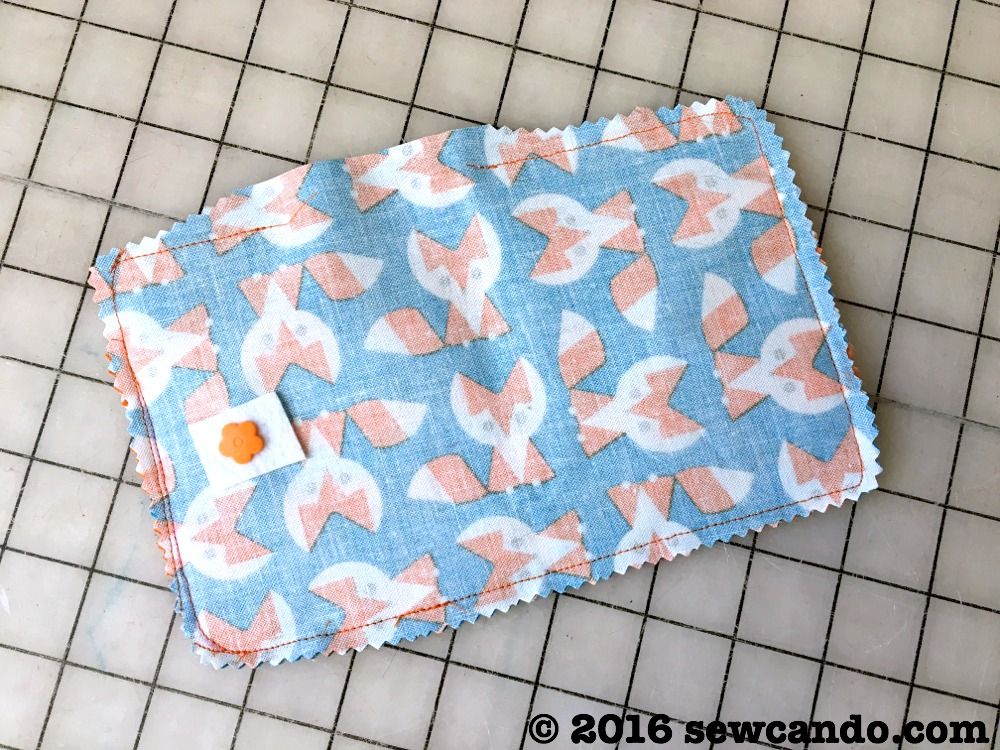
I inserted my 1in x 1in square for stabilizing into the strap and attached the male portion of the snap through the closure strap.  I also attached the female portion of the snap to the remaining wallet body piece (2in inward from edge and with a bit of stabilizer behind it too).


For a little extra whimsy, I used a fun flower shaped snap:


I clipped strap to center of the right side of the pocketed piece.  The end with the snap was on the left, while the piece below had the strap on the right, so when it would be turned right side out everything will be in the right spot.  


Then I put the remaining wallet piece face down over rest of wallet & clipped everything together.  I stitched all the way around, with a 3/8in seam allowance, rounding the corners as I stitched (and leaving a 2 inch gap for turning on one of the width sides).  I clipped around the edges with pinking shears and turned it right side out, poking out corners with a pencil.  I ran a bit of lip balm around edge, topstitched to close the gap.  


Then the wallet was ready to use.  Cute fox fun, easy to find in my purse and guaranteed to last for many seasons of use.  


Friday, February 19, 2016

Think Spring with New Fabric Prints from Laminates


With Spring on the horizon, I'm looking forward to trading the snow & cold for some rain & sunshine-friendly projects.  One of my favorite things to sew with this time of year is laminated cotton.  It's great for the wetter weather and really versatile.  
Let's take a peek at some lovely laminated fabric from Laminates to get in the mood for the upcoming season!


What is laminated cotton? It's cotton that's been coated on one side with a thin layer of laminate to render it water-resistant.  Similar to oilcloth & basic iron-on vinyl, but unlike those stiff & sticky fabrics, it does not contain BPA or phthalates (aka bad-for-you chemicals that leach out of some plastics).  This means it's safe for baby & kid's projects.  And while it's soft like regular cotton, it's got more strength, durability & form. 
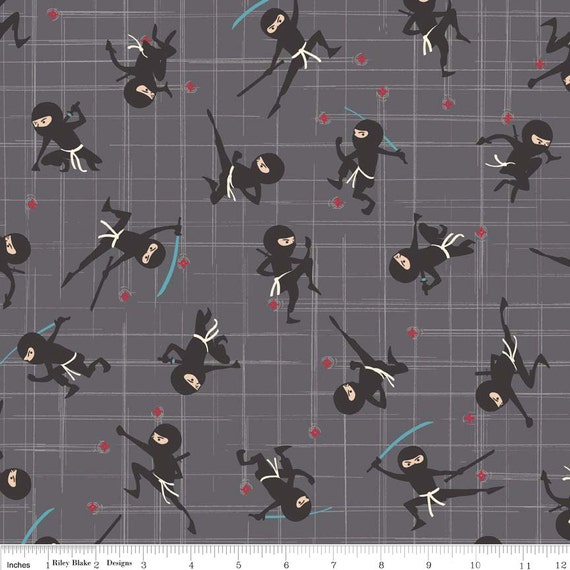
Laminate is strong like a Ninja 
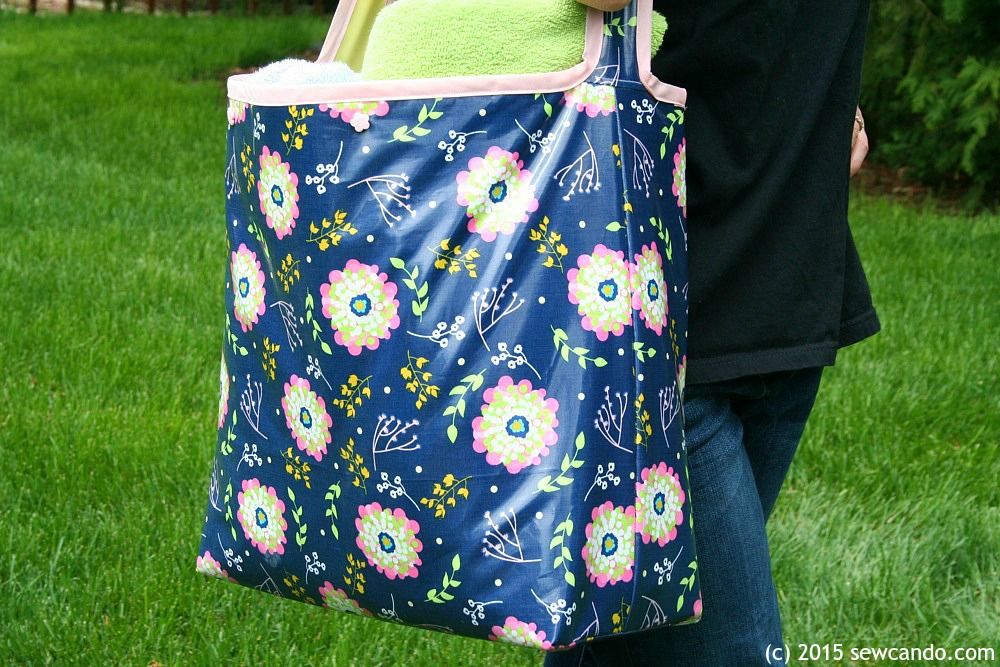
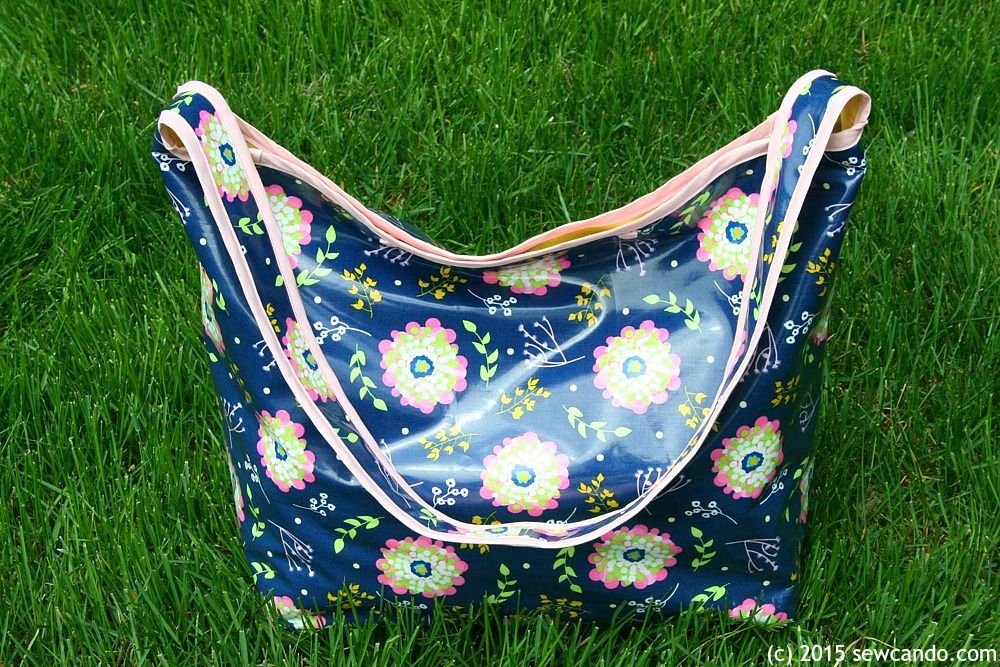
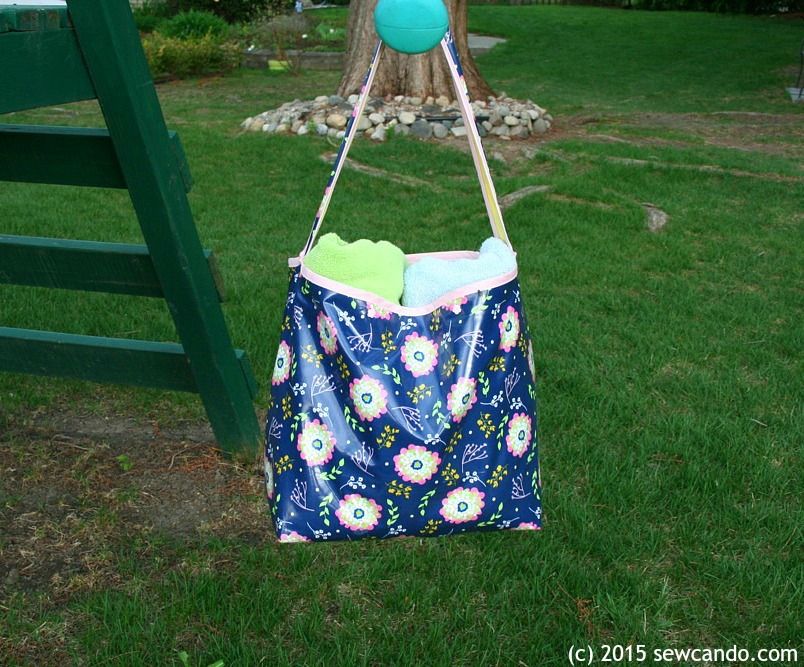
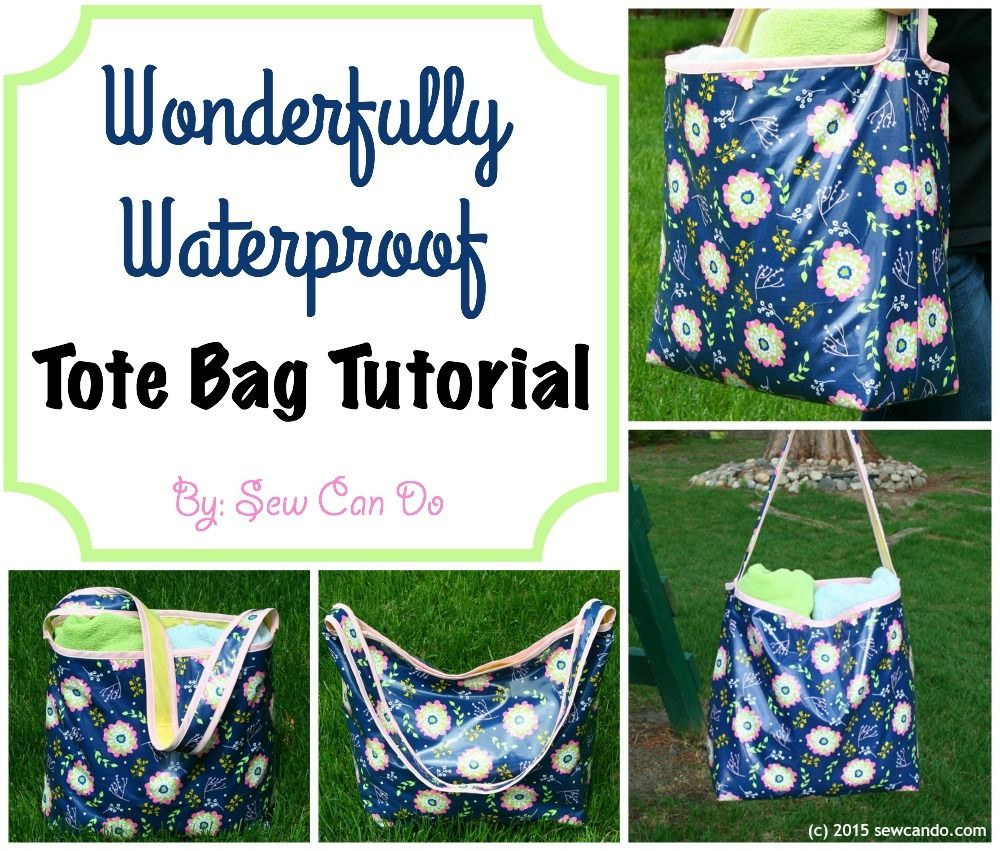
What can you make with it?  The possibilities are endless, but laminated cotton is ideal for tablecloths, coasters, placemats, chair coverings, cupholders, lunch bags, bibs, aprons, bags, purses...just to name a few.  Last spring I made this Wonderfully Waterproof Tote with some Floriography Blue:


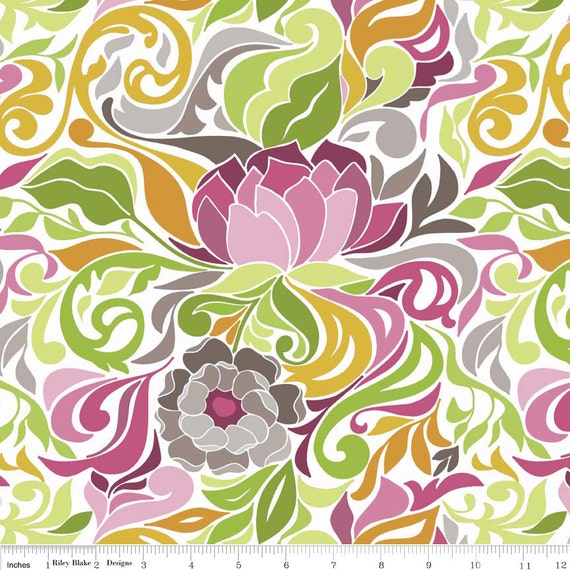
I bought this Floral Gold Halle Rose recently to make a tablecloth for my kitchen table:


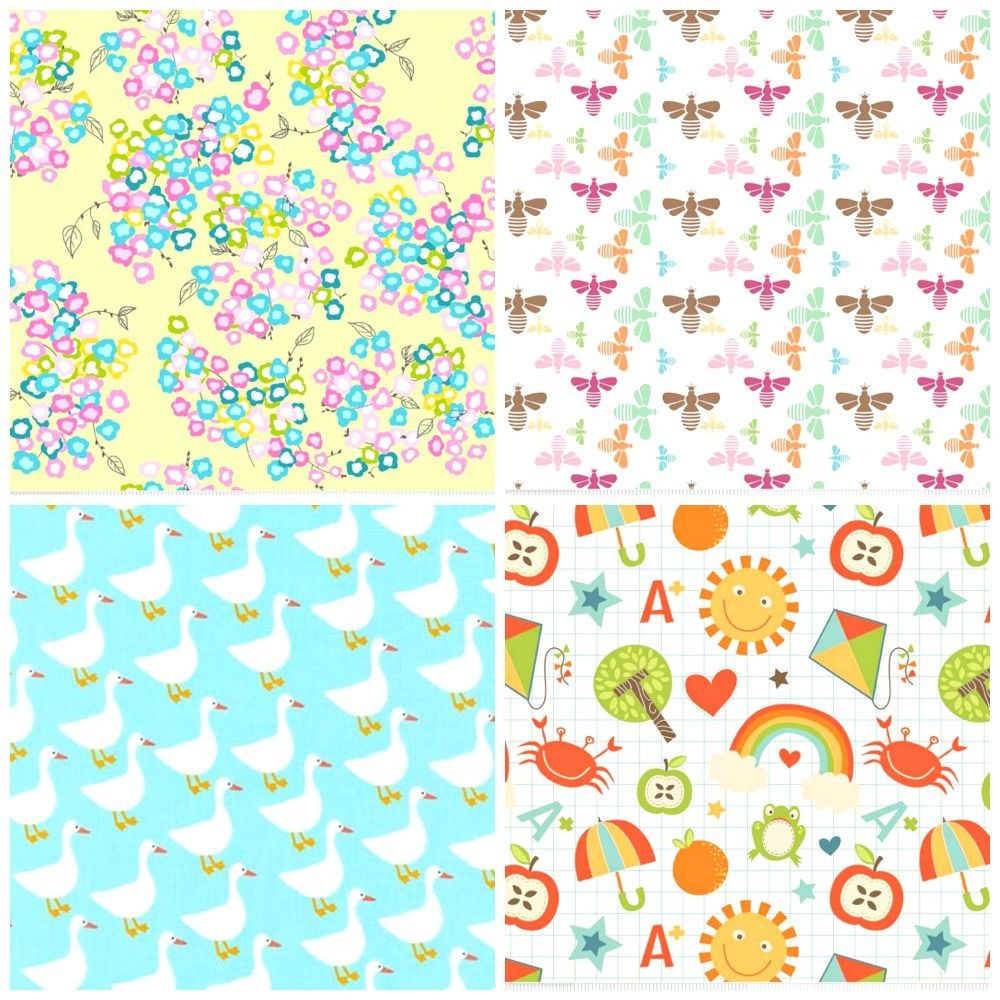
Laminates has loads of other great spring prints like these beauties:


Floriography BlossomsBees on WhiteDuck GooseSchool Days


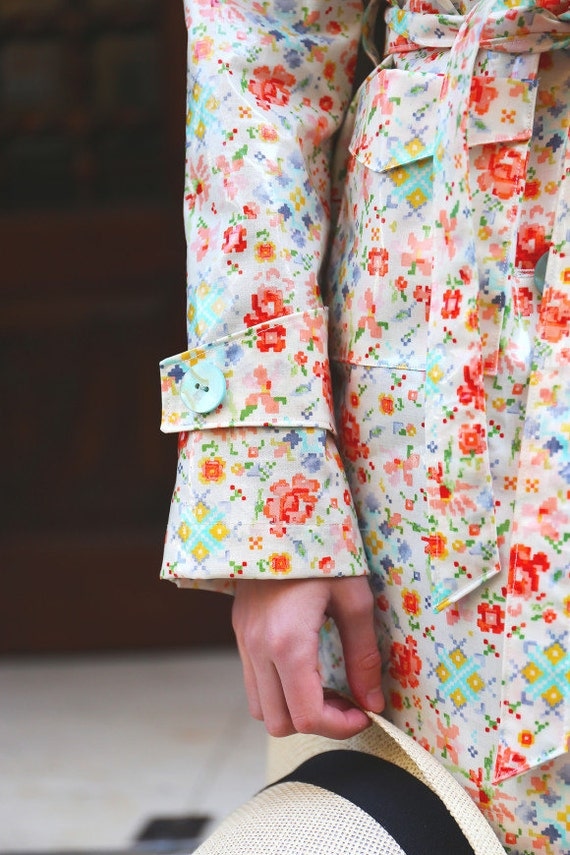
There are also on-trend fabrics like this cross-stitch print that looks gorgeous on this raincoat:

Oliver & S trenchcoat pattern

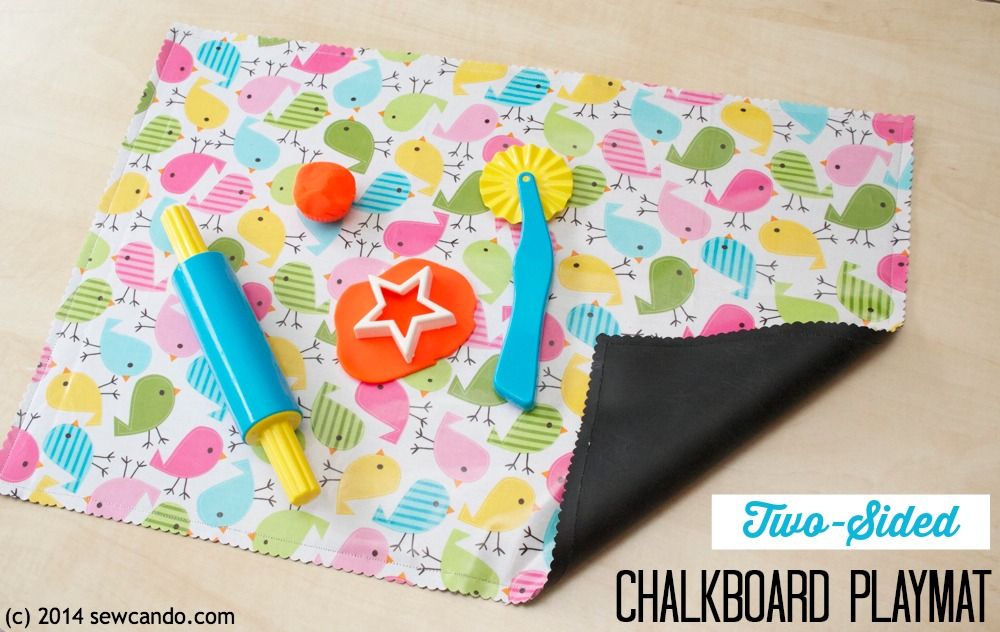
I've used this Urban Birds print to make a cute pocket wallet


and paired with chalkboard fabric to make a reversible wipeable playmat:


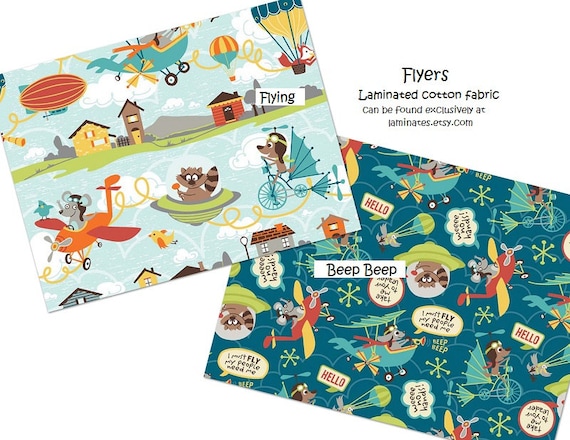
Laminates also has some custom designs you won't fin anywhere else, like these exclusive Flyers prints:


There are laminated cotton prints for every style and project at Laminates, as well as options for cut sizes like fat quarters, half yards and more.  Plus, score some great deals by shopping the sale/remnant section!

Seeing so many lovely options, I'm brainstorming what I want to do for my next laminated cotton project.  What laminated projects do you want to work on?


Laminates is a paying featured advertiser at Sew Can Do.  The opinions are completely my own, based on my honest experiences using & purchasing fabrics from this shop. For my complete disclosure policy, click here. 

Wednesday, May 6, 2015

Wonderfully Waterproof (Inside & Out) Tote Bag Tutorial


Want to make the ideal bag for summer?  Something big enough to haul loads of stuff, but still fold up small?  Repel water, sand and spills, inside and out, yet still look stylin'?  Then today's tutorial is right up your street: it's my Wonderfully Waterproof Tote Bag.


I originally created this bag design years ago for use as a diaper bag.  This was my first version that I still use every week for swim class, 5 years later.  Thanks to the combination of bag design and laminated materials, this baby has worn like iron.  I'm not exaggerating when I say it hauls stuff like a boss


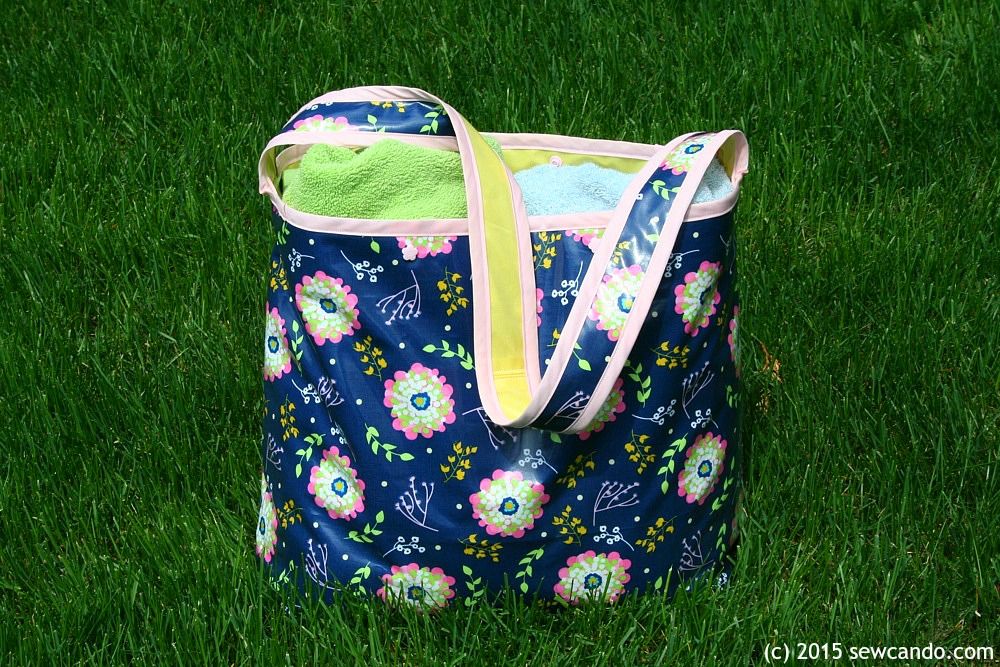
I decided it was time to make a second bag and change the dimensions a little for a fresh look. I'm loving this new one just as much.  It's generous size holds almost anything, but it doesn't look crazy bulky:  


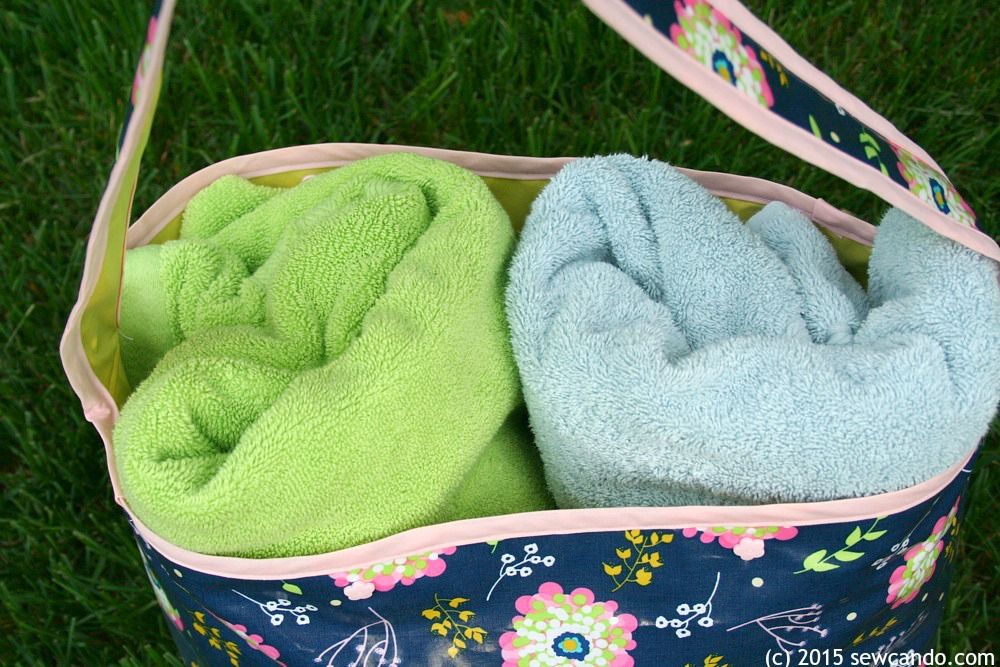
You can fill it up high.  It's finished size is 14 inches wide, 6 inches deep and 14 inches high, yet it can be snapped closed to look smaller when carrying less stuff.  These are two obnoxiously large 6ft+ beach towels - totally contained:


And it still looks cute to carry because you can get all designer-style with your fabric choices:


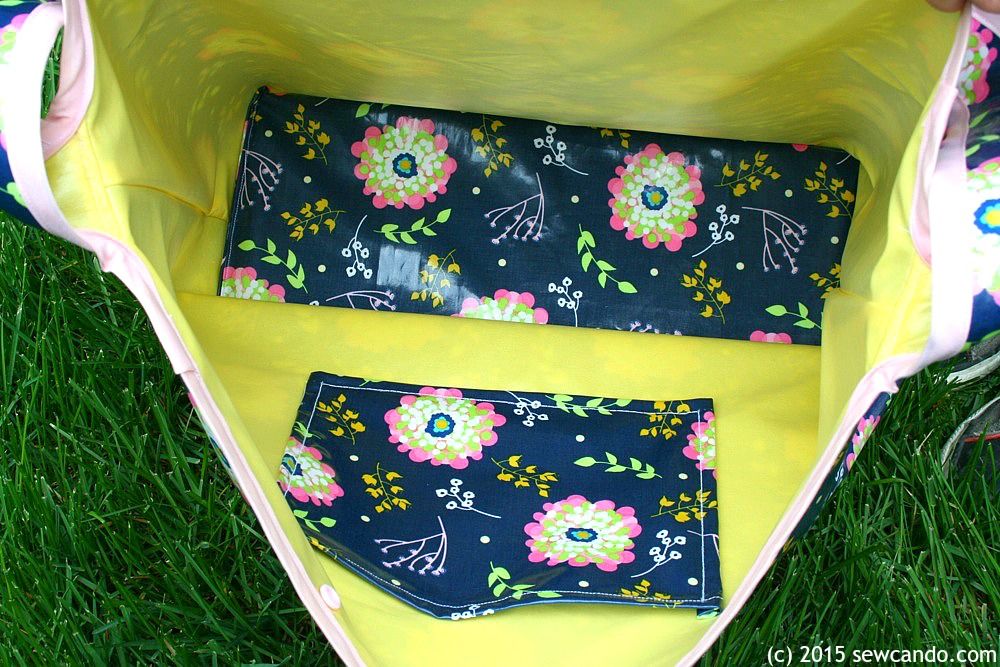
I used to sell this as part of my previous Around Town Bag PDF pattern, but now I'm offering my how-to here for FREE.  'Cause I'm nice like that;)  Plus, in my new version I've also added a firm, removable base piece to help the bag retain it's shape and give extra support.  And that base is totally waterproofed, just like the bag's interior, so go ahead and toss those soggy towels & swimsuits in there - this bag don't care!


Now let's get to the bag making...
Materials:
- 5/8 yard Laminated Cotton fabric 
- 5/8 yard PUL fabric (I use Eco-PUL™ since it's anti-microbial)
- Double fold 1/2 inch wide bias tape 
- Plastic snaps.  Two sets 
- Lip balm - this makes the laminate move smoothly under the presser foot - no sticking!
- Notions: heavy duty needle, shears/rotary cutter, pins, clips/clothespins, yardstick
- Optional: cardboard & duck tape for bottom insert

Got questions about Laminated Cotton? I've got more info & projects using it here.  Note: Just scroll through to see 'em all since this project will come up first. 
PUL fabric?  More info & ways to use that here.  Just scroll down on that too for more PUL fun.

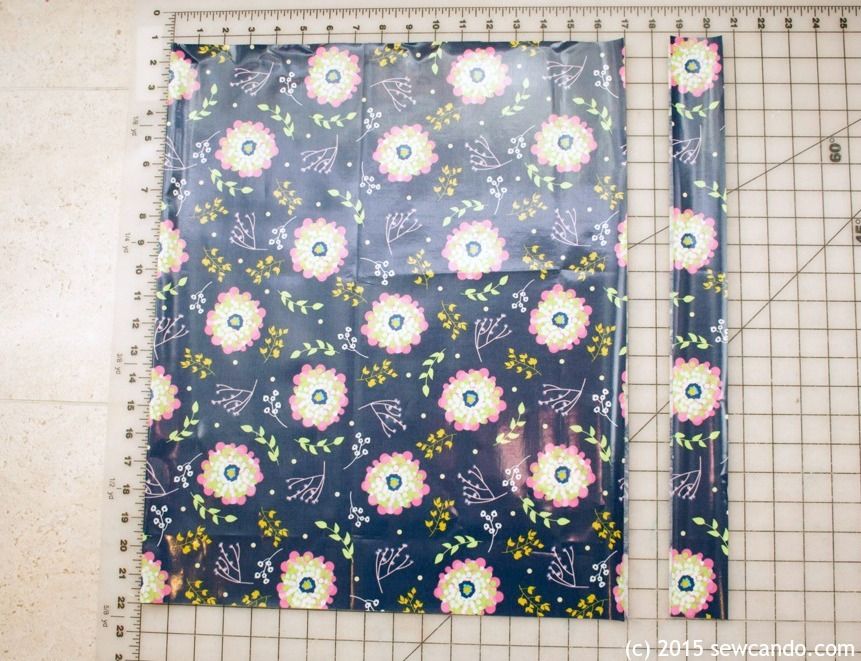
Start by cutting out the main bag and strap pieces from both the laminate and the PUL. Fold fabric so selvages are together on the right side.   We're cutting parallel to the selvages from each fabric:

- 2 inch wide by 21 1/2 inch long strap halves 
- 17 inch wide by 21 1/2 inch long bag body (so when open it will be 34 inches wide)


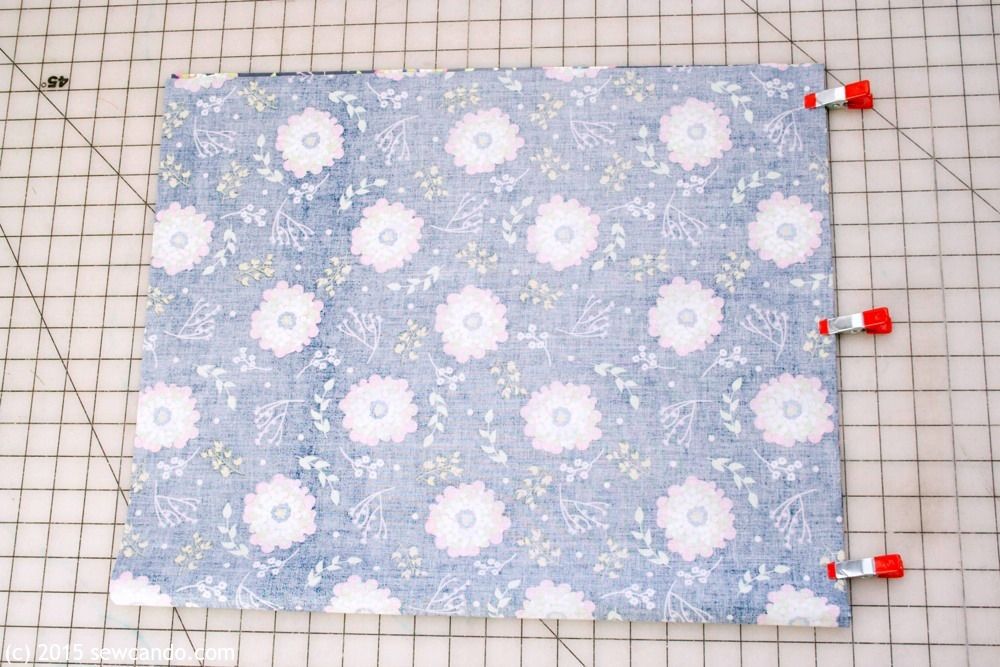
Turn the main fabric so the fold is on the bottom. With right sides facing, clip along the sides so that the fold is on the bottom.  Pins are a no-no with laminated fabric, since they leave holes, so the clips are ideal.  Stitch down the sides with a 1/2 inch seam allowance.


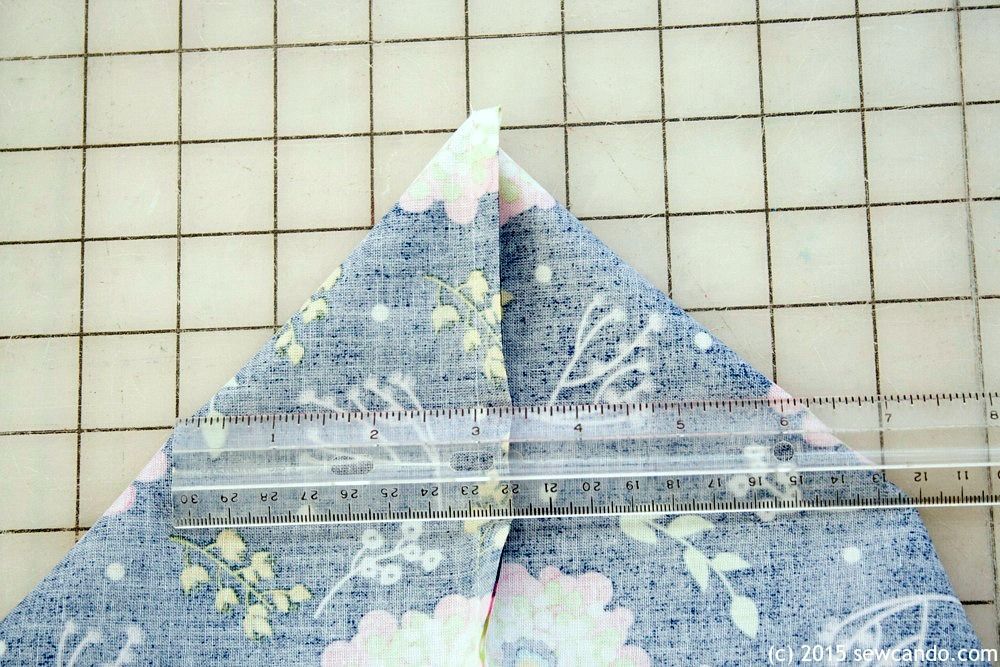
To create the wide depth of the bag, the corners need to be squared off.  Pull each corner to a point to make a triangle and measure 6 inches across and mark.


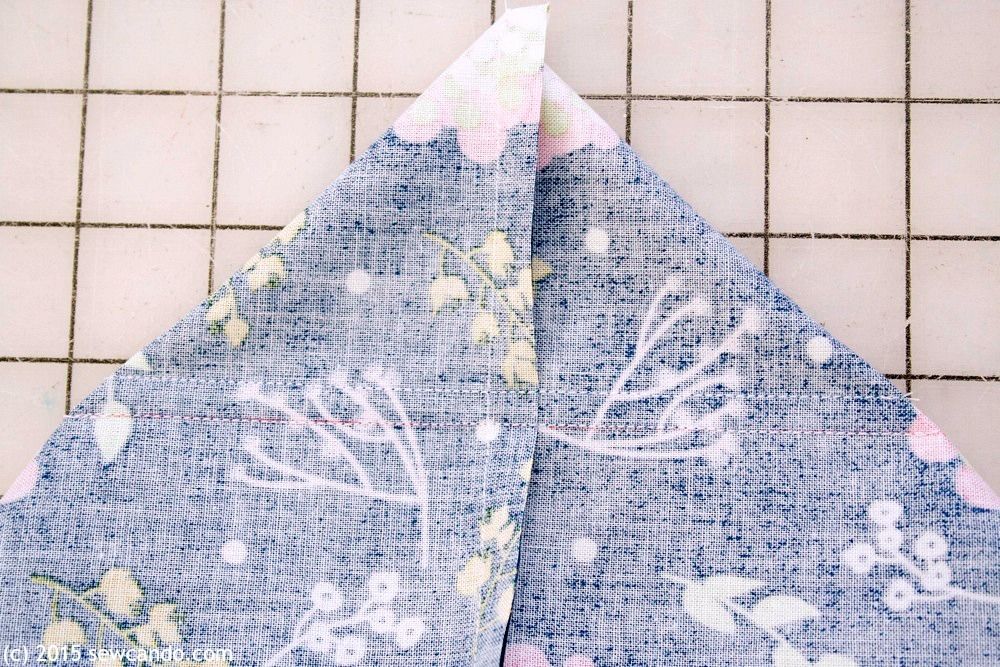
Stitch along the marking and then stitch another seam 1/4 inch away from the original for reinforcement.  Trim off the excess.


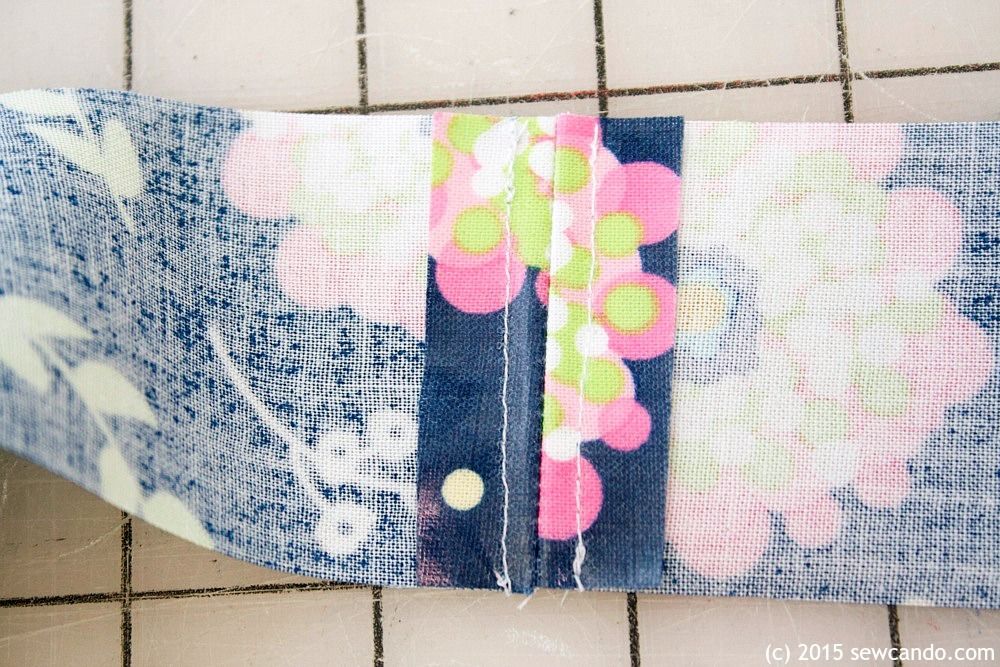
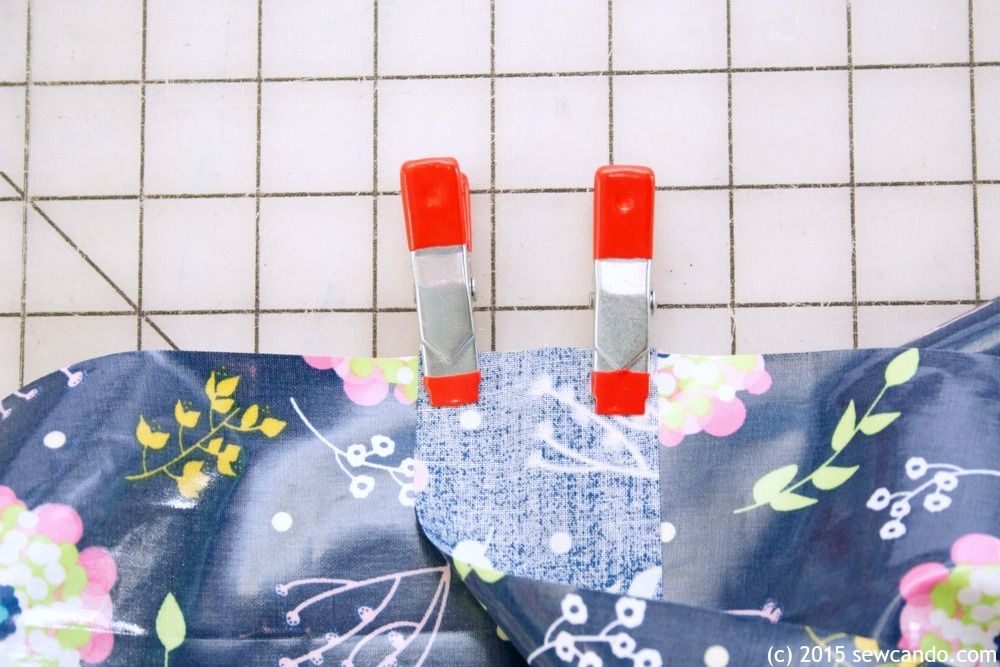
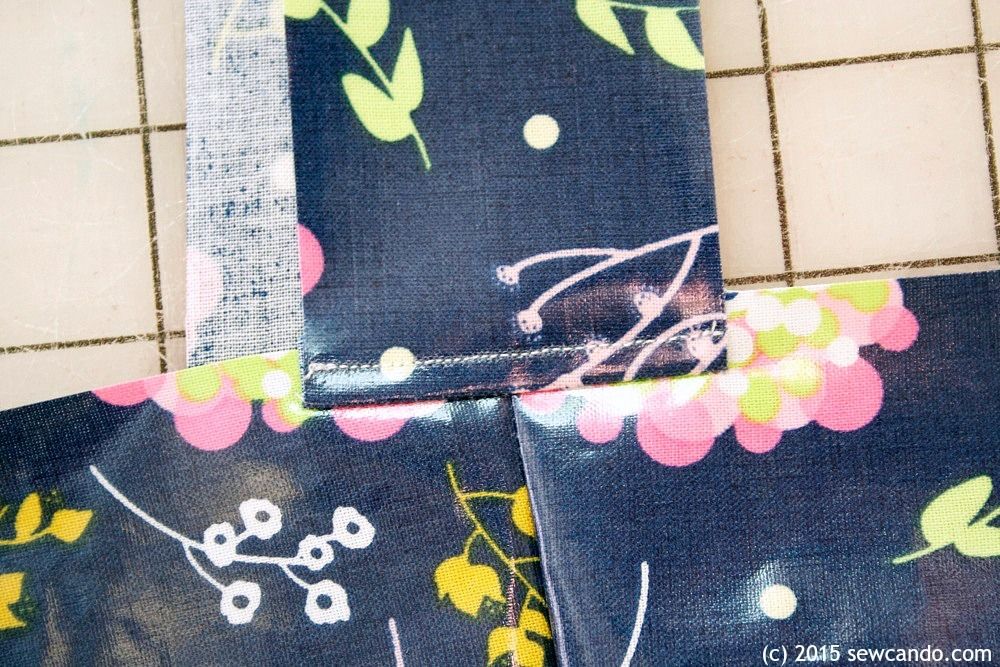
Time to make the strap.  With right sides facing, stitch together one short end of each of the two strap pieces to make one long strap.  Press the seam open and prepare to stitch down by running a bit of lip balm along the laminated side.  This will prevent it from sticking under the presser foot and is easy to just wipe away when done.  Stitch on 1/4" from either side of the seam to reinforce it:


With right sides facing, match up the middle of the each end of the strap with each side seam and clip.  Stitch with a 1.4 inch seam allowance.


Pull strap upwards and topstitch (remember the lip balm!).  Repeat on other side.  Repeat all previous steps with the PUL using the shiny side as the right side.  Note: If you want to add an interior pocket to the lining, this would be the time.  Just decide on pocket size (mine was 9 inches wide by 7 inches high when cut out), center it on a side and make a hem for the top side of the pocket, fold under the remaining sides and stitch 'em down.


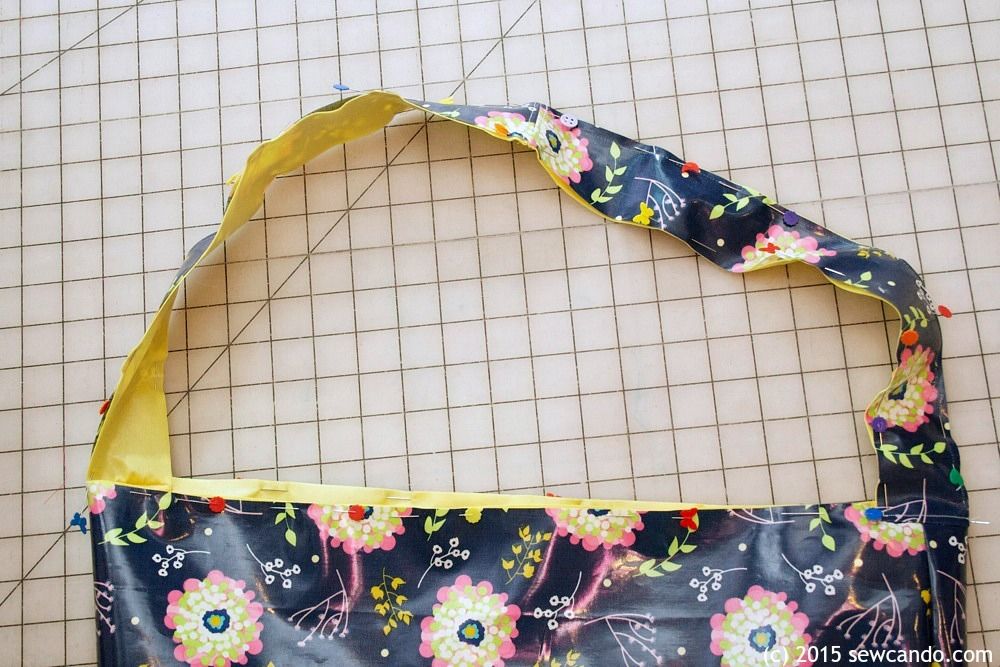
With wrong sides facing, insert PUL lining into the laminate outer bag.  Pin together along straps and top edges.  It's ok to use pins here since that will be covered with bias tape:


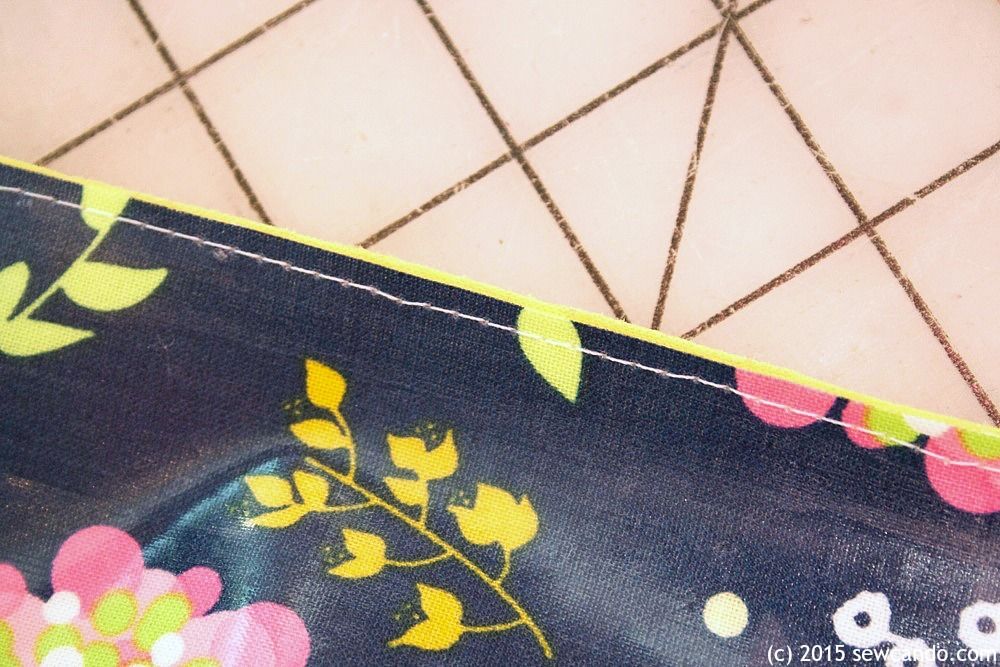
Baste 1/8 inch away from the edge all the way around on each side:


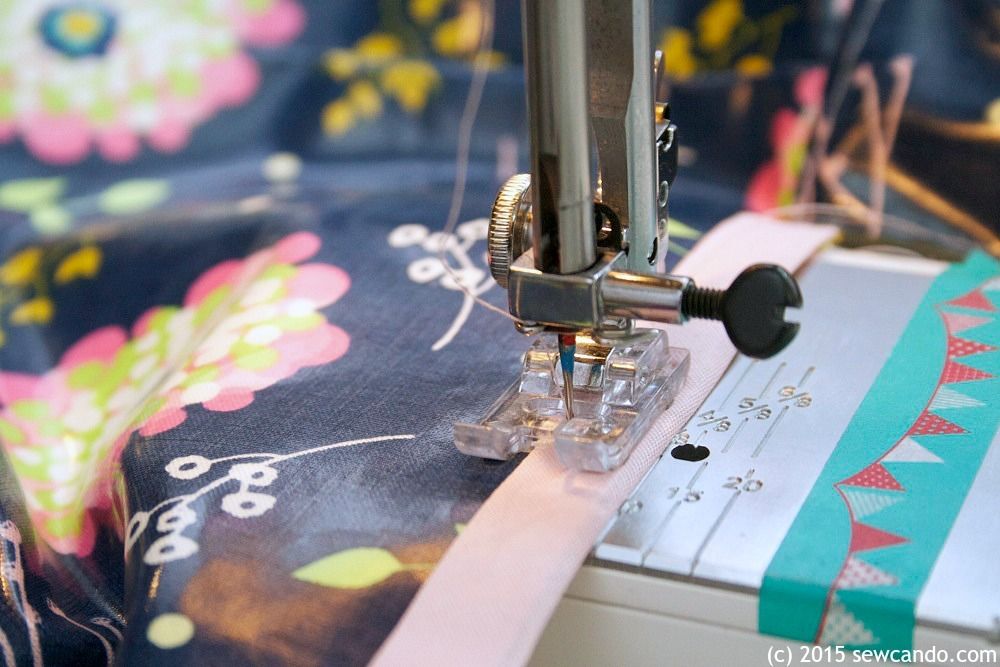
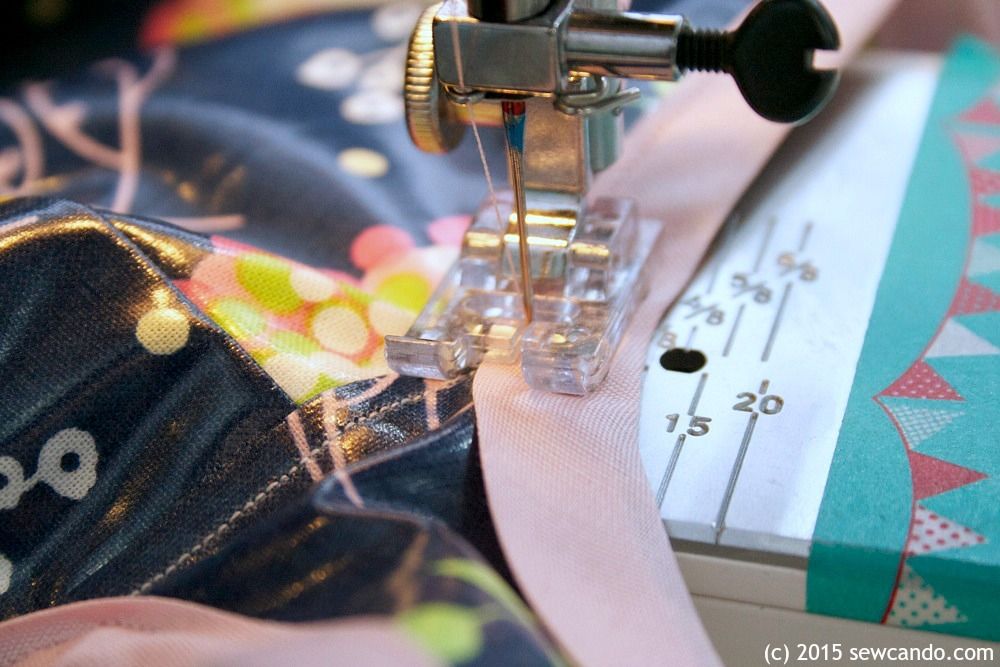
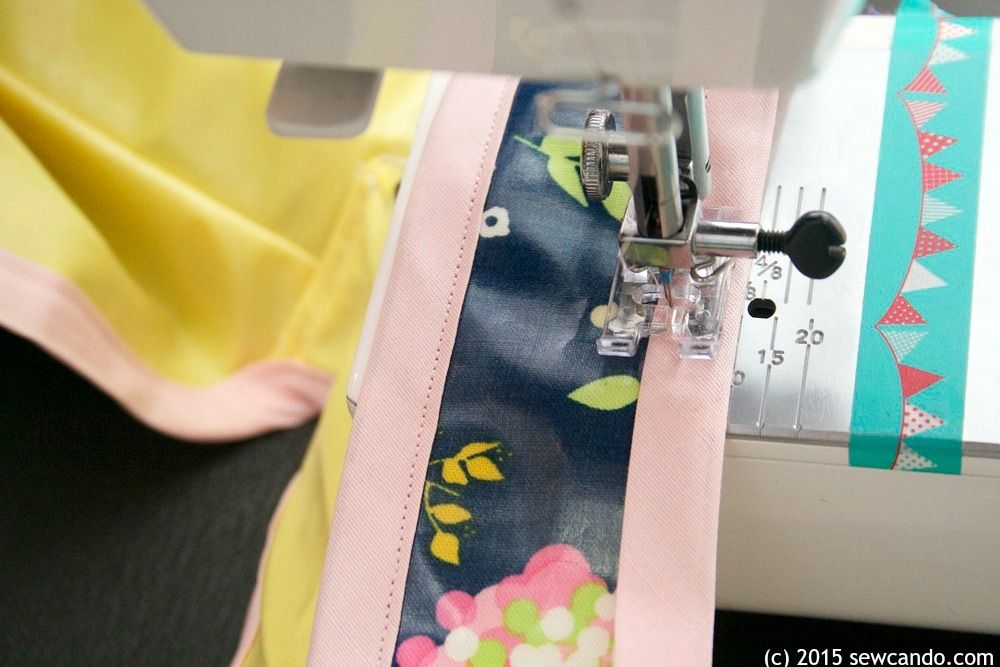
Now it's time to add the bias tape.  It's actually easier to insert the fabrics into the bias tape as you sew rather than pin the whole things first.  Start on one of the sides and stitch 
3/8 inch from the tape fold.


For the corners where the straps meet the bag, sew slowly with the bias tape as a curve to get a rounded shape:


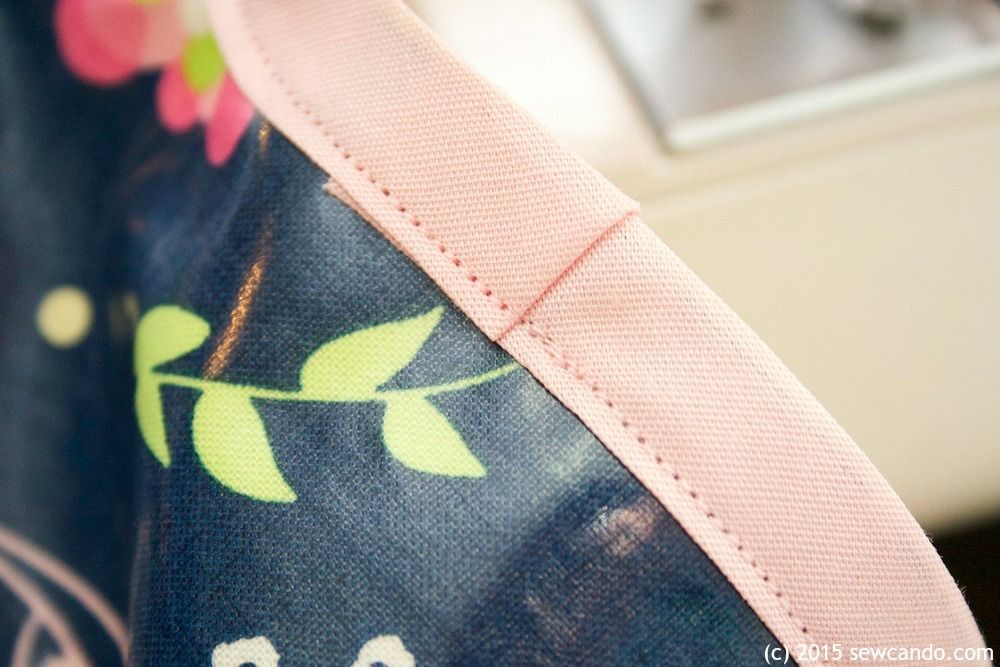
To finish, about an inch before reaching the beginning, fold open end of bias tape under and overlap on starting point and stitch into place.


Repeat with other side:


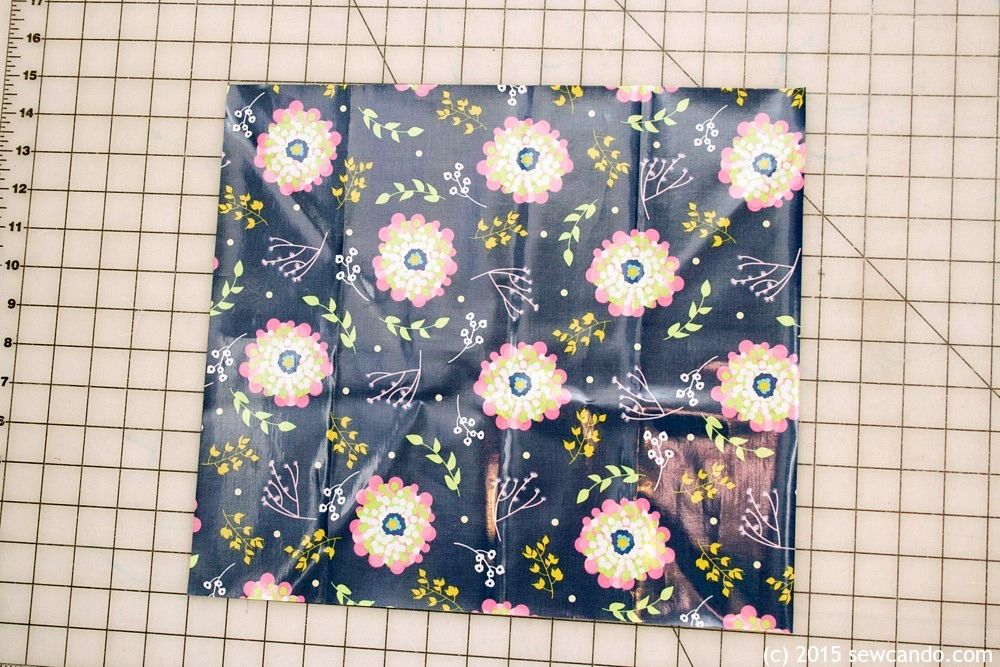
To make the bottom insert, cut a piece of laminated cotton that's 14 1/2 inches wide by 13 inches high. 


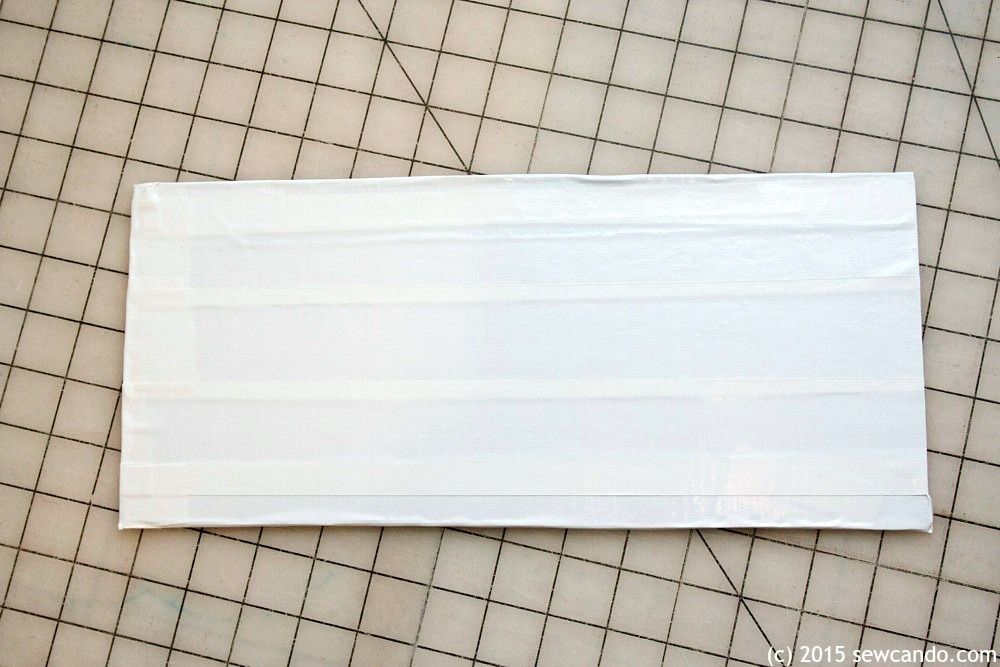
Cut a piece of cardboard that's 13 1/2 inches wide by 6 inches high and wrap with duck tape.  This keeps the cardboard extra firm and waterproofed:


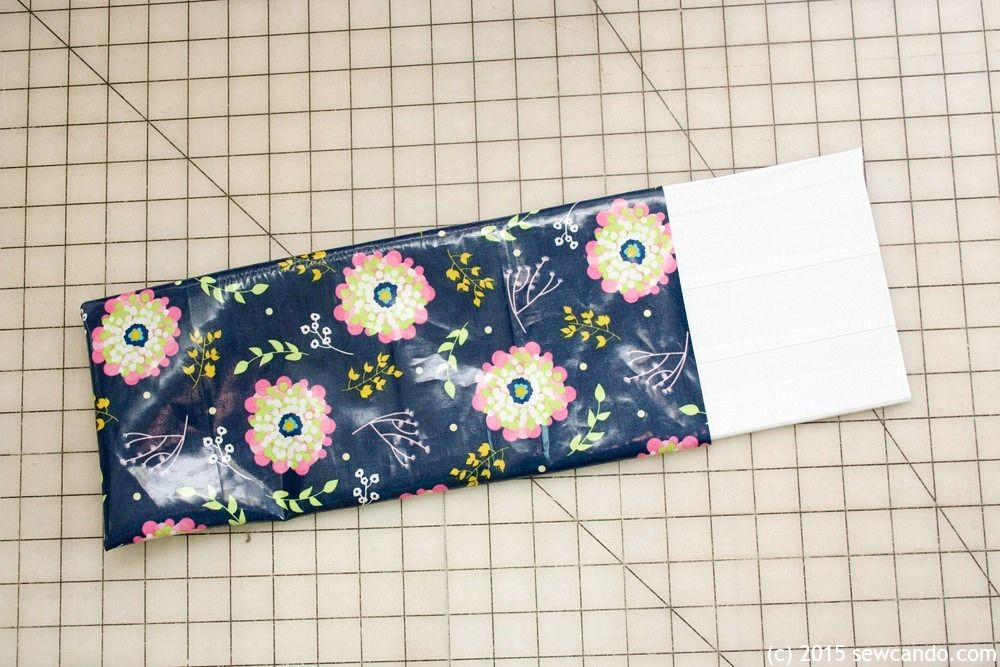
Fold fabric in half, with right sides facing, so that it's 7 1/4 inches by 6 1/2 inches and stitch along one short end and one side with a 3/8 inch seam allowance (don't want it too be too snug for the insert to fit inside).  Trim raw edges & clip corners, then turn right side out.  Slip cardboard into the sleeve.


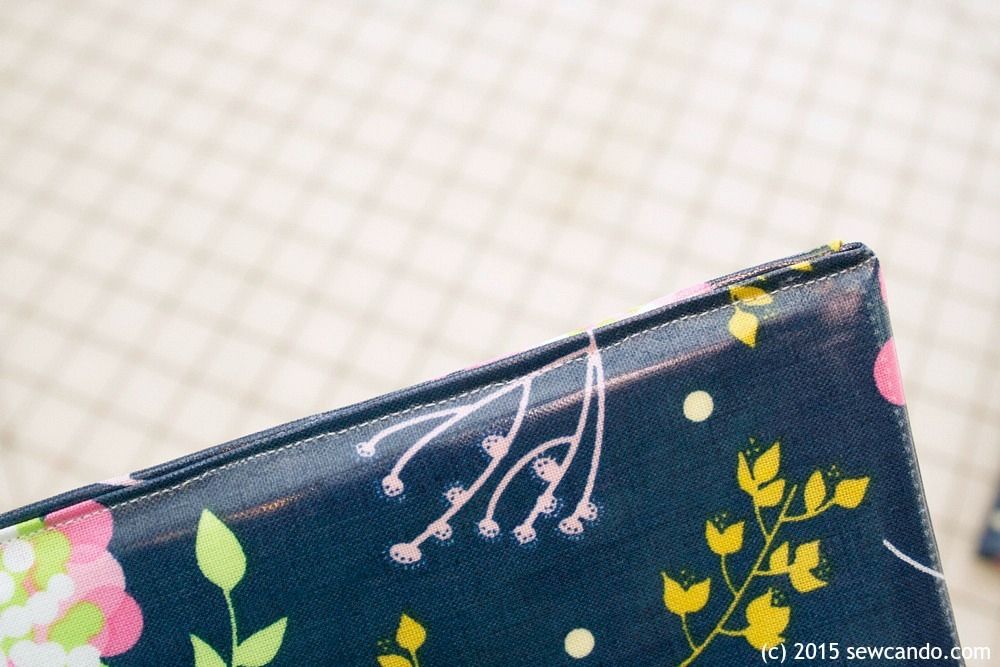
Fold the raw edges on the open side inward and stitch closed:


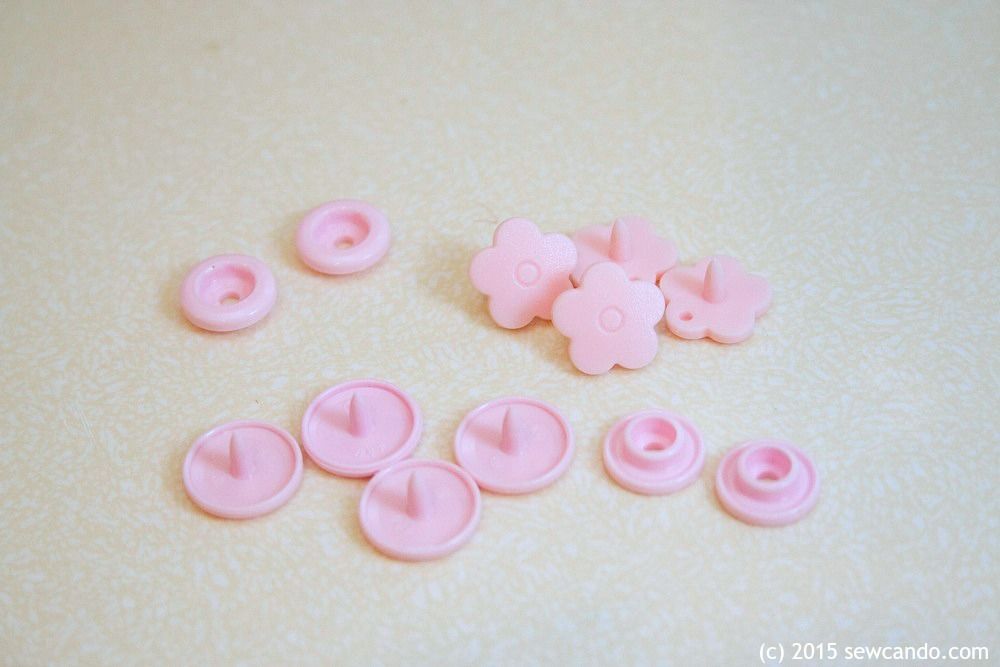
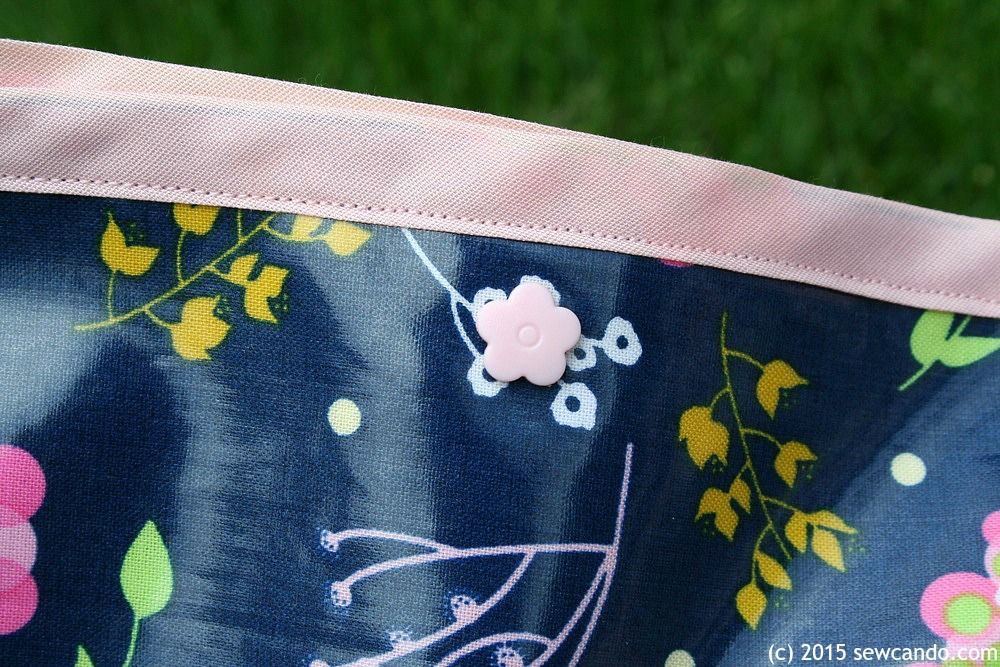
For closures, use some handy plastic snaps - these babies are super strong and ideally paired with these durable fabrics.  I used some cute flower shaped snaps that fit within my normal size 20 snap press.


Attach snaps 1 1/2 inches below top edge and 4 1/2 inches inward from each side corner, with the decorative caps facing outward, using snap press or pliers:


Now the bag is ready to load up and start hauling stuff in style:


What kinds of stuff would you tote around in this bag?


LinkWithin

Related Posts with Thumbnails