

Want to make the ideal bag for summer? Something big enough to haul loads of stuff, but still fold up small? Repel water, sand and spills, inside and out, yet still look stylin'? Then today's tutorial is right up your street: it's my Wonderfully Waterproof Tote Bag.
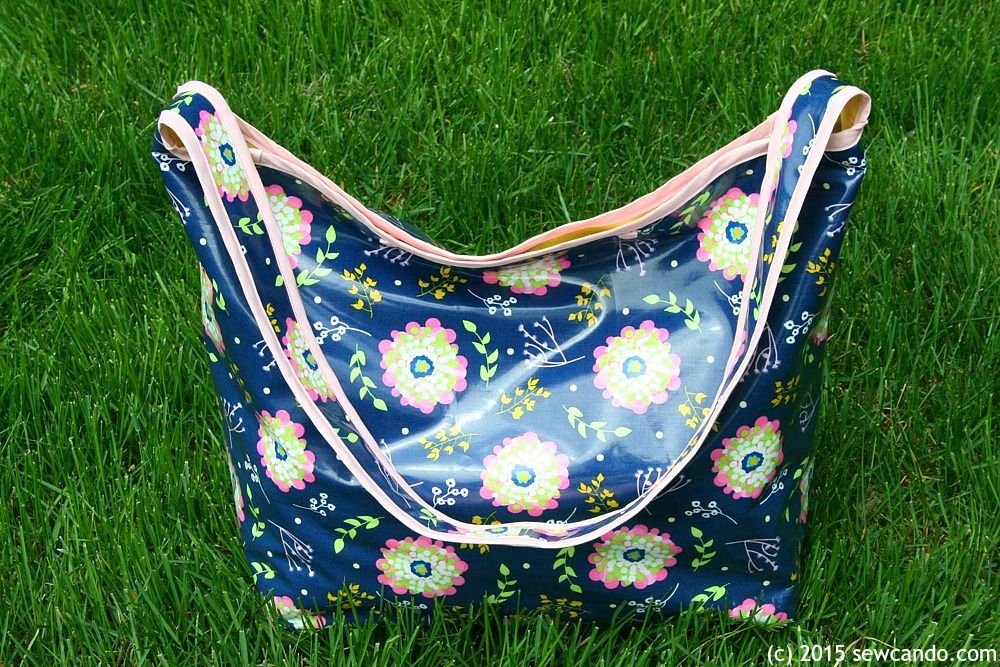
I originally created this bag design years ago for use as a diaper bag. This was my first version that I still use every week for swim class, 5 years later. Thanks to the combination of bag design and laminated materials, this baby has worn like iron. I'm not exaggerating when I say it hauls stuff like a boss:

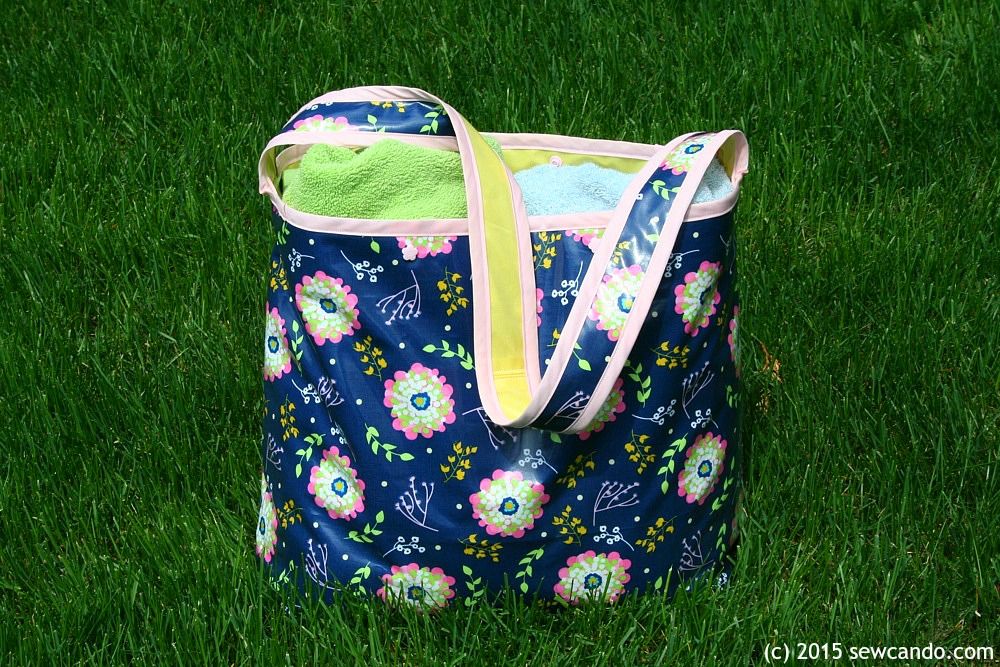
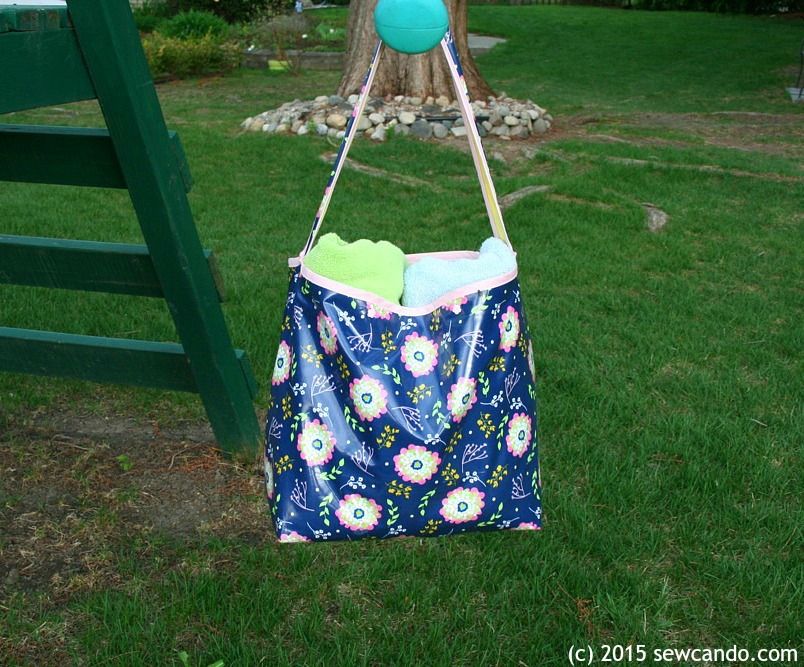
I decided it was time to make a second bag and change the dimensions a little for a fresh look. I'm loving this new one just as much. It's generous size holds almost anything, but it doesn't look crazy bulky:
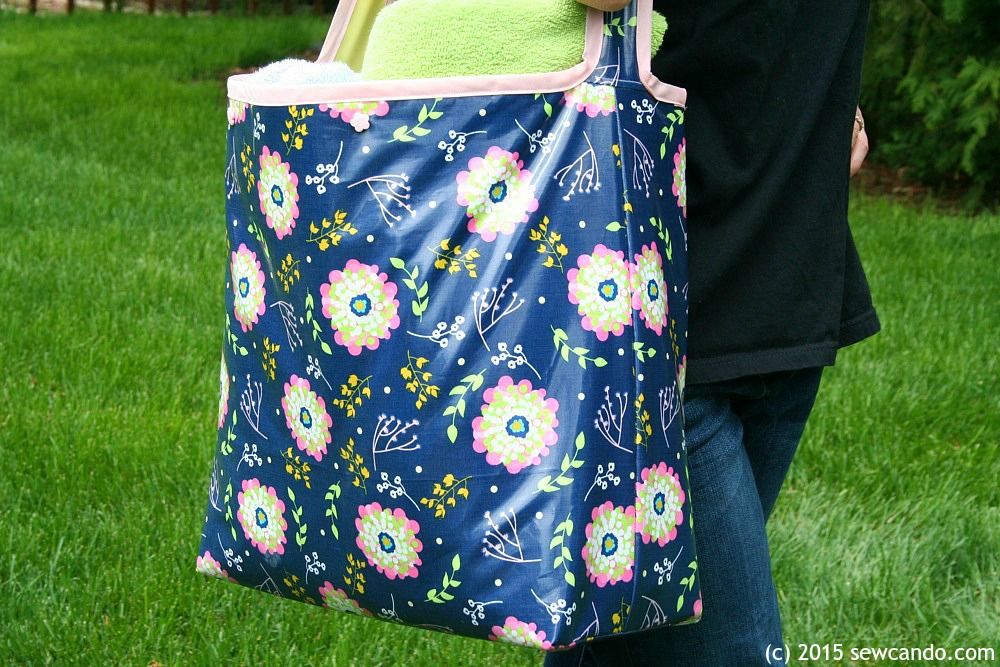
And it still looks cute to carry because you can get all designer-style with your fabric choices:
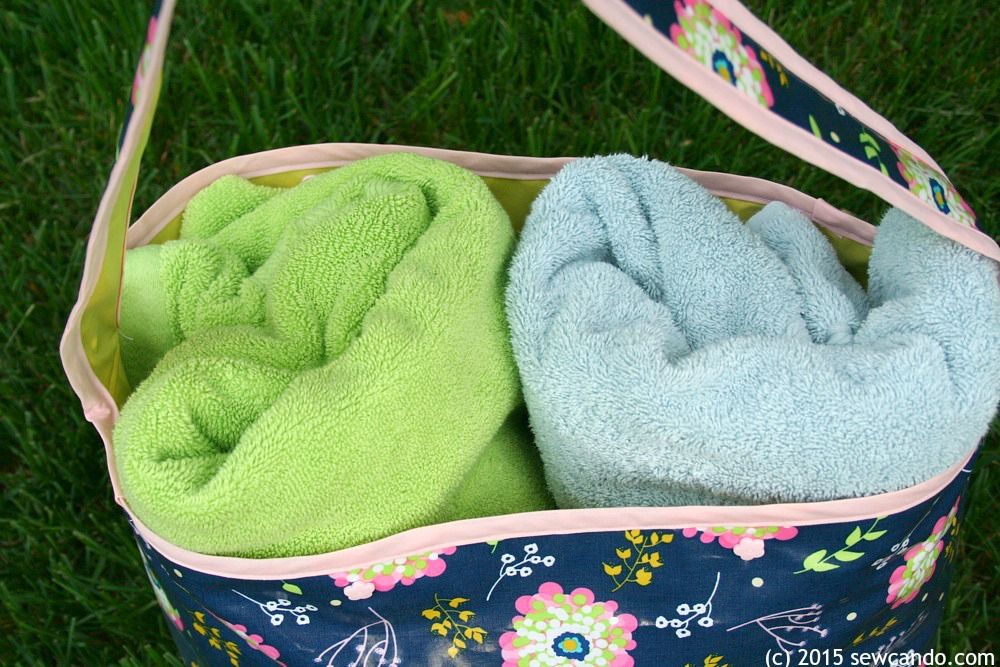
I used to sell this as part of my previous Around Town Bag PDF pattern, but now I'm offering my how-to here for FREE. 'Cause I'm nice like that;) Plus, in my new version I've also added a firm, removable base piece to help the bag retain it's shape and give extra support. And that base is totally waterproofed, just like the bag's interior, so go ahead and toss those soggy towels & swimsuits in there - this bag don't care!
Now let's get to the bag making...
Materials:
- 5/8 yard Laminated Cotton fabric
- 5/8 yard PUL fabric (I use Eco-PUL™ since it's anti-microbial)
- Double fold 1/2 inch wide bias tape
- Plastic snaps. Two sets
- Lip balm - this makes the laminate move smoothly under the presser foot - no sticking!
- Notions: heavy duty needle, shears/rotary cutter, pins, clips/clothespins, yardstick
- Optional: cardboard & duck tape for bottom insert
Got questions about Laminated Cotton? I've got more info & projects using it here. Note: Just scroll through to see 'em all since this project will come up first.
PUL fabric? More info & ways to use that here. Just scroll down on that too for more PUL fun.
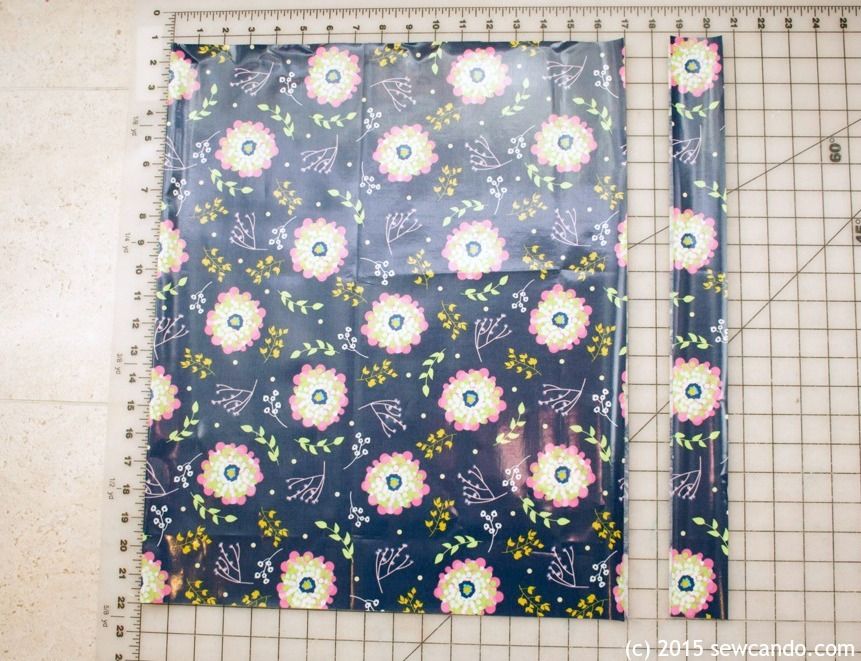
Start by cutting out the main bag and strap pieces from both the laminate and the PUL. Fold fabric so selvages are together on the right side. We're cutting parallel to the selvages from each fabric:
- 2 inch wide by 21 1/2 inch long strap halves
- 17 inch wide by 21 1/2 inch long bag body (so when open it will be 34 inches wide)
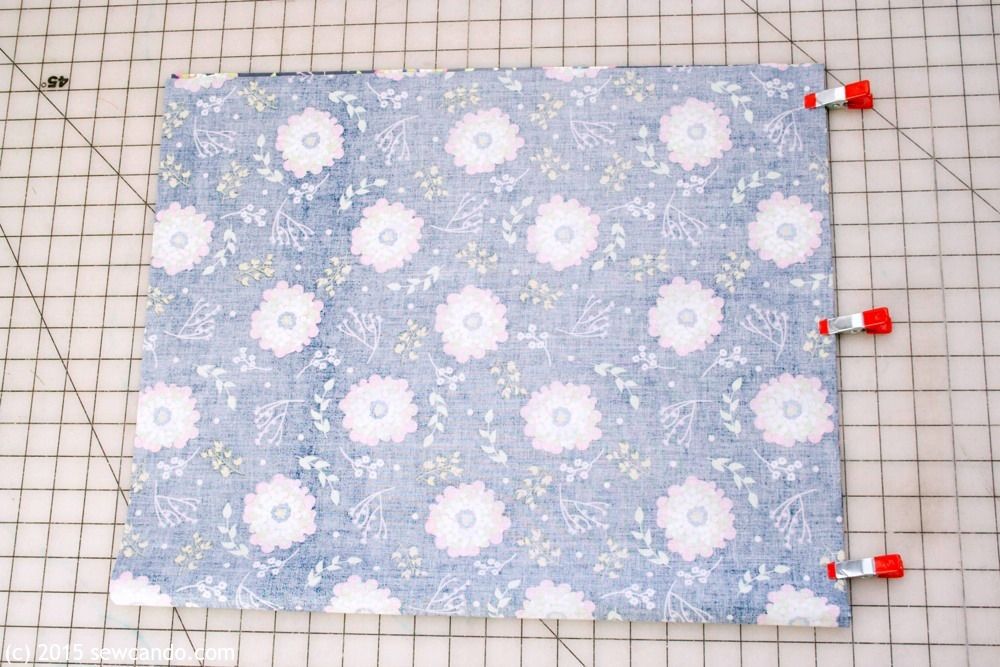
Turn the main fabric so the fold is on the bottom. With right sides facing, clip along the sides so that the fold is on the bottom. Pins are a no-no with laminated fabric, since they leave holes, so the clips are ideal. Stitch down the sides with a 1/2 inch seam allowance.
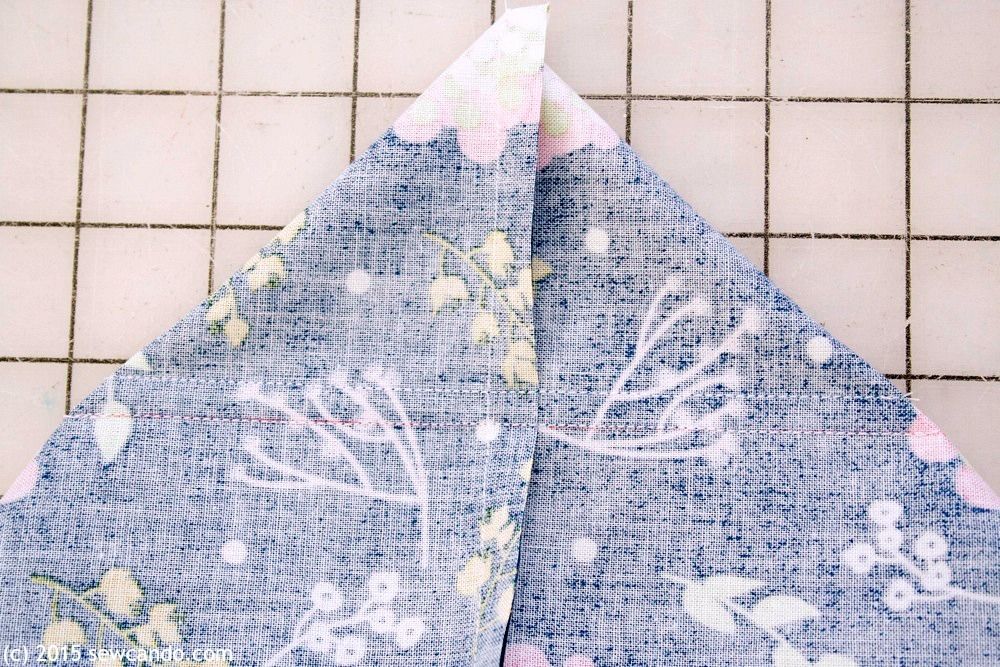
To create the wide depth of the bag, the corners need to be squared off. Pull each corner to a point to make a triangle and measure 6 inches across and mark.
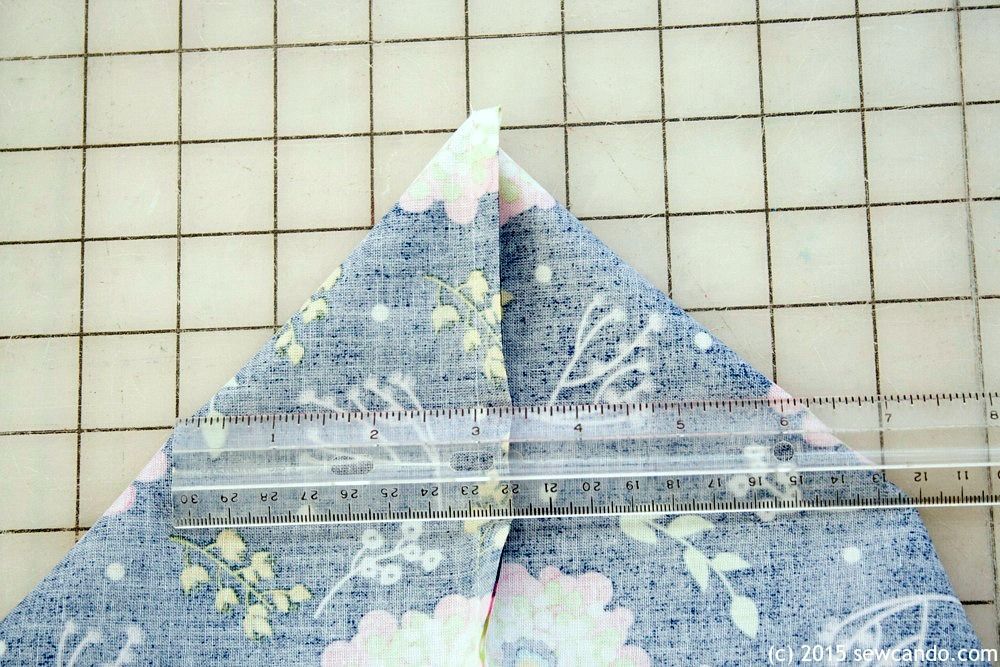
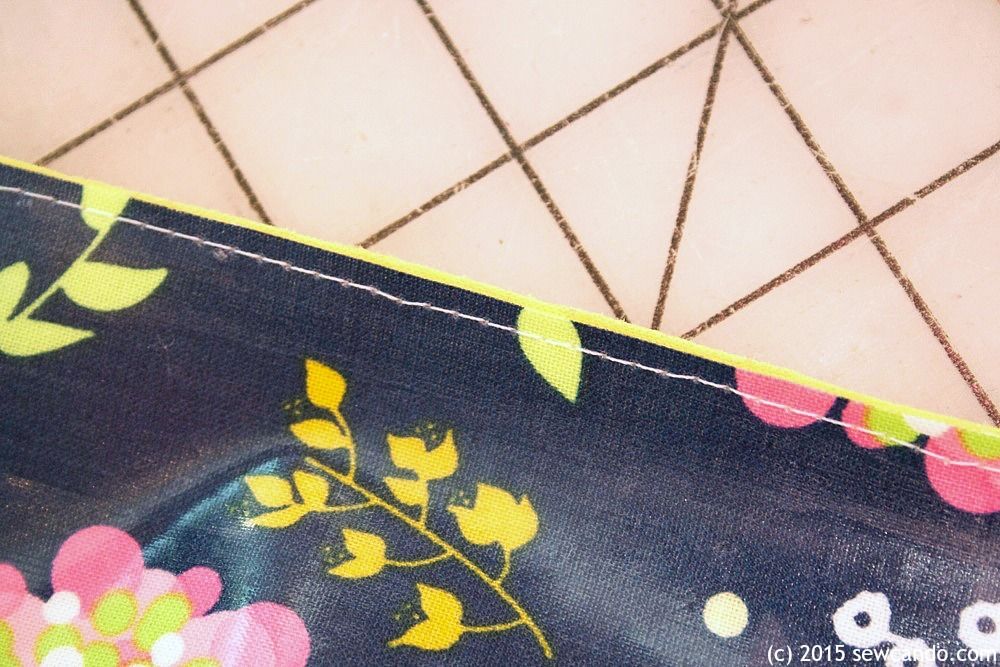
Stitch along the marking and then stitch another seam 1/4 inch away from the original for reinforcement. Trim off the excess.
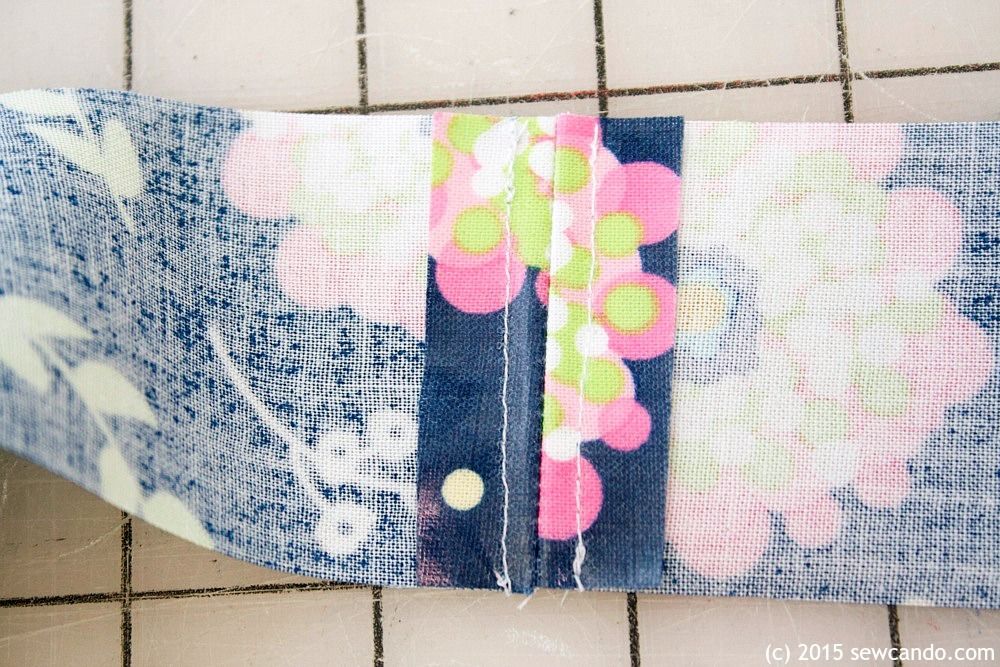
Time to make the strap. With right sides facing, stitch together one short end of each of the two strap pieces to make one long strap. Press the seam open and prepare to stitch down by running a bit of lip balm along the laminated side. This will prevent it from sticking under the presser foot and is easy to just wipe away when done. Stitch on 1/4" from either side of the seam to reinforce it:
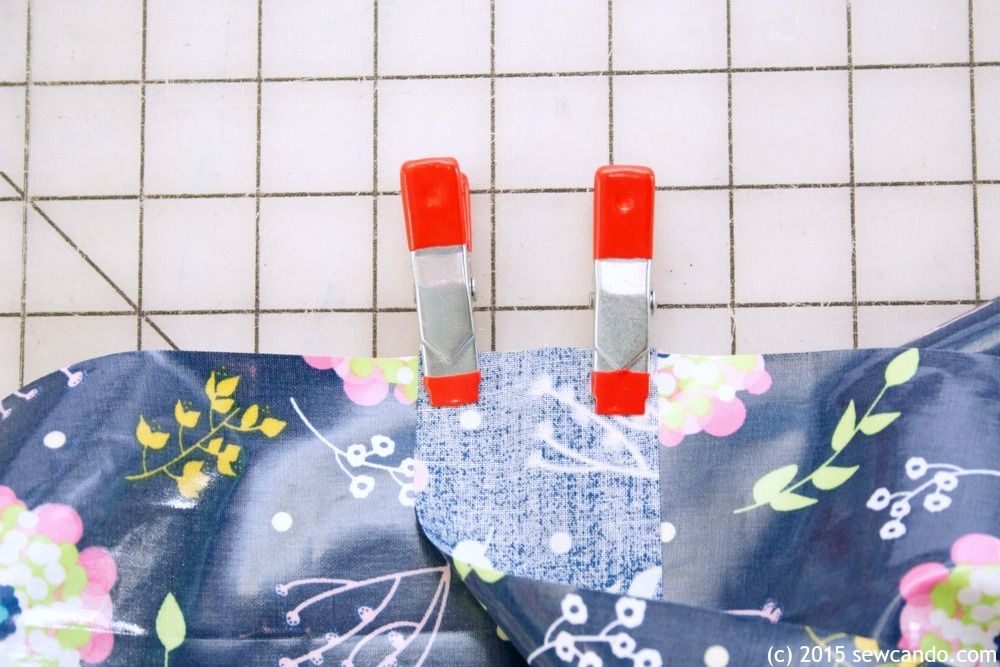
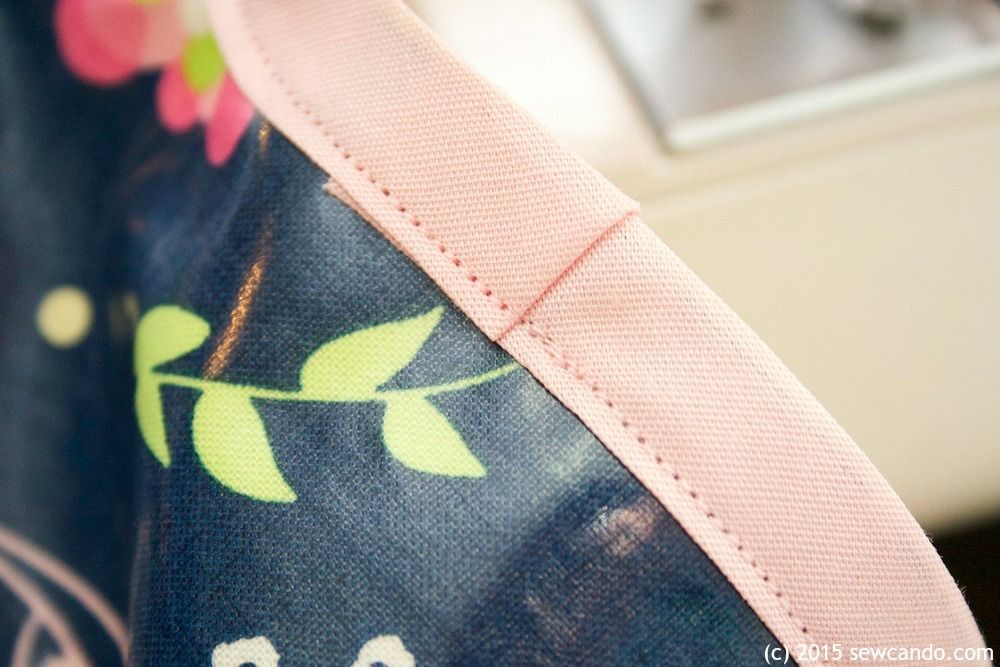
With right sides facing, match up the middle of the each end of the strap with each side seam and clip. Stitch with a 1.4 inch seam allowance.
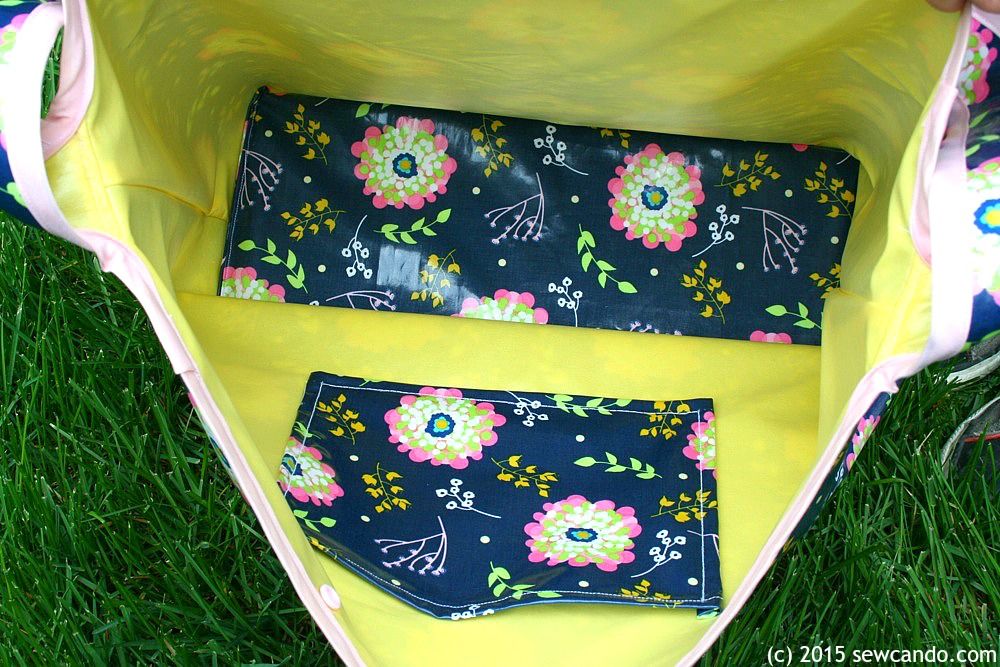
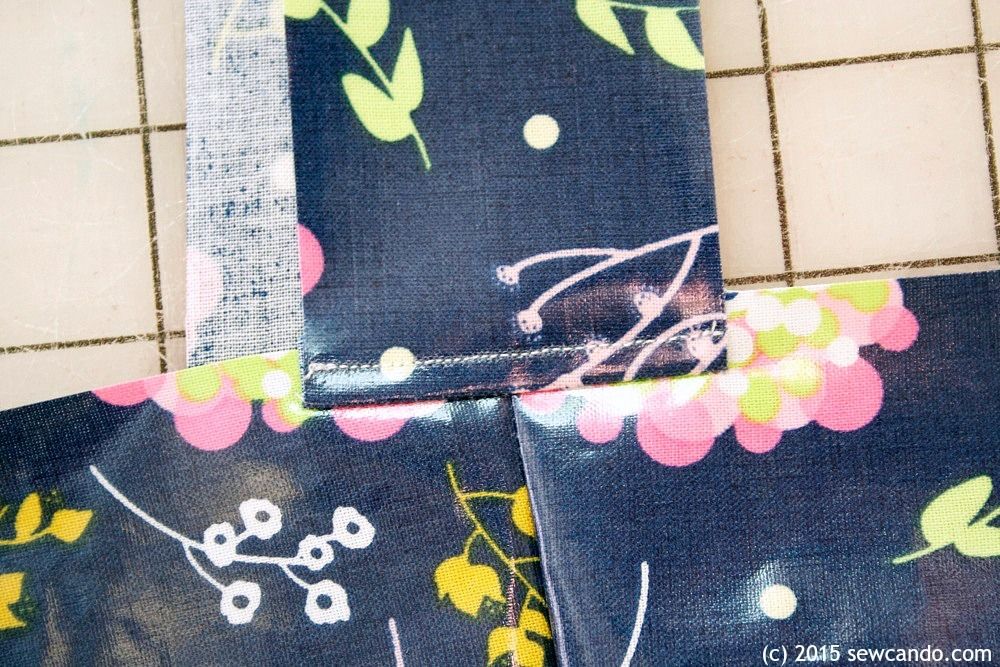
Pull strap upwards and topstitch (remember the lip balm!). Repeat on other side. Repeat all previous steps with the PUL using the shiny side as the right side. Note: If you want to add an interior pocket to the lining, this would be the time. Just decide on pocket size (mine was 9 inches wide by 7 inches high when cut out), center it on a side and make a hem for the top side of the pocket, fold under the remaining sides and stitch 'em down.
With wrong sides facing, insert PUL lining into the laminate outer bag. Pin together along straps and top edges. It's ok to use pins here since that will be covered with bias tape:
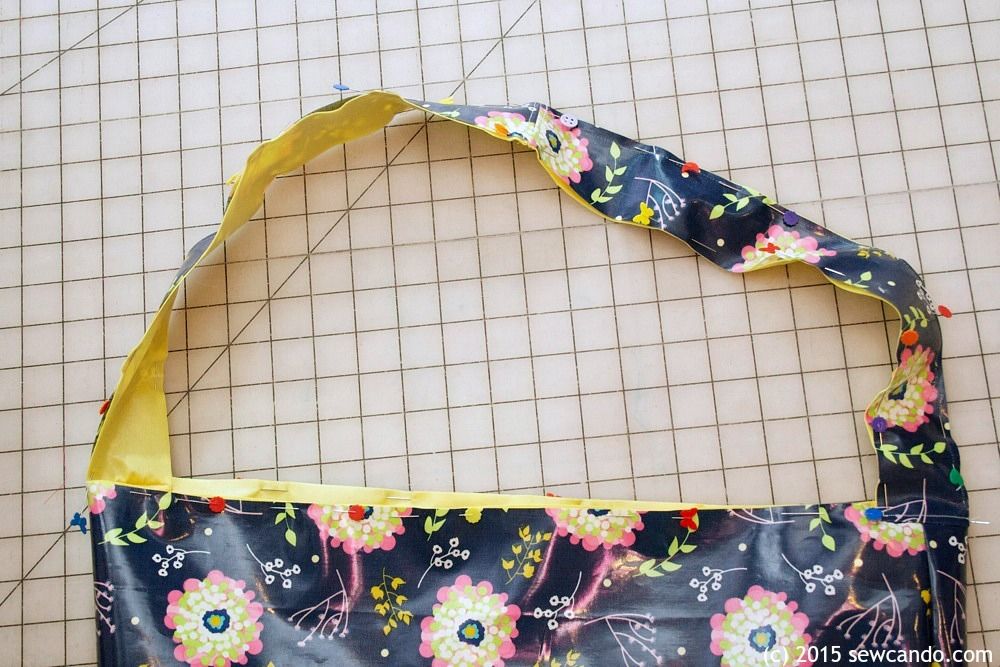
Baste 1/8 inch away from the edge all the way around on each side:
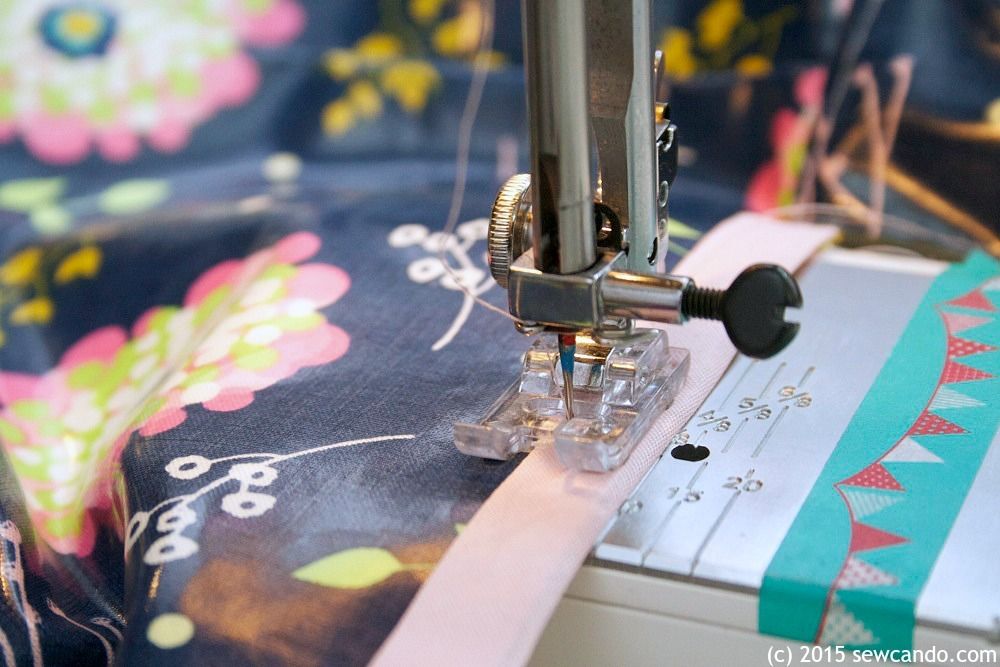
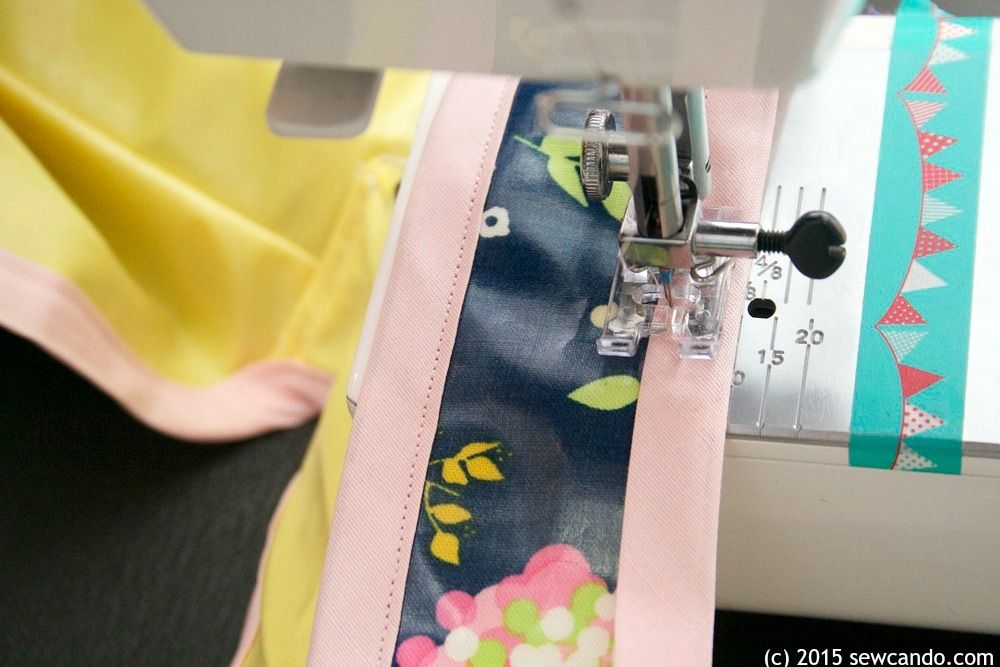
Now it's time to add the bias tape. It's actually easier to insert the fabrics into the bias tape as you sew rather than pin the whole things first. Start on one of the sides and stitch
3/8 inch from the tape fold.
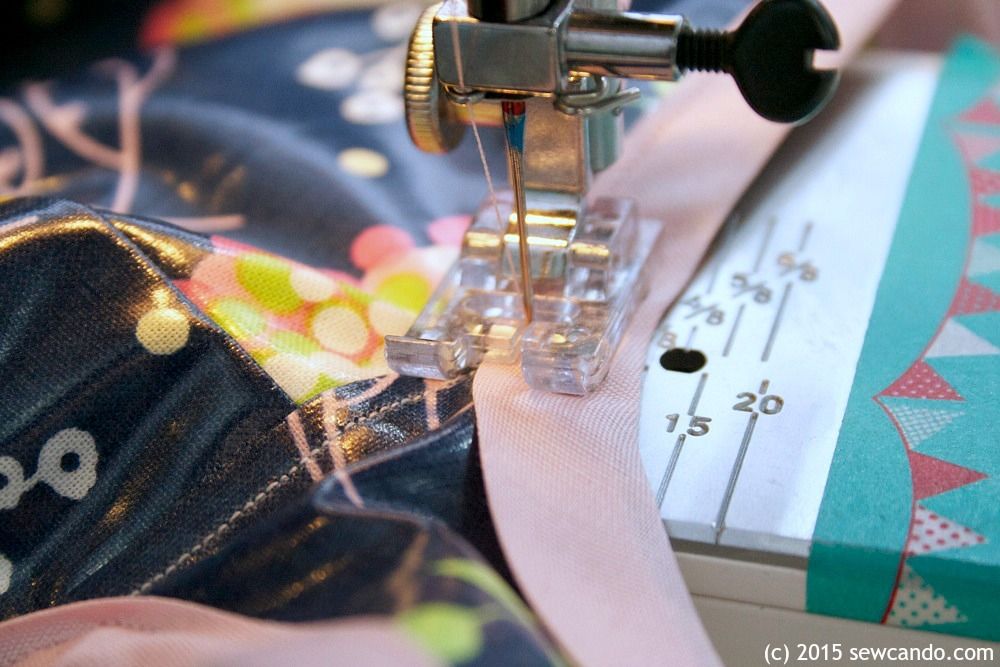
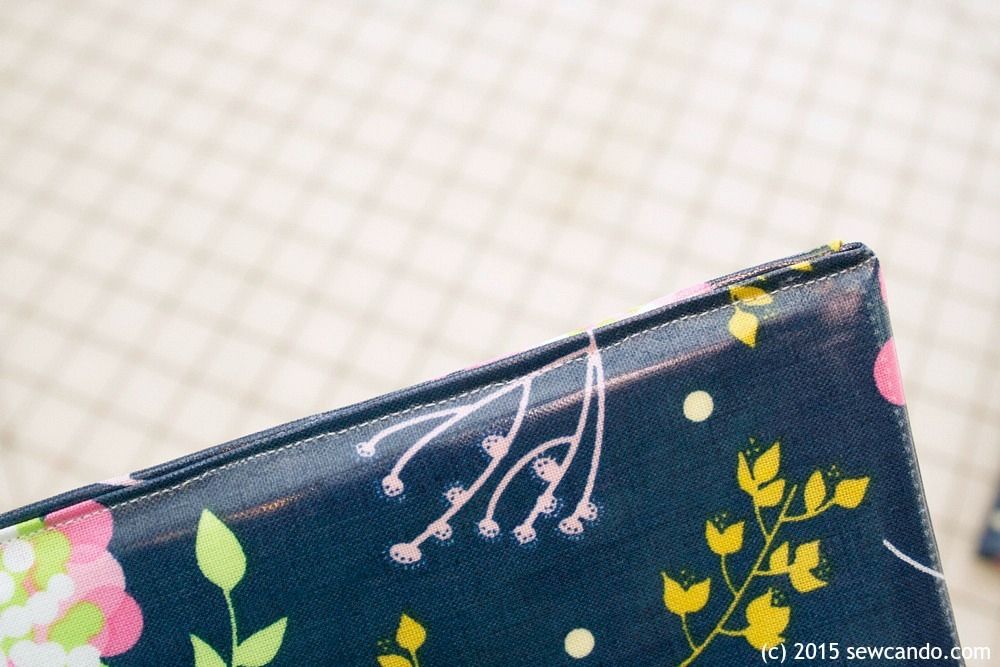
For the corners where the straps meet the bag, sew slowly with the bias tape as a curve to get a rounded shape:
To finish, about an inch before reaching the beginning, fold open end of bias tape under and overlap on starting point and stitch into place.
Repeat with other side:
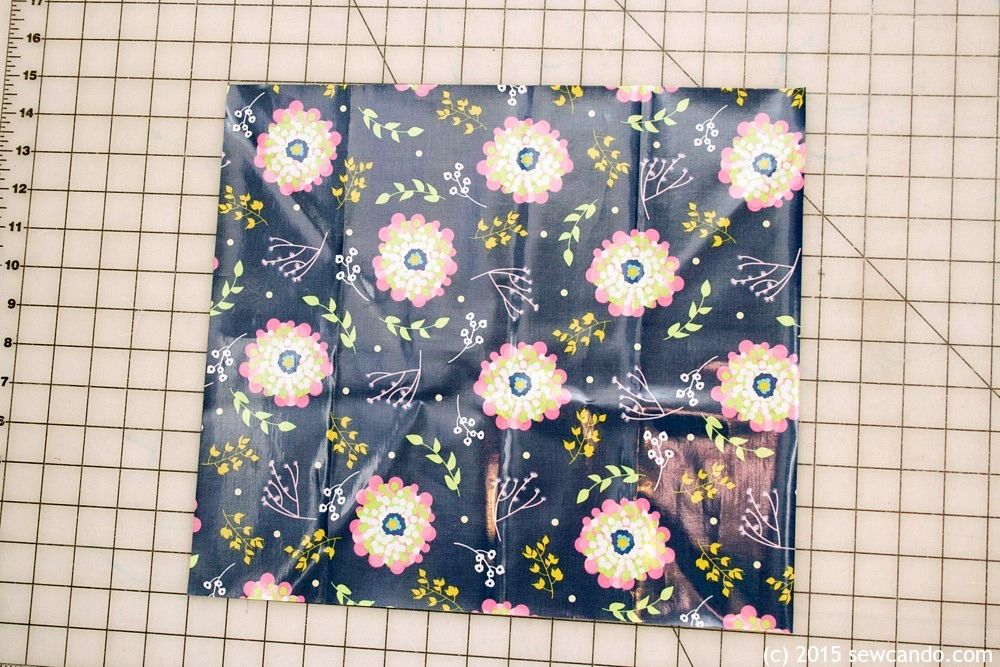
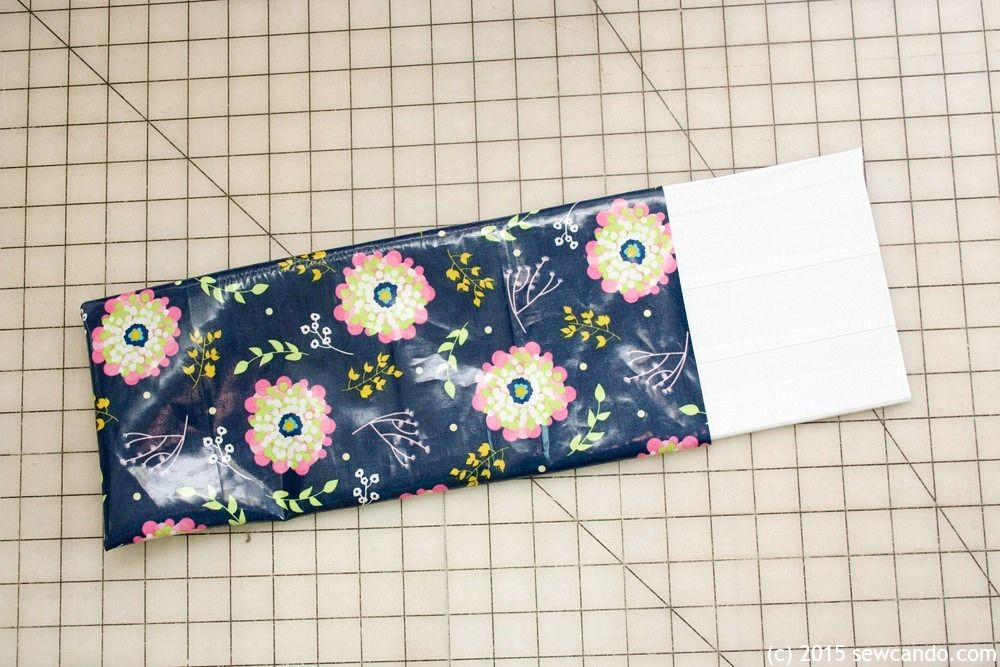
To make the bottom insert, cut a piece of laminated cotton that's 14 1/2 inches wide by 13 inches high.
Cut a piece of cardboard that's 13 1/2 inches wide by 6 inches high and wrap with duck tape. This keeps the cardboard extra firm and waterproofed:
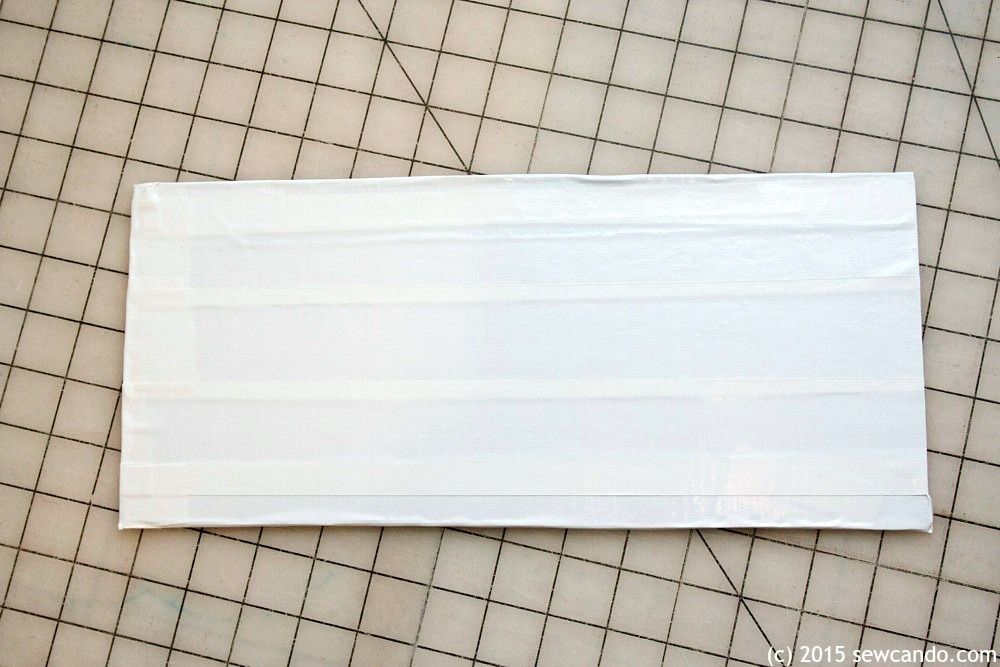
Fold fabric in half, with right sides facing, so that it's 7 1/4 inches by 6 1/2 inches and stitch along one short end and one side with a 3/8 inch seam allowance (don't want it too be too snug for the insert to fit inside). Trim raw edges & clip corners, then turn right side out. Slip cardboard into the sleeve.
Fold the raw edges on the open side inward and stitch closed:
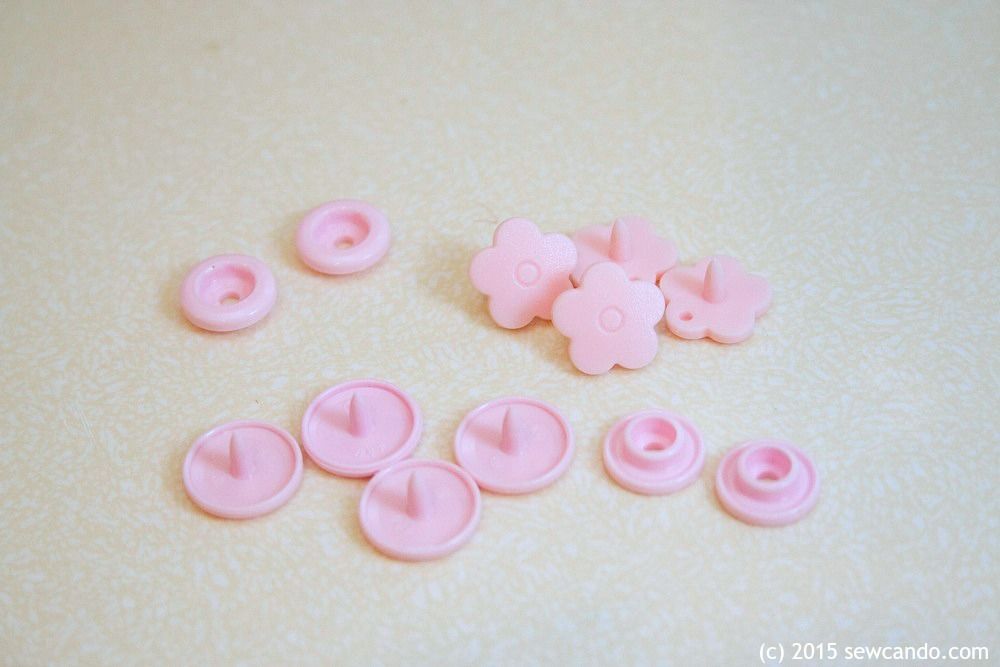
For closures, use some handy plastic snaps - these babies are super strong and ideally paired with these durable fabrics. I used some cute flower shaped snaps that fit within my normal size 20 snap press.
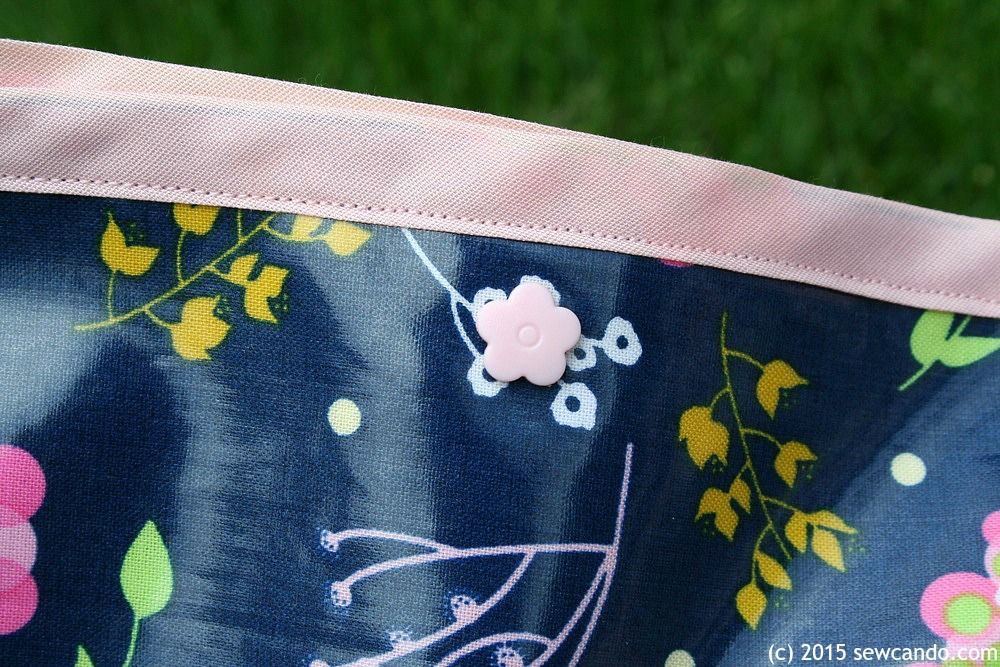
Attach snaps 1 1/2 inches below top edge and 4 1/2 inches inward from each side corner, with the decorative caps facing outward, using snap press or pliers:
Now the bag is ready to load up and start hauling stuff in style:
What kinds of stuff would you tote around in this bag?

I totally need to make one of these for summer! Swimming lessons and beach trips are on our list and this would be perfect. Thanks for sharing!
ReplyDeleteYou're welcome - it's made our swim days SO much easier - the car is always nice and dry now:)
DeleteGood timing! I was just thinking today at our swim class that I wished I had a nice big waterproof bag that was a bit cuter!! Thanks for the tutorial. :)
ReplyDeleteGlad the timing was so good!
DeleteI really want to make one of these bags, but my experience with the sewing machine just isn't there yet. I'll bookmark for later, though. This is just too nice to pass on.
ReplyDeleteThanks Betty and this is a simple sew, so it's great for a beginner. You'll be ready to make it in no time!
DeleteGreat tutorial! Thanks so much for sharing and for linking up to the Thursday Favorite Things Blog Hop at Katherine's Corner. Looking forward to seeing what you come up with next week at the hop! Nina @ Vintage Mama's Cottage
ReplyDeleteThanks so much Nina:)
DeleteI love the lip balm tip, and the pegs too! I'm making an oilcloth bag for my eldest boy so that'll come in useful!
ReplyDeleteIt's a lot easier than all the other methods I've used and it lubricates your machine too;)
DeleteYour bag is so cute and I love that it's waterproof! I would love for you to link up at the Stitch It, Blog It, Share It Link Party going on now at behindtheseamssewing.com.
ReplyDelete~Bonnie
Thanks for the invite Bonnie. The waterproofing on both sides makes it practically indestructible. I've linked up and added your button to my party page.
DeleteFabulous!!! Perfect for a swimming bag thanks to the waterproof fabric inside and out. Love your choice of fabric, Cheryl.
ReplyDeleteThanks Pam - it's our favorite swim bag and one of my current "love this" fabrics:)
DeleteA cute bag that holds full size beach towels? I'm sold!
ReplyDeleteThanks for sharing this great tutorial at Something to Talk About!
Pinning!
Karen
Much appreciated Karen and yes, it'll hold those giant towels, but it doesn't look or feel like one of those ridiculously oversized bags. Perfect for toting around!
DeleteHi there
ReplyDeleteJust stopped by to let you know that I featured this on my Round Tuit post this week!
A Round Tuit 258
Thanks again for linking up! Hope you have a great week!
Jill @ Creating my way to Success
Really nice tutorial! Can you do machine embroidery on the laminates?
ReplyDeleteYou can, you'd just need to add a pocketed liner piece behind it so the embroidery stitches won't cause leaks.
Delete