Showing posts with label Kids Can Craft. Show all posts

Wednesday, April 19, 2017

1 Million Pillowcases Challenge & Easy Pillowcase Tutorial


During the Easter season our family has tried to focus more on giving & charitable work. I've been looking for more opportunities to use our skills in more ways and teach my kids some sewing at the same time.  So the timing couldn't be better to share the 1 Million Pillowcase Challenge!


I heard about this charity challenge through Crosscut Sewing Company.  Last month, American Patchwork & Quilting kicked off a donation drive of providing 1,000,000 pillowcases to charities like shelters, hospitals, clinics and missions.  Participating quilt & fabric shops have joined in to promote this charity drive, host classes and serve as local drop off locations for pillowcase donations.  

Crosscut Sewing Company is one of these shops.  This Massachusetts based fabric store and sewing studio (that also has a fantastic online shop for the rest of us), was generous enough to provide me with fabric & directions to make a pillowcase to donate. They even sent me some matching thread and notion goodies as a surprise.  All in the name of a good cause, which was really generous:
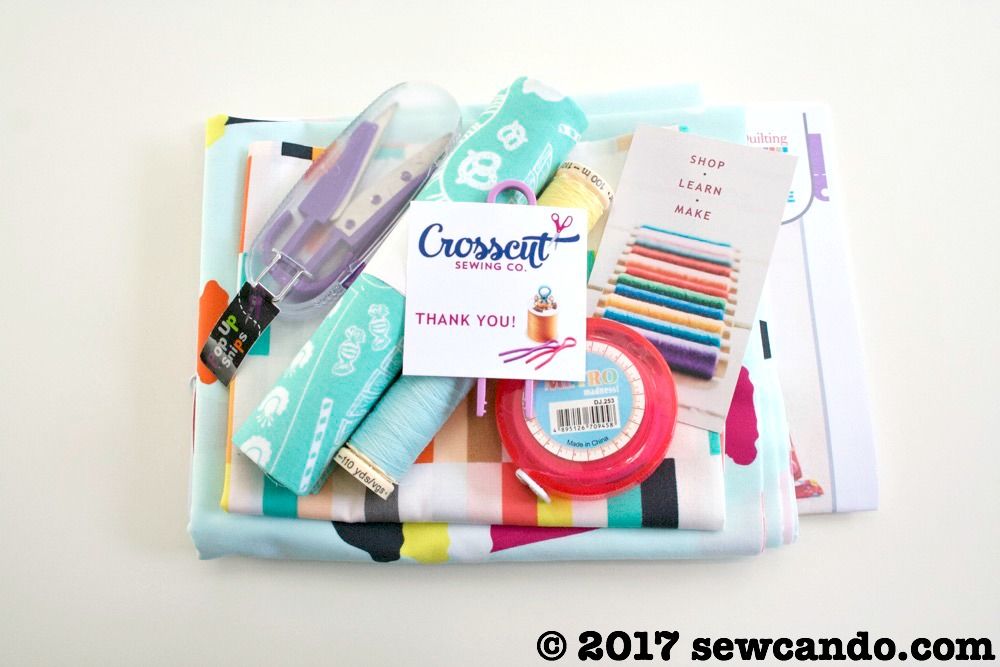


I was able to pick out the fabrics from their vast shop offerings, which was fun too.  I choose this happy ice cream and coordinating clock print from the Boardwalk Delight collection by Dana Willard.


The only thing I didn't think about in advance was that this was a directional print, which meant the usual way of sewing a pillowcase up "burrito style" would make the print sideways on the finished pillowcase, which I didn't want.  As a result, I did this handy tutorial variation.  With this, it's just as easy to do with fabrics that have a distinct direction and maximize all the fabric choice options.

How To Make A Directional Print Pillowcase 

Materials:
- 3/4yd main cotton fabric
- 1/2yd cuff cotton fabric

- Optional: 1/8yd small trim cotton fabric
- Rotary cutter/shears, iron


Cut the main piece to be 21 1/2 inches high by the width of the fabric.  Cut two 16 inch high cuff pieces and two 2 inch high trim pieces (also the full width of the fabric for those).
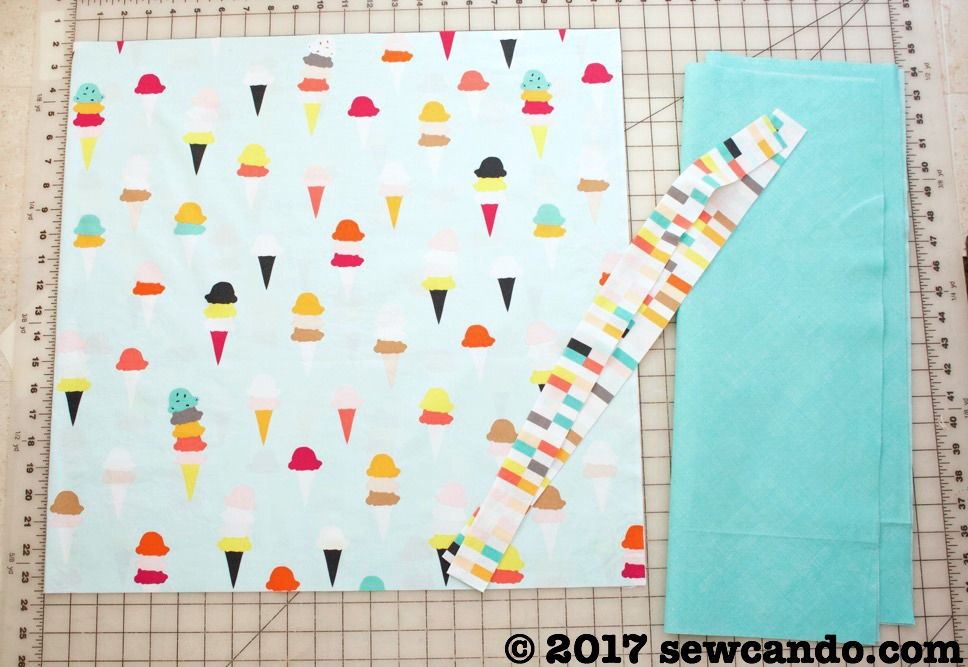


Press each the trim strips in half, wrong sides facing and match up the raw edges with one edge of the cuff fabric (right side up).  Place the main fabric on top, right side down, and sew with a 3/8 inch seam allowance.
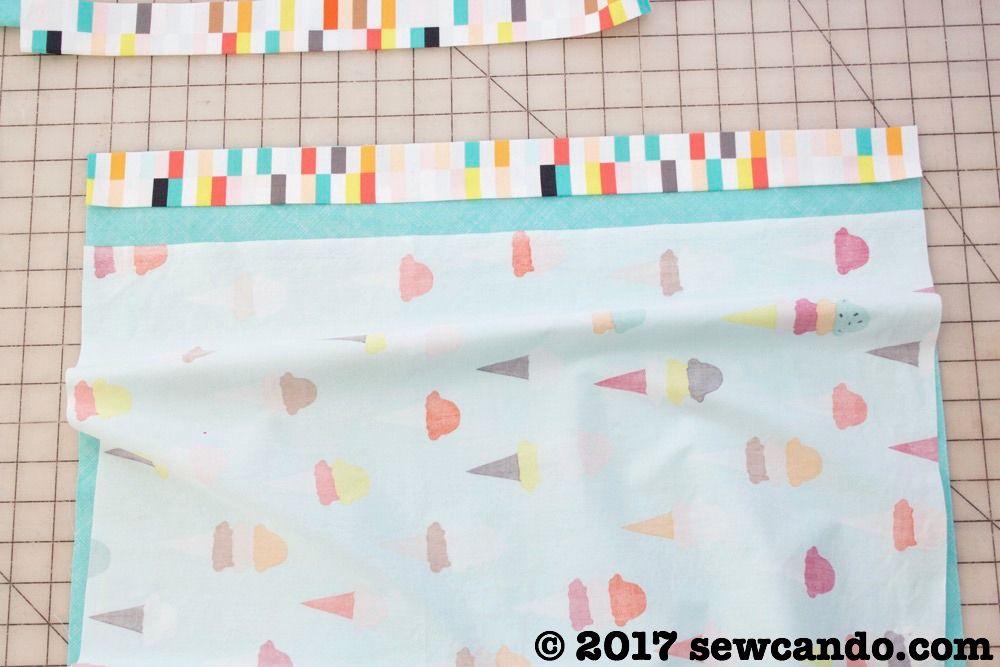


Roll up the main fabric and wrap the other end of the cuff fabric over it:
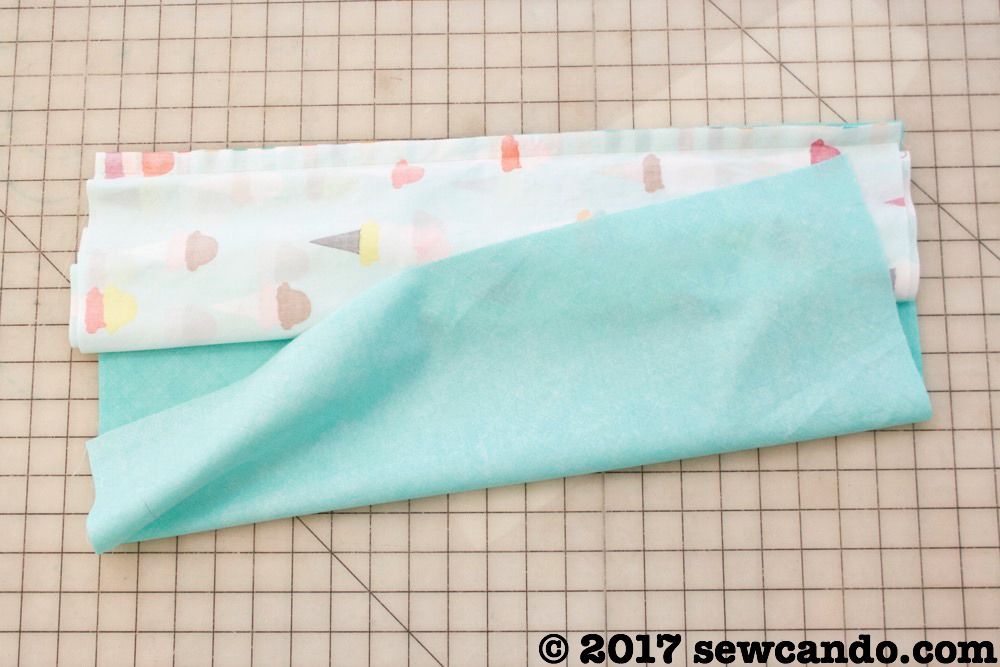


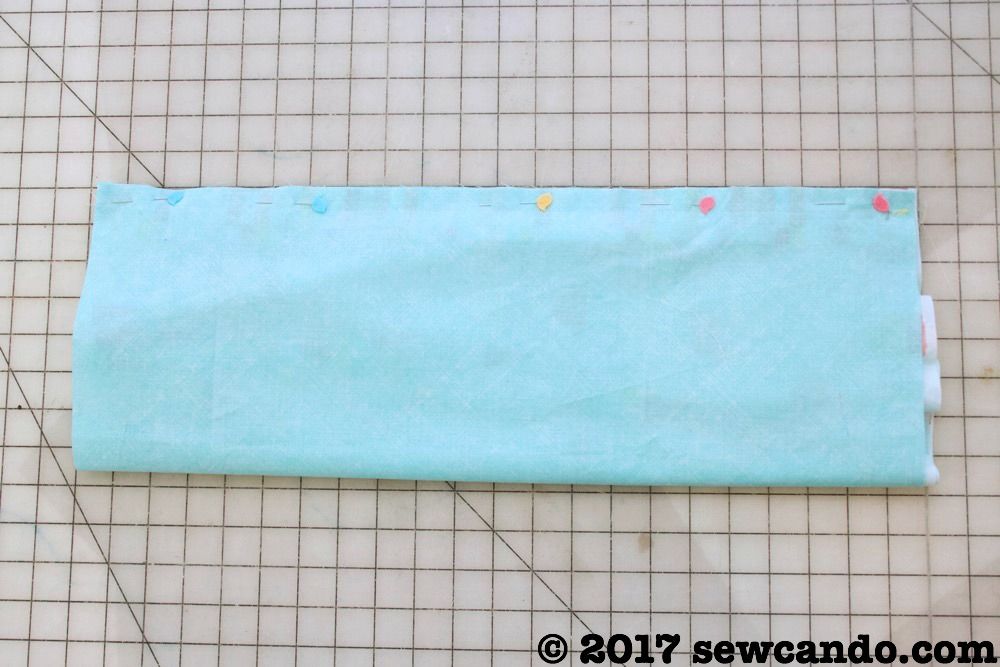
Pin and sew over the original line of stitches:


Pull the main fabric out through the open side:
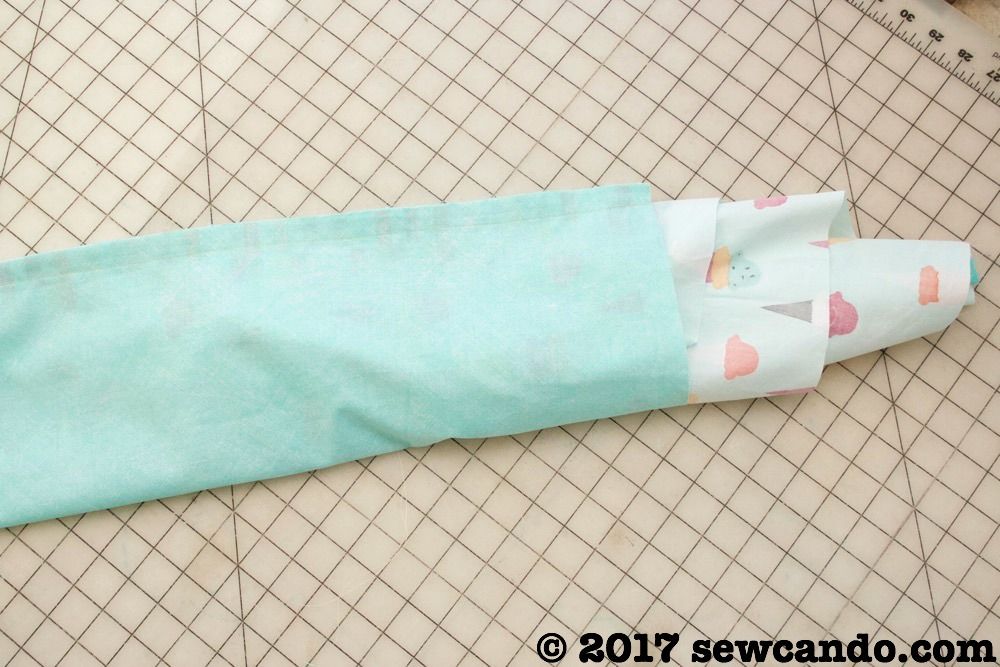


Repeat these steps on the other end, pressing the trim ends flat:


Now, fold it in half widthwise with the right sides out and stitch along the top and bottom sides with a 1/4 inch seam allowance and trim down the raw edge close to the seam:
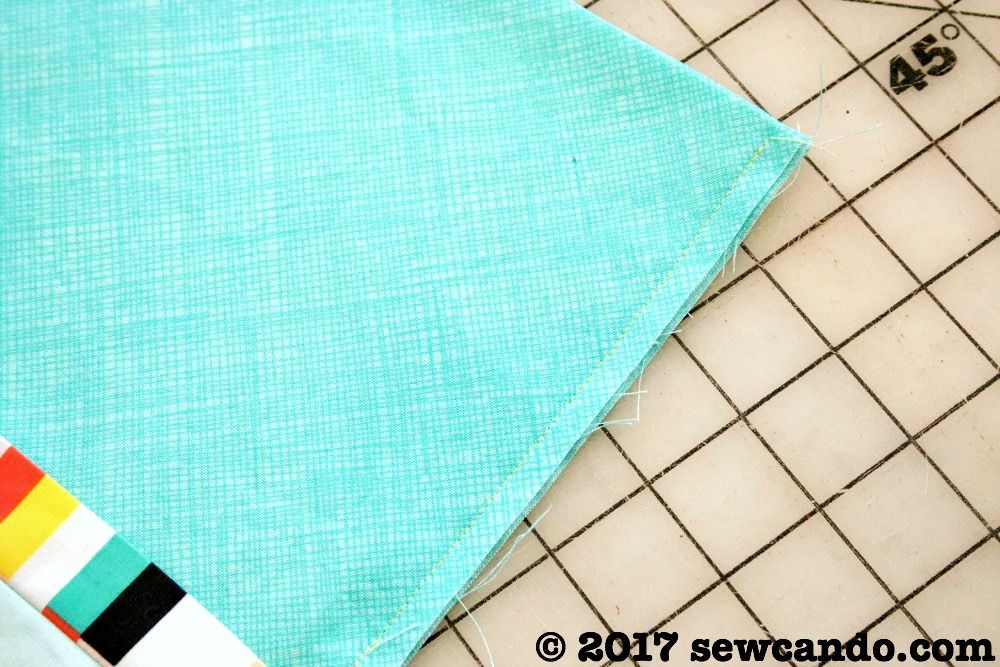


Pull the pillowcase inside out and stitch 3/8 in from the seam edge to encase the raw edges for a nice finish inside:
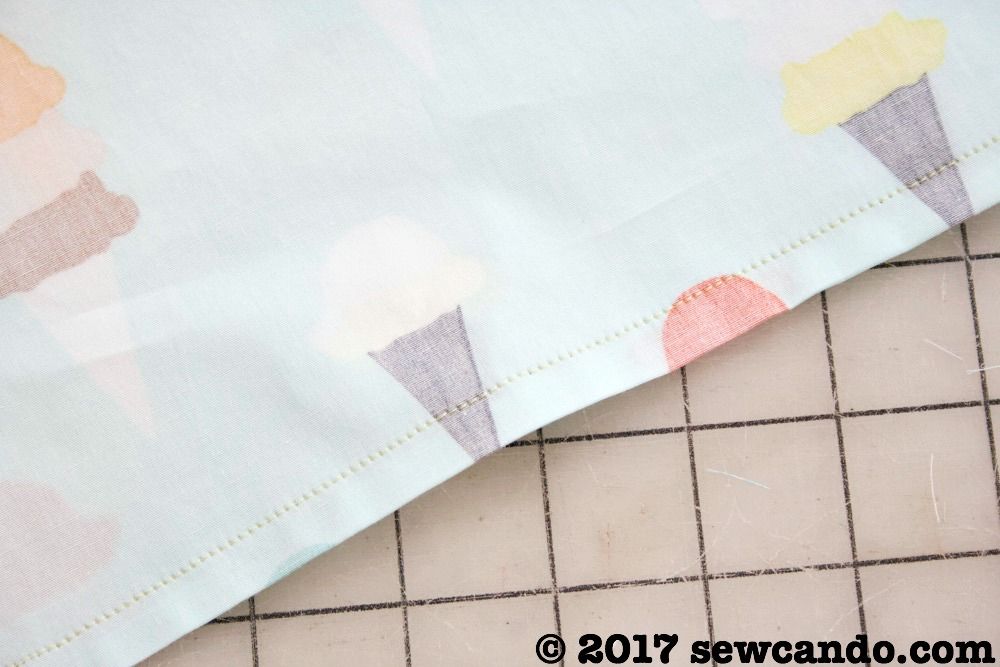


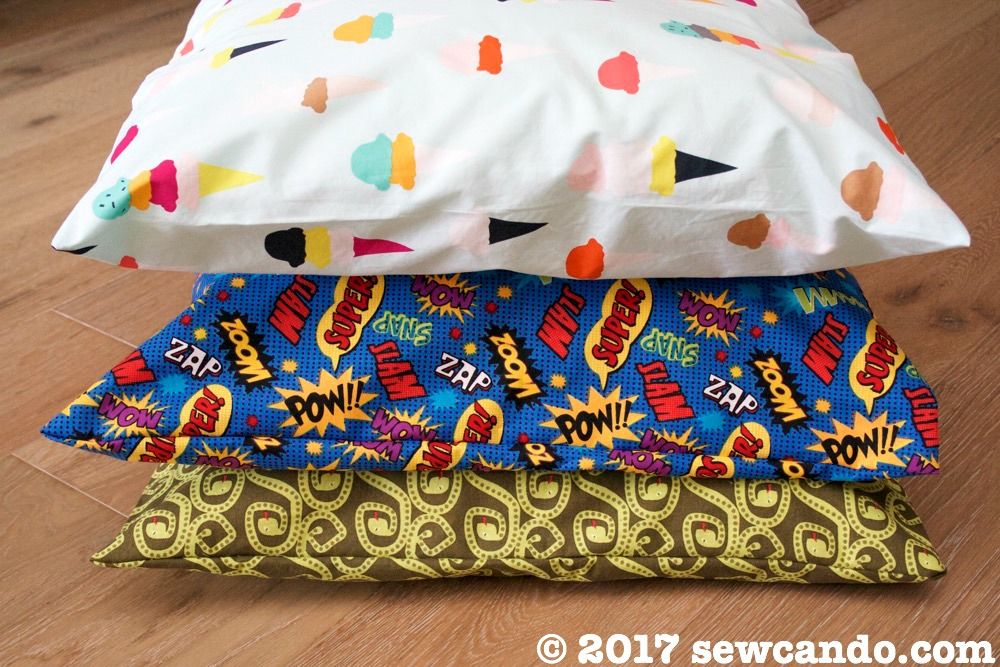
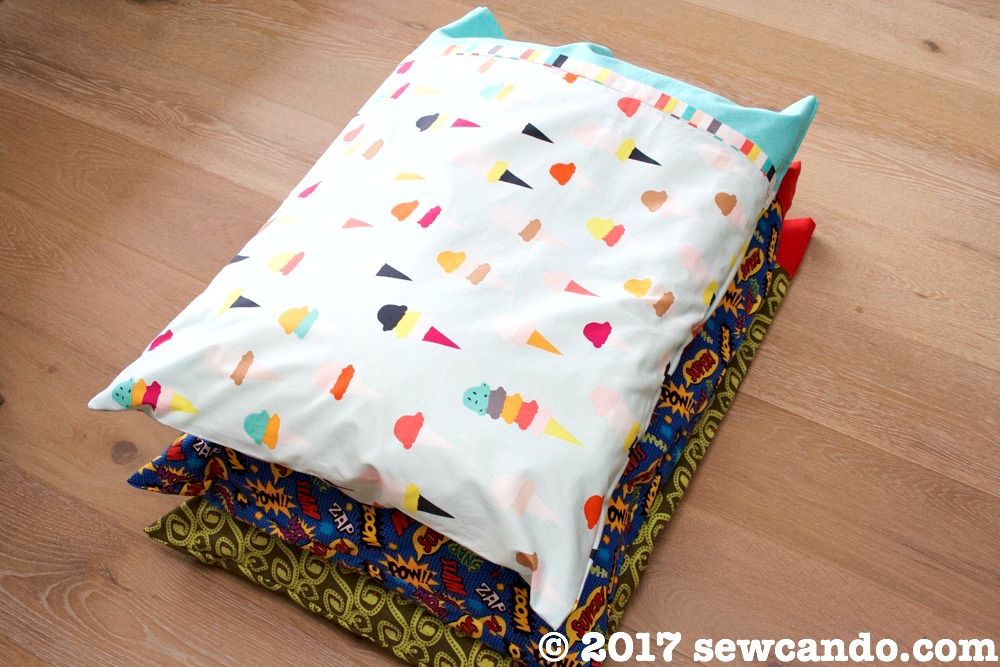
I loved the idea of using craft skills to help others in need and thought this would be a great opportunity to get my kids involved too.  Once I finished mine, I got my kids sewing some with some fabric from my stash to make a couple more:


They were so proud of what they made and in gaining a little confidence sewing.  I sew a lot for my kids, but it felt really good to be sewing with them and doing it all for someone else made it more special.  
  

Now that we've gotten ours done, we're ready to donate.  I'm excited to have the kids help deliver them and update the counter with our contribution.


Last time I checked the counter it was at 715,021, so many more pillowcases are still needed to reach the million goal.  This is such a fun & easy way to do a little something for someone else that could use some kindness at a difficult time.  I hope you'll join us!  To find a participating shop, check the counter, download free patterns and watch a how-to video, visit the 1 Million Pillowcase Challenge website HERE.

American Patchwork & Quilting 1 Million Pillowcase Challenge - I made a difference YOU CAN TOO! Click here to learn more.


I was not financially compensated for this post.  I received fabric from Crosscut Sewing Company, to make a pillowcase to donate to charity.  The opinions are completely my own based on my experience.   For my complete disclosure policy, click here.
SaveSave

Wednesday, July 13, 2016

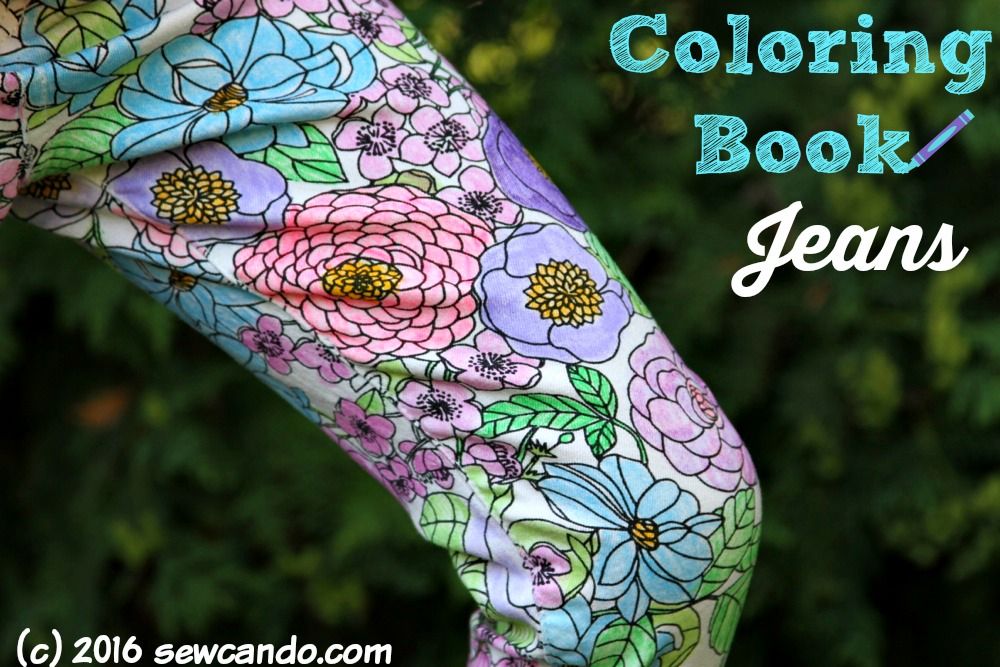
Coloring Book Jeans


Coloring as a hobby for both kids and adults has become a big thing.  Everywhere you shop these days, there are elaborate coloring books, markers and pencils for sale.  Why not use this trend to pretty up some summer jeans?


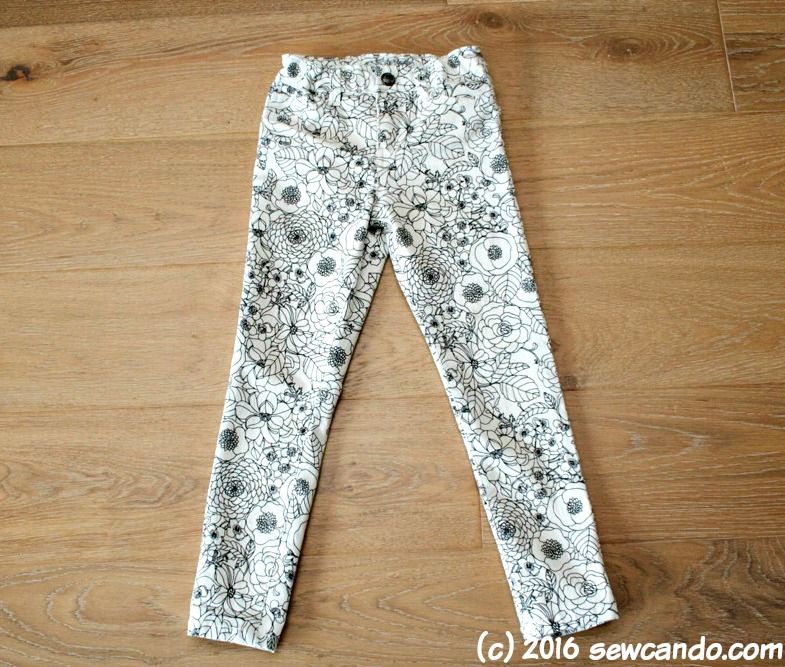
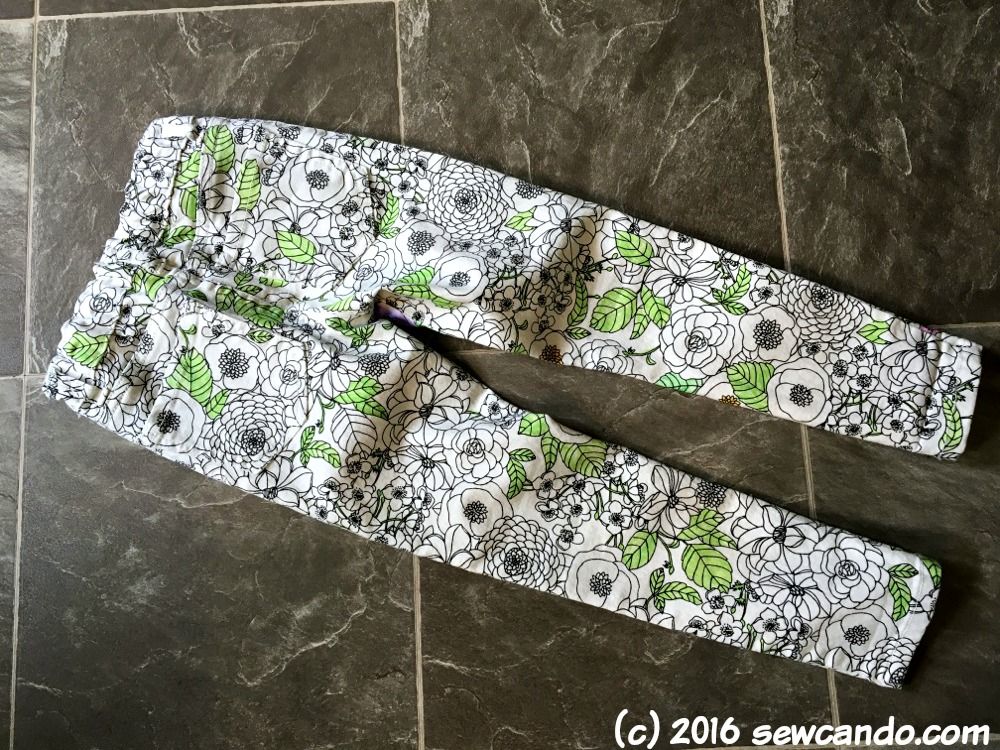
I found these floral print white jeans on the clearance rack at Target a while back.  They were meant to be worn as-is.  They were even a size too big for my little miss when I bought them, but I didn't care.  I saw the potential for a coloring collaboration.  


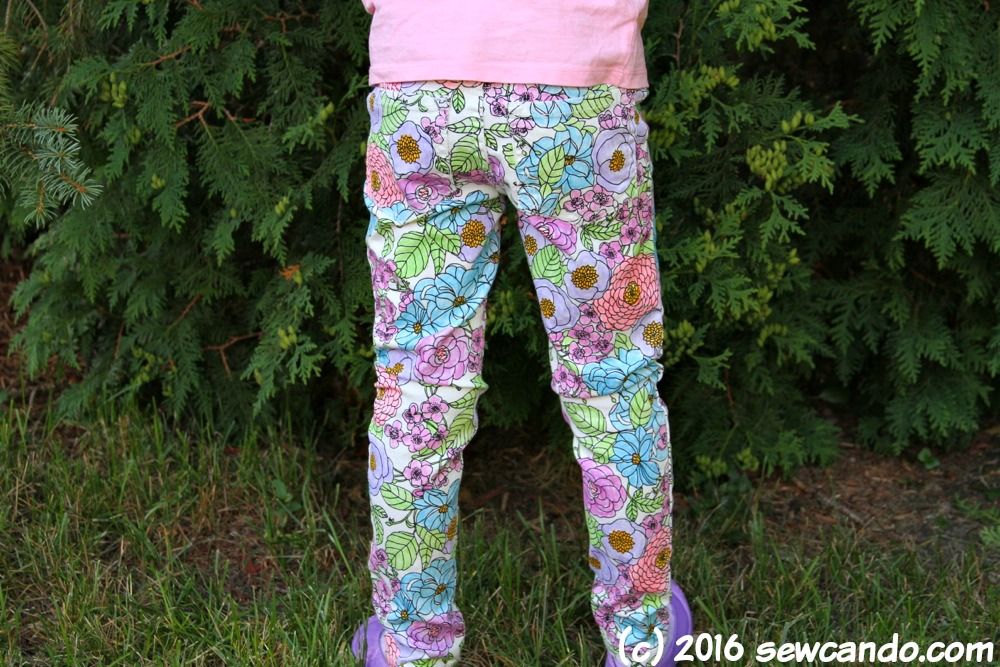
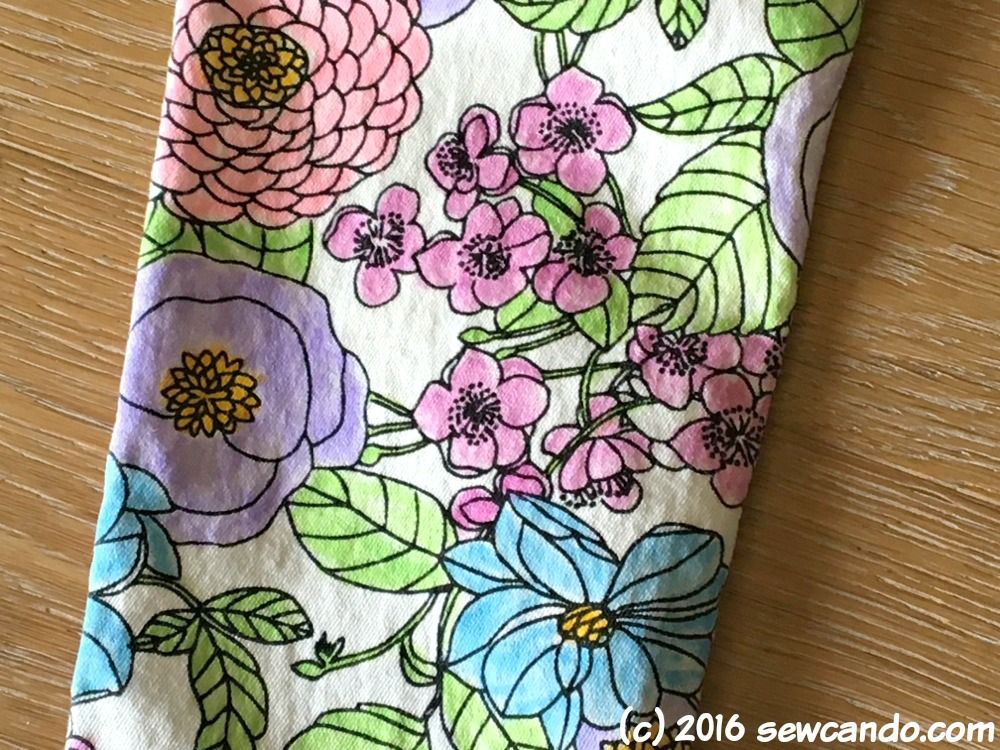
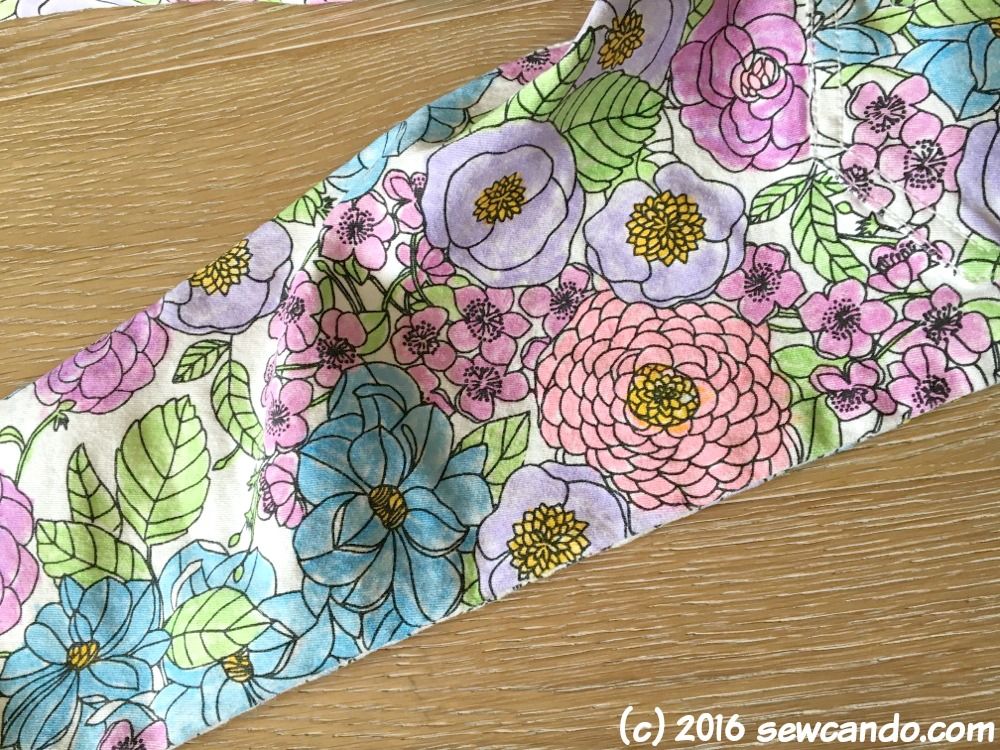
My daughter loves drawing and coloring, so this seemed like a fun project to do together. The flowers look just like they do in some of those fancy coloring books:


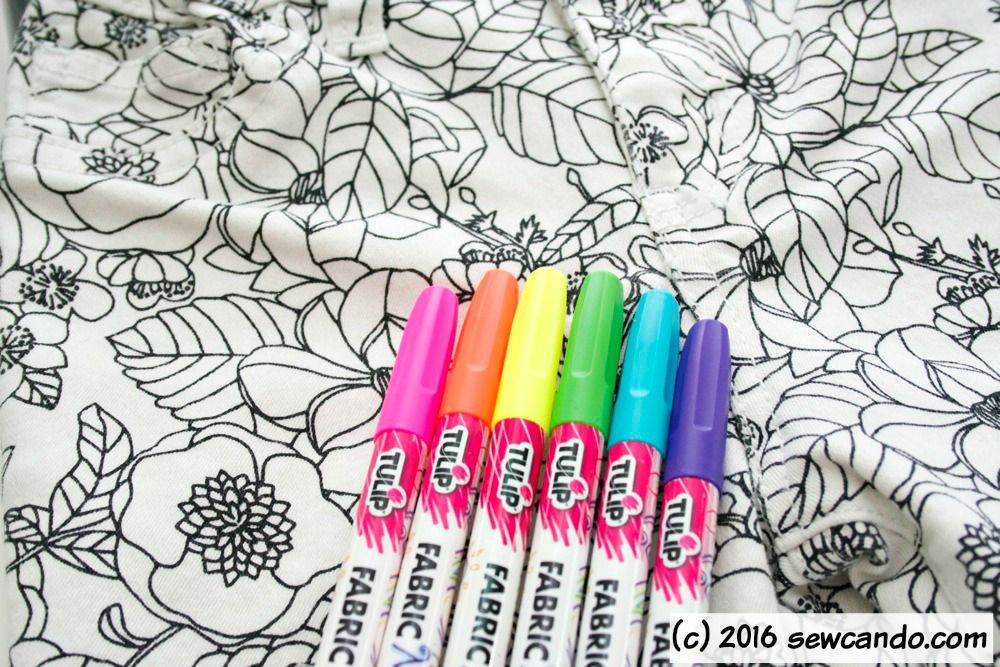
I already had some Tulip fabric markers I'd gotten for another project many moons ago.  I don't know if them not being new was the issue, the tip size or just the brand, but they colored really streaky from the word go.  Like you could see every stroke as a line - not good for filling in.  And the aqua blue came out practically navy, so the colors were off too. I stopped after the first couple flowers. 


I ended up buying these and they worked a lot better.  I also used them to color over the few not-so-hot ones I'd already done and they covered up the yuck pretty well.  Of course by the time we colored the entire pants, the markers were starting to give out.  We gave them quite a work out!  


I hate to admit it, but I was a little worried about how these would turn out (memories of all over the place scribbles her brothers used to do when coloring on other projects).  I wanted us to have fun doing these, but I also wanted them to be wearable and not look like she had accident with markers.  


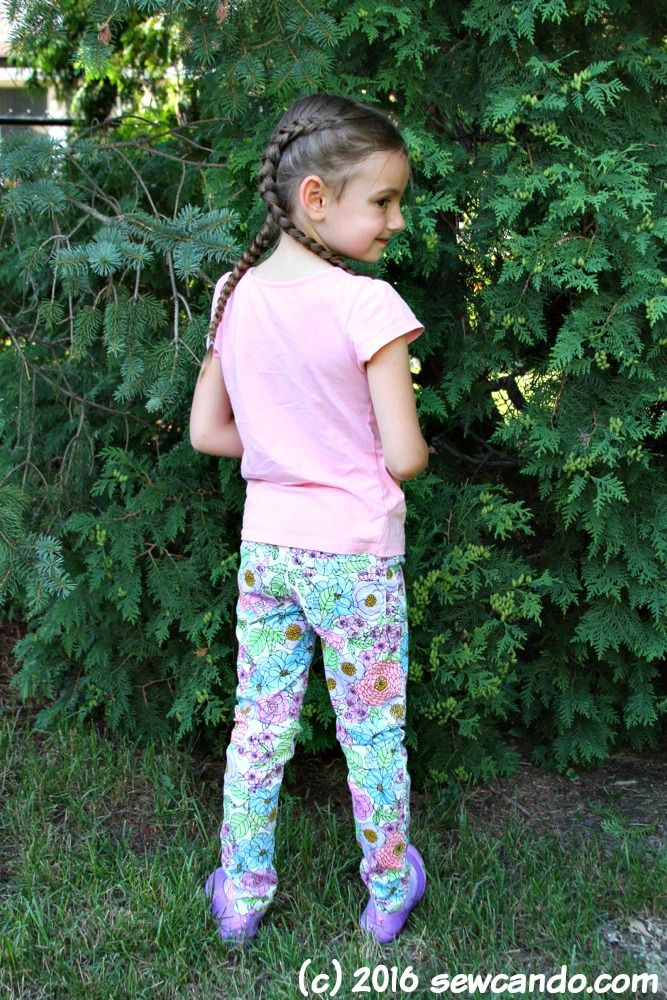
She did a great job staying in the lines and liked the idea of making each flower type a specific color.  Doing one color at a time made that easier for both of us.  There were a lot of blossoms to do!


It was a lot of fun to work one something together for a change, instead of me huddled in my craft room and calling her when something is finished. Plus, she was so proud she "made" these pants. 


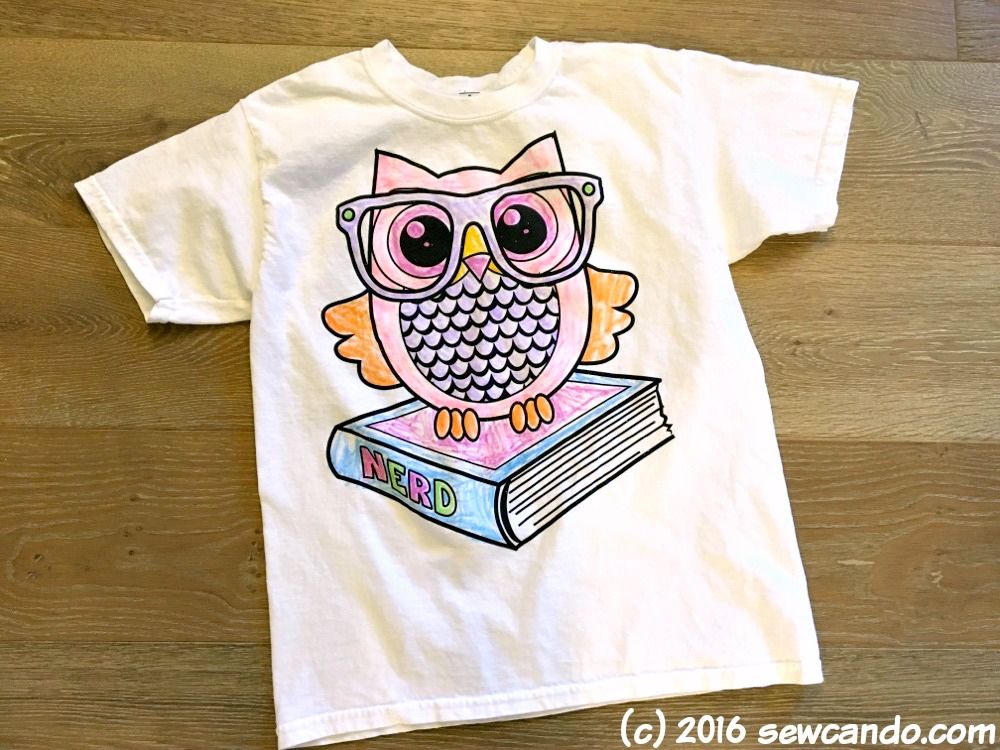
If you want to do something similar, but can't find pants like these, there are some by the yard fabrics that are black & white line prints sold as coloring fabric and some cheap t-shirts like this one meant to be used the same way.  We scored this one for $5 at Jo-Ann Stores: 


Now I'm kind of wishing I had a pair of pants like this for me too.  Are you a coloring fan?  What fun crafts have you colored? Share 'em in the comments.


Tuesday, May 8, 2012

I Heart My State T-shirts: A Tutorial


Part of our homeschool studies this year has been to study the United States.  We've gone state-by-state to learn about each one's history, famous landmarks, industries, facts & features.  It's been a lot of fun and we've all learned a lot.  For our home state, Michigan, we've done some extra things and one we really enjoyed was making these I Love My State Tees.  It's a fun way to show where we're from:)

Here's how to make your very own (using your own state, province or country of course!) -

You'll Need:
- Some cheap blank tees (mine were about $2.50 each)
- Scrap fabrics
- Paper
- Scissors
- Sewing notions
- Shaped buttons/beads (optional)

First we made some paper patterns for our state and used their hands for sizing.  Since we live in Michigan, it was pretty easy to trace the state shapes with hands for both the Lower Peninsula:

and Upper Peninsula:

After cutting them out, I used them to cut the state appliques from some fleece scrap fabric:

I pinned them into place on the shirt fronts and then stitched them with a 1/8 inch seam allowance.  Using fleece meant there would be no fraying and the shirts would still feel stretchy and soft even though the appliques are big:

I wanted them to have a bit of fun flair so I added some little faces.  I cut some circles from white and blue fleece for eyes on my older son's shirt and a "U" shape for the mouths and stitched them on so the eyes of the UP & LP look towards one another:

We also hand sewed some buttons & charms to represent the various industries of the state and where they're located: cherries for Traverse City, a copper bead for the copper mining in the UP, a car for Detroit, a star for the capital, a heart for where we live, etc.

Now he's got a shirt that shares what he's learned and is fun to wear too:


For my little guy's shirt I went a bit more Kawaii (cute) style with some rosy circle cheeks, wider mouth and a little "Hi!" message:

Now we're all set to celebrate our state any day of the week!


Sharing this with my FAVE LINK PARTIES too-
Click HERE to check them out!


Tuesday, May 1, 2012

Sculptable Frosting! A Fun & Sweet Treat How-To


How about a fun treat tutorial that is as tasty as it is easy.  That's right - no matter what your sweets crafting skill level, you can make this delicious and fun creation: Sculptable Frosting! 

With this frosting you can cut and sculpt all sorts of fun shapes and designs, like those made with modeling chocolate or fondant, but with all the flavor and a softer texture of a buttercream frosting. If given a few hours to firm up, sculpted shapes will hold up well and can be stored a few days at room temperature in an airtight container.  Yummy right?  Here's how to make some:


You'll Need:
1/2 cup unsalted butter, softened to room temperature
1 tablespoon heavy cream
1/4 teaspoon real vanilla extract
3-4 cups confectioner's sugar
Food coloring gels (I use Americolor)

NOTE: I've gotten a lot of questions about substituting the specified ingredients with other things.  Substituting ingredients will definitely change a frosting or candy's specific texture/behavior so I wouldn't recommend it. You could try experimenting with other things, but they probably won't give the same excellent results.  

Sculpting Tools - small rolling pin, small paintbrush, nesting circle and flower shape fondant/small cookie cutters, butter knife, waxed paper, standing mixer with paddle attachment

Beat butter & cream in mixer until smooth.  Adding a cup at a time, blend in the confectioner's sugar to create a dough consistency.  Add vanilla and beat to combine. 


 Scoop out frosting to form a mound of "dough" (roughly 1lb):


Separate frosting into portions for various colors desired and, using a single drop of color at a time, knead food coloring gel into frosting until color desired is achieved.  If frosting seems sticky, add a small amount of confectioner's sugar until smooth.


Dust a sheet of waxed paper with confectioner's sugar and get ready to start sculpting!  

To make my snail & mushroom vignette (great as a cupcake topper), use rolling pin to roll out some green frosting about 1/4 inch thick and use a large circle fondant cutter to make the base:


Next grab a piece of white frosting and roll with hands to make a rounded mushroom stem that is about 3/4 inch wide and 1 1/4 inches tall.  Stand up and push down slightly so base is a bit wider than the top:


Roll out the red frosting to 1/4 inch thick with rolling pin and cut a medium sized circle. Carefully place on top of stem and allow gravity to help mold the cap shape.


To make the snail roll a piece of pink frosting with hands to be about 1/2 inch wide and 1 1/4 inches long and flatten:


Pull up 1/3 of the strip and press down on the short side with the end of the paintbrush to create the antennae, smoothing & pinching with fingers to shape as desired.


Roll out some blue with hands until it is 1/4 inch thick and several inches long to make the shell piece.


Coil shell and trim outer end flat with knife:


Place shell on the snail's back. Add snail & mushroom to base.  Remove any excess confectioner's sugar with paintbrush:


Or how about a mini birthday cake made entirely of frosting?  Simply change the color of the base circle to make a "plate". Take a bit of white frosting and flatten about 3/4 inch thick, and use a small circle fondant cutter to create the cake shape:


Roll out a bit of pink frosting 1/4 inch thick and cut with a flower cutter and then flatten slightly with the rolling pin to make the shape more uneven and drape over the top of the cake piece to "frost" it.


Add a small piece of white to make a candle and a tiny tapered piece of red for the flame and the cake is complete.  Perfect for those kids who only want to eat the frosting off the cake - now they'll eat the whole thing!
 

 And if you really want to get whimsical, how about a little garden gnome?


Roll out pink, white and red frosting to 1/4 inch thick.  Cut a medium circle and taper slightly with hands on lower half to make a face shape:


Use knife to make a triangle with the red that is slightly wider at the bottom than the pink circle.  Use the cutter to round out the bottom to make the hat shape:


 Place hat over top of circle and curve to fit.  Cut flower from white to create a beard and place over lower half of face:


Use end of paintbrush to make eye holes and then fill with small dots or blue.  Create a mouth with paintbrush in same way and fill with a small strip of red for a nice smile.


Add a pink circle nose and a strip of pink with a pointed end to either side to create ears and place over a large circle of green under the beard for the gnome's body and this little guy will be nice and sweet:


For storing sculptures, allow them to firm up in open air for a few hours and store in an airtight container for a few days at most.  I would not recommend refrigerating or freezing. I cannot guarantee the consistency would stay the same or not cause moisture issues or separation.  It really only takes minutes to make so it's fine to make at the last minute.  Typically decorated cakes and cupcakes are fine to leave at room temperature for up to 48hrs, so this should not be an issue. 

Use Sculptable Frosting creations to decorate cakes, cupcakes, brownies or use as stand alone sweets. It's also great for covering cupcakes.  Just not anything large scale like an entire cake, since it is a frosting and not as clay-like as fondant.  Try my Modeling Chocolate for posts HERE for bigger or longer lasting projects like cake covering.  The possibilities are endless and incredibly tasty.  Hope you enjoy them!

Sharing this with my FAVE LINK PARTIES too-
Click HERE to check them out!

LinkWithin

Related Posts with Thumbnails