Showing posts with label Gingerbread. Show all posts

Wednesday, December 16, 2020

Easy DIY Faux Gingerbread Men Ornaments


This little project is one I've been waiting to do all year: 

Faux Gingerbread Men Ornaments!


It's a simple DIY, but so much fun and they look super cute on the Christmas tree.  This year being so challenging, I needed a rewarding holiday craft and this was definitely it.  And as delicious as these "cookies" look, there are no calories;)


Materials:

- Cork tiles (1/4 inch is ideal)

- Gingerbread man cookie cutter or template

- Spackle w/pastry bag+tips or Whipple Creme

- Decorative faux candies, small beads or polymer canes

- 1/8 inch wide satin ribbon


I started with cutting my cork tiles.  I wanted the finer type of cork so it would look more like an actual cookie.  I already had a nice big gingerbread man cookie cutter to use as my template.


I'd planned to trace and cut them with an x-acto knife, one at a time, but my lovely husband made things much easier by cutting them in stacks on his band saw.  I had a dozen identical "cookies" in 5 minutes.


I've used spackle for faux frosting, with great results on my glitter houses, in the past:


But with two under 3yrs milling about my house this Christmas (making my living room a labyrinth of gates around the tree, fireplace, etc.), I wanted to make sure everything on was non-toxic, just in case a grabby little hand got hold of one.  So I found this fun kid-safe stuff called Whipple Creme.  It's actually a toy line of fake desserts for older kids to decorate - it comes in a pastry bag, with a star tip, and works just like the real thing.  I bought mine on eBay to get the best price (where 2 were the same price as just 1 on Amazon).


You just knead it a bit before opening and it's good to go and hardens as it dries just like royal icing.  The only downside was no straight tip and I needed to be able to do more than just big star shapes, so I double bagged it with one of my own pastry tips over the opening to do the squiggles on the arms and legs.  My decorating skills are pretty minimal, but I like to think that them all being a little less than perfect just makes them seem more real.


For the eyes I used a product called Beads in A Bottle by Tulip that I had left from a bunch of other projects (see those here).  It's a kind of puff paint, but stays nice & rounded (and happened to be in my stash), so it was the best option to do licorice style eyes and mouth.


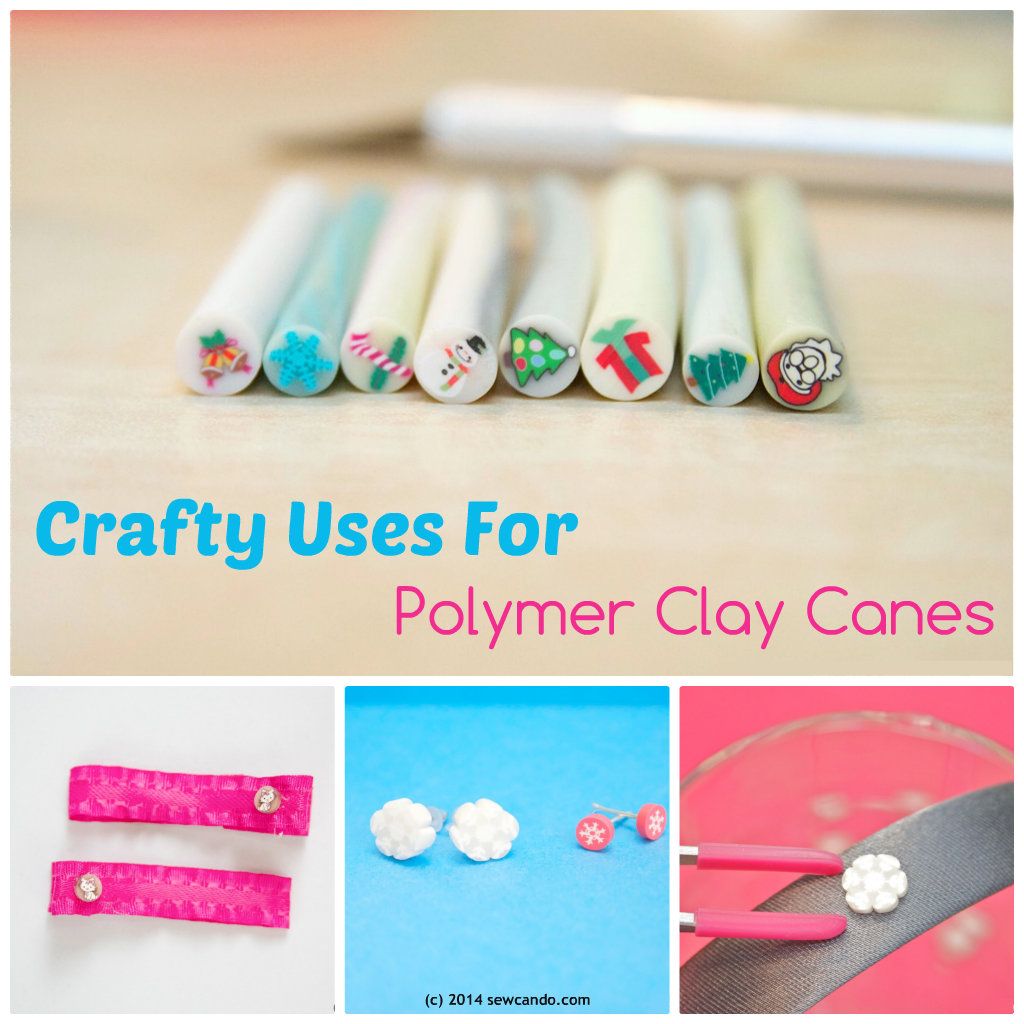
I also had some of these mini polymer clay canes for my "candy" embellishments.


  You just cut them with a razor blade to the desired thickness and glue them on.  


 They're meant for manicure nail art, but I've used them for lots of other projects over the years (see them HERE).  


The decorating was just like you would do with real cookies - on a cookie sheet covered with parchment paper.  I also got the husband to drill holes in the tops to make them easy to hang.


I used tweezers to nestle some of the clay pieces into the faux frosting.


The only downside was the Whipple directions oddly didn't say how long it took to dry, so I guessed and gave them 24hrs before I added some 1/8 inch ribbon loops to hang them.


I'm pretty happy with how they turned out and feel like it would be fun to make more of these with my bigger kids.  After all, there iss still time before Christmas and I've got an unused bag of Whipple Creme left...I'm also feeling a strong desire to make some actual cookies, since I'm highly suggestible when it comes to treats;)


Tuesday, January 24, 2012

Make A Sweetheart Glitter Cottage!

Pin It


I'm all about the sweetness of Valentine's Day and what better way to show that with a Sweetheart Glitter Cottage!  I caught my fever for making glitter cottages at Christmas when I made this winter-themed one last month:


It looked so lovely sitting on the mantle & added a little extra festive flair around the house.  And even though it looked fancy, it was soooo inexpensive to make.  So I knew I HAD to do another one - this time with a sweetheart theme for the upcoming holiday:


Glittery, sugary goodness makes my heart warm:) And once again, I got a lot of my special decorating goodies from Sugar Pink Boutique, my go-to source for sweet, pretty accessories.  Want to make one yourself?  Here's how:


You'll Need:
- Small wooden or cardboard house/birdhouse (From Joann's was just $1)
- Acrylic craft paint
- German Glass Glitter (from Sugar Pink Boutique)
- Pom pom ric-rac (from Sugar Pink Boutique)
- Baby pom pom trim (from Sugar Pink Boutique)
- Assorted heart beads (from the giant $6 plastic bead grab bag at Michael's)
- Wall spackling & sandwich bag (optional)
- Mod Podge
- Hot glue gun
- Foam brush, toothpick

First start with two coats of acrylic craft paint.  I used bubble gum pink as the main part of the house, hot pink for the roof & base and white for the trim:


For the "frosting" on the roof, I used spackling piped on using a sandwich bag with the corner cut out:


Next apply a very thin coat of Mod Podge, a section at a time (since it dries fast):


Sprinkle the german glass glitter on until you get your desired level of sparkle.  German glass glitter gives a lovely "sugary" look you just can't get with plain craft store glitter.  Definitely adds that special something:


Once all sides & roof are done & dry, I carefully applied small heart beads around the opening and some larger ones as accents on the front and roof with Mod Podge and a toothpick.  Again, doing these a side at a time means they won't slide around while drying:


Next I applied my ric-rac & pom pom ribbon using hot glue.  That stuff dries fast too, so a side at a time is key:


Then my little Valentine's Cottage was done and ready to be loved:


Sharing this with my FAVE LINK PARTIES too so click HERE to check them out!

Tuesday, December 6, 2011

My Sweet Little Glitter Cottage & Tutorial To Make Your Own!


I can't tell you how much been looking forward to sharing this project - I truly loved making it!  My Little Glitter Cottage:)  I first found out about this sweet craft via one of my advertisers, Sugar Pink Boutique, and was totally enchanted with the idea.  Pretty like gingerbread houses, but permanent and with that magical extra shimmer:  


So when I bought some sweet, crafty goodies like glass glitter, berry beads and tinsel from her shop I knew I had to make one of my own.


It was so much fun I plan to make a little village of them.  I thought I'd share how I made mine for anyone else who wants to give them a try.  Being easy, fun and lovely to look at, it's a really wonderful seasonal project.  I started out with this plain wooden gingerbread house from Michael's - got it on sale for $2.50:


Then I painted it with a foam brush and two coats of acrylic craft paints - some of them were left over from a stenciling project...from 9 yrs ago.  I know, the fact that I even have paints that old means I'm a total crafting packrat.


This was my favorite part - I "iced" the house with wall spackle piped on using a sandwich bag with a corner cut off.  The spackle has the same consistency as royal icing so the effect is pretty realistic and it dried about as fast.  


Next, working quickly and one side at a time, I brushed on a thin coat of Mod Podge with another foam brush:


and sprinkled on german glass glitter - the more the better and so much sparklier than regular glitter:


Once everything dried, it was time to decorate.  I used a cotton swab and dabbed on some tacky glue to attach the oblong beads for the "jimmies" on the roof:


I used these sugary looking berry beads along the trim:


Small assorted beads decorated the snowman, tree and door and some lovely iridescent wired tinsel around the base for a finishing touch:


I unrolled some batting to go underneath and added the candy light bulbs and sweets garland I also got from Sugar Pink Boutique to make our mantle have a full sparkle effect:


And with twinkle lights under the batting, when lit up at night, my mantle looks like a magical winter wonderland:)

Sharing this with my FAVE LINK PARTIES too so click HERE to check them out!

Wednesday, December 15, 2010

The Decorated Cookie's Gingerbread Sewing Cottage


Today's treat is a special Gingerbread House from my lovely friend Meaghan from The Decorated Cookie.  Her blog is full of fabulous & creative edible crafts of all sorts.   The kind of delicious pretties I aspire to one day be able to make.   She's even got a shop, Chic Cookie Kits where you can get all the goods to make cute cookies too.  So let's give her a warm welcome & check out the tasty house she's sharing:

Hi everybody! It's Meaghan from The Decorated Cookie! A huge thank you to Cheryl and the Sew Can Do readers for letting me visit and yak about cookies. A bit about me: I wrote a book (Cookie Sensations), I make and blog about cookies and marshmallows and such crafty sweets (here), I'm the edible crafts gal at Craft Gossip  (here) blogging about other people's crafty food, and I have a 3-year old girl who is with me almost all the time. A little sampling of my work: some melted snowman cookies, fruit slice cookies, marshmallow village, flower marshmallows, birdy cookies, and lollipop cookie pops.


Now, I've dabbled a bit in needlework, crochet, knitting, even a little with my sewing machine. I want to be good at sewing, but I'm just not very handy with the needle and thread, which is why I oohed and aahed over Cheryl's work when I found Sew Can Do. And this mutual oohing and aahing over those-skills-the-other-has-that-we-covet led us to collaborate on a theme: Gingerbread Houses. Cheryl got the fabric side and I got the sugar side. Here is what I made:


Hey look, Mr. and Mrs. Stitch are going out for a walk.

Despite my cookie centered life, gingerbread houses are relatively new to me. I tend to stick with the 2-dimensional, and this gave me the perfect opportunity to break out of my cookie mold. So I tried my hand at a cottage with a sewing theme. After assembling the house with royal icing, I added some fondant and candy decorations. The button roof and path are fondant, the "rick rack" trim (impressed I knew that term sewing experts?) is piped with royal icing, the ball of yarn yard decor is a Twizzler and Dum Dum lollipop, the laced up sides are more Twizzlers.... See the details below and find a link to the tutorial at the end of this post.


CLICK HERE
for the full tutorial to make a gingerbread sewing cottage

Thank you Cheryl and Sew Can Do for having me!!

LinkWithin

Related Posts with Thumbnails