Showing posts with label Food. Show all posts

Friday, September 6, 2013

Sew Can Do Is In Yum Food and Fun For Kids Magazine!


I'm proud to share that you can find me in the latest issue of YUM Food & Fun For Kids Magazine.  In it I'm sharing a new tasty creation, Hedgehog Cheese Balls:


These tasty little critters are easy & fun for the kids to make and eat.  Perfect as after school snacks!


This is my second appearance as a contributor for Yum!  I was in the Spring 2013 issue with my ever-popular Sculpted Frosting.  This time I've gone savory with my snacks.


This quarterly magazine full of fun, food-related projects & products, nutrition tips, recipes and party ideas that are fabulous for kids.  There's a ton of great content in each issue and most of it is easy enough for even the kids to help with, so it's great for the whole family.  It's a great feeling seeing my name printed in it:)


These are just some of the other great things you can find inside:


And there's lots of good free stuff on their website too.  If t's a really fantastic magazine for those of us who love food, crafts & kids and I'm proud to be part of it.
I Was Featured 
You can find YUM Food & Fun at select Barnes and Noble, Target, Wal-Mart stores and on newsstands.  You can also subscribe to it here.  I hope you'll go check it out and make some fun foods soon!


I was not financially compensated for this post.  I am a freelance contributor to Yum Food and Fun For Kids.  For my complete disclosure policy, click here. 

Thursday, July 11, 2013

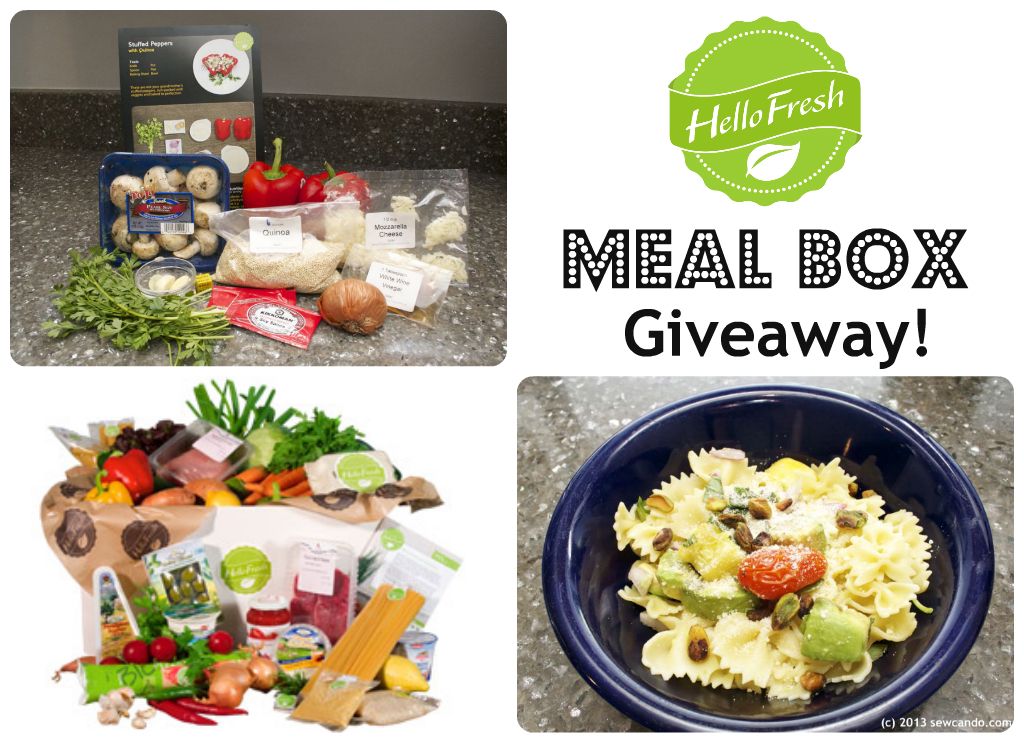
What's Cooking: HelloFresh Meal Box Review & Giveaway


It's confession time: I'm not very crafty in the kitchen.  My husband yes, but me...not so much. I tend to stick to the same old meals or, and I'm not proud to say this, we eat out.  I hate overspending at restaurants or carry-outs, but it happens when it's 7pm & I'm tired, or can't think of something to make, or are missing a few ingredients to do something new. Lame mom, I know (hangs head in shame).  But things are turning around in my kitchen, thanks to HelloFresh and I'm giving you a chance to win some for yourself too!


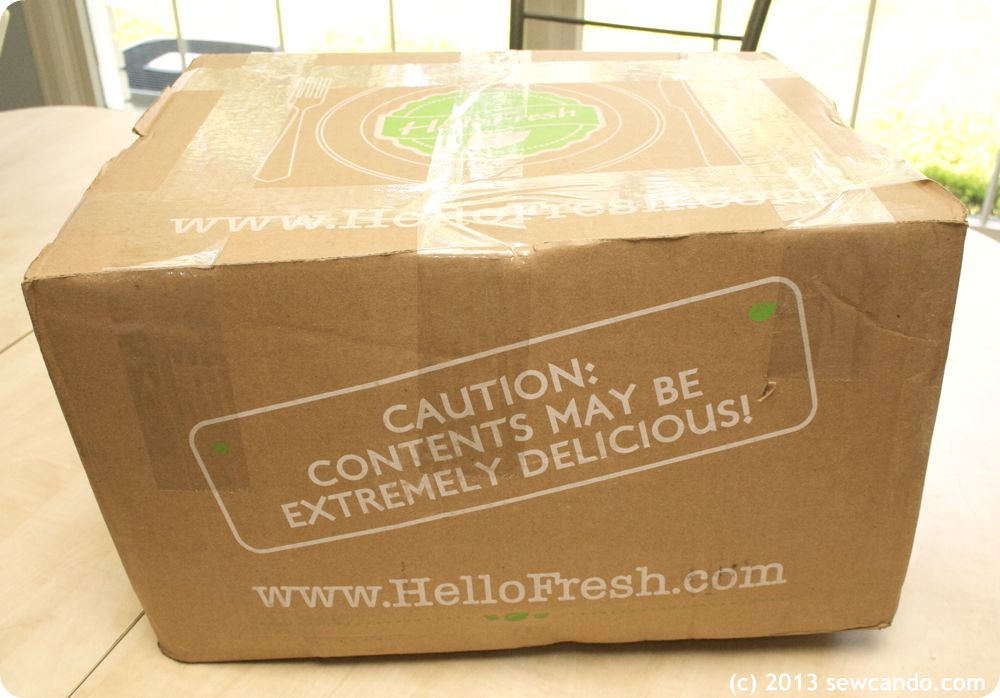
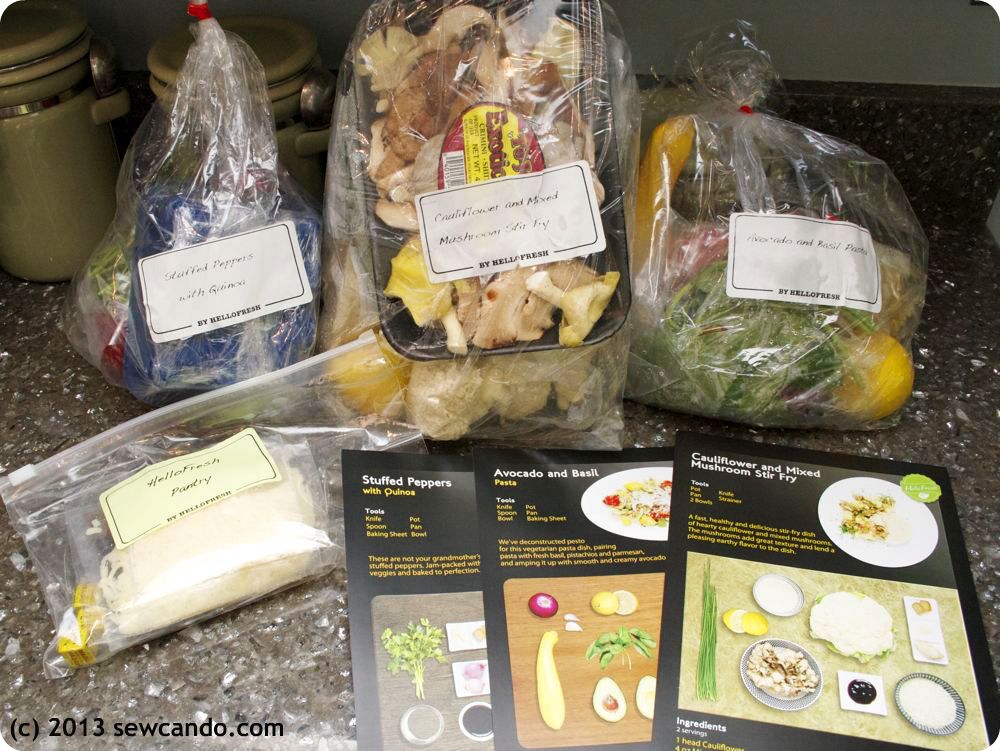
So what's it all about? HelloFresh is a weekly meal delivery service that ships all the ingredients to make three healthy & tasty meals to your front door.  Full color recipe cards, plus the produce, dairy, meat, seasonings - even things like rice and pasta.  You're ready to cook right out of the box.    


It's delivered the same day each week, insulated and shipped with cold packs to keep things fresh.


I heard about HelloFresh and thought it would be something ideal for my parents, since they're retired & it's just the two of them.  My mom raved about it and how it stopped them from overbuying/impulse shopping at the grocery store, so I thought we'd try it out too. Truthfully, I thought it would be something I'd do just once or twice, but now I'm hooked on HelloFresh.  I added their affiliate button to my sidebar because I thought it was such a neat program.

Then a couple of weeks ago I was contacted about trying out a box to review.  I told them I was already a customer, so HelloFresh asked if I'd review my next box instead.


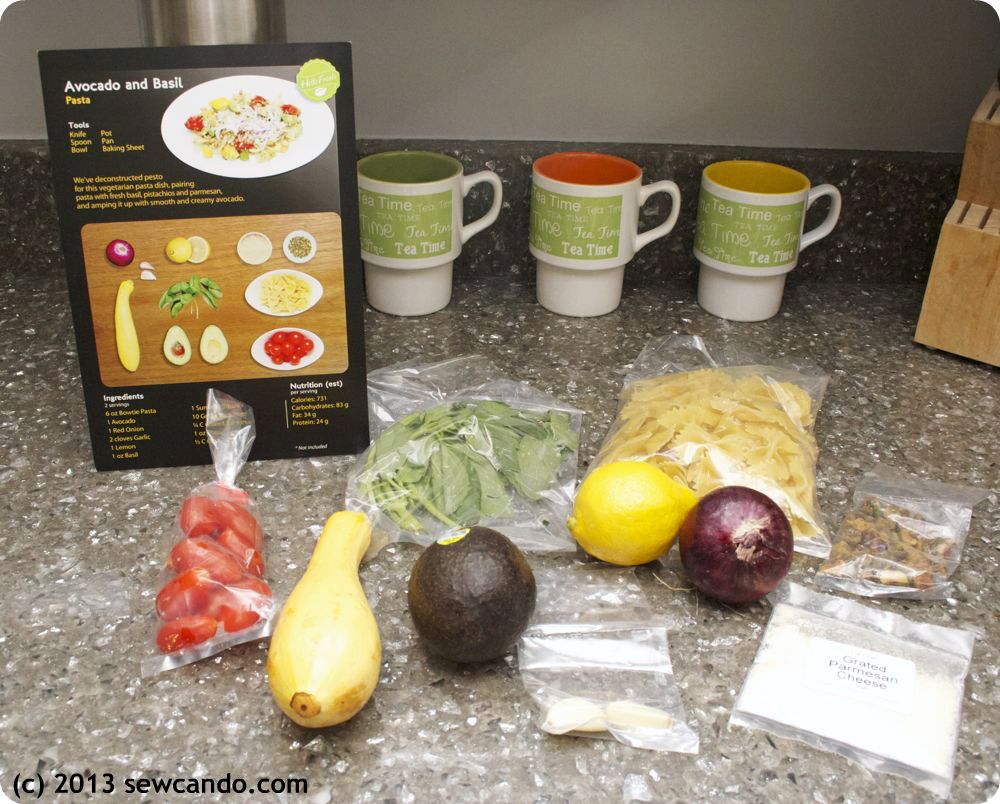
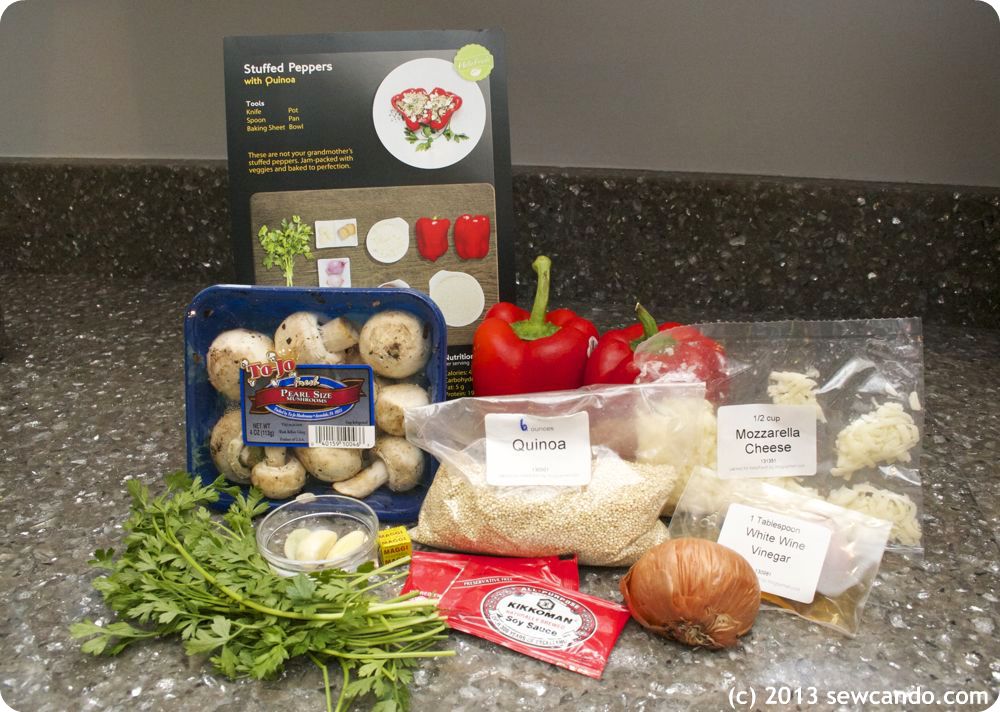
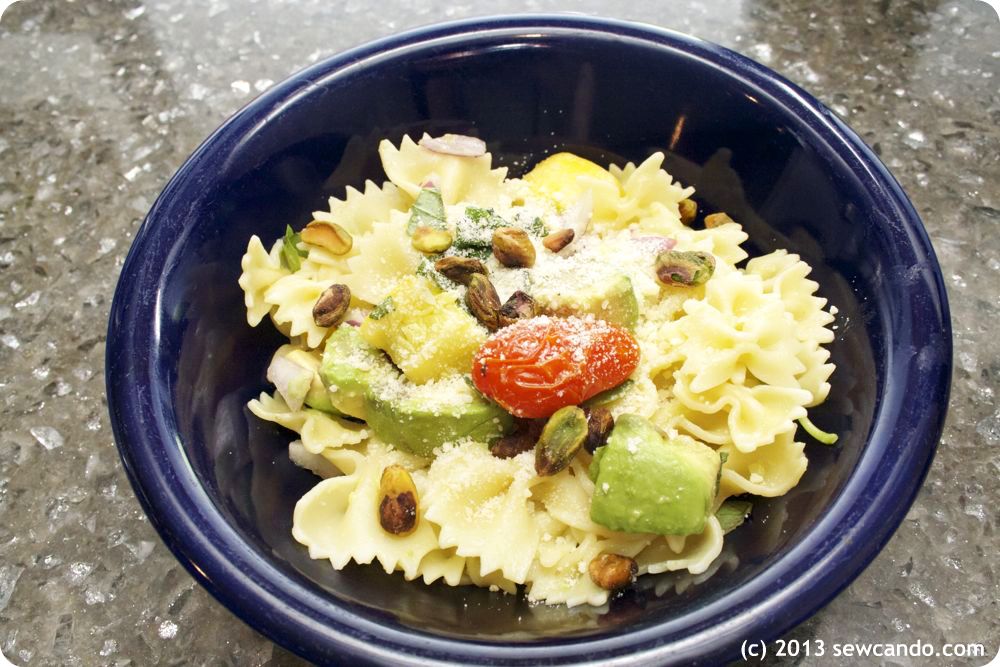
The Week's Meals: Stuffed Peppers with Quinoa, Avocado Basil Pasta, Cauliflower & Mixed Mushroom Stir-Fry

Since you're given just what you need to make the meals I no longer forget about produce in my fridge or buy some seasoning we'll never use again.  We aren't wasting as much food or impulse buying unnecessary stuff when we grocery shop either because nearly half the week is covered.  Knowing I have three meals ready to make, with little effort, prevents me from falling into my old habits too.   


I also like that it's flexible - you can pause or stop at any time.  We'll be out of town for my sister's wedding, so I just paused it for that week and we'll be back to our usual schedule the following week.

We get the Veggie box, since I'm a vegetarian, but if you do the Classic you can even pick your 3 meals from 5 different options.  And they let you know what's coming up in the next week, so there's no surprises when your delivery comes.


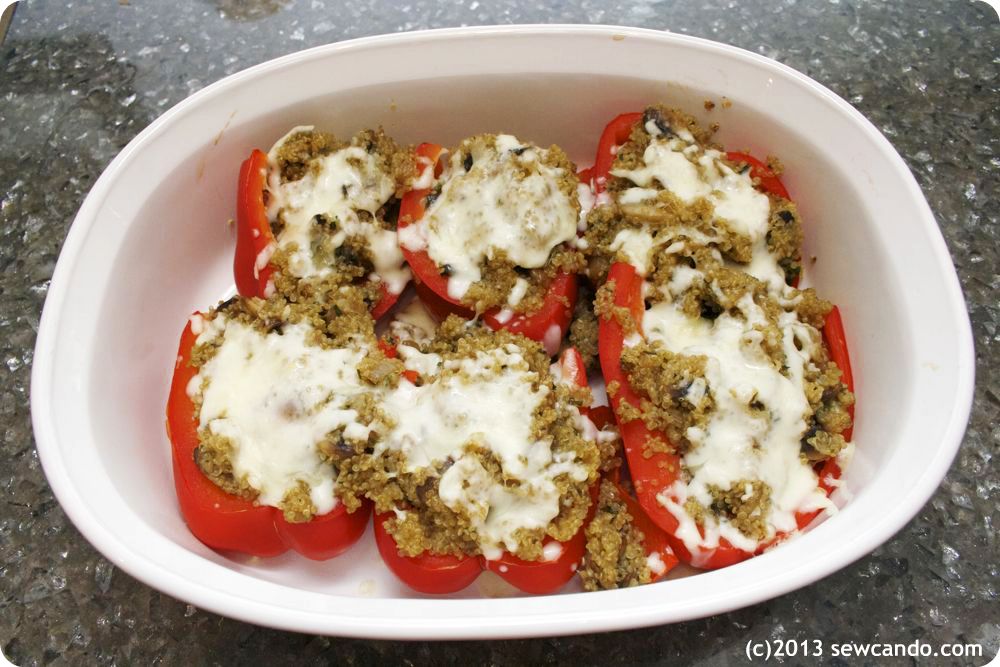
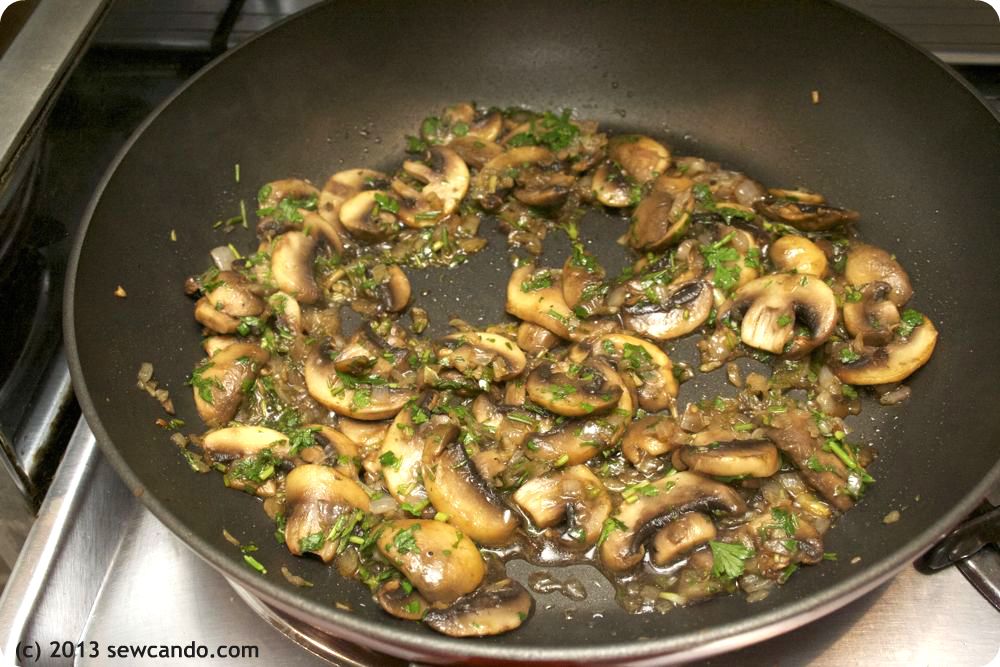
Stuffed Peppers with Quinoa - we LOVED this!!
A lot of the recipes can be done with a single pan and the steps are laid out so while one thing is cooking, you are prepping the next part.  It definitely makes things more efficient for me (the resident lazy chef).


Yes this is me cooking dinner - amazing I know;)

We've been doing it for 7 weeks now and we've had different meals every time.  The food has been great too.  It's gotten us to try things we normally wouldn't and ingredient combinations we'd never even dreamed of - and it's all been tasty.  You can even give feedback on the meals to help shape what comes in the future.


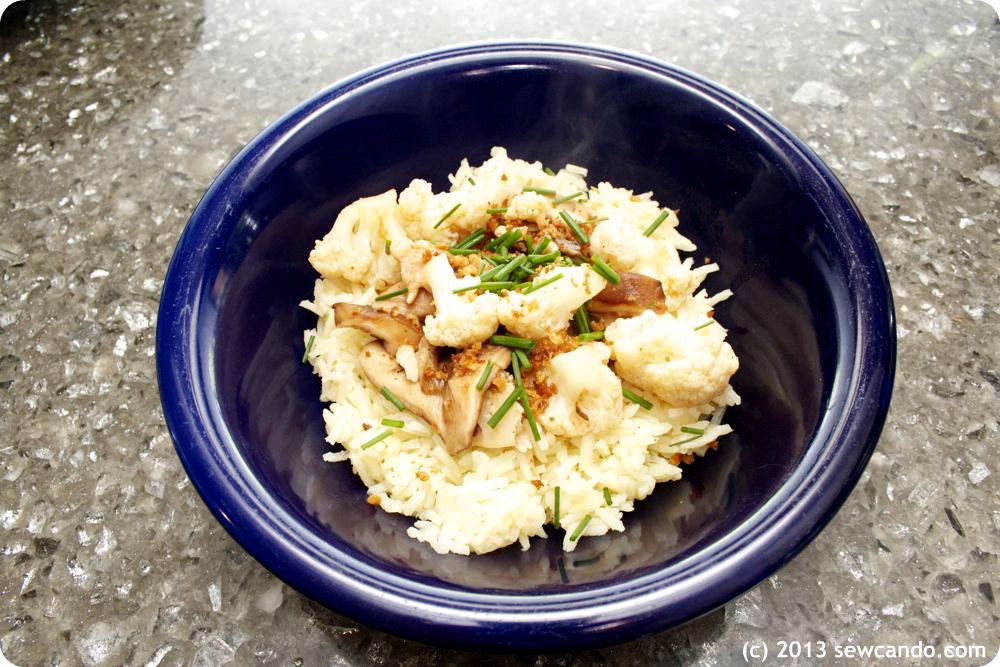
Cauliflower and Mixed Mushroom Stir Fry
And thanks to the giant recipe cards, I can recreate the meals on my own too.  Last night I made Grilled Cheese Fusilli, which was one of the meals in our very first box.  It was a hit again and making it was familiar so it didn't feel like work.

It's been a real eye opener for me to make so many new & interesting meals and have them look so nice when I plate them myself:


Avocado Basil Pasta that I made!!

There's a $20 discount code: AHELLOSUN for first-time orders through August 16th:


And ...
One lucky Sew Can Do reader will win a 
HelloFresh Classic or Veggie Box!
a Rafflecopter giveaway


And for everyone who enters & doesn't win, 
HelloFresh plans to provide a special offer code just for you.

Good luck everyone & happy cooking!!


I was already a paying Hello Fresh customer prior to this review.  I was not financially compensated for this post and received a complimentary box to review through the subscription I pay for weekly.  The opinions are completely my own based on my experience.  I am an affiliate of Hello Fresh.  For my complete disclosure policy, click here. 

Friday, June 14, 2013

Oz The Great and Powerful Inspired Adventure Cookies


Today I've got a special treat I'm very excited to share: my Oz The Great and Powerful Inspired Adventure Cookies.  I received an advance copy of the Blue Ray Combo pack for Oz the Great and Powerful and was asked to create a project inspired by the movie.  It was a lot of fun because it has all my favorite things - a treat, a fun movie and a crafting challenge rolled into one!


I have to say I was really wowed by the visuals of Oz.  The scenes and effects really were beautifully done and there's an interesting assortment of characters. That made it fun to come up with some sweets that explore the land of Oz.  By using my go-to treat ingredient, modeling chocolate, and a few basic tools, it was easy to sculpt up some of my favorite elements from the movie.  And now you can too!


You'll Need:

- Package of white chocolate wafer melts
- 1/2 cup corn syrup
- 1/2 cup cornstarch
- Flat sugar cookies
- Cookie/fondant cutters (circle, oval/egg, triangle/carrot)
- Rolling pin, butter knife, small paintbrush
- Gel food coloring
- Optional decorations: edible pearl dust, rainbow Twizzlers, pearlized gum balls

To make the easy-to-sculpt modeling chocolate (aka candy clay), melt one bag of chocolate melts in a Pyrex container in the microwave according to package instructions (usually 1 minute on half power).   


It may not look like it's completely melted, but if you stir well it will get smooth.  Fold in 1/2 cup of corn syrup until it starts to come together like a dough ball, then spread out about 1/2in thick on cling wrap covered cookie sheet and cover with more cling wrap.

Let it sit for at least 3 hours to set, then knead with hands until soft like play dough.  Now you're ready to get decorating!  Separate modeling chocolate and make the various colors with a drop or two of the coloring gel.  I did some red, blue, yellow, black, lime green, tan and peach.  Sprinkle some cornstarch onto a smooth work surface and roll out to start modeling.


To make Glinda's crown I used a pointy shaped cutter (a carrot) and then pressed indentations with my paintbrush handle.  After layering several rows, I brushed it with pearl dust to give it some shimmer and finished it with a pearlized gum ball.  


The matching wand was just white circle cut background with rolled out wand of tan and pink shimmered up to make a good witch cookie pair:


To make my Theodora & Wicked Witch, I used an egg shaped cutter for the faces: 


And cut out hat shapes with my butter knife, using a toothpick to add some detail:


The Wizard & his sidekick Finley's hats were also knife cut, but with some rolled pieces added to build them up and a swish of pearl dust to accent them:


Emerald City Witch Evanora's apple was a circle I indented a bit at the top & bottom and added a little rolled stem.  To get the mottled look of her magic necklace I mixed a bit of the green & black together to marble it and then cut out an oval.  Pearl dust on the chain and the enchantment is complete:


My absolute favorite look was the little China Doll.  


She was so cute and the details of her porcelain were a cool effect, so I had to make a cookie for her too, by cutting a bell shape for her peachy hair and outlining the hairline:


Then cutting another little white oval face and putting them together made her complete.


To make a pretty poppy flower I just cut out two circles and pinched them in the center and waved them up a bit.  Rolling a few tiny black circles added the center detail and a few brush strokes of shimmer for a little magic:


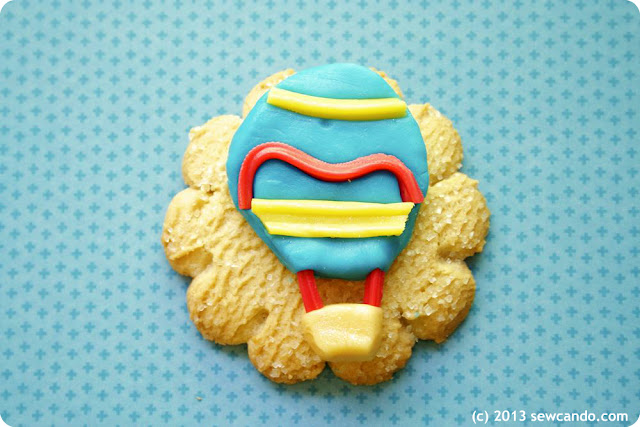
And for Oz's hot air balloon, I cut up some red & yellow Twizzlers into thin strands,


then bent those into stripes & waves and pressed them into place on the balloon:


Our family really enjoyed watching this and the kids could not wait to dig into the cookie characters and take a little edible adventure into Oz.  It definitely makes for a more magical snack!  


Oz the Great and Powerful Blue Ray Combo Pack is out now & there's a Pinterest Sweepstakes too.  Find out more on:


This is a sponsored post written for Disney and Blueprint Social, for which I received compensation.  The opinions are entirely my own, based on my own experience.  For my complete disclosure policy, click here. 

And you can find more fun Oz-themed projects to inspire you here:


Tuesday, May 21, 2013

Super Simple Reusable Sandwich/Snack Bag Tutorial


Warm weather is here & that means taking food to the park, beach, in the car and everywhere else on the go.  Why not transport it in a fun, reusable bag?  My Super Simple Reusable Sandwich Bags are a quick project made extra practical by using laminated cotton for the interior that makes them easy to wipe clean or just toss in the wash.  Perfect for sandwiches, cookies and other small snacks.  And so much cuter than a plastic baggie!


You'll Need:
- 1/2 yard cotton fabric (I used this fun picnic-style ant print from Timeless Treasures)
- 1/2 yard laminated cotton** (I used Fruit A La Carte Strawberry by Hoodie from Timeless Treasures)
~or~ 1/2yd of Eco-PUL which will work as a single layer outer/lining (more on this fabric here)
- 1 package of double fold bias tape
- Coordinating thread
- Plastic snaps & snap pliers/press (I get mine from KAMsnaps)
- Sewing notions: ruler, shears/rotary cutter, pins

* Using these fabric amounts you can make quite a few bags, so there can be enough for nearly every day of the week! 

** Note:  I try to use laminated cotton that has been confirmed to be BPA free and has passed CPSIA tests for lead & phthalates.  Materials like oilcloth & vinyl do not pass these tests, so they should not come in contact with food.

From the cotton and laminate cut rectangular pieces that are about 15.5 inches high by 7 inches wide (this would work for most "regular" bread sizes).  Using a small dish or bowl, round off one end in a concave shape and the other end in a convex shape, so they look like this:


Place fabrics together with wrong sides facing.  Encase the concave edge in bias tape and stitch together close to the folded edge of the tape.  Don't worry about folding under the edges - this will get hidden when the rest of the tape is attached.


Fold bag up 6 inches, as shown, so that the laminated side is facing inward and pin together.


Starting at the lower left corner, fold the raw edge of the bias tape under and encase all the fabric layers in the tape, stitching close to the folded edge of the tape.  Continue all the way around the bag to the opposite corner, folding that corner under as well:


Now we have some perfect pouches that just need a quick closure added:


For the closure I prefer to use a plastic snap.  Why?  Well, for one thing, they are super sturdy and very quick to install (I use my snap press and it takes just seconds).  Secondly, they are easy to keep clean with a quick rinse, unlike velcro & zippers that can collect crumbs.  And there's no risk of them wearing out or rusting with a lot of washing, which items like this tend to get with regular use.


Attach snap so the male half is on the center of the inner flap, about an inch from the edge. Attach other half of snap on the front of the bag, this time with the female half on the outside.


Now the sandwich bag is all set, so you can enjoy taking tasty treats wherever you go!


I'm also sharing this project with my FAVE LINK PARTIES.
Click HERE to check them out!

LinkWithin

Related Posts with Thumbnails