Showing posts with label Parties. Show all posts

Wednesday, February 19, 2014

Though She Be But Little, She Is Fierce: A Pink Ninja Birthday Party


Since I'm in the middle of making a bunch of crafty projects right now, I thought this would be a good time to share something I created a few months ago, but hadn't had a chance to post: my custom Pink Ninja Birthday Party.  

My 4yr old is a fierce & fabulous little girl.  Shakepeare definitely got that quote right.  She holds her own with bigger kids and has some serious stamina no matter what she's doing. Her older brothers love ninjas & she does too; all last summer she called herself the "Pink Ninja".  I thought that would be a fun birthday theme for her & a nice departure from the usual princess/fairy/super sweet parties most girls do at this age. I was disappointed to discover that any ninja-related party stuff was red & black and always depicted boys.  A little girl who likes pink should still be able to be a ninja....

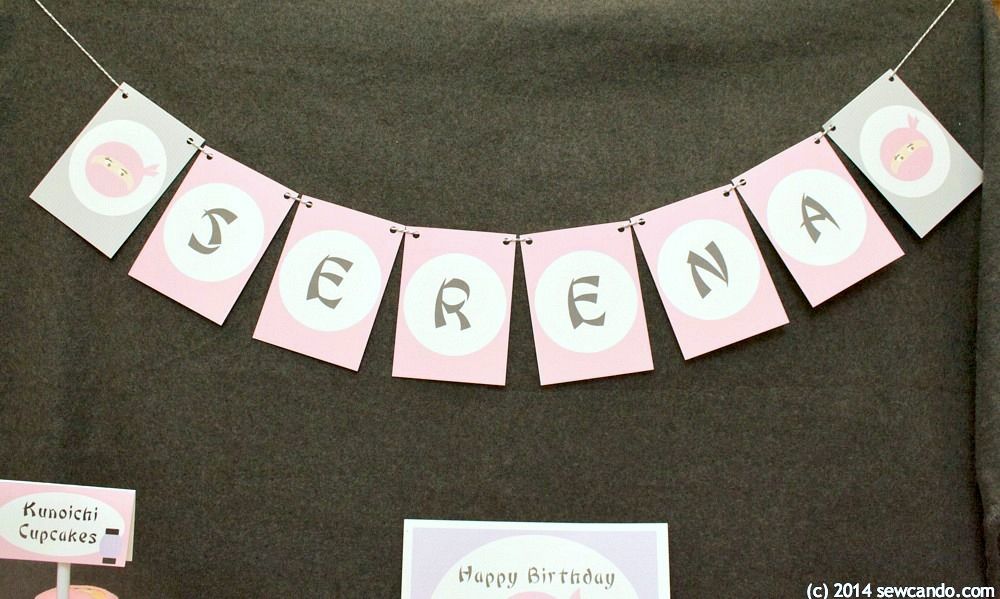
So I created my own girl-themed ninja printables with a grey, pink & purple color scheme. 


Invitations, bunting, placards, birthday sign & favor labels, to make my daughter's Pink Ninja personality shine:


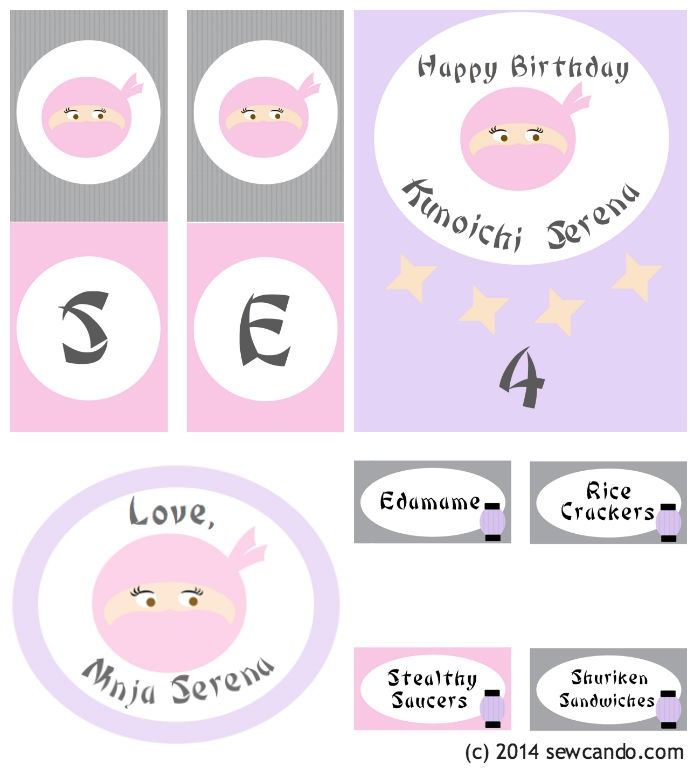
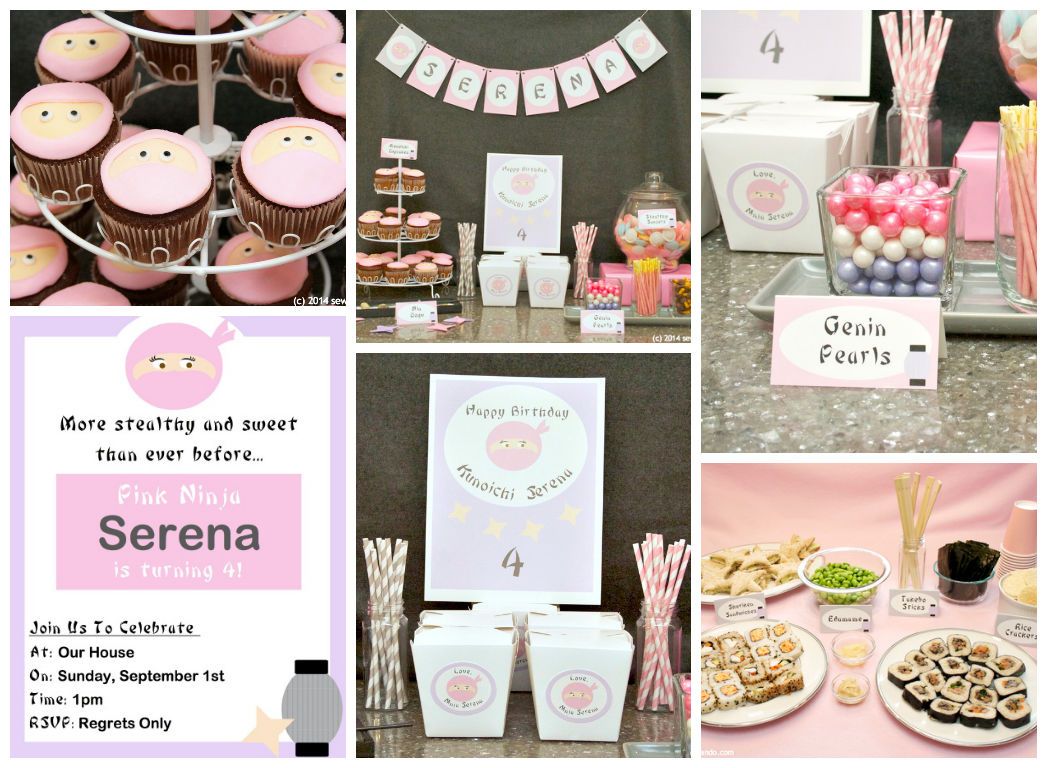
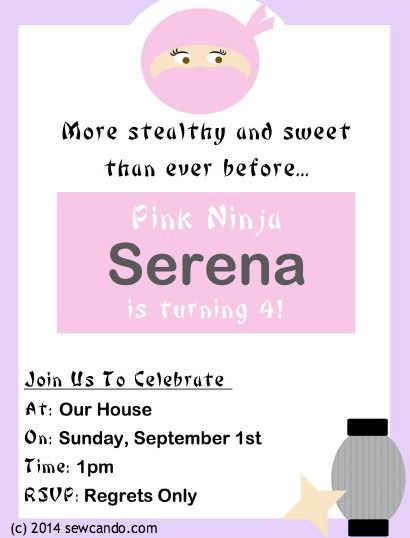
I started by creating this invitation, showcasing a girl ninja face I designed (with eyelashes & brown eyes like my little lady):


Next a personalized banner for my birthday ninja out of my printable, cardstock & baker's twine:


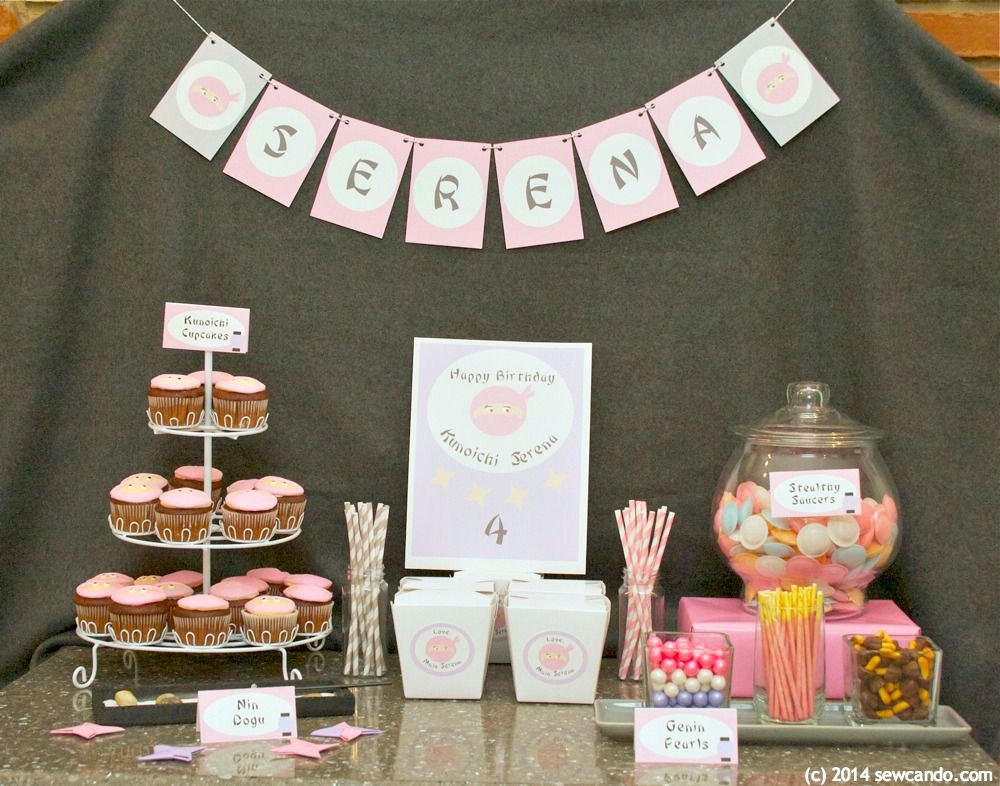
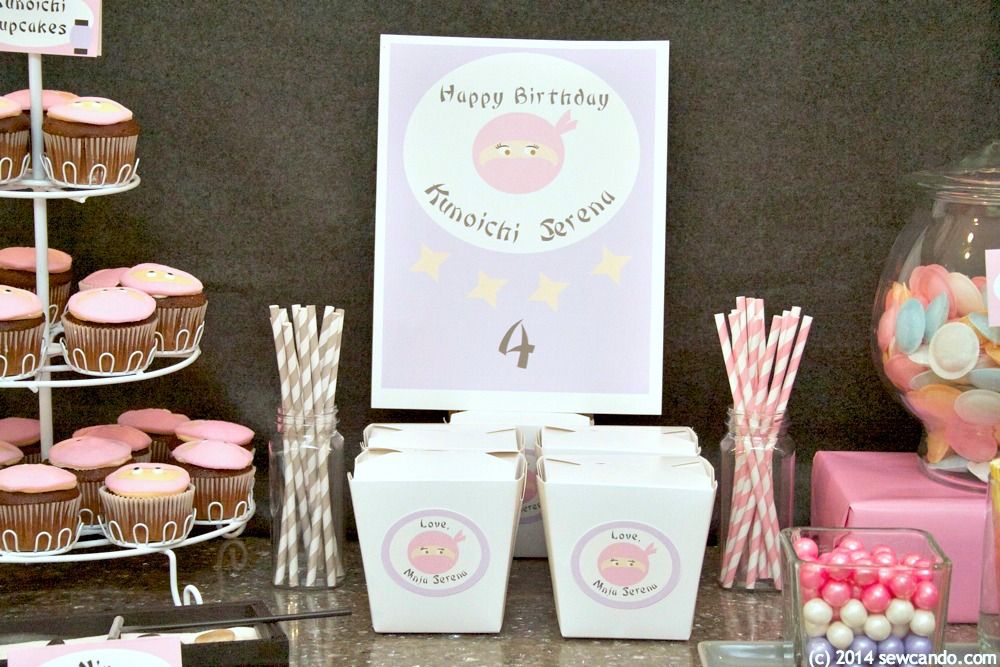
I created some small custom oval printables to affix to basic takeout containers to serve as perfectly themed goody bags.  Coordinating paper straws and a special birthday sign added some decoration.


Food-wise, I wanted to do a party that would be fun, but also a good balance of healthy & treats.  Sometimes I see high-styled parties that look breathtaking, but the massive amount of colorful candies, cakes, cookies & other sugar-laden items is overwhelming.  No kid needs their body weight in sugar as a meal.  You can style a beautiful party with some healthy food in the mix folks!

For our savory section we had vegetarian and regular sushi, cucumber sandwiches, soybeans, seaweed and rice crackers.  I created some themed placards for the food and added some chopsticks for double duty as utensils and decoration:


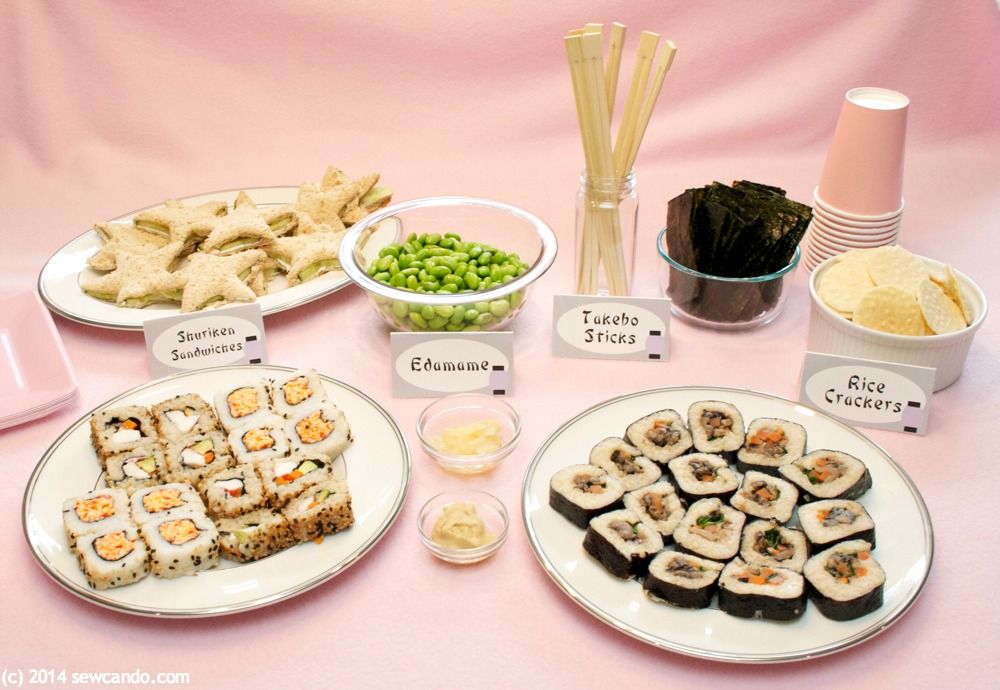
The shuriken (throwing star) sandwiches were cucumber and cream cheese filling on whole grain bread and cut with a star-shaped cookie cutter.  Some fabric yardage served as my tablecloth:


And since I'm not the sugar police, we did have some sweet goodies too.  On the treat side we had Kunoichi (female ninja) face cupcakes I made with my fave cake decorating element, modeling chocolate.  


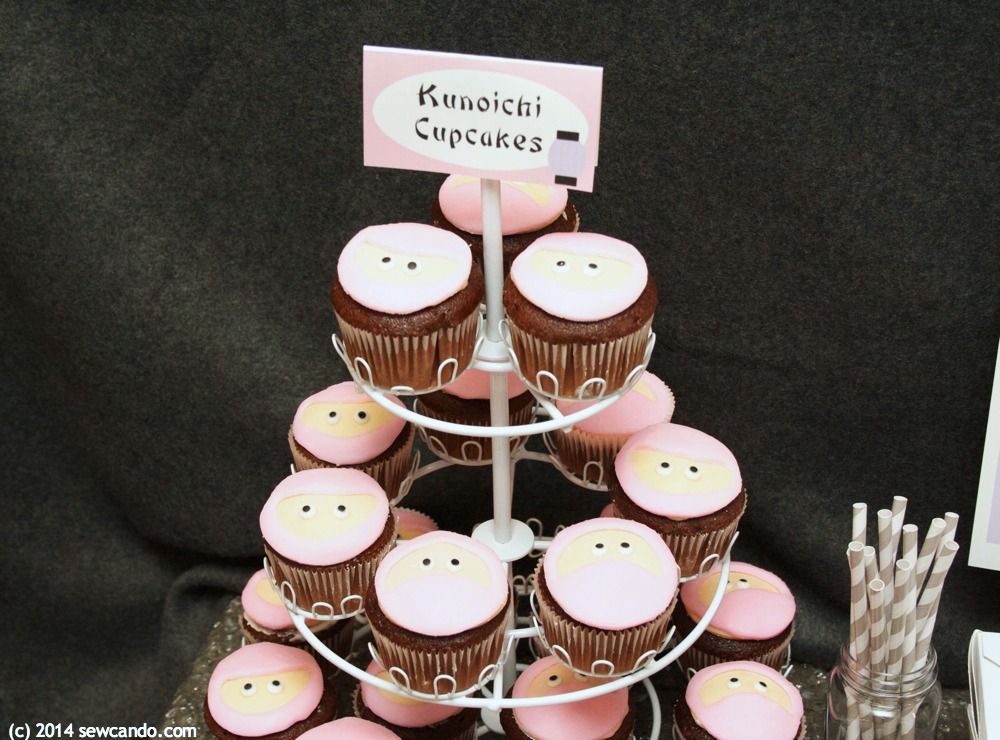
I came up with a super-easy method for making them (which I can share in another post if there's interest).  I really loved how they turned out.


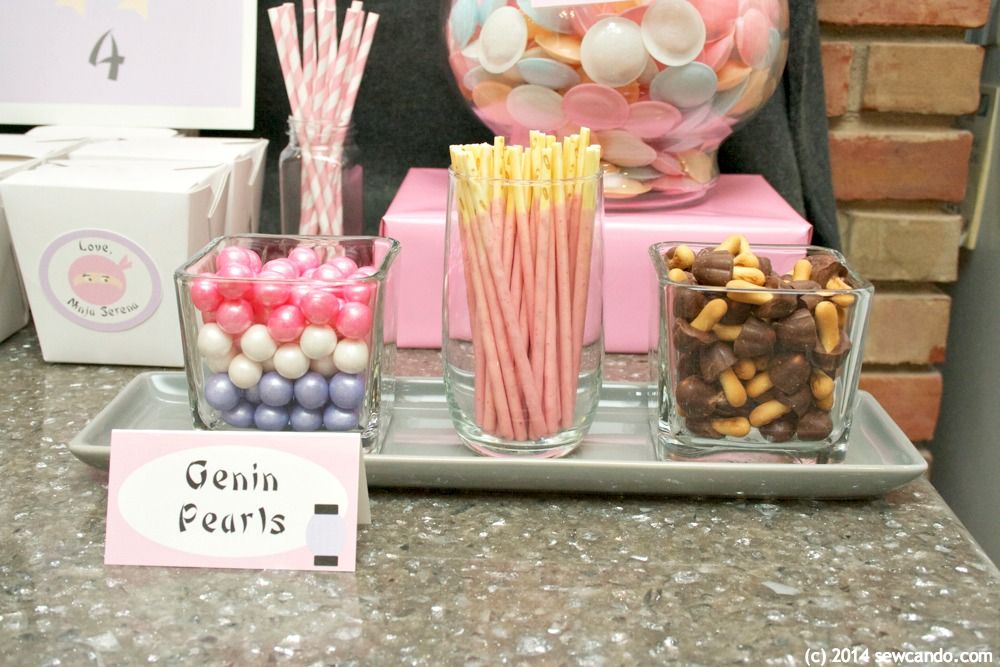
We also had some pearlized gumballs, Pocky sticks and Chocorooms (aka mushroom shaped chocolate dipped biscuits).  


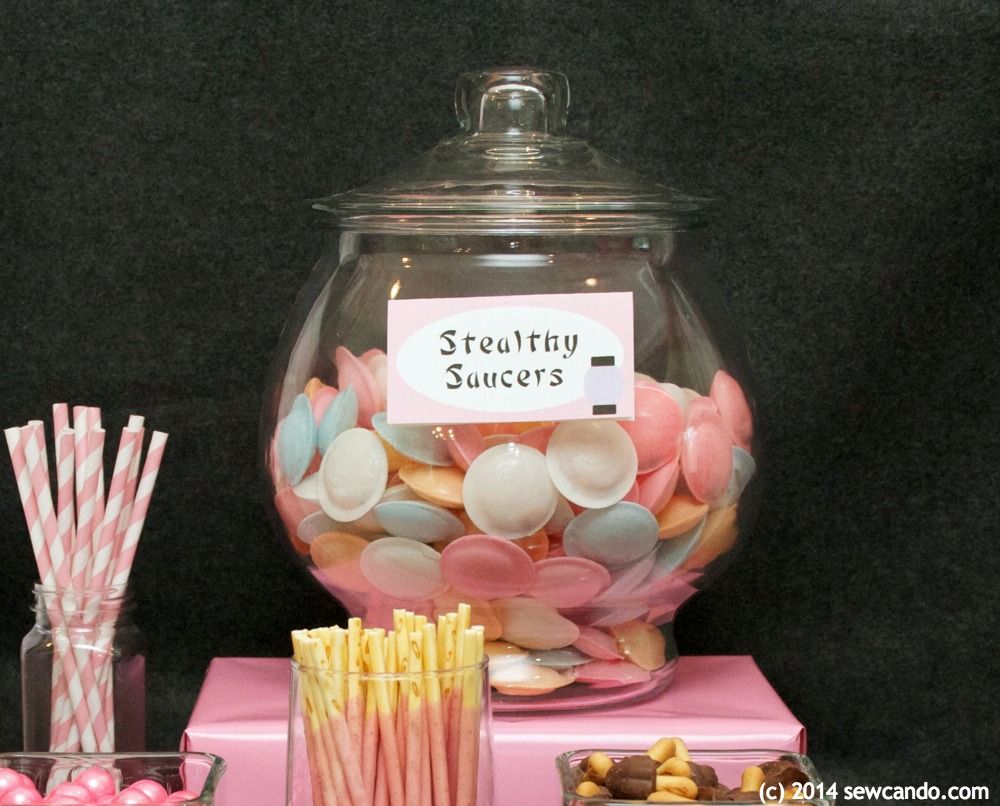
And of course my favorite wafer candy saucers - found for a bargain price at Staples.com of all places!


Decoration-wise I kept it thrifty with glass containers I already had, paper throwing stars my husband made and this little zen garden I picked up at the dollar store (Nin Dogu means Ninja Tools):


We had a great time and the birthday girl was proud to show her stealthy skills on her special day.  Go Pink Kunoichi!


Where I Got The Party Goods:

Pink Ninja Printables: Designed by me :)
Pocky, Chocorooms: Five Below
Pearlized Gumballs: Toys R Us
Wafer Candy Saucers: Staples.com
Zen Garden: Dollar Store
Paper Straws, Baker's Twine: Simple Addiction
Fabric for tablecloth & backdrop: My stash


I'm also sharing this project with my FAVE LINK PARTIES.
Click HERE to check them out!

Thursday, July 25, 2013

Tutorial Time: Strawberry Party Piñata & Surprise Ball Favors


Making your own custom-themed party accents can be easy, cheap and fun.  Today I'm going to show how I made my own custom Strawberry Piñata and Strawberry Surprise Balls for the Strawberry Shortcake Birthday Party, I shared earlier this week.  By putting together with some basic supplies, a little DIY and a set of strawberry-themed printables, I was able to style up a pretty party within a "real" mom's budget and time:


Now let's get to the how-to info.  For the Strawberry Piñata...


Materials Needed:
- Red crepe paper (1-2 rolls)
- Green duct tape
- Hot glue gun
- Newspaper
- Liquid Starch (find in the laundry aisle)
- Masking tape
- Scissors
- A Balloon 


How To Do It:
Start making the piñata by covering an inflated balloon with strips of newspaper dipped in liquid starch.  Cover with 2-3 full layers.  Using the starch gives a nice, smooth finish, which is also pretty hard. Leave several inches at the knot of the balloon uncovered, as this will be where the piñata gets filled.  Allow several hours to fully dry.


Pop and remove the balloon from the gap in the base.  Fill with treats/toys and then close by covering with several large pieces of newspaper.  Using masking tape and a strip of packing tape will keep it firmly closed, but not so much that the kids won't be able to break it.


Take a strip of green duct tape about 6-8 inches long and fold in half:


Use strip to make a handle and then tape down ends with more duct tape:


Take some strips of red crepe paper and begin to layer in a criss-cross fashion along the bottom end.  Tack down each end with a dab of hot glue. 


Now take longer strips of crepe paper and starting at the top, near the stem, wrap in a "U" shape around the base of the strawberry and up to the other side near the top:


Fix ends into place with more hot glue:


Continue wrapping until newspaper is completely covered.  By keeping the crepe taut as you wrap, it will keep a nice curved shape against the piñata.


Take a strip of green duct tape, about 4-5 inches long and fold in one short end to make a point.  Repeat with 7 other pieces.


Apply stem pieces along top near handle, in a fanned out shape:


Now the piñata is ready to display or hang and use:


The Strawberry Surprise Balls do double duty as both decorations and favors.  Nestled within their many layers are little treats and toys.  As they are unwrapped, each surprise item is revealed.  


Materials Needed:
- Red crepe paper (1-2 rolls)
- Some scraps of green crepe or construction paper
- Small treats, toys or trinkets (I used a super ball, sweet tarts, tootsie rolls, tattoos, silicone rings)
- Hot glue gun
- Clear tape
- Scissors
- Black marker

How To Do It:
To make my stems I went the super easy route and used this floral die cut shape & my Cuttlebug. This could be cut by hand, but since I already had them, I just saved a little time and used what I had.


Grab a roll of red crepe paper and the items to include in the surprise ball.  It's best to start with something like a ball for the center to give a "base" to wind around and then used items that are thin or can easily be bent to include in the subsequent layers:


Fold crepe paper in half and begin winding around the ball, covering completely from all angles:


Next add another item like a candy and begin winding paper around widthwise and lengthwise:


Continuing adding and winding crepe around the remaining items.  To give the ball a strawberry-like shape, add a tootsie roll or similar shaped item sideways to one end and continuing wrapping. 


As the ball becomes larger, the crepe no longer will need to be folded and can simply be wound around.  Hold the crepe firmly with a little bit of pull to keep it nice and taut so it will not gape. And then secure with tape near upper end:


Hot glue the stem on and use a marker to draw on the seeds.


Nestle the surprise balls into a strawberry basket for a pretty effect:


These custom party items are a hit with young and old alike and very easy on the wallet too.  To check out the entire party, click HERE.


I'm also sharing this project with my FAVE LINK PARTIES.
Click HERE to check them out!

Friday, June 14, 2013

Oz The Great and Powerful Inspired Adventure Cookies


Today I've got a special treat I'm very excited to share: my Oz The Great and Powerful Inspired Adventure Cookies.  I received an advance copy of the Blue Ray Combo pack for Oz the Great and Powerful and was asked to create a project inspired by the movie.  It was a lot of fun because it has all my favorite things - a treat, a fun movie and a crafting challenge rolled into one!


I have to say I was really wowed by the visuals of Oz.  The scenes and effects really were beautifully done and there's an interesting assortment of characters. That made it fun to come up with some sweets that explore the land of Oz.  By using my go-to treat ingredient, modeling chocolate, and a few basic tools, it was easy to sculpt up some of my favorite elements from the movie.  And now you can too!


You'll Need:

- Package of white chocolate wafer melts
- 1/2 cup corn syrup
- 1/2 cup cornstarch
- Flat sugar cookies
- Cookie/fondant cutters (circle, oval/egg, triangle/carrot)
- Rolling pin, butter knife, small paintbrush
- Gel food coloring
- Optional decorations: edible pearl dust, rainbow Twizzlers, pearlized gum balls

To make the easy-to-sculpt modeling chocolate (aka candy clay), melt one bag of chocolate melts in a Pyrex container in the microwave according to package instructions (usually 1 minute on half power).   


It may not look like it's completely melted, but if you stir well it will get smooth.  Fold in 1/2 cup of corn syrup until it starts to come together like a dough ball, then spread out about 1/2in thick on cling wrap covered cookie sheet and cover with more cling wrap.

Let it sit for at least 3 hours to set, then knead with hands until soft like play dough.  Now you're ready to get decorating!  Separate modeling chocolate and make the various colors with a drop or two of the coloring gel.  I did some red, blue, yellow, black, lime green, tan and peach.  Sprinkle some cornstarch onto a smooth work surface and roll out to start modeling.


To make Glinda's crown I used a pointy shaped cutter (a carrot) and then pressed indentations with my paintbrush handle.  After layering several rows, I brushed it with pearl dust to give it some shimmer and finished it with a pearlized gum ball.  


The matching wand was just white circle cut background with rolled out wand of tan and pink shimmered up to make a good witch cookie pair:


To make my Theodora & Wicked Witch, I used an egg shaped cutter for the faces: 


And cut out hat shapes with my butter knife, using a toothpick to add some detail:


The Wizard & his sidekick Finley's hats were also knife cut, but with some rolled pieces added to build them up and a swish of pearl dust to accent them:


Emerald City Witch Evanora's apple was a circle I indented a bit at the top & bottom and added a little rolled stem.  To get the mottled look of her magic necklace I mixed a bit of the green & black together to marble it and then cut out an oval.  Pearl dust on the chain and the enchantment is complete:


My absolute favorite look was the little China Doll.  


She was so cute and the details of her porcelain were a cool effect, so I had to make a cookie for her too, by cutting a bell shape for her peachy hair and outlining the hairline:


Then cutting another little white oval face and putting them together made her complete.


To make a pretty poppy flower I just cut out two circles and pinched them in the center and waved them up a bit.  Rolling a few tiny black circles added the center detail and a few brush strokes of shimmer for a little magic:


And for Oz's hot air balloon, I cut up some red & yellow Twizzlers into thin strands,


then bent those into stripes & waves and pressed them into place on the balloon:


Our family really enjoyed watching this and the kids could not wait to dig into the cookie characters and take a little edible adventure into Oz.  It definitely makes for a more magical snack!  


Oz the Great and Powerful Blue Ray Combo Pack is out now & there's a Pinterest Sweepstakes too.  Find out more on:


This is a sponsored post written for Disney and Blueprint Social, for which I received compensation.  The opinions are entirely my own, based on my own experience.  For my complete disclosure policy, click here. 

And you can find more fun Oz-themed projects to inspire you here:


LinkWithin

Related Posts with Thumbnails