Showing posts with label My Own Fringemaker. Show all posts

Wednesday, May 17, 2017

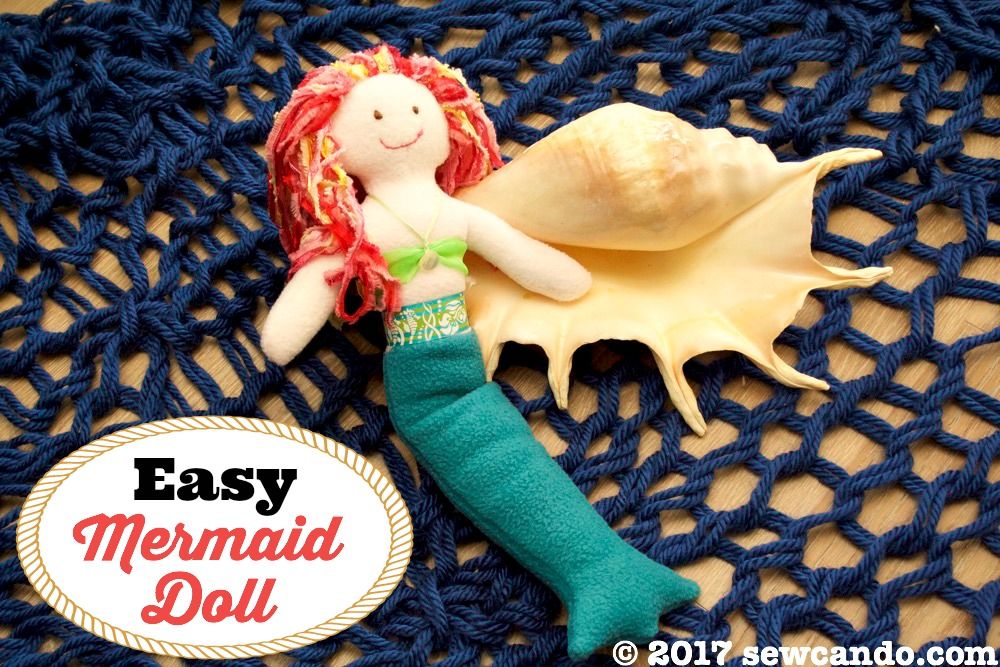
Easy Mermaid Doll Making


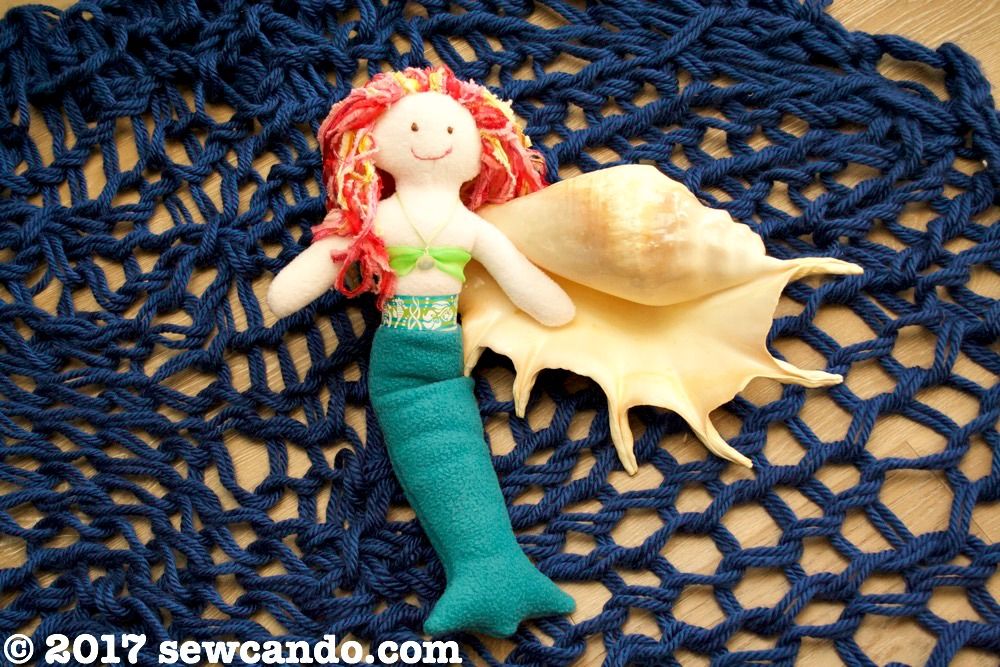
This softie mermaid was a present for my daughter.  She'd been asking for a mermaid doll for quite a while.  I wanted it to be a simple sew I could do in an afternoon, but she still had to have fun features:


Flowing, full, style-able hair was a definite must:


I was inspired with the general look of the mermaid from the book Fleece Dolls by Fiona Goble, but I actually ignored the book's instructions and made it my own way.  The book has a couple of cute soft doll designs, but most of them are variations on the same general design and I hated that they all involved some teeny tiny line drawings instead of actual patterns you can use.  In the end I freehand drew out my own pattern rather than trying to wrestle with scaling up her tiny line drawings with a printer just to cut them out at a reasonable size.


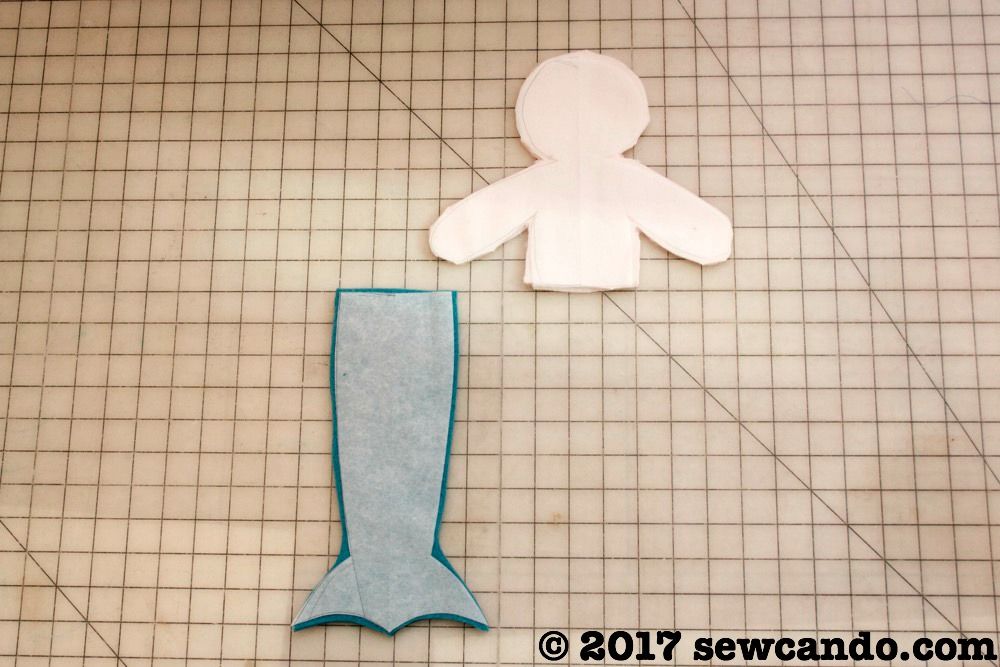
I drew a basic doll head and torso piece and used my French Curve ruler to help draw a decent mermaid tail for the lower half.  I had just enough peach colored scrap fleece left to cut out the body.  Oddly, that color isn't sold in stores and nearly impossible to find online anymore.  Ivory or light pink seem to be the only options these days or using super pricey doll-making jersey, which just isn't the same.  I can't be the only person in the universe that wants it.  Bring back the peach fleece someone!!  I cut the tail from some teal fleece and then got sewing.


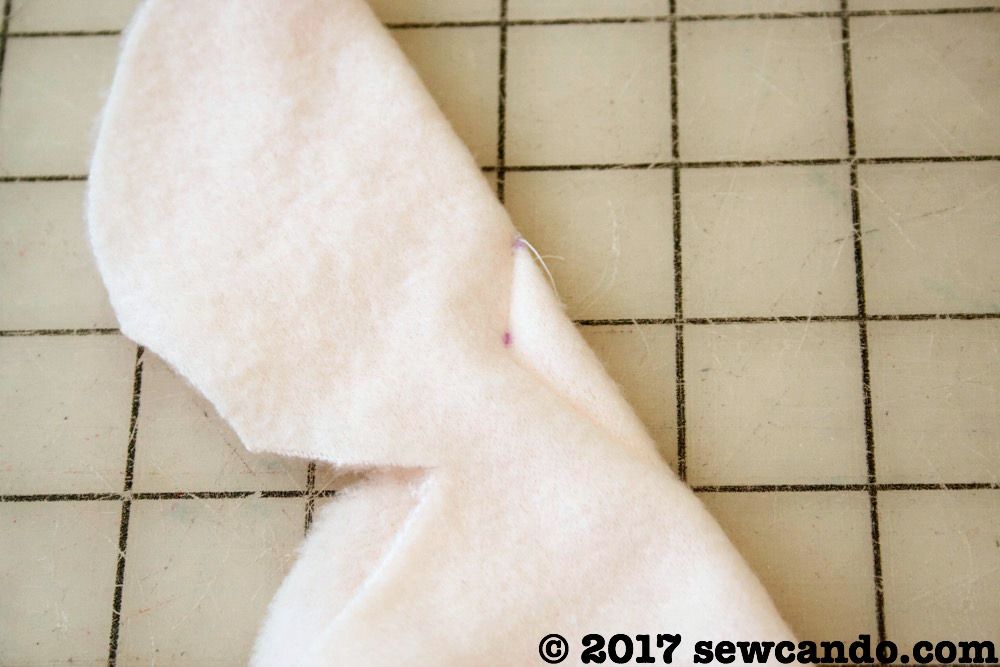
On the body piece that will be the front I marked a elongated diamond shape right at the neck:


I folded it in half, lining up the dots and stitched from the top dot, to the middle dot and then to the lower dot to add some dimension at the neck.  


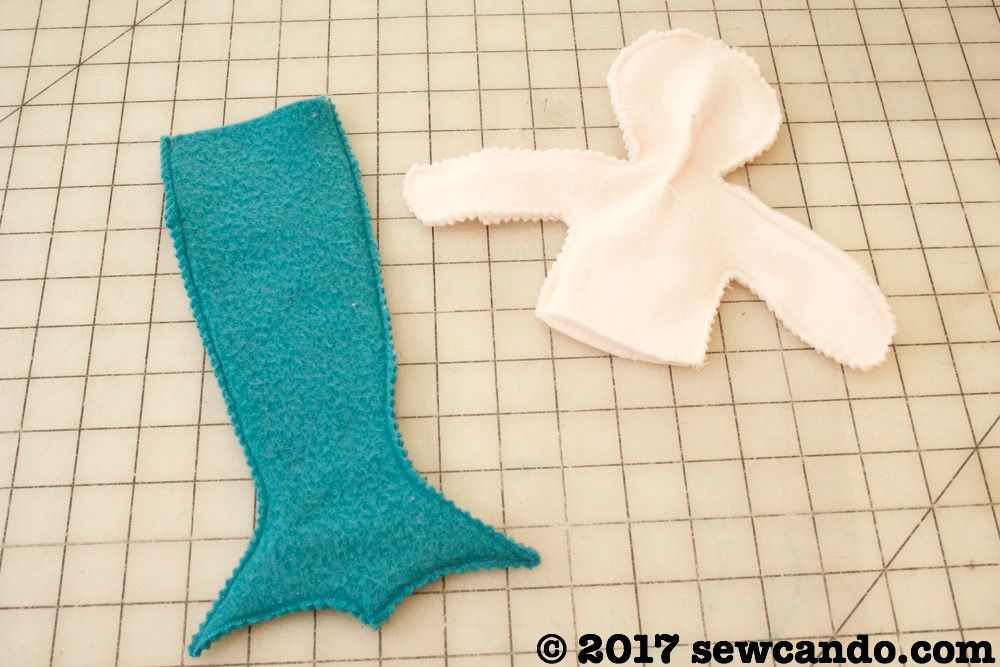
Then I stitched together the body pieces, right sides facing and did the same with the tail pieces and trimmed down the edges:
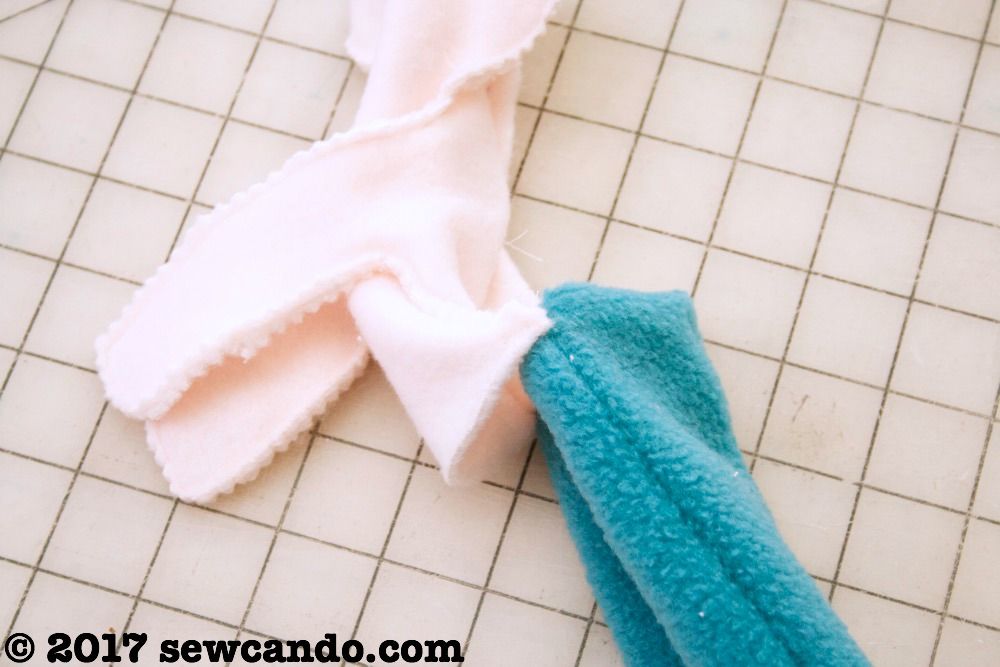

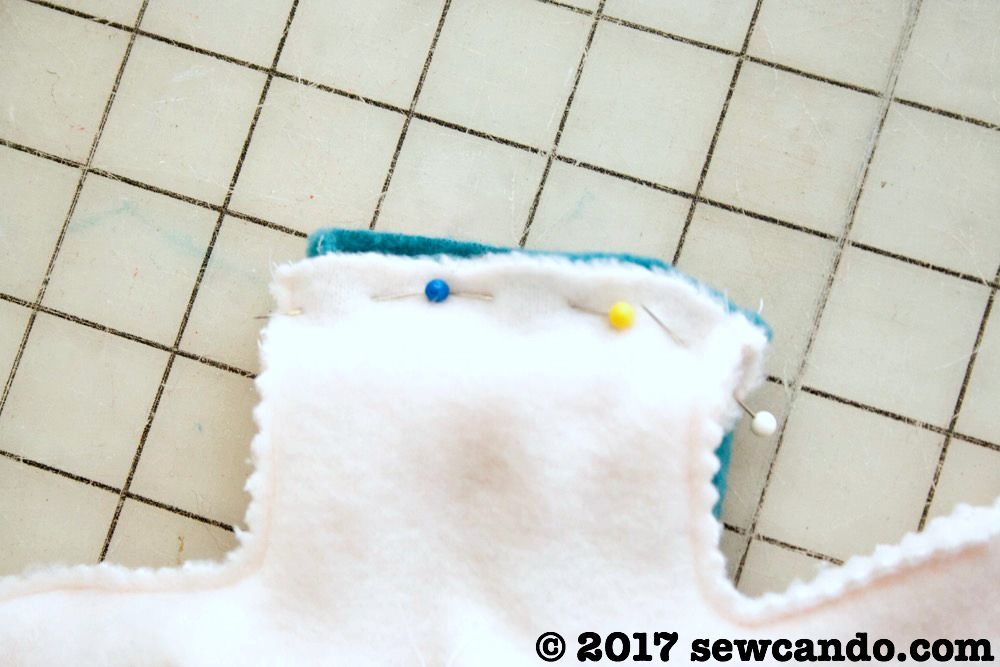
I turned the tail right side out and then matched up the top edge with one side of the body (right sides facing), like this:


It seems crazy, but hear me out because this is way easier than having to hand stitch it all together.  With the body bit facing down, pin and stitch together. Turn the body right side out and then all that's needed is to stuff and then slip stitch one side of the waist closed.


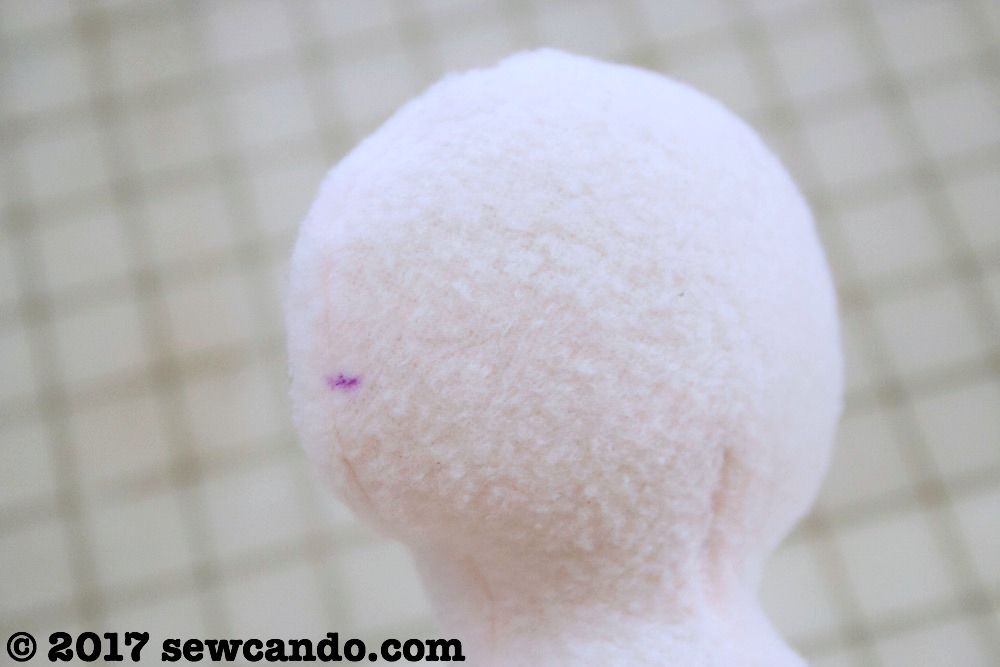
To do the thick, flowing, textured hair, I used some ribbony yarn and a tool called My Own Fringemaker.  I did a review of it here.  This made it super easy to get the hair thick enough and perfectly even in width and length.  I measured the dolls head from "ear to ear" along the top and around the back.  


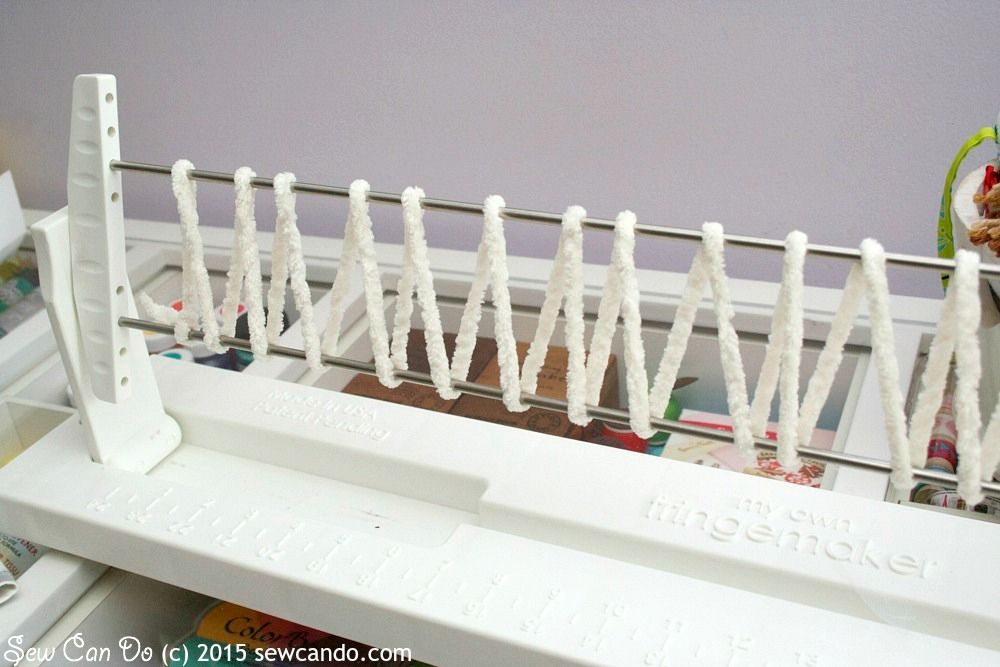
I wound my yarn around the tool to be the same width as each of my measurements.  
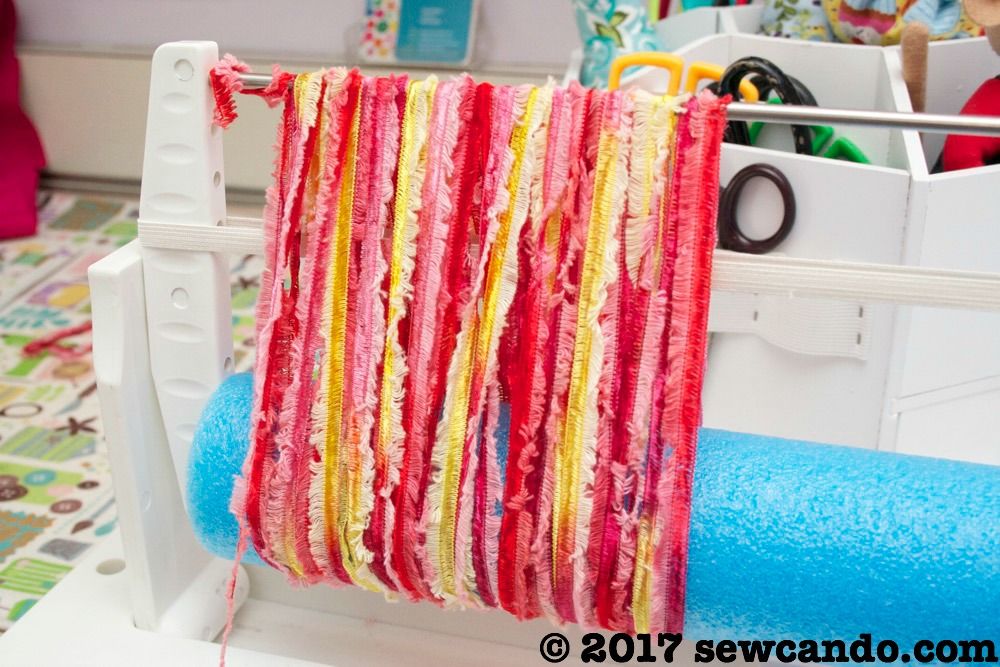


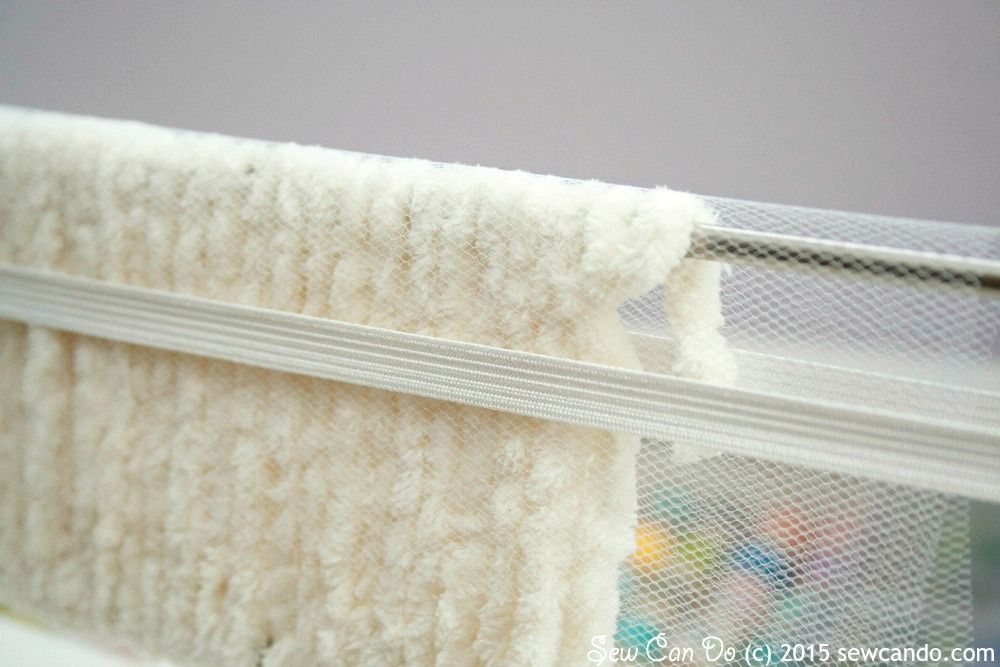
Then I slid a piece of tulle underneath one of the rods and wrapped it over.
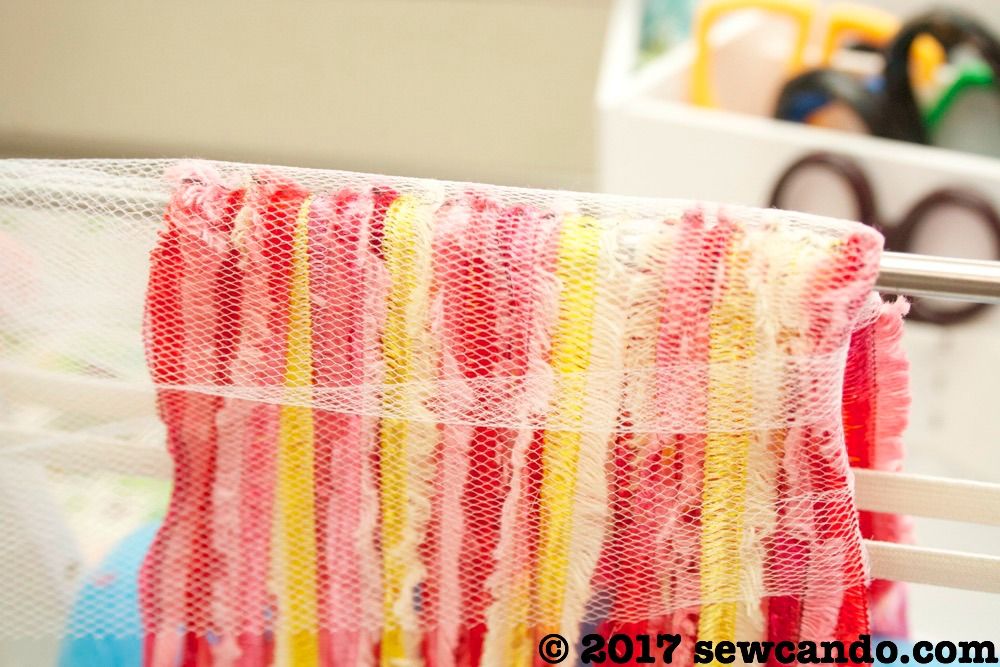


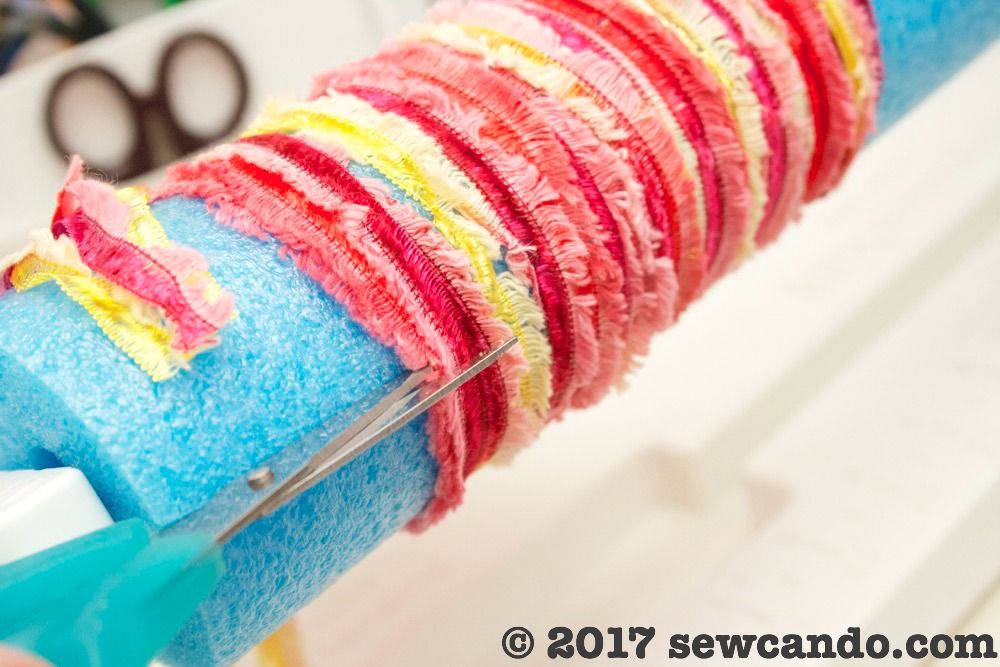
I cut the loop at the bottom rod (it's cover with a pool noodle to get extra inches of length):


Then spread it out and stitched down the tulle several times to attach the yarn strands.  
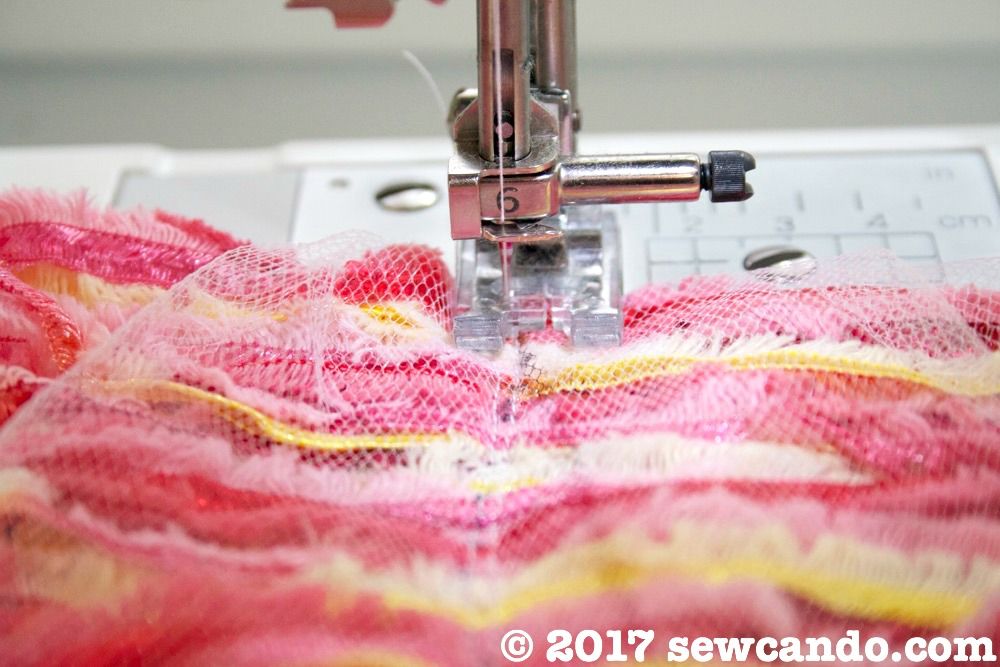


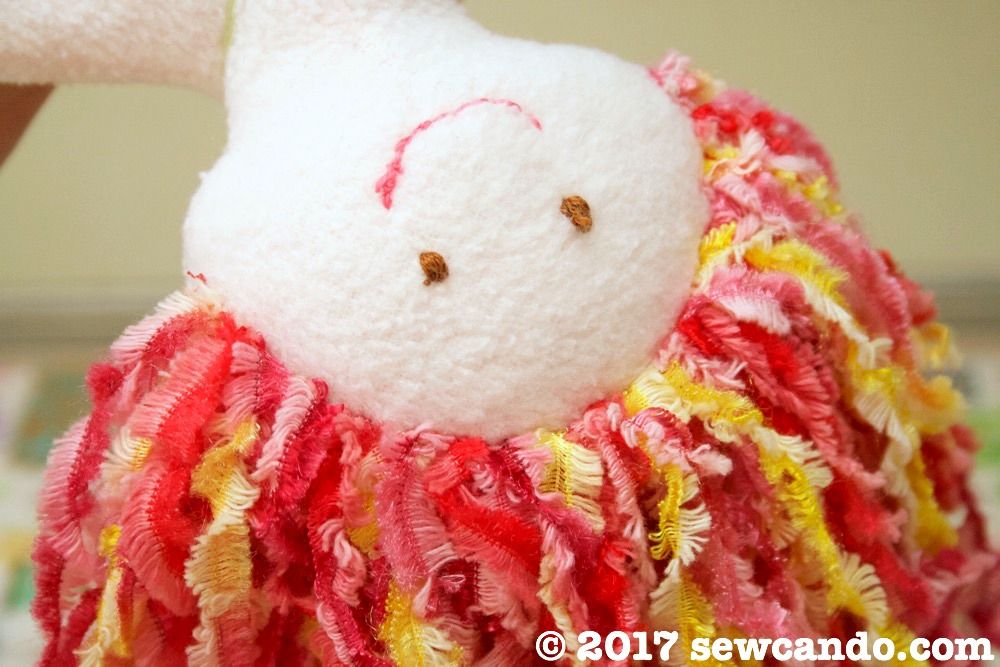
I carefully cut away the tulle and now I had some lovely rows of hair.  I folded each along the stitching and hand stitched the first row onto the head horizontally.  


Then I pinned and hand stitched the other piece from where an ear would be, over the top to the other side.  By slipstitching, the hair was solidly attached, but impossible to see the stitching.  
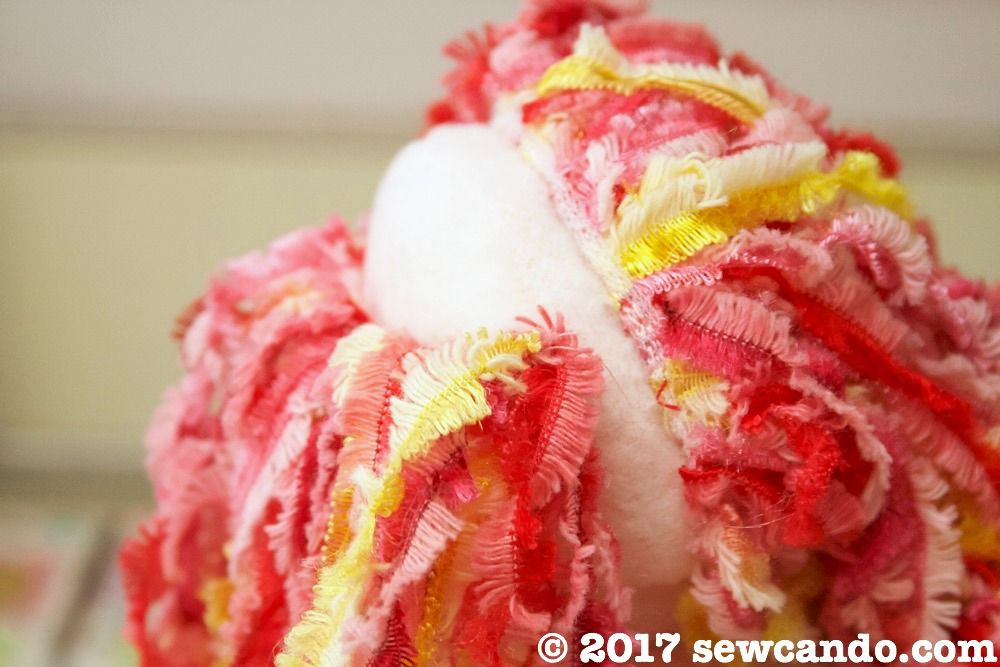


With the hair being so nice and thick and how it's positioned, there aren't any massive bald spots that will peek through.


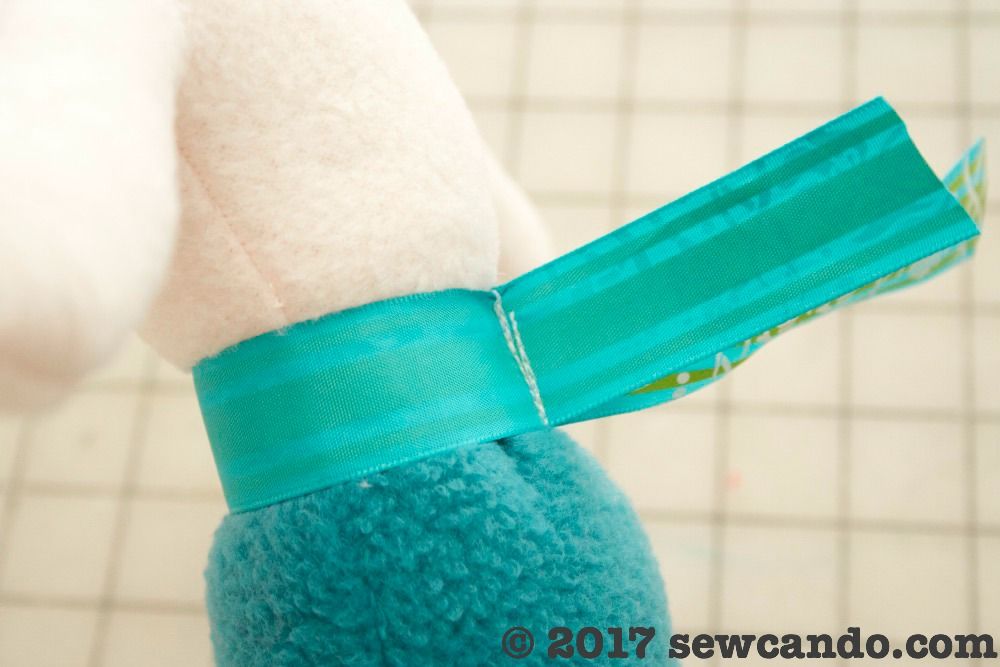
I had some sea-themed ribbon that I used to make a belt.  I cut a piece just larger than the waist and flipped it wrong side out.  Carefully pinching back the waist fabric, I stitched the ribbon ends together, trimmed and then flipped it right side out.  


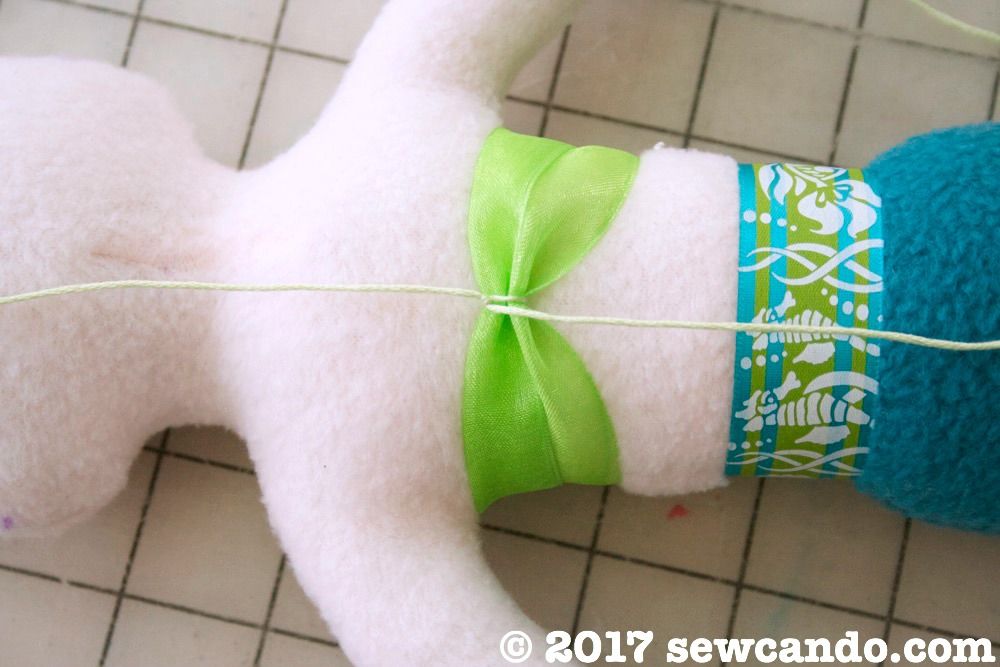
I did the same for the bikini top, except used a wider organza ribbon.  I tied it at the center with some embroidery floss and then tied it around her neck.  


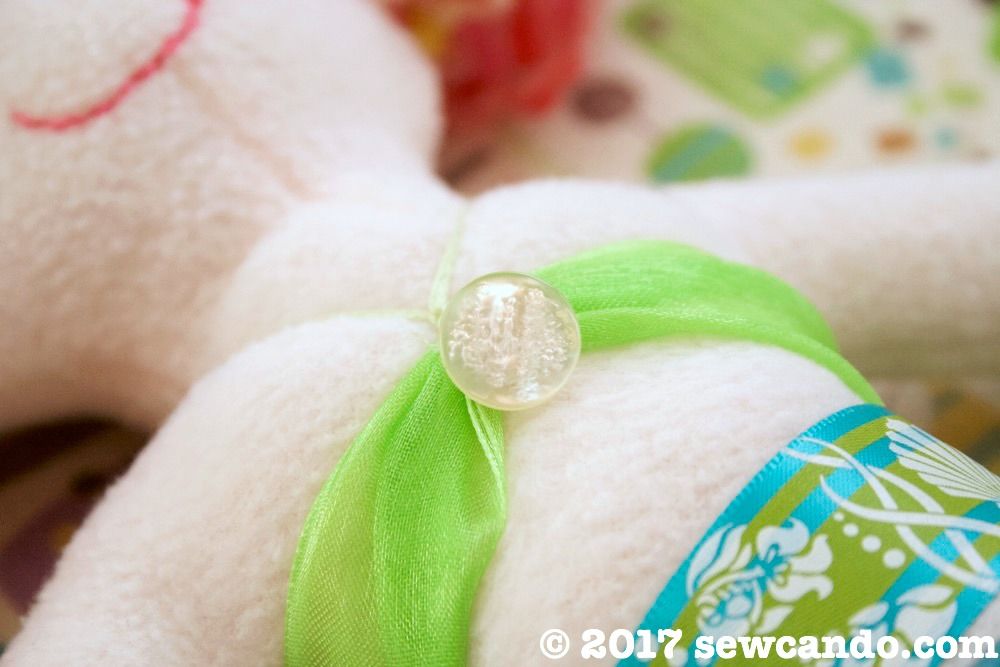
I hand stitched a mother of pearl button onto the center.


I hand stitched eyes and a mouth with embroidery floss.  That's always the part I like the least because I'm semi-terrible at it, but it wasn't the worst stitch job I've done.

It was such a nice feeling being able to make what my daughter wanted with just materials I had in my stash.  It might not be perfect, but this new little friend sleeps in her bed every night and is one of her favorite dolls, so it's a success to me.      


SaveSaveSaveSave

Friday, May 15, 2015

Fanciful Fringe Skirt Made Easy - Using My Own Fringemaker


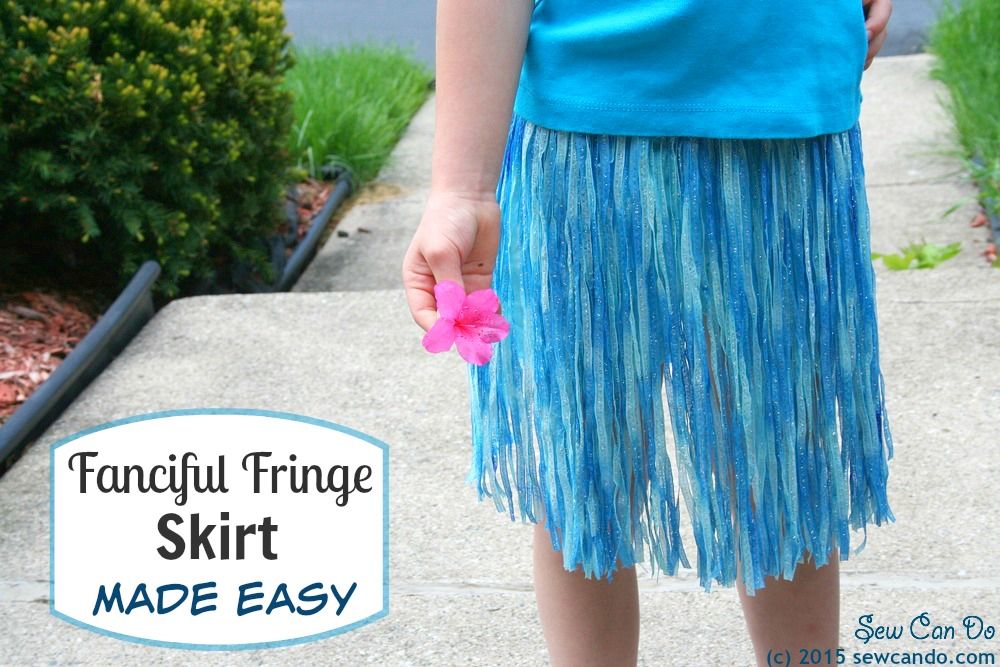
This week I'm on a fringe project kick, thanks to my new fringe making abilities.  On Wednesday I shared how I've learned to use the My Own Fringemaker® tool and how I can now turn any string, ribbon or yarn into gorgeous fringe.  Today I'm showing how to make extra long, 12 inch fringe with it and how to turn that into a Fanciful Fringe Skirt in just minutes.  
Why Make A Fringe Skirt?

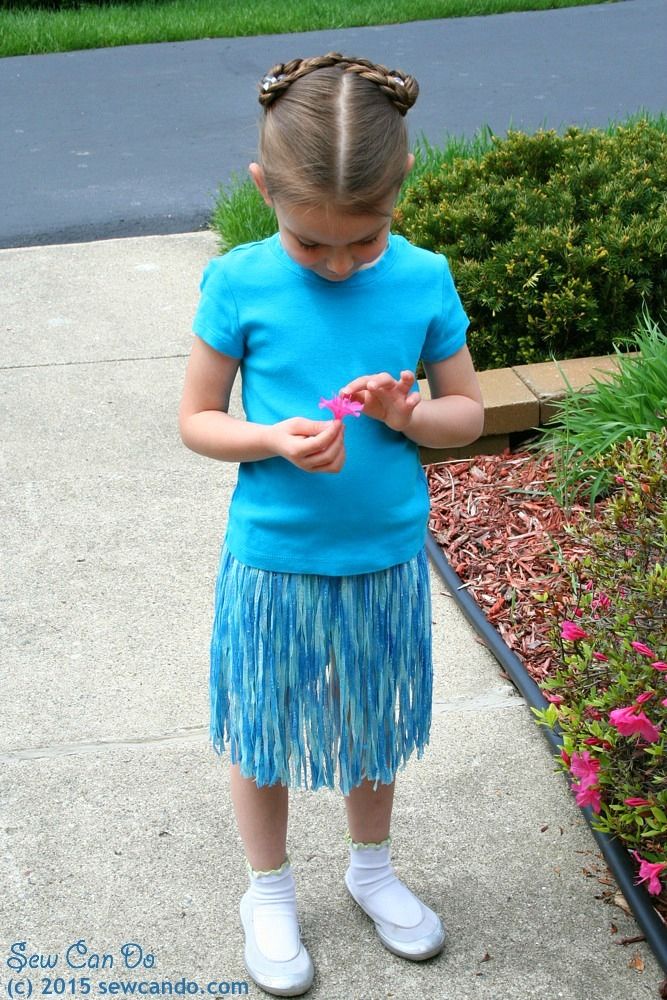
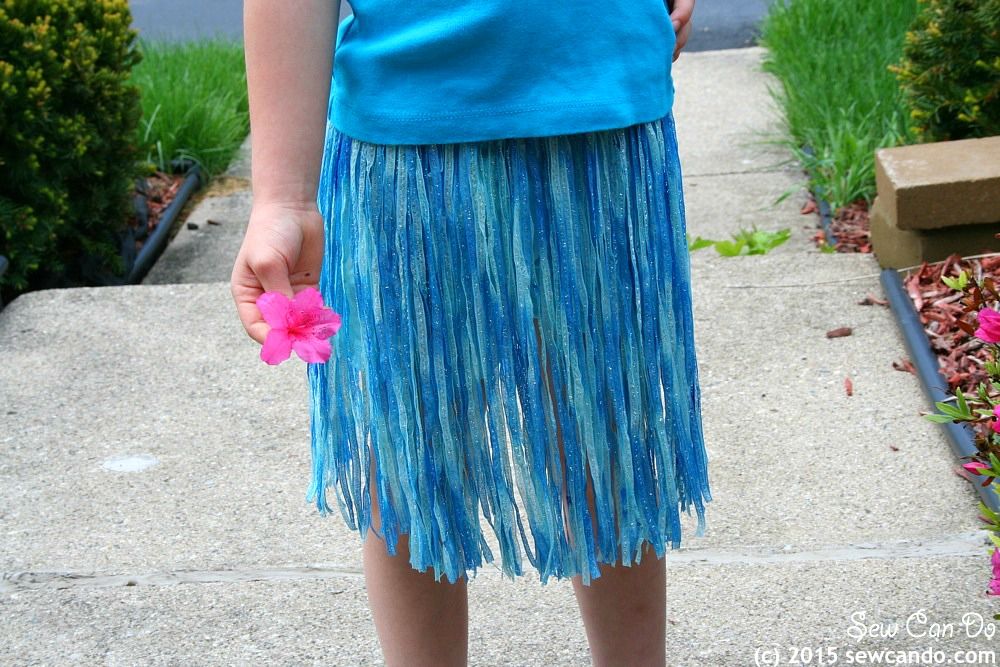
With a pair of shorts underneath, this little skirt makes an everyday outfit look way more fun.


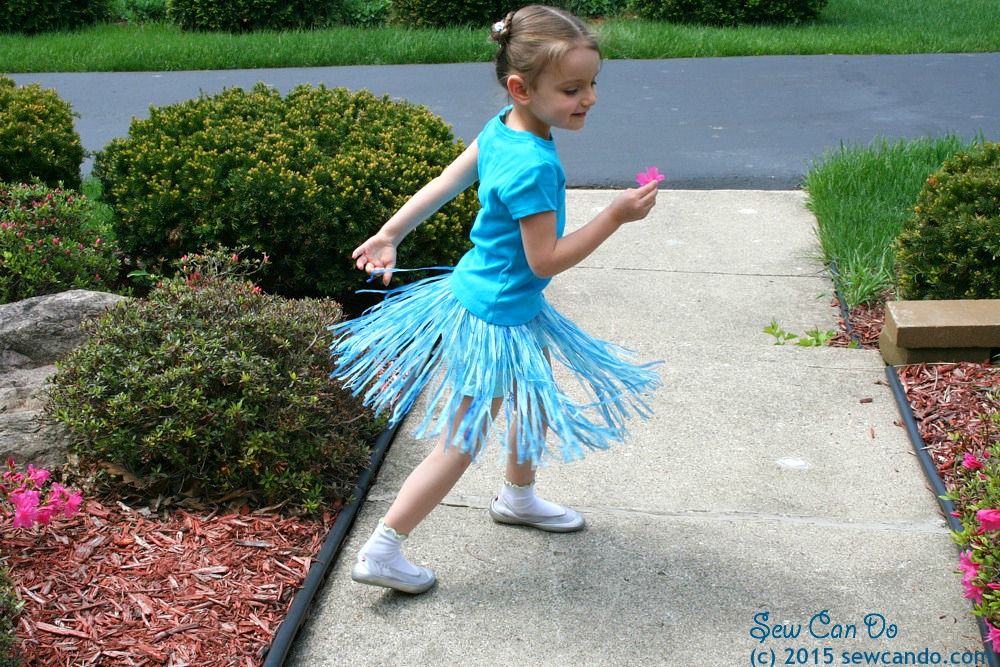
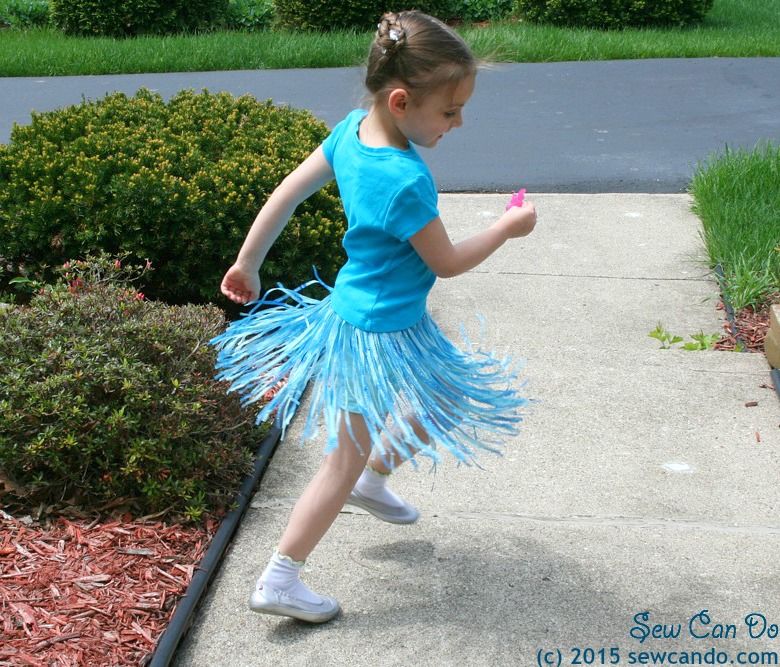
It's got a nice bit of sway - perfect for doing the hula:


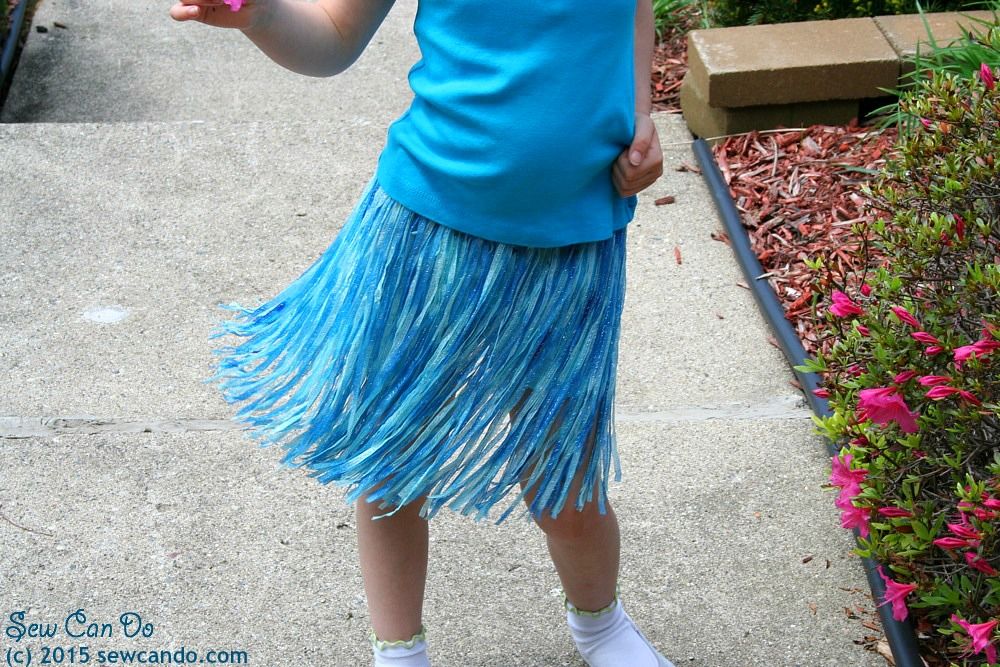
And plenty of movement for pretty twirls:


It's also great for dance class, costumes and playing dress-up.  The looks change depending on what type of ribbon you use.  Green raffia makes a great Hawaiian grass skirt, silky strands a perfect for a 1920s flapper, metallic or variegated to make fun fairy looks. Lots more options and way cheaper than buying fringe by the yard or ready-made skirts.  And by using the fringe's header as a casing, there's no complicated waistband to sew. Beyond easy!


Added bonus: the elastic waistband means it's easy for kids to put on & take off too.


Materials:
- Skein of ribbon or yarn (1 should be plenty - exactly how much depends on the thickness) 
- My Own Fringemaker® tool (foam noodle & tulle is included)
- Sewing machine
- Shears
- 1/4 inch wide elastic and safety pin

I got this spool of metallic tie-dye ribbon with the My Own Fringemaker.  I thought this would be perfect for a fairy-style fringe skirt:


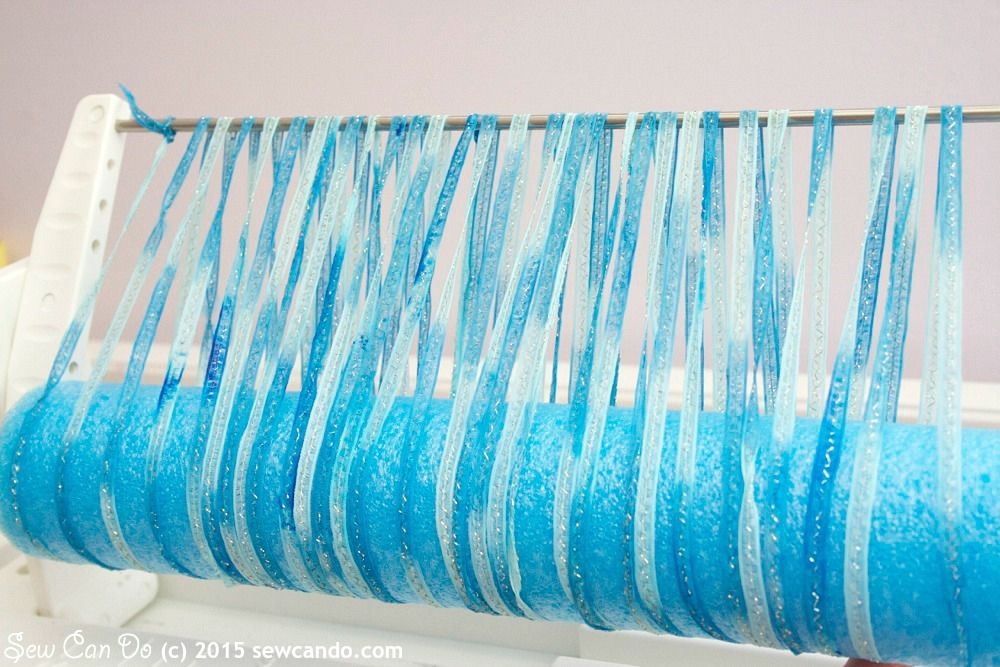
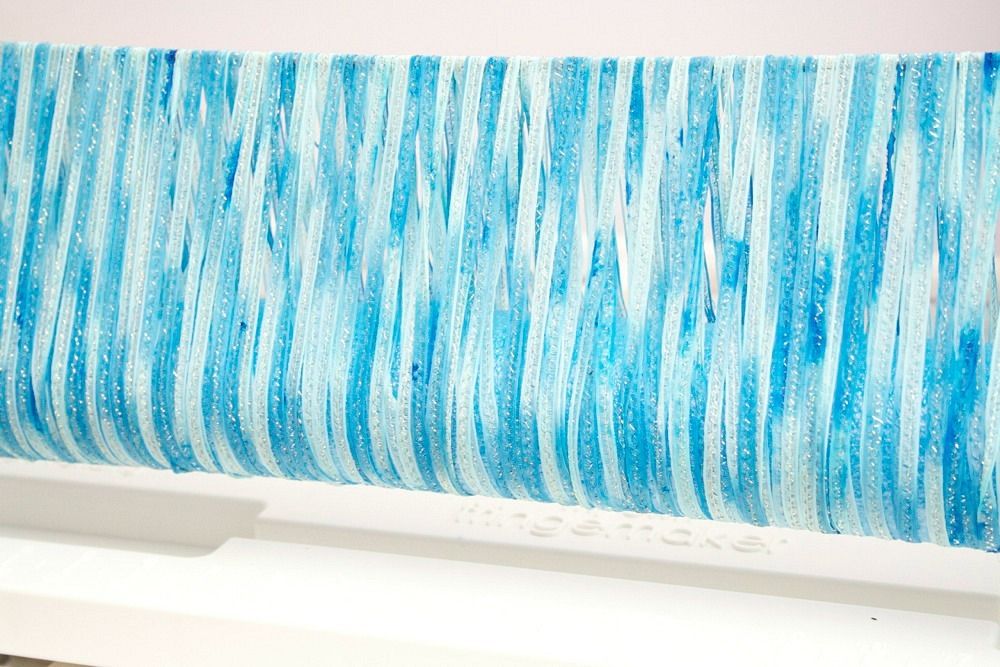
The technique to getting the extra long fringe length uses a pool noodle on the bottom rod of the My Own Fringemaker.  A perfectly sized foam noodle was included with the tool, so it was super easy to just slip it on the bottom rod and start working.  I started by knotting the ribbon on the top rod at one end and then winding my ribbon on as I did with my previous fringe projects:


I made sure to cinch up & wrap the strands close together as I wanted to make it nice & full. I used the built-in ruler on the My Own Fringemaker base to get it the exact width I wanted - 24 inches - and then tied it off when ready.  


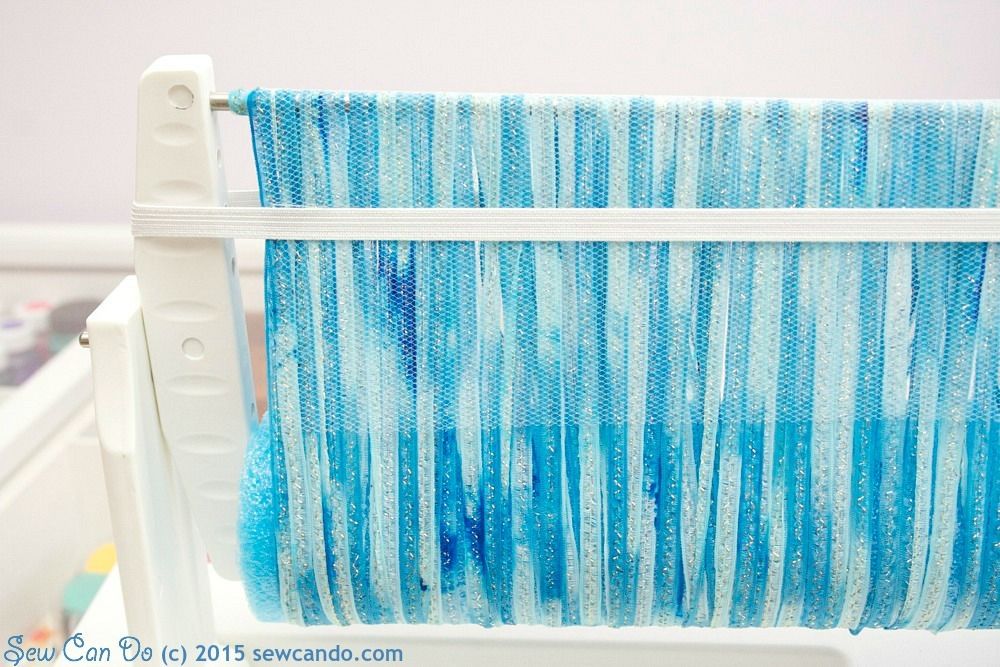
To easily sew it up, and create the waistband casing, I placed a piece of tulle over the top fold and held it in place with the tool's elastic band:


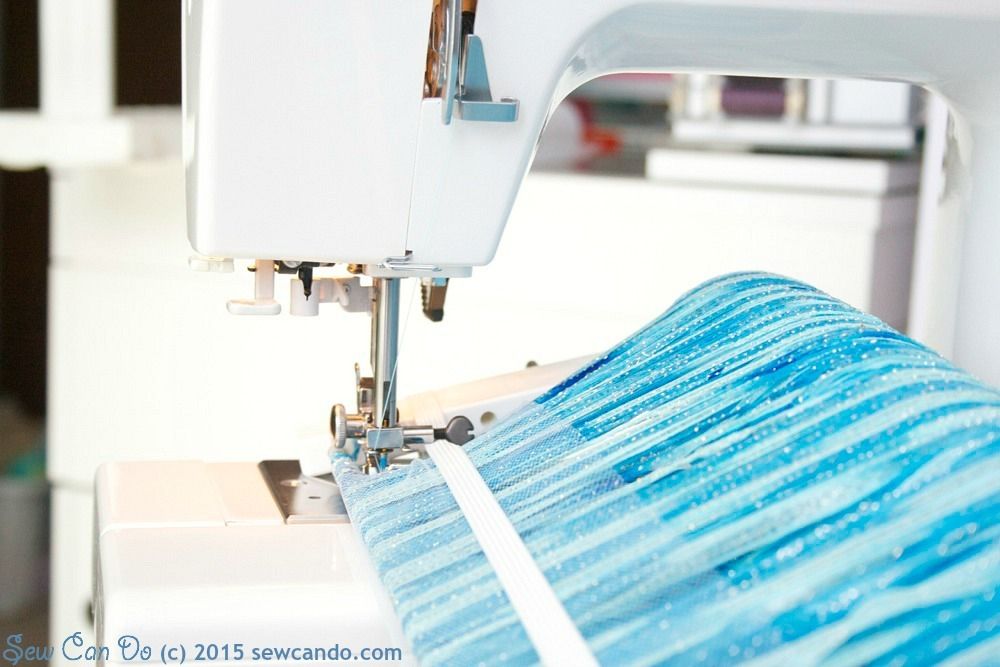
Then I removed the rod unit from the base and it was time to sew it up with a zipper foot (while everything is still on the rods).  


About 6 overlapping passes is just right to make sure every strand is strongly sewn down in place:


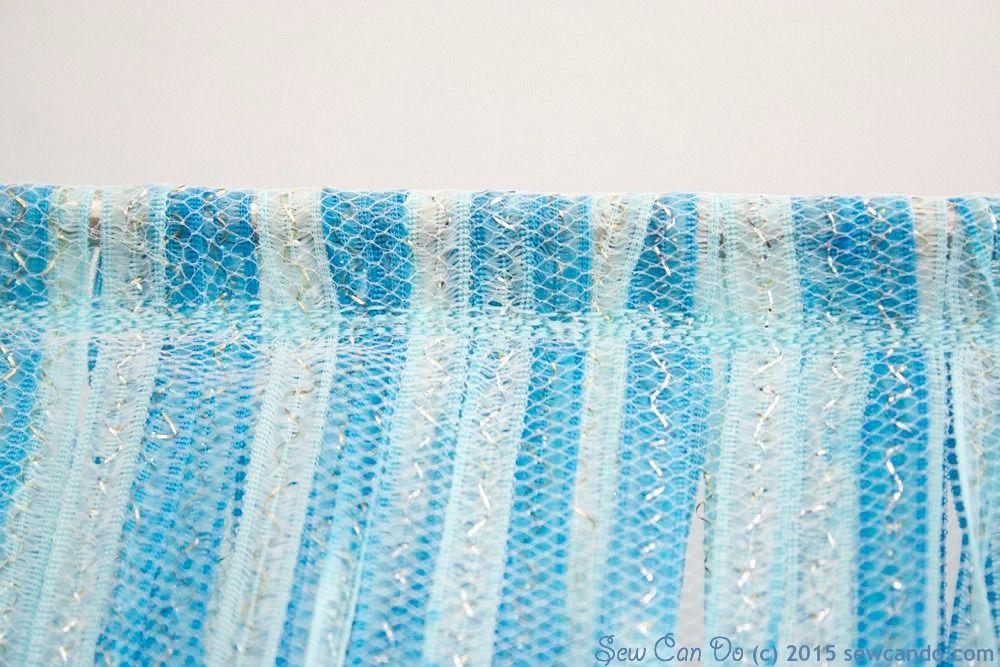
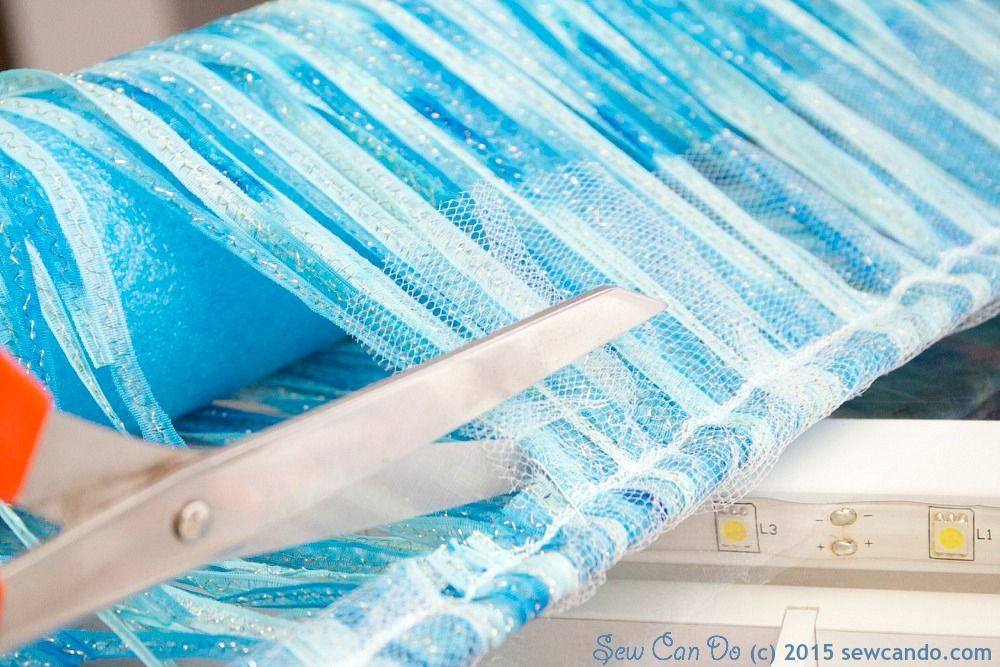
Time to cut!  My daughter is 5 and I wanted it to fall at her knees, so I carefully cut the ribbon on one side just under the stitching (cutting further away would make it shorter):


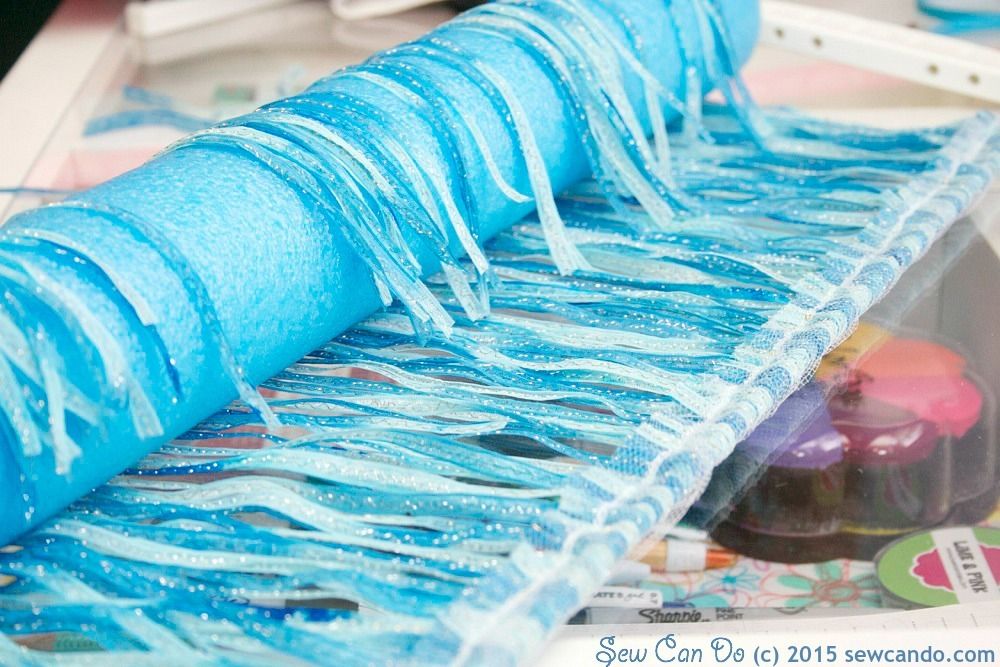
The ribbon fringe simply fell away from the noodle covered rod in perfectly even pieces.  Then I trimmed off the excess tulle from either side to neaten things up.


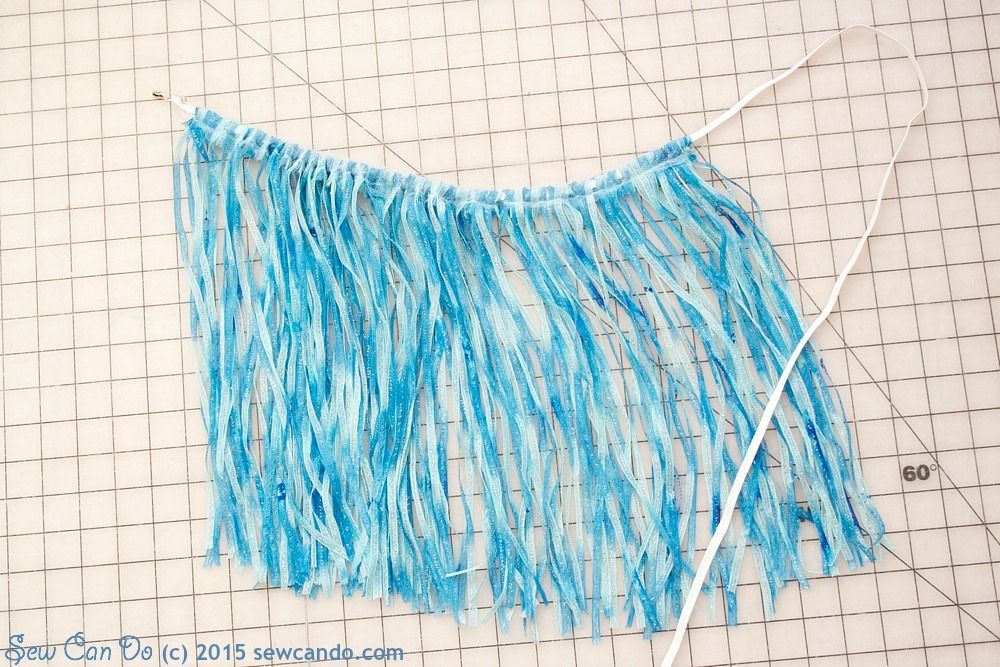
Now there's a nice, extra long fringe that's ready to be made into a skirt in a hot second. This could be sewn onto fabric or a ready-made skirt to simply add a fringe top layer, but thanks to ithe built-in casing, it can be made into it's own skirt:


I cut a piece of elastic to the waist size I wanted - my daughter was 22 inches.  I used a safety pin to snake the elastic through the casing.  I found it was easiest to put the safety pin right up to the rod and pull the fringe off the rod and directly onto the elastic.  I made a second 24 inch wide piece, following all the previous steps, to get the fullness we wanted.

One half of the skirt

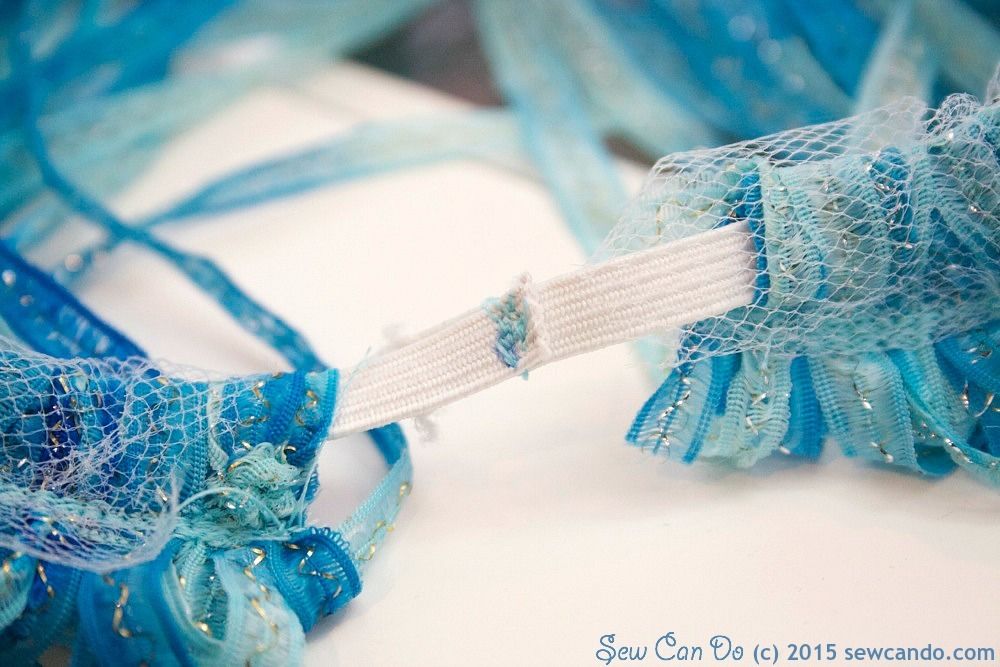
All that was left was to overlap and stitch together the ends of the elastic and then evenly spread the waistband to conceal it.


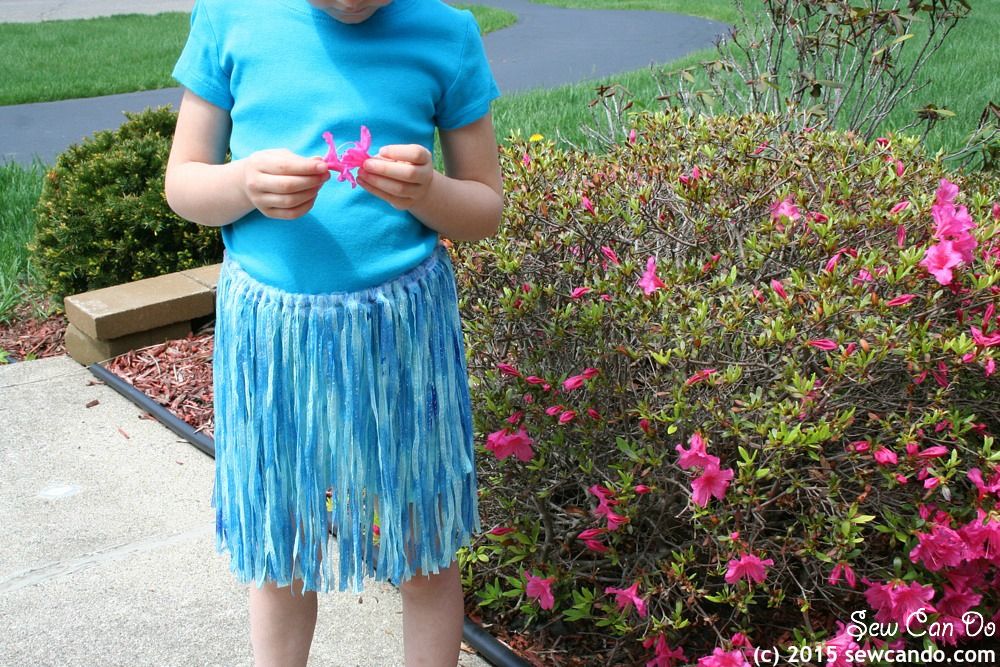
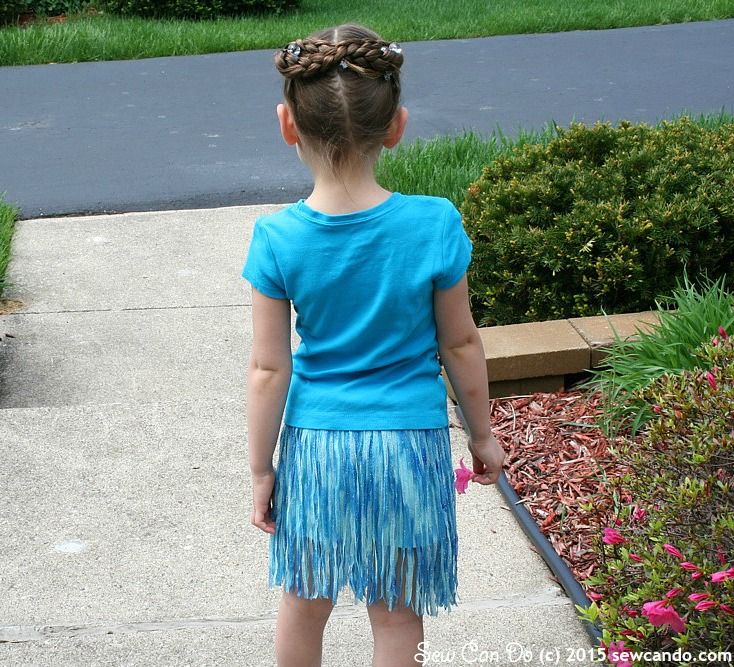
Now it's ready to add a little dazzle to any outfit:


And little legs can't help but dance & prance while wearing it:


Now I'm combing my stash looking for more fun materials to fringe up into skirts.  What kind would you make?


I was not financially compensated for this post.  I received the My Own Fringemaker® tool to review.  The opinions are completely my own, based on my experience.  For my complete disclosure policy, click here. 

Wednesday, May 13, 2015

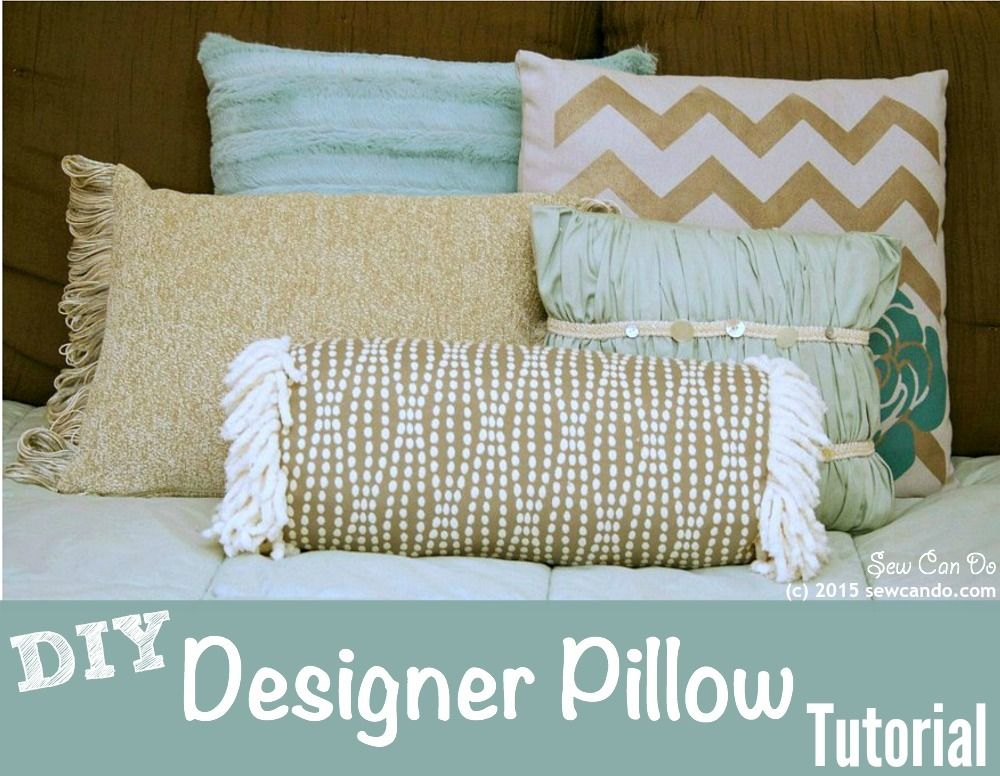
DIY Designer Pillows & Trying Out The My Own Fringemaker


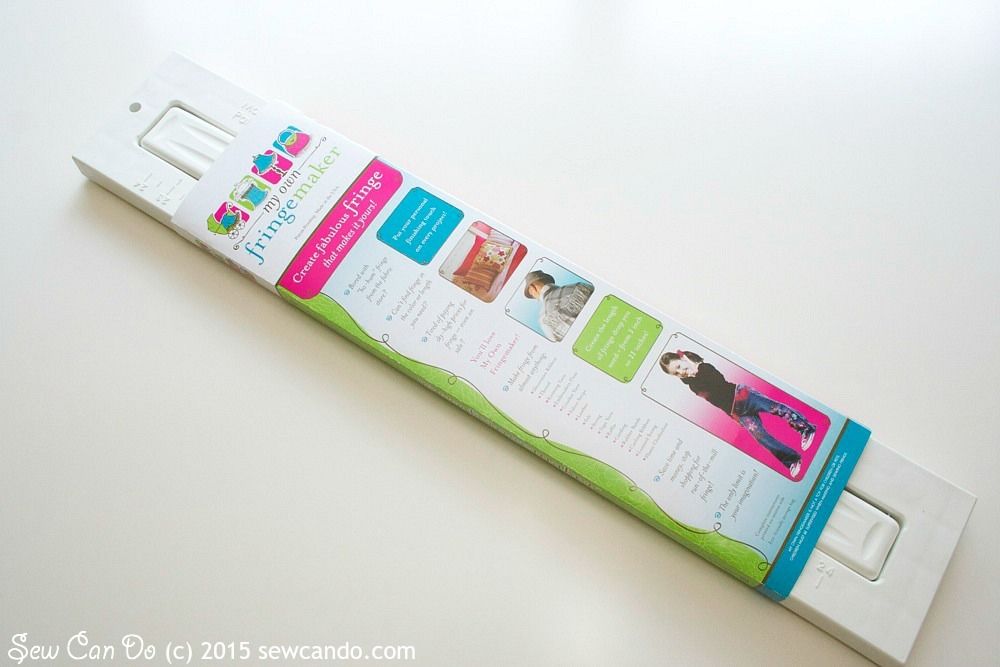
Today I'm excited to not only show a new tutorial for making DIY Designer Pillows, but also a tool I've tried out that helps give home sewing a professional edge.  This, my friends, is the tool that's given me loads more sewing project options and gotten me excited about making home decor & embellished items.  It's called the My Own Fringemaker® and, in a word, it's AWESOME.


I always wanted to do more detailed or home decor projects, but kinda held back in the past.  I didn't want my efforts to look home-madey.  What might look good in a photo-edited blog pic does not always look that great in person.  Plus, things like trims or fringe (aka what makes a project look high end), can be really pricey per yard.  I couldn't see spending precious time on a project that costs more than just buying that item readymade.  I don't worry about those things now because I've got My Own Fringemaker to take my sewing to the next level.   

I've used it to make this fluffy bolster pillow:


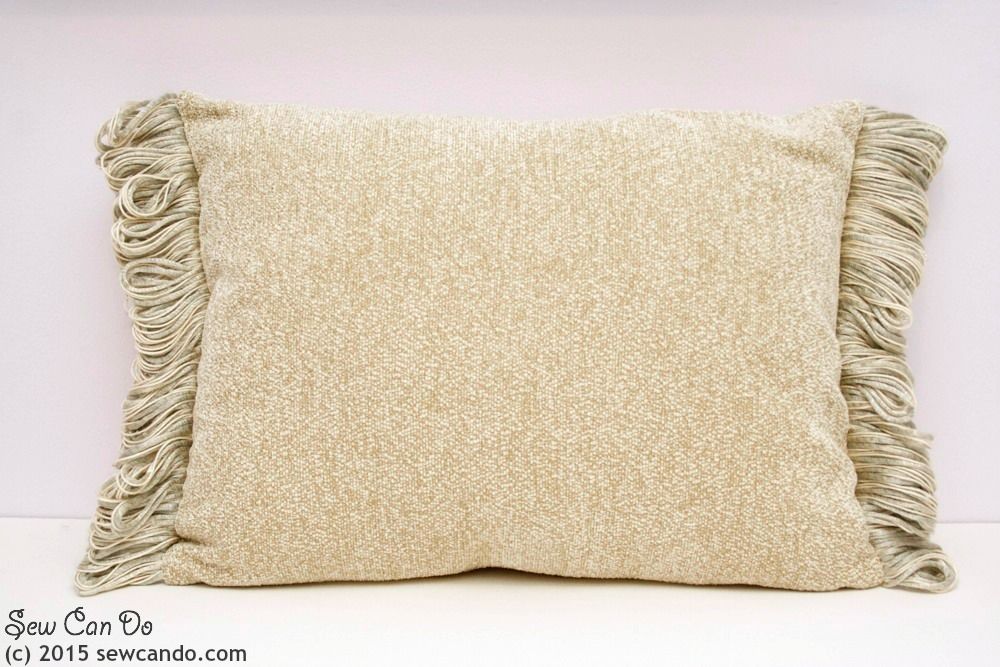
this fringed throw pillow:


and even this little wearable number:


About a month ago, Debi, the inventor of My Own Fringemaker, contacted me about trying out this tool as a review.  I'm pretty picky about reviewing products these days, but liked that this isn't sold in retail stores and was designed by a real sewing enthusiast, not a giant corporate team with a slick gimmick & little else.  I was intrigued by all the things you could make with this tabletop tool: custom fringe, tassels, pom poms, boas, wigs...you can even weave & knit on it!


By choosing your own ribbons, yarns or strings, this tool will make whatever custom look you want for trim in minutes.  You can mix textures & colors, do a looped or cut finish and make just about any length - all the way up to 13 inches long!


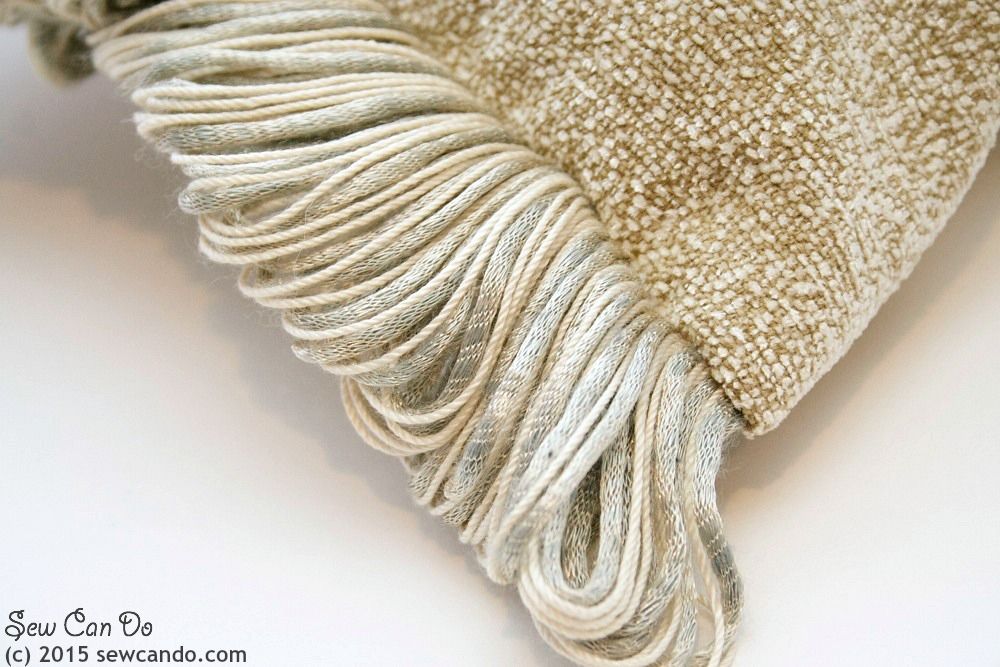
My multi-textured looped fringe
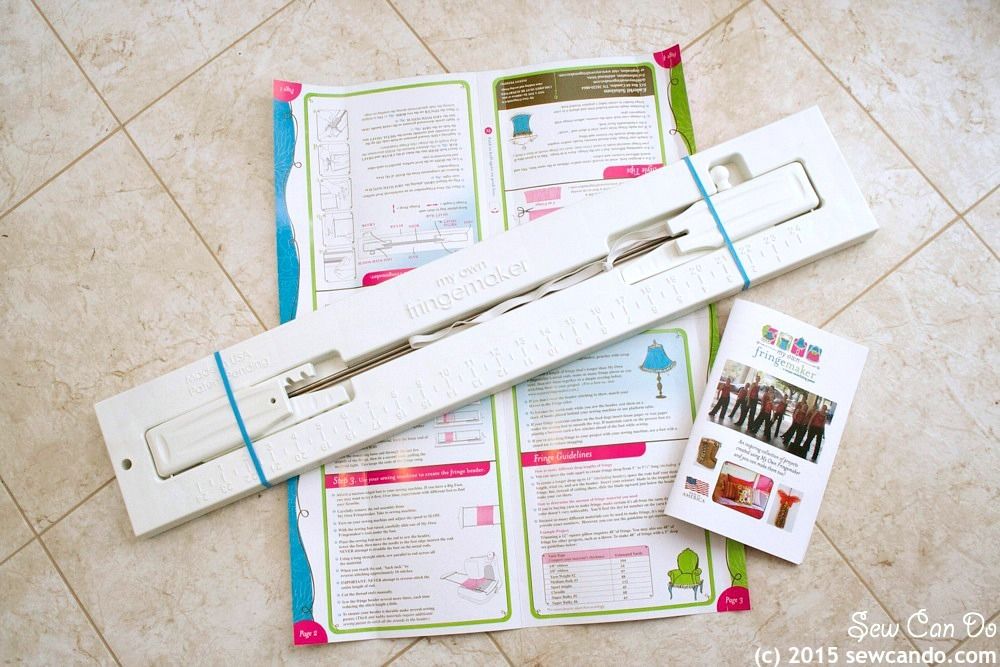
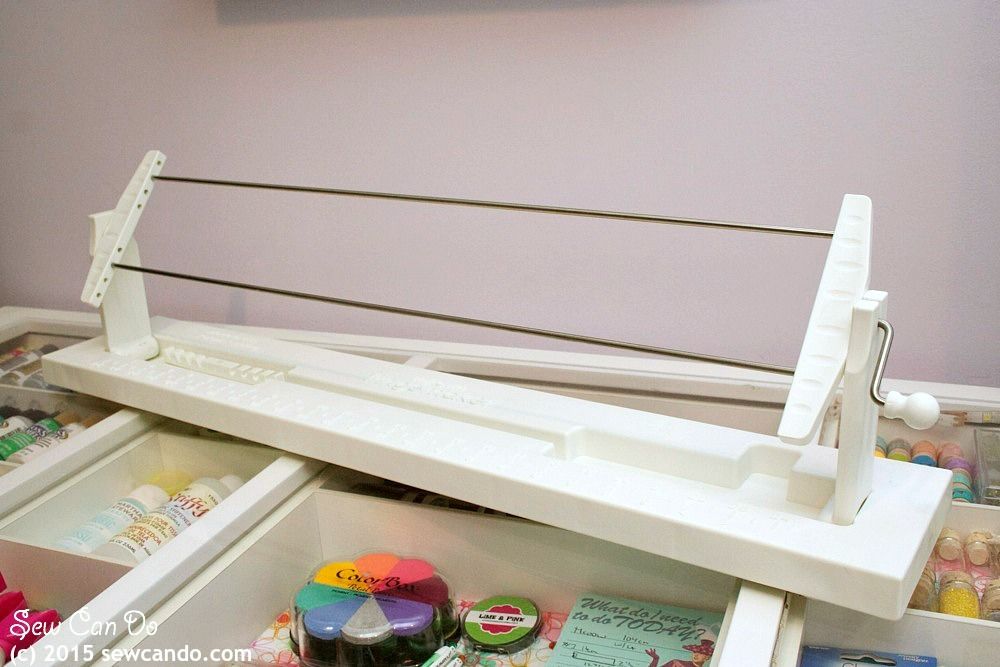
The tool itself is pretty easy to set up and use.  It comes with helpful accessories like tulle and elastic, some sample yarn to practice with, and lots of instructional info, so it didn't take me long to get the hang of things.


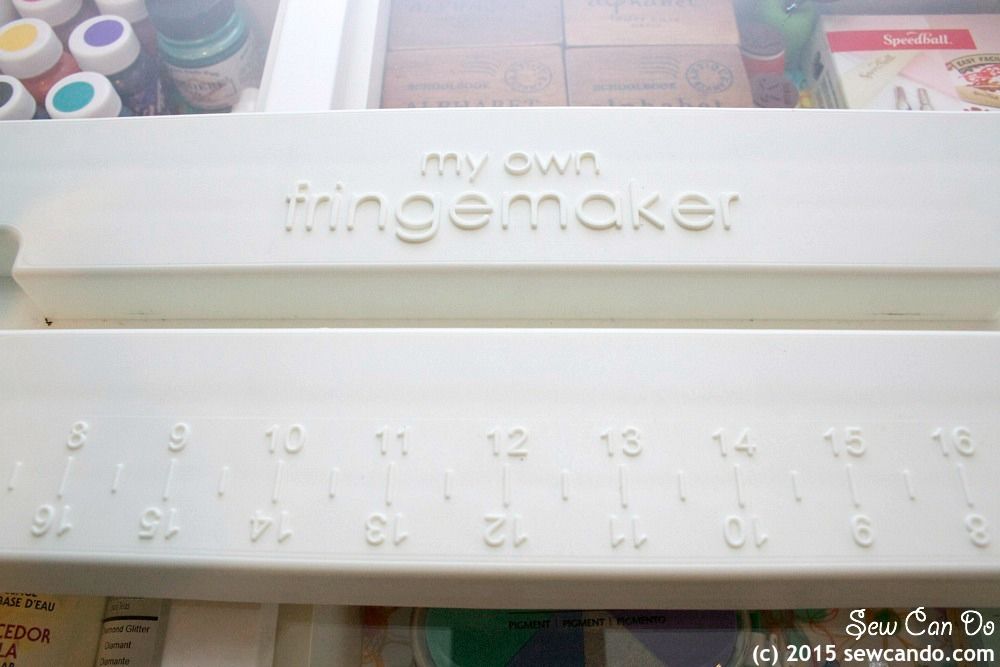
There's also a handy measure built into the base so it's simple to make exactly what you need.  And it folds up flat, which is a big plus with my craft room's limited space.


Ready for a test-drive tutorial?  
Here's how I made my DIY Designer Bolster Pillow with it:

Materials:
- 1/2 yd Home Dec fabric
- Pillow form - bolster/neckroll size (14in x 6in)
- My Own Fringemaker tool 
- Plush yarn (mine was bulky 5)
- 14 inch zipper
- Sewing notions (marking pen, rotary cutter, pins, zipper foot)

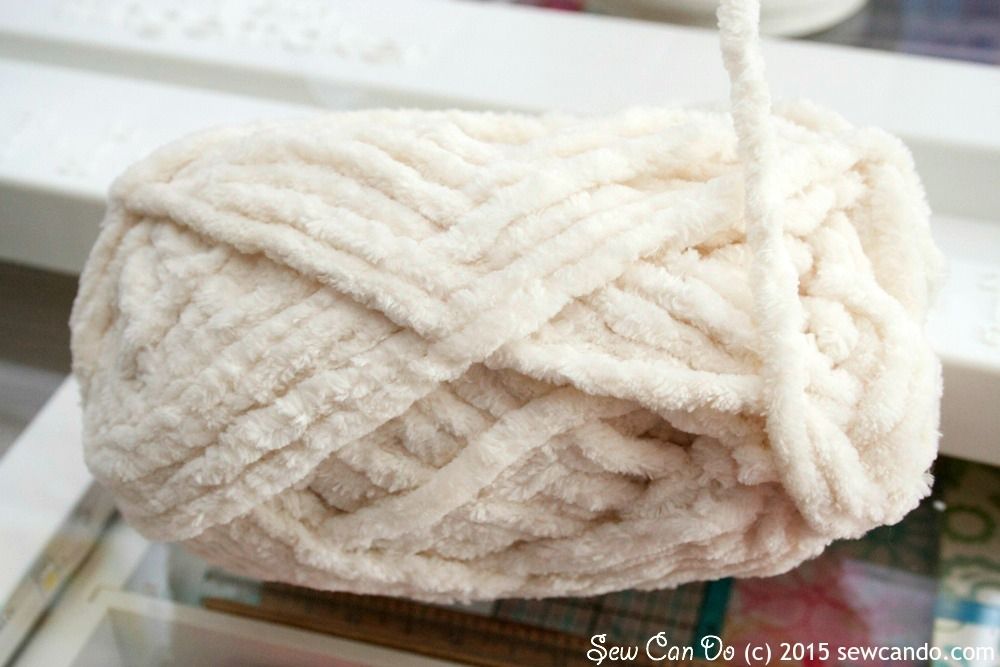
I picked this fuzzy yarn that was a perfect color match to my fabric:


I set the rods to the length I wanted and tied one end and began turning the handle:


You cinch the yarn together to get an even fullness and tie it off at the desired width - mine was 19 inches. Then I placed a piece of tulle (included with the My Own Fringemaker) over the top rod and used the elastic band to hold it in place.  The tulle makes it easier to sew the header & not get any yarn caught on the presser foot.  


Then the rod unit gets removed off the tool and, using a zipper foot, you stitch close to one of the rods on the inside and repeated several more overlapping rows to make a sturdy seam. This takes a little practice and plenty of clearance behind the machine as you sew. Excuse the inconsistent color here - I didn't have a clear enough pic of this part with the fuzzy yarn:


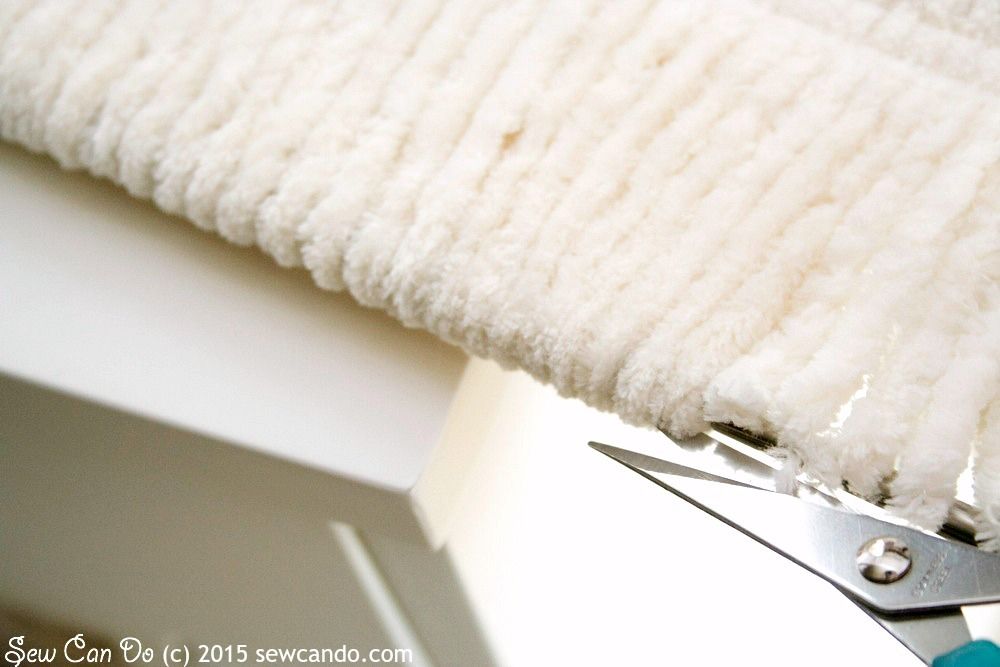
Since I wanted my fringe cut, not looped, I cut the lower edge while it was still on the rods to get it perfectly even:


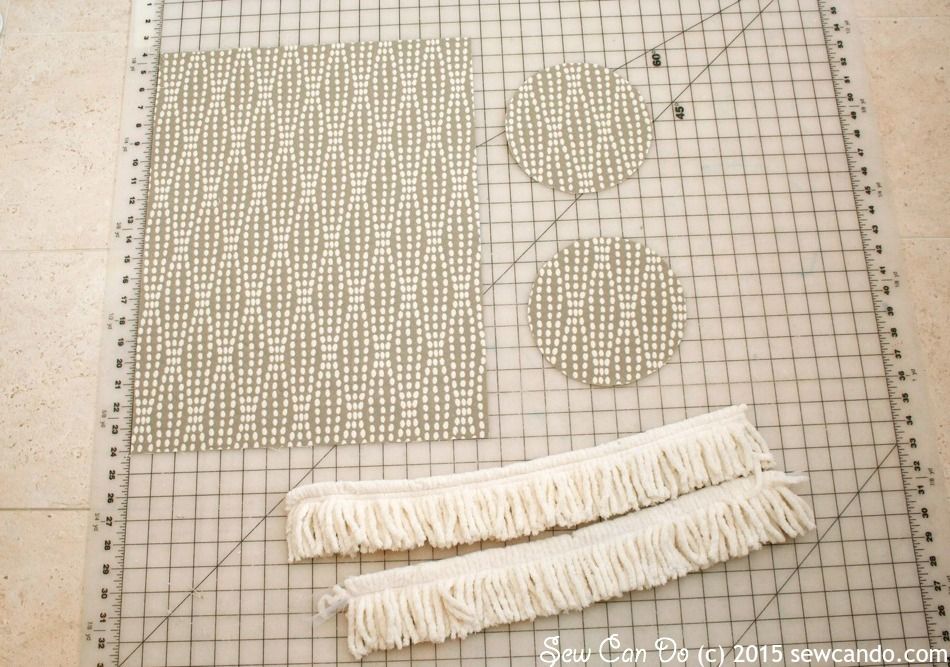
Then I cut the sides and body pieces from some fancy home dec fabric I'd won from Waverly when I designed my fabric clock project a while back.  I cut circles that were 6 1/2 inches in diameter and a 15 1/2 inches by 20 inches main piece.


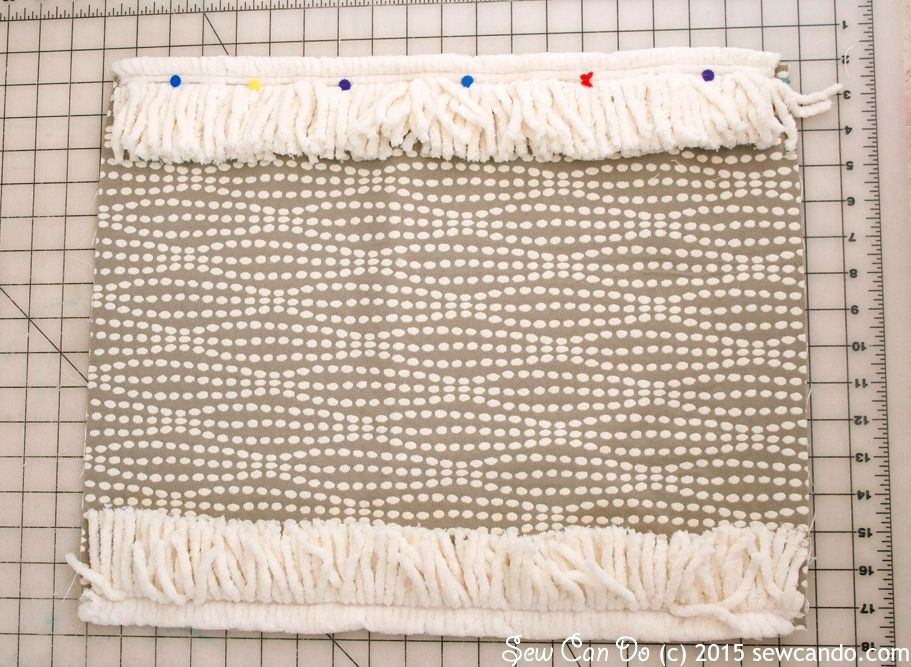
I pinned the enclosed edge of the fringe to each of the longer sides of the main fabric so that there was 1/2 inch extra fabric space on either end (for my seam allowance later) and basted them together:


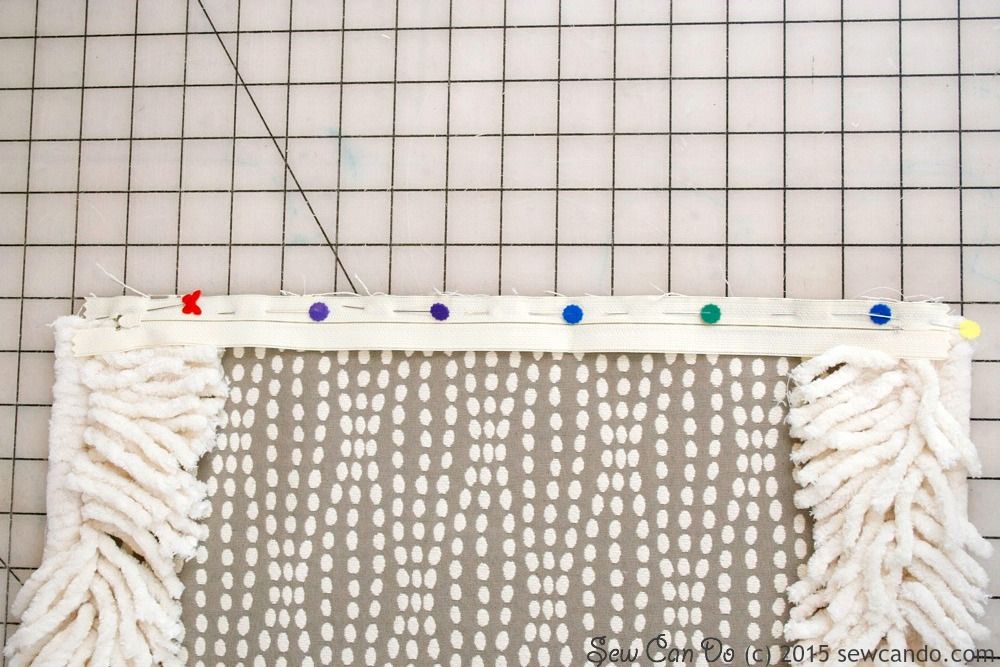
Then I attached the zipper to one side, face down:


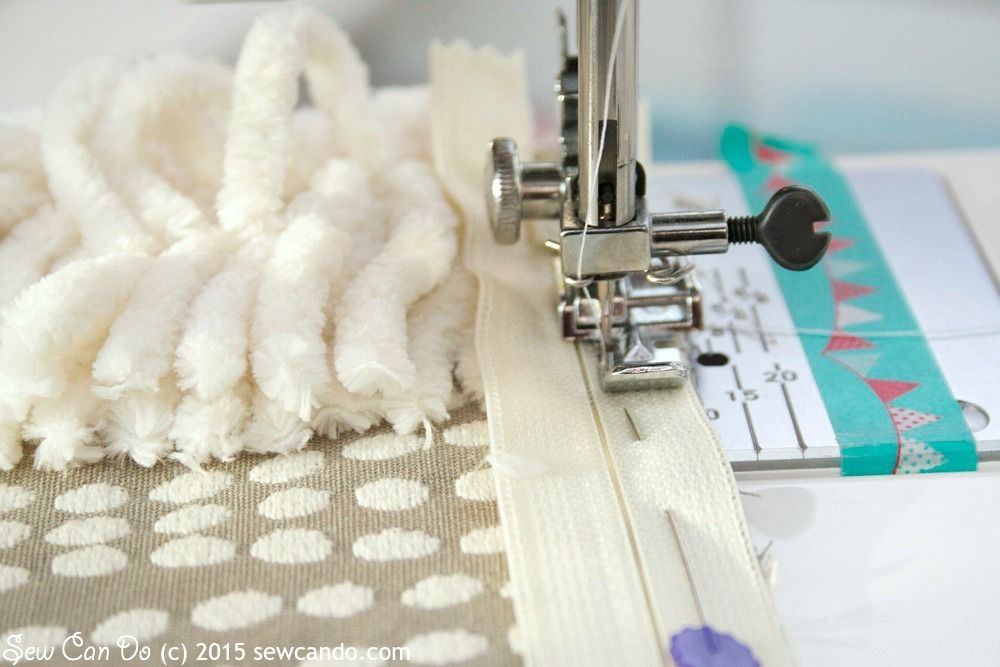
I stitched nice & close to the teeth (I like to start after the zipper tab and then come back and do there with the zipper open because it's easier):


I pulled up the remaining fabric side and pinned that to the other side of the zipper tape and stitched those together:


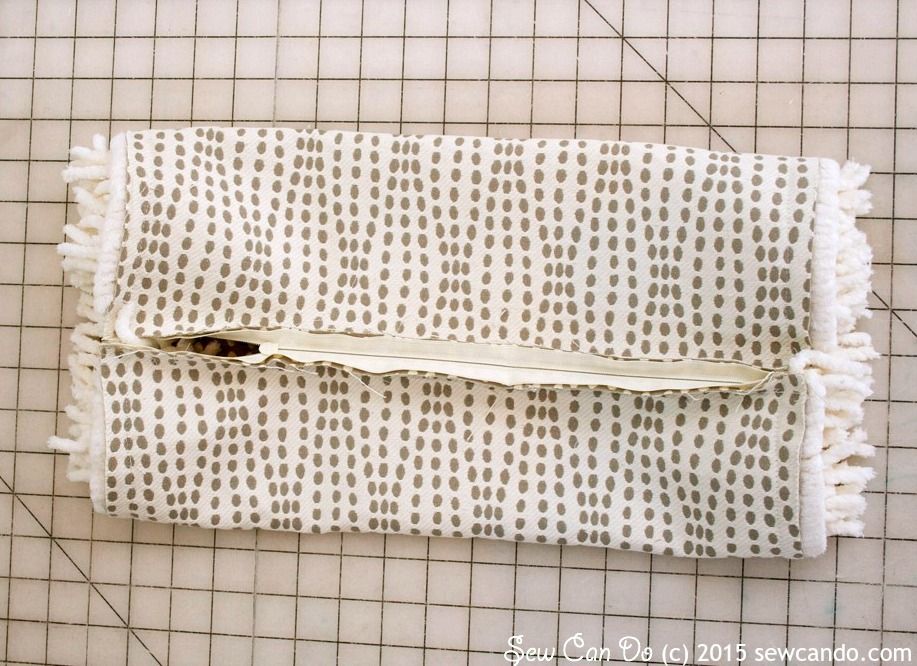
Now I had a pillow "tube" and pulled the zipper open a few inches.


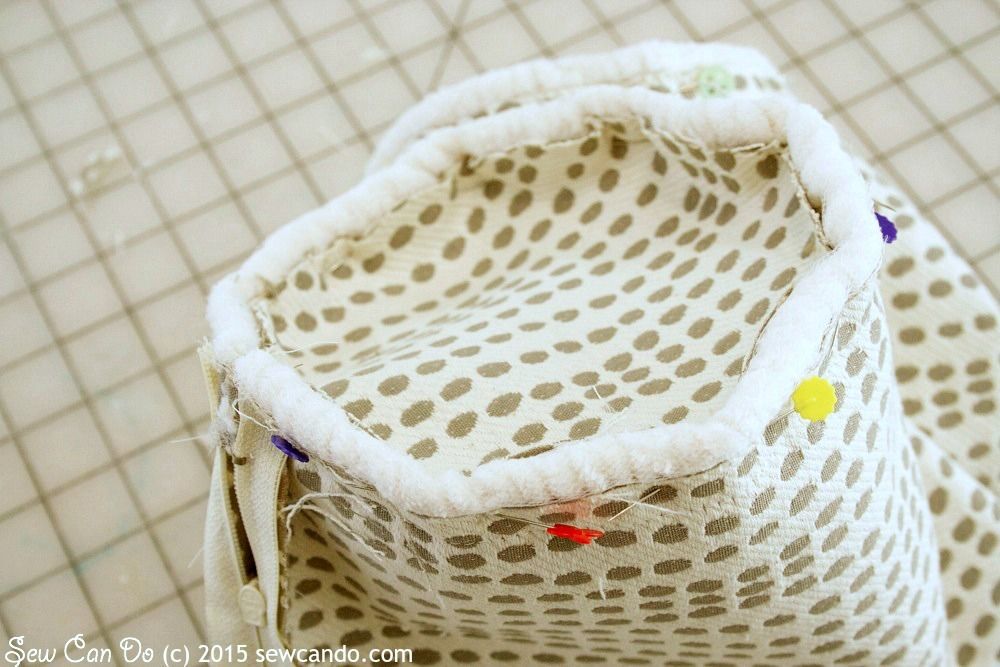
I pushed all the fringe inward and pinned the circular pieces to either side, right sides facing and stitched with a 1/2 inch seam allowance:


I pulled the pillowcase right side out, inserted my pillow form, and my stylish, fluffy-fringed pillow was ready:


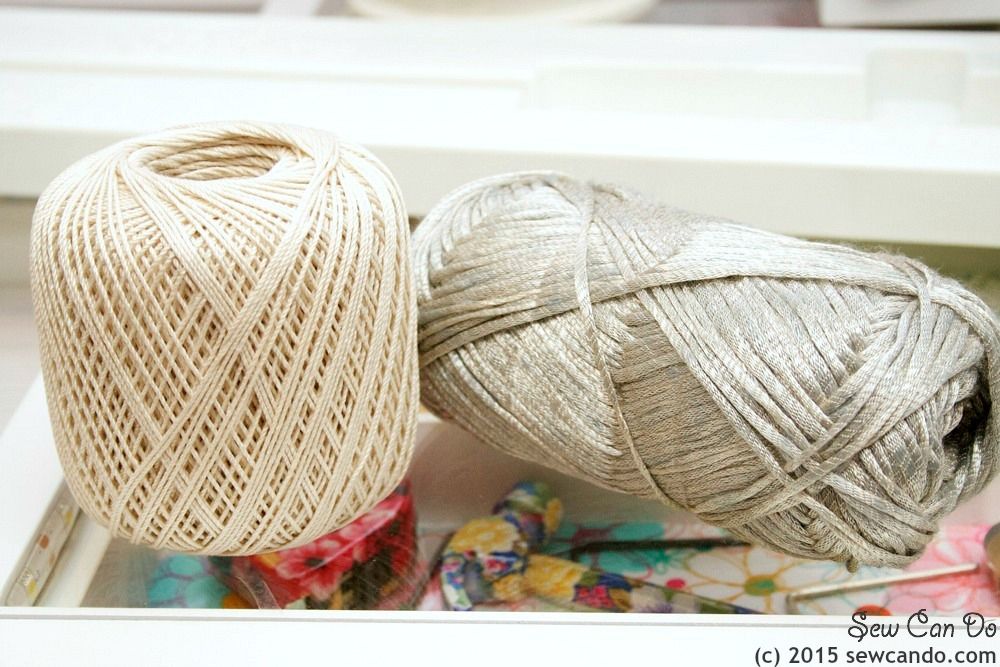
To make my multi-stranded loop fringe I used thin crochet and silky metallic knitting yarns:


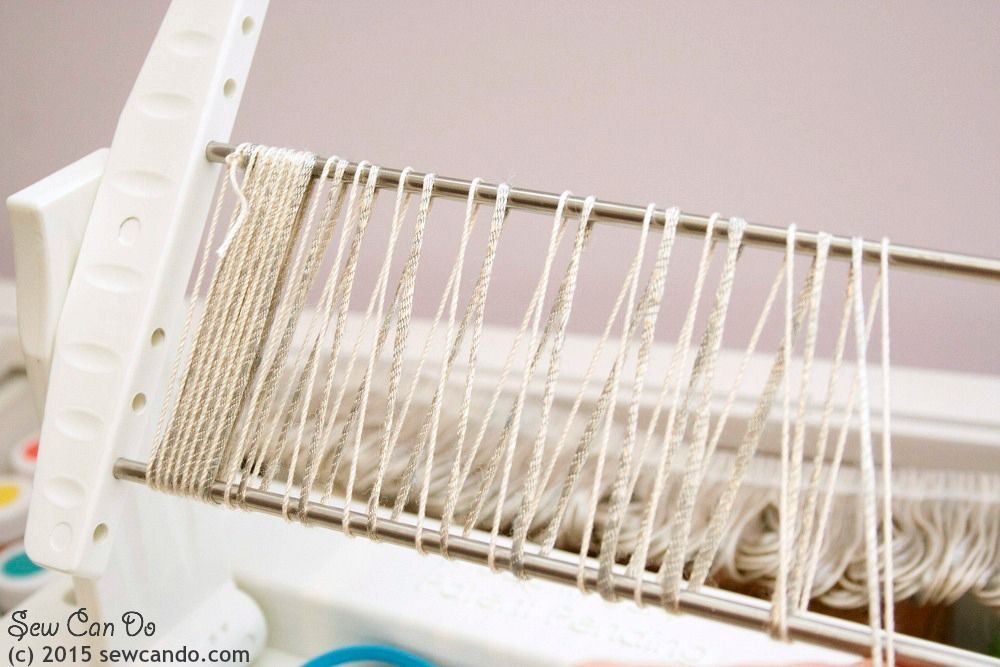
Blending them is super easy - just tie them on and start turning the handle.  The tool keeps them even as you wind:


I followed all the same steps as the bolster, except I kept this fringe looped and I didn't need to make side pieces for my rectangular pillow.  


The fringe looks pricey, but per yard it was way less than anything similar I could buy and it's the precise colors, textures and length I wanted. 


When I calculated out the prices of the materials used (including my coupon using skills), each pillow - including the form - came out to about $12 total and there's still tons of yarn left for other things.  And they were exactly what I wanted, so definitely better than buying "just sort of matches" readymade.  I'm proud to say I've made all my bedroom's designer-style throw pillows and feel like they look just as good (if not better) than what I could find in a store:


FYI: I've got tutorials for the other pillows I made too:


Getting Gathered Pillow

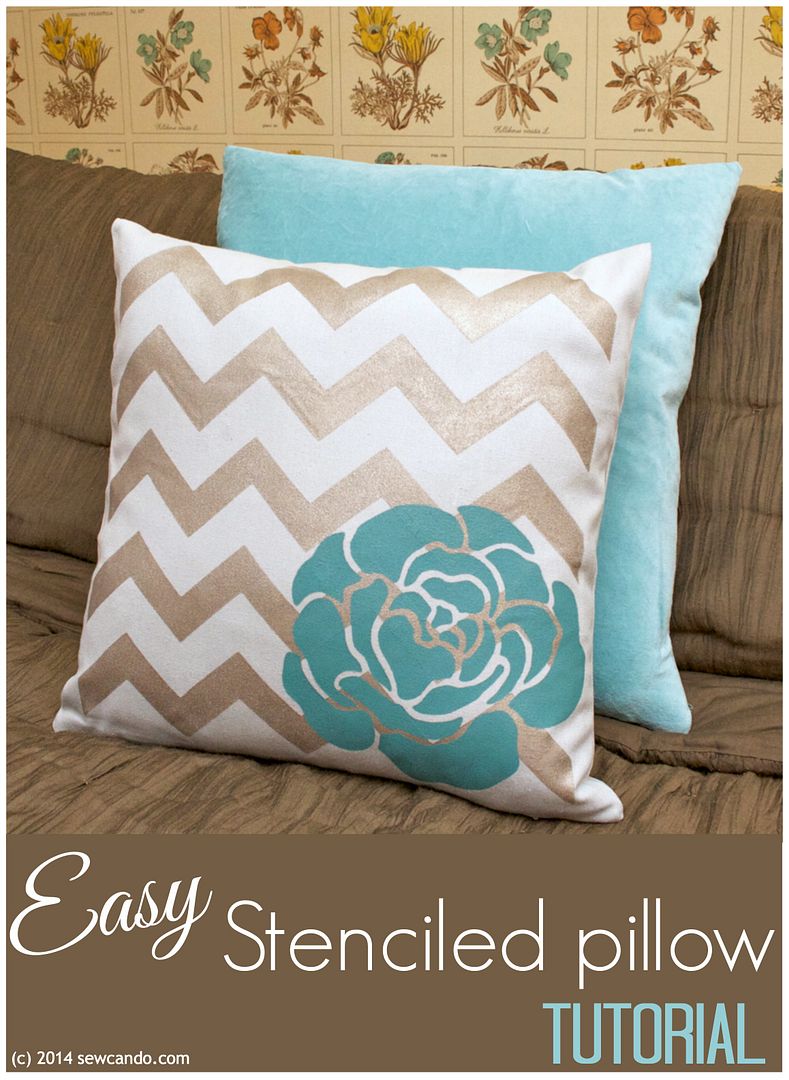
Easy Stenciled Pillow

The My Own Fringemaker is an upfront cost, like any tool, but in the long-run I think it makes a big savings because of it's versatility with so many kinds of projects.  I'm usually a big cheapskate with sewing supplies, but now that I know just how much can be done with it, I'd have bought it even if I hadn't gotten one to review.  I plan to keep experimenting to make some tassels, wigs & try my hand at a bit of weaving on it.   Chic drapes, valances, bedding, scarves, toys - sky's the limit now!

Plus, later this week I'm going to share how I made this fun fringe skirt with it (find it here).  It's super easy & inexpensive to make: 


And kids LOVE how it twirls:


What would you make with My Own Fringemaker?  What should I try to make next?


I was not financially compensated for this post.  I received the My Own Fringemaker® tool to review.  The opinions are completely my own, based on my experience.  For my complete disclosure policy, click here. 

LinkWithin

Related Posts with Thumbnails