Showing posts with label Dolls. Show all posts

Wednesday, May 17, 2017

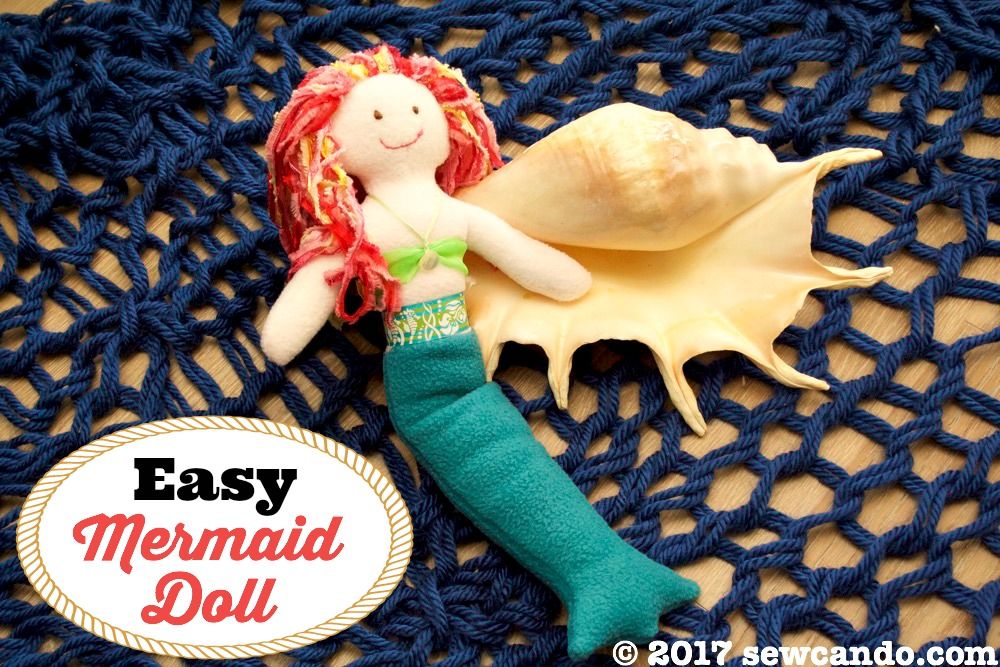
Easy Mermaid Doll Making


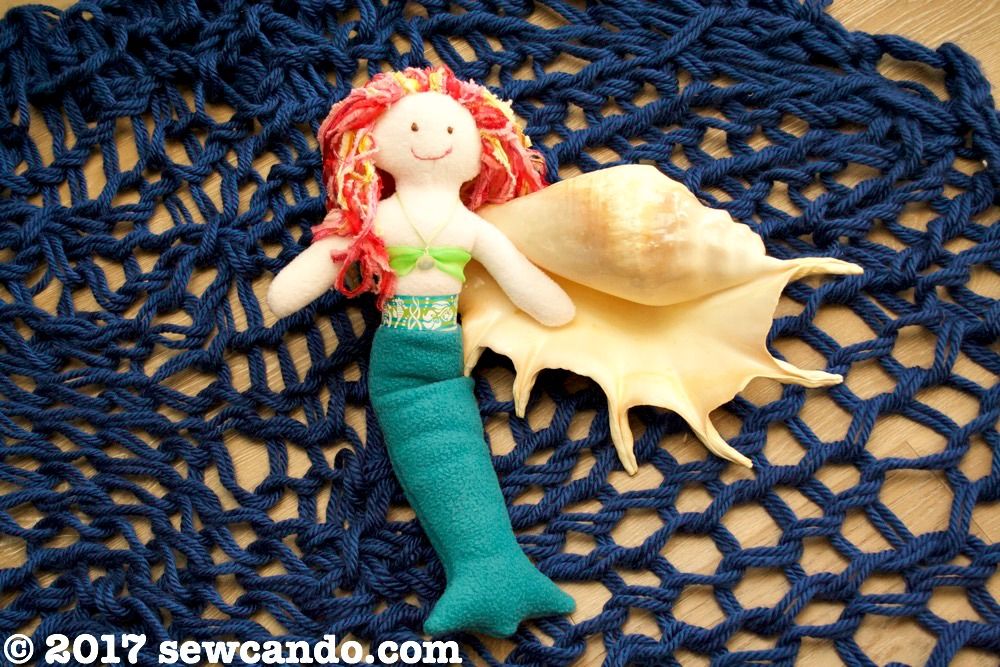
This softie mermaid was a present for my daughter.  She'd been asking for a mermaid doll for quite a while.  I wanted it to be a simple sew I could do in an afternoon, but she still had to have fun features:


Flowing, full, style-able hair was a definite must:


I was inspired with the general look of the mermaid from the book Fleece Dolls by Fiona Goble, but I actually ignored the book's instructions and made it my own way.  The book has a couple of cute soft doll designs, but most of them are variations on the same general design and I hated that they all involved some teeny tiny line drawings instead of actual patterns you can use.  In the end I freehand drew out my own pattern rather than trying to wrestle with scaling up her tiny line drawings with a printer just to cut them out at a reasonable size.


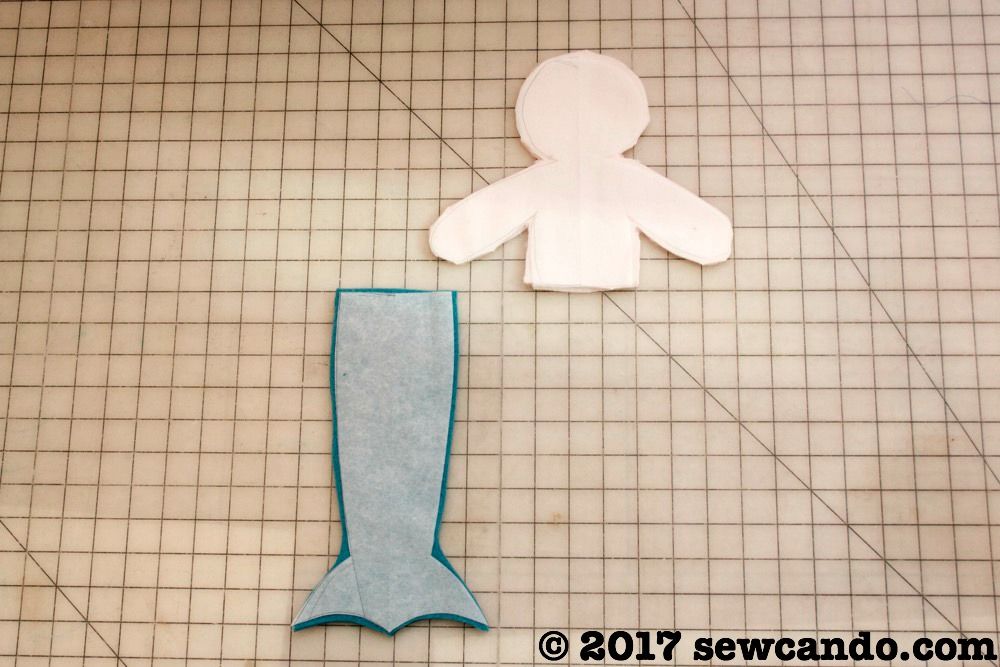
I drew a basic doll head and torso piece and used my French Curve ruler to help draw a decent mermaid tail for the lower half.  I had just enough peach colored scrap fleece left to cut out the body.  Oddly, that color isn't sold in stores and nearly impossible to find online anymore.  Ivory or light pink seem to be the only options these days or using super pricey doll-making jersey, which just isn't the same.  I can't be the only person in the universe that wants it.  Bring back the peach fleece someone!!  I cut the tail from some teal fleece and then got sewing.


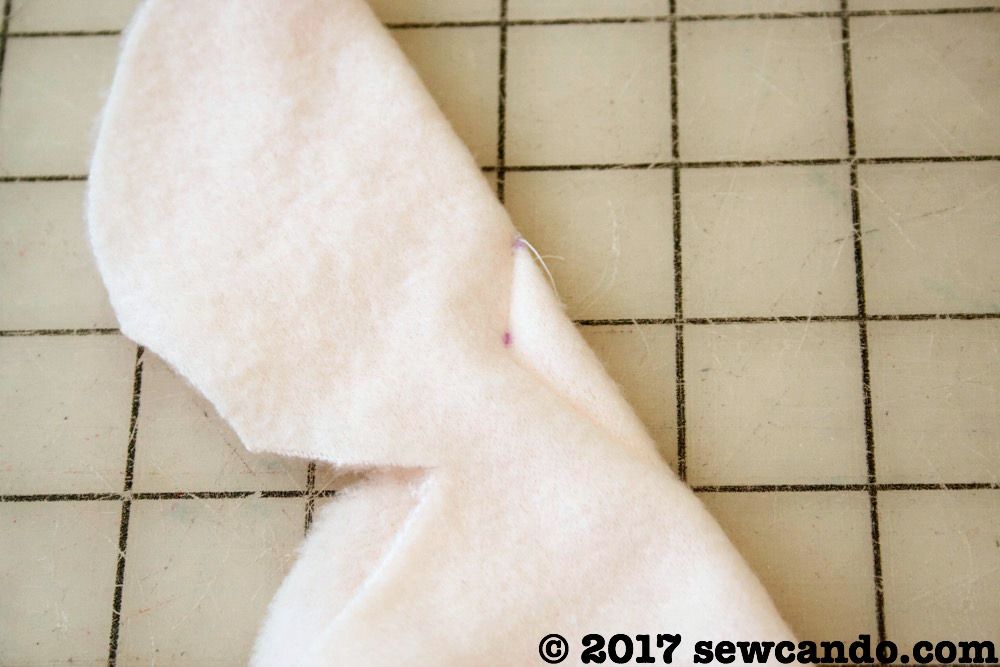
On the body piece that will be the front I marked a elongated diamond shape right at the neck:


I folded it in half, lining up the dots and stitched from the top dot, to the middle dot and then to the lower dot to add some dimension at the neck.  


Then I stitched together the body pieces, right sides facing and did the same with the tail pieces and trimmed down the edges:
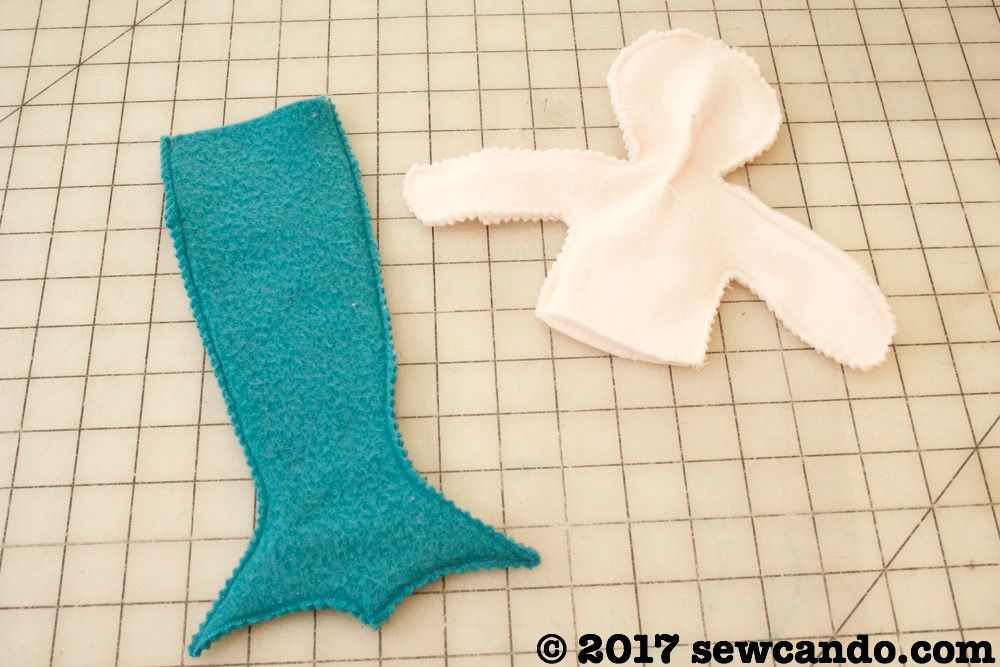
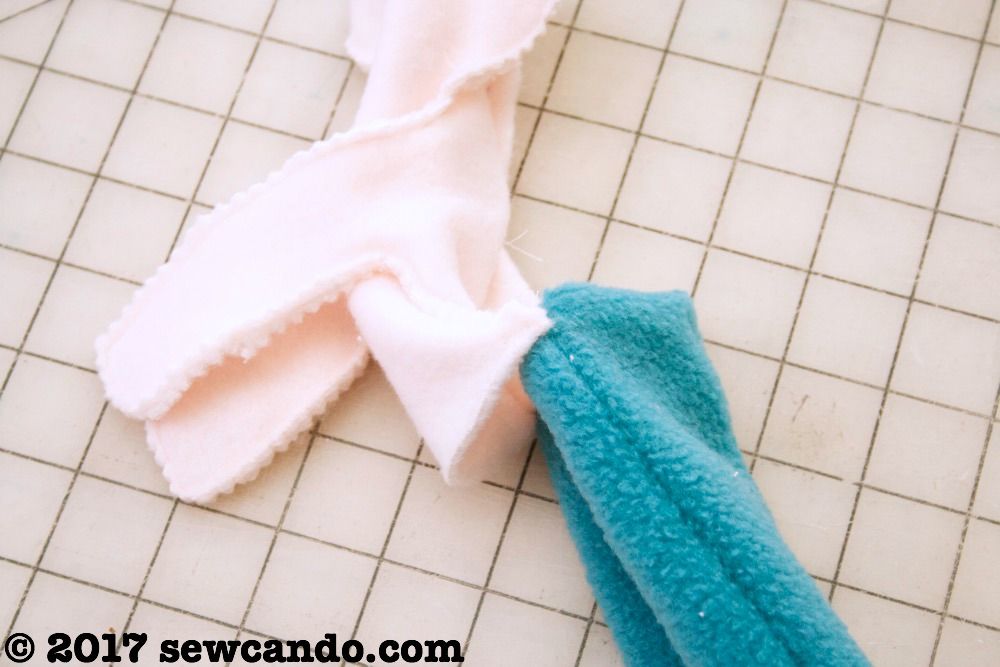

I turned the tail right side out and then matched up the top edge with one side of the body (right sides facing), like this:


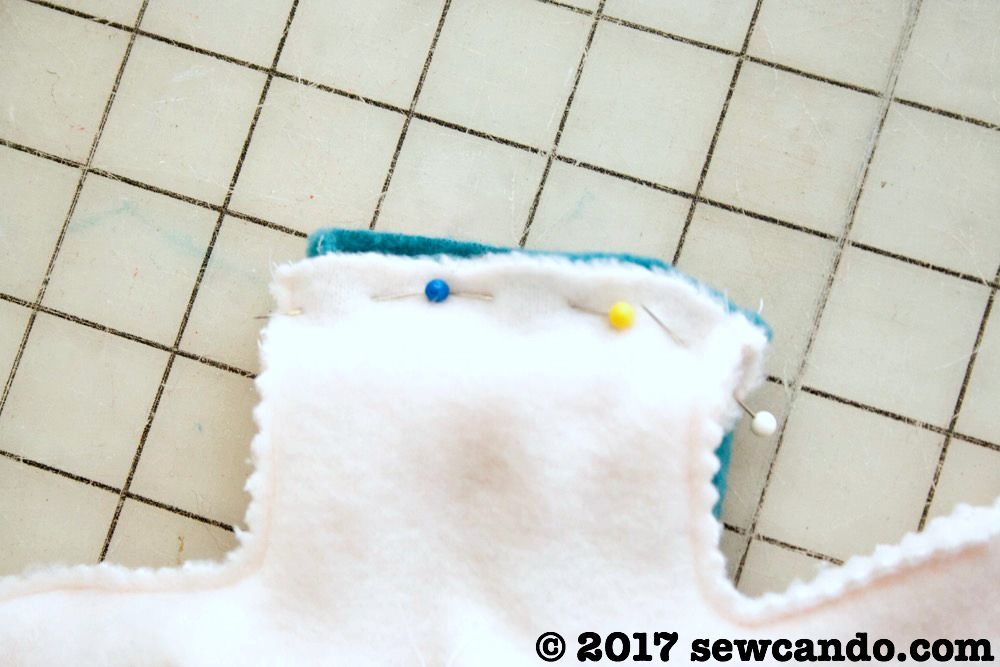
It seems crazy, but hear me out because this is way easier than having to hand stitch it all together.  With the body bit facing down, pin and stitch together. Turn the body right side out and then all that's needed is to stuff and then slip stitch one side of the waist closed.


To do the thick, flowing, textured hair, I used some ribbony yarn and a tool called My Own Fringemaker.  I did a review of it here.  This made it super easy to get the hair thick enough and perfectly even in width and length.  I measured the dolls head from "ear to ear" along the top and around the back.  
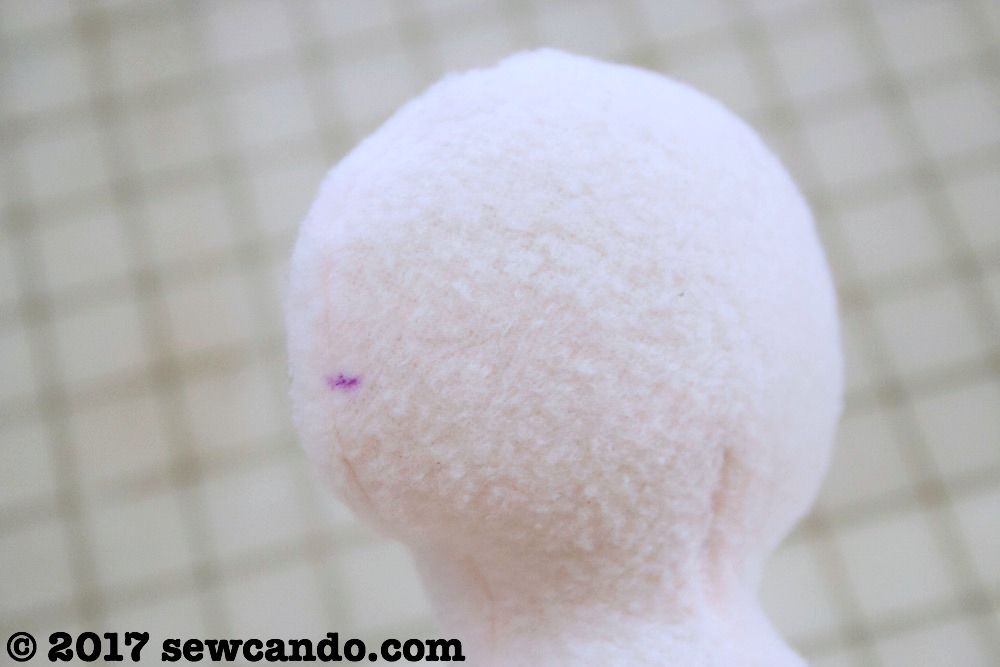


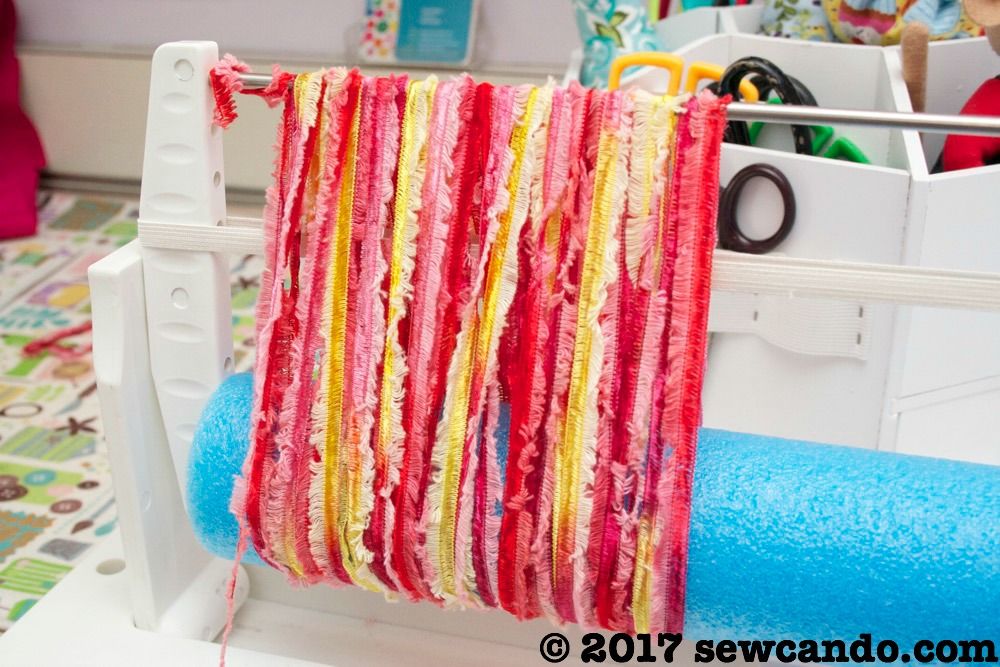
I wound my yarn around the tool to be the same width as each of my measurements.  


Then I slid a piece of tulle underneath one of the rods and wrapped it over.
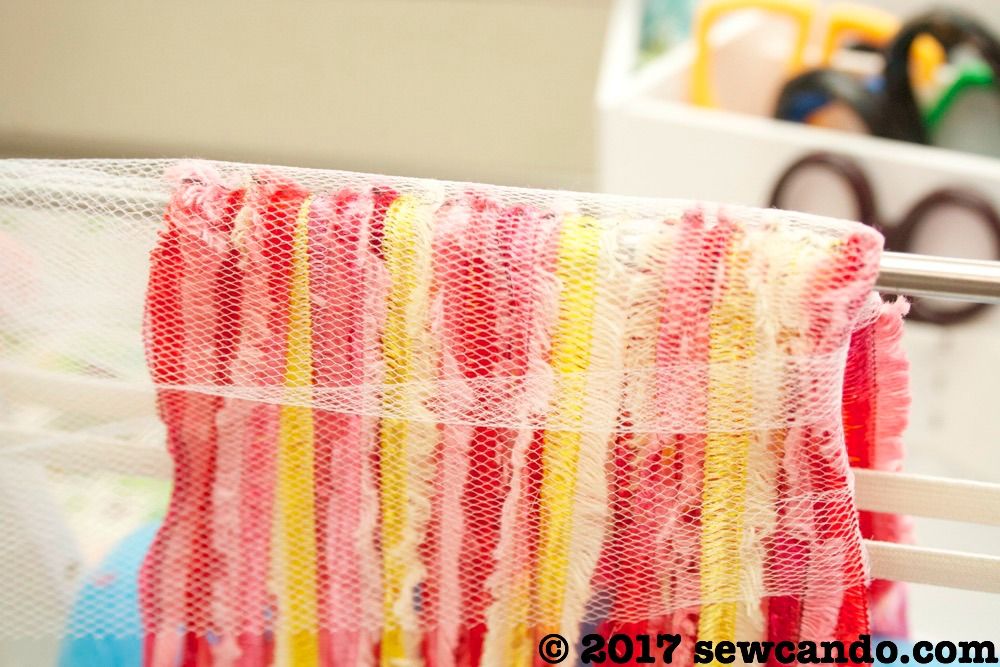


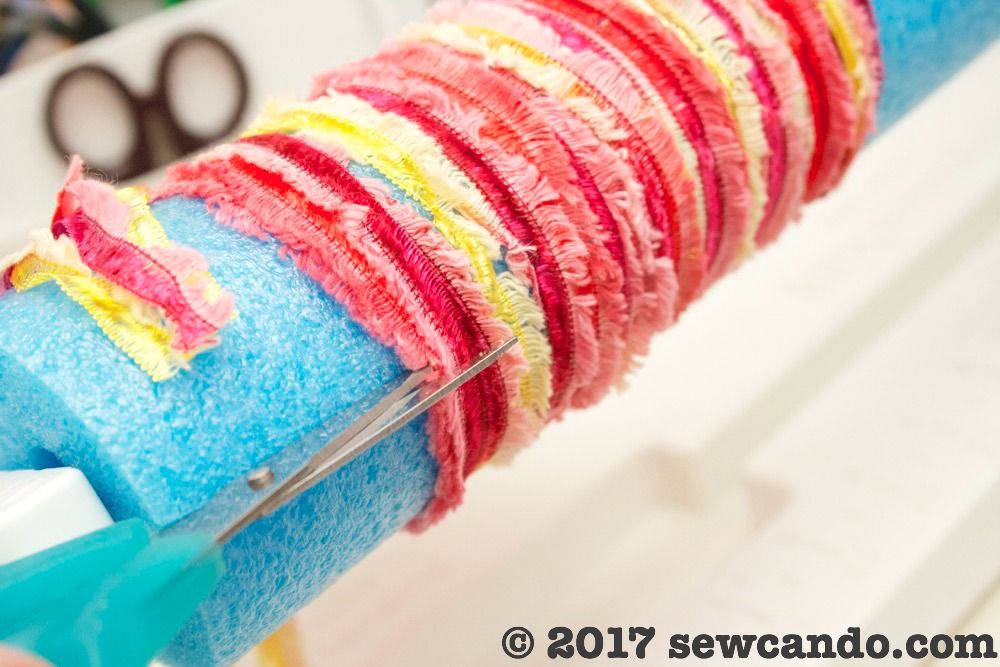
I cut the loop at the bottom rod (it's cover with a pool noodle to get extra inches of length):


Then spread it out and stitched down the tulle several times to attach the yarn strands.  
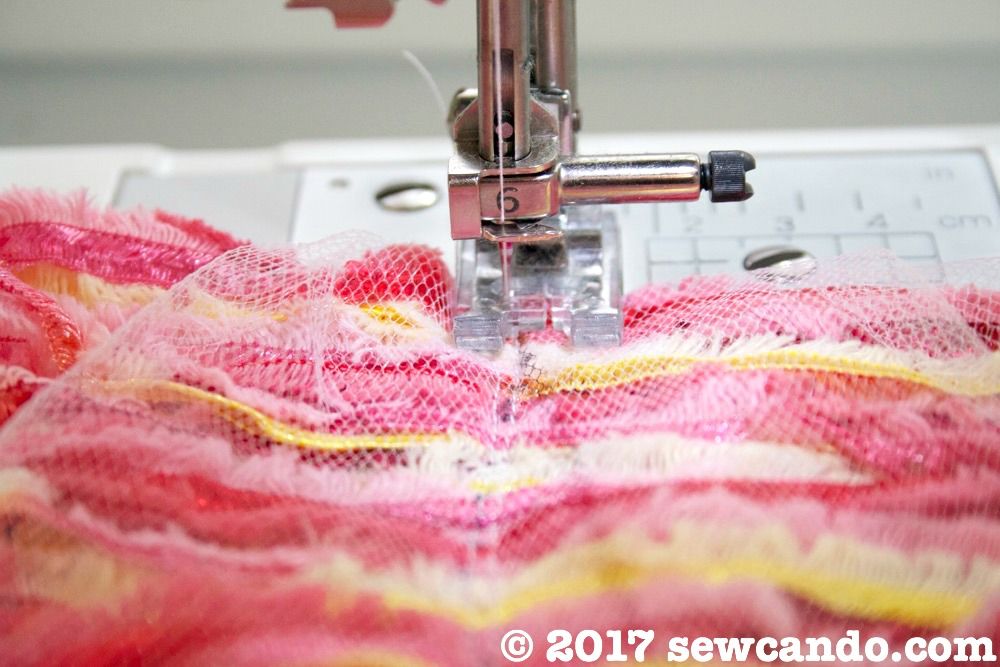


I carefully cut away the tulle and now I had some lovely rows of hair.  I folded each along the stitching and hand stitched the first row onto the head horizontally.  


Then I pinned and hand stitched the other piece from where an ear would be, over the top to the other side.  By slipstitching, the hair was solidly attached, but impossible to see the stitching.  
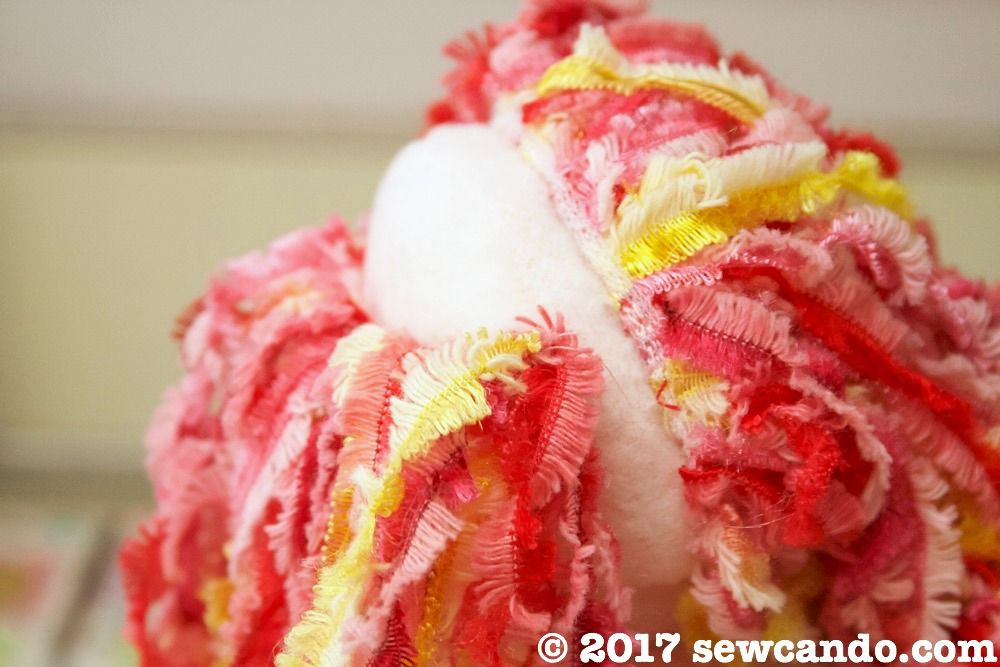


With the hair being so nice and thick and how it's positioned, there aren't any massive bald spots that will peek through.
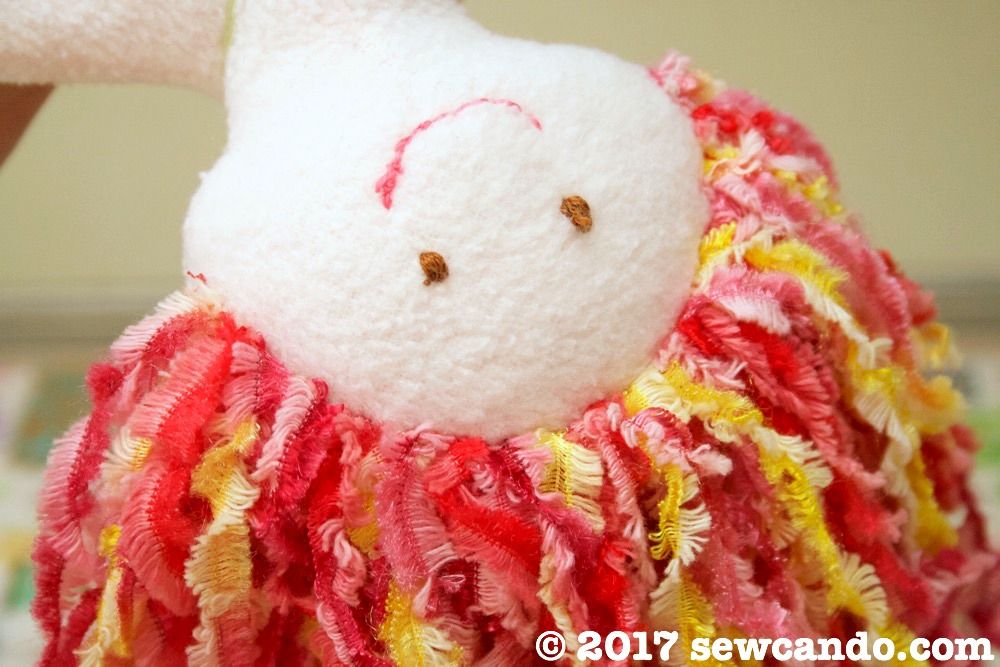


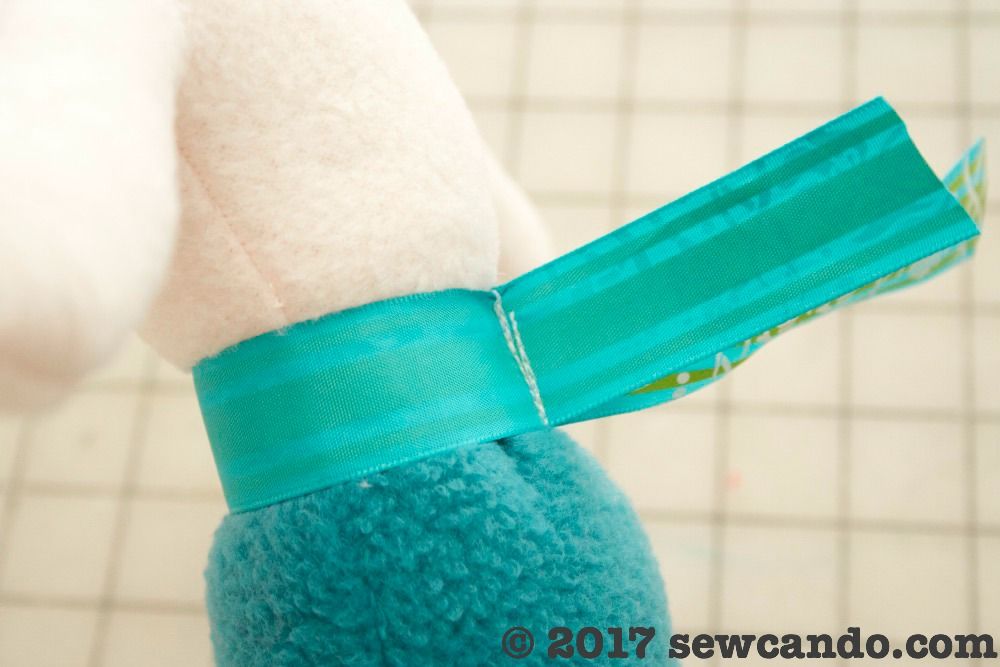
I had some sea-themed ribbon that I used to make a belt.  I cut a piece just larger than the waist and flipped it wrong side out.  Carefully pinching back the waist fabric, I stitched the ribbon ends together, trimmed and then flipped it right side out.  


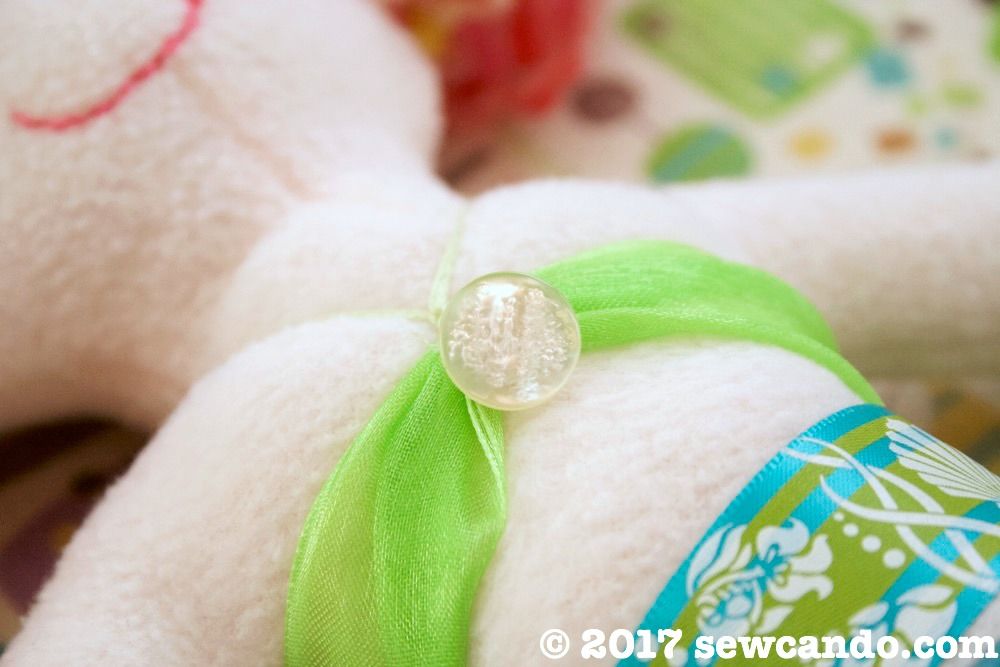
I did the same for the bikini top, except used a wider organza ribbon.  I tied it at the center with some embroidery floss and then tied it around her neck.  
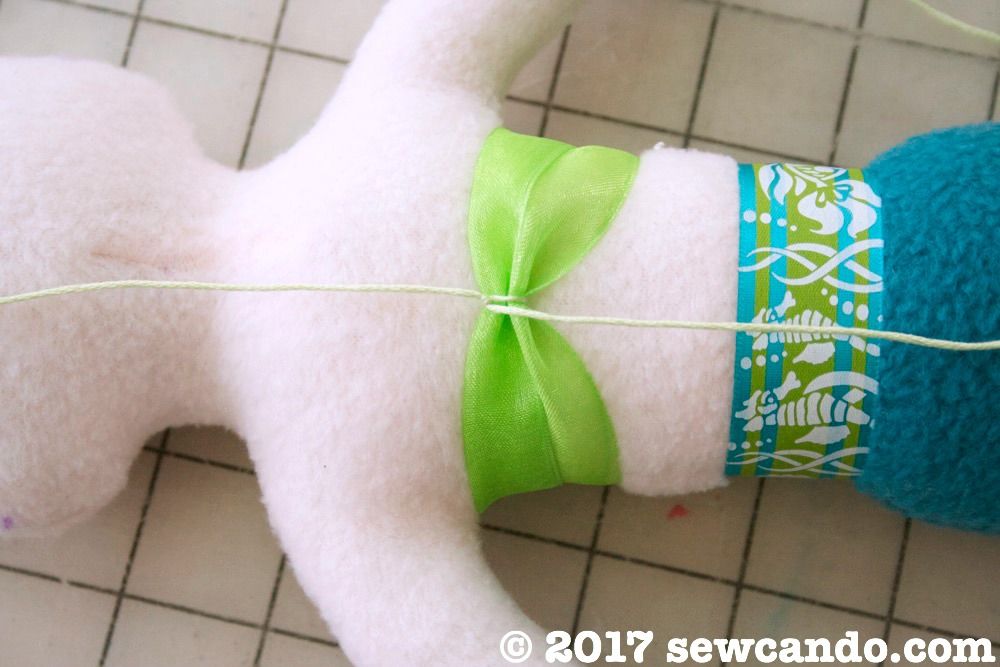


I hand stitched a mother of pearl button onto the center.


I hand stitched eyes and a mouth with embroidery floss.  That's always the part I like the least because I'm semi-terrible at it, but it wasn't the worst stitch job I've done.

It was such a nice feeling being able to make what my daughter wanted with just materials I had in my stash.  It might not be perfect, but this new little friend sleeps in her bed every night and is one of her favorite dolls, so it's a success to me.      


SaveSaveSaveSave

Thursday, May 23, 2013

Making A Waldorf Style Doll: A Review of Adirondack Patterns


A few weeks ago I shared some info on one of my newest sponsors, Adirondack Patterns and Handmade Babies.  Today I'm going to show my results with using one of their pattern sets and share how the process went. 


I'd never made a doll with a sculpted head or sewn on hair before, so this was a new experience for me.  I'm not a sewing novice, but I am self-taught with making toys, so I was curious to see what this would teach me.

I tried out their Large Waldorf Doll Discount Package. This included a pattern to make the body, face, dress and two ways to do the hair (crochet and non-crochet): 


I'd always wanted to make a Waldorf Doll, since buying them can be pretty expensive - most large ones like this can cost over $100!  Using this pattern bundle and some basic materials is a lot more affordable and there's the added bonus of picking your own skin tone, hair color, etc. to make it look exactly how you want.

The doll pattern & instructions made it quick to put the doll body together.  There were some handy tips for stitching & cutting to make things flow well.  I liked that the body is jointed so the doll will sit and had some nice details like the shaped ankles:


I was a little nervous before I started the head sculpting, but this was broken into simple steps, with really clear photos of each step so it went surprisingly fast.  The tricks to sculpt the face were really clever.  The nose, cheeks, head got nice definition as a result. 


I don't crochet, so I used the non-crochet hair method.  Again, the method used to attach the hair was one of those "Ohhhh, that's so much better than I'd have done it" techniques and can be styled into ponytails or with barrettes or hairbands.


The dress was super quick to make & I could see making slight modifications to it to make a bunch of outfits for the doll.  I especially like that the style has an elastic neck opening so my 3 yr old can dress & undress her without getting frustrated.


Since this was my first attempt, I went the cheap route and used materials I had on hand. So instead of a fancier organic interlock cotton, wool roving and wool yarn, I used a premium soft peach anti-pill fleece, cluster fiberfill and acrylic yarn.  On my next one I plan to upgrade to the nicer materials to make a more high end version, but I was really pleased with the end result of this one. Now the next one will be even better!  

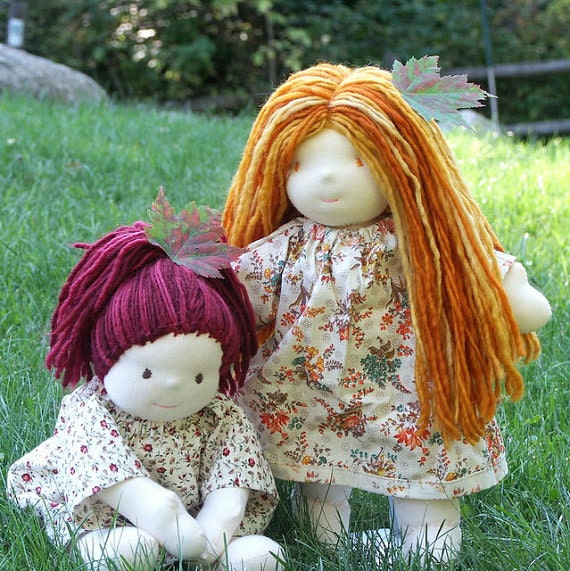
Adirondack Patterns and Handmade Babies sells patterns for several Waldorf style dolls besides this one. I really like these styles too:


They also have patterns for knit & crochet wearables, cloth diapers, children's accessories and offer completed Waldorf Inspired Dolls for those who don't sew.  I'd definitely use their patterns again and look forward to making more lovely dolls with them:)


I was not financially compensated for this post. I received a free pattern to review and use with materials I purchased myself. The opinions are completely my own, based on my experience.

Friday, May 3, 2013

Easy Waldorf Doll & Toy Making: Adirondack Patterns and Handmade Babies


Today I want to share some info on one of my lovely new blog sponsors, Adirondack Patterns and Handmade Babies:


Adirondack Patterns is a collaboration between twin sisters Laura and Julia, who’s love of sewing and crafting for their children expanded into the creation of a store on Etsy, three years ago.  

Adirondack Patterns and Handmade Babies sells not only Waldorf Inspired Dolls, but simple sewing, crochet, and knitting patterns that inspire creativity. Over 80 patterns -including those on cloth diaper sewing, complete instructions for making several Waldorf style dolls and accessories, clothing tutorials, and accessories for little ones.

All of the patterns and tutorials are very simple to follow and almost all of them have detailed photos for every step of the process.  Laura and Julia also give away Waldorf Inspired Dolls to desiring families who may not be able to afford a doll on their blog, Windfall Dolls.

“Our sole purpose in sharing our tutorials at reasonable prices is to inspire and make it possible for other Mama’s to create handmade goods and toys for their little ones.  Because every wee one deserves to have something handmade with love.“
  
Julia and Laura also write about crafting and parenting in their spaces Happiness Comes and Mountain Mama.

Here are just a handful of examples of the patterns that Laura and Julia offer in their shop:
Easy 40 minute Pattern for Crochet Button Side Newsboy Hat:


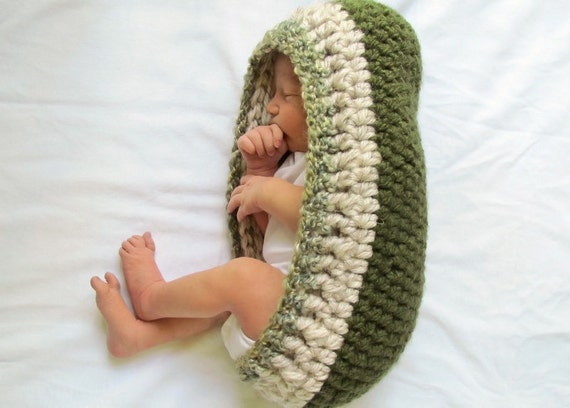
Newborn Crochet Multi Color Cocoon/Pod:


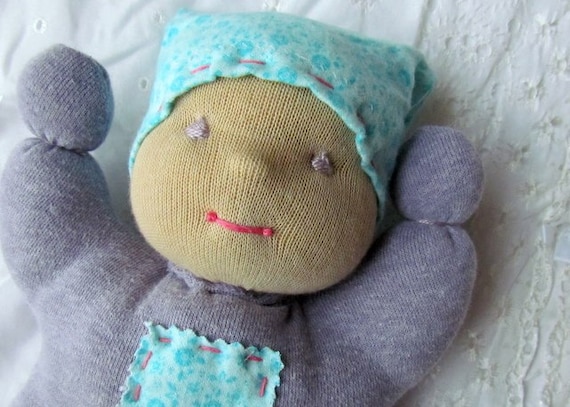
Wee Ones Waldorf Inspired Baby Doll Pattern:


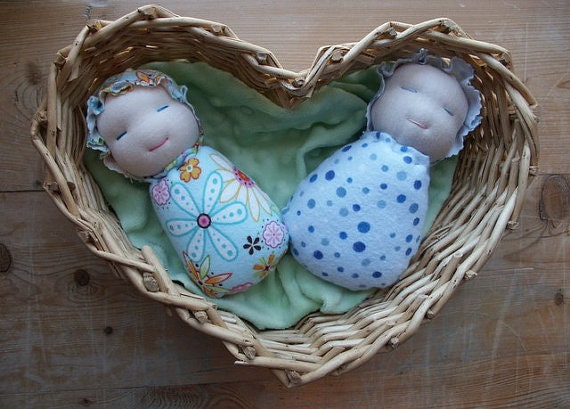
Easy sewing tutorial for our ORIGINAL Waldorf swaddled baby doll:


Upcycled sweater baby soaker pants sewing tutorial:


Complete Diapering System Tutorial Package:


Adorable Baby Bootie Sewing Pattern:


I'm currently trying out their Large Waldorf Doll Discount Package and will be sharing my experience using the patterns and revealing my doll in a few weeks.  I've always wanted to make one, so I'm excited to see how it turns out.


So many cute patterns to choose from and all designed to be easy to use.  They are also on Facebook so you can keep up with all their news & special offers (including a special 20% off discount code you can use this week).  Be sure to stop by & check out Adirondack Patterns soon and fall in love with some pretty patterns:)


Thursday, August 2, 2012

Rosie's How To Make Doll Clothes Course Review & Giveaway!


Today I've got a really special review & giveaway to share: Rosie's How To Make Doll Clothes Course & Patterns.  Rosie has created a complete online video course to teach all the ins and outs of sewing doll clothes in addition to a range of cute doll clothing patterns.  

Rosie asked if I'd like to review her program and the timing was great.  My daughter is getting really interested in dolls.  She loves the Kirsten American Girl doll from my childhood days.  It's one of the very first ones made (numbered and hand signed by the original founder Pleasant T. Rowland), so it's special to us both.   I remember pouring through the catalogs as a kid and, even back then, recognizing that those outfits were expensive!  I loved the idea of making some myself and adding my own personal touch, so I gave it a try.


The Online Sewing Course is set up in themed sections with easy-to-watch segments that are just a few minutes long, so you can watch at your convenience.  Even if you don't know a thing about sewing, you'll find the knowledge you need in the videos.  Setting up a sewing room, supplies, even fabric info - it's all in there.  Plus lots of visuals and explanations, so it's like having a friend showing you as you go.


And if you're experienced at sewing, this course still has a lot of great info.  I learned that the approach to sewing doll clothes is a lot different than sewing normal clothes.  If I'd just tried to make some doll clothes based on what I knew beforehand, I'm pretty sure it would have been a lot trickier and less fun.  Rosie shows how to assemble things in a different order, plus ways to get around the tiny size challenges to keep it frustration-free.  I had a number of "Oh I never thought of that!" moments.  There are special segments called Cool Tips that share some great shortcuts & extra info that are really handy too.

The course also came with 8 free doll clothing patterns that had both printable instructions AND videos for making them.  Totally goof-proof.


I made a complete outfit with 3 of the patterns that were included - a ruffled sun hat, tank top and shorts.  Here's how they turned out:
Never having made doll clothes before I was kind of amazed at how little fabric it took to make so much.  I just used bits of scraps I had from other projects.  This sun hat was incredibly fast to make and super cute:
The tank top is fully lined and has a practical velcro closure to make it easy for little hands to put on/take off, which I really like.
I added some special bias tape to the hem for some detailing.  Another nice thing about Rosie's course is it gives tips and ideas for using all sorts of trims and add-ons to make lots of different looks with all of the basic patterns.  I really like being able to get creative with the details to personalize it myself.
After seeing how nice these turned out,  I've definitely gotten the bug to make more doll clothes and with the online course being accessible for 12 months, there's plenty of time. Rosie also offers the option to buy the whole course on DVD for anyone who prefers that too. There's a huge savings to making them yourself and being so easy & fun it's definitely worth it!

Want a chance to win Rosie's 
How To Make Doll Clothes Online Course 
+ 8 Doll Clothing Patterns?

One winner will receive:

  • How To Make Doll Clothes Online Course (12 months unlimited access)
  • 8 printable doll clothes patterns + instructions: sun hat, summer nightie, sport shorts, underpants, halter & crop tops, sarong & pumpkin costume
  • Individual video tutorials for doll clothing patterns 

To Enter:
Like Rosie's Doll Clothes Patterns on Facebook and come back to leave me a comment saying you "Liked" it.  Be sure to include an email address if it's not on your profile.

For Additional Entries (leave a separate comment for each one):
- Stop by Rosie's Doll Clothes Patterns, then leave me comment saying your favorite pattern
- Follow Rosie's blog
- Follow Rosie's Doll Clothes Patterns on Twitter
- Follow Rosie on Pinterest
- Subscribe to Rosie's Doll Clothes on YouTube
- Follow Sew Can Do
- Like Sew Can Do on Facebook
- Follow Sew Can Do on Twitter
- Follow Sew Can Do on Pinterest
- Link to this giveaway on your blog, Facebook or Twitter

Giveaway will be open until 11:59PM EST August 9th, 2012.  GIVEAWAY CLOSED.  Open to entires worldwide. Void where prohibited.  The winner will be chosen at random and announced later that week.  Good Luck Everyone! 
 

LinkWithin

Related Posts with Thumbnails