Showing posts with label Tutorials. Show all posts

Thursday, October 27, 2022

DIY Little Shepherd and Sheep Costumes


I thought a coordinated costume effort would be really cute for my 2 & 4yr old for Halloween this year.  Living in the midwest it also meant they had to be both warm and easy to layer more clothing under.  And, most importantly, they be comfortable/willing to wear.  My solution was a sweet Little Shepherd & Sheep costume pair.  Just look at that sheep frolic!


My mini shepherd has a long fleece robe to keep him covered, a traditional headdress and of course the necessary shepherd's crook:


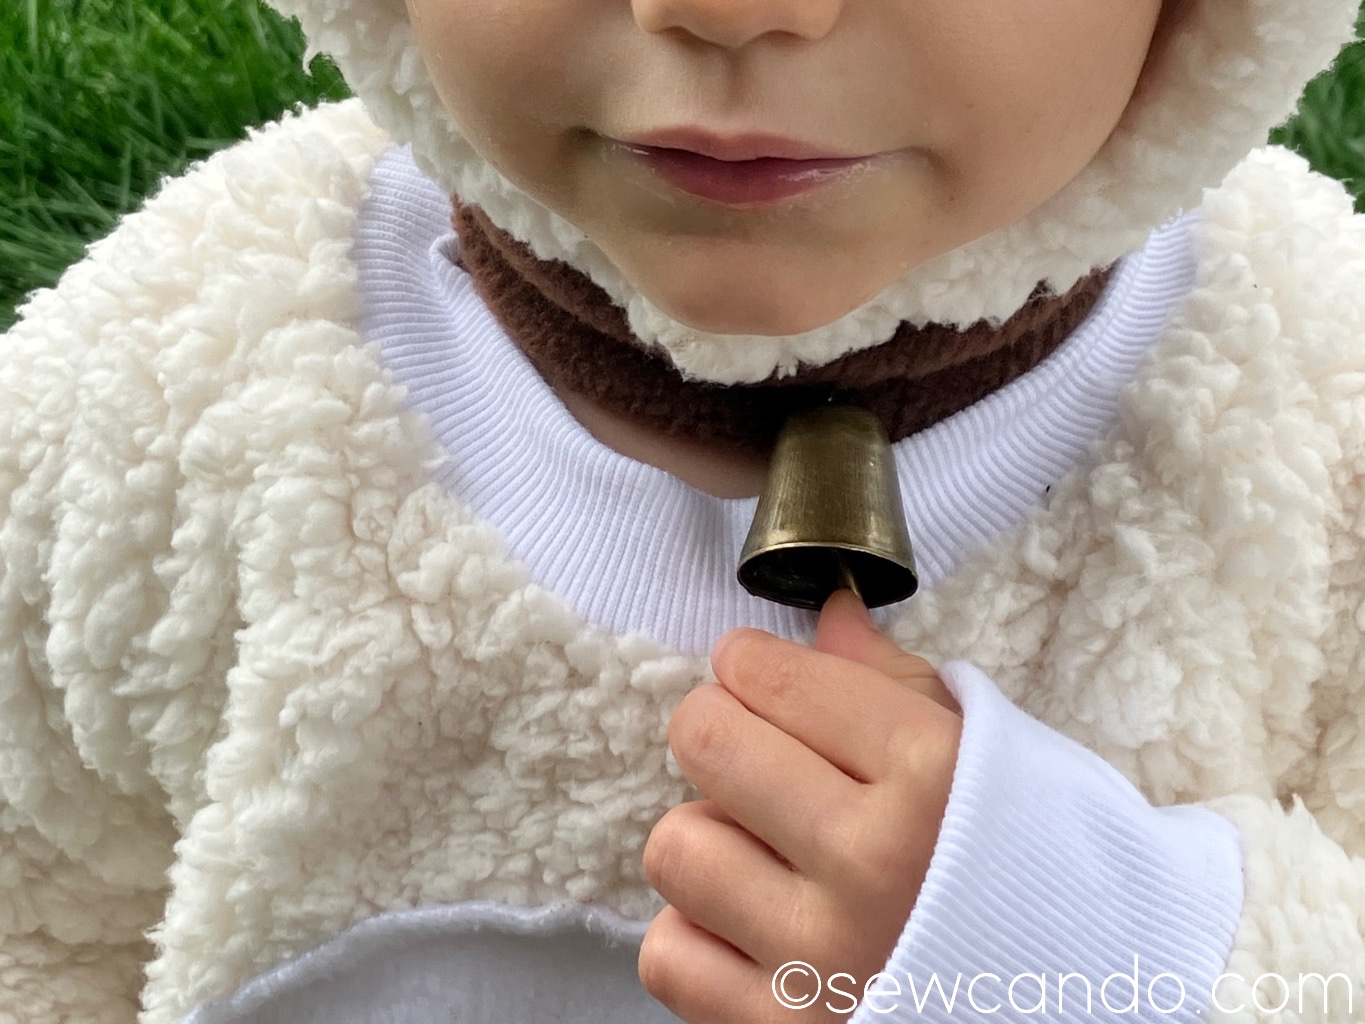
My little lamb has a fuzzy soft sherpa body, cuddle ears and a sweet sounding bell collar:


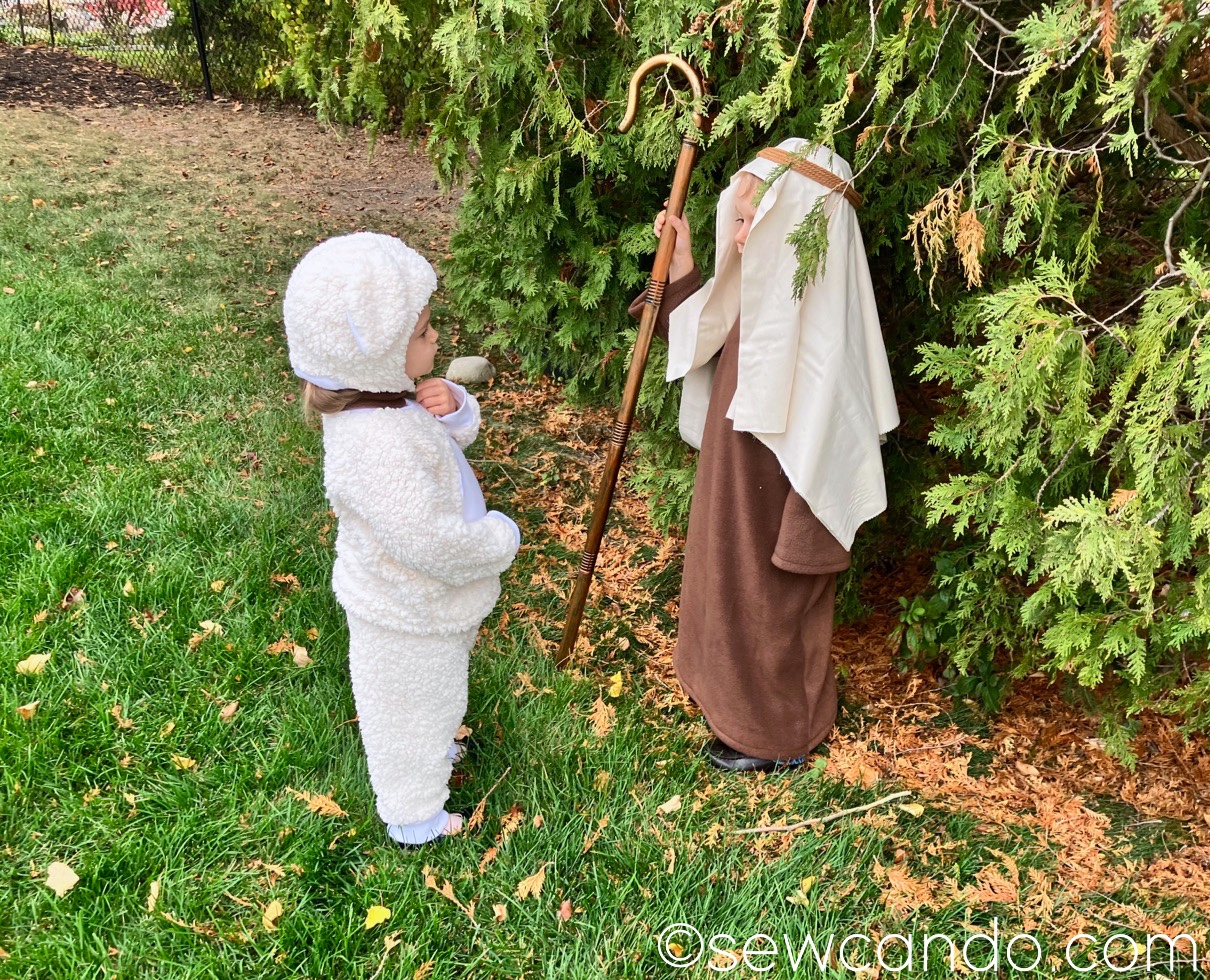
This photo cracks me up because it looks like they're having a a serious conversation.  What a shepherd and sheep talk about,  I don't even know.

I used 1 1/2yds of sherpa fleece fabric for my 2T sized daughter.  I also got a 1/2yd of white fleece for the tummy and hat and 1/4yd of ribbed knit for the neckband and cuffs of the top and pants.  For the main costume I used some of my favorite patterns for toddlers, the raglan top and jogger pant from the book Kwik Sew's Sewing for Toddlers by Kerstin Martensson.


I cut an oval from the fleece to applique onto the shirt front before I assembled it, but otherwise followed the patterns exactly.  The fit is roomy enough to add clothing underneath for a chilly Halloween night.


For the hat, I used the same Turtle Dove cap pattern from the Winter 2009 issue of Ottobre Design that I used a few years back to make the head part of this DIY chicken costume.  I modified it to extend & overlap under the chin with a snap closure.
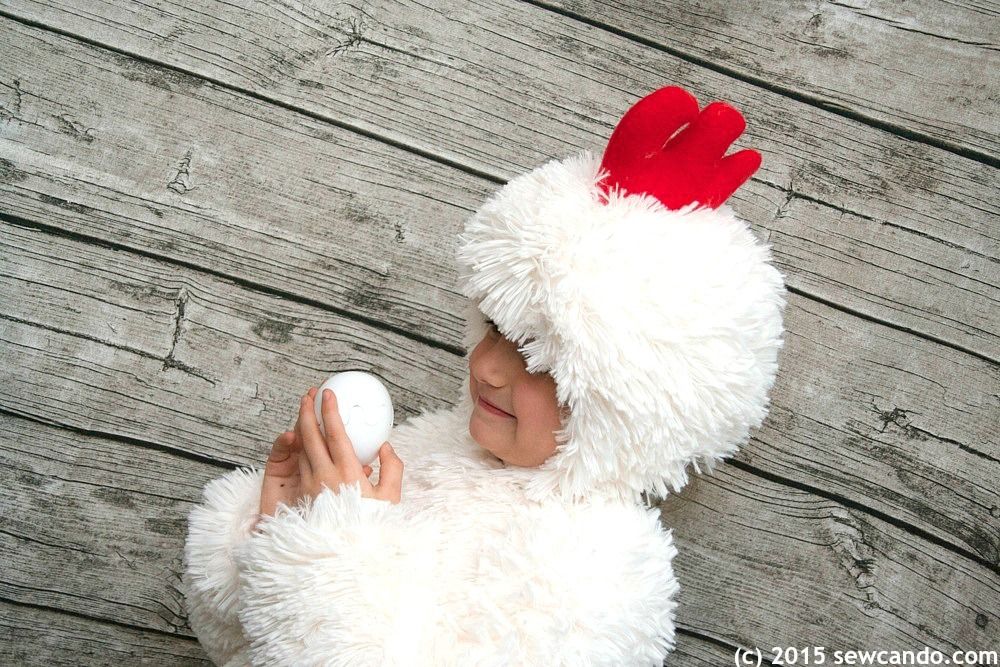

It's ideal for making hats like this that have ears since it has three main pieces so adding them is easy.


I hand drafted some ear pieces and cut a piece for each component from the sherpa and the white fleece for the outer & lining sides.  I sewed the ears together first and then basted them where I wanted them on the hat before I assembled it.


It turned out exactly as I'd pictured in my mind right off the bat, which was so nice.


I also made a little collar from a long scrap of brown fleece, with a snap closure and hand-sewed a bell on it.  My daughter finds it fascinating so she just won't leave it alone (which is why it's hard to see in most of my photos).  I feel like the bell collar was key for distinguishing this as a sheep/lamb costume since many people can do a quick glance at a fluffy costume and think it's just about any animal.  

For my little shepherd I totally winged it.  Which was somewhat miraculous because I literally threw it together from nothing 48hrs before a trunk or treat event at our church.  They were a big hit since they "teamed with the theme" of the location;)  


I started by using one of my 4yr old's fluffy sweatshirts as my base for shape & size.  I folded it in half and measured his height from shoulder to ankle to start an extended pattern that would become a robe.


I then used a yard stick to extend it out in an A shape from the underarm for the proper robe shape and then traced the sleeves and belled them out the same way.


Once I had my pieces I cut them all out from my 1/5yds of brown fleece and also made 3 inch wide neckline facing pieces by tracing the neckline of my front & back and sewed everything together.


For the headdress I look a yard of muslin found on clearance and folded it in half.  To anchor it I got some soft cotton craft cord and wrapped it around his head a few times and held it together with little clamps to remove it intact.  Then I hand sewed it in 4 spots to make it stay in place.


Placing it over the muslin gave a real shepherd look that was easy too:


And to round out the look I got this lightweight kid-sized plastic shepherd's crook off Amazon:


I'm so happy about how these turned out, especially since I barely had time to throw them together.  I do like to make the costumes, whenever I can, when my kids are little.  It makes it more memorable and I know my time for getting to pick them myself or getting them to be willing to coordinate is short so I need to use it.  My 2 yr old actually squealed with delight when she saw it and insisted on trying the hat on, so gotta make the most of this stage for Halloween costume fun!


Have a Happy Halloween!!


Thursday, August 11, 2022

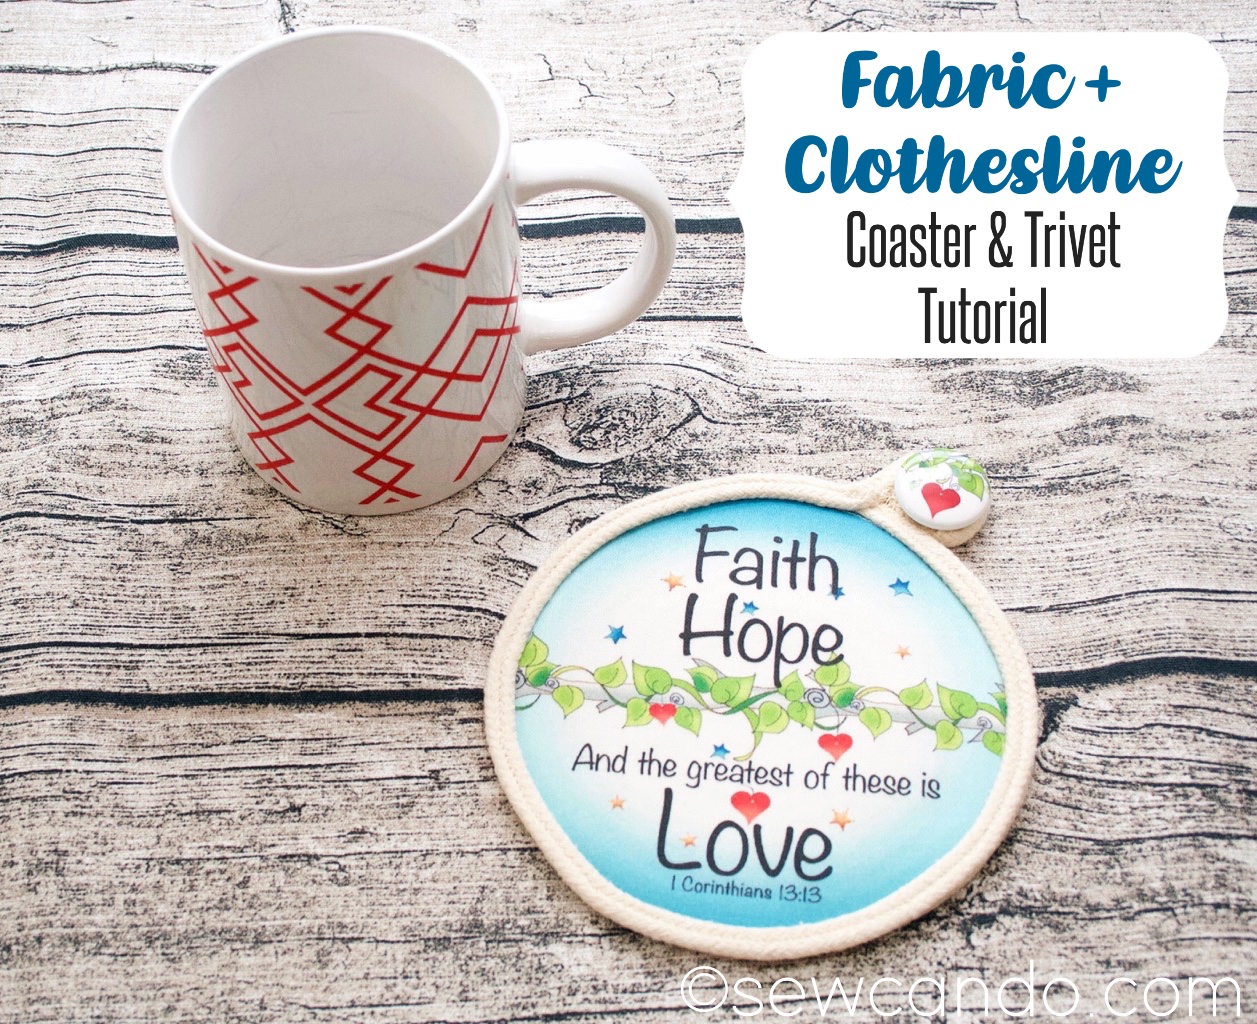
Tutorial: Fabric Topped Clothesline Coaster or Trivet


Turn a bit of clothesline and a circle of fabric into a handy coaster or trivet!


By using the same type of clothesline that is popular for bowl & basket making, it offers an ideal base for warm drinks and containers:


With a pretty top side thanks to some lovely fabric:


I came up with this project when brainstorming use ideas for some new round mini fabric panels I started carrying in my fabric shop.  They were designed for use in the center of rope bowls that are a popular sewing project these days:


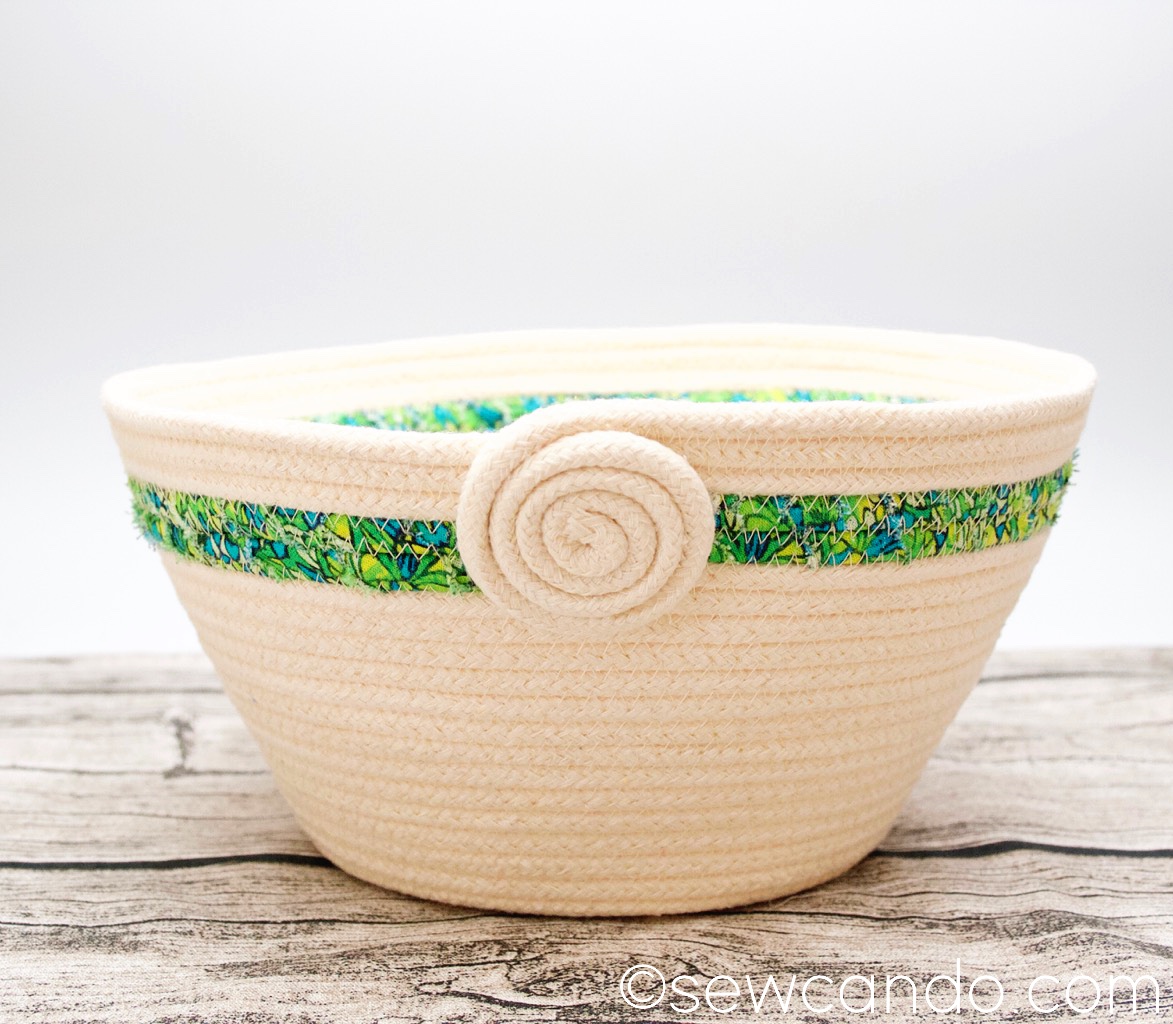
I'd never made a clothesline bowl before, but gave it a go after watching a few tutorials and it was pretty satisfying turning a skein of clothesline into a pretty and sturdy bowl:


I even tried out the whole fabric wrapped layer option and loved how it turned out:


Especially with a little coil finish that is beyond simple to do (literally just hand coil and hot glue in place!).  Seriously, these rope projects are addicting.  I'm looking forward to making a few more soon.


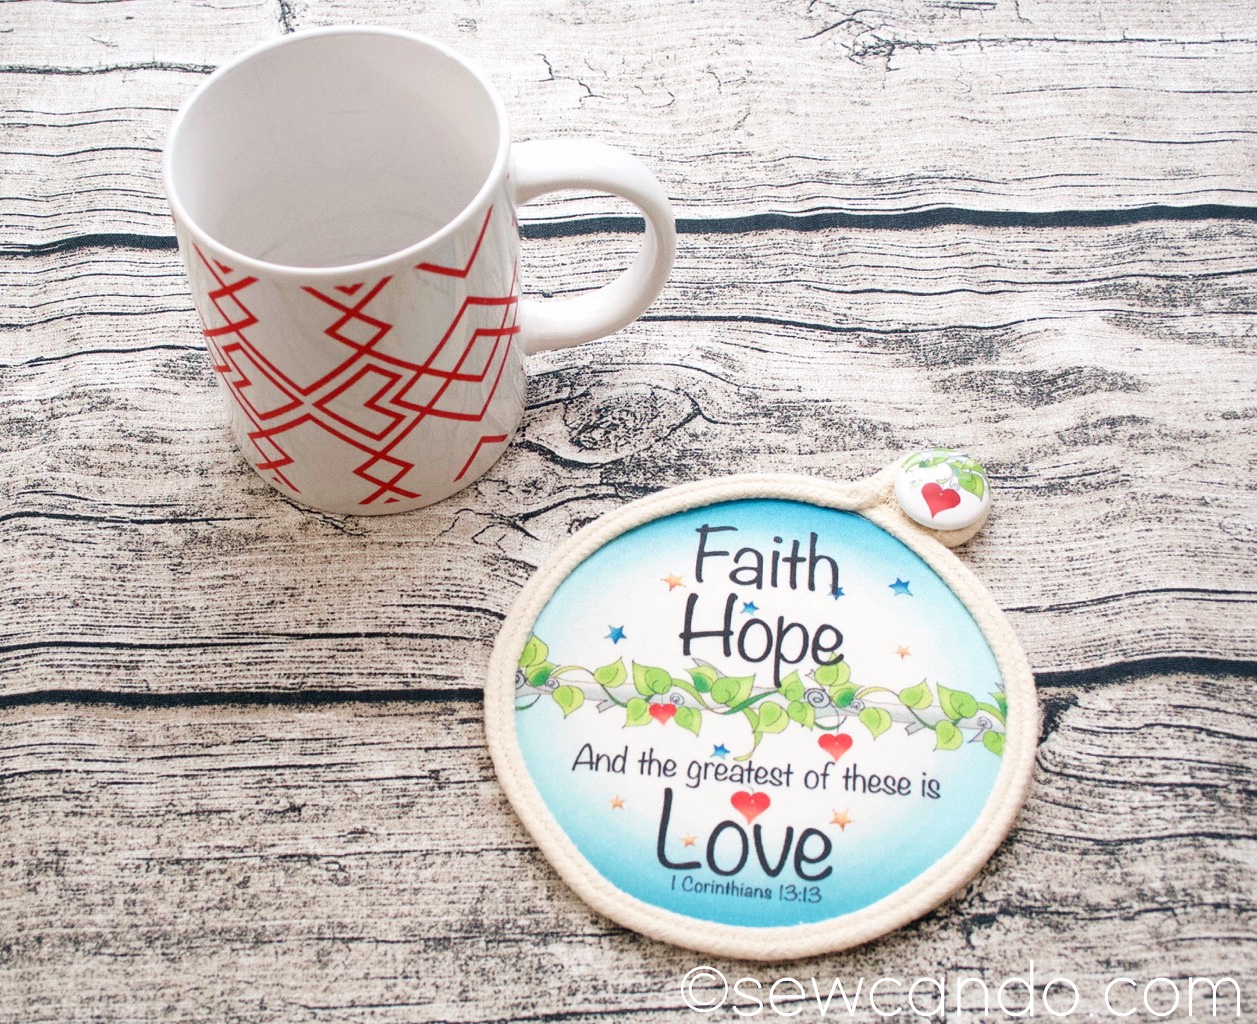
After gaining some technique confidence making a bowl, I decided to tackle my own idea for a rope project.  The little round fabric panels were perfectly sized for any mug or small bowl, so a coaster seemed an ideal item:


Here's how to make one!
Materials: 
- Skein of cotton clothesline
- 5 inch circle fabric art panel or circle of fabric
- heavy duty/denim 16/100 sewing needle
- 50wt thread
- HeatnBond (strong paper backed fusible) & iron
- small clips or hinged clothespins

Just like when making rope bowls, coil one end of clothesline in a spiral like a snail's shell, until it's about an inch in diameter and baste across with a very wide zig-zag stitch (setting length to about 2.5) in a "+" shape to hold in place.  Begin sewing at the center with the same zig-zag stitch, work around the spiral coil, catching the "zig" in one rope, while catching the "zag" in the rope next to it.  Continue working around and around until the diameter is 5 inches across:


Set the clothesline base aside and grab the HeatnBond & a 5 inch Circle Fabric Art Panel (or same sized circle of fabric).  Trace the fabric circle onto the paper side of the HeatnBond and cut out.


With fusible side facing the wrong side of the fabric, follow the fusing directions of the HeatnBond with an iron.  When cool, peel paper away from back of fabric:


Align the circle panel on top of the clothesline spiral so the loose end is at the top right as shown:


Fuse fabric to clothesline spiral:


Topstitch just inside raw edge of circle:


Carefully wind the loose clothesline along the edge of the panel, directly over the topstitching so this row is directly above the previous row of rope and clip all the way around, overlapping slightly at the top.


Topstitch all the way around at the center of the clothesline, stopping just to the right of the top center (as if between the numbers 12 and 1 on a clock).


Measure out 5 inches of loose clothesline and cut:


Coil the loose end inward, just as was done at the start and stitch together in the same way.  


Leave as is, or embellish with a button or charm.  Enjoy for yourself or give as a unique gift!


Tuesday, March 15, 2022

Fun & Festive Heat Transfer Vinyl St. Patrick's Day Shirts


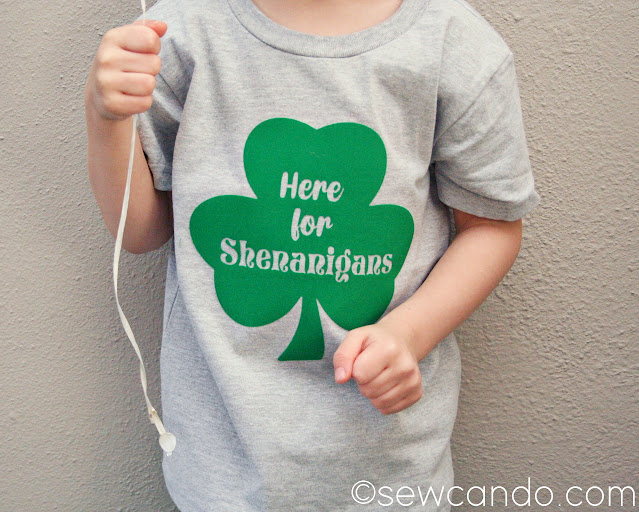
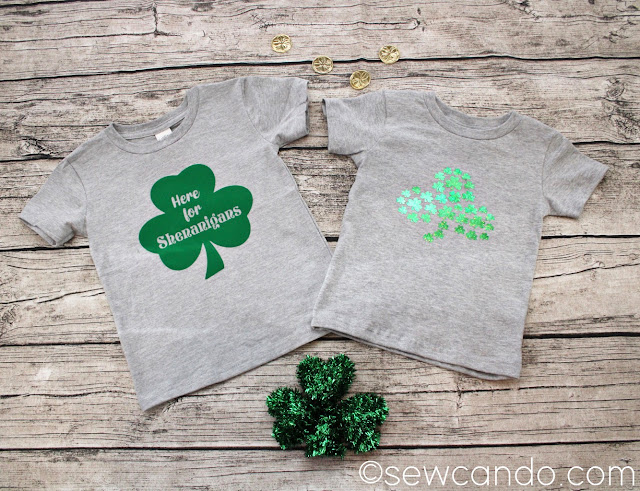
Be ready to wear your green and feel festive this Saint Patrick's Day with some quick & easy DIY Heat Transfer Vinyl St. Patrick's Day shirts.  I've made it even easier by offering the design files for both of them!

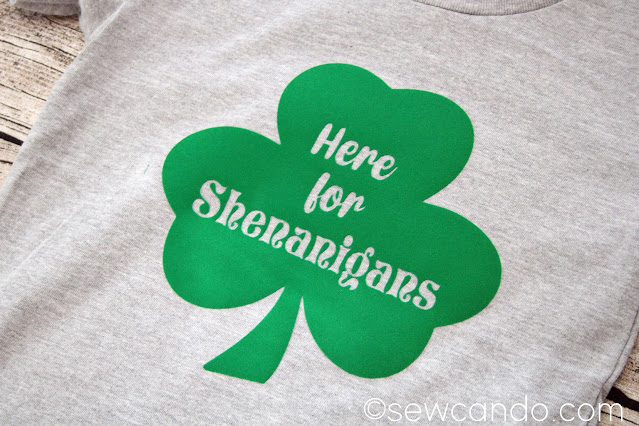
There's something for the little (or big) rascals:

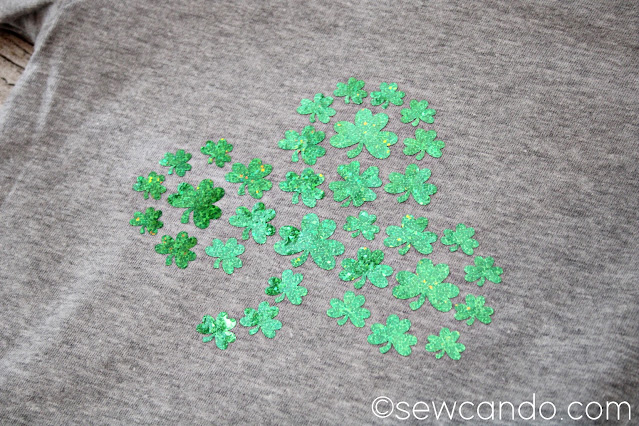
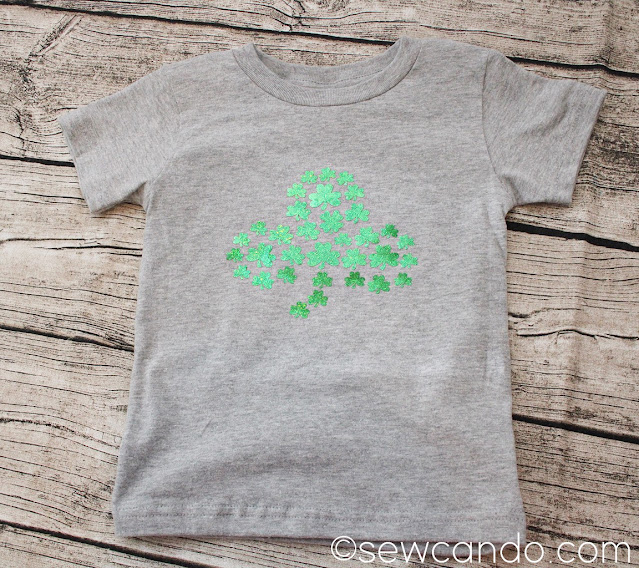
And a whimsical search & find themed Shamrock of Shamrocks design.  

Can you find the 4 leaf clover?

As I've mentioned before, I'm a big fan of "holiday" themed wearables that you can still wear well after the actual day is over and these fit the bill for that too.

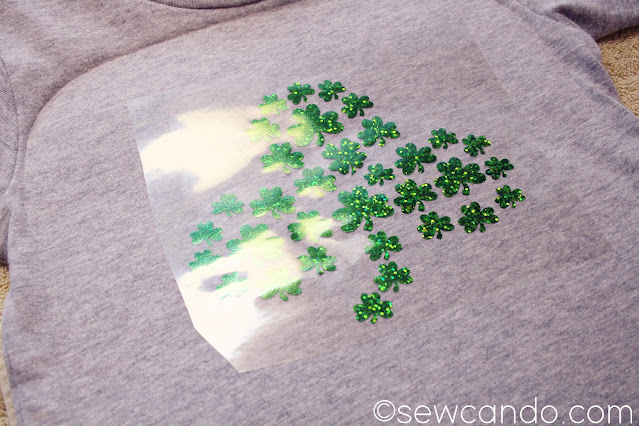
I kicked it up a notch too by using some specialty types of HTV: my personal favorite type of HTV, flocked, and one I'd never used before, holographic sparkle.  This was an eleventh hr project idea so I had to grab what was available locally at a craft chain store brand rather than order the heat transfer vinyl online, which is what I usually do.  I find the online ones are always more economical and higher quality than the big box stuff.  I wasn't sure how these would turn out so it was a bit of a gamble.

 Now, how to make them!

Materials:
- Heat transfer vinyl.  I used flocked and holographic glitter types from The Paper Studio (Hobby Lobby brand)
- Blank Shirt (unwashed)
- Cutting machine (I used my 6yr old Cricut Explore)
- Heat Press (I used my new HTVRONT Press - see the review HERE) or Iron
- My FREE St. Patricks Day designs below
 

 Here are the FREE designs I whipped up.  Just right click to save each png.  


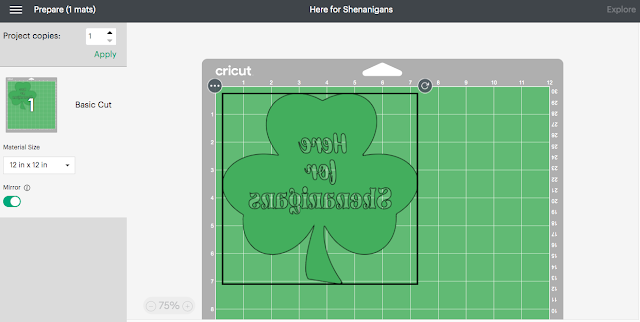
Using Cricut Design Space I turned my designs into cut files and sized them to fit my 2T & 3T sized shirts (I made them 6 and 7 inches wide, respectively).  

Then mirrored them before cutting:


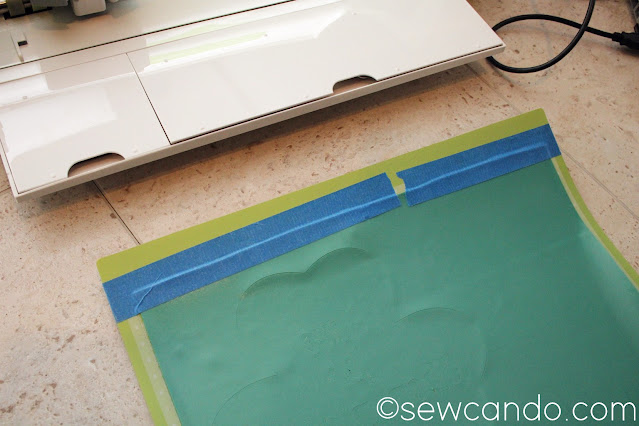
 It took about a minute each to cut them out.  My real issue was each was the start of a new roll of HTV so they curled something fierce.  Since you cut them face down, the vinyl's bend was going upward, which was a real issue.  Since these specialty types aren't as floppy as smooth HTV, even using a brayer wouldn't smooth them down.  So I did some masking tape along the top edge to keep them flat on the mat, which worked great: 

On the one with lettering, I weeded out the letters,  remembering to leave the center bits of the "e's, a's, o & g".  Then it was press time!!  It's key to check the fabric composition and type of HTV being used to make sure you get the settings right.  I read previously that it's best not to wash the shirts first - having that factory sizing in them helps HTV adhere better.  Some sites say otherwise, but I've found it helps.  

These shirts were both cotton poly blends.  I always press mine on a folded fluffy towel too.

The shirts got a 5 second preheat with the press and then I put the heat transfer vinyl on.  FYI, if you're new to using htv, you leave the carrier sheet on.  Some people even use a Teflon sheet between that & the press, but I've never needed it for the things I've done so far.  For the flocked I used my usual formula of 295F, 30 seconds front/15 seconds on back and peeling when cool, which worked perfectly.  

The holographic glitter was a different story.  The instructions inside the roll listed glitter, foil, shimmer and regular temperatures, but nothing for that particular type.  Searches online were also pretty vague.  Why would you make a product, but not explain how to use it??  

I followed one suggestion to do 330 for 30 seconds/15 seconds and cool peel.  When I started to peel away the carrier, the edges of most of the shamrocks were lifting with it.  I did another 30 seconds on the front and 10 more on the back, but it still was lifting on some.  I raised the temperature to 340 and did 20 seconds and then they seemed to stay.  I find it's usually ok to have to repress when this kind of thing happens, but you have to be careful not to go too long or too hot when re-pressing or it'll melt the htv and then it won't stick at all. 


We'll see when I wash it how well they actually adhered.  This brand seemed more brittle & plastic-y in both types compared to others I've used, so I think the quality of the HTV probably had more to do with it than the type itself.  Which was a bit annoying since it cost almost twice as much as brands found online!  The place my heat press is from, HTVRONT, is having a sale on their HTV right now and you can get rolls that are more than double the length of the stuff I got at the local chain and are STILL cheaper than what I bought!!  You can see for yourself HERE.  I'm going to try some of theirs out soon to see how it compares to the kinds I've already used and share my results when I do.

For HTV clothing care, I wait 24hrs before washing and always wash them inside out, on cold, delicate and line dry to keep the transfers nice.  I've had some shirts like this last for ages by doing all that and since I want my 3yr old's shirt to be wearable for my 2yr old next year, it's worth the extra care.  Now my littlest cuties have some fun attire that was reasonable in time & price for the upcoming holiday - and you can too!


LinkWithin

Related Posts with Thumbnails