
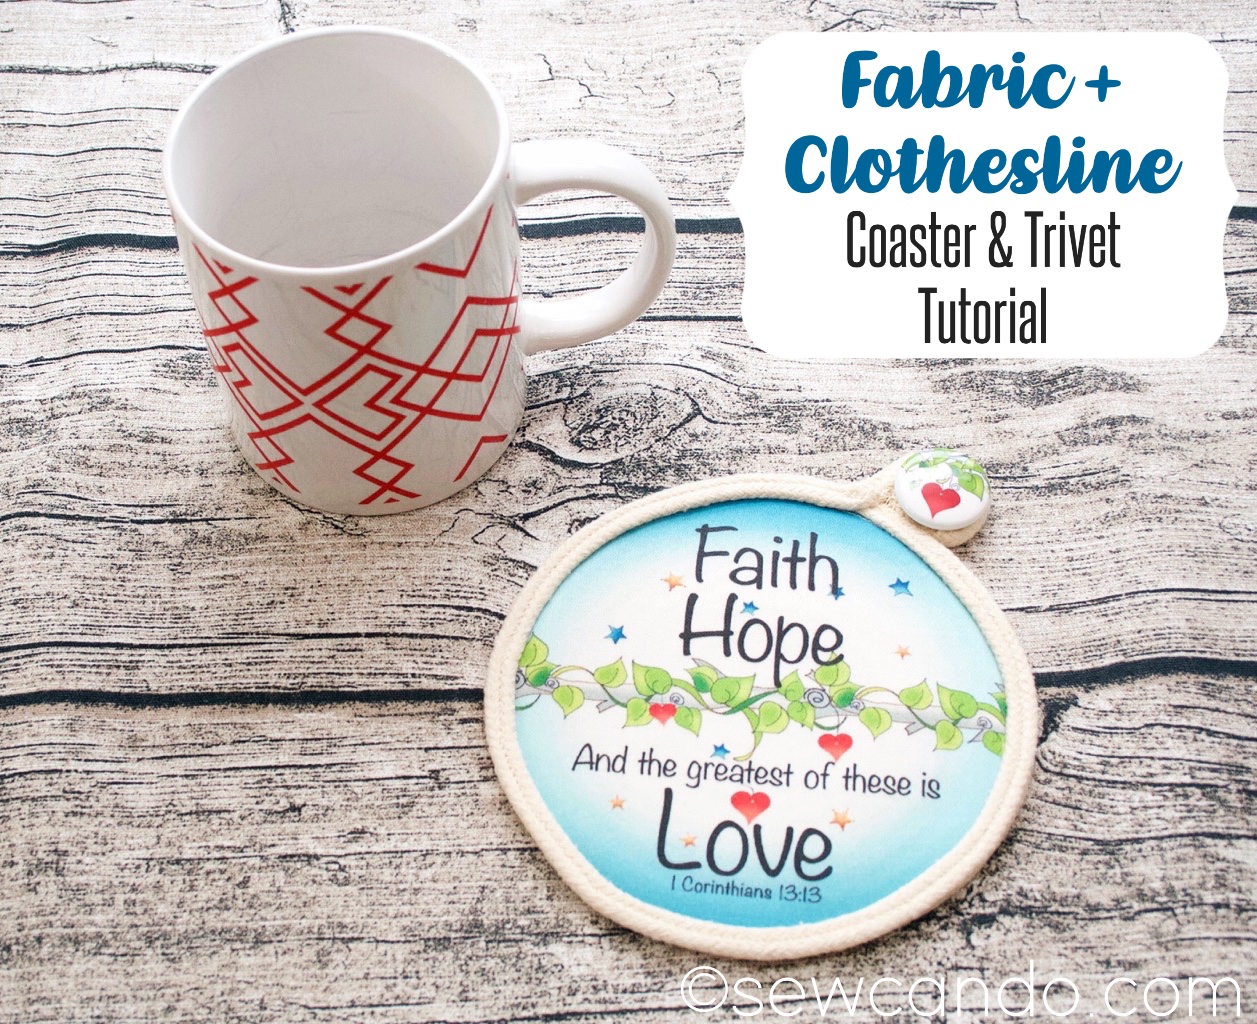
Turn a bit of clothesline and a circle of fabric into a handy coaster or trivet!
By using the same type of clothesline that is popular for bowl & basket making, it offers an ideal base for warm drinks and containers:

With a pretty top side thanks to some lovely fabric:

I came up with this project when brainstorming use ideas for some new round mini fabric panels I started carrying in my fabric shop. They were designed for use in the center of rope bowls that are a popular sewing project these days:

I'd never made a clothesline bowl before, but gave it a go after watching a few tutorials and it was pretty satisfying turning a skein of clothesline into a pretty and sturdy bowl:

I even tried out the whole fabric wrapped layer option and loved how it turned out:
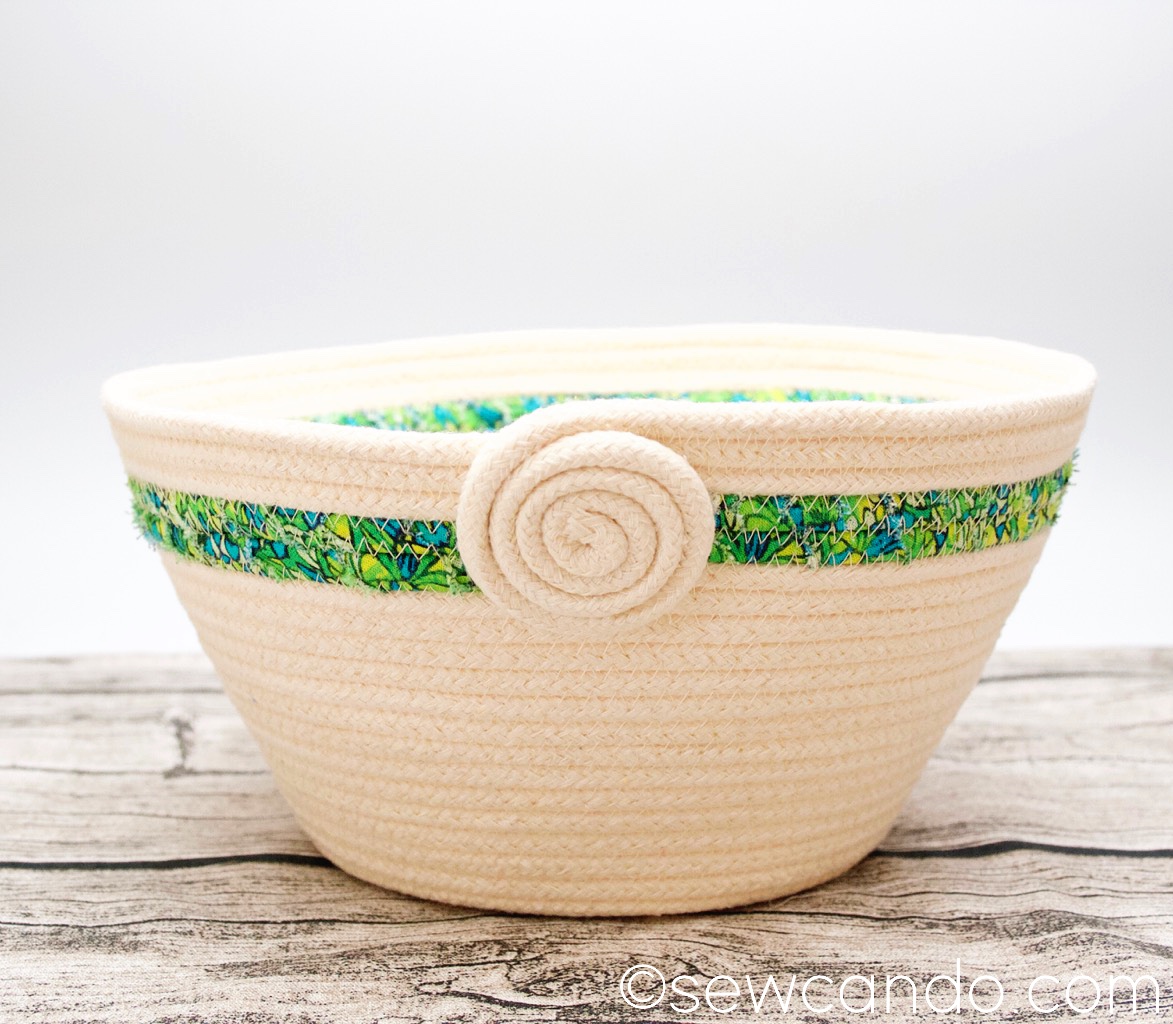
Especially with a little coil finish that is beyond simple to do (literally just hand coil and hot glue in place!). Seriously, these rope projects are addicting. I'm looking forward to making a few more soon.

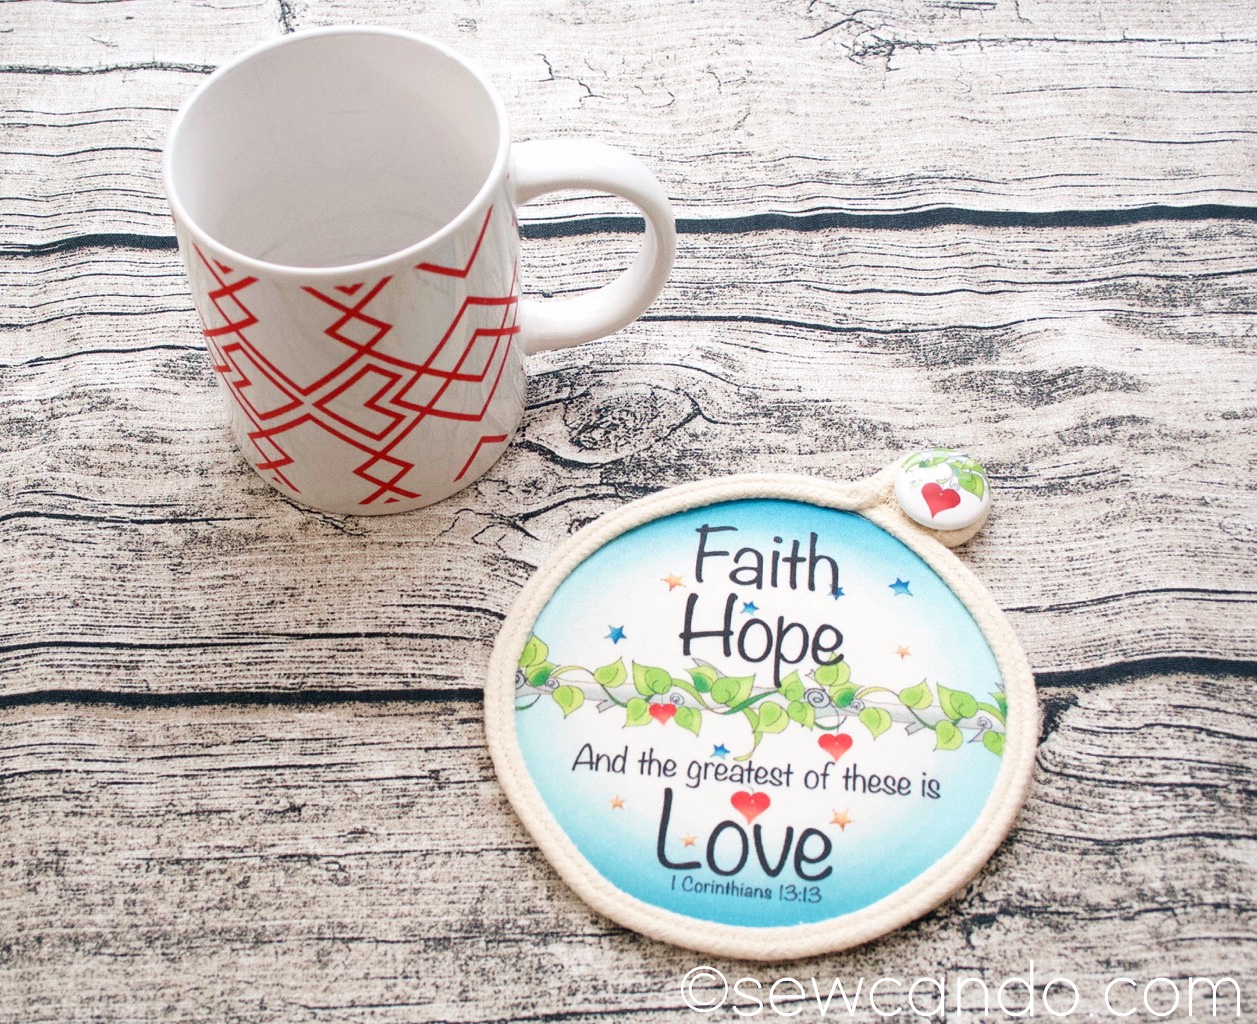
After gaining some technique confidence making a bowl, I decided to tackle my own idea for a rope project. The little round fabric panels were perfectly sized for any mug or small bowl, so a coaster seemed an ideal item:

Here's how to make one!
Materials:
- Skein of cotton clothesline
- 5 inch circle fabric art panel or circle of fabric
- heavy duty/denim 16/100 sewing needle
- 50wt thread
- HeatnBond (strong paper backed fusible) & iron
- small clips or hinged clothespins
Just like when making rope bowls, coil one end of clothesline in a spiral like a snail's shell, until it's about an inch in diameter and baste across with a very wide zig-zag stitch (setting length to about 2.5) in a "+" shape to hold in place. Begin sewing at the center with the same zig-zag stitch, work around the spiral coil, catching the "zig" in one rope, while catching the "zag" in the rope next to it. Continue working around and around until the diameter is 5 inches across:

Set the clothesline base aside and grab the HeatnBond & a 5 inch Circle Fabric Art Panel (or same sized circle of fabric). Trace the fabric circle onto the paper side of the HeatnBond and cut out.

With fusible side facing the wrong side of the fabric, follow the fusing directions of the HeatnBond with an iron. When cool, peel paper away from back of fabric:

Align the circle panel on top of the clothesline spiral so the loose end is at the top right as shown:

Fuse fabric to clothesline spiral:

Topstitch just inside raw edge of circle:

Carefully wind the loose clothesline along the edge of the panel, directly over the topstitching so this row is directly above the previous row of rope and clip all the way around, overlapping slightly at the top.

Topstitch all the way around at the center of the clothesline, stopping just to the right of the top center (as if between the numbers 12 and 1 on a clock).

Measure out 5 inches of loose clothesline and cut:

Coil the loose end inward, just as was done at the start and stitch together in the same way.

Leave as is, or embellish with a button or charm. Enjoy for yourself or give as a unique gift!
