Showing posts with label heat transfer vinyl. Show all posts

Wednesday, December 21, 2022

Merry Christmas Bozo: A Holiday Heat Transfer Tale


I know today's project title sounds strange, but I promise the story about it is worth it!  I last minute made this heat transfer shirt for my 4yr old as a special surprise:


It's a direct quote from him about the character pictured with it.  Yes, he's wishing a squirrel Merry Christmas.  And yes, he's calling him a bozo.

Backstory: In October we had a bunch of pretty pumpkins out on our front porch as part of our festive decorations.  After a while we noticed a few small chunks taken out of one of the "fairy tale" varieties.  Days went by and more small chunks.  A week went by and it was looking pretty beat up.  We figured something about it must have been appealing to a bird or chipmunk so we tossed it out.  The rest were untouched so it must have just been something about that one, right?

The next day a couple had small bite marks and a large classic pumpkin had a giant hole in it.  The porch was also sprayed with pumpkin innards and seeds.  Like someone had blown it up with a stick of dynamite like in a cartoon.  I didn't think to take a photo at the time, but it was a MASSIVE mess.  About 15min later I spied this guy through the glass in the door (it looks like there are 3 of him, but it's the effect of the cuts in my door's glass):


Yep, it was a squirrel.  A giant, chubby, almost-as-big-as-a-cat squirrel.  Eating seeds out of a pumpkin.  In two decades of putting pumpkins out, we've never had any bitten into, let alone torn apart and chowed on!  Then I saw him in action :


It seemed crazy!  He was carving it by eating!  So my 4yr old pranced over and began dancing a little jig to a spontaneous song he made up for the squirrel, "Bozo, bozo, you are a bozo!" in a sort of school-yard nah-nah tone while peering at him through the glass.  Squirrel didn't care - he kept eating.  But as soon as he left we tossed all the remaining pumpkins out and washed the mess away, so I'm sure he was disappointed when he came back and his buffet was gone.

We haven't seen him since, but he came up in conversation last week.  Not missing a beat, my little guy commented in a disgruntled tone "Merry Christmas Bozo." and I knew I had to immortalize it into a shirt.

I found a free silhouette image of a squirrel and another of a Santa hat and combined them using iPiccy.  

I imported it into Cricut Design Space to make a cut file and adding the wording and cut them out.  The words with plain heat transfer vinyl and the squirrel in flocked.


I applied them with my heat press (more on the ones I use here and here).  Since I was using two different kinds, I did them in phases.  The flocked was first at 295 degrees for 30sec front/15sec back.


  Then I did the lettering on 330 degrees for the same time, carefully not overlapping the press on anything.  I peeled when cool and our inside joke Christmas shirt was born:


Everyone in the house is now in love with this shirt.  My teens are now requesting them.  Maybe next year it should become a family Christmas photo....;)

Wednesday, May 11, 2022

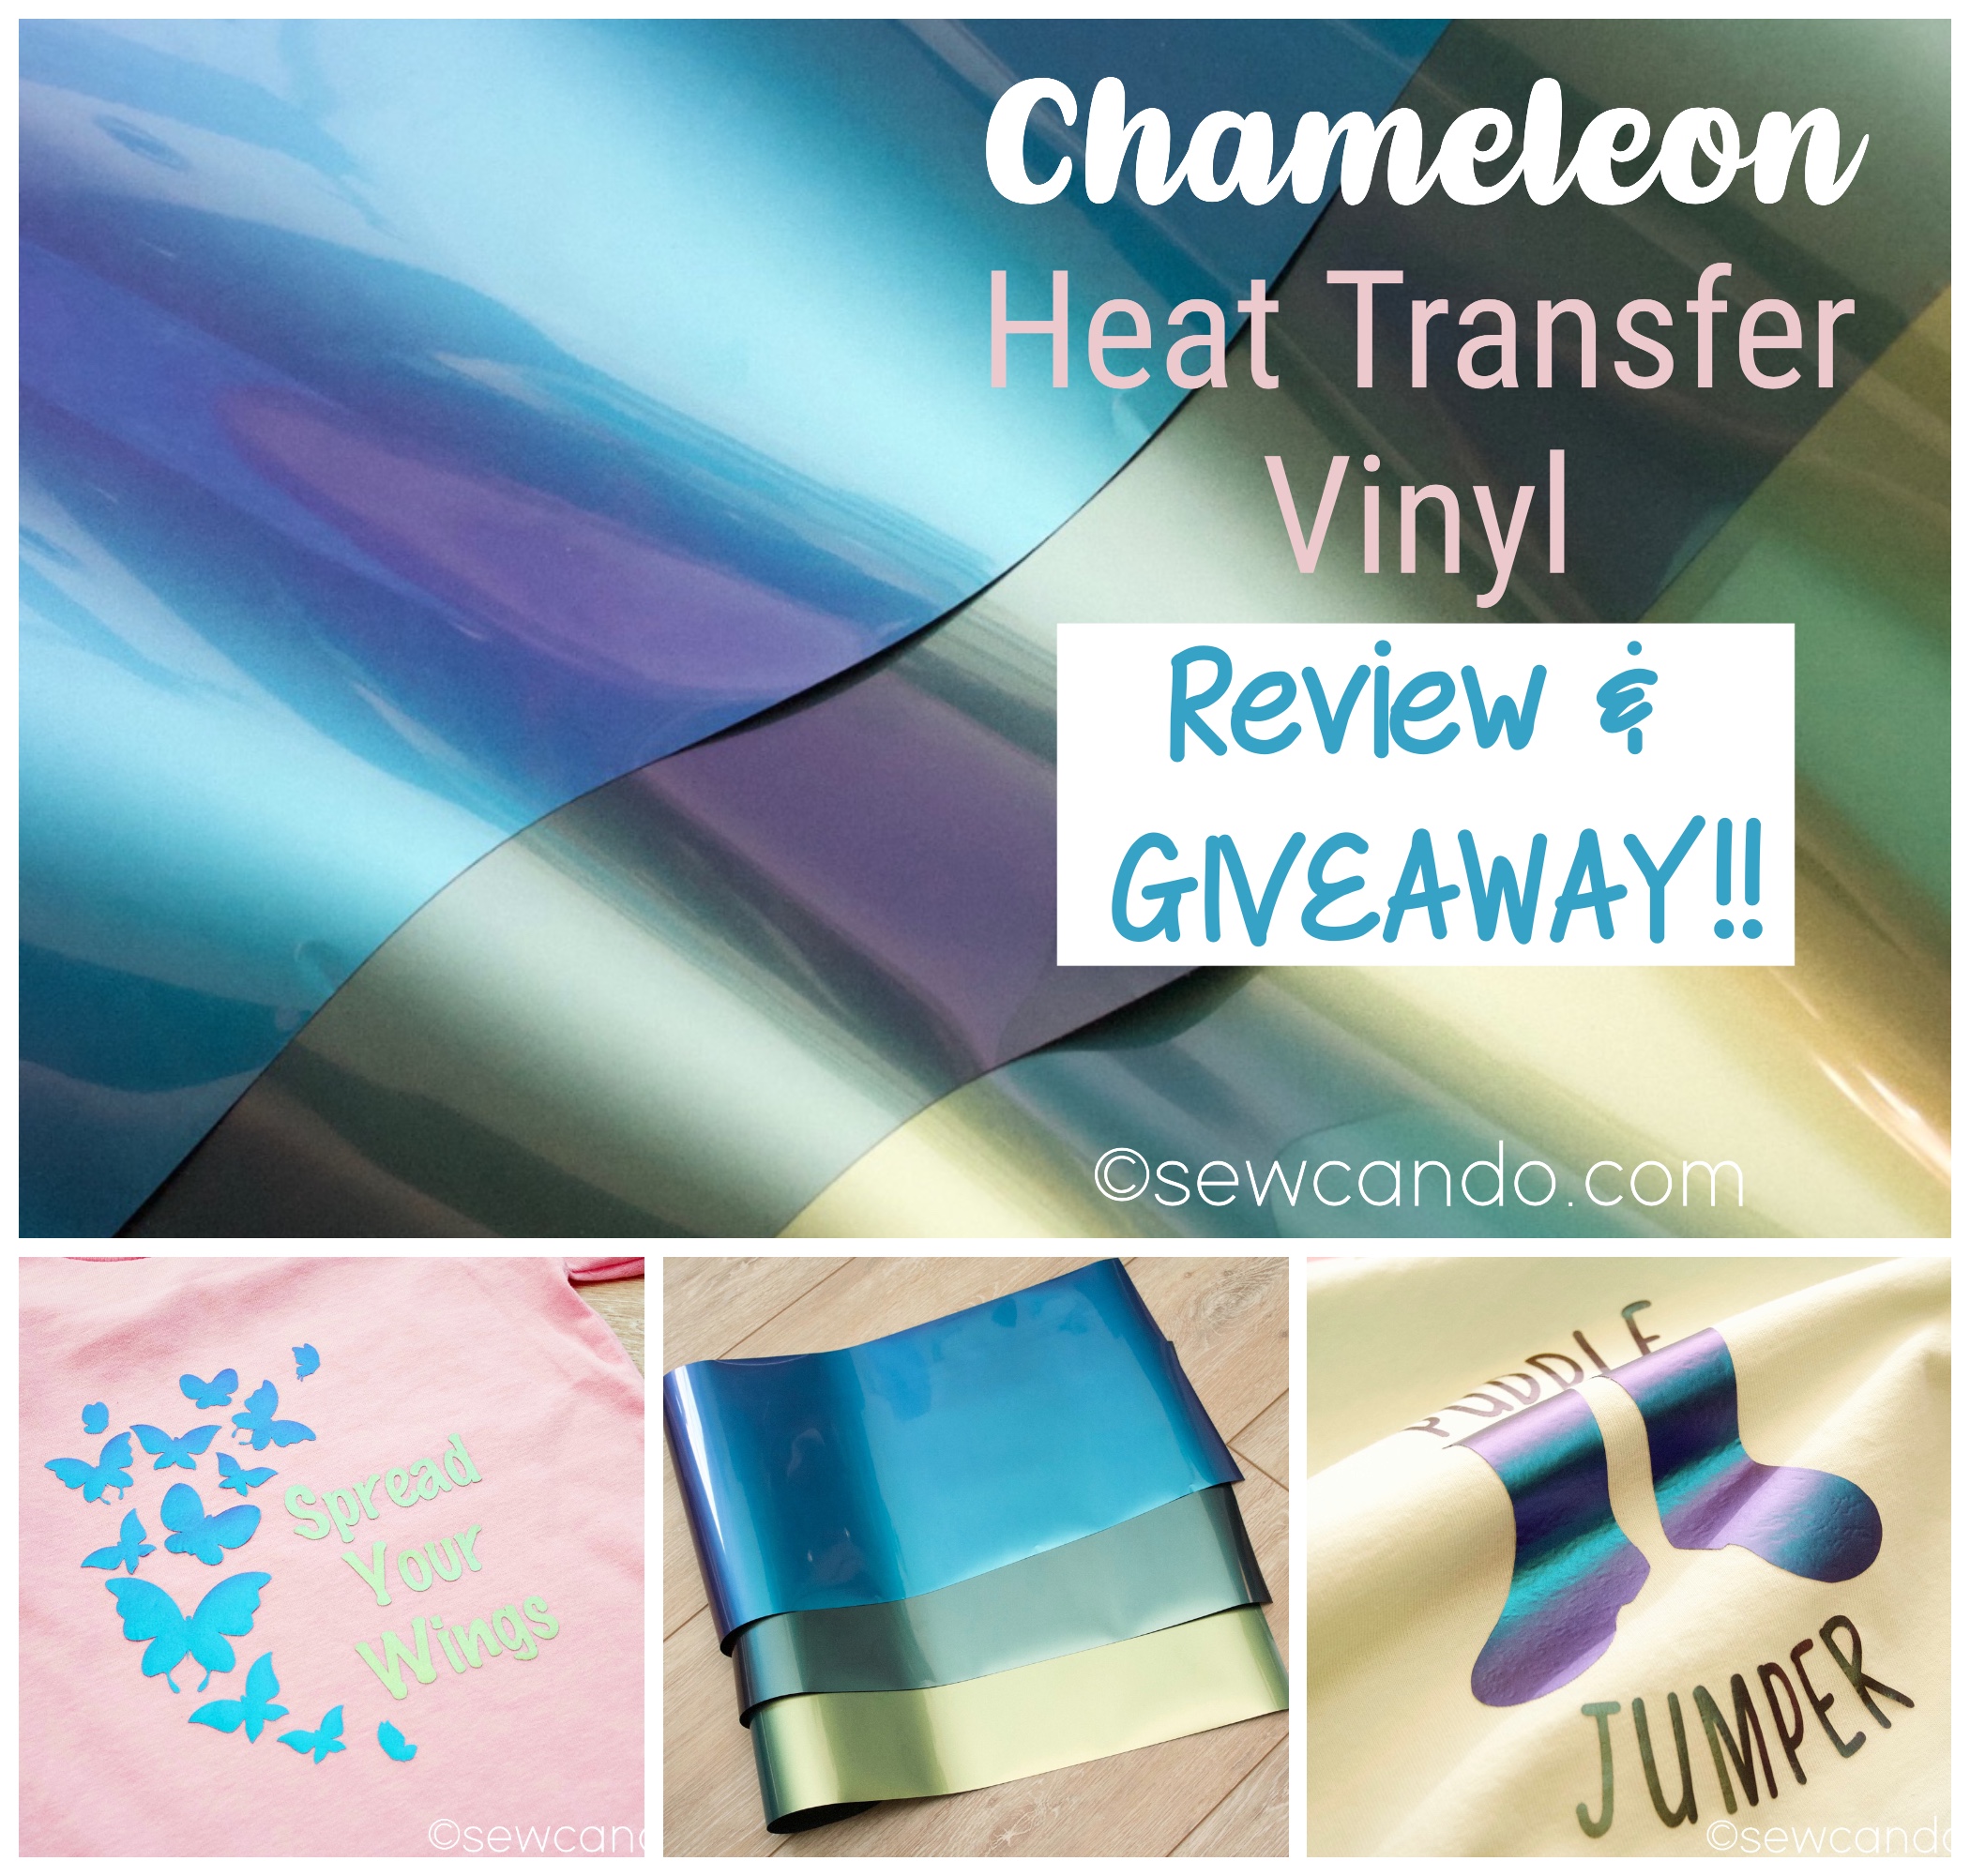
HTVRONT Chameleon Heat Transfer Vinyl Review & Giveaway

Hey craft lovers!  Today I'm sharing my recent experience with a really cool type of Heat Transfer Vinyl called Chameleon, and I'm giving away TWO bundles of       this specialty HTV too!

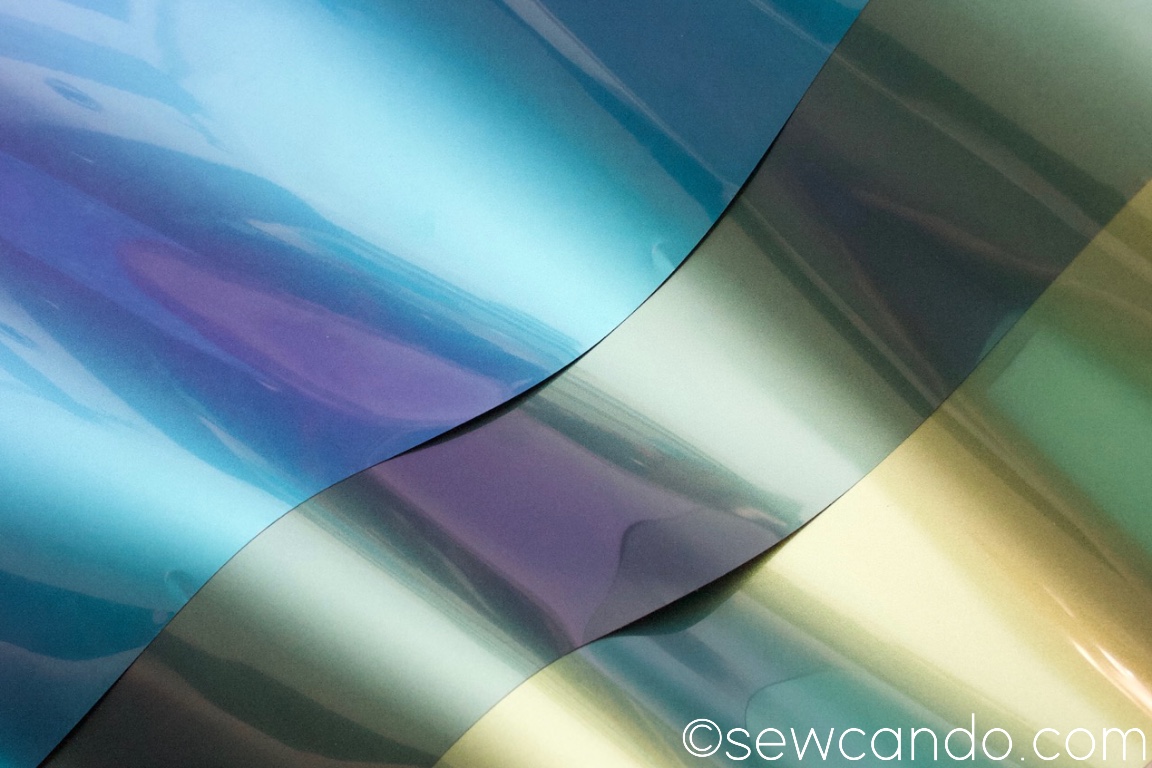
Chameleon HTV is a smooth vinyl that has a slight shimmery sheen to it:

But what make it really stand out is that it changes in color from different angles:

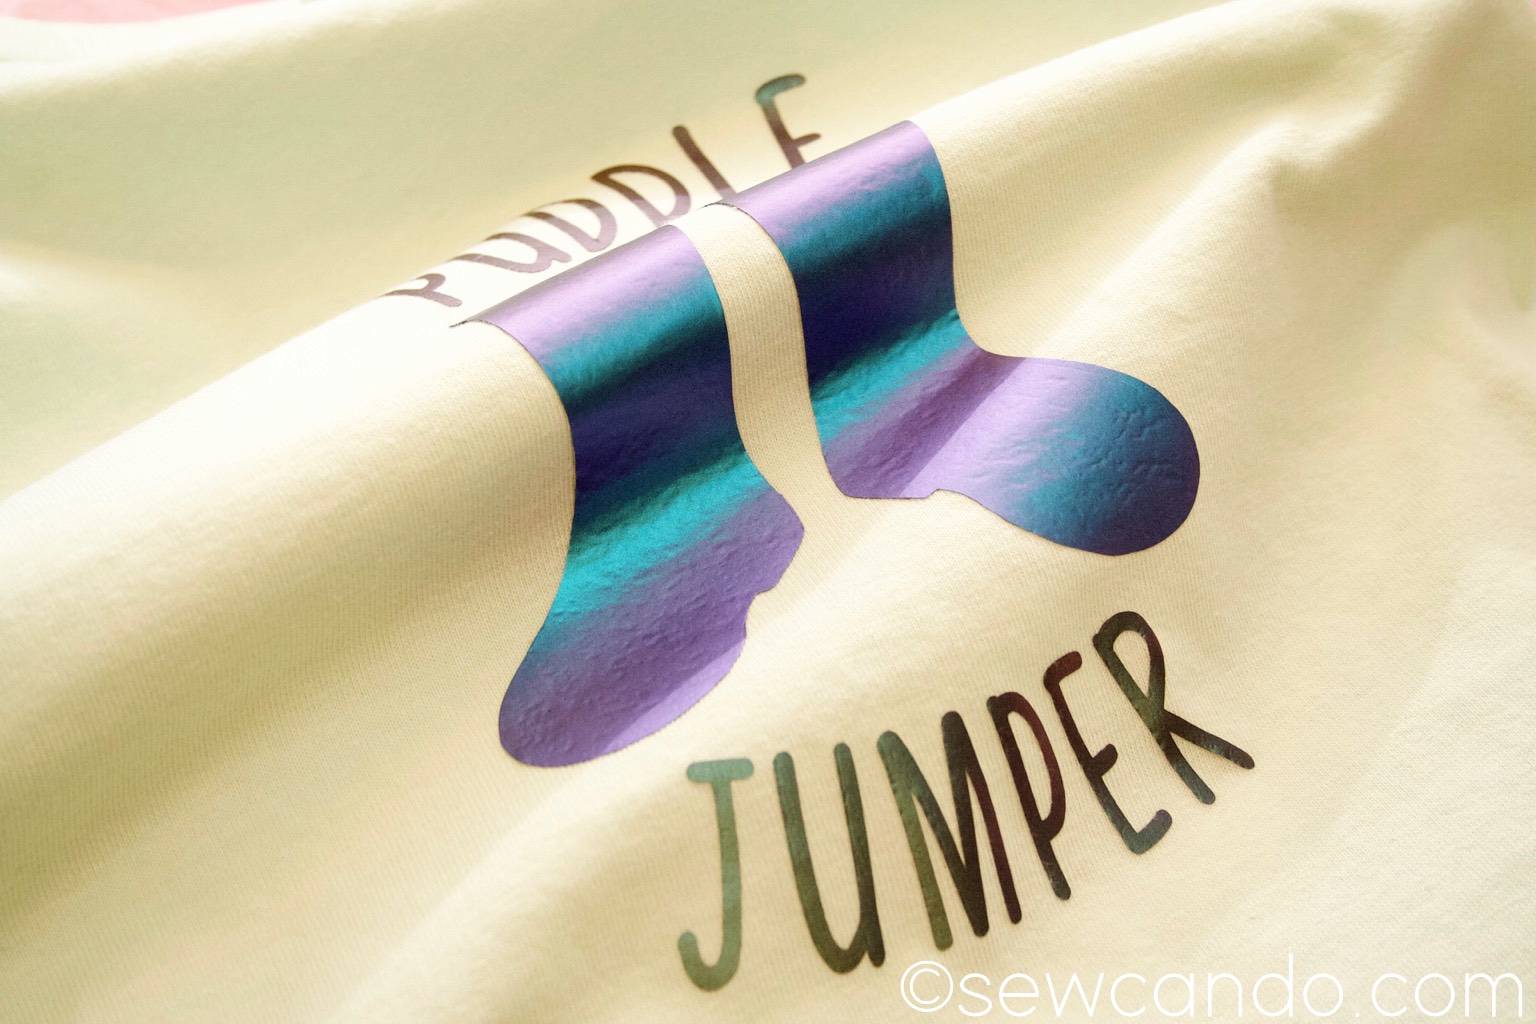
So head on my shirt designs are blue, green and gold:

but from a different angle the same HTVs change to purple and green:

Items have a cool chameleon-like effect, hence the name:

A few months back I was contacted by a company called HTVRONT (which stands for Heat Transfer Vinyl, Really outstanding, Never temporary) to do a review of their new Heat Press.  I've done quite a number of heat press projects over the years so I thought trying out a new type of affordable press would a useful experience for myself as well as other crafters.  You can see my review here

I was really pleased with the performance of their heat press (and its price point compared to another well known version), so when they contacted me about reviewing some of their heat transfer vinyl I was game.  I've tried a lot of different brands and types of heat transfer vinyl and had hits & misses over the years, so I was curious to see how theirs measured up.  I was very intrigued by one of their most popular varieties, Chameleon HTV.  
  
It comes in a variety of color combinations:


  The HTVRONT Chameleon HTV is available in 12x12in sheet assortments, as well as 5ft, 10ft and 30ft rolls.  The price points are VERY reasonable and currently they even have a Shopwide Sale going on, so prices on the 5ft rolls (and a number of other products) are even lower.

So how did the HTVRONT Chameleon do?  

I used some basic 100% cotton tees for my test projects:


I paired some free clip art files with some pretty fonts to make some cute cut designs:


My rolls arrived as expected and looked even prettier & more shimmery than in the photos.  Interestingly, each color was black on the backside.  I LOVED how easily it unrolled and stuck to my cutting mat.  So often rolls of most kinds of HTV tend to curl, which makes it difficult to keep flat on the mat, but this was perfect. 

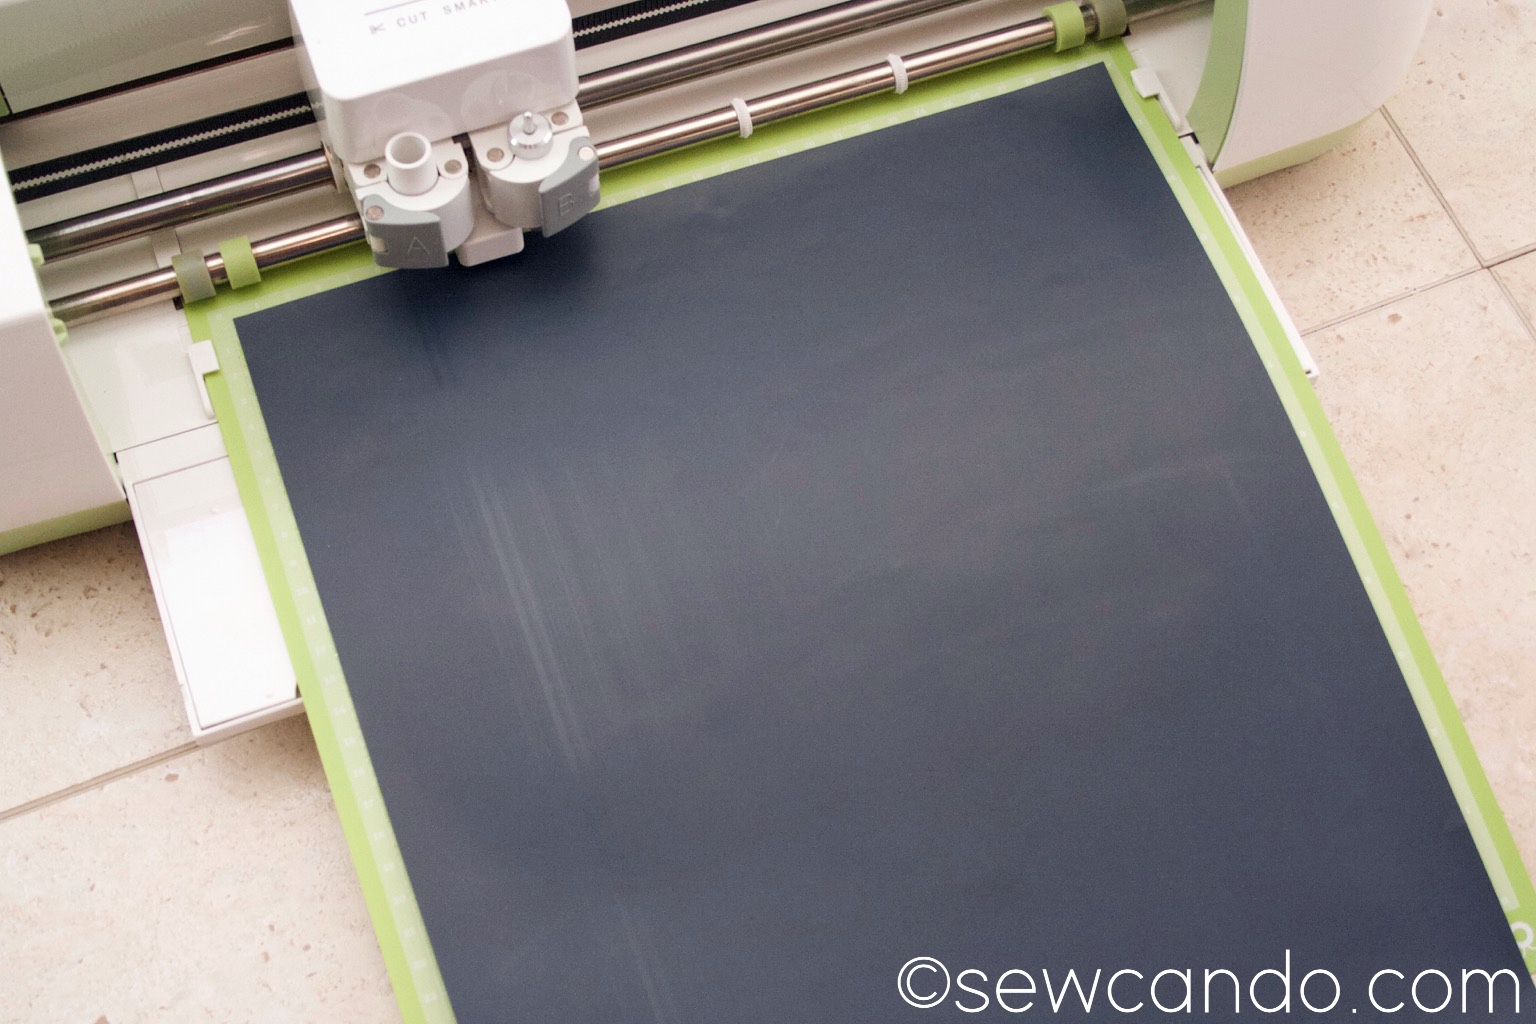
I mirrored the designs and cut them with my cutting machine, like normal. It cut easily on the basic HTV cut setting and was frustration-free to weed too.  The carrier sheet seemed thicker than other vinyl brands, which seemed to make it simpler to remove the tiny bits inside letters.  That was a nice time saver:


Since I wanted to use more that one color of HTV for each of my cut designs, I cut the excess carrier near the design edges to put them close together:


 HTVRONT recommends using temperature between 302-315F for 10-15secs and medium pressure when using a heat press.  They also recommend using a Teflon sheet or parchment paper between the press and the carrier top sheet.   I tried 310F with 15secs.  I always turn my shirts inside out and do the same on the back sides as well to get better adhesion.  They also recommend doing a cold peel, so I waited at least a minute before peeling off the carrier sheets.


Since I haven't had good adherence with HTV when I've used heat press mats under my items in the past, I always use a folded fluffy towel under them.  With smooth finish vinyls like this I've learned to put several sheets of parchment under my shirt (and a single one on top in this case) so the texture of the towel won't raise through and affect the design:


A few parts of my cut design had very fine, thin detailed bits (like the tails on the tiniest butterfly wings) that pulled up a bit as I peeled the carrier sheets away so I laid the sheets back down & went over them again with the press for another 10 seconds to get them to fuse better.  I think that would have happened with any type of HTV.  Next time I'd make sure to use cut designs that didn't have those delicate thin spots to make that easier.  


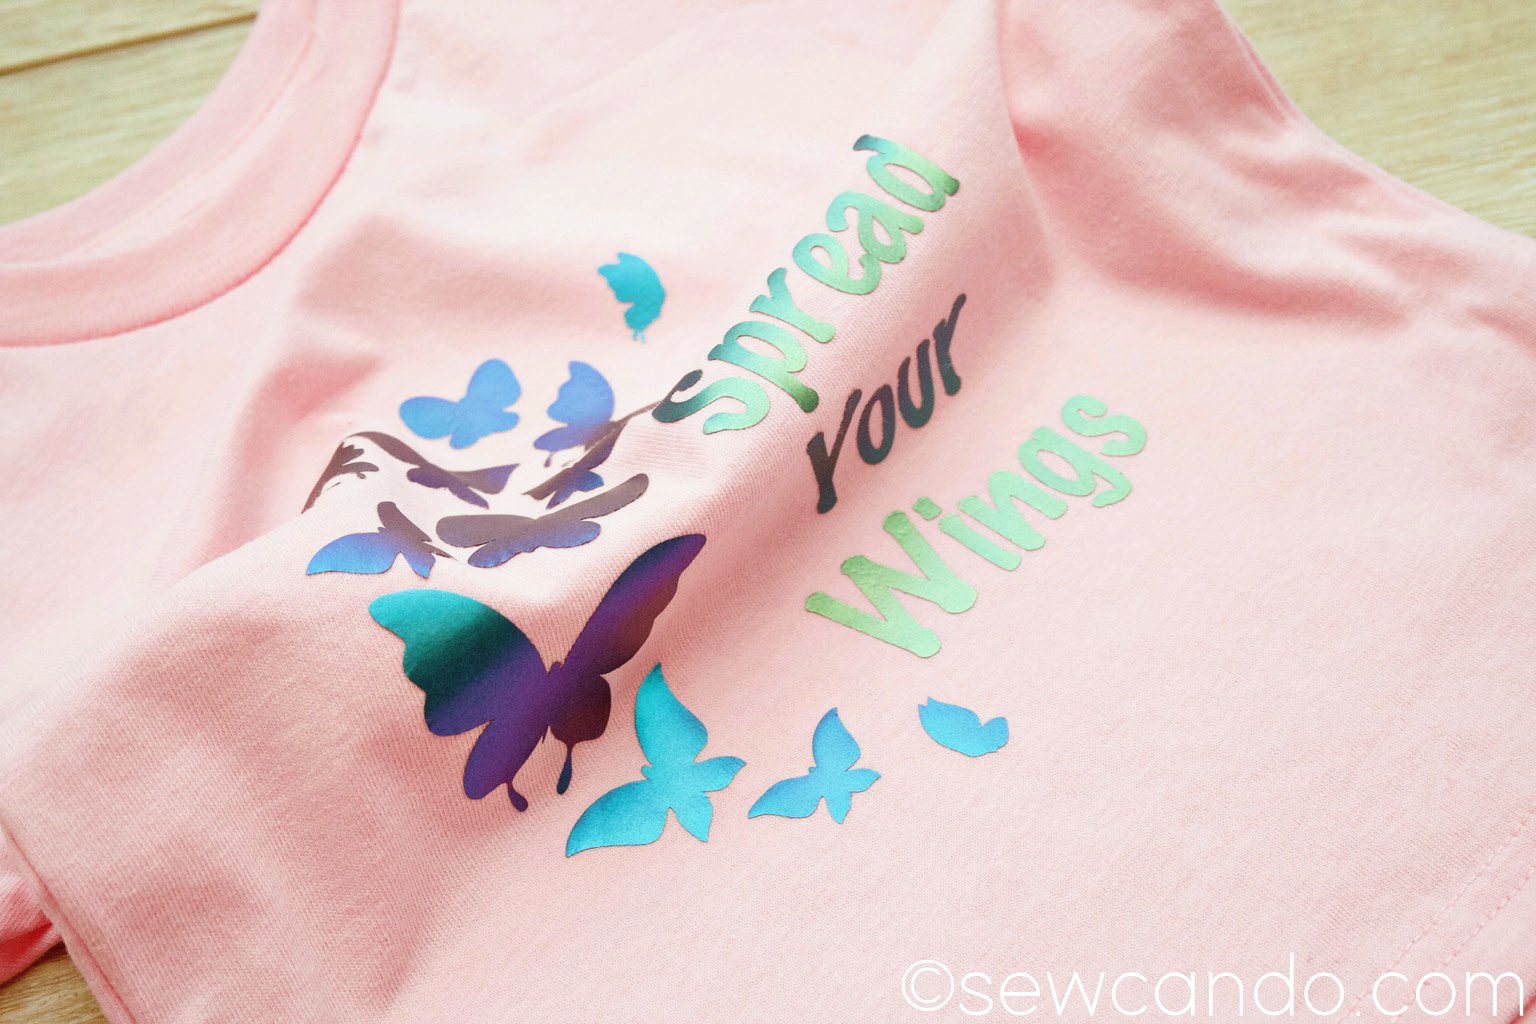
For washing, I turn these inside out and line dry so the vinyl stays nice over time & with wear.  I was pleased with the performance of this HTV and loved the effects it made:


Now, how about a chance to win some for yourself?

I'm giving away TWO HTVRONT Chameleon Heat Transfer Vinyl Bundles that include a 12"x24" sheet of each of the following colors:

Sky Blue to Purple
Green to Purple
Gold to Green


a Rafflecopter giveaway

And if you want to buy some HTVRONT Chameleon Heat Transfer Vinyl in other colors or sizes (or any other awesome HTV products), check out their current sale to score the best deal!

I was not financially compensated for this post.  I received a heat transfer vinyl from HtvRont to review and decided to randomly give some away.  I'd previously received a Heat Press to review.  All other items referenced were purchased by me.  The opinions are completely my own, based on my honest experiences. 

Tuesday, March 15, 2022

Fun & Festive Heat Transfer Vinyl St. Patrick's Day Shirts


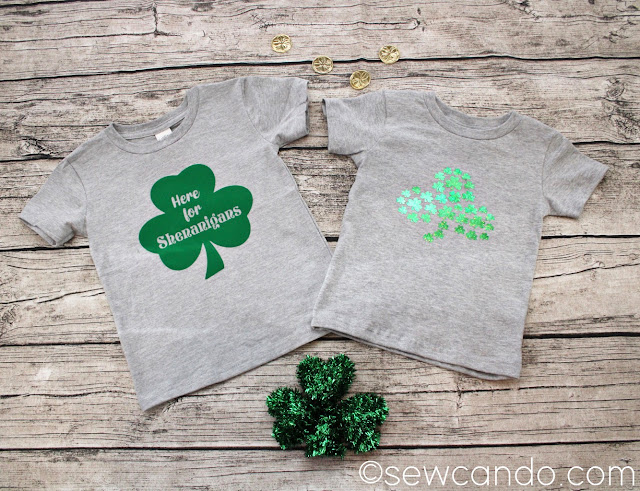
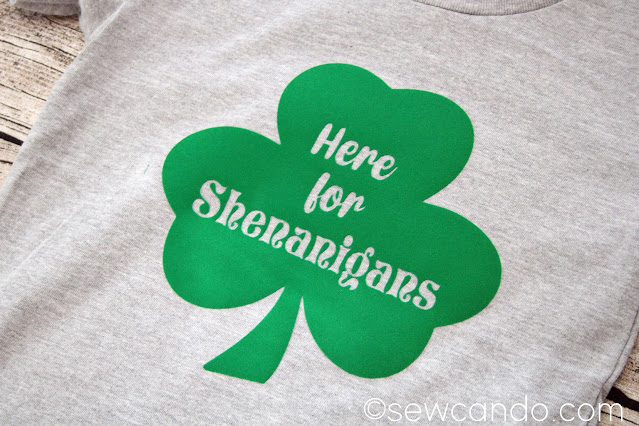
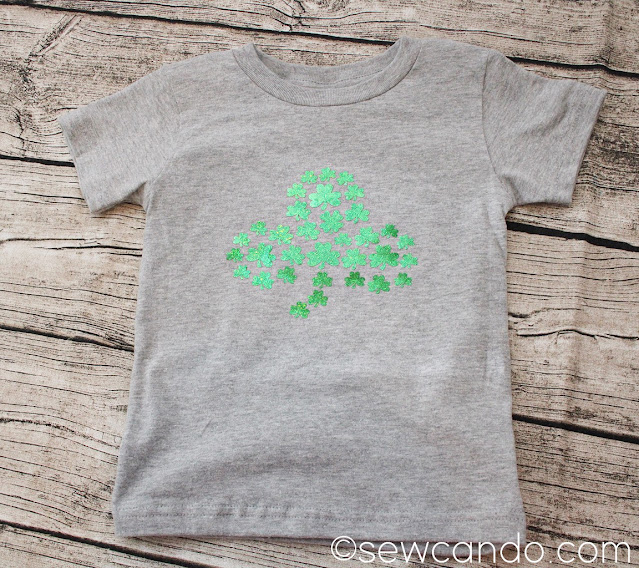
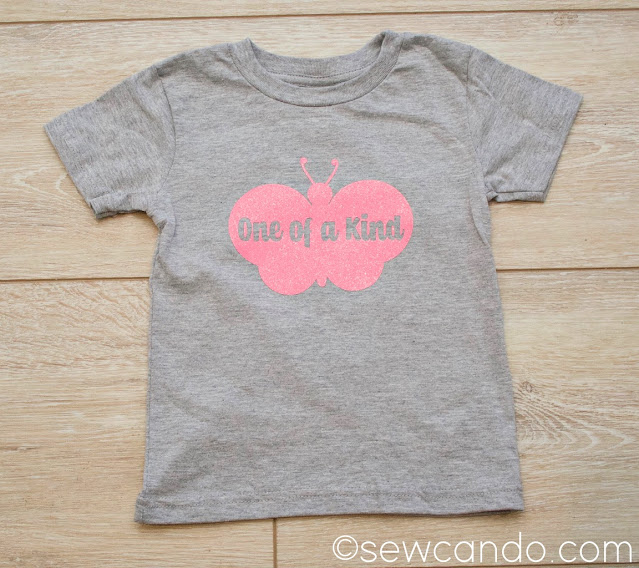
Be ready to wear your green and feel festive this Saint Patrick's Day with some quick & easy DIY Heat Transfer Vinyl St. Patrick's Day shirts.  I've made it even easier by offering the design files for both of them!

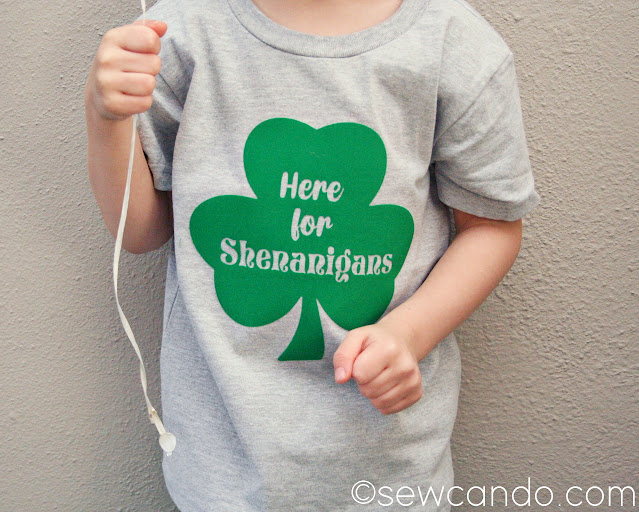
There's something for the little (or big) rascals:

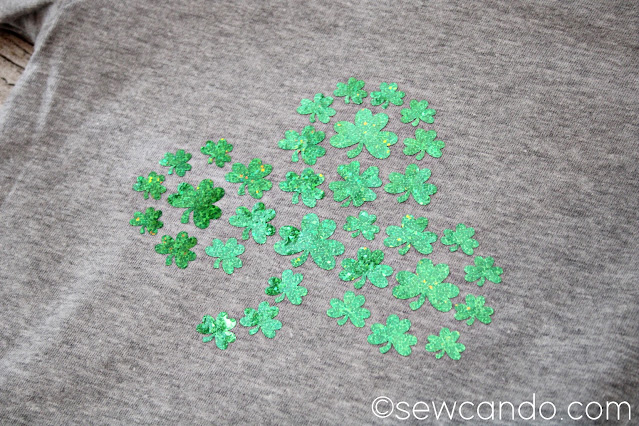
And a whimsical search & find themed Shamrock of Shamrocks design.  

Can you find the 4 leaf clover?

As I've mentioned before, I'm a big fan of "holiday" themed wearables that you can still wear well after the actual day is over and these fit the bill for that too.

I kicked it up a notch too by using some specialty types of HTV: my personal favorite type of HTV, flocked, and one I'd never used before, holographic sparkle.  This was an eleventh hr project idea so I had to grab what was available locally at a craft chain store brand rather than order the heat transfer vinyl online, which is what I usually do.  I find the online ones are always more economical and higher quality than the big box stuff.  I wasn't sure how these would turn out so it was a bit of a gamble.

 Now, how to make them!

Materials:
- Heat transfer vinyl.  I used flocked and holographic glitter types from The Paper Studio (Hobby Lobby brand)
- Blank Shirt (unwashed)
- Cutting machine (I used my 6yr old Cricut Explore)
- Heat Press (I used my new HTVRONT Press - see the review HERE) or Iron
- My FREE St. Patricks Day designs below
 

 Here are the FREE designs I whipped up.  Just right click to save each png.  


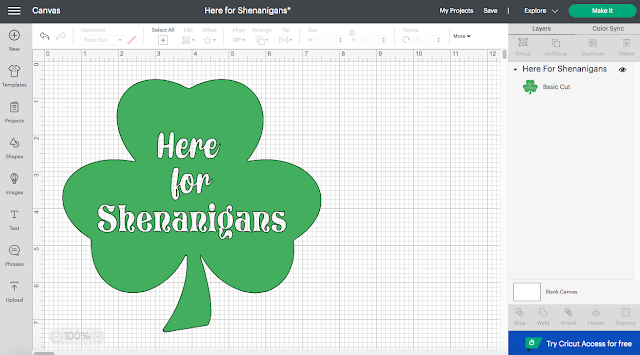
Using Cricut Design Space I turned my designs into cut files and sized them to fit my 2T & 3T sized shirts (I made them 6 and 7 inches wide, respectively).  

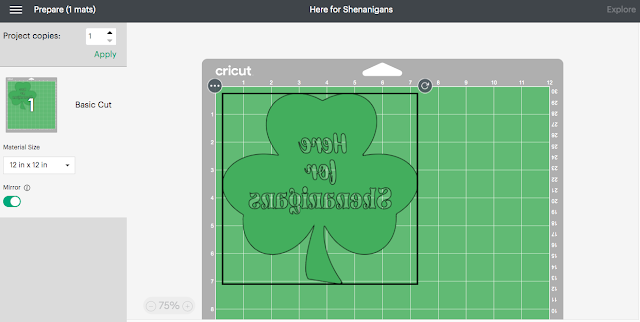
Then mirrored them before cutting:


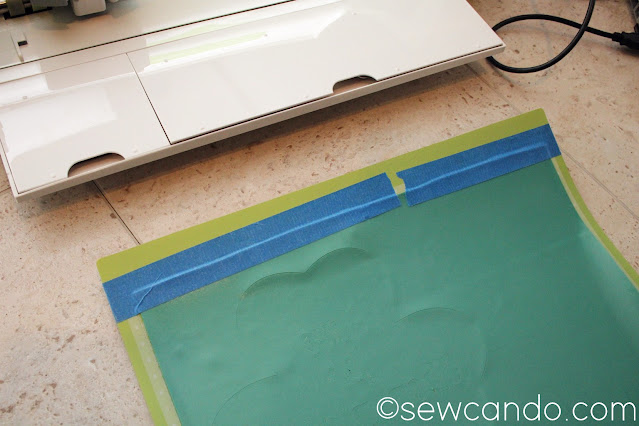
 It took about a minute each to cut them out.  My real issue was each was the start of a new roll of HTV so they curled something fierce.  Since you cut them face down, the vinyl's bend was going upward, which was a real issue.  Since these specialty types aren't as floppy as smooth HTV, even using a brayer wouldn't smooth them down.  So I did some masking tape along the top edge to keep them flat on the mat, which worked great: 

On the one with lettering, I weeded out the letters,  remembering to leave the center bits of the "e's, a's, o & g".  Then it was press time!!  It's key to check the fabric composition and type of HTV being used to make sure you get the settings right.  I read previously that it's best not to wash the shirts first - having that factory sizing in them helps HTV adhere better.  Some sites say otherwise, but I've found it helps.  

These shirts were both cotton poly blends.  I always press mine on a folded fluffy towel too.

The shirts got a 5 second preheat with the press and then I put the heat transfer vinyl on.  FYI, if you're new to using htv, you leave the carrier sheet on.  Some people even use a Teflon sheet between that & the press, but I've never needed it for the things I've done so far.  For the flocked I used my usual formula of 295F, 30 seconds front/15 seconds on back and peeling when cool, which worked perfectly.  

The holographic glitter was a different story.  The instructions inside the roll listed glitter, foil, shimmer and regular temperatures, but nothing for that particular type.  Searches online were also pretty vague.  Why would you make a product, but not explain how to use it??  

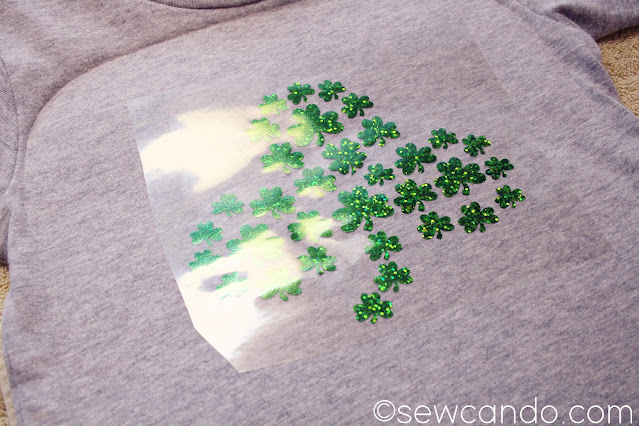
I followed one suggestion to do 330 for 30 seconds/15 seconds and cool peel.  When I started to peel away the carrier, the edges of most of the shamrocks were lifting with it.  I did another 30 seconds on the front and 10 more on the back, but it still was lifting on some.  I raised the temperature to 340 and did 20 seconds and then they seemed to stay.  I find it's usually ok to have to repress when this kind of thing happens, but you have to be careful not to go too long or too hot when re-pressing or it'll melt the htv and then it won't stick at all. 


We'll see when I wash it how well they actually adhered.  This brand seemed more brittle & plastic-y in both types compared to others I've used, so I think the quality of the HTV probably had more to do with it than the type itself.  Which was a bit annoying since it cost almost twice as much as brands found online!  The place my heat press is from, HTVRONT, is having a sale on their HTV right now and you can get rolls that are more than double the length of the stuff I got at the local chain and are STILL cheaper than what I bought!!  You can see for yourself HERE.  I'm going to try some of theirs out soon to see how it compares to the kinds I've already used and share my results when I do.

For HTV clothing care, I wait 24hrs before washing and always wash them inside out, on cold, delicate and line dry to keep the transfers nice.  I've had some shirts like this last for ages by doing all that and since I want my 3yr old's shirt to be wearable for my 2yr old next year, it's worth the extra care.  Now my littlest cuties have some fun attire that was reasonable in time & price for the upcoming holiday - and you can too!


Wednesday, February 23, 2022

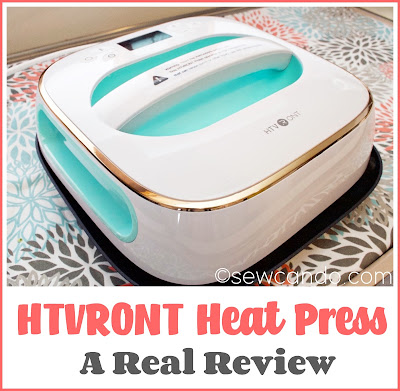
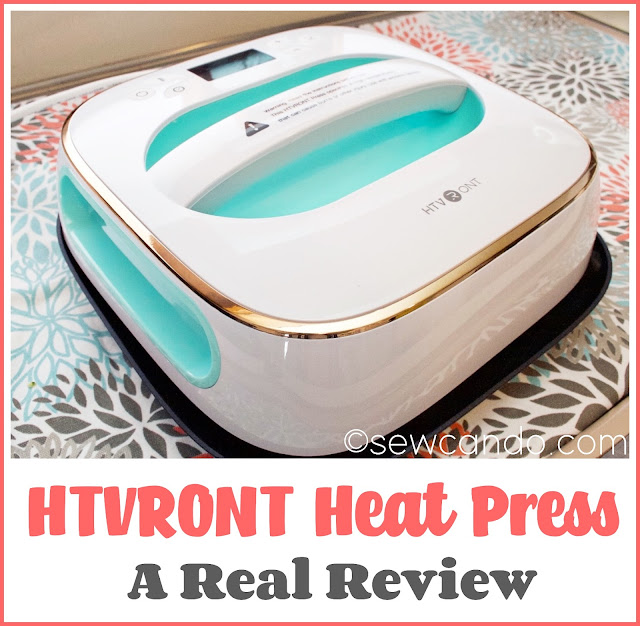
Product Review: HTVRONT Heat Press


It's been a while since I had a fun craft product review to share, so today I'm sharing my experience with a new product I've recently tried out: the HTVRONT Heat Press.


HTVRONT (which stands for Heat Transfer Vinyl, Really outstanding, Never temporary) is a heat transfer & adhesive vinyl supplier.  They reached out to me and asked me if I'd be interested in trying out their new Heat Press machine and doing a product review.  

I'd done an extensive review of the Cricut Easy Press several years ago, and have done a number of HTV projects over the years.  I was curious to see how this machine would do, since I hadn't heard of it before.  FYI, I was not financial compensated, just received a press to try out, so the opinions here are completely my own, based on my own experiences.    

In case you aren't familiar with this sort of tool, a heat press is for iron-on and sublimation craft applications. Using heat transfer vinyl (HTV), you can press your own custom shirts, bags, pillows, wood, etc.  When paired with a cutting machine for cutting the design, it's a quick & easy way to customize just about anything and is definitely a beginner-level kind of craft.  


In the past, if you wanted to use iron-on vinyl, the options were either using a normal household iron or to buy a commercial heat press.  Basic irons don't always adhere the vinyl very well - it tends to peels off in spots after a number of washes. Regular, commercial-style heat presses can be big and bulky for home use and are pretty expensive.  A few years back Cricut came out with an Easy Press, a smaller, sleeker machine designed for home use, but it was still a fairly pricey option and it has stayed at that price, about $150, for the 9"x9" size since (and $199 for a 10"x12" size).  The HTVRONT version currently retails for just $105.

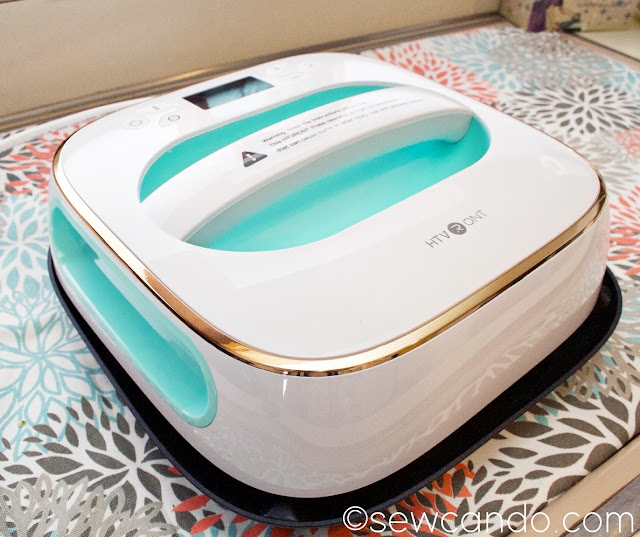
So let's look at the HTVRONT Heat Press:  


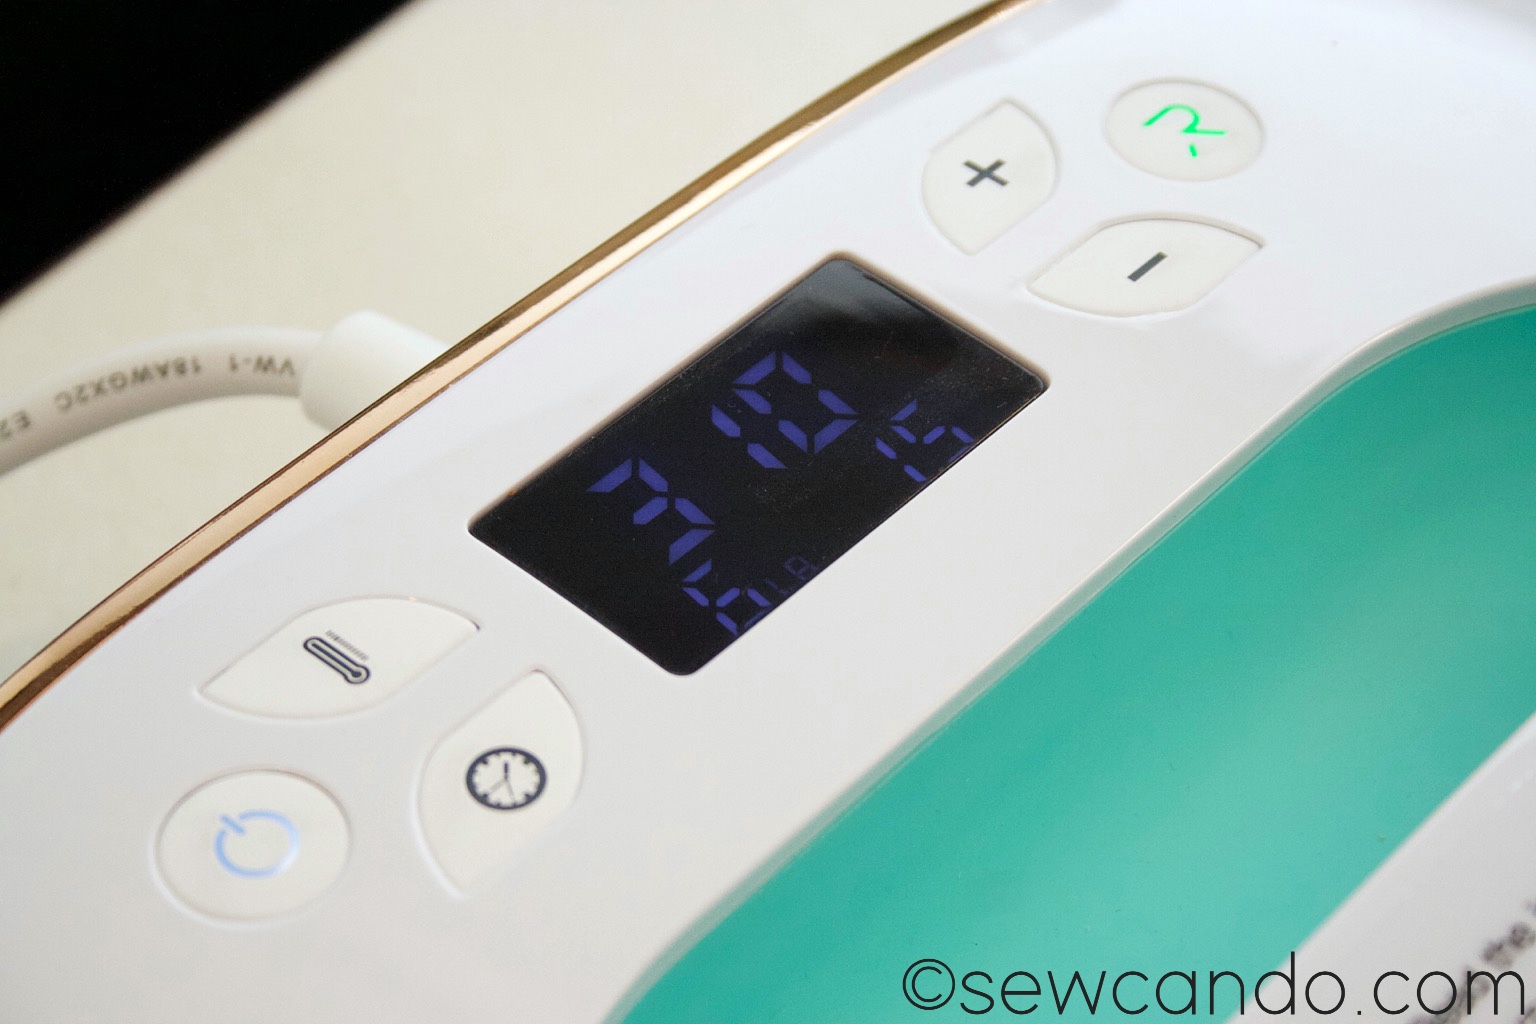
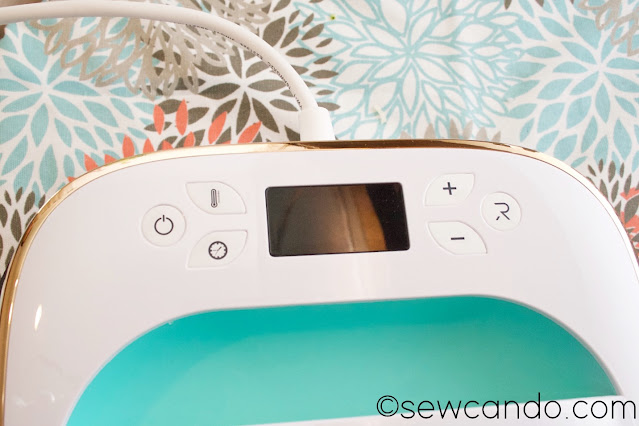
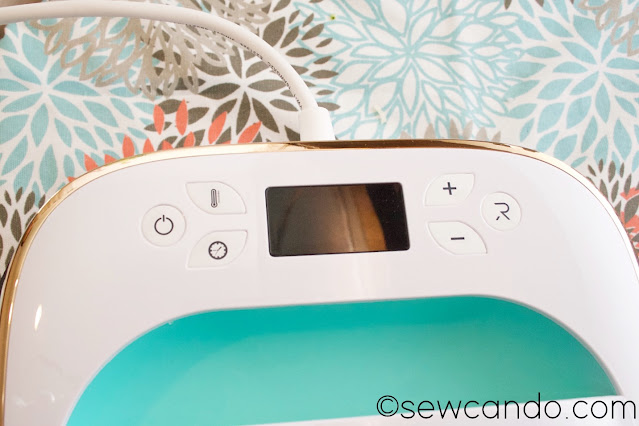
It has easy push button settings for temperature and time.


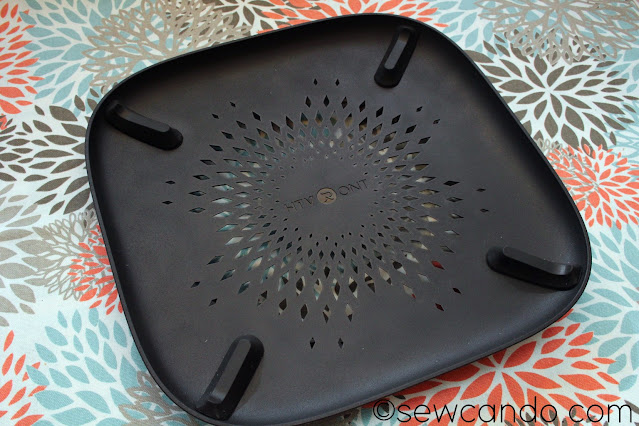
It's also got a heat resistant safety base and automatic shut off after 15 minutes of inactivity.


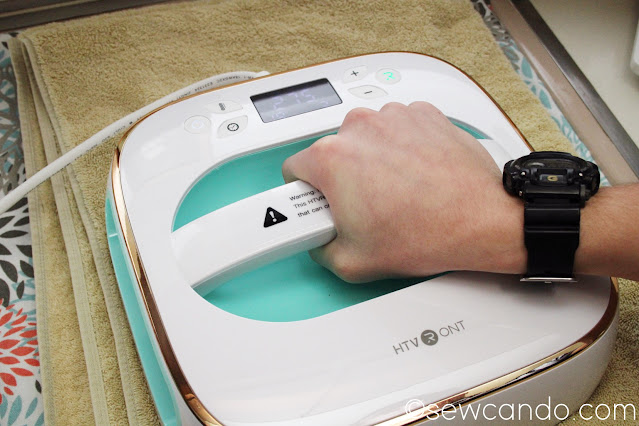
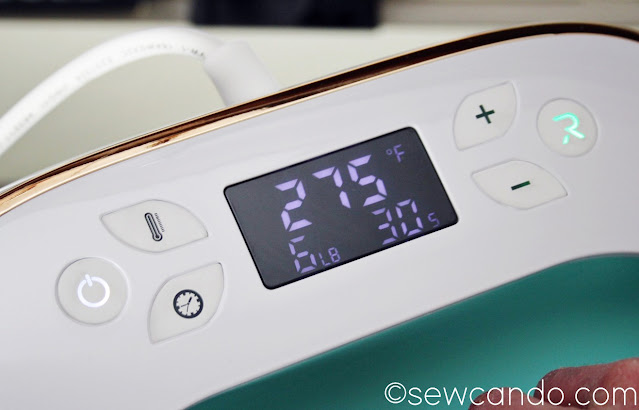
It also has a pressure display with the temperature and time settings so you can adjust your pressure based on your materials, which is a feature not seen on the Easy Press:


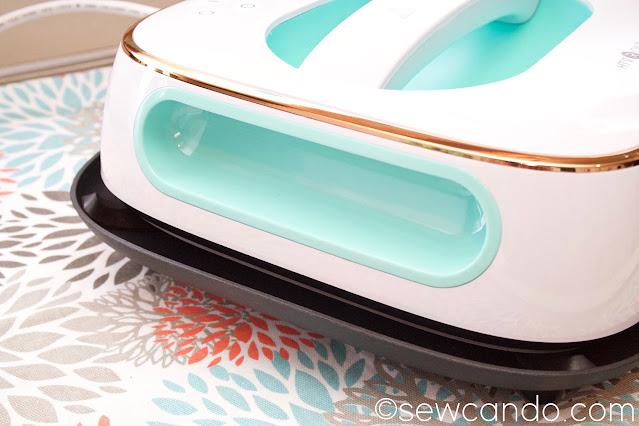
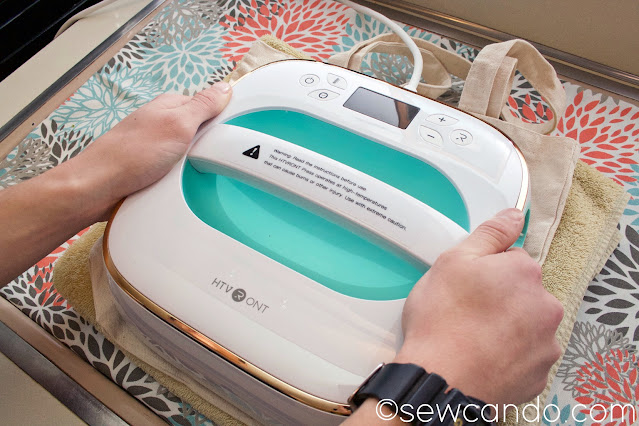
It also has two ways of applying pressure - either holding onto the top handle with one hand:


or by using the side handles for two hands, which is another innovation.  


Does it really work?

I was really pleased with the results I got.  The HTVRONT Heat Press performed just as described and my finished items were just as nice as previous ones I'd done with my other press.  


The Pros:

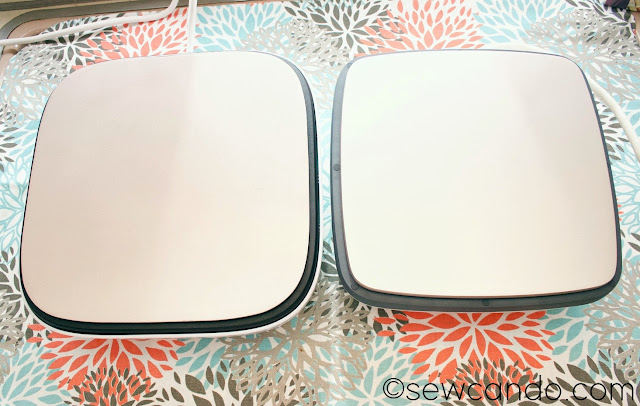
- The size is great.  It's versatile 10"x10".  I like that it's a bit bigger than my old press, so doing designs scaled for my teens/husband are a bit easier.


- It heats up pretty fast and evenly.  Within seconds it was up to temperature and in less than a minute my designs were fused:


- The button settings for temperature and timer are super simple and make sure you get an even fuse everywhere at the same time.  The company says their temperatures are more accurate than similar products.  I followed the same times & temps I've used in the past for fusing different types of HTV and they adhered well every time.


- I also liked the dual options for applying pressure and being able to see just how much pressure I was actually producing when I was working.  


And it comes with a handy storage bag to keep it clean and dust-free when not in use.  That was a nice bonus feature. 


I used several kinds of HTV and it did a good job with them all.


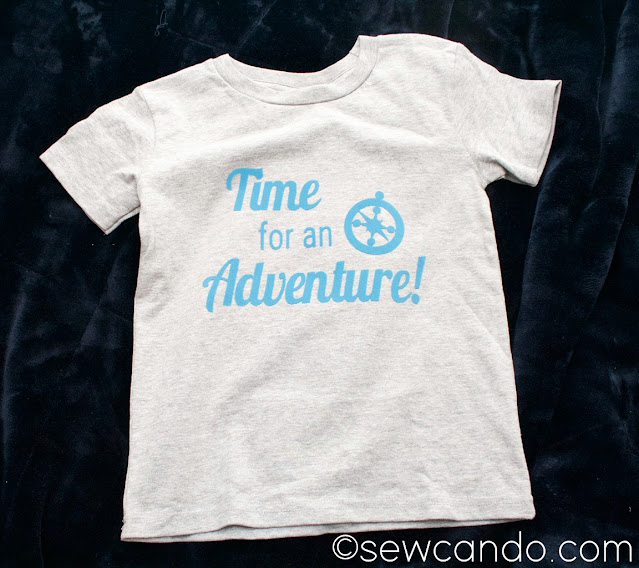
My key personal test was with flocked HTV.  I LOVE using it - it's thicker, with more dimension and a fuzzy texture.  It's not as common as the smooth and glitter types though, so I've had to trial & error getting a good result in the past.  I used my  295F, 30 sec front/15 sec back "recipe for success" and this press turned out perfectly:


- Even after washing (delicate, inside out and line drying), the designs have stayed put.  No lifting or peeling like I'd had in the past with iron fused heat transfer projects. 

The Cons:

- Like the Cricut version, the cord is positioned at the center of the top when it seems like it makes more sense to be at the bottom.  I don't have an outlet in front of my workspace, so I have to move the cord out of my way or turn the press upside down when I'm pressing, which is a little challenging.  


- There's no temperature/material guide included.  They do have one on their site but you have to search around a bit to find it and it's not clear if those settings are for their particular brand of HTV or more universal.  There are several links to various sections with project ideas, free files, tutorials & tips, but you have to sift through a lot of content to find basics, and since this product is new, a lot of the how-to's show using an iron rather than this press.  More tips for using this particular model and better categorizing would help a lot.  I went with my past experience to figure out settings for what I was using, but it would be trickier for someone totally new to figure out.


Is it worth buying?

Personally, I think this model is a good buy.  It works just as well as the famous maker brand, but offers some extra inches and bonus features, is a fraction of the price and carries a 1yr warranty.  And with the $ saved on the price of the press, you can snap up lots of great HTV to use with it!  They've also got a sale and product bundle giveaway currently going here, so you can get a good deal on them as well.  


I was not financially compensated for this post.  I received a Heat Press from HTVRONT to review.  All other items referenced were purchased by me.  The opinions are completely my own, based on my honest experiences.  

LinkWithin

Related Posts with Thumbnails