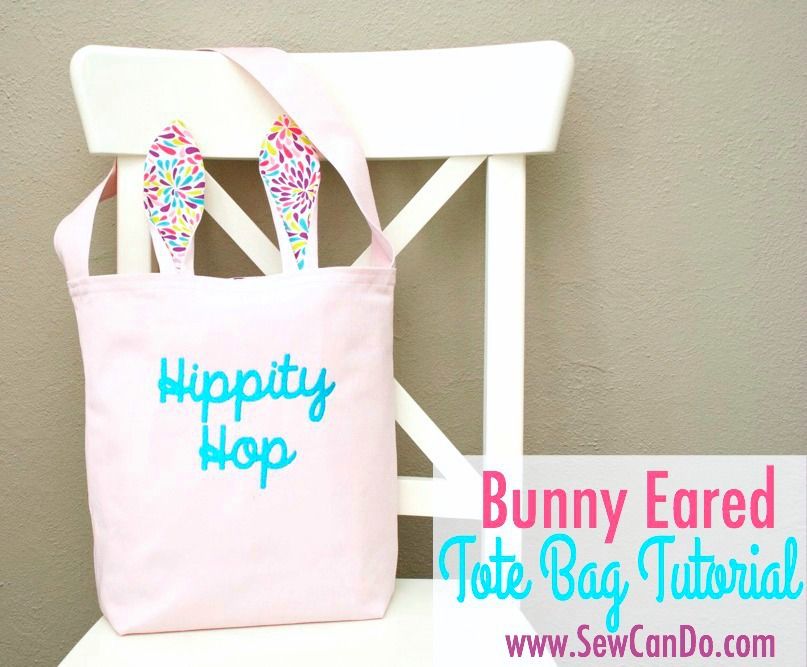
I've been eagerly awaiting time to finish a few new Easter-y spring projects so I could share them here. Today I've got a fun little bag that adds some spring to my step as Easter approaches: my Hippy Hop Bunny Eared Tote Bag!
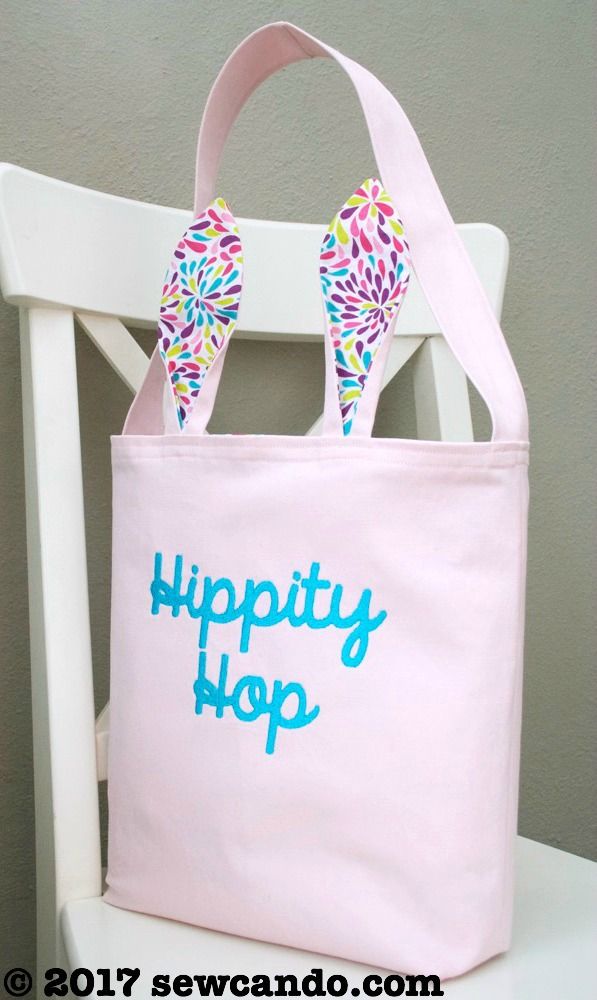
Colorful bunny ears peek out at the top of the bag:
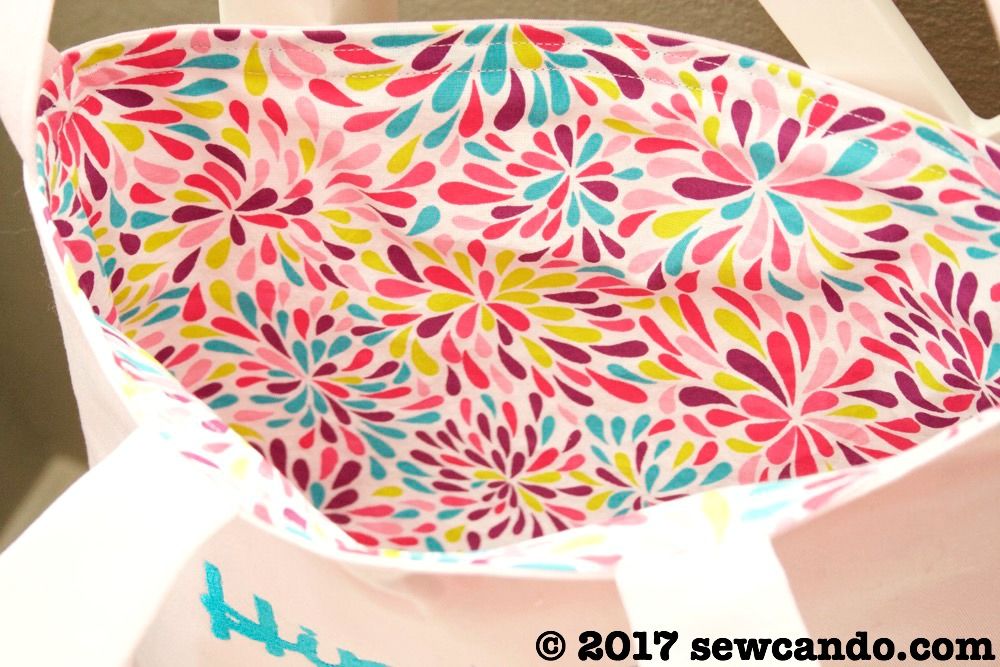
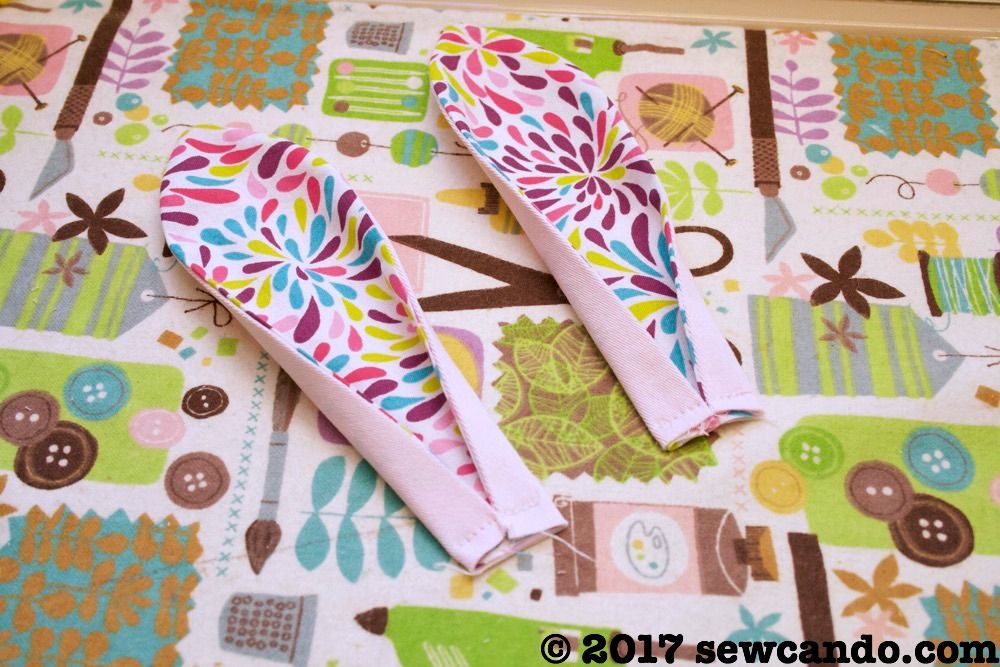
With a matching colorful lining:
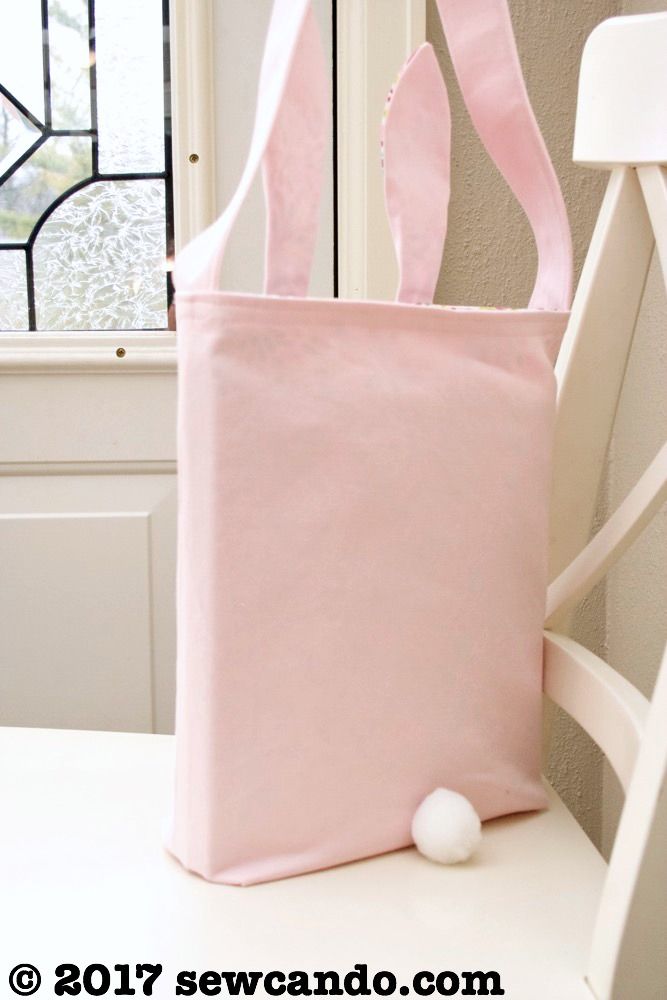
And for full bunny effect, it's got a little pom pom tail at the back:
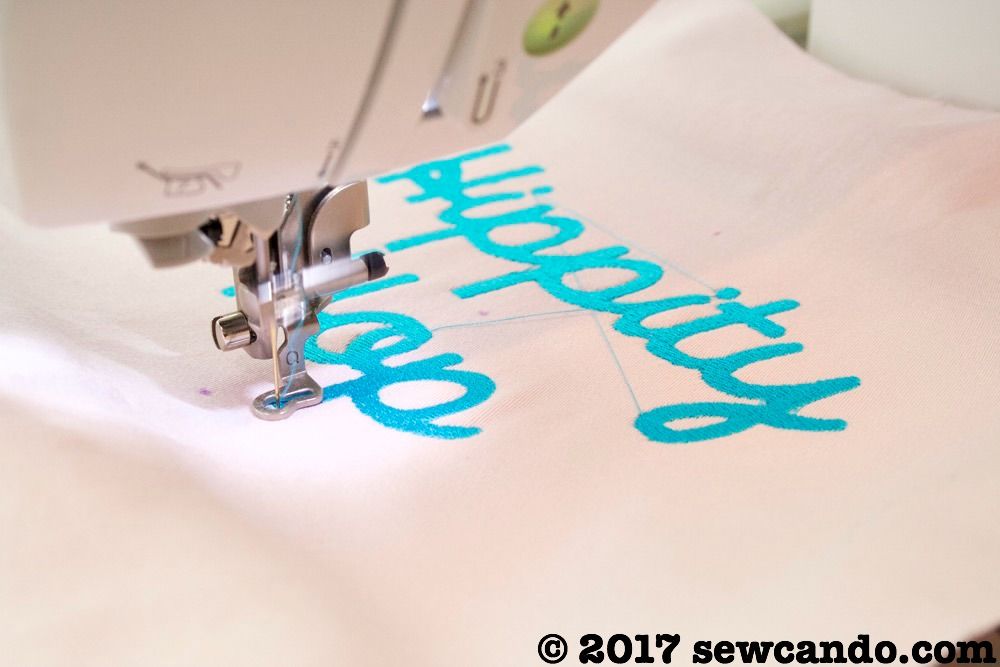
Doing machine embroidering is my favorite way to add whimsical text in a flash & makes it look just as polished as a store bought bag:
Come and see how to make it!
Materials:
- 1/2yd Spring-themed cotton fabric (from JoAnn Stores)
- 1/2yd Twill fabric
- Large white pom pom
- Rotary cutter, iron, fabric marking pen/chalk, hand sewing needle
- Optional: embroidery machine, cutaway stabilizer & thread or heat transfer material & cutting machine,
- Also Optional: stabilizer for the bag and ears. If using a firmer outer fabric, like twill or canvas, it's not really needed.
Finished bag size: 9in w x 12in h x 3in d
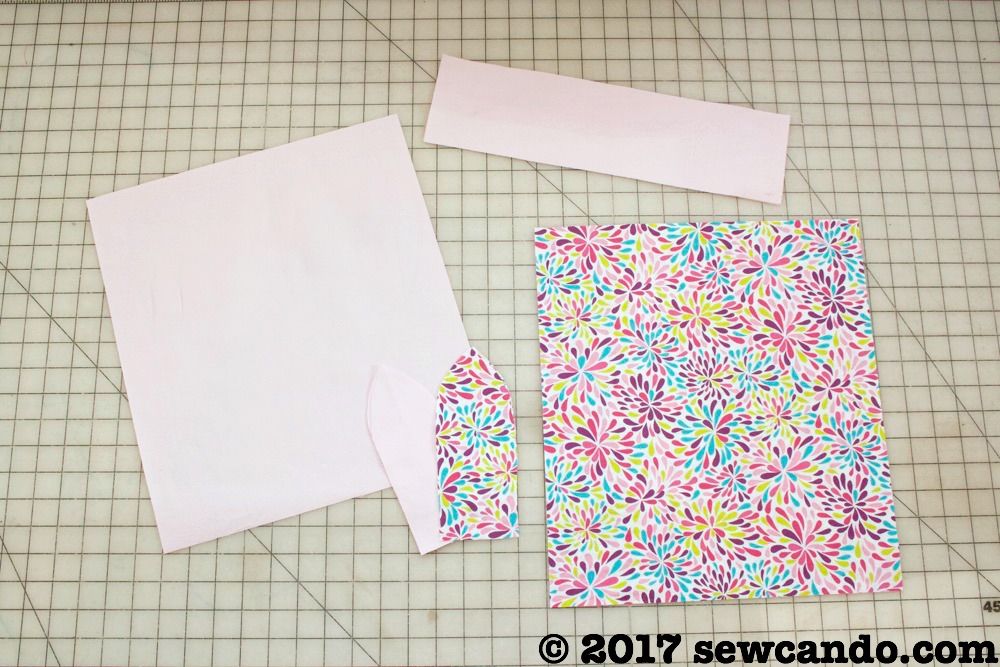
Start by cutting the following from the outer and lining woven fabrics:
(2) 13in wide by 14 1/2in high front & back pieces
(2) 3in wide by 6in high pieces for the ears
Plus an additional (2) 4in wide by 13in high pieces for the strap. Stack and hand cut the curved points for the ears so they 're all the same.
I decided to machine embroidery my Hippity Hop, but it could also be done using heat transfer vinyl and a cutting machine. I marked out the center of the front piece of my outer fabric, hooped some cutaway stabilizer and used spray adhesive to attached my fabric it. This saved me from getting hard-to-press-out hoop marks on the twill or having to pin.
I used a free font (KG Always A Good Time) and digitized it into an embroidery file with my Sew Art software.
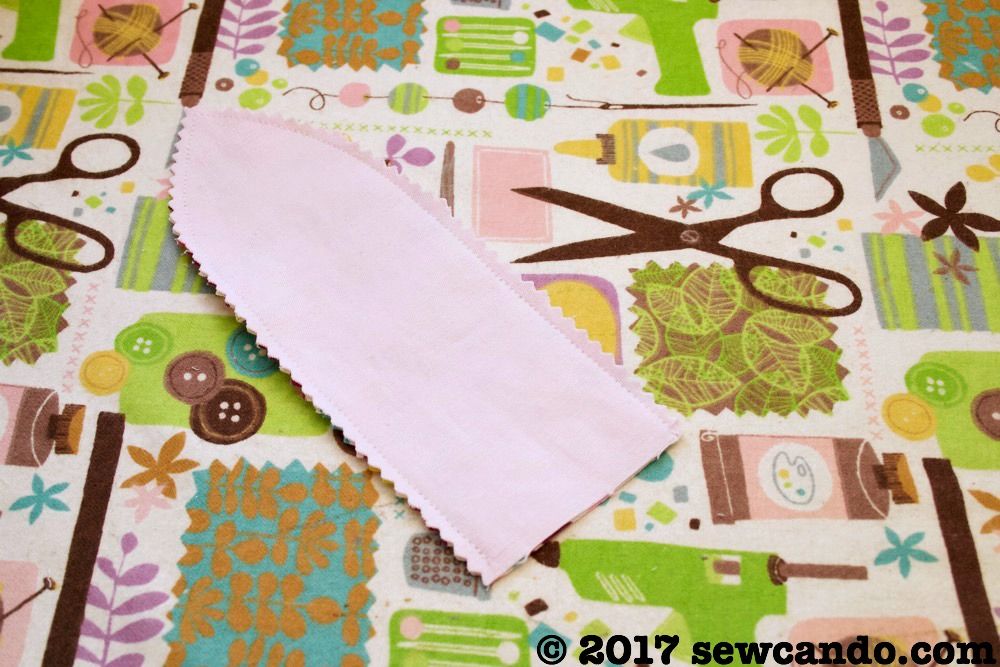
For the ears just pair up the two prints and stitched them together with a 1/4 inch seam allowance and trimmed down the edges to make them easier to turn right side out. You could add stabilizer inside the ears to make them firmer to stand up, but I didn't mind if ours flopped a little (it's a bit more like a real bunny).
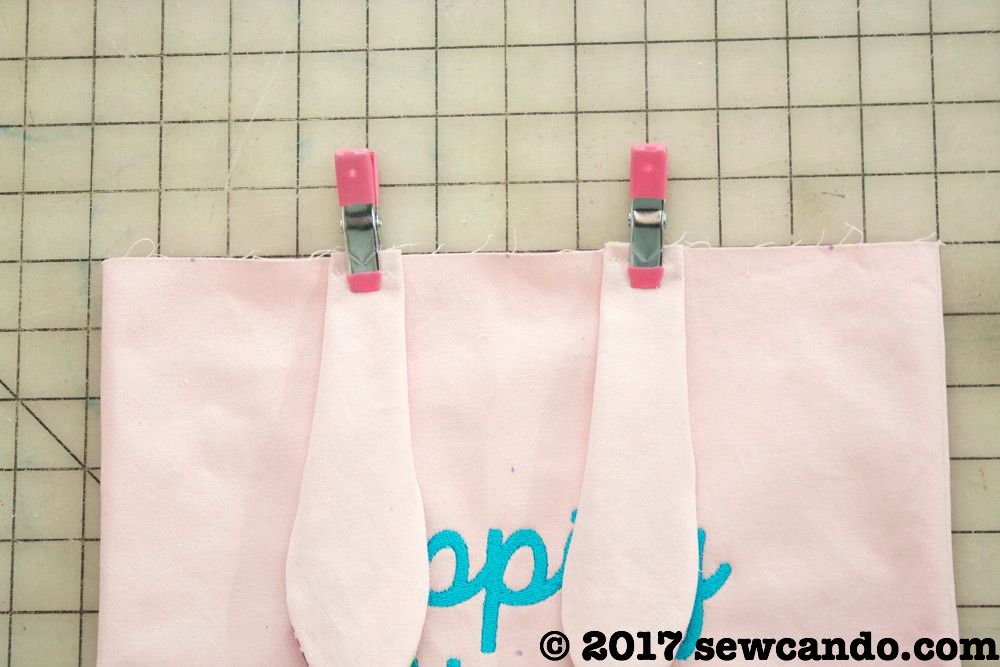
Press the ears and then fold in the bottom of each toward the center and baste into place.
Center the ears along the top of the edge of the front and baste into place.
With right sides facing, stitch together the sides and bottom of the front & bag pieces. Trim down the seam allowance, especially around the corners. Repeat with the lining, but leave a 3 inch gap in one side for turning later.
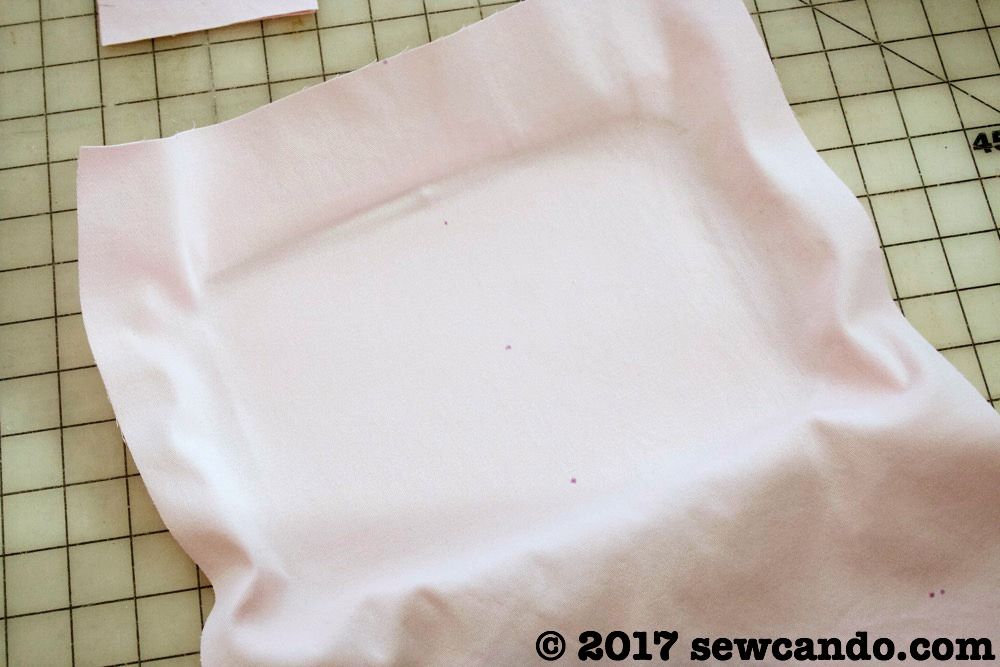
Pull the bottom corners flat, with the side seam in the center and square them off by three inches. Stitch across and repeat with lining.
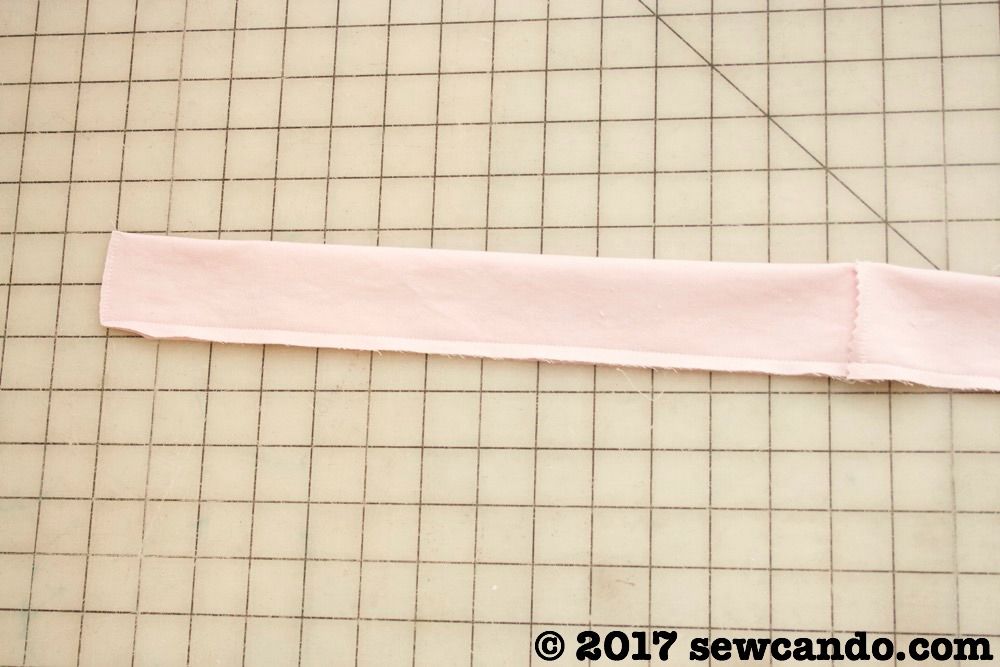
For the strap, with right sides facing, stitch together a short end from each strap piece. Fold the new combined piece in half, lengthwise, with right sides facing and stitch along one short end and down the length with a 1/4 inch seam allowance. Use the yardstick to help turn the strap right side out.
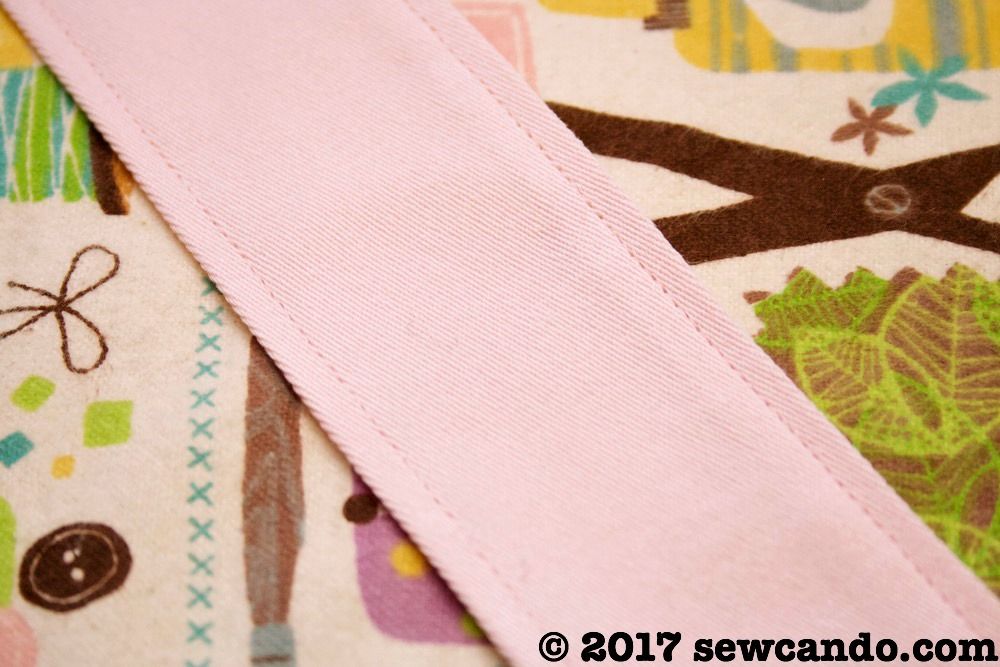
Press and then top stitch along either side:
Baste the short ends to the side seams of the bag, lining them up with the raw edges of the bag.
Insert the other bag into the lining bag, right sides facing. Be careful that the strap and ears are all down inside. Pin raw edges together and stitch all the way around.
Pull right side out through the gap in the lining's side. Hand stitch the gap closed.
Push the lining down inside the bag and press along the opening edge. Top stitch along the opening. I did two rows to help strengthen the strap and anchor the ears.
Stitch the pom pom onto the back by hand and enjoy the new Bunny Eared Bag!
 SaveSave