Showing posts with label DIY Decor. Show all posts

Wednesday, March 29, 2023

DIY Tiered Tray Set Painting


I was looking for some fun Easter craft supplies for my shop and discovered, tiered tray sets.  I decided to do one up myself to create some finished project photos and now I am ADDICTED!

Even if you're not super crafty, or great with decorating or short on space, these sets make it easy to create something lovely for the season (or everyday).


You simply paint and assemble the various dimensional elements and then place them with some little plants & knick knacks for a pretty themed look you can put anywhere.  I'd seen a few dimensional sets like these and just assumed you had to be some incredible detail painter to make them look good, but the secret is that they come unassembled so you don't have to worry about staying in the lines.  

I researched a bit and discovered that there were a few videos on YouTube showing some ways to paint them, but not very many and almost no blog posts.  I like to do a quick read and then jump in to a craft rather than watch 1/2hr long videos that have a lot of filler chatter, so I thought I'd put together all the best tips I learned (and some of my own) for doing tiered tray decorations.

Tiered Tray Set Painting Tricks

This particular set is for Easter & has these layered elements:


It's recommended to plan out your color scheme and group the elements by color to be efficient.  For mine I chose an off-white, sage green, butter yellow and chocolate brown:


I did all my painting on freezer paper (shiny side up) to keep things clean and no-stick.  


The trick to painting without brushstrokes is to use foam makeup wedges and dab the paint on.  Super easy and drip-free too:


To make it simple to do the little pieces like letters, put a strip of painter's tape sticky side up and put the pieces on it.  Then you can hold the tape rather than the pieces.  Less mess and easier to coat:


I gave all the light colored pieces a double coat of paint.  The trick to keeping the cut-in lettering nice & contrasting (unpainted) like the Matthew 28:6 here is to dab gently with very little paint in those areas and use a wet toothpick to remove any paint that does get in the grooves:
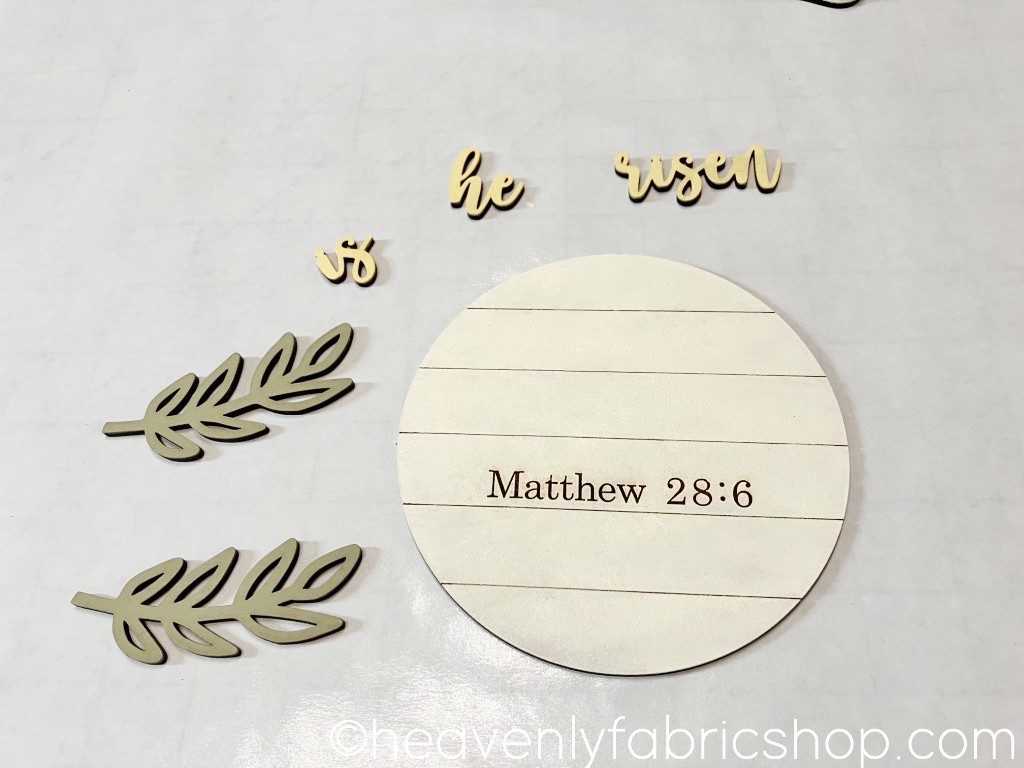

To smooth the finish, go over them gently with a high (fine) grit sandpaper.  If you want to distress them, sand a little harder.


When dry, I grouped all my elements back together:


The detail pieces for mine were self adhesive so I just peeled the backing paper off and stuck them in place:


You can seal them with a poly spray if you want - especially if using for outdoors.  I strung the banner elements on some baker's twine:


As someone who's free time is in short supply, I really loved how quick these came together and how fun it was to style them up.  I also like that they don't take up a ton of storage space out of season, unlike wreaths and bigger decorations.  

I used mine on a tiered tray, but they are also ideal to use in wreaths or turn into magnets.  I could also see adding some pretty ribbon loops and hanging them to make an Easter tree too.


I bought this lovely tray off Amazon here.  The quality is really nice for the price and it also came with the wood bead garland.  My faux plants and flowers were all from Hobby Lobby.  I know I can easily use them in other ways when it comes time to change the decor.  You can find this set and others like it in my shop here.  Happy decorating! 



Wednesday, December 14, 2022

Burlap-style Deco Mesh Christmas Wreaths


I know I'm probably late to the party with this project, but I finally made some deco mesh style wreaths.  I'm so happy with how they turned out I had to share them!  We get some rough winters around here, so it seemed like it was time to make some really durable (and affordable) door wreaths for the holiday season.  Ones that won't easily blow off or get worn out.  I also had some pretty Christmas ribbons & themed mdf cutouts I'd gotten for my shop that I really wanted to use myself, so this seemed like the perfect project.
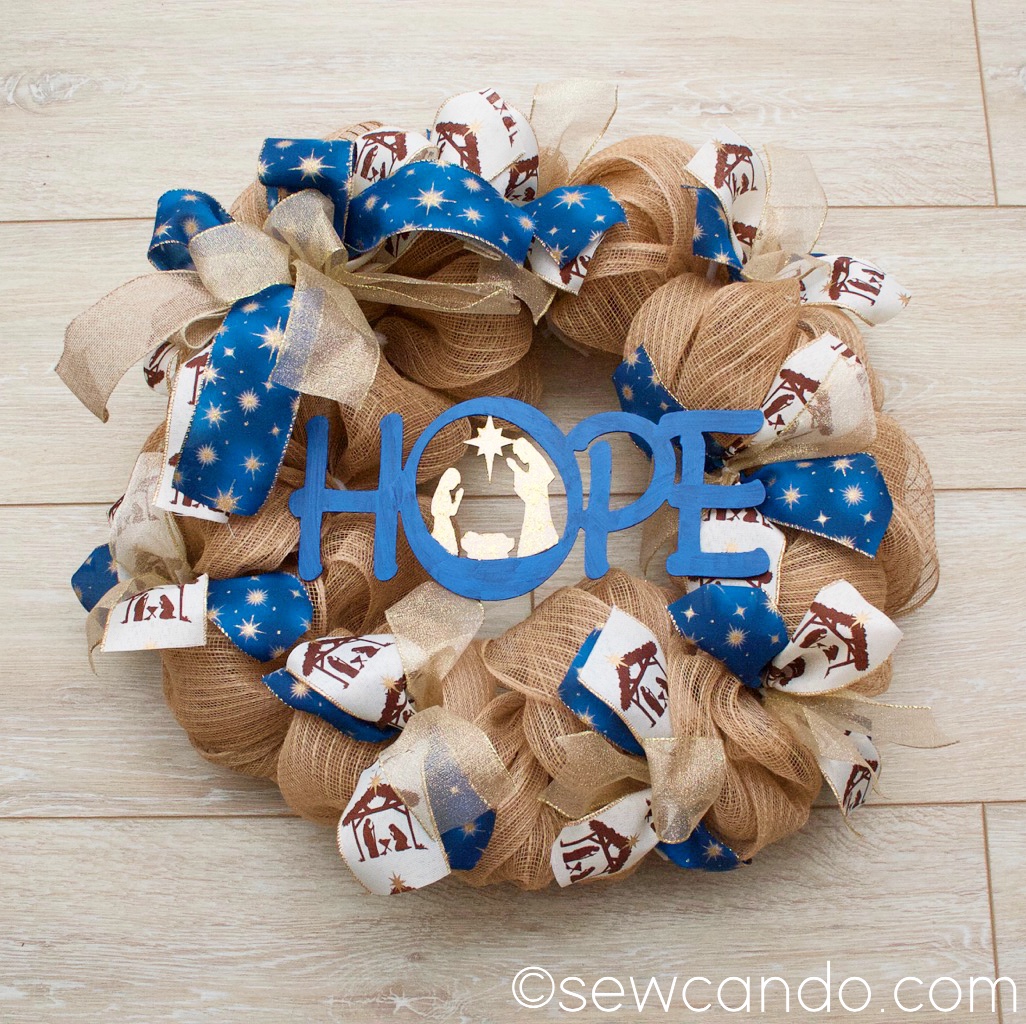
I made a pair for our double front doors:


I wanted the highlight the sweet Nativity design of the ribbon & wreath center wood cuts and at the same time have the bright blue of the starry ribbon to stand out against the neutrals of the gold & burlap. 


If you're short on time, but want to make a beautiful wreath, this is a quick & easy way to get results.

Materials:
- 20in metal wreath forms (I used these)
- 10yd rolls of 21in wide poly jute deco mesh (I used these)
- 3 different 2.5in wide wired ribbon (I used Nativity, Navy Gold Stars & Gold value roll from Hobby Lobby)
- chenille stems (aka pipe cleaners)
- hot glue gun
- MDF cutout shapes (Hope & Joy)
- Acrylic craft paint & brushes
- Fishing line & upholstery needle

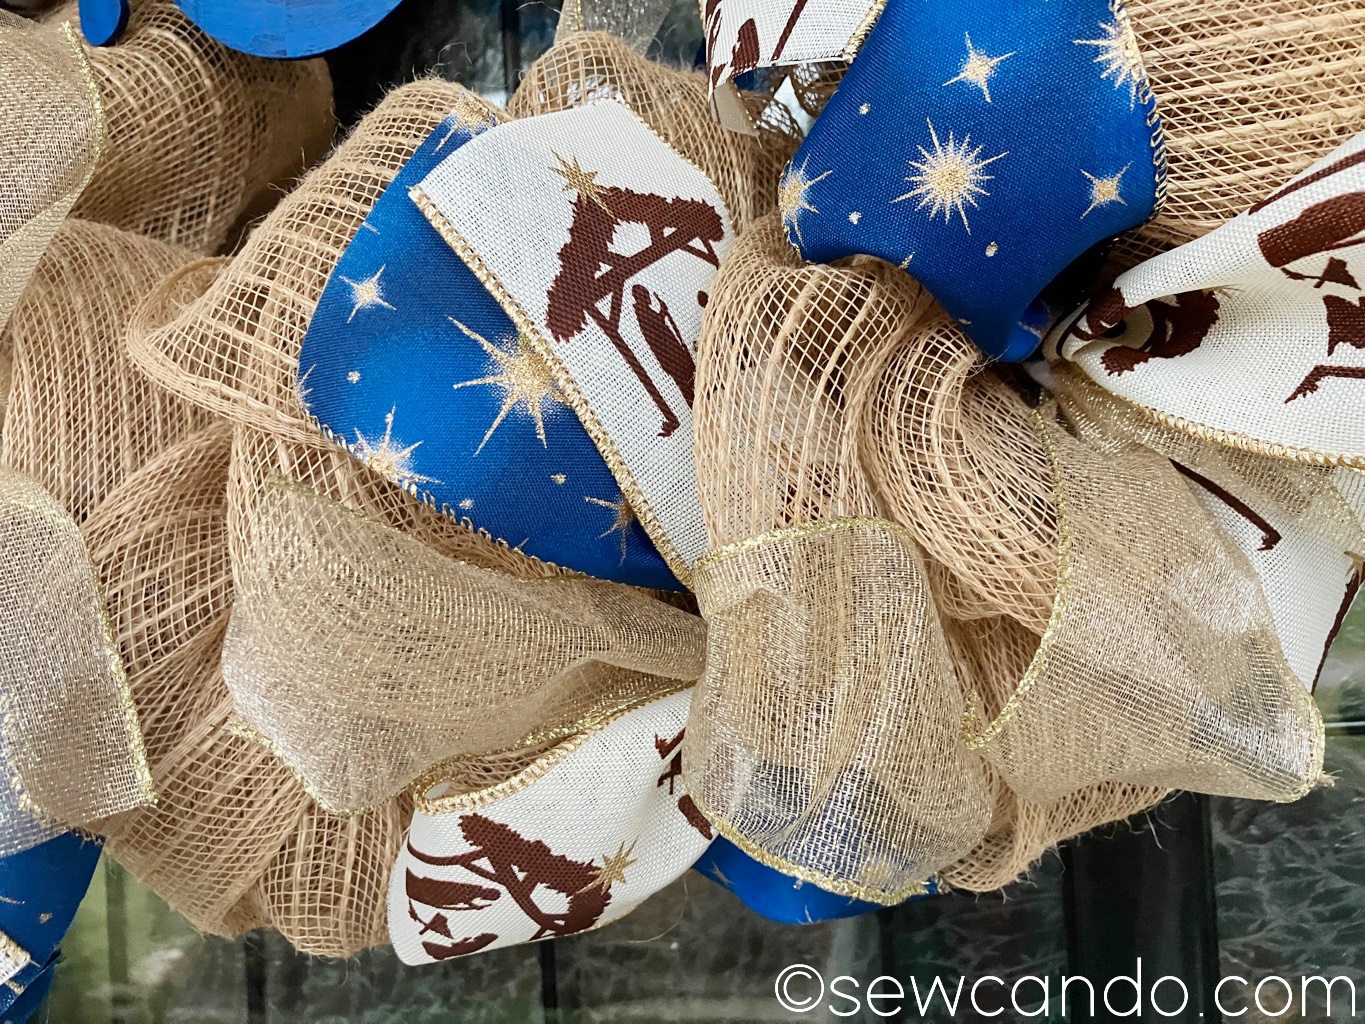
To do the poof-style mesh wreath base, I used this fantastic tutorial from Dave's Wreaths and Things.  It's easy to follow and worked out exactly as he instructed, so I wasn't going to reinvent the wheel by trying to do any step-by-step photos.  I got the poly jute style because I wanted it to look like burlap but be more durable and not be too floppy to shape.  They turned out nice & full and I didn't have to fiddle around trying to shape them:  


I used a great tutorial from Michelle Smith Creations to strategically add in the ribbon embellishments and make a nice full bow.


I used acrylic craft paints to paint my unfinished Joy & Hope signs.  To get the color just right to match my ribbon, I layered a few shades of royal & navy blue with some broad brushstrokes: 


Then I painted the little Nativity scenes in each one with some metallic gold acrylic and a layer of gold glitter to add a little sparkle to go with the sparkle of my other ribbons.


The center signage being cutout letters, rather than a big circle or rectangle, meant using her technique of attaching a central sign to the wreath wouldn't really work for me, so I got out an upholstery needle and some fishing line and attached it to the back of the wreath form and then looped it around the edges of the outer letters to really anchor it on, but not be super obvious to the eye.


I didn't have time this year to get really spectacular with the rest of our porch decorations (I also need to keep room free for my giant bin of outgoing stuff), but I think they look nice with our potted trees.  Next year I might make more goodies to team with my wreath theme, but for now, it's making Christmas brighter at our front door:)


Thursday, June 30, 2022

Easy 4th of July Wreaths For When You're Short on Time


Not gonna lie, time for crafting has been eluding me for a while.  Between running my business, wrangling my kids and trying to keep the house together, crafting is at the end of my mile-long to-do list.  I still wanted to do a little something for the upcoming 4th of July holiday...except almost every free moment is spent on cleaning up for the arrival of weeklong houseguests, filling orders, etc. so I was stumped as to how to fit it in.

I was literally out buying paper plates and glass cleaner at Lowe's & saw these fun 15 inch metal stars and thought I could come up with a super quick way to make them into front door decor:


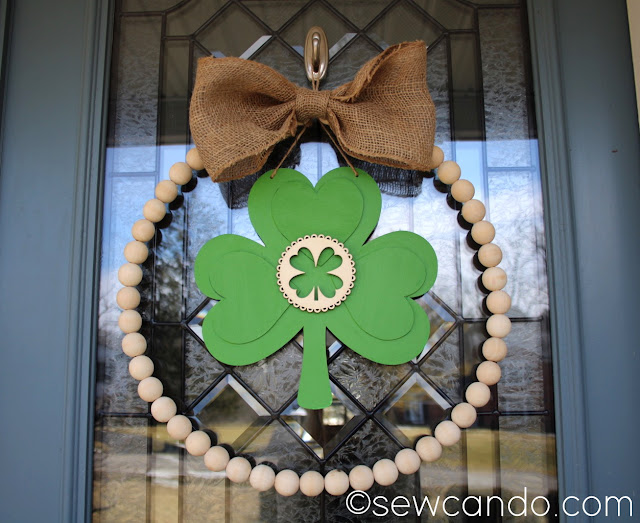
I had made some other quickie wreaths for St. Patrick's Day a few months back using some pre-string wood bead wreaths from Hobby Lobby, some wide burlap ribbon and a few wooden shapes:


So when I saw those metal stars I thought I could repurpose the wreaths for the 4th of July in just a few minutes - which is about all the time I can spare these days.  I was pretty happy with how they turned out, as well as the fact that it didn't mean sacrificing a bunch of time needed for other stuff:


I'd made the burlap bows and hot glued them onto the bead wreaths on the original versions.  I left those in place but cut the twine ties to remove my St. Patrick's Day centers:


I grabbed the same twine and laced it through the beads where the bows were glued using a stiff piece of wire to pull it through:


Then I looped the ends back under the wreath's wire, between the beads, and tied the open ends together to make my hanging loop.  This also made sure that the beads would be pressed together so the bows would be perky and face front rather than droopy, since the beads can rotate.  


I looped some twine through the hangers at the back of each star and made a lark's head knot.  Then I tied the open ends together around the top beads of the wreaths where my bows were.


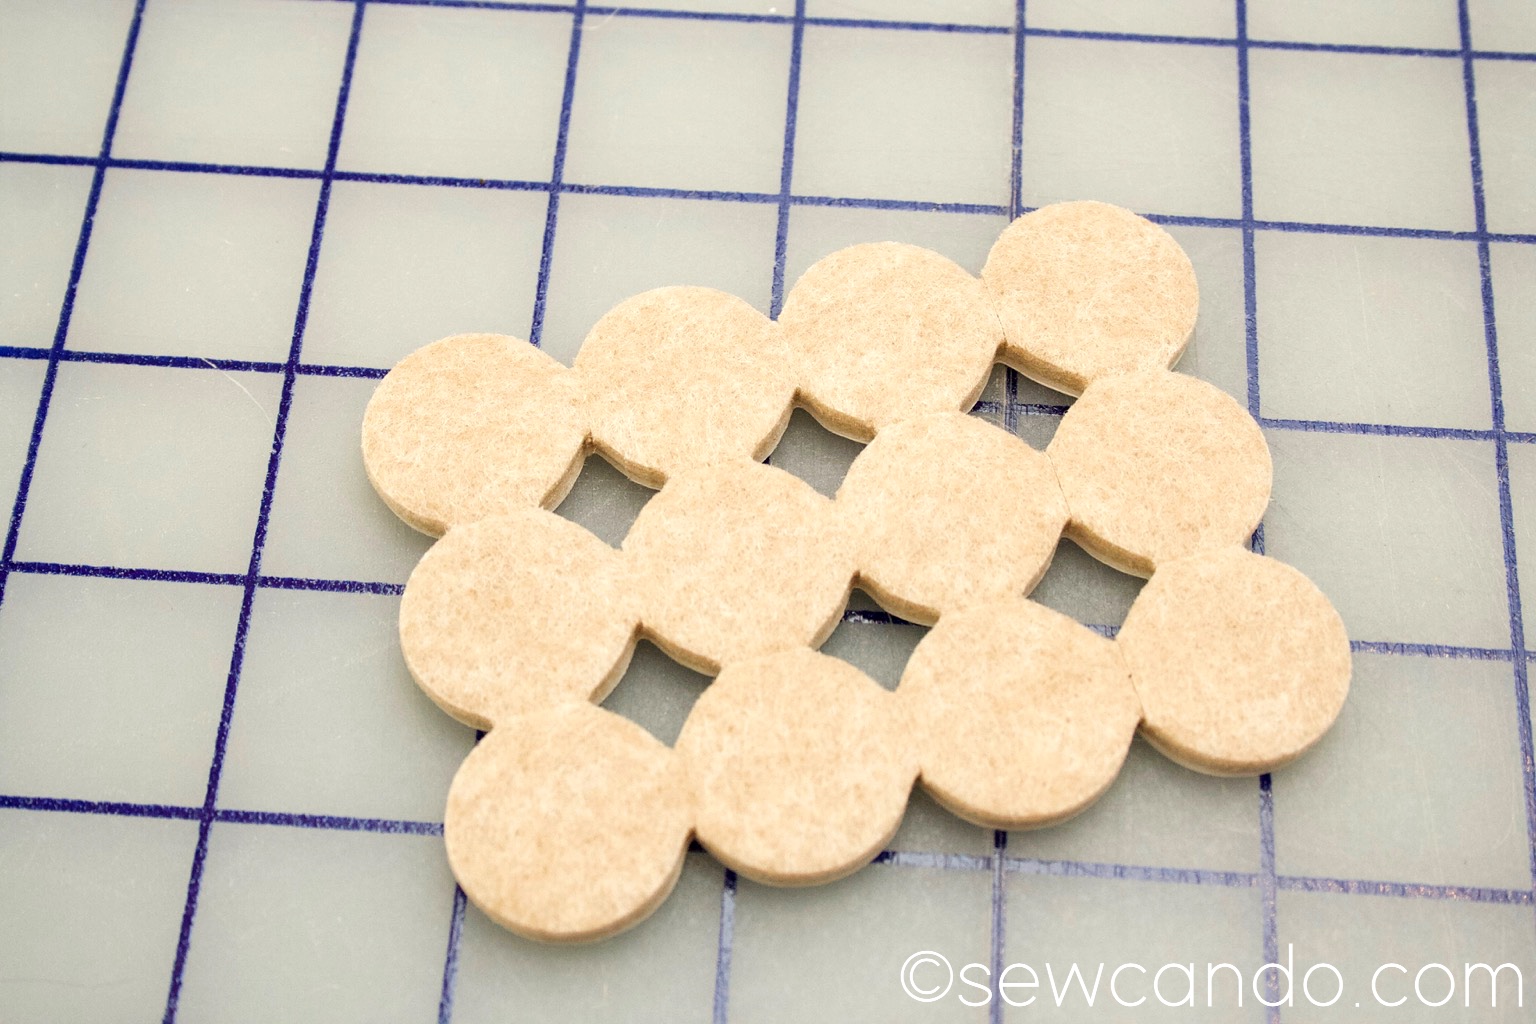
Since the stars were metal I was concerned about them being noisy on the doors - especially since they'd be resting on the glass portion of ours.  With a lot of people coming in & out for the next week and gusty breezes lately, I didn't want major clattering all the time.  So I grabbed some felt furniture pads:


I cut them into triangular pieces and stuck one on the back of each star point.  


It worked like a charm.  They're visually bold, but nice and quiet:)


And the best part is I can still easily take them apart to reuse the bead part for another theme and then tie them back together for next year's Independence Day.  I LOVE when crafts can be multi-purpose (and there's less stuff to have to store somewhere)!!


Now our front porch is looking festive and I've still got time to finish everything else I need to do around here.


Happy 4th of July Everyone!


Wednesday, January 19, 2022

10 Minute Budget-Friendly Winter Burlap Wreath


Finally, after a bit of a forced hiatus, I've got some crafting going again!  Thank heaven!!  I've really missed making things, but it also made me realize a key factor.  For me, 2022 is going to be all about the crafts that are easy.  Stuff that's fun, quick and frustration-free.  
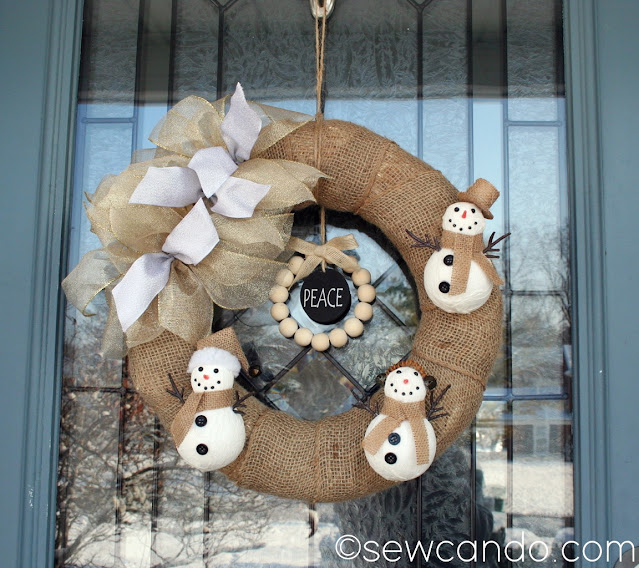
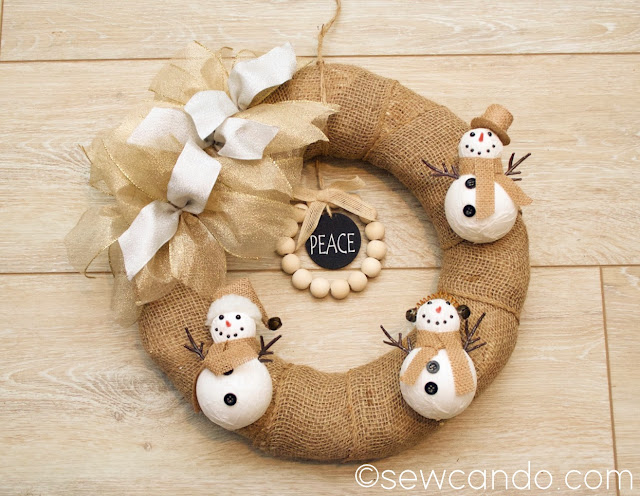
Like this 10 Minute Winter Burlap Wreath:


Many of us are busier than ever, and getting free moments is a bigger challenge.  As is finding extra $$ for things like decor and craft supplies thanks to all the economic issues everywhere you look.  Being able to create something in that little window of time should relieve stress and bring joy, not make you frantic.  I wanted some inexpensive winter-themed wreaths that I could hang on the front doors pre-Christmas, but could also stay up as long as the snowy weather was in season.  This cold humdrum time before spring always feels a bit bare and lackluster after seeing decorations everywhere.  I wanted something cute, but still wintery.  And also wouldn't cost much since January is new year new budget time.  These babies have not disappointed:


They have some winter sparkle thanks to my shimmery ribbons,


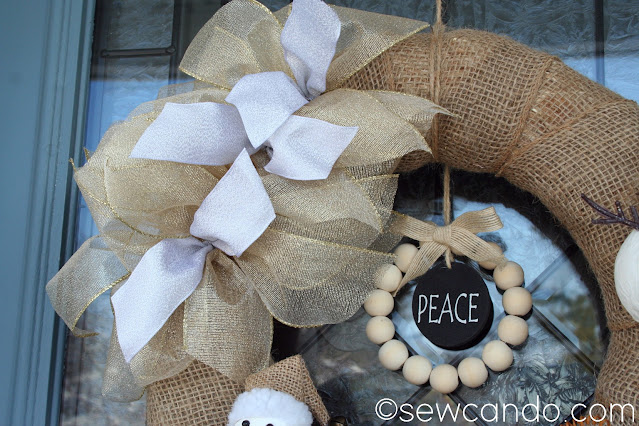
but aren't over-the-top post holiday, thanks to the rustic burlap and natural wood elements:


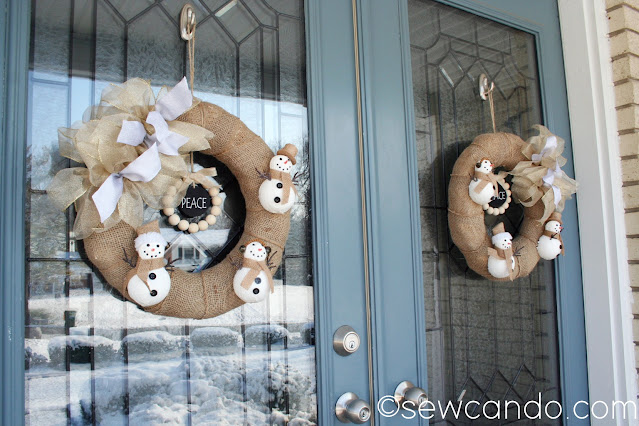
These are also really affordable when you have double doors like we do.  


Materials:
- Burlap wrapped wreaths - mine were 18 inches 
- 2.5 inch  & 1.5 inch wide metallic shimmer ribbons
- Styrofoam ornaments or embellishments
- Flat round wood ornaments
- Greenery and/or dressmaker's pins 
- Hot glue 
- Twine 

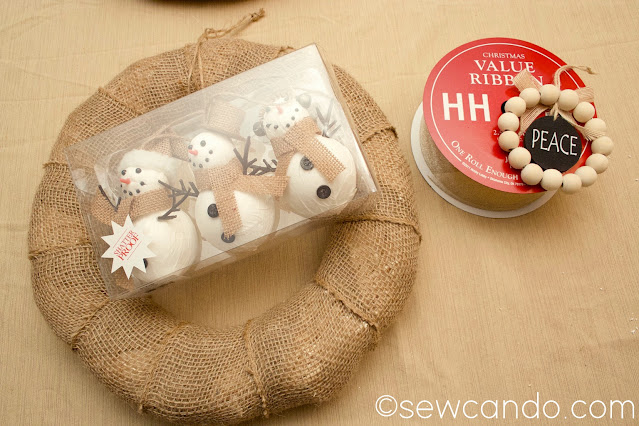
I found my wreaths for something like $5.99 each at Hobby Lobby on sale.  You could also get plain foam or straw wreaths and wrap them with burlap ribbon if you can't find this pre-wrapped version.  I also grabbed a multi-pack of styrofoam snowmen ornaments, a flat wood bead circle ornament and a spool of shimmery ribbon for each one too.  I bought them all in December, pre-Christmas, and they were already 50% off.  You could use any lightweight knick-knacks though, or buy some plain foam shapes or wood circles & beads and embellish them up yourself.  Whatever you can find that you like!  


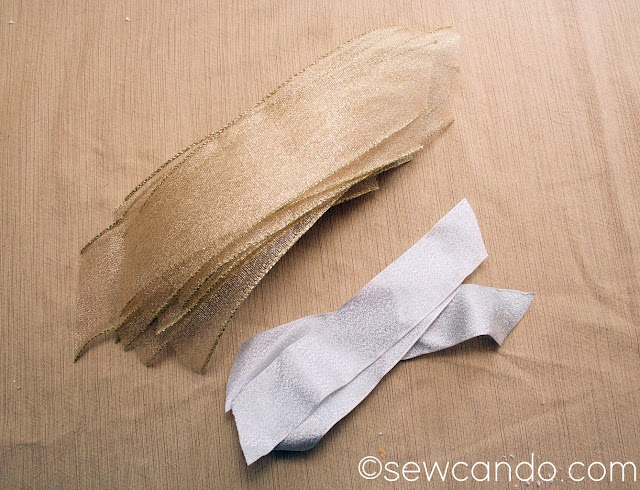
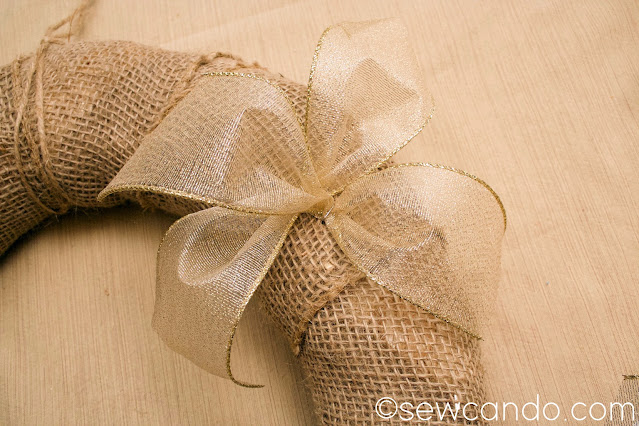
Cut some 7 inch long strips of ribbon and tapered the ends about an inch on each side.  I cut about 12 strips from my 2 1/2 inch wide ribbon and 3 from my 1 1/2 inch ribbon for each wreath.


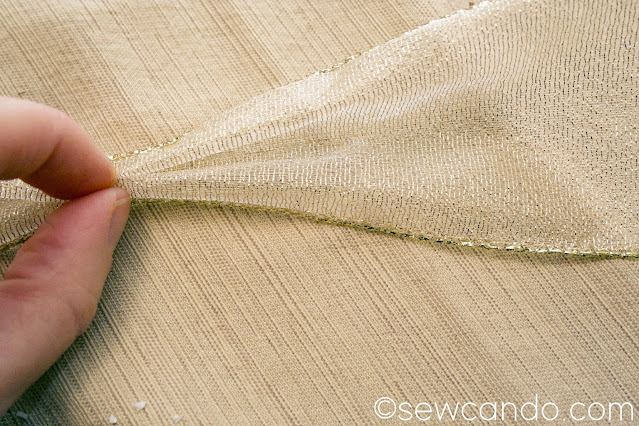
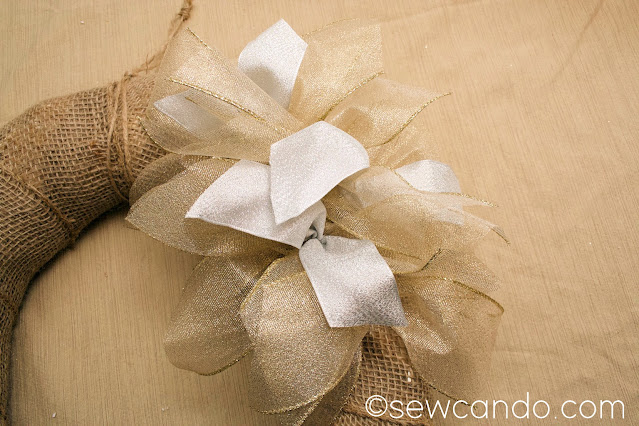
Grab the first strip and pinch it at the center and accordion fold it like this:


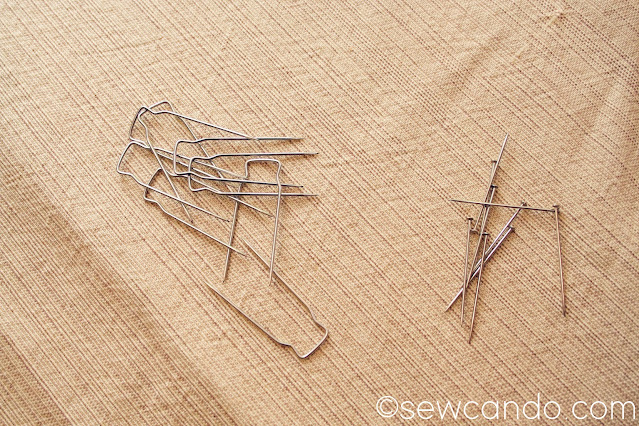
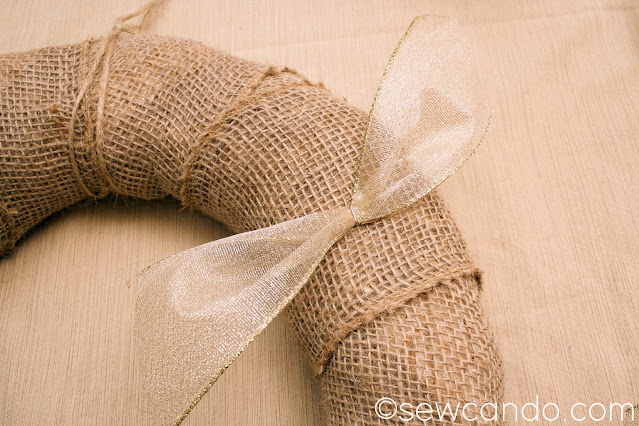
Attach it to the wreath on an angle with a greenery or dressmaker's pin in the center. 


 My bows were off to one side rather than than at the center top of each wreath, so my first piece of ribbon started there.  


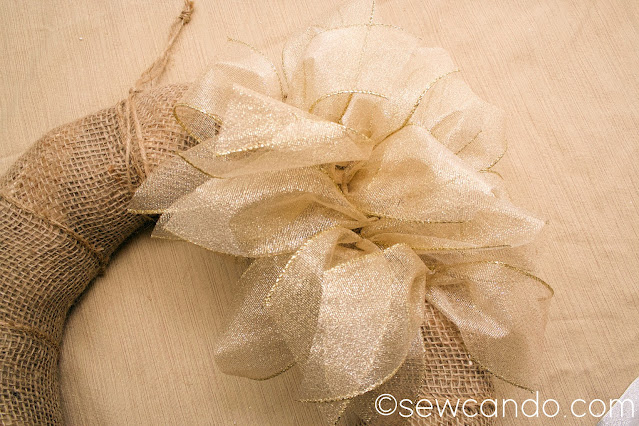
The next piece went in right next to it, but perpendicular to it:


I kept doing this until it looked full.


Then sprinkled in my 3 silver ribbons in randomly to finish:

 
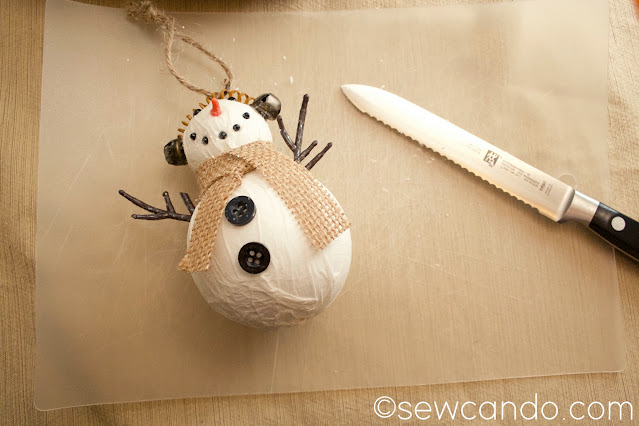
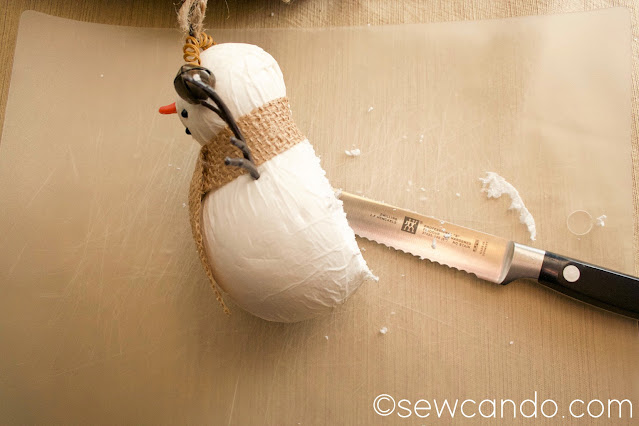
If you're using fairly flat decorations you could skip this step, but my snowmen were in-the-round, so I grabbed a cutting board & knife:


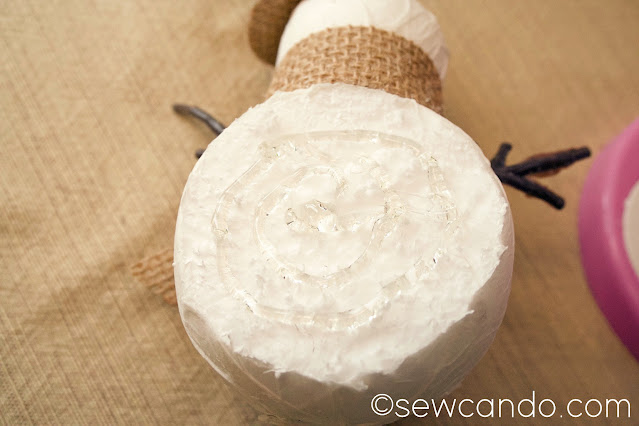
And cut off the back 1/4 of each snowman and the twine hang loop on the tops.


Then a swirled some hot glue onto the back and placed them around the wreath front.


I found the center of the top back side of each wreath and used a greenery pin to attach the hang loop of my flat round ornament there.


 That made it dangle just below the top part of the wreath.  I then looped a strand of twine to hang them and in just a few minutes, my wreaths were done:


Two cute wreaths, made in next to no time, and for about $25 total.  A fun & functional project to make a great crafty start to the new year:) 


LinkWithin

Related Posts with Thumbnails