

Finally, after a bit of a forced hiatus, I've got some crafting going again! Thank heaven!! I've really missed making things, but it also made me realize a key factor. For me, 2022 is going to be all about the crafts that are easy. Stuff that's fun, quick and frustration-free.
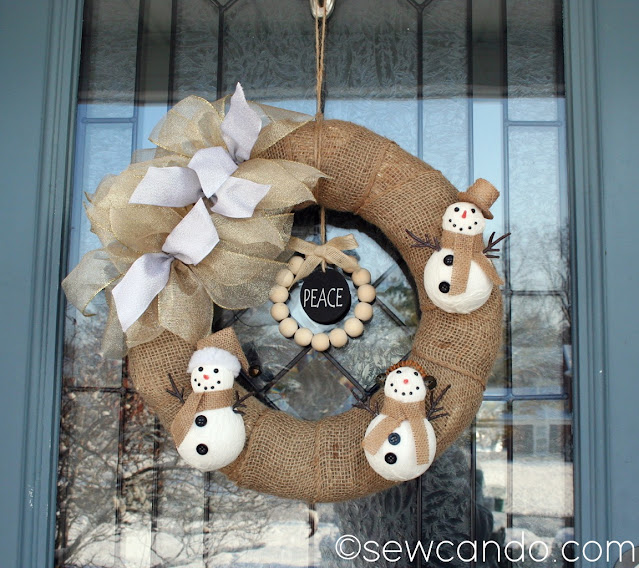
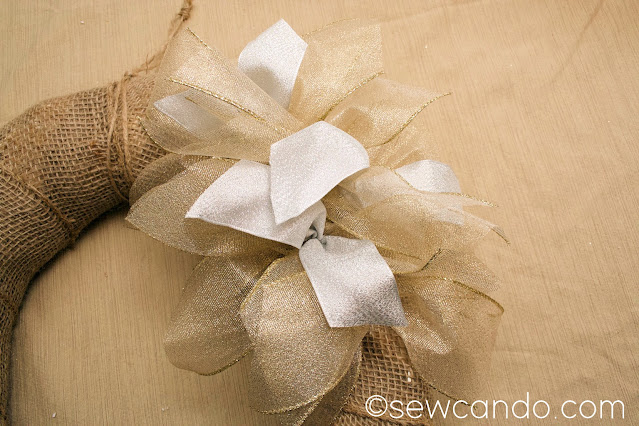
Like this 10 Minute Winter Burlap Wreath:

Many of us are busier than ever, and getting free moments is a bigger challenge. As is finding extra $$ for things like decor and craft supplies thanks to all the economic issues everywhere you look. Being able to create something in that little window of time should relieve stress and bring joy, not make you frantic. I wanted some inexpensive winter-themed wreaths that I could hang on the front doors pre-Christmas, but could also stay up as long as the snowy weather was in season. This cold humdrum time before spring always feels a bit bare and lackluster after seeing decorations everywhere. I wanted something cute, but still wintery. And also wouldn't cost much since January is new year new budget time. These babies have not disappointed:

They have some winter sparkle thanks to my shimmery ribbons,
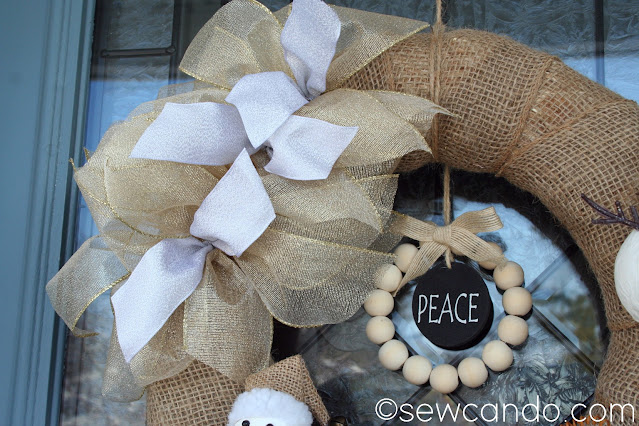
but aren't over-the-top post holiday, thanks to the rustic burlap and natural wood elements:
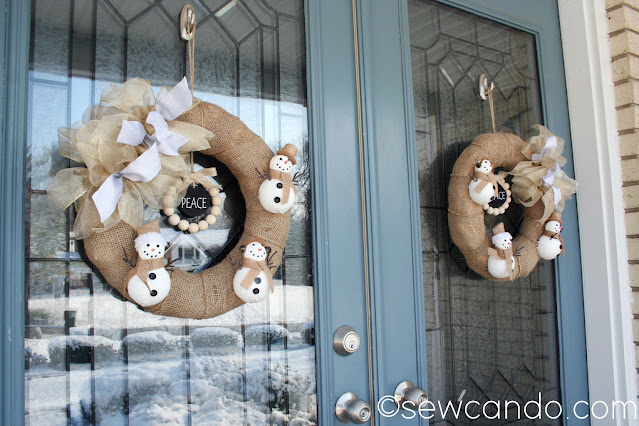
These are also really affordable when you have double doors like we do.
Materials:- Burlap wrapped wreaths - mine were 18 inches- 2.5 inch & 1.5 inch wide metallic shimmer ribbons- Styrofoam ornaments or embellishments- Flat round wood ornaments- Greenery and/or dressmaker's pins
- Hot glue- Twine
I found my wreaths for something like $5.99 each at Hobby Lobby on sale. You could also get plain foam or straw wreaths and wrap them with burlap ribbon if you can't find this pre-wrapped version. I also grabbed a multi-pack of styrofoam snowmen ornaments, a flat wood bead circle ornament and a spool of shimmery ribbon for each one too. I bought them all in December, pre-Christmas, and they were already 50% off. You could use any lightweight knick-knacks though, or buy some plain foam shapes or wood circles & beads and embellish them up yourself. Whatever you can find that you like!

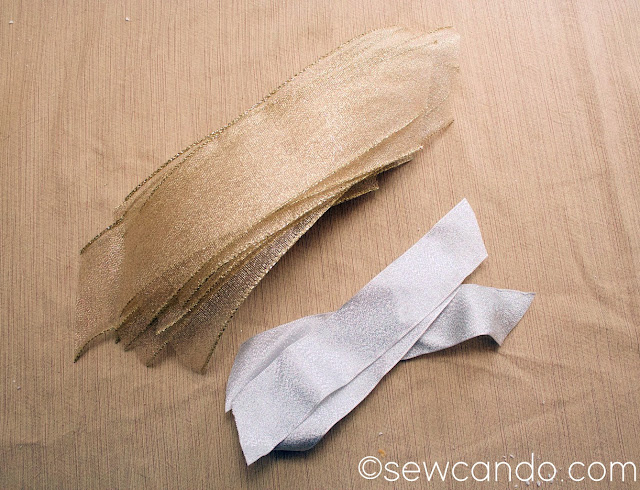
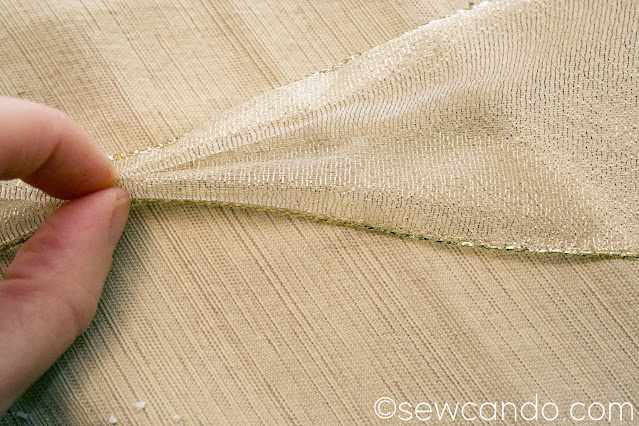
Cut some 7 inch long strips of ribbon and tapered the ends about an inch on each side. I cut about 12 strips from my 2 1/2 inch wide ribbon and 3 from my 1 1/2 inch ribbon for each wreath.
Grab the first strip and pinch it at the center and accordion fold it like this:
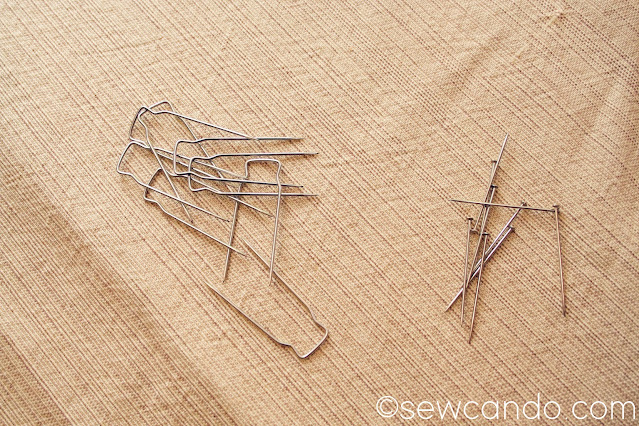
Attach it to the wreath on an angle with a greenery or dressmaker's pin in the center.
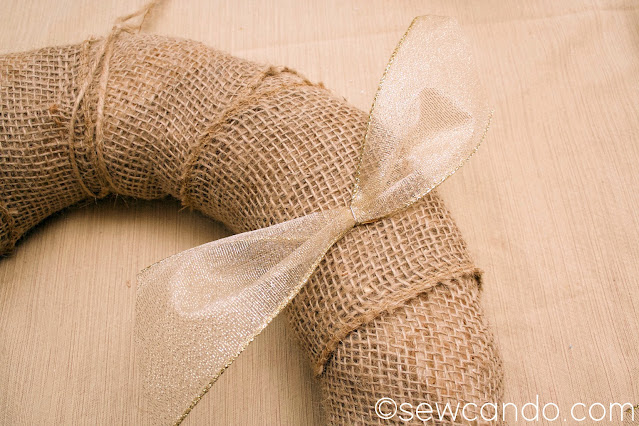
My bows were off to one side rather than than at the center top of each wreath, so my first piece of ribbon started there.
The next piece went in right next to it, but perpendicular to it:

I kept doing this until it looked full.
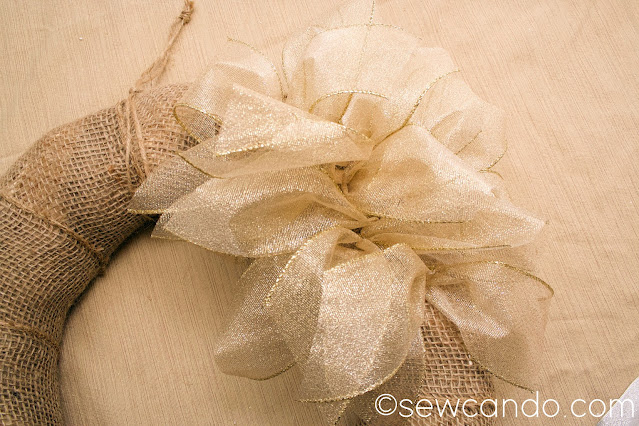
Then sprinkled in my 3 silver ribbons in randomly to finish:
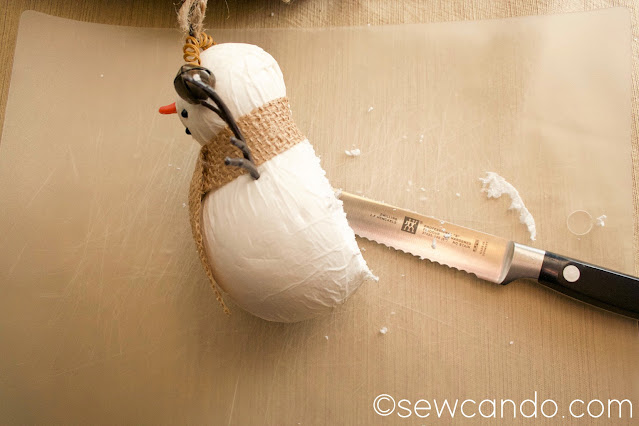
If you're using fairly flat decorations you could skip this step, but my snowmen were in-the-round, so I grabbed a cutting board & knife:
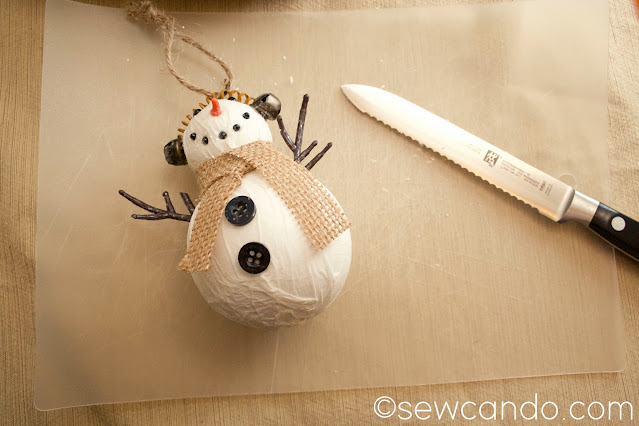
And cut off the back 1/4 of each snowman and the twine hang loop on the tops.
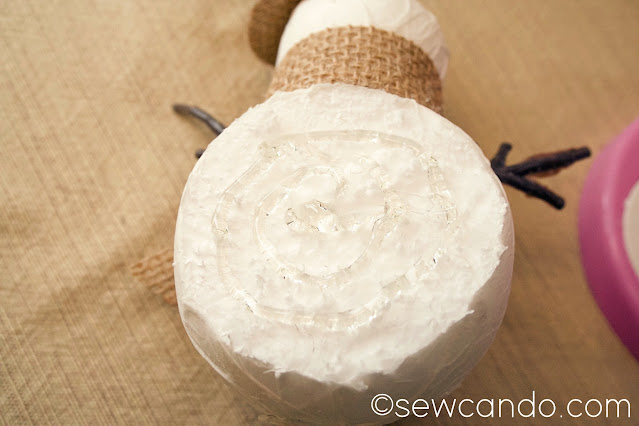
Then a swirled some hot glue onto the back and placed them around the wreath front.
I found the center of the top back side of each wreath and used a greenery pin to attach the hang loop of my flat round ornament there.
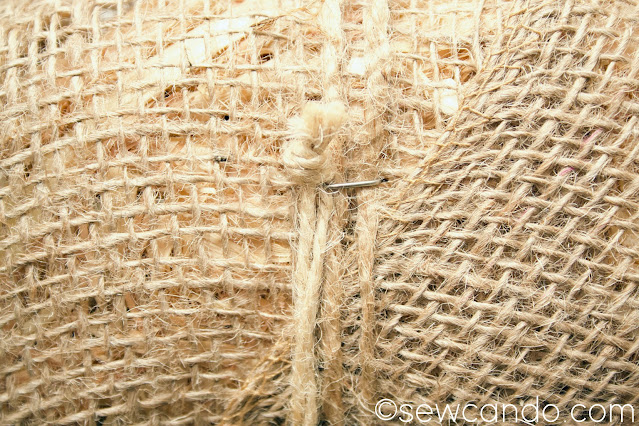
That made it dangle just below the top part of the wreath. I then looped a strand of twine to hang them and in just a few minutes, my wreaths were done:
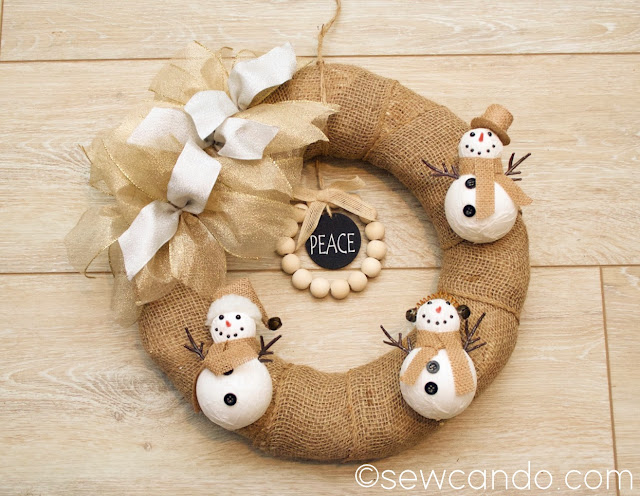
Two cute wreaths, made in next to no time, and for about $25 total. A fun & functional project to make a great crafty start to the new year:)

This is such a cute winter wreath -- just the right thing to replace the Christmas decorations from December.
ReplyDeleteWhat a cute little wreath with those snowmen.
ReplyDeleteAlexandra
OnRockwoodLane.com
These are adorable & perfect for winter! I can't believe how quick & budget-friendly they are. Basically, they're perfect lol! Thanks for sharing on Crafty Creators. I'll be featuring your post tomorrow, so make sure you come get your "I was featured" button!
ReplyDeleteXOXO,
Niki ~ Life as a LEO Wife
SUPER CUTE, Cheryl! Don't forget to join us over at the Creatively Crafty Linky Party every Wednesday through Sunday
ReplyDeletehttps://creativelybeth.com/creative-crafts-linky-party/
Followed and Pinned!
Creatively, Beth