Showing posts with label Stuff for Kids. Show all posts

Tuesday, April 12, 2022

Meaning of Easter Sensory Bin


This year I've had a lot of fun "crafting" sensory bins for my two toddlers.  With time to craft in very short supply around here, it's allowed me to use my creative side with our homeschooling to make something fun, but also educational.  My latest version was created specifically for this week:  Meaning of Easter Sensory Bin.

I'd seen a number of cute "Easter" themed versions with the usually chicks, bunnies and eggs, but nothing that really included anything Christian or Jesus-related.  That's the point of Easter, right?  So, I put my thinking cap on to create one!


My starting point was this cute sets of finger puppets (disclosure I carry these in my shop here).  It has all the key figures of the Easter story - Jesus, the Marys, the angel, a solider, John & Peter, in soft silicone:


I used a piece of wool felt for the ground in our bin.  I got this faux rock cave at the pet store in the fish section to use as a tomb.  The hole is the perfect size for the figures and there's also a hole in the bottom to make it easier to get them in & out and, since it's meant for fish (that are sensitive to chemicals just like little kids), it's also non-toxic:


I found a cool 40 pc set of rock blocks here that came in lots of colors and sizes.  The biggest was just the right size to roll in front of the tomb opening.  


The blocks stack really well and can be sorted in many ways, so they add a lot of sensory action.  I'd also recommend this particular set as they are choke-test and non-toxic certified.  There are a lot of cheaper sets out there that aren't, and seem to be smaller, so I didn't think it was worth taking a chance on to save a couple of bucks.


A 4 inch wooden handheld cross (also from my shop), was the perfect scale for our figures too.   Surrounding the cross with some rock blocks keeps it upright too.  


A few different sized plastic eggs are ideal for putting the figures inside, as well as some paper shred style Easter grass to add some more interesting texture and additional places 
to hide them.


Besides being fun with colorful shapes and textures, it's a nice way to give my little ones some holiday-themed play and introduce them to the Easter story in a way they can understand.


Happy Easter!

Wednesday, October 30, 2019

Our (mostly) DIY Willy Wonka Halloween Costume


With 4 kids we've done a lot of DIY costumes over the years, but few have been as easy or as fun as this one: the original Willy Wonka!

We know Wonka doesn't wear glasses, but for full face pics of my
kids these days, I like to have a little more anonymity.

Charlie & The Chocolate Factory was one of my favorite movies growing up (I even did a paper on it for a class in graduate school), so I was thrilled that my kids also fell in love with it and my 2nd oldest decided on being the great Willy Wonka as his costume this year.


Amazingly I didn't even have to sew anything this time! We pieced it together with things we already had and a few thrifty purchases for a DIY'd version.  The bow tie was a cheap gold satin scarf I bought off Amazon and tied into a bow.


Technically I did sew up the faux vest and frilly shirt...back in 2014.


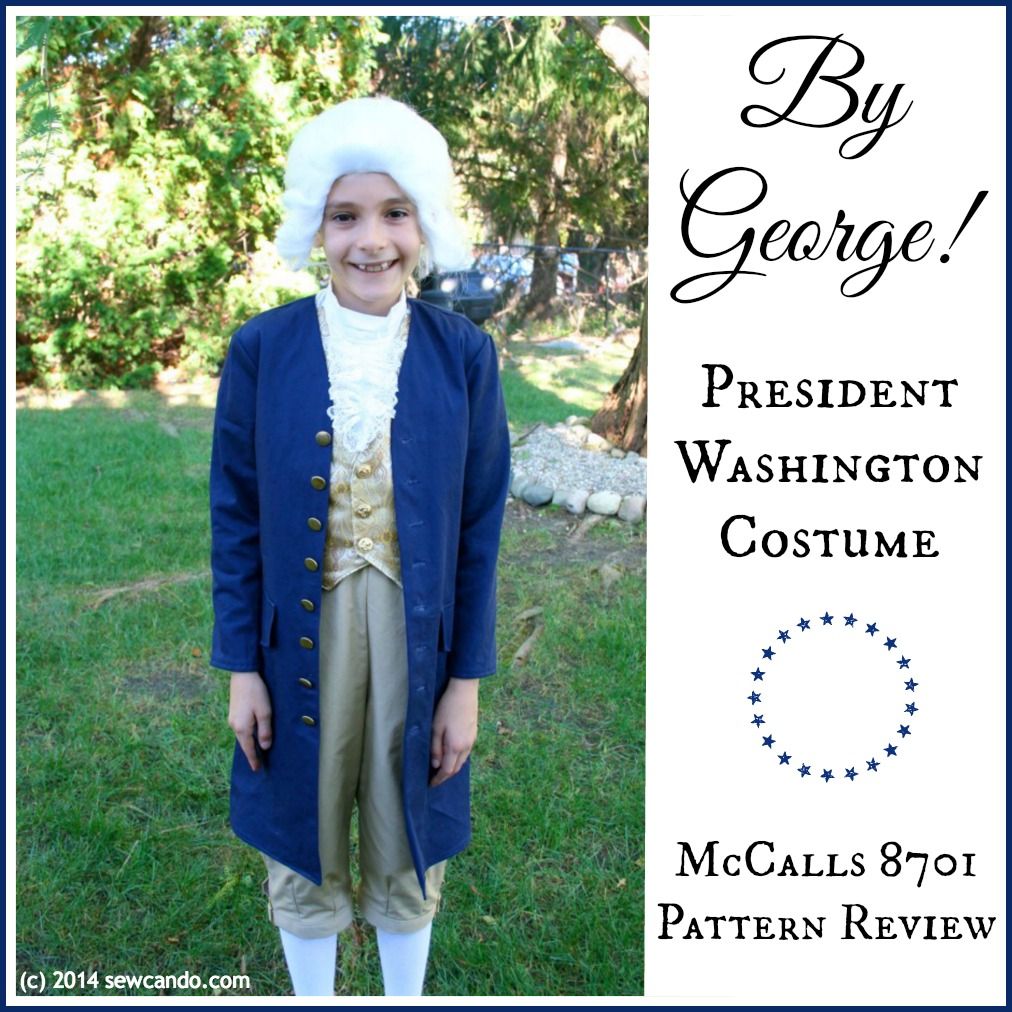
It was repurposed from this George Washington costume I'd made a few years back for my oldest.  I'm so glad I'd saved it!


The brown top hat was an eBay purchase.  It was more sensible to just buy than try to make.  The wig was a last minute addition from Amazon (search for kid's Willy Wonka wig).  He already had khaki pants for the bottom half was sorted.


The key part, the purple velvet jacket, was a specialty item that we had too.  A few years back Mini Boden did a line of Road Dahl story-themed clothing and this little coat was one of them.  We preordered it months in advance because it was so cool.  The lining is fully illustrated for the story with the classic Wonka gates and great glass elevator busting through the top of the factory:


It's like a wonderful hidden surprise, which is very Wonka-esque.  Amazingly the coat has fit for several years and will get worn by my smaller kids down the road so it's become a real treasure:


At the time we also got this Veruca Salt themed faux fur coat for my daughter (seen here with my Fur Lined Muff Tutorial).  The lining on that one is candy print in keeping with the theme.  I haven't seen the Wonka coat for sale recently but there are a few other items from the collection - including a sweet flip sequin golden ticket sweatshirt & Scrumdiddlyumptious tee (which we also have) - on eBay.


I also lucked out in that I'd already made some candy print treat bags for a previous Halloween (tutorial here), which tied in perfectly to his costume.


I'll admit I was pretty grateful it was so simple to put together.  With a 5th baby on the way, the thought of doing so many costumes for many more years is a bit exhausting.  And this particular kid has put me to serious work over the years with some creative, but complicated DIY'd costumes.  Like Darkwing Duck:


and a Roman Soldier:


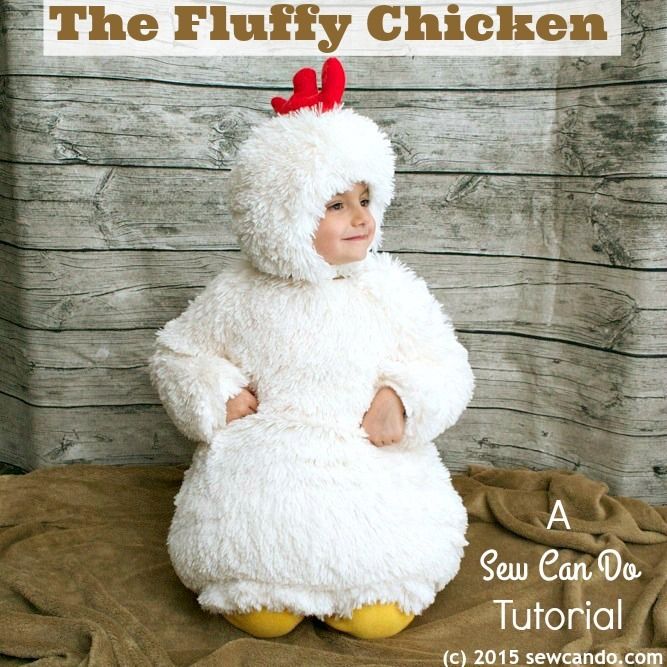
His sister has also had some serious handmade requests over the years, like the fluffy chicken costume:


and Princess Merida from the movie Brave:


It can be tough for the older kids to not be a bit self-conscious about dressing up at Halloween these days, but when it's something cool & fun, they're all in, which I love.  And it's even better that he came up with it himself and I didn't have to slave over it! 


Happy Halloween!


Wednesday, May 29, 2019

Kid's Comfort Quilt Tutorial


Sometimes the best projects are the ones we give away.  I've just finished this lovely little Kid's Comfort Quilt to give away and am happy to share how I made it so others can make some to donate too.


The striped design features framed charm squares and is self bound with fabric from the back side.  


I decided to do this quilt as a present for the 4yr old relative of some friends.  She was recently diagnosed with stage 3 cancer after an unexpected tumor was discovered.  Unfortunately she's about to begin a long series of chemotherapy treatments.  I'd just gotten these fabrics as new additions for my shop (talk about providential timing!).  So I thought a special comfort quilt might help lift her spirits a little at this difficult time.  


I don't do a lot of quilts, so I kept the design very simple.  I was inspired by this Little Star Quilt, but made mine more basic so there was less to cut out and it was quick to assemble.  


While this quilt could be made with any fabrics (it makes a great baby quilt too), I choose some that would team with the theme of kicking childhood cancer.   For my main fabric I used this pretty fabric that I thought a little girl would love - full of words of hope, pink and butterflies:


The stripes feature coordinating inspirational script words like  blessings, gratitude, and love too.


There are also some specially themed charm squares:


The kid-themed messages are meant to help little ones fighting cancer to stay positive:


and feel brave:


The messages are so sweet and they look nice with the inspirational-themed fabrics I used.  I also quilted some butterflies to echo the butterfly main fabric.


Which adds a nice butterfly design on the back too:


Finished size: 39 in wide by 44 in high 

Materials:
- 7/8yd Soulful Shades of Pink Inspirational Butterflies cotton fabric
- 3/8yd Soulful Shades Inspirational Words Pink cotton fabric
- 3/8yd Soulful Shades Inspirational Words Grey cotton fabric
- Let's Fight Together Cotton Panel (or 12 charms squares)
- 1 1/4yds Backing cotton fabric (at least 44 inches wide)
- Crib size lightweight polyester batting (45 in by 60 in)
- Notions: pins, rotary cutter, yardstick, iron, disappearing marker

All seams are 1/4 in.


Start by cutting out the squares from the Let's Fight Together panel (or cutting twelve 5 inch charm squares).


Next cut the following from the Inspirational Butterflies (main print):


(20) 1 1/2 in wide by 5 in high inner frame strips
(4) 2 1/2 in wide by 5 in high outer frame strips
(1) 39 in wide by 13 1/2 in high center stripe
(2) 39 in wide by 1 1/2 in high inner frame stripes
(2) 39 in wide by 2 1/2 in high outer frame stripes


From the Inspirational Words Grey cut:
(4) 39 in wide by 2 1/2 in high stripes 

From the Inspirational Words Pink cut:
(2) 39 in wide by 4 1/2in high stripes

From the backing fabric cut:
(1) 42 in wide by in 47 in high

Begin with the charm squares.  Starting with the square that will be furthest left, pin and stitch a 2 1/2 in wide strip to the left side of the square, with right sides facing.  Do the same on the right side with a 1 1/2 in wide strip.  


Stitch another 1 1/2 in wide strip to the previous strip, then another square.  Repeat with the remaining 3 squares except use another 2 1/2 in wide strip on the right side of the last square.  Repeat to create another row with the remaining 6 charm squares and strips.  Press seams toward the frame fabric.


For the top framed Row 1, stitch one of the 39 in wide by 2 1/2 in high outer stripes along the top edge and one of the 39 in wide by 1 1/2 in high outer stripes along the bottom to finish framing the squares.  


Repeat with the lower Row 9, but doing the remaining 39 in wide by 1 1/2 in high outer stripe on top and the 39 in wide by 2 1/2 in high outer stripe on the bottom.  Press seams toward the frame fabric.  

Take Row 1 and stitch Row 2 (a grey words stripe) to the lower edge.  Press seams open.  Stitch Row 3 (a pink words stripe) to Row 2's lower edge then Row 4 (another grey stripe) to Row 3's lower edge.   


Stitch Row 5 (center butterfly stripe) to Row 4's lower edge.  Repeat with remaining stripe Rows 6-9, Grey, Pink, Grey and lower framed row at bottom, pressing all seams open.  


Measure quilt top and cut batting to same dimensions.  With backing fabric pressed flat and open, right side facing down, lay batting then quilt top over it, making sure there is an even 1 1/2 inches of backing fabric showing on each side.  


Double fold backing fabric inward to create the binding and pin all around.  


To miter the corners, fold one corner upward at a 45 degree angle and then fold the perpendicular side of the corner upward and pin.


Top stitch binding edge all the way around close to the fold.  


Quilt as desired.  I decided to do a simple 3 part butterfly shaped design along the alternating stripes tracing a paper template with disappearing marker:


and a 2 part large butterfly design in the center stripe panel.


And topstitched around those lines.


I really hope the recipient likes it and this quilt helps make the tough days of chemotherapy ahead a little more comfortable.


I'm planning to help my kids do a few simple stripe flannel blankets next as a family service project for the charity Project Linus.  I'll be sharing those kids-can-make projects soon too. 


LinkWithin

Related Posts with Thumbnails