Showing posts with label quilting fabric. Show all posts

Wednesday, May 29, 2019

Kid's Comfort Quilt Tutorial


Sometimes the best projects are the ones we give away.  I've just finished this lovely little Kid's Comfort Quilt to give away and am happy to share how I made it so others can make some to donate too.


The striped design features framed charm squares and is self bound with fabric from the back side.  


I decided to do this quilt as a present for the 4yr old relative of some friends.  She was recently diagnosed with stage 3 cancer after an unexpected tumor was discovered.  Unfortunately she's about to begin a long series of chemotherapy treatments.  I'd just gotten these fabrics as new additions for my shop (talk about providential timing!).  So I thought a special comfort quilt might help lift her spirits a little at this difficult time.  


I don't do a lot of quilts, so I kept the design very simple.  I was inspired by this Little Star Quilt, but made mine more basic so there was less to cut out and it was quick to assemble.  


While this quilt could be made with any fabrics (it makes a great baby quilt too), I choose some that would team with the theme of kicking childhood cancer.   For my main fabric I used this pretty fabric that I thought a little girl would love - full of words of hope, pink and butterflies:


The stripes feature coordinating inspirational script words like  blessings, gratitude, and love too.


There are also some specially themed charm squares:


The kid-themed messages are meant to help little ones fighting cancer to stay positive:


and feel brave:


The messages are so sweet and they look nice with the inspirational-themed fabrics I used.  I also quilted some butterflies to echo the butterfly main fabric.


Which adds a nice butterfly design on the back too:


Finished size: 39 in wide by 44 in high 

Materials:
- 7/8yd Soulful Shades of Pink Inspirational Butterflies cotton fabric
- 3/8yd Soulful Shades Inspirational Words Pink cotton fabric
- 3/8yd Soulful Shades Inspirational Words Grey cotton fabric
- Let's Fight Together Cotton Panel (or 12 charms squares)
- 1 1/4yds Backing cotton fabric (at least 44 inches wide)
- Crib size lightweight polyester batting (45 in by 60 in)
- Notions: pins, rotary cutter, yardstick, iron, disappearing marker

All seams are 1/4 in.


Start by cutting out the squares from the Let's Fight Together panel (or cutting twelve 5 inch charm squares).


Next cut the following from the Inspirational Butterflies (main print):


(20) 1 1/2 in wide by 5 in high inner frame strips
(4) 2 1/2 in wide by 5 in high outer frame strips
(1) 39 in wide by 13 1/2 in high center stripe
(2) 39 in wide by 1 1/2 in high inner frame stripes
(2) 39 in wide by 2 1/2 in high outer frame stripes


From the Inspirational Words Grey cut:
(4) 39 in wide by 2 1/2 in high stripes 

From the Inspirational Words Pink cut:
(2) 39 in wide by 4 1/2in high stripes

From the backing fabric cut:
(1) 42 in wide by in 47 in high

Begin with the charm squares.  Starting with the square that will be furthest left, pin and stitch a 2 1/2 in wide strip to the left side of the square, with right sides facing.  Do the same on the right side with a 1 1/2 in wide strip.  


Stitch another 1 1/2 in wide strip to the previous strip, then another square.  Repeat with the remaining 3 squares except use another 2 1/2 in wide strip on the right side of the last square.  Repeat to create another row with the remaining 6 charm squares and strips.  Press seams toward the frame fabric.


For the top framed Row 1, stitch one of the 39 in wide by 2 1/2 in high outer stripes along the top edge and one of the 39 in wide by 1 1/2 in high outer stripes along the bottom to finish framing the squares.  


Repeat with the lower Row 9, but doing the remaining 39 in wide by 1 1/2 in high outer stripe on top and the 39 in wide by 2 1/2 in high outer stripe on the bottom.  Press seams toward the frame fabric.  

Take Row 1 and stitch Row 2 (a grey words stripe) to the lower edge.  Press seams open.  Stitch Row 3 (a pink words stripe) to Row 2's lower edge then Row 4 (another grey stripe) to Row 3's lower edge.   


Stitch Row 5 (center butterfly stripe) to Row 4's lower edge.  Repeat with remaining stripe Rows 6-9, Grey, Pink, Grey and lower framed row at bottom, pressing all seams open.  


Measure quilt top and cut batting to same dimensions.  With backing fabric pressed flat and open, right side facing down, lay batting then quilt top over it, making sure there is an even 1 1/2 inches of backing fabric showing on each side.  


Double fold backing fabric inward to create the binding and pin all around.  


To miter the corners, fold one corner upward at a 45 degree angle and then fold the perpendicular side of the corner upward and pin.


Top stitch binding edge all the way around close to the fold.  


Quilt as desired.  I decided to do a simple 3 part butterfly shaped design along the alternating stripes tracing a paper template with disappearing marker:


and a 2 part large butterfly design in the center stripe panel.


And topstitched around those lines.


I really hope the recipient likes it and this quilt helps make the tough days of chemotherapy ahead a little more comfortable.


I'm planning to help my kids do a few simple stripe flannel blankets next as a family service project for the charity Project Linus.  I'll be sharing those kids-can-make projects soon too. 



Friday, January 6, 2017

My Fabric De-stash = Fellow Fabric Lovers Delight!


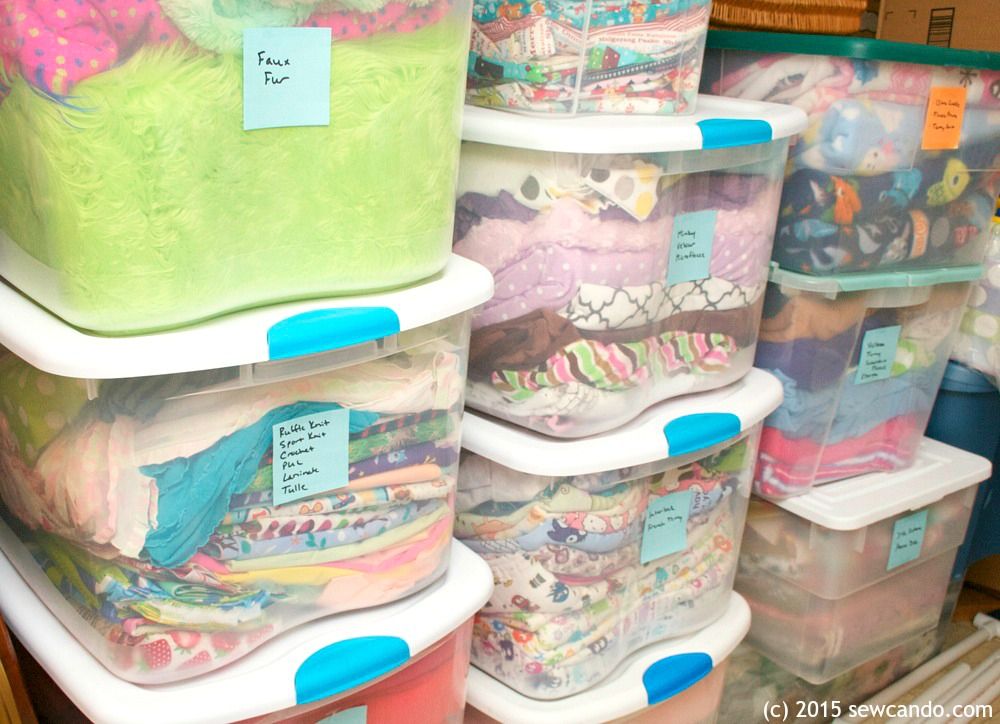
Now that 2017 is here I'm reaching the two year anniversary of my fabric hoarding reformation.  I began my journey here and was pretty candid about my situation.  My fabric stash was OUT OF CONTROL.  I've spent a lot of time since then trying to work through my fabrics, plus donating, selling and relapsing slightly, so that it's just semi-out-of-control now. 


All in all I've been pretty good about not adding to the problem - especially the last 6 months.  I've been making lots with what I have instead of continuing to buy more when starting a project.  Also using whatever I'm buying right away instead of adding to the ginormous pile to fabric to stare at.  I've donated a bunch to a local convent and several goods charities too, but I've still got some serious stacks of special fabrics I just couldn't just toss in a bag with old t-shirts and discarded music cds.


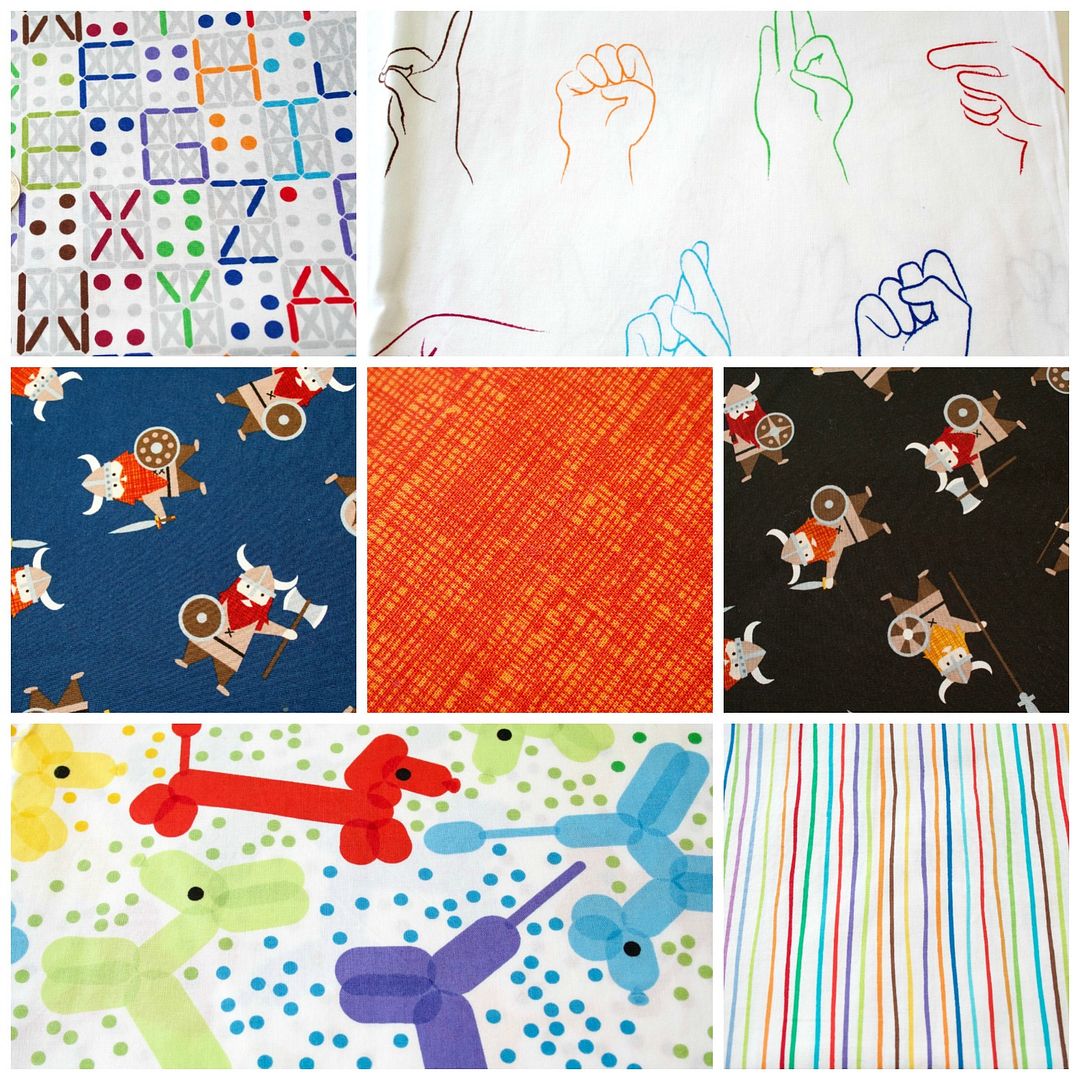
Like these organic cotton Viking prints.  You know, the stuff you love so much, yet don't use? I still love them, but have no real project purpose on the horizon.  So, it's time to offer them to other fabric lovers instead by adding them to my Etsy shop, The Green Hedgehog: 


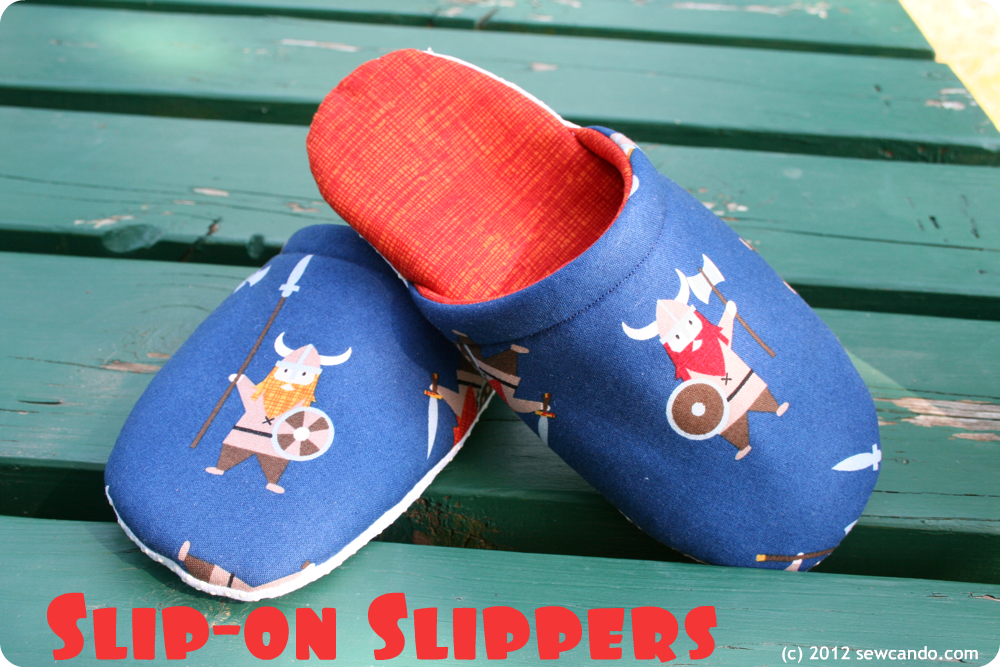
My middle son was a huge Viking fan (still is really) and I made some cute slippers with some of them (tutorial for them here):


I'd forgotten how awesomely matched the crosshatch solid went with these and being organic cotton is still fabulous:


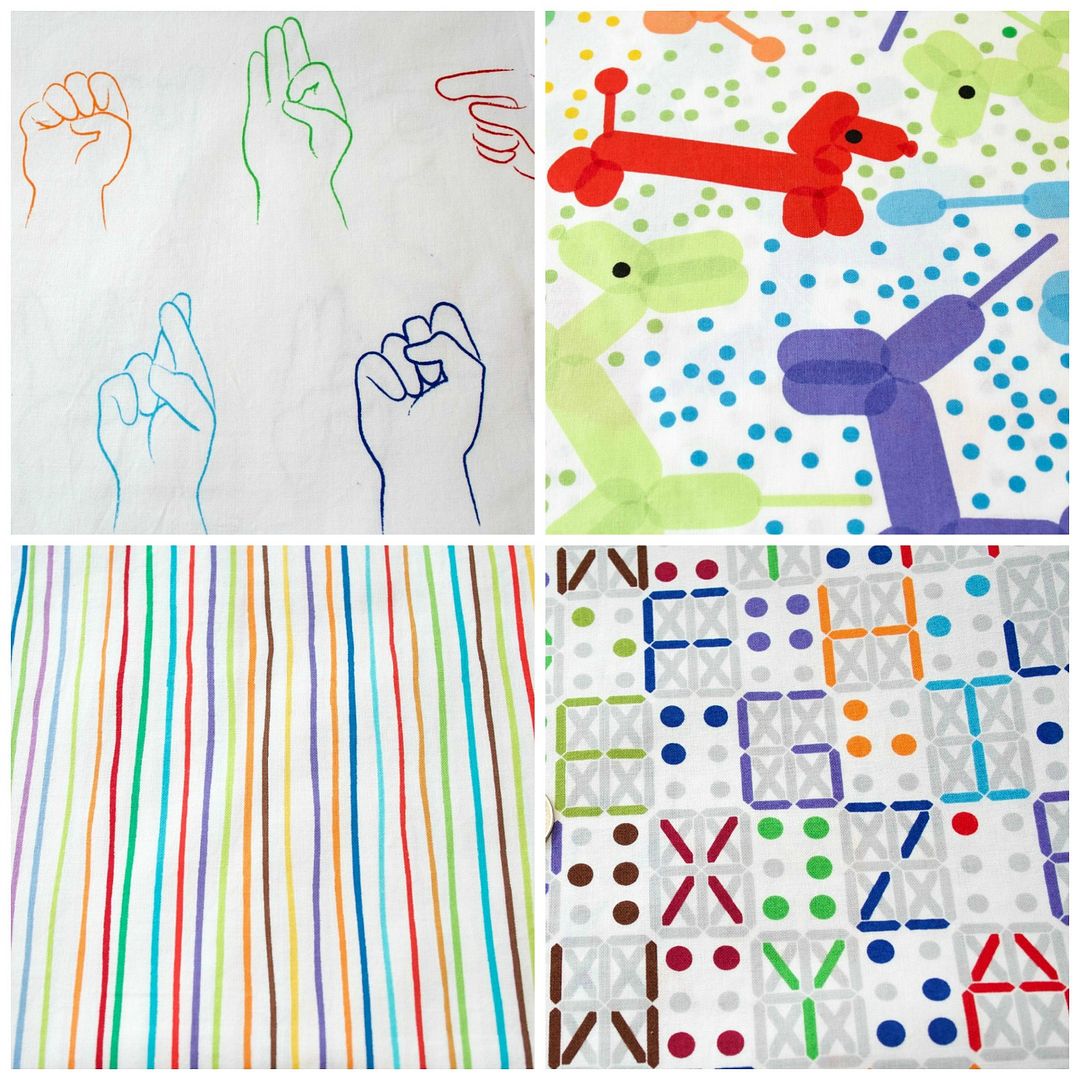
I'm not a big quilter, but I could totally see these ASL & Braille Alphabet + Coordinating Balloon & Stripe prints making an awesome quilt for a fun little guy or girl:


I originally used some to make these Love Language Soft Blocks.  I showed how to make them in a tutorial here:


Am I being an enabler for fellow fabric hoarders right now? Possibly - but, if I'm honest, I really want these unique fabrics I've been treating like museum pieces to go to a good home that will use them...or maybe one that'll take it to the next level and put them on podiums with spotlights like a proper museum would;)


I feel semi-crazy because I'm actually having second thoughts while I write this post and considering keeping them, so someone please stop me and buy them before I can change my mind!  They're currently available here.  My plan for 2017 is to put up new fabric obsessions in my shop each week to really keep up with my goal to whittle down my stash.  For REAL.  So that it stops looking like this.  Because even though this photo is over a year old, it still looks about the same:


I'm also going to do a few giveaways for some random bundles or prints that are still awesome, but maybe cut into a little or are just smaller than usual cuts.  What do you think? Fabric hoarders lovers unite!?!

Tuesday, November 22, 2016

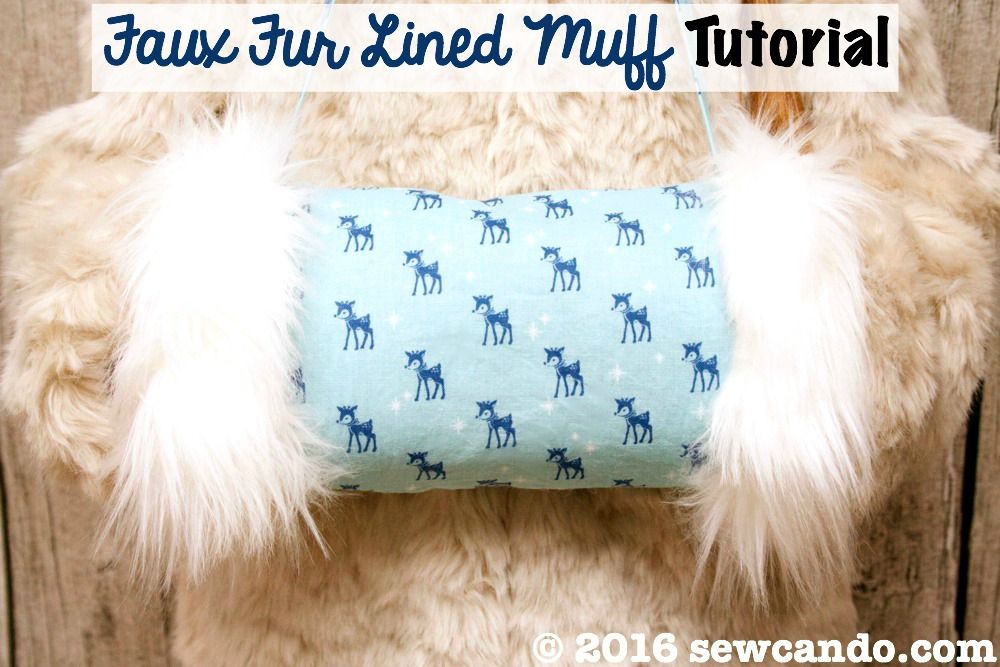
Warm for Winter: Faux Fur Lined Muff Tutorial


With chilly weather upon us, what better way to stay warm, than with a classic look from the winters of past eras: A Faux Fur Lined Muff!

Muffs are such a nice, warm and toasty alternative to mittens.


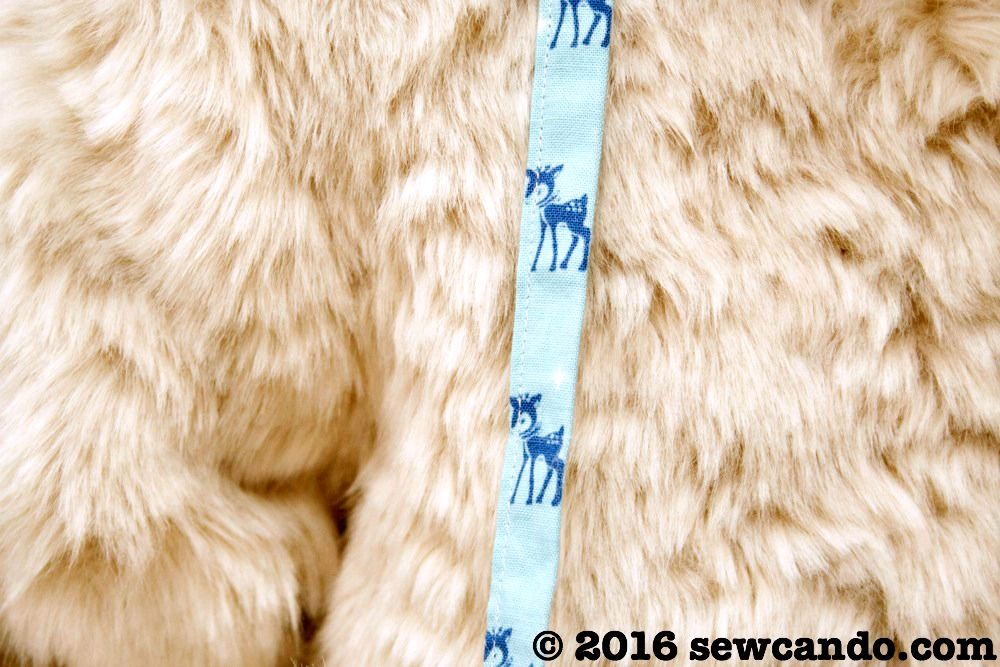
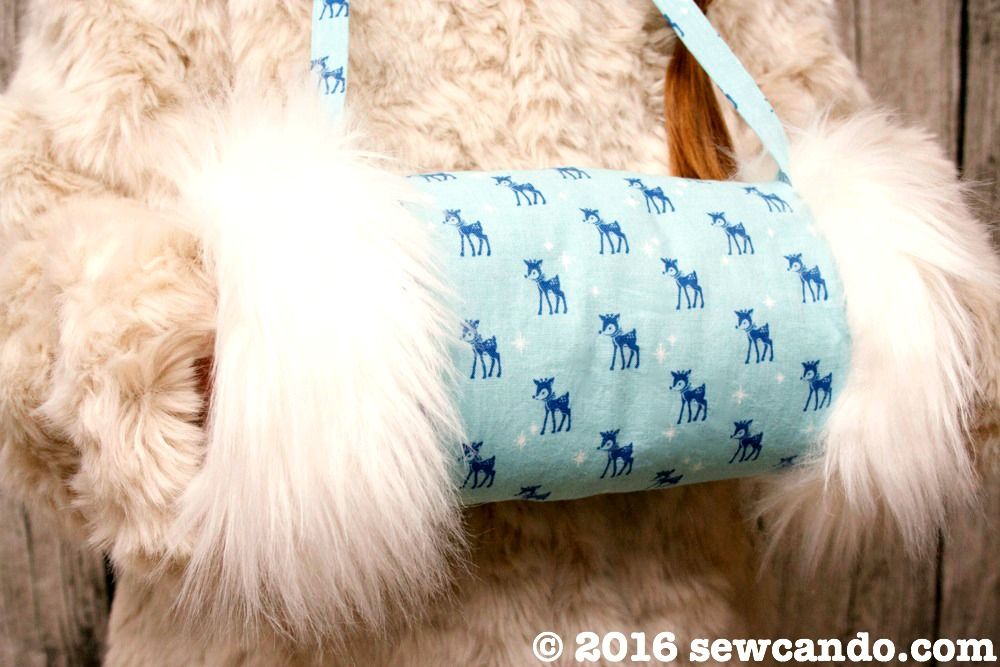
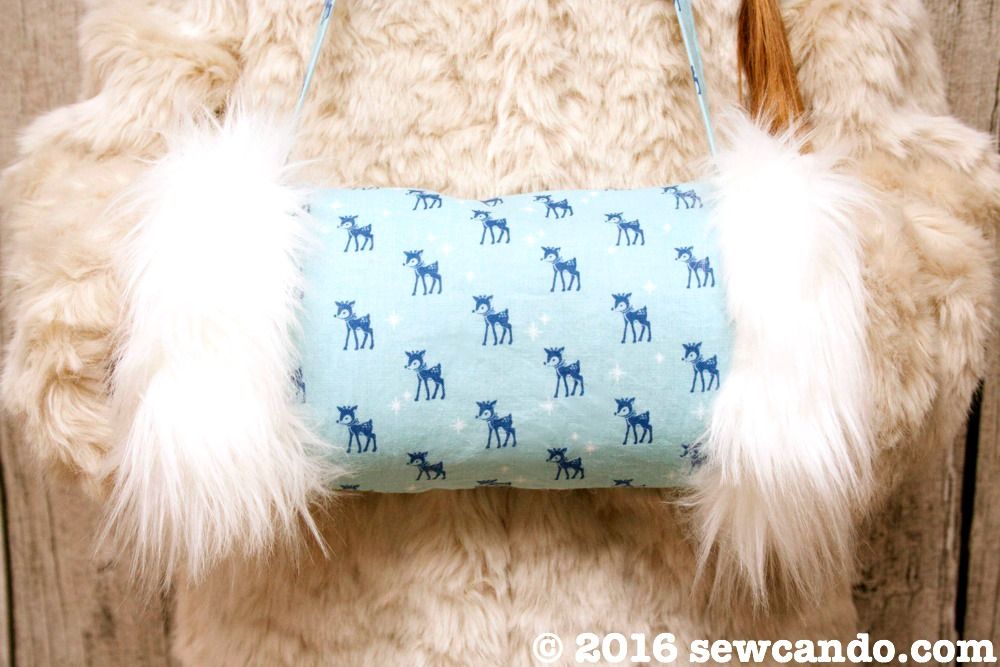
Added bonus - they're a lot harder to lose than gloves or mittens thanks to being a single piece and having a handy neck strap (which is a way to show off even more of the little deer print cuteness too):


I used some cute reindeer print cotton for my decorative outer fabric and ultra soft faux fur to coordinate.  The cuddly faux fur not only looks pretty trimming up the ends, but it continues its coziness inside as a full lining.  There's also a insulated batting interior between them that means the muff isn't just for looks.  It keeps hands as warm as thick gloves, only now with a retro feminine style:  


The nice thing about this wearable is it doesn't require a lot of fabric either, so there's plenty to use on other winter projects like stockings, gift bags or quilts.  A big thanks to Kawaii Fabric for providing me with the cotton reindeer Christmas fabric.  They have loads of high quality festive prints over there, so whether you like classic, retro, rustic, modern or kawaii (aka cute), they'll have the holiday season fabric you want!    


~~How To Make A Fur Lined Muff~~

Materials:
- Cotton fabric (I used Cozy Christmas Reindeer
- Faux Fur  (I used Luxury Shag in Ivory) 
- Insulated batting
- Ruler, rotary cutter/shears, pins, iron, hand sewing needle

Mine is child-sized at 9 inches in circumference and 11 inches wide when finished.  If you want adult sized, just add a few inches to the width and height. 

Cut the following pieces:

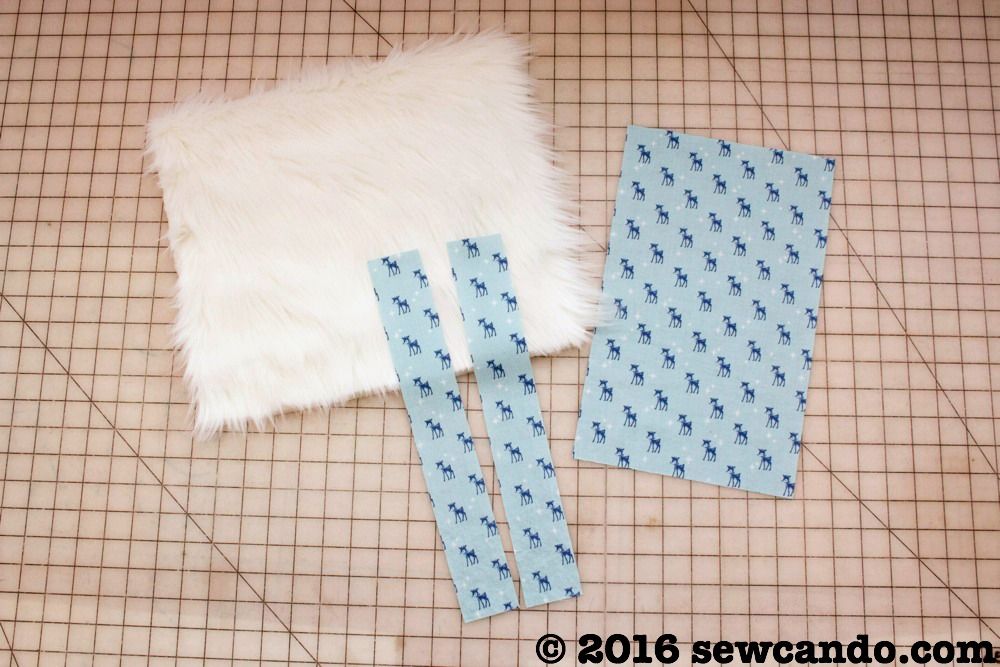
- From the cotton, cut a rectangle 8 inches wide by 13 inches high and two vertical strips that are 2 inches wide by 13 inches high.

- From the faux fur, cut a rectangle 14 inches wide by 13 inches high.


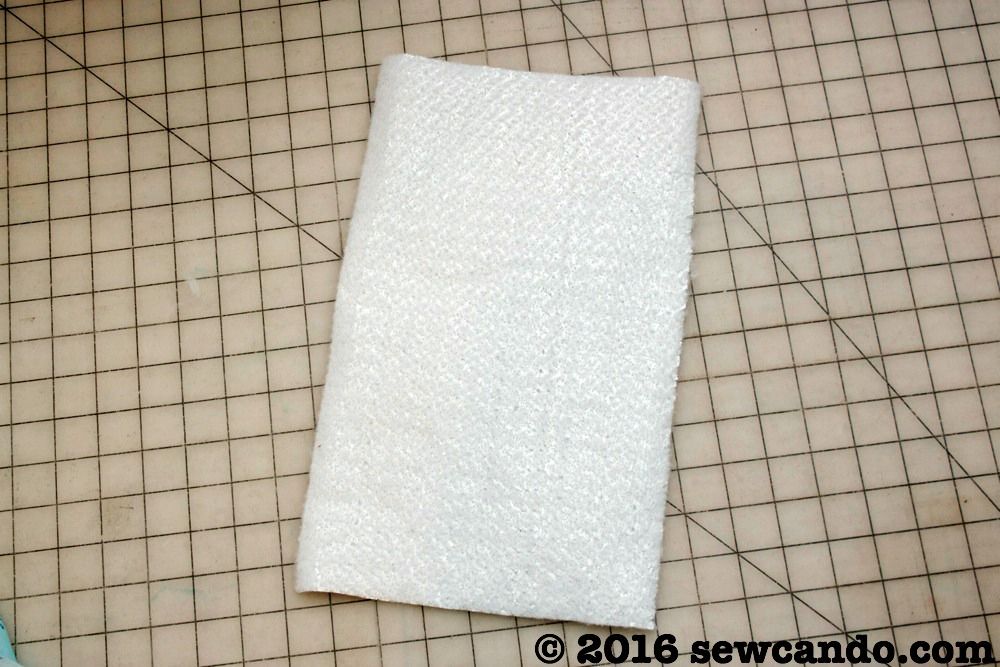
Cut a piece of insulated batting to the same dimensions as the outer fabric as well.  This is usually available in the stabilizer section.  It's polyester batting that is needle punched with mylar, which makes it great for retaining heat:


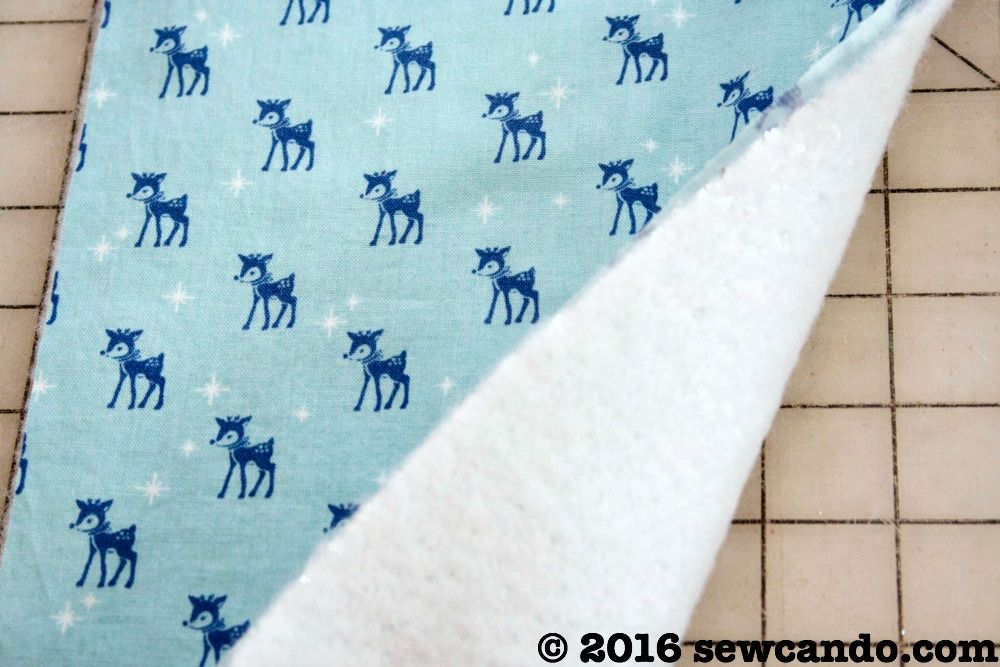
Place the insulated batting behind the wrong side of the outer fabric.  I find that the texture of the batting clings to cotton well enough not to need to baste them together:


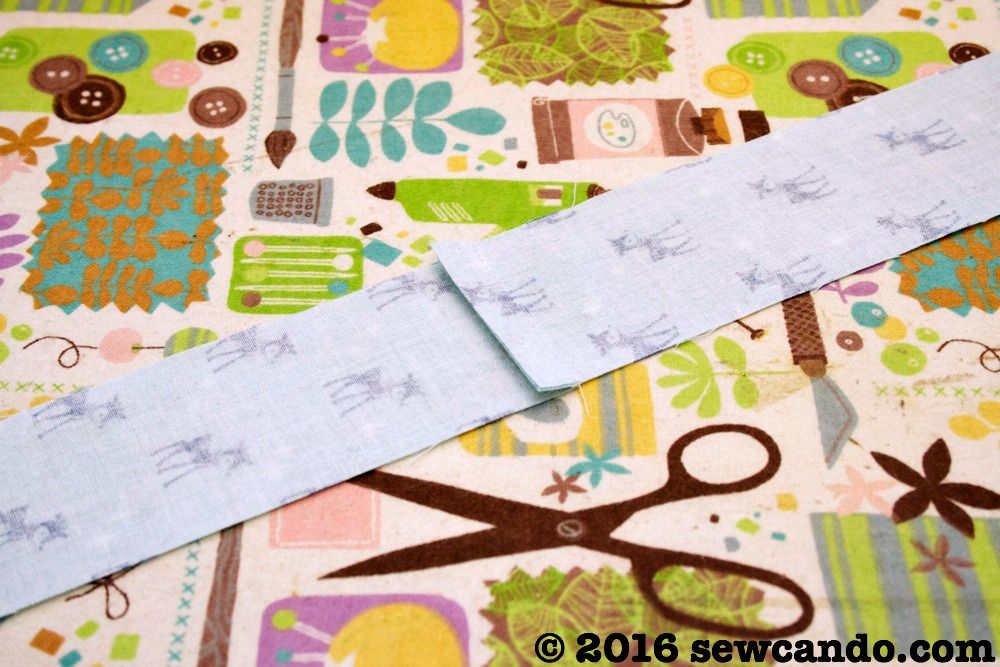
With right sides facing, stitch together one short end of each of the neck strap pieces with a 1/4 inch seam allowance.  I made sure to have the direction of the print going downward on both, so one side of the strap wouldn't look upside down when done:


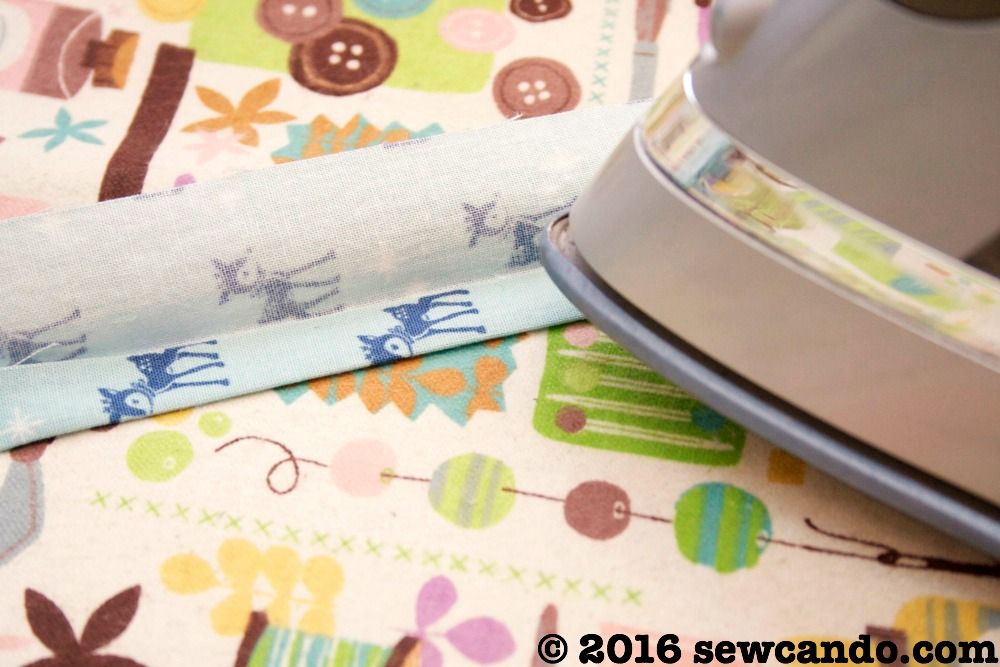
Fold the strap in half lengthwise, wrong sides facing, and press, then open and fold each raw edge inward and press (as you would make double fold bias tape):


Edge stitch down the open side to finish the neck strap:


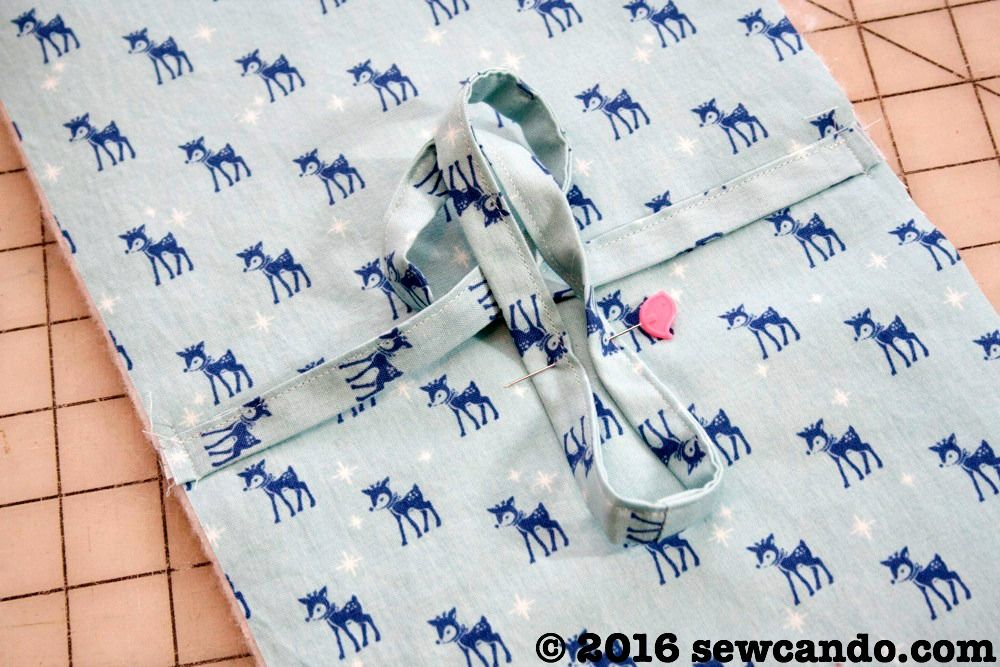
Find the midpoint of the fabric and baste the raw edges of the neck strap to either raw edge at the middle of either side:


With right sides facing (and fur nap direction going downward), clip, then stitch together the length sides of the outer fabric to the length sides of the faux fur, using a 1/2 inch seam allowance.


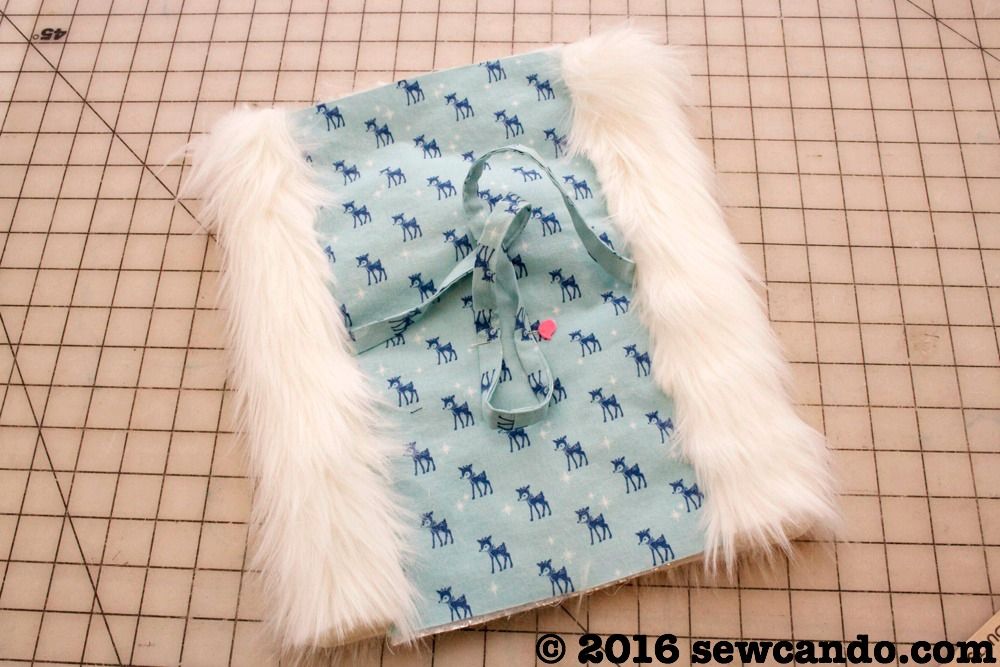
Now a long tube has been created:


This is what it will look like turned right side out:


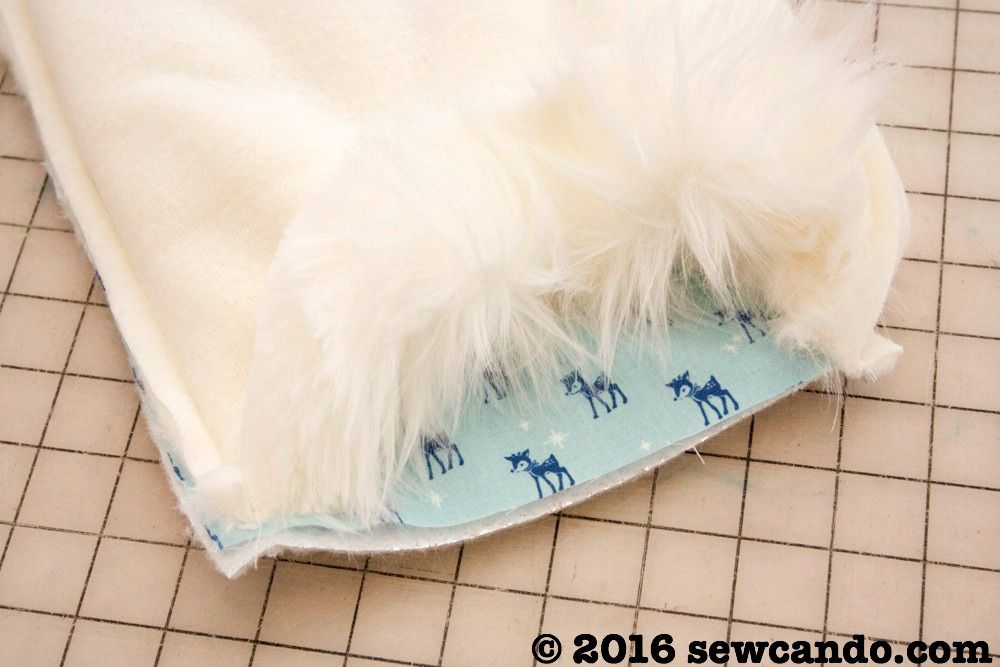
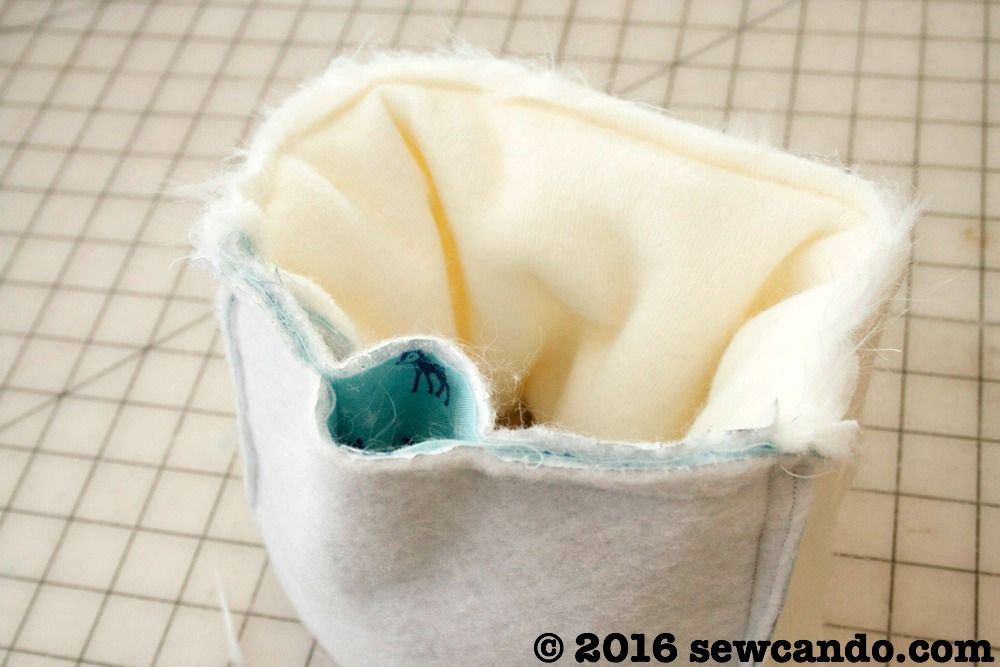
To do the seam turning into a cylinder: with the muff wrong side out, match up the raw edges of the faux fur and outer fabric and clip/pin together to form a short tube like this:


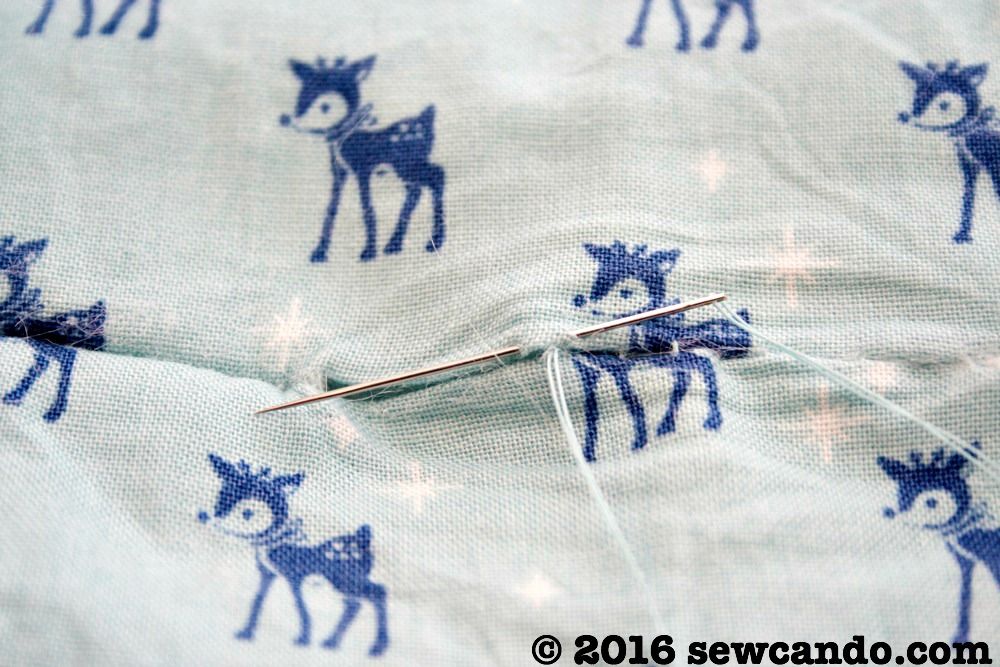
Stitch all the way around, but leave a several inch gap on the outer fabric bit for turning.  Turn right side out when done.


Then slipstitch the opening closed and the muff is done.


Now this cozy muff is ready to keep hands warm:


It's a perfect companion to the new Veruca Faux Fur coat I recently got for my little lady too. In case you're wondering, it's from Mini Boden's Charlie and The Chocolate Factory Roald Dahl collection.  We're huge fans, so it only seemed right to make a cute fur muff to go with it!


I was not financially compensated for this post.  I received fabric from Kawaii Fabric, to review & use as I desired.  The opinions are completely my own based on my experience.   For my complete disclosure policy, click here. 

LinkWithin

Related Posts with Thumbnails