Showing posts with label Holiday Fabric. Show all posts

Friday, December 2, 2016

Timeless Treasures Holiday Fat Quarter Fabric Giveaway


Let's start this December weekend with a fabric giveaway to celebrate the holiday season!

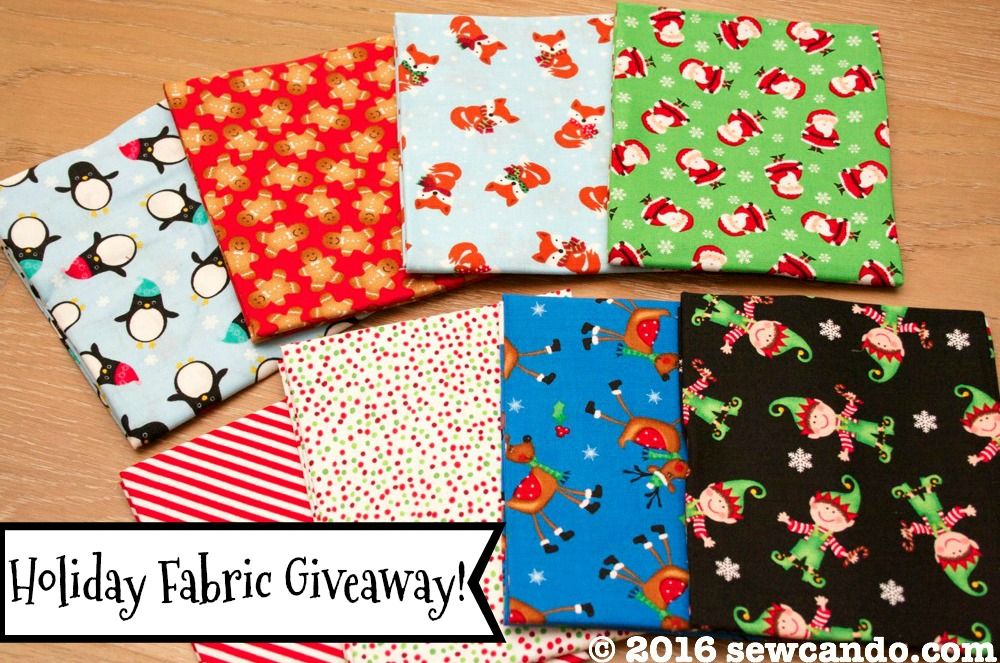
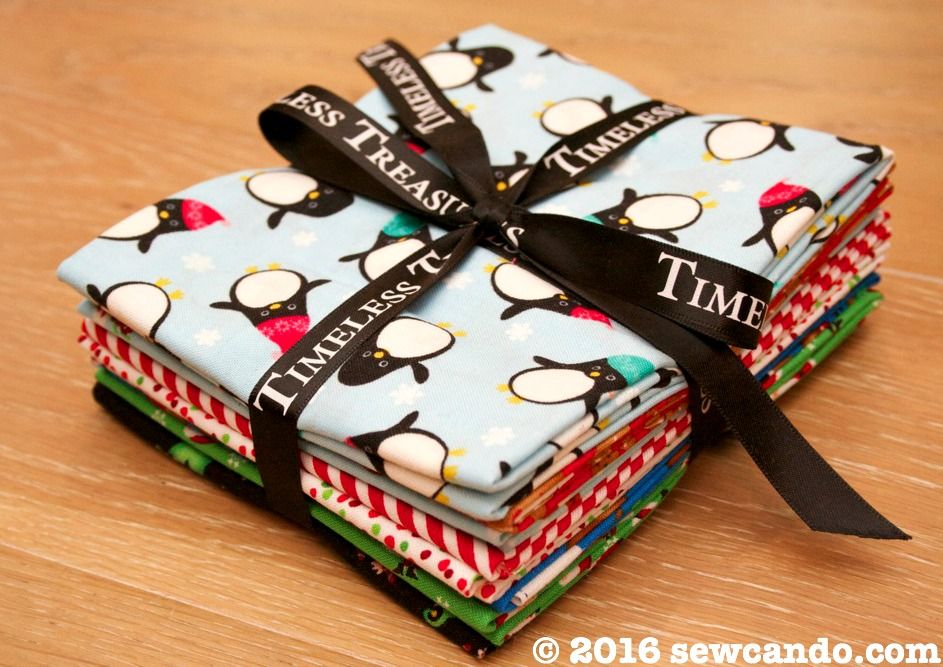
I'm giving away this gorgeous stack of 
holiday fat quarters:


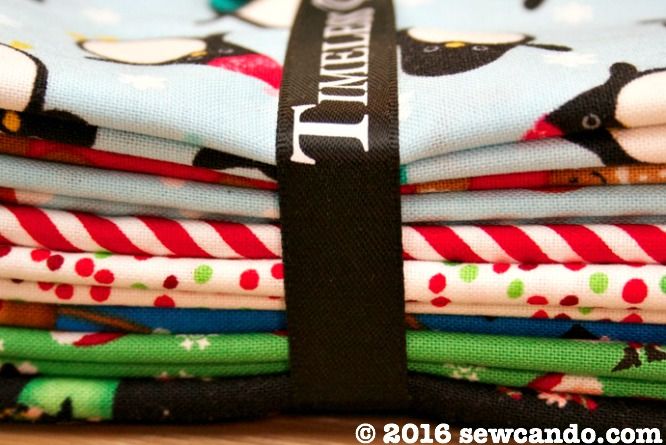
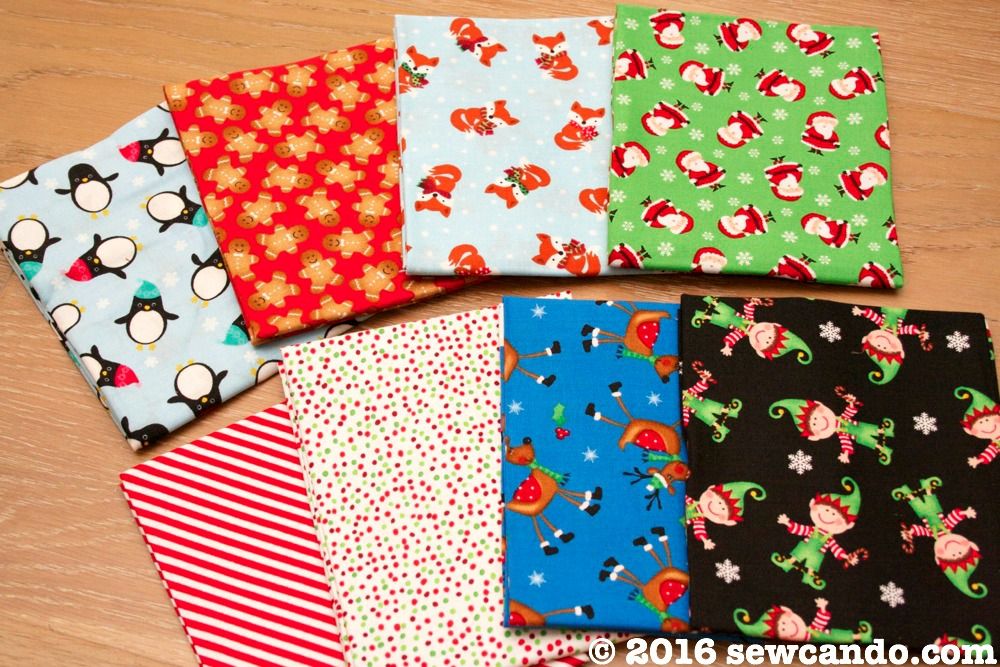
This is 8 awesome fat quarters full of sweet seasonal goodness from Timeless Treasures.  


Use 'em for projects this year, get a jump start for 2017 or give 'em as a gift to a fellow fabric fanatic (or just add them to your eye candy fabric stash).  I'm keeping this giveaway brief so I can get this prize out with enough sewing time before the holidays.  Can you see the sewing possibilities with these?!?  There are penguins, gingerbread men, foxes, Santas, elves AND reindeer!


Holiday Fat Quarter Fabric Giveaway

Good Luck Everyone!!
a Rafflecopter giveaway

Tuesday, November 22, 2016

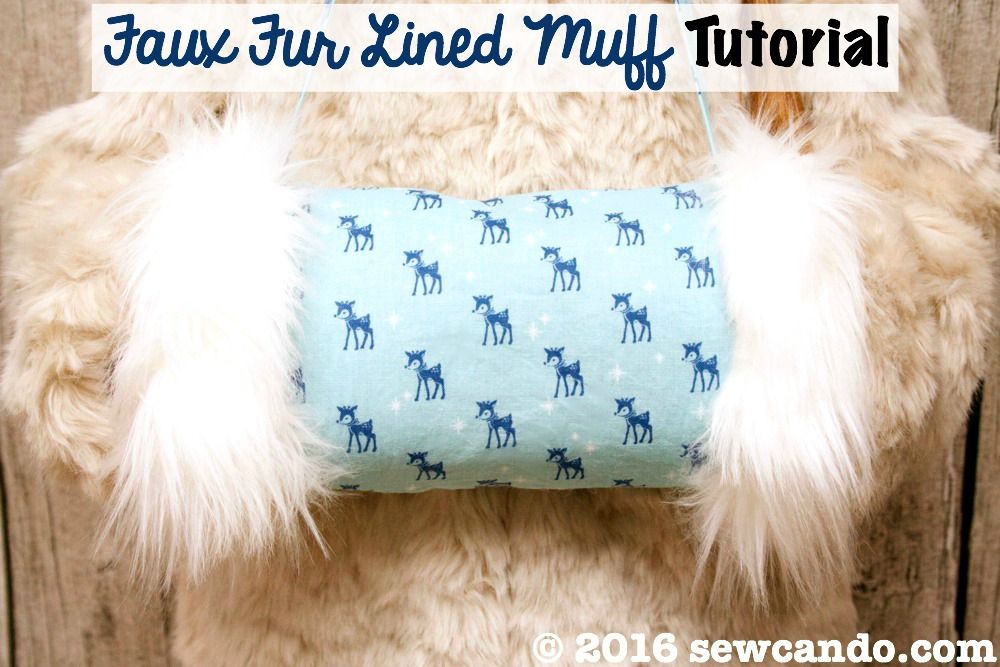
Warm for Winter: Faux Fur Lined Muff Tutorial


With chilly weather upon us, what better way to stay warm, than with a classic look from the winters of past eras: A Faux Fur Lined Muff!

Muffs are such a nice, warm and toasty alternative to mittens.


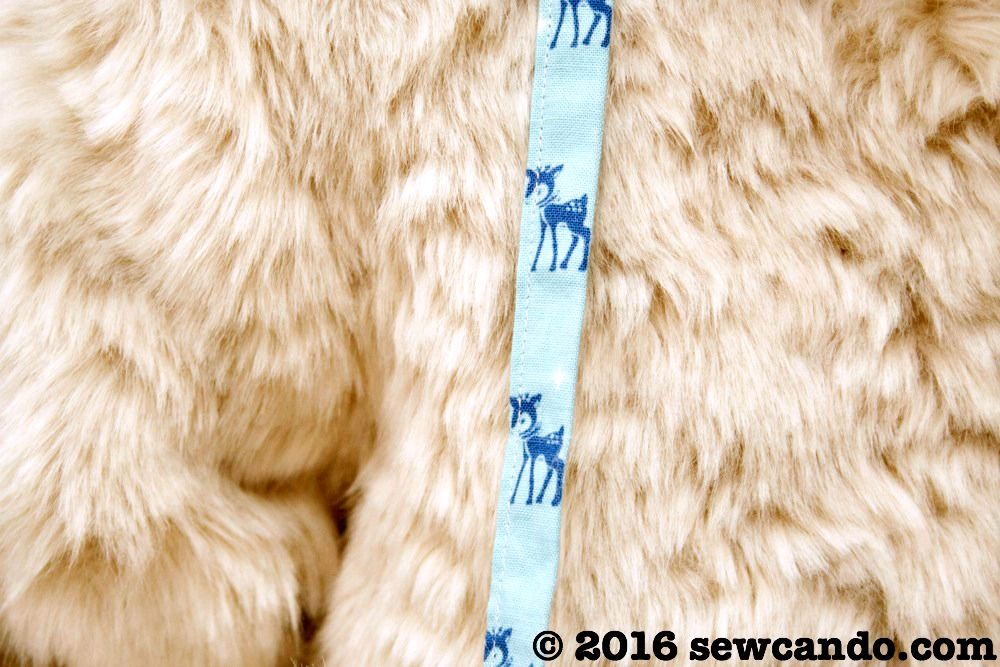
Added bonus - they're a lot harder to lose than gloves or mittens thanks to being a single piece and having a handy neck strap (which is a way to show off even more of the little deer print cuteness too):


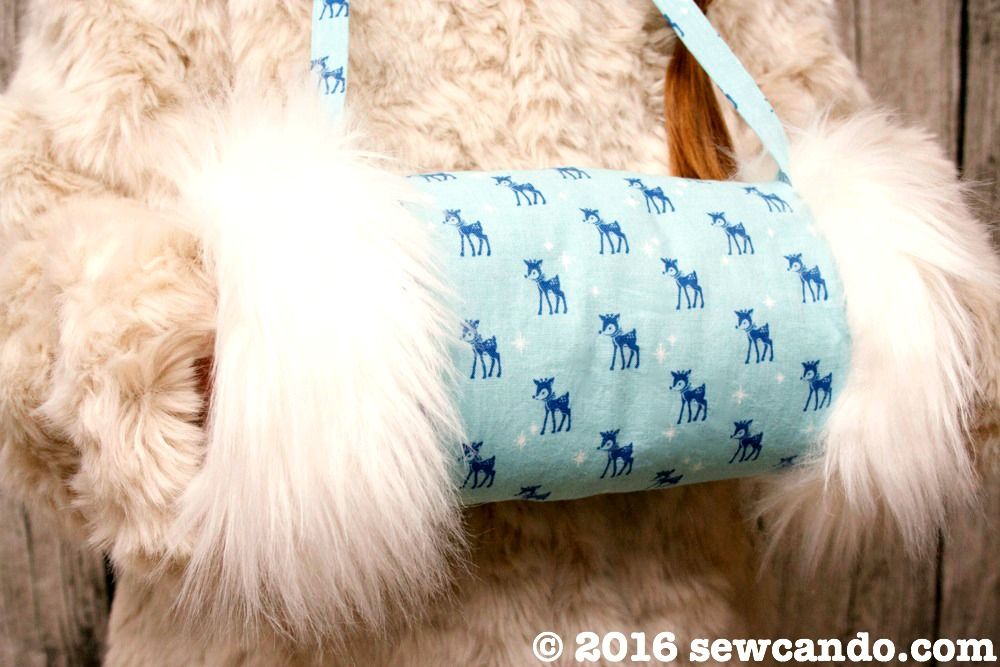
I used some cute reindeer print cotton for my decorative outer fabric and ultra soft faux fur to coordinate.  The cuddly faux fur not only looks pretty trimming up the ends, but it continues its coziness inside as a full lining.  There's also a insulated batting interior between them that means the muff isn't just for looks.  It keeps hands as warm as thick gloves, only now with a retro feminine style:  


The nice thing about this wearable is it doesn't require a lot of fabric either, so there's plenty to use on other winter projects like stockings, gift bags or quilts.  A big thanks to Kawaii Fabric for providing me with the cotton reindeer Christmas fabric.  They have loads of high quality festive prints over there, so whether you like classic, retro, rustic, modern or kawaii (aka cute), they'll have the holiday season fabric you want!    


~~How To Make A Fur Lined Muff~~

Materials:
- Cotton fabric (I used Cozy Christmas Reindeer
- Faux Fur  (I used Luxury Shag in Ivory) 
- Insulated batting
- Ruler, rotary cutter/shears, pins, iron, hand sewing needle

Mine is child-sized at 9 inches in circumference and 11 inches wide when finished.  If you want adult sized, just add a few inches to the width and height. 

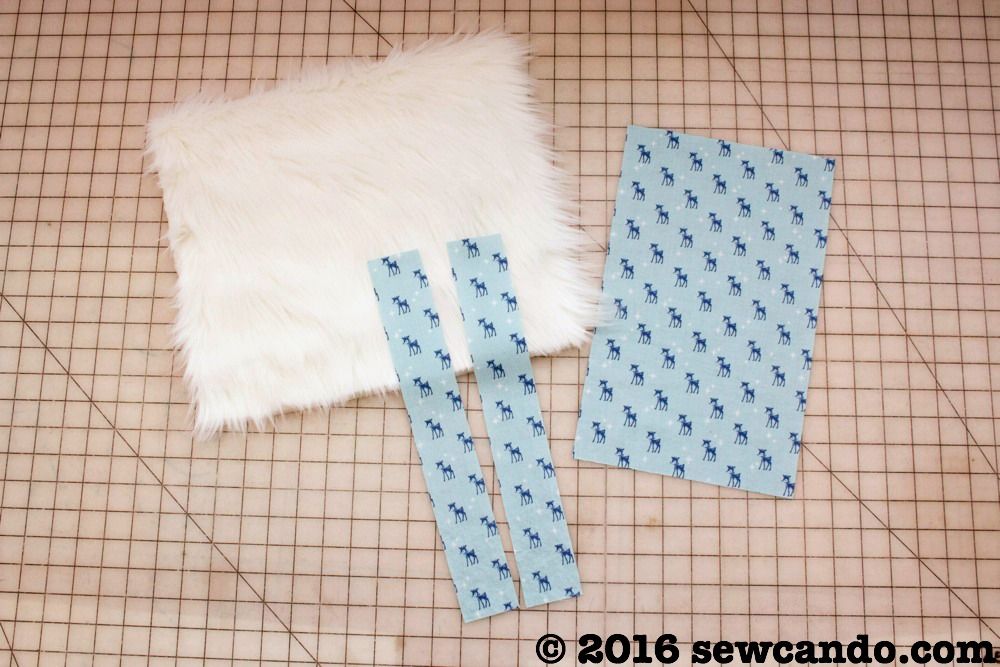
Cut the following pieces:

- From the cotton, cut a rectangle 8 inches wide by 13 inches high and two vertical strips that are 2 inches wide by 13 inches high.

- From the faux fur, cut a rectangle 14 inches wide by 13 inches high.


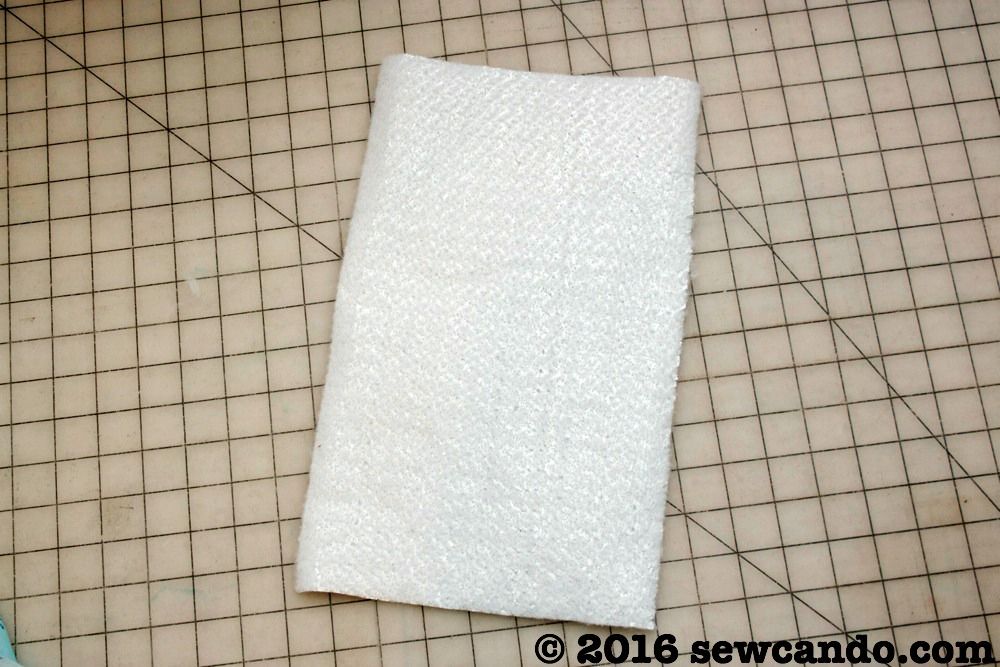
Cut a piece of insulated batting to the same dimensions as the outer fabric as well.  This is usually available in the stabilizer section.  It's polyester batting that is needle punched with mylar, which makes it great for retaining heat:


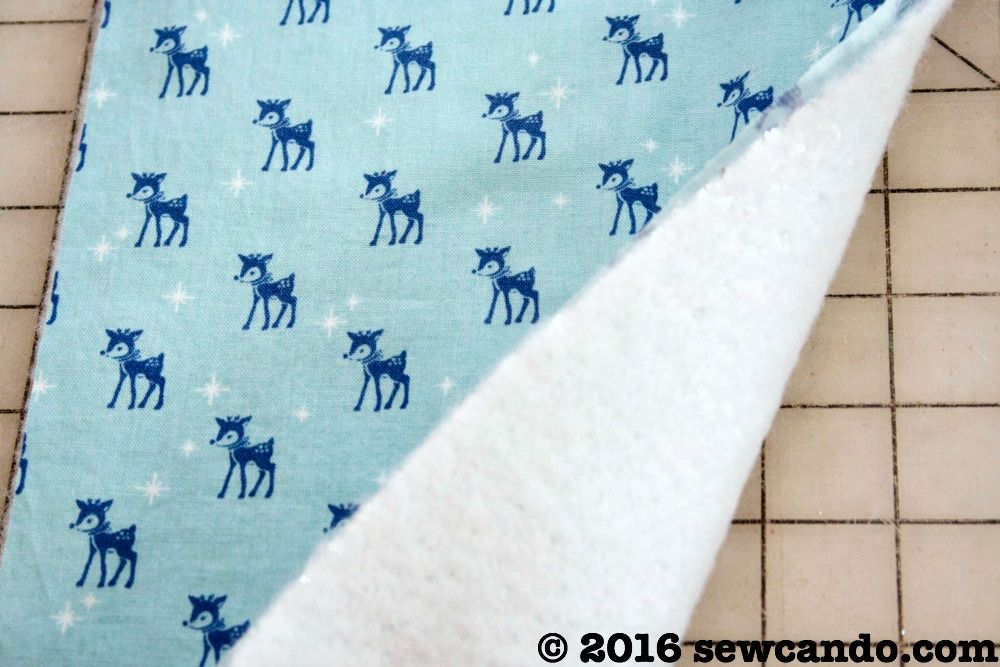
Place the insulated batting behind the wrong side of the outer fabric.  I find that the texture of the batting clings to cotton well enough not to need to baste them together:


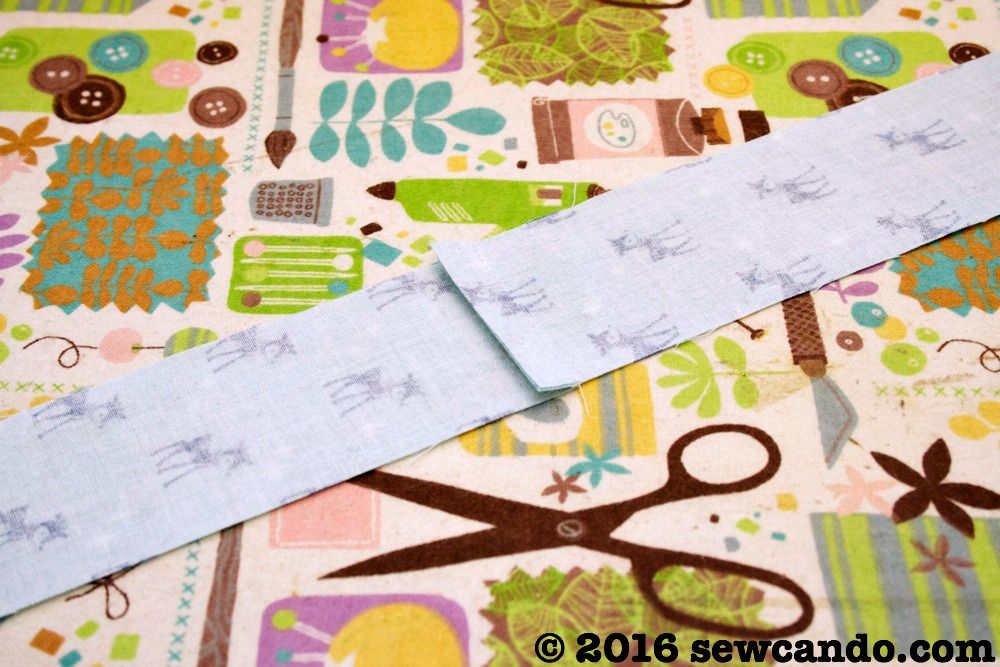
With right sides facing, stitch together one short end of each of the neck strap pieces with a 1/4 inch seam allowance.  I made sure to have the direction of the print going downward on both, so one side of the strap wouldn't look upside down when done:


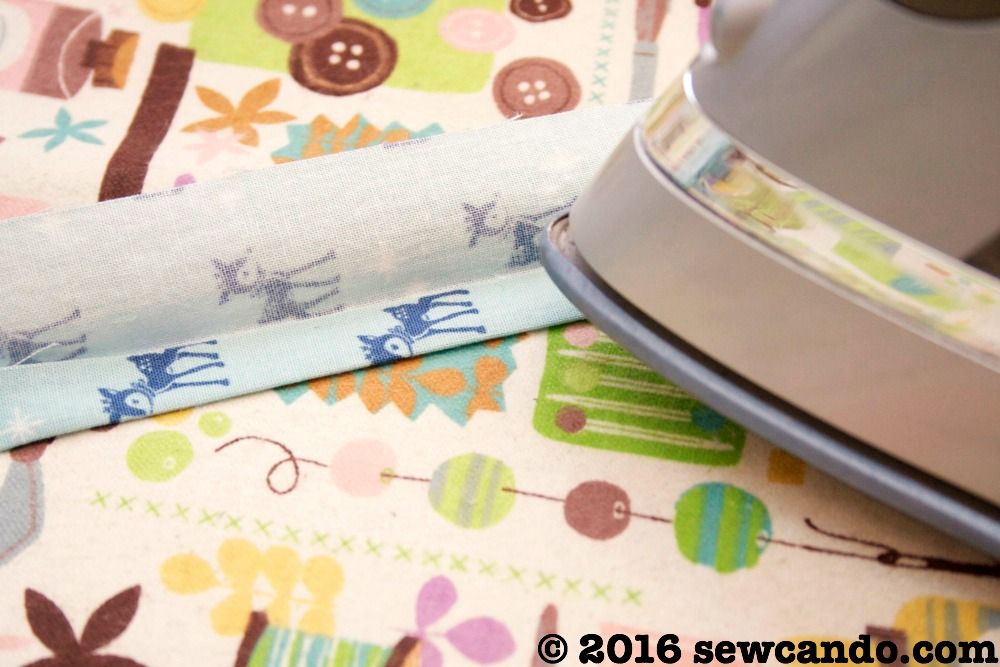
Fold the strap in half lengthwise, wrong sides facing, and press, then open and fold each raw edge inward and press (as you would make double fold bias tape):


Edge stitch down the open side to finish the neck strap:


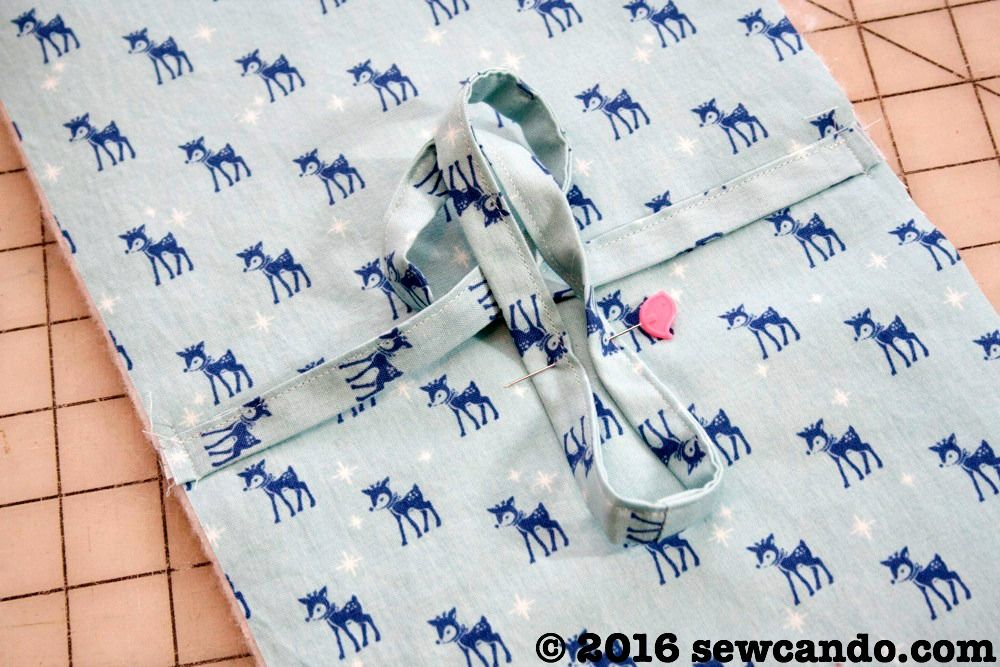
Find the midpoint of the fabric and baste the raw edges of the neck strap to either raw edge at the middle of either side:


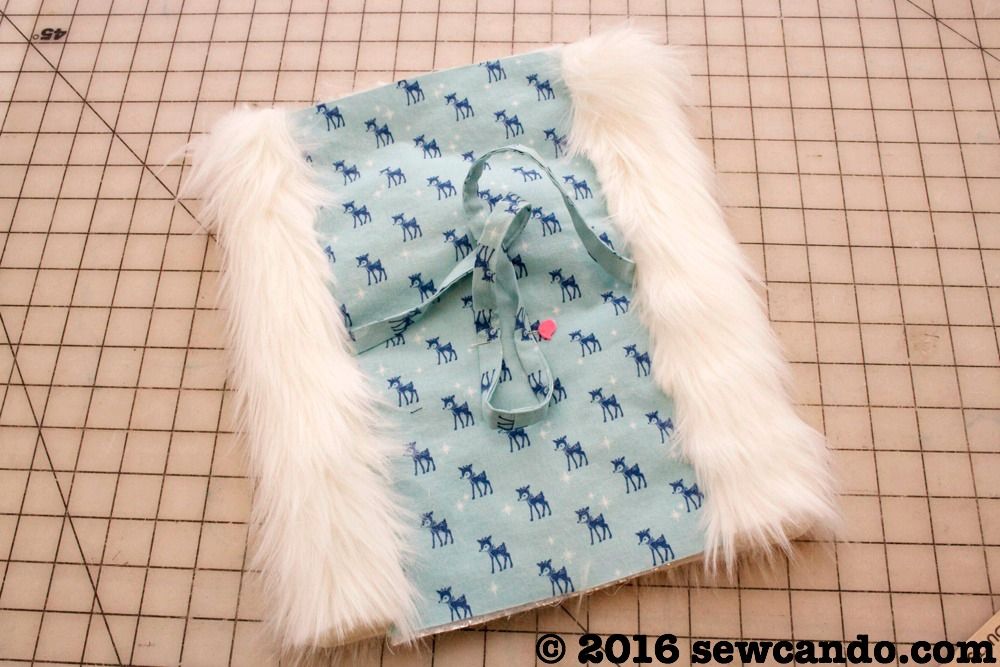
With right sides facing (and fur nap direction going downward), clip, then stitch together the length sides of the outer fabric to the length sides of the faux fur, using a 1/2 inch seam allowance.


Now a long tube has been created:


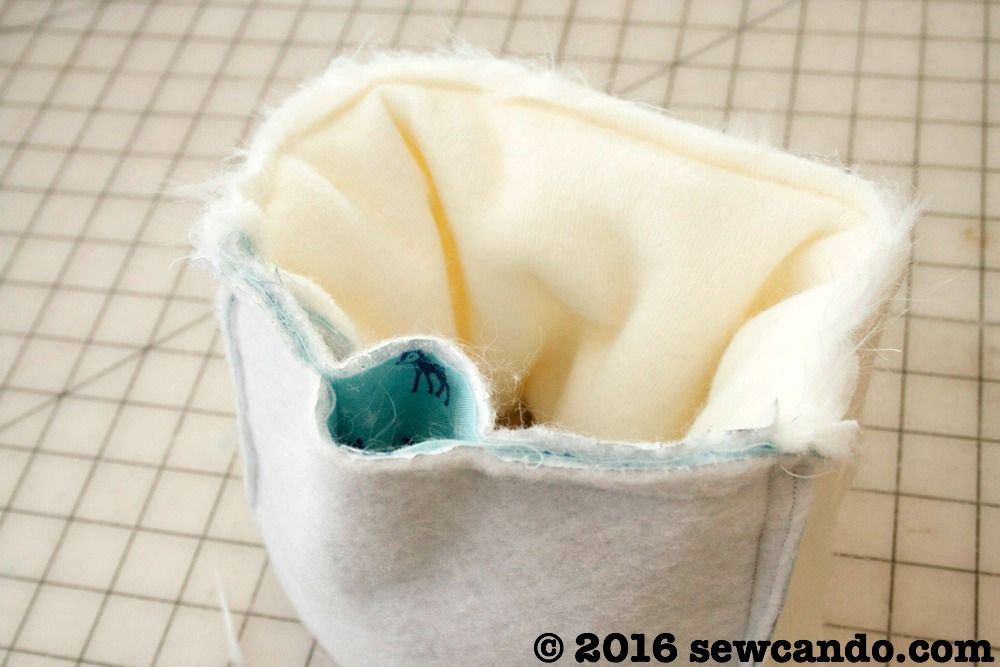
This is what it will look like turned right side out:


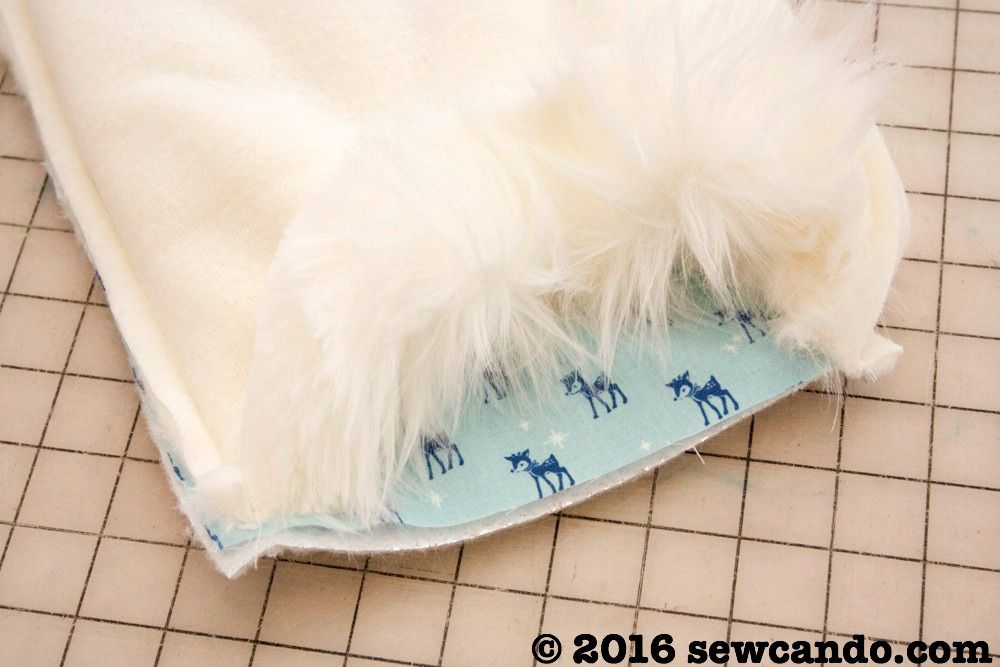
To do the seam turning into a cylinder: with the muff wrong side out, match up the raw edges of the faux fur and outer fabric and clip/pin together to form a short tube like this:


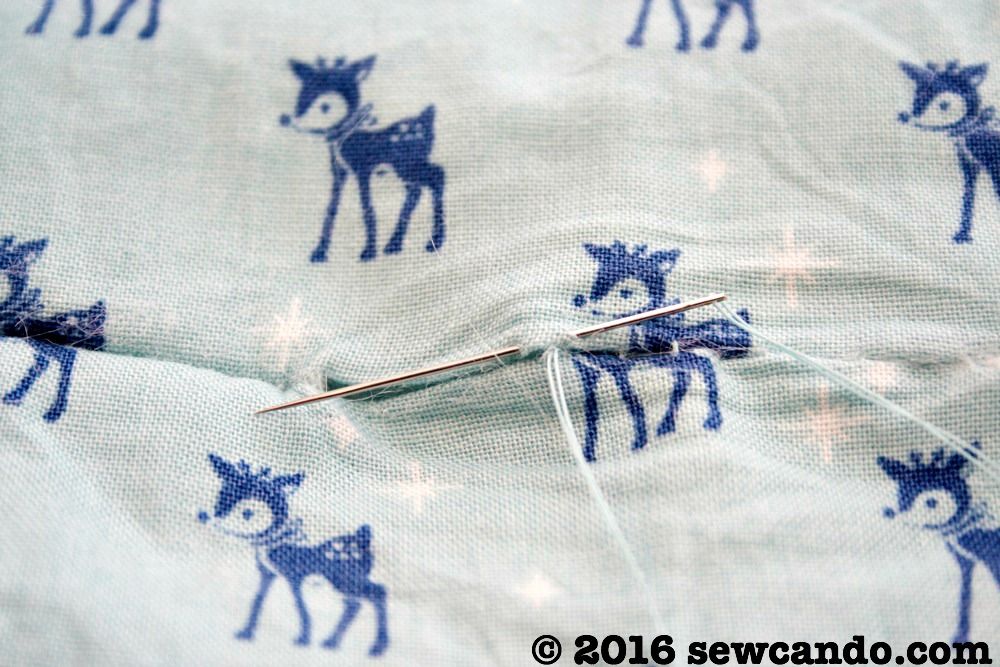
Stitch all the way around, but leave a several inch gap on the outer fabric bit for turning.  Turn right side out when done.


Then slipstitch the opening closed and the muff is done.


Now this cozy muff is ready to keep hands warm:
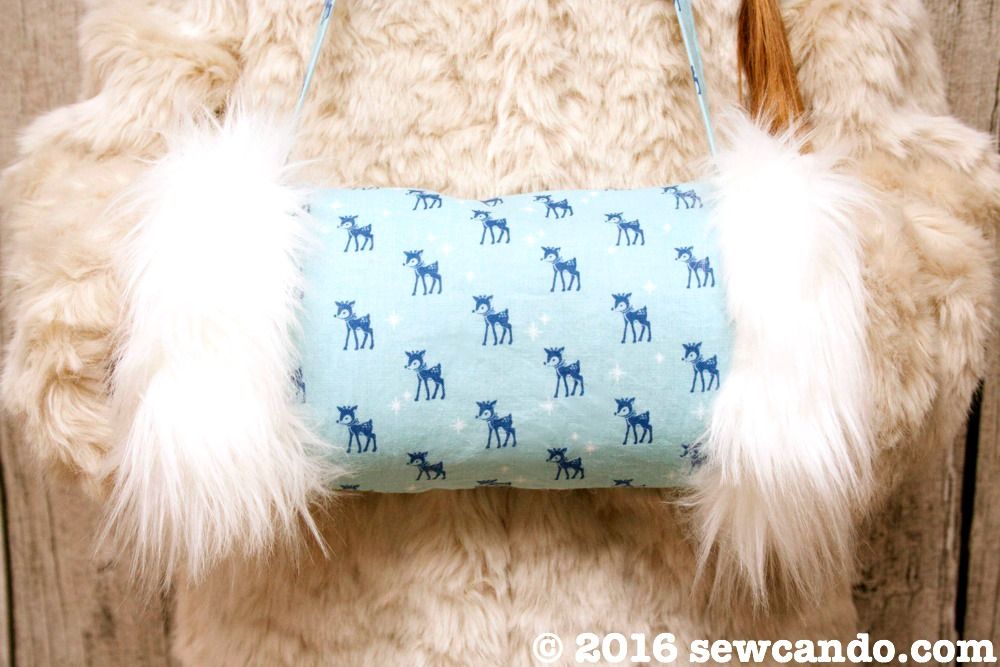


It's a perfect companion to the new Veruca Faux Fur coat I recently got for my little lady too. In case you're wondering, it's from Mini Boden's Charlie and The Chocolate Factory Roald Dahl collection.  We're huge fans, so it only seemed right to make a cute fur muff to go with it!


I was not financially compensated for this post.  I received fabric from Kawaii Fabric, to review & use as I desired.  The opinions are completely my own based on my experience.   For my complete disclosure policy, click here. 

Wednesday, December 17, 2014

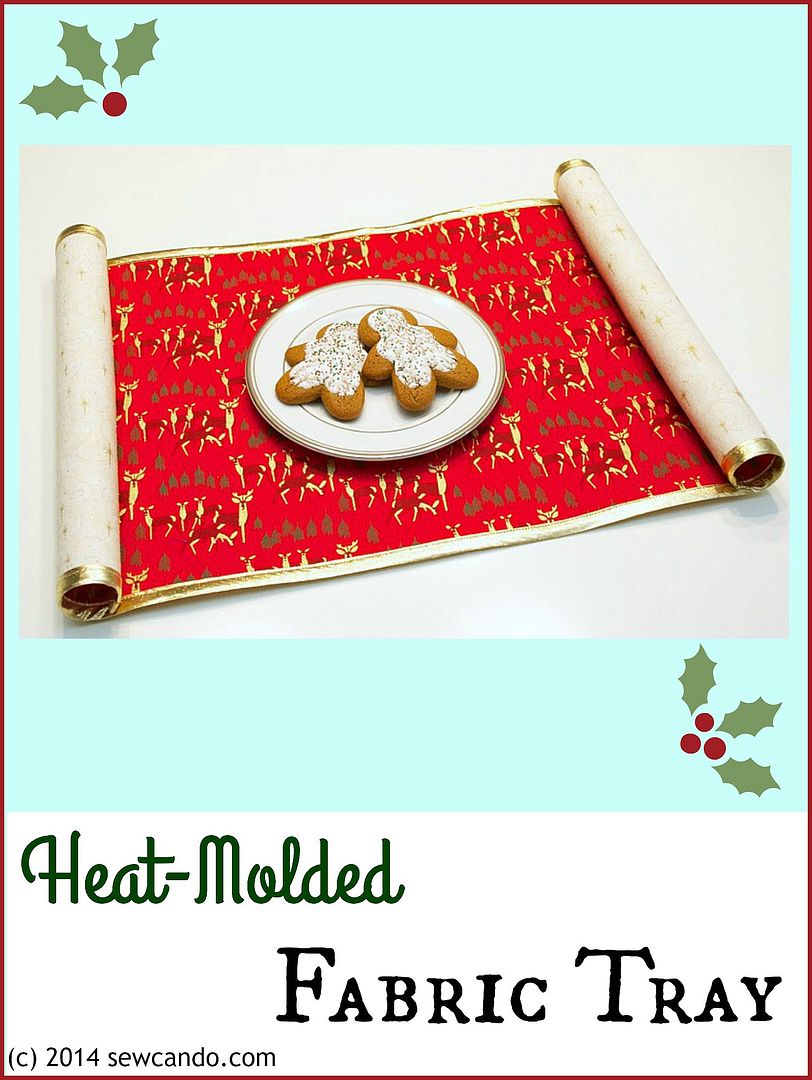
Tutorial Time: Ultra Easy Heat Molded Fabric Tray


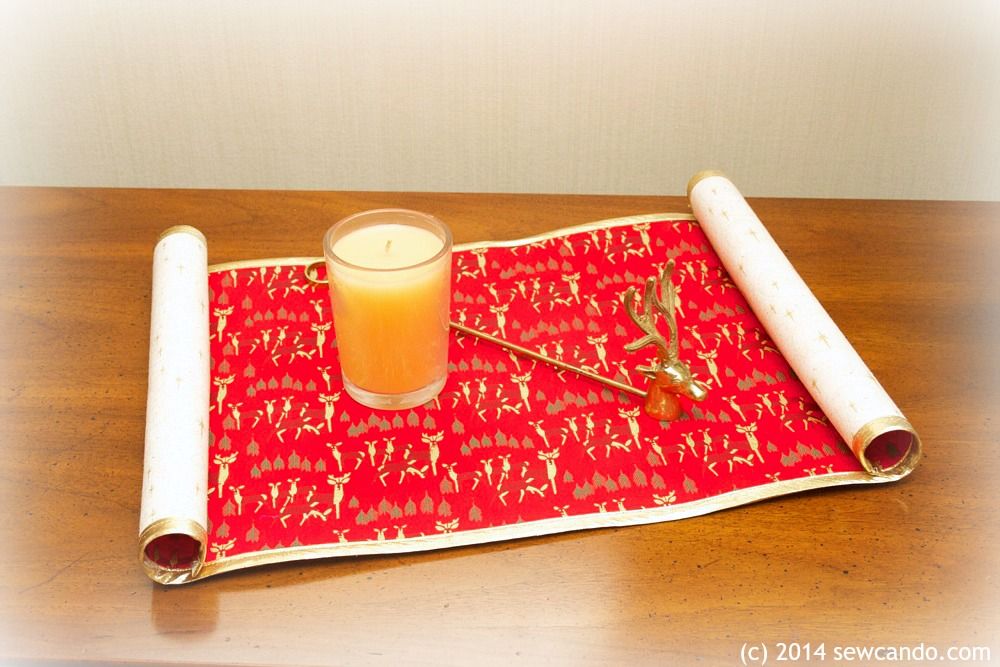
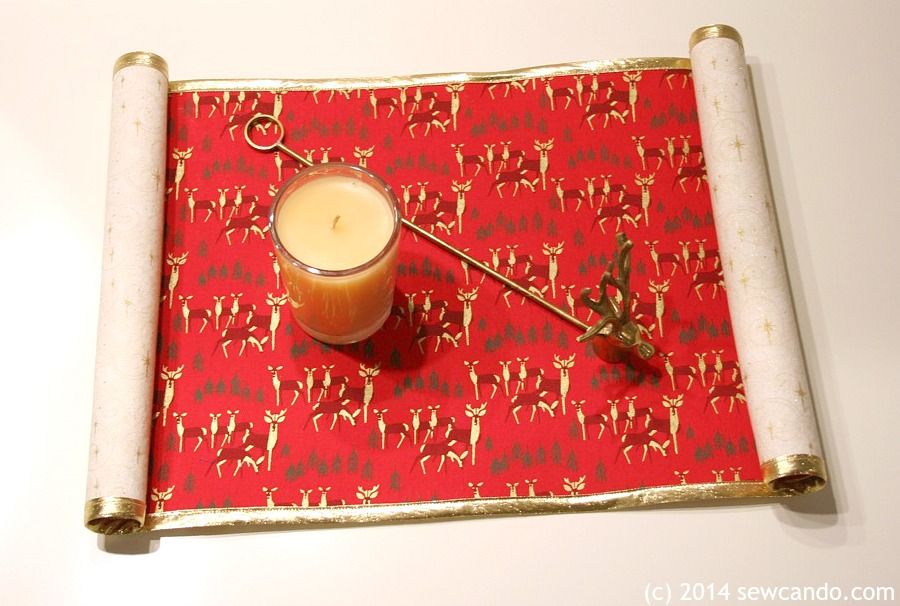
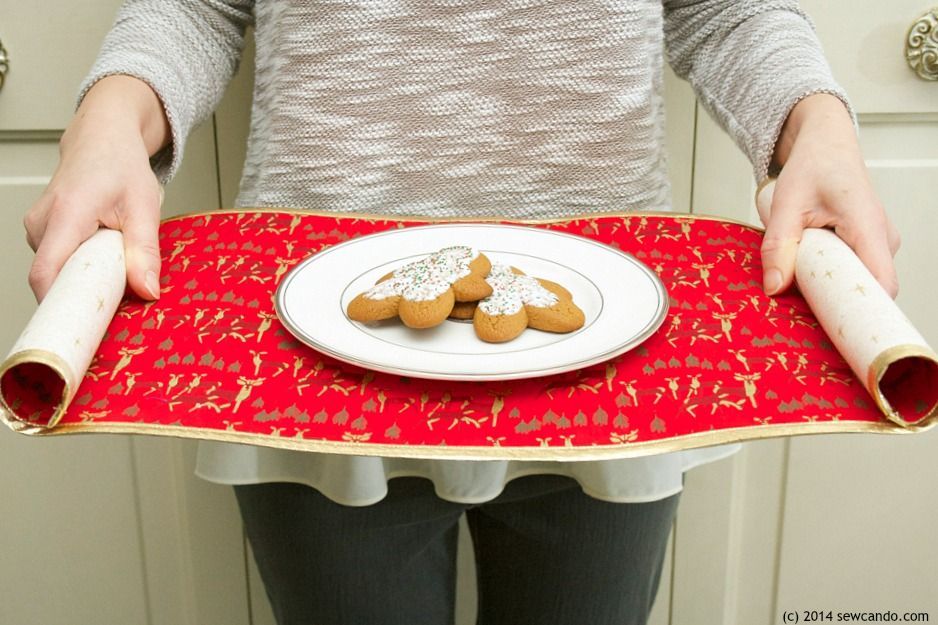
Ever want to use fabric in a way you wouldn't expect?  Today's project is beyond simple and turns few panels of fabric into so much more: an actual, working holiday tray!  I sewed it and molded it myself.  Not upholstering or decoupaging a pre-existing tray - it's making a real tray, from scratch, with your favorite fabrics.


Plus, besides being a usable tray, customized with seasonal fabrics, it also makes a striking alternative to a table runner or a pile of coasters on a coffee table.  I'm using mine on my dining room table for the holidays, but it's equally handy in the foyer, on the coffee table or bathroom counter.  Loads of decorating possibilities! 


The critical ingredient to making this project is one of my new favorite craft supplies: Heat Moldable Stabilizer.  This is the secret to making the tray's scroll-like ends and sturdy, rigid surface.  It's got a consistency somewhere between ultra firm stabilizer and cardboard. Once applied to a project, it can be heated and manipulated into hard-to-sew or molded shapes, then will cool and remain in said shape.  It's super easy and a lot of fun to do too.


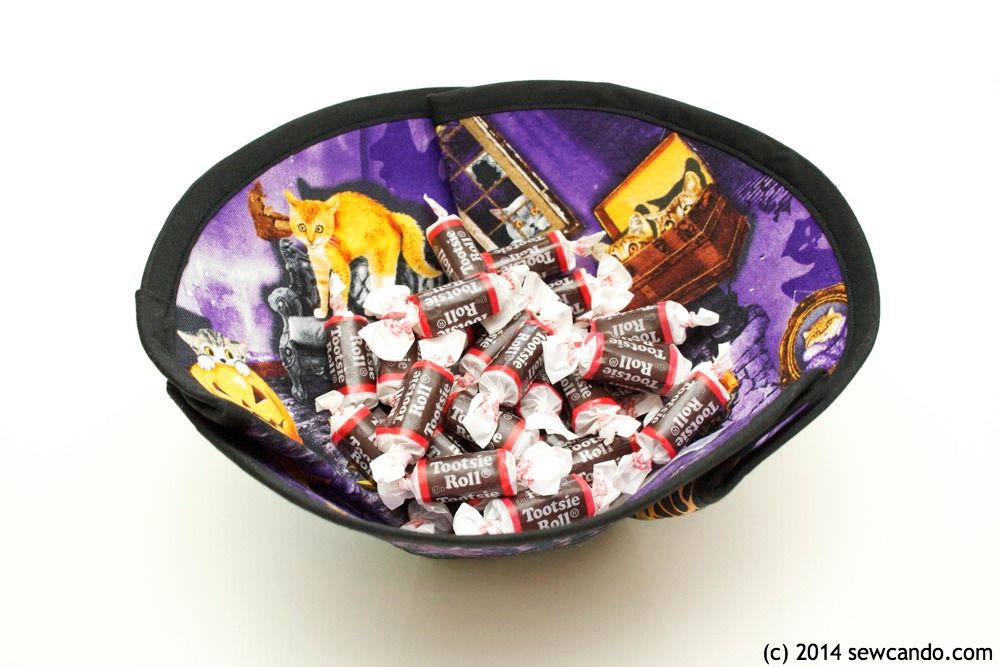
You may remember my previous project using this cool (or should I say hot?) item, a Molded Fabric Candy Bowl, back at Halloween time:


This is only my second experience with this stabilizer, but I really love using it.  You can achieve shapes and designs that you could never do with regular stabilizer, so it takes sewing to a whole new level.  Plus, it gives a bit of true crafting excitement & wonder as you see it working.  And no, this isn't a sponsored post, or something I got for free to talk about, so this is my unbiased, bought with my own $, thumbs up on this craft supply.  

Ok enough about my crush on this item, here's how you can make a fun & festive tray too...


Materials:
- (2) 3/8 yards of holiday print cotton
Heat moldable double sided fusible stabilizer*
- 1 package double fold bias tape & matching thread
- Heavy duty sewing needle
- Iron & press cloth
- Shears/rotary cutter & mat
- Clips or clothespins
- Optional: dowel rod

*The type I used was double sided fusible called Inn-Spire Plus, but there are several brands out there (some are fusible, some are sew in).  I've also bought some more from a brand called Bosal and will be trying that one out next to see how it works, so I'll keep you posted on how that works too.


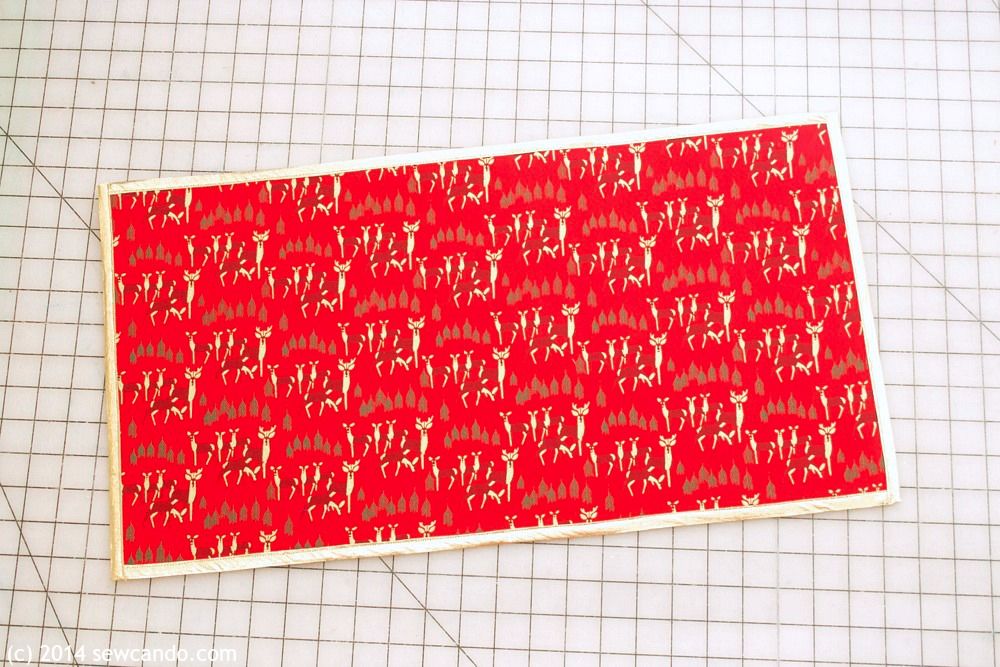
First I pressed my fabrics nice and smooth, then cut them and a piece of the stabilizer into 23 inch wide by 12 inch high rectangles.


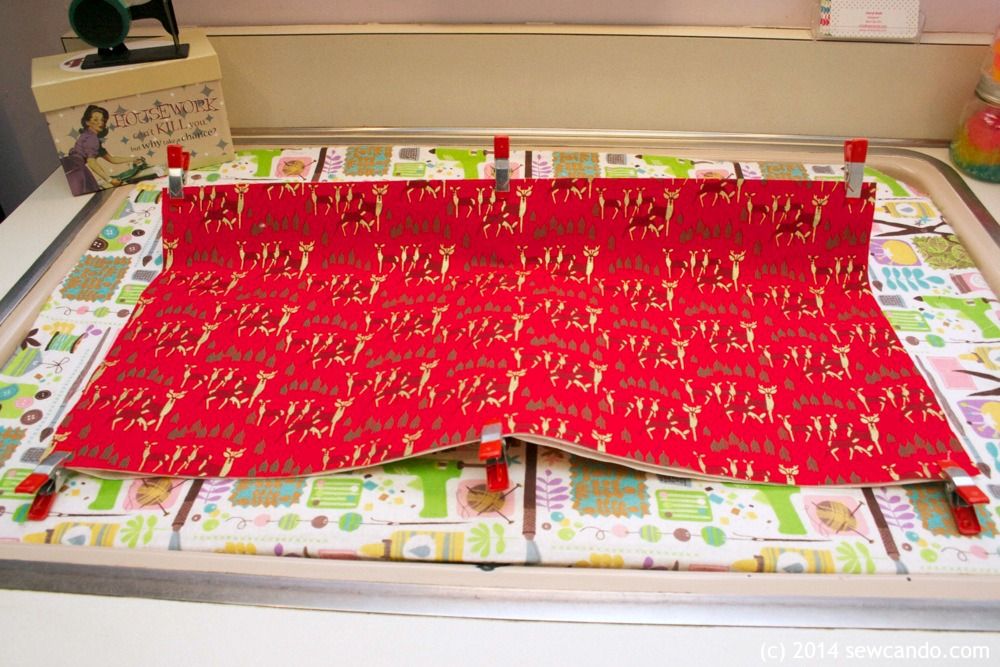
Then I sandwiched my stabilizer between the wrong sides of the fabrics and clip around the edges to prevent any slippage while I fused the layers.


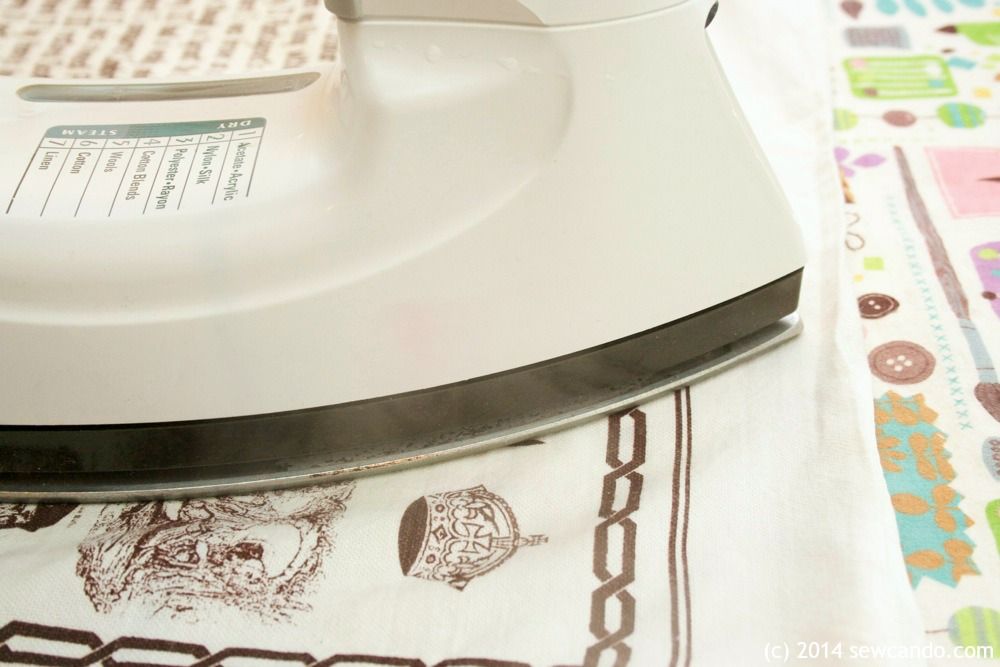
I fused them by covering with a damp press cloth and ironing on the wool setting, for about 15 seconds at a time, per overlapping section, until the whole things was fused.  Flipped to the over side and repeated but for a little less time per section.  Then I let it cool.  It was pretty rigid.


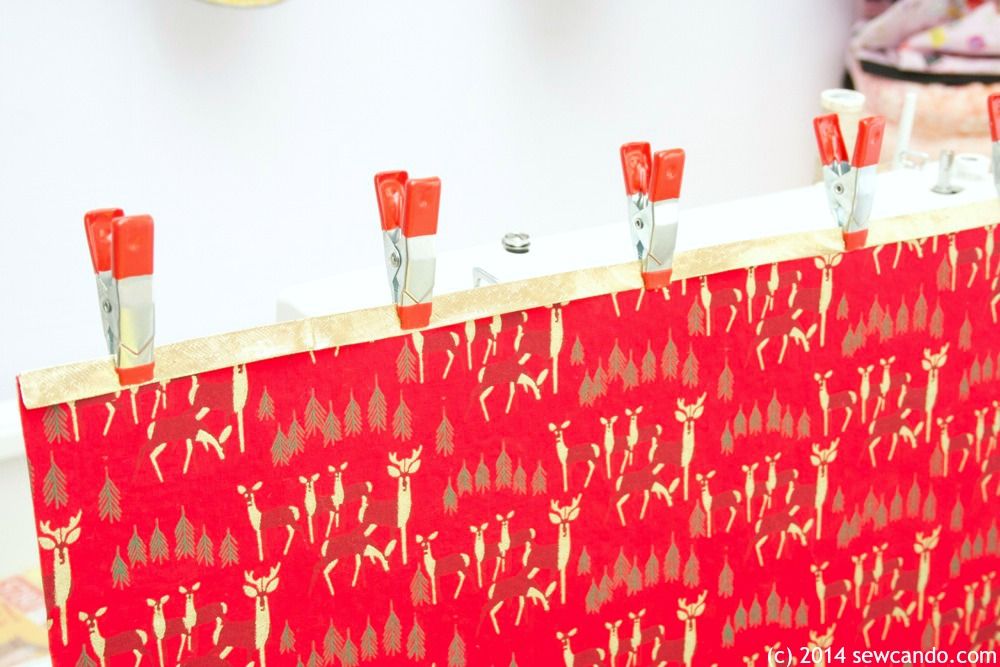
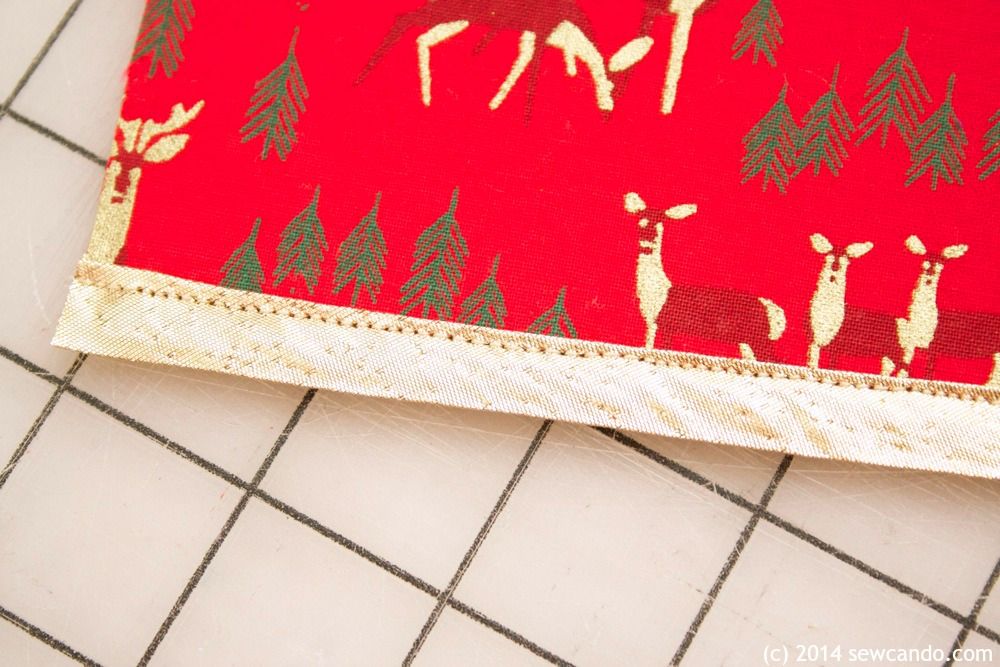
Next I encased the long sides in double fold bias tape and stitched it in place.  To do this I worked slowly and used my clips again.  

The combination of fabrics + this thick & firm stabilizer makes using pins way too hard, so this works a lot better and faster.


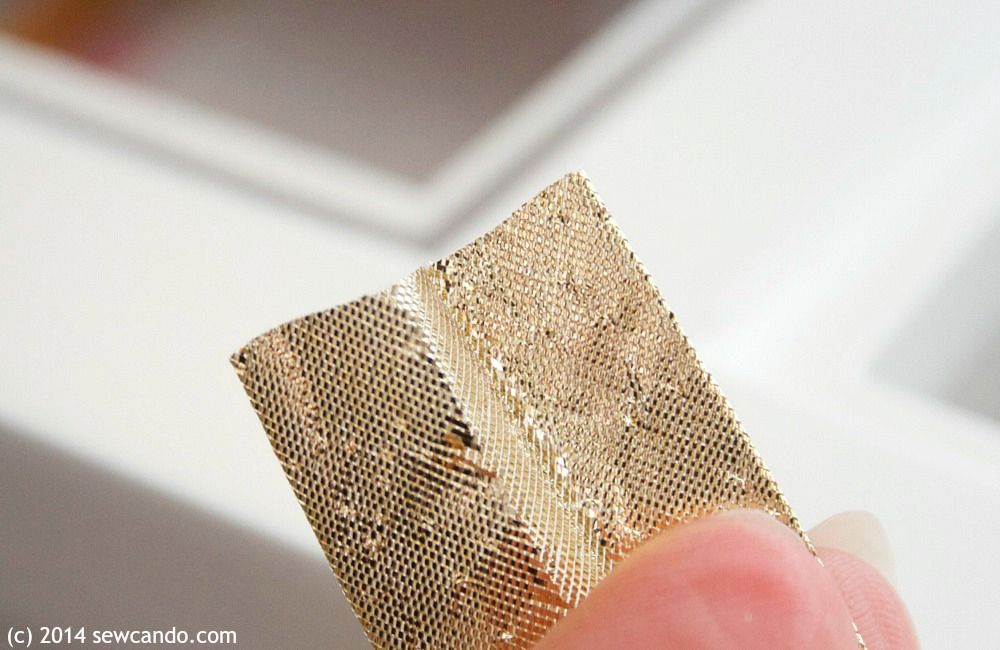
To finish the short sides easily, I cut two pieces of bias tape the same length as those sides (I did this because the metallic tape is a bit stretchy - if using regular bias tape, make it about 1/2 inch longer).  I opened the bias tape up:


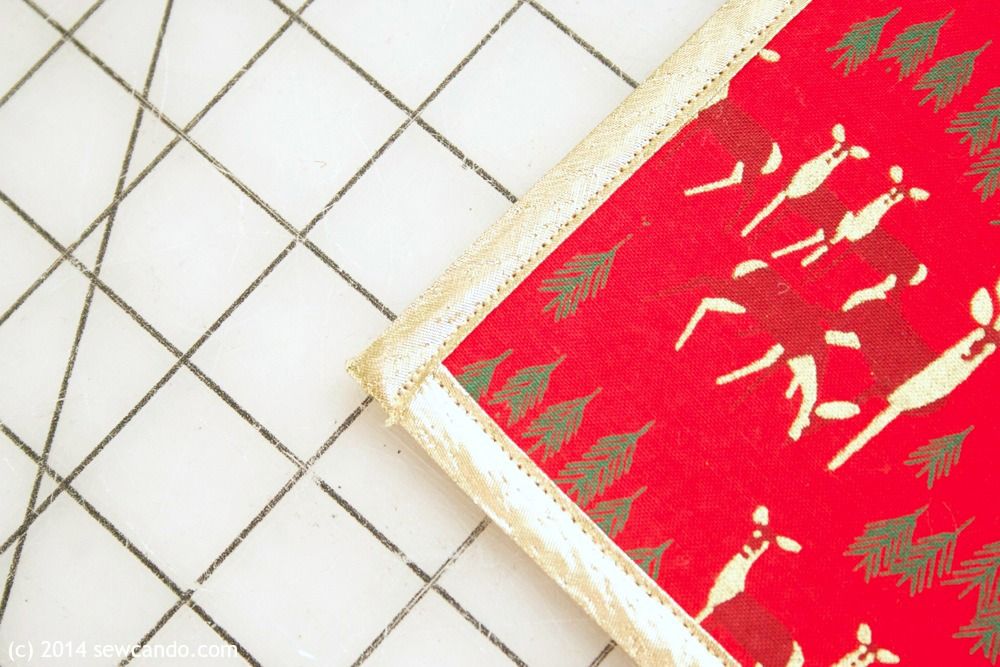
I turned the ends wrong side out and folded the right sides together, stitched and trimmed down the raw edges.


Then I flipped it right side out again and had two finished ends.  This made it easy to encase the raw edges of the tray and stitch into place.  


No mitering or trying to fold it under precisely.  E-A-S-Y.


At this point my tray just looked like a boring placemat, but I changed that in under a minute thanks to my iron.  


This is the fun part!!! I ironed both sides for about 30 seconds so it was warm and flexible (it should feel and bend like a heavy felt when it's ready to mold).  


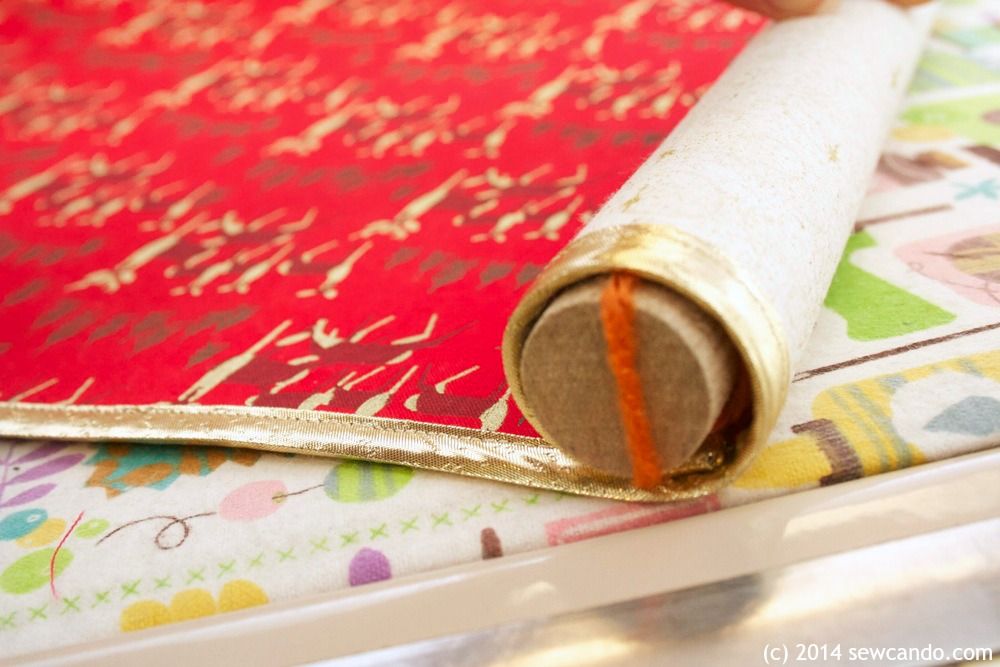
Then I wrapped either end around a dowel rod.  You could also just hand roll them, but I wanted them to be exactly the same, so the rod really helped.  


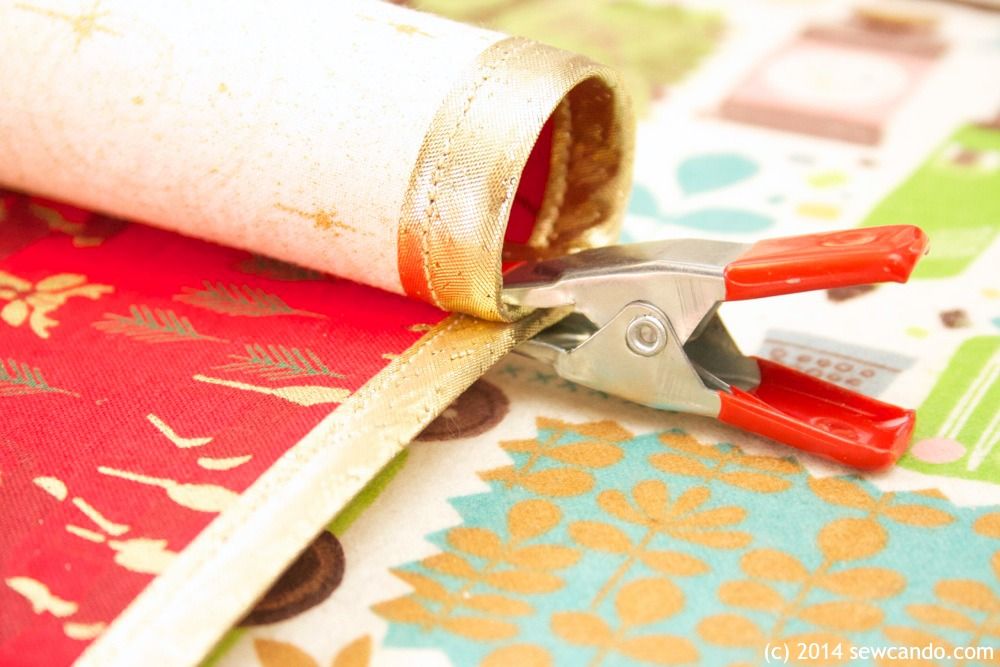
I carefully pulled the rods out one side and used my handy clips to hold the fabric in the shape until it cooled.


I let it cool about 5 minutes and then pulled the clips off and my tray was all scrolled up like I'd hoped - right on the first try.  What's great is that if it's not, it's totally ok because you can reheat and remold with this stuff.  So while the shape is permanent in that it won't loosen up over time, you can re-shape it if you need to make a change or possibly to store it flat when not in use.  


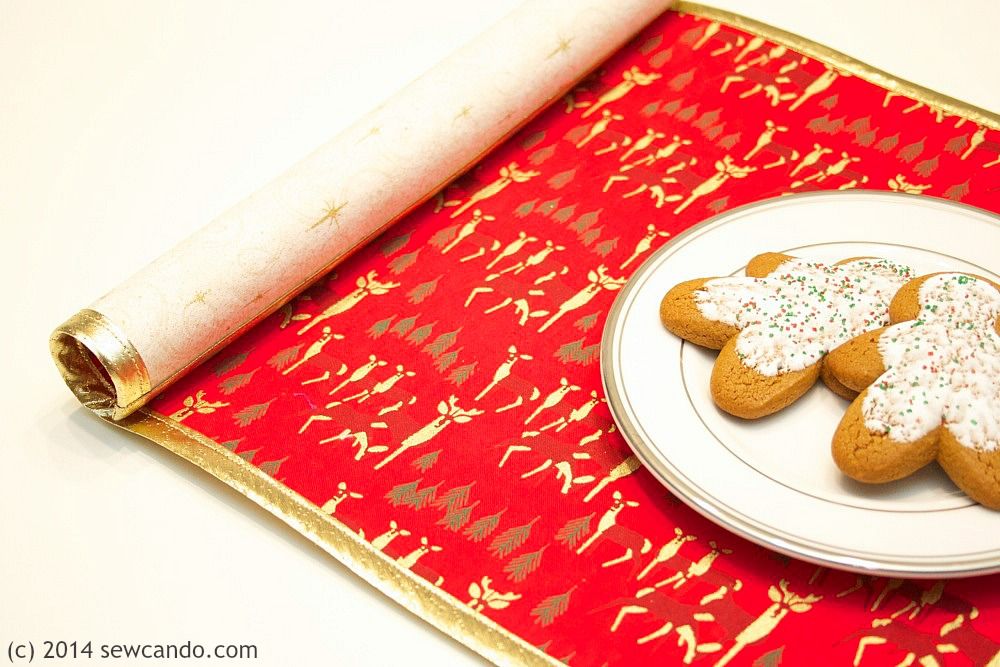
I do want to point out that while this is a pretty firm tray, it's not the exact equivalent of wood or plastic tray in terms of weight it can hold.  I've walked around with a little plate of cookies, a pile of holiday cards & other lightweight stuff on it, and it's been great, but I'd leave half a dozen filled crystal champagne flutes or heavy plates of food to a more traditional tray. The moldable stabilizer is amazing, but it's not invincible!


Happy Holidays & Happy Crafting Everyone!


LinkWithin

Related Posts with Thumbnails