


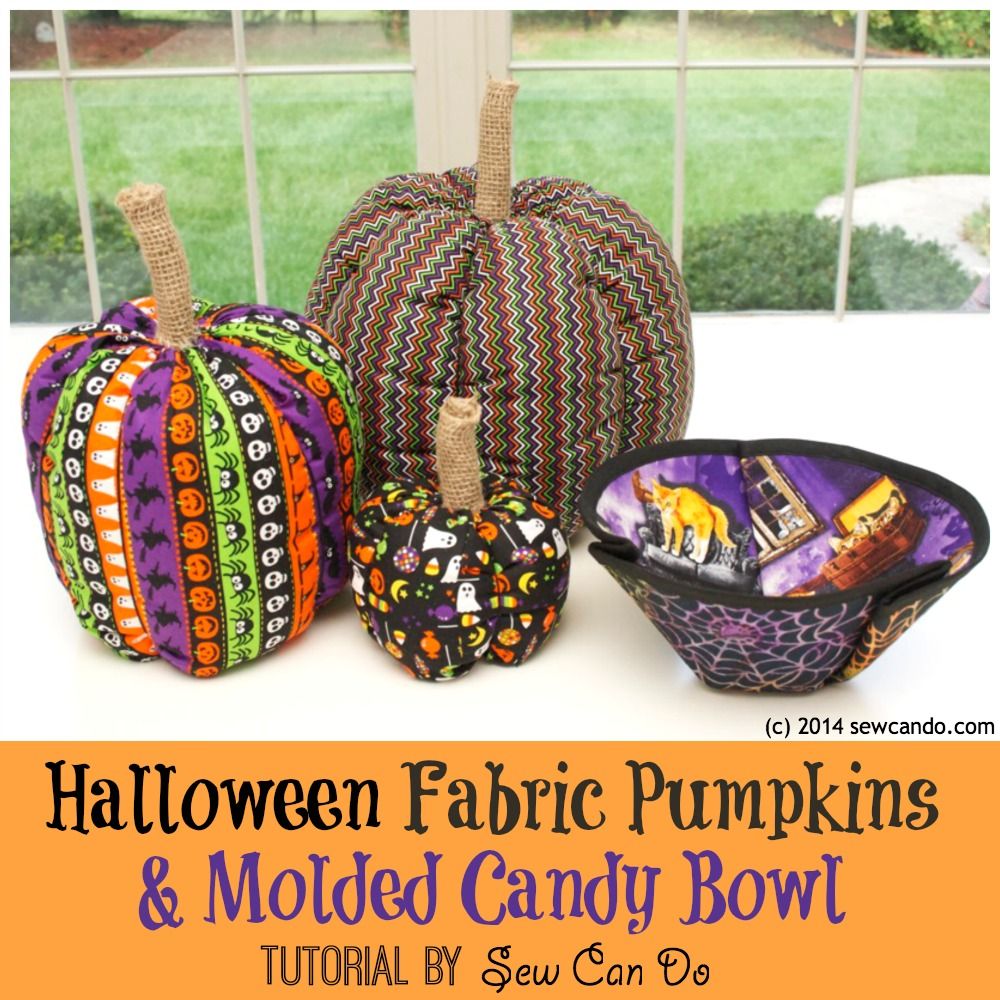
Today I've got a double Halloween sewing tutorial to share: Fun Fabric Pumpkins & a Molded Fabric Candy Bowl. I wanted to do a few fun Halloween projects besides costumes this year and these two are definitely enjoyable for just about any sewing level - even a beginner.
To make my molded fabric candy bowl I used something I'd been wanting to try for ages: Heat Moldable Stabilizer. This project is SUPER easy and a lot of fun too.
I know the fabric pumpkin thing isn't exactly new to the craft blog circuit, but I'd always wanted to make some and I did a few things differently (and a bit easier) than the other methods I'd seen. Last year I did more Halloween crafts than sewing so this year I've turned my eye fabric instead. I picked out a few Halloween prints by Timeless Treasures that I really liked to bring my holiday visions to life.
Let's start with making a molded fabric bowl.
Materials:
- 2 Fat quarters of cotton (I used Haunted House Cats & Spider Web Batik)
- Heat moldable double sided fusible stabilizer*
- 1 package double fold bias tape & matching thread
- Heavy duty sewing needle
- Iron & press cloth
- Shears/rotary cutter & mat
*The secret to making a molded bowl is the heat moldable stabilizer. Once applied to a project, it can be heated and manipulated into hard-to-sew or molded shapes and it will cool and remain in said shape. I'd asked for some for Christmas (thank you shout out to my sister for getting it for me), but I'd been hoarding it until I had the right project/fabric combo. The one I used was double sided fusible called Inn-Spire Plus, but there are several brands out there and some are fusible, some are sew in. I plan to buy a few more to try out and report on in the future because this stuff was so fun to use.
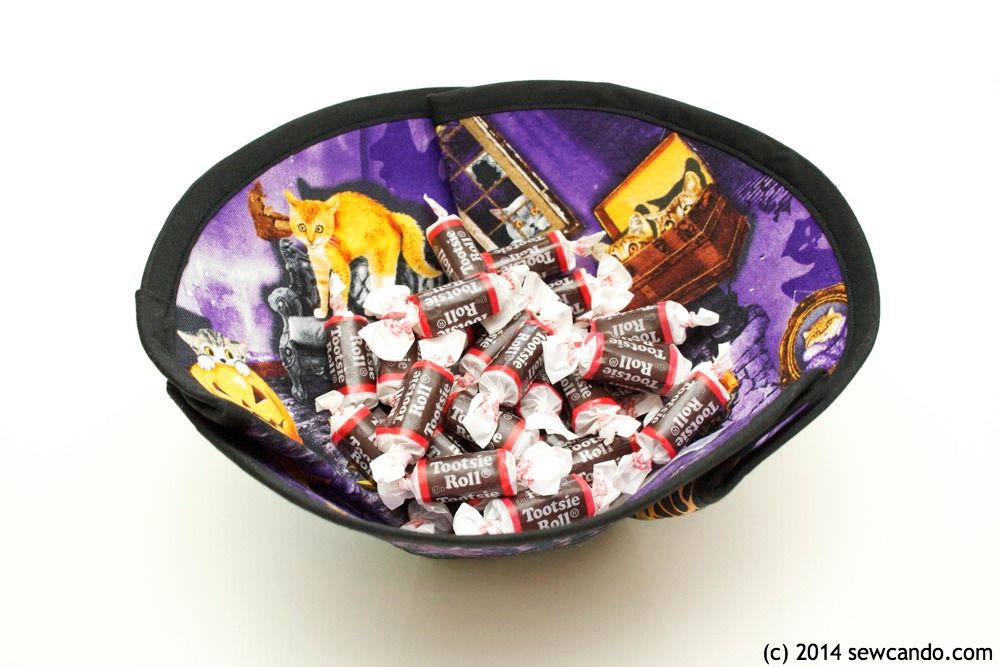
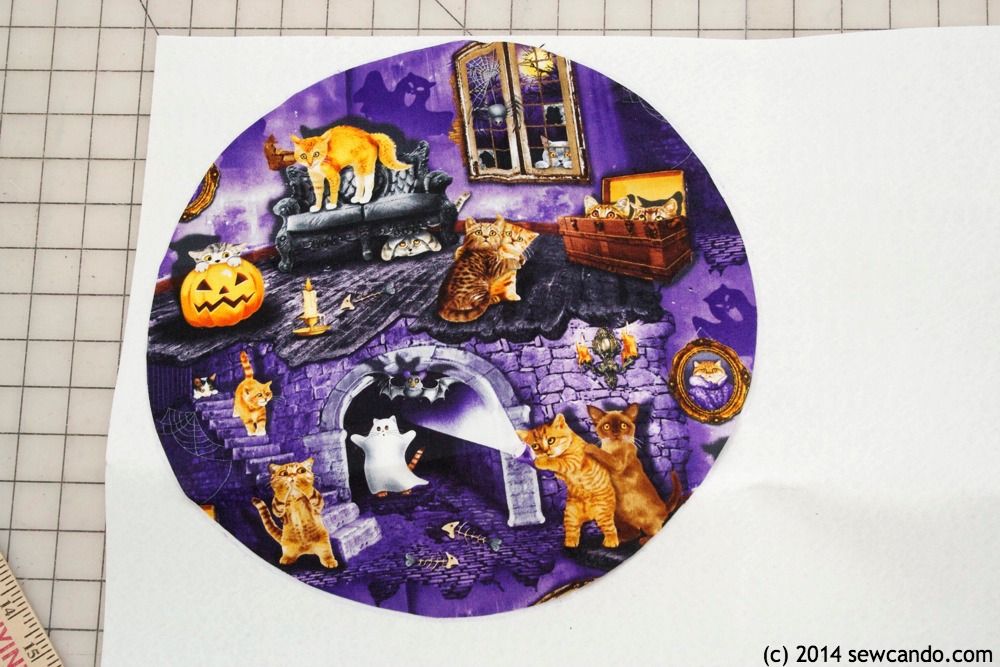
I totally loved this Haunted House Cats fabric. I'm not even a cat person, but scaredy cats, cat ghosts and a mouse bat - what's not to like? I thought it was so cute I had to make something with it and a festive candy bowl was perfect. I cut a 16 inch circle from both my fabrics and the stabilizer. The stabilizer is pretty firm & thick - think the cardboard on the back of pads of paper - so cutting takes a little muscle.
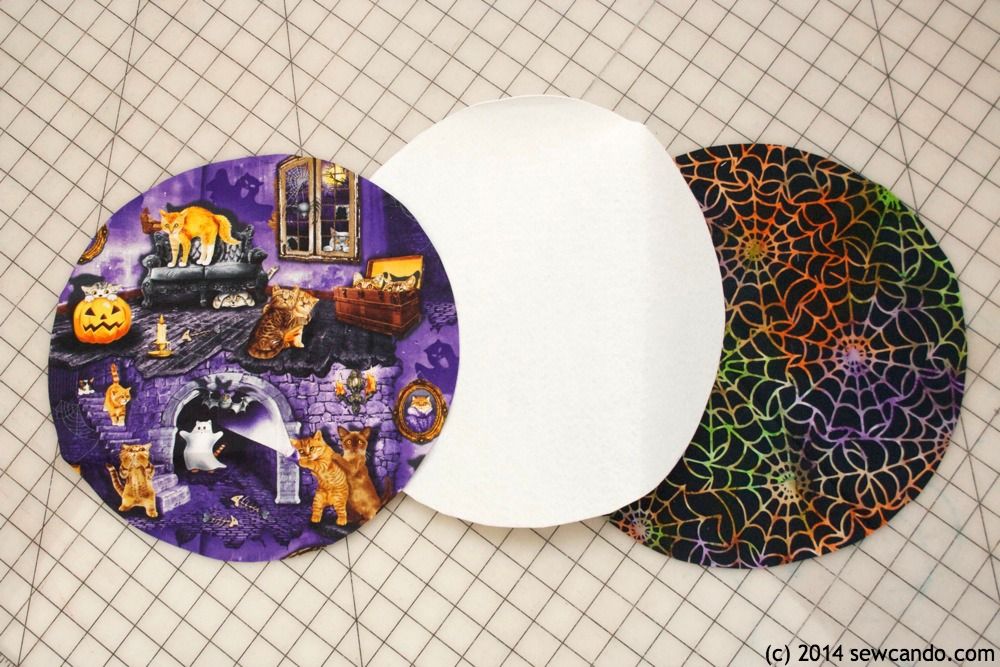
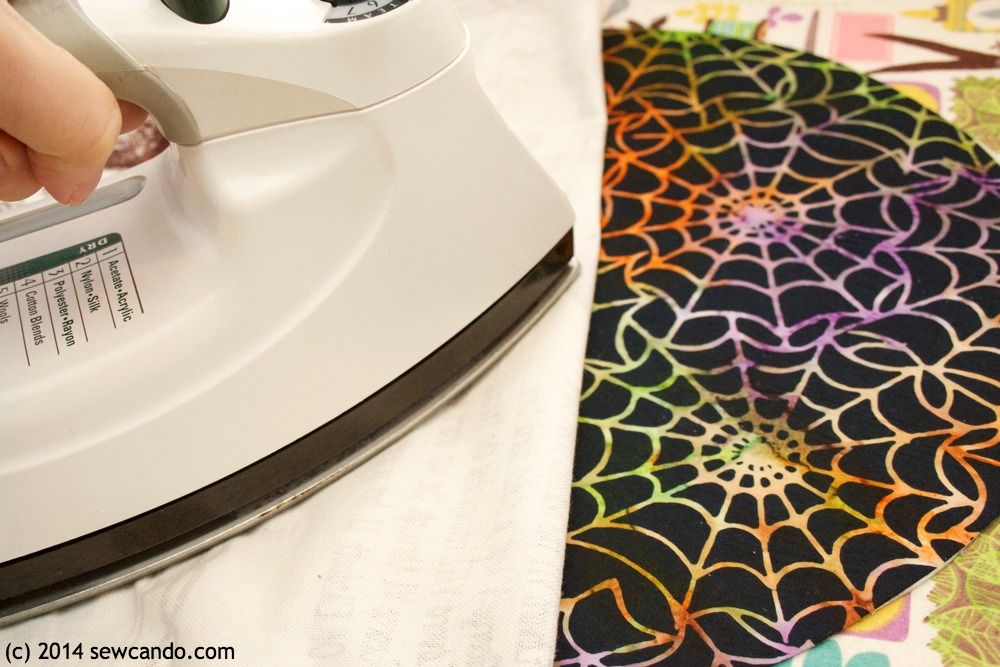
Then I sandwiched my stabilizer between the wrong sides of the fabrics (fyi the spider web is the wrong side up - since it's batik, the design is on both sides):
I followed the directions on the stabilizer package to fuse everything together: iron on the wool setting with a damp press cloth between it & the fabric sandwich, holding it for about 15 seconds at a time, per section, until the whole things was fused. Then I let it cool. It was pretty rigid - couldn't bend it if I tried.
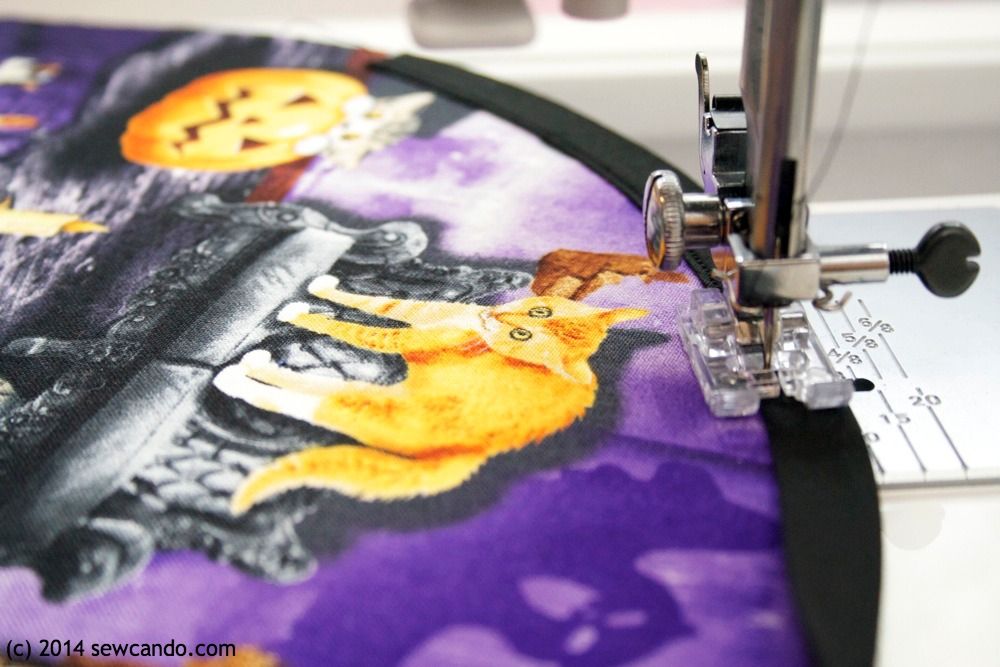
Next I sewed double fold bias tape around the edge. I worked slowly and held it on by hand as I went. The combination of fabrics+ is pretty thick & firm so using pins would be a bit tricky:
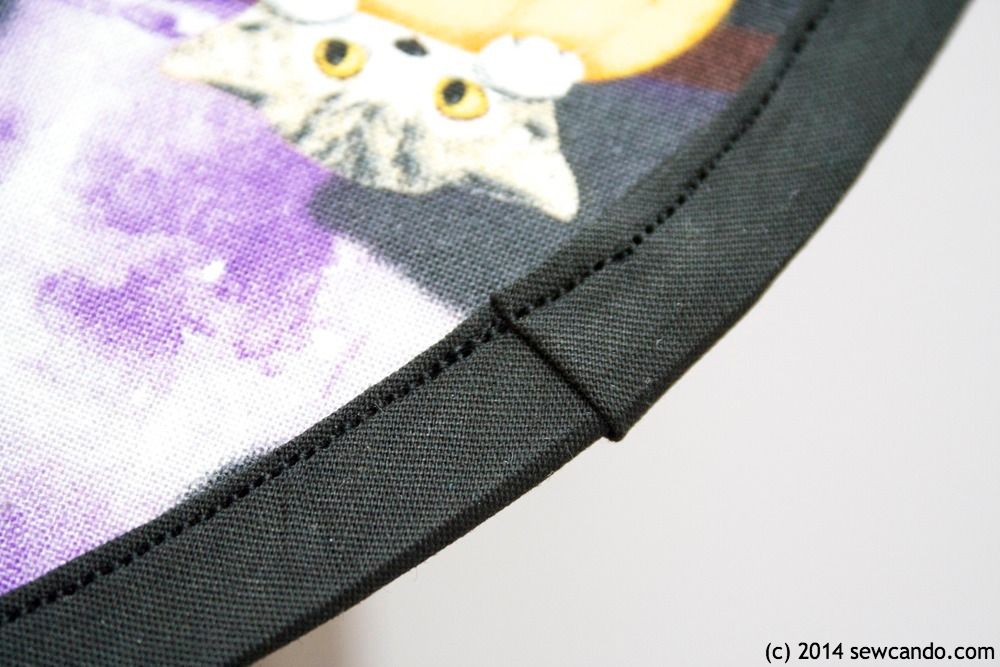
To finish, I turned the raw edge under at the end & overlapped it with my starting point:
Then it was time for the heat molding magic. The package said you could use a hair dryer, heat gun or iron. I found the iron to be the best at heating it up quickly & evenly. I ironed all over, doing about 10 seconds at a time per section and on both sides which turns the stabilizer soft. It had the hand and shape-ability of a thick felt. It is important to work fast since it cools & hardens back up pretty quickly (within a minute).
I molded the general fluted side-flat bottom shape over a bowl, but made 3 overlapping folds around the top to get a smooth shape:
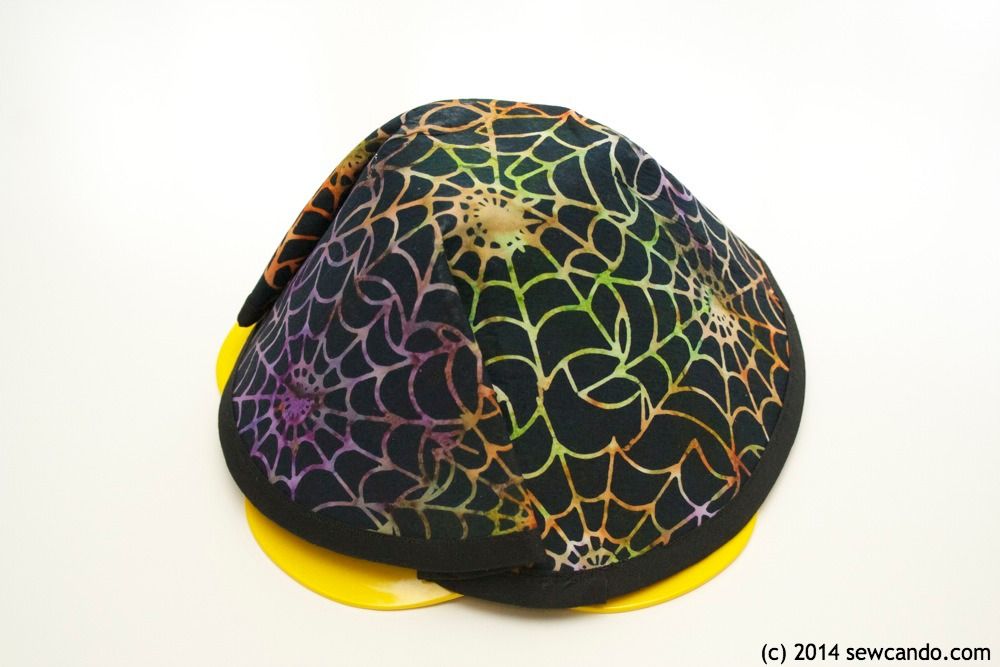
To hold it down while it cooled I used a bigger bowl and let gravity do the rest:
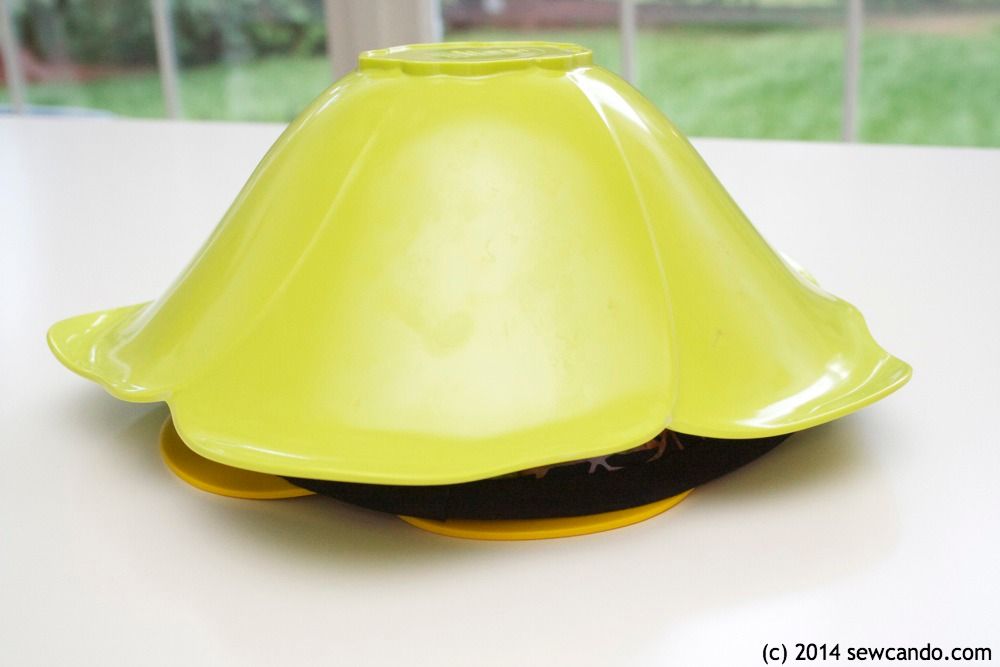
After about 5 minutes it was rock hard again and my fabric circle was a real bowl.

Now here is the best part - the first time I didn't get my folds equally spaced - grr! However, that was ok because you can reheat and remold. So while the shape is permanent in that it won't loosen up over time, it is re-shapeable if you need to make a change. That kind of blew me away. I was kicking myself a bit after realizing that because I'd thought it was a one-time shot to mold when I first got it, so I'd hoarded it all this time out of fear of wasting it or goofing up. I could've been heat molding fabric all year long!!
Now, some easy-sew fabric pumpkins!
Materials:
- 1/4-1/2yds of cotton (I used Mini Chevron Stripe in Boo, Allover Halloween and Halloween Stripe)
- Fiberfill
- Embroidery floss
- Roll of burlap
- Hot glue gun
- Optional: Small stones, hand sewing needle
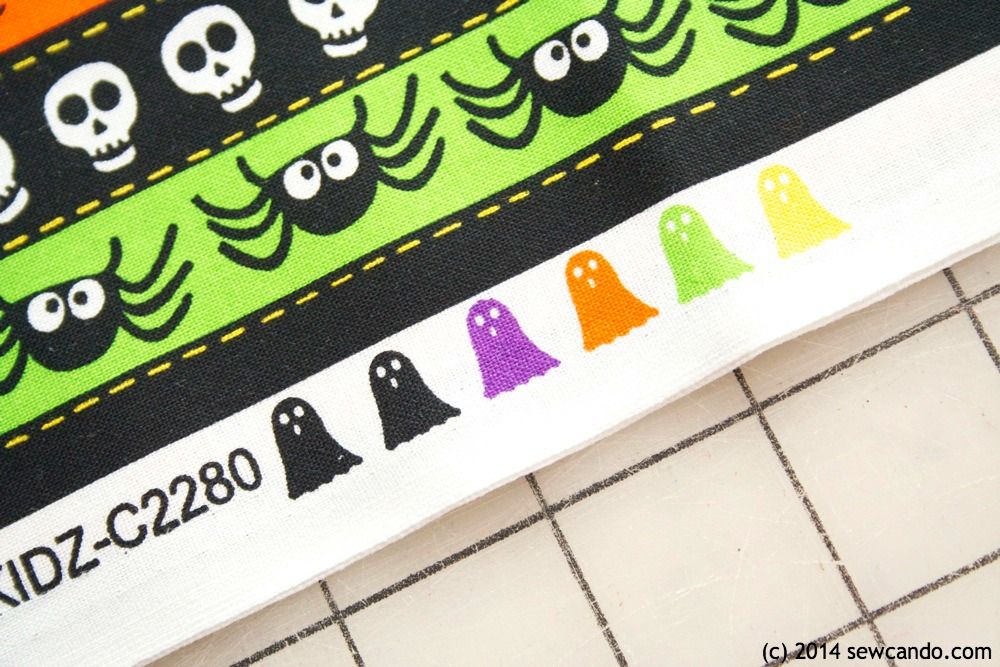
I thought using some vibrant Halloween prints would be a bit different from the usual orange/earth tone versions I've seen. Even the selvages were spooky cute on these:
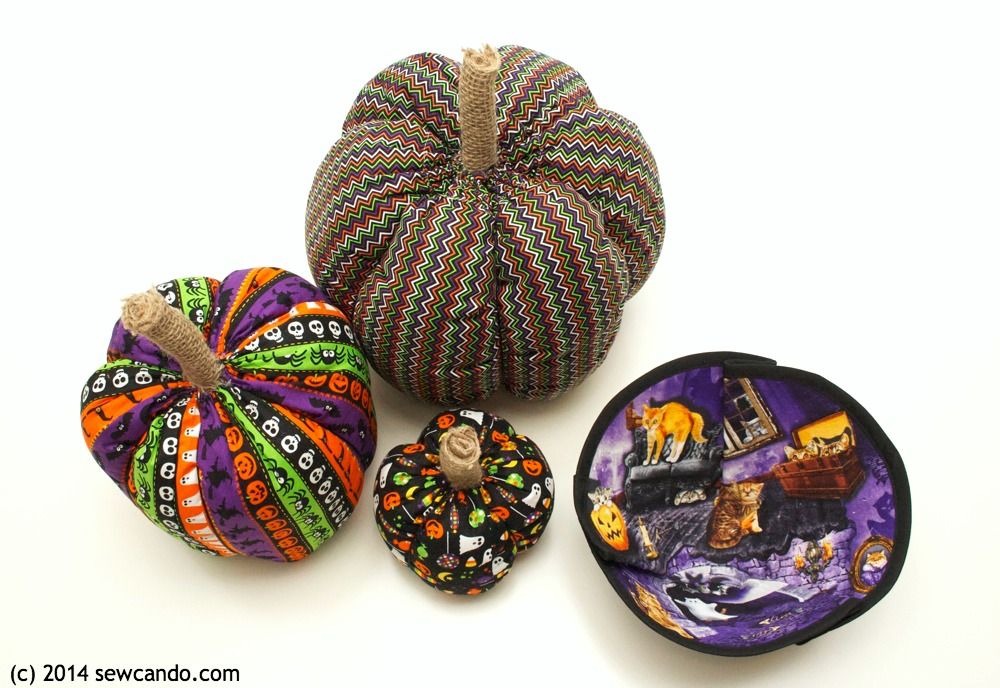
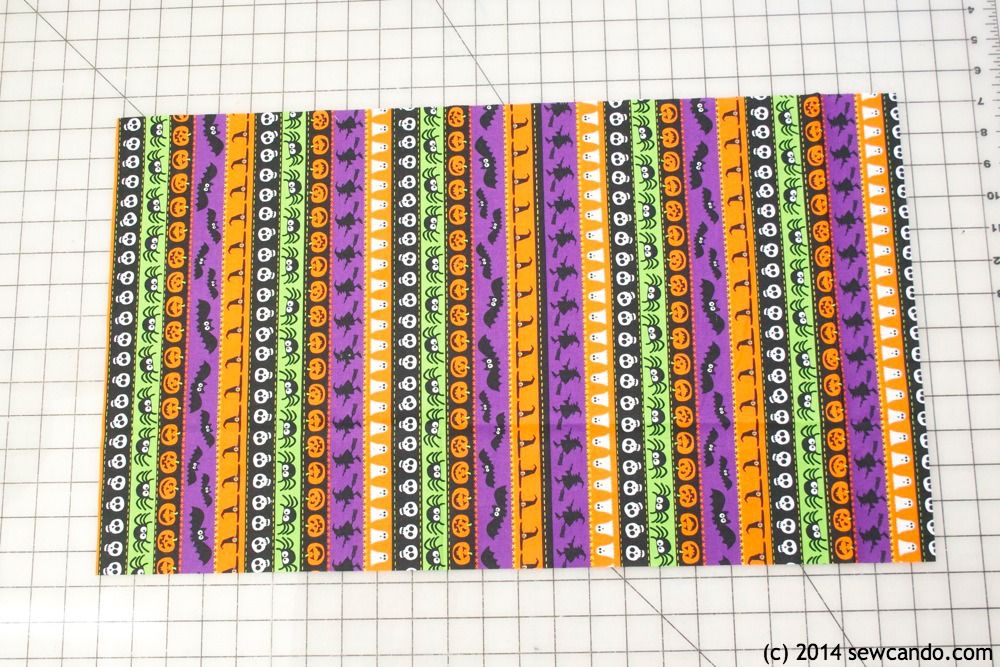
I cut a trio of rectangles that would make finished pumpkins 4 inches, 7 1/2 inches and 9 inches high:
- 8 in x 16 in for the smallest
- 14 in x 24 in for the medium
- 18 in x 32 in for the largest
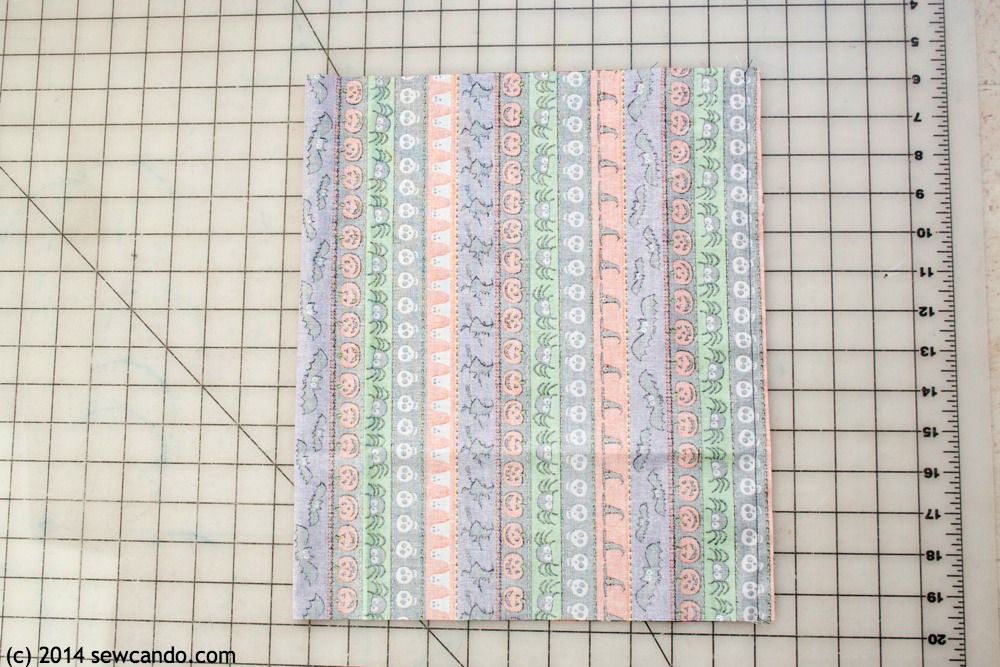
I folded each in half width-wise and sewed up the side with a 1/2 inch seam allowance:
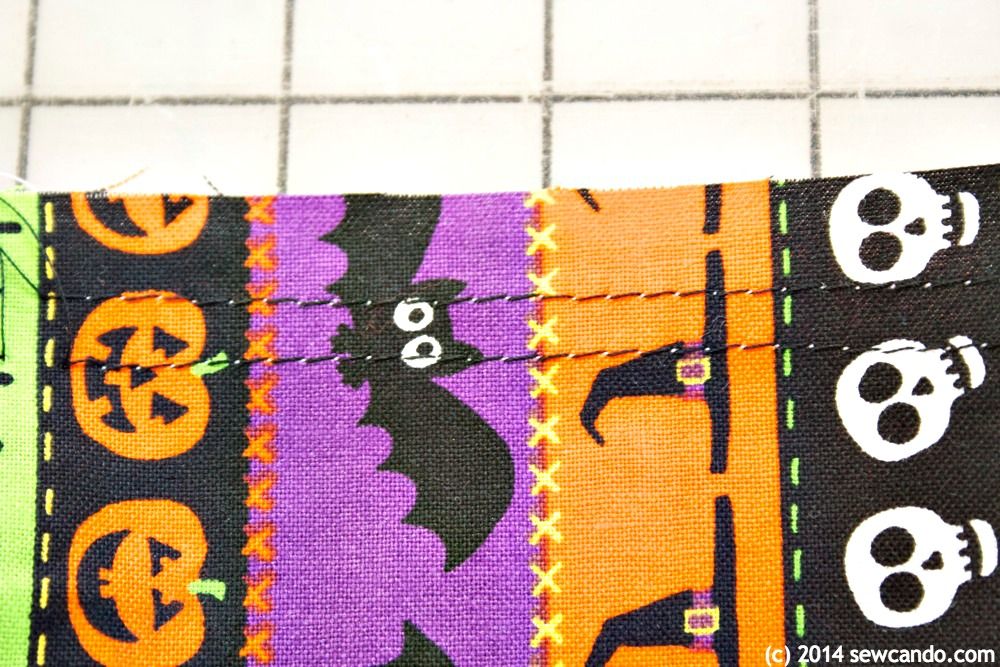
I sewed two rows of basting stitches, 1/4 inch apart, about 1/2 inch from the raw edge on both sides of my tube:
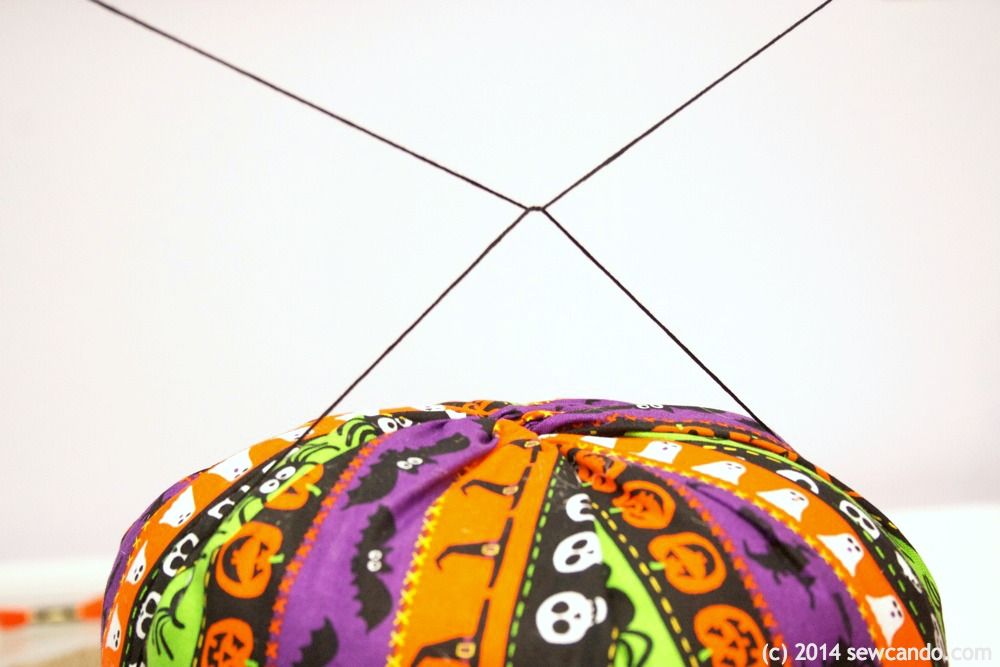
I pulled up the bobbin threads and cinched things together on one end:


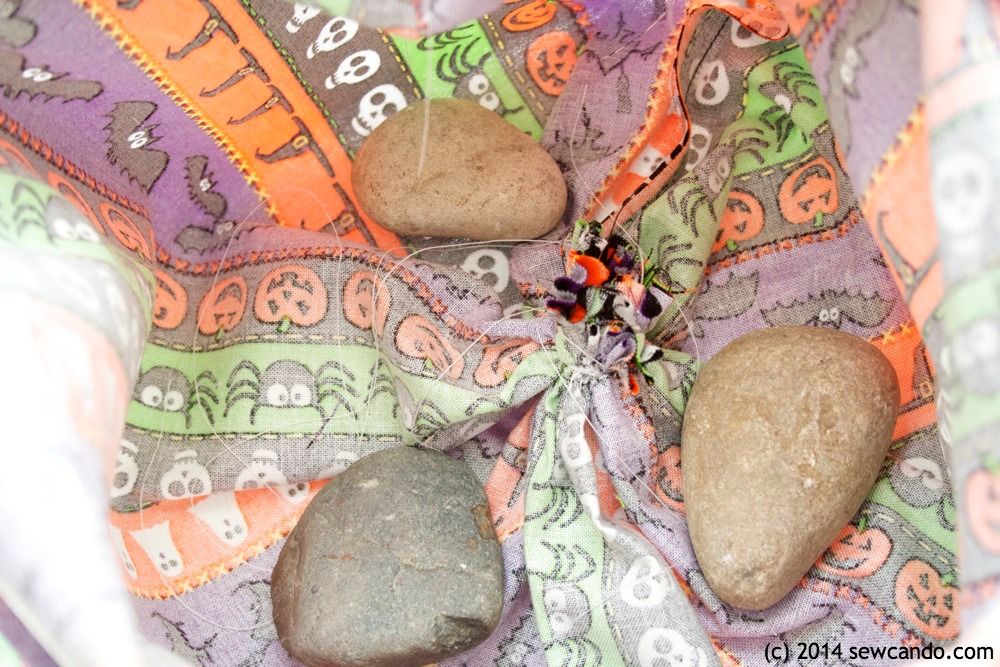
Then I started stuffing my pumpkins. To keep them from rolling around (or my kids using them as toys when I'm not looking), I also added a few small stones for a solid foundation:
Once they were pretty full, I cinched up the tops, added a bit more fiberfill for fullness, and then tied the thread ends together. I also did a few quick slipstitches to really close it up completely:

To section the pumpkins, I tied embroidery floss around the middle, pulling it pretty tight to segment and plump up the shape, and doubling it before knotting. I did this 3 times to create 6 sections:
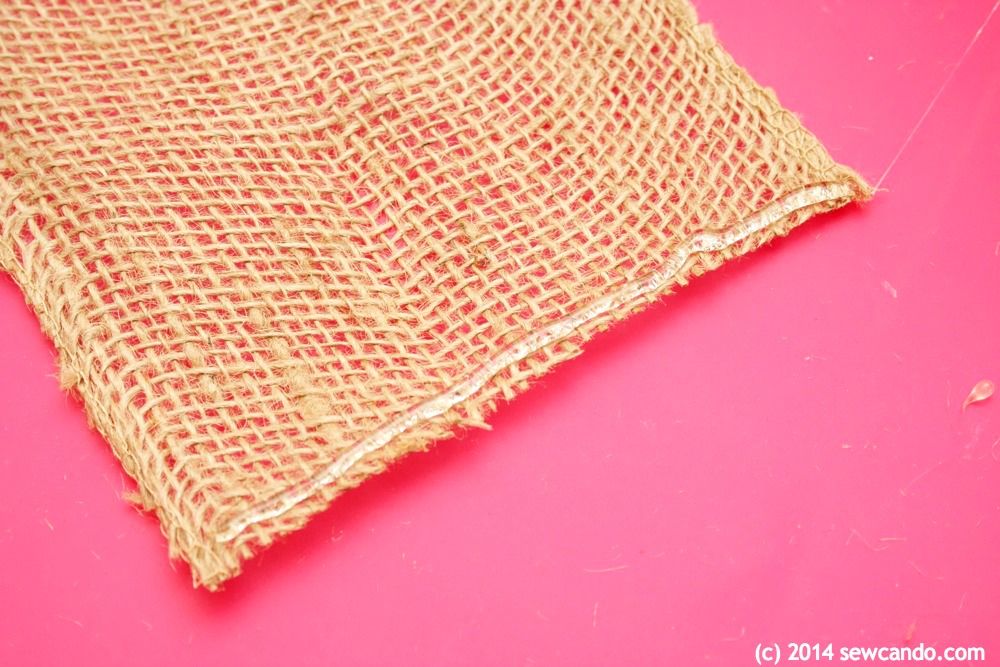
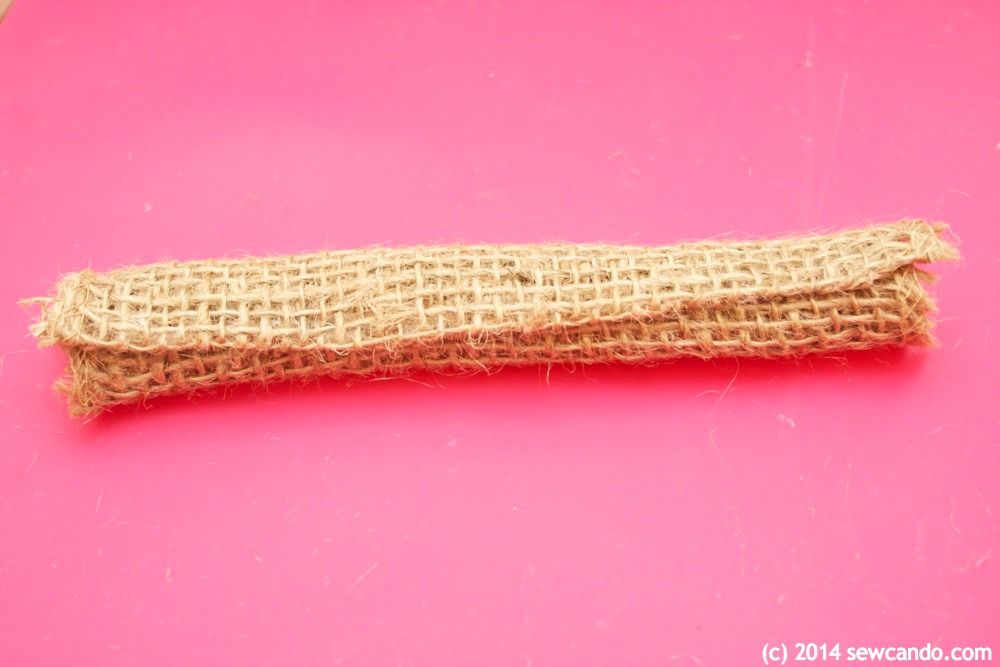
For the stems I used burlap that comes on a roll - the finished sides mean it won't fray up over time.

I cut a 10 inch piece and added a line of hot glue to each cut side and folded them inwards about 1/2 inch.
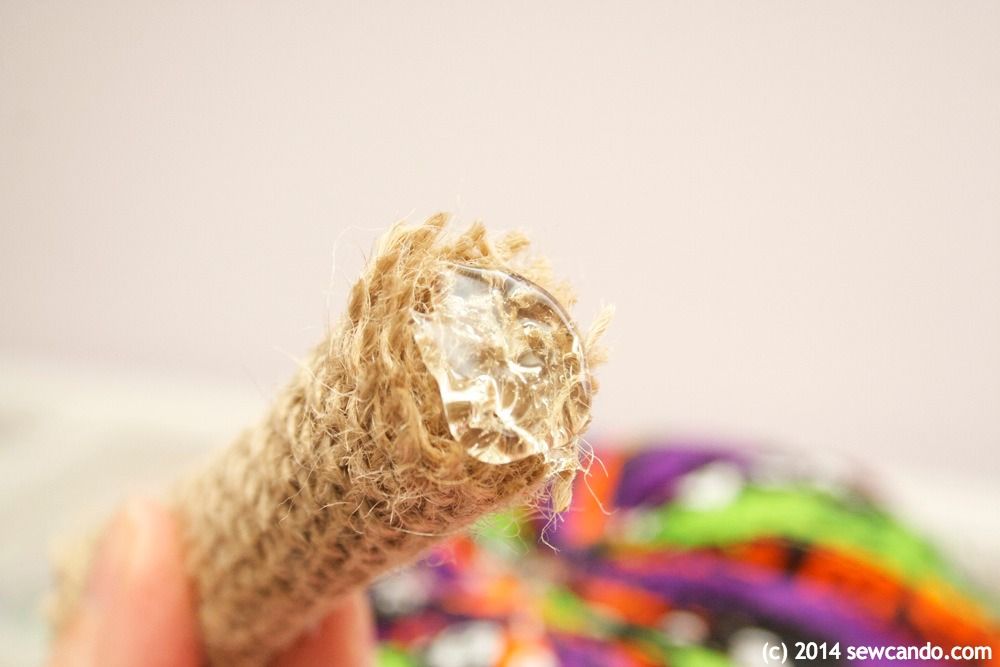
Then I rolled them up and added another strip of hot glue to hold my stems closed.
Last, I added a good helping of hot glue to one end and pushed the stems into place, adding a little more glue between the stems and fabric to really seat them in place.
And my pumpkin trio was complete to display with our new spooky treat bowl:

I was not financially compensated for this post. I selected the fabrics shown , which were provided by Timeless Treasures to use as I wished. The opinions and ideas are completely my own, based on my experiences with the materials mentioned.
I've never heard of the heat-moldable stabilizer before... that is some really cool stuff! Obviously sticking it the dryer would ruin the shape, but I'm curious if it's washable?
ReplyDeleteThat's a good question! I couldn't find any specific info about it, but my guess is hand or spot washing and air drying probably would work. I'm hoping to try a few different brands to see how they all work and might try a little wash test on them when I do. I'll ket you know what I find out!
DeleteSo cool! Pinned. We couldn't think of anyone better to party with! Thank you for stopping by. I hope to see you on Monday at 7 pm. http://loulougirls.blogspot.com/
ReplyDeleteHappy Monday! Lou Lou Girls
So cool! Pinned. We couldn't think of anyone better to party with! Thank you for stopping by. I hope to see you on Monday at 7 pm. http://loulougirls.blogspot.com/
ReplyDeleteHappy Monday! Lou Lou Girls
This is awesome! So creative! :)
ReplyDeleteThanks - it was a lot of fun too. I highly recommend trying them:)
DeleteLove the pumpkins, the bowl too!! Thanks so much for linking up at #AThemedLinkup 2 for All Things Halloween.
ReplyDelete