Showing posts with label Jacket. Show all posts

Thursday, February 17, 2022

Ottobre Design Pattern Hack: Easy Toddler Coat


My now 2yr old needed a versatile little jacket that could stretch from fall to spring.  Something that would keep the chill out in the milder weather, but could also comfortably fit with bulky winter sweaters and fleeces worn underneath this time of year.  So I did what us sewing moms do - I hacked a pattern to make one on the cheap!


I sifted through my pattern & fabric stash so I didn't have to buy anything new.  


For my base design I borrowed from a pattern I've used several times before, Ottobre Design's Funny Dots Coverall.  The last time I made it I used minky lining with an interlock knit outer.  I originally made it for my now almost 4yr old and he & my little lady each wore it for an entire season and it still looks almost new:


For this jacket version I used anti-pill fleece for the lining with a fun print corduroy for the outer fabric.  The fun colors mean it works for fall, winter and spring seasons:


Since my daughter was almost 2 when I made this, I used the largest size (74cm) and added an extra 1/2inch or so to size it up a bit.  The European shape always gives extra growth room too, which is a big plus when sewing for smalls.  

I turned the original "snowsuit" style into a simple jacket by cutting the pattern pieces just below the waist area and skipping the placket front of the coverall - instead just extending the length of the front pieces to match the back.  Then I cut those and the hood pieces out from both fabrics.  Since I didn't have to worry about direction for either one, I was able to easily cut everything from a single yard of fabric for each layer.


Assembly was pretty fast since you just need to stitch the front halves to the back from shoulder to sleeve cuff along the top and from lower sleeve cuff to hem at the sides.  No sleeves to set in!


The trick to easily bringing the lining & outer jackets together is to baste the hood (with both fabrics already stitch together at the front) onto the outer:


And then, with right sides facing, stitch together the outer and the lining all the way around, leaving a gap at the bottom for turning. 


To attach the sleeves, I use this technique of folding over the lining like this and inserting it into the corresponding sleeve opening of the outer fabric and stitching the right sides together.


It looks crazy, but when you turn it right side out from the gap in the bottom, it puts everything perfectly together.


I used plastic snaps to finish the front.  I had some cute heart shaped ones in my stash, which echoed the small hearts in the fabric print and in the perfect matching color too.  These durable snaps make it really easy to get a restless toddler in and out of it.


This little coat has been nice and roomy.  We turned up the cuffs at the beginning of the fall season, but I'm confident it'll comfortable fit her into the beginning of next fall by turning them down.  Not bad for a thrifty stash-bust!


Wednesday, September 20, 2017

Making A Magic Softshell Jacket


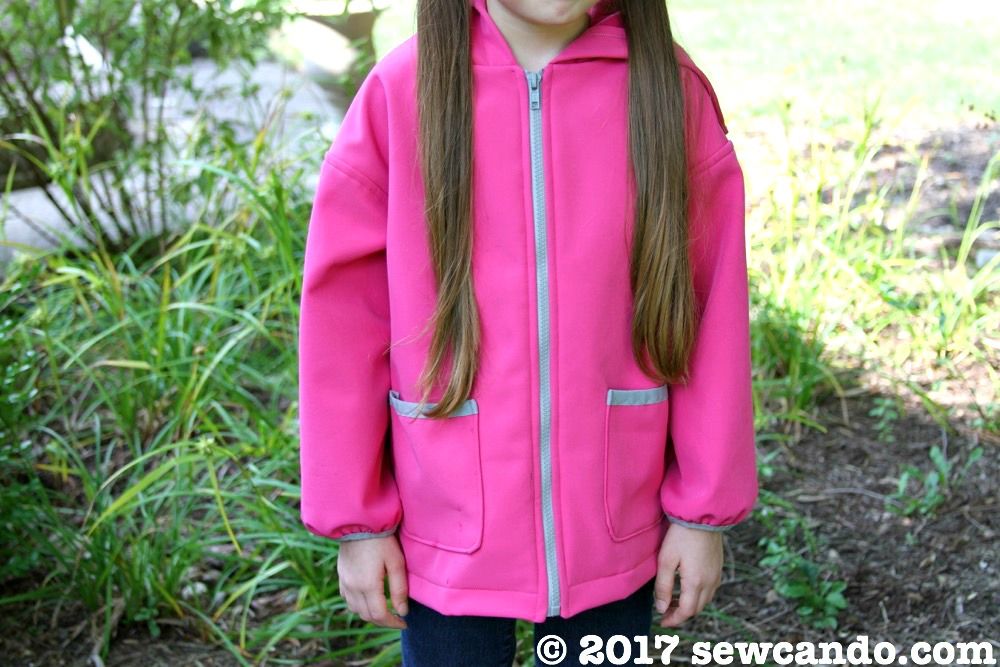
Can a jacket be magical?  After this project I can honestly say, absolutely!  For my daughter's birthday I decided to make her a new jacket to wear as the weather cools down. I wanted something she could wear in fall, spring & summer and maybe even on a few warmer winter days.  Something lightweight, but protective from the elements.  So I made this little number:

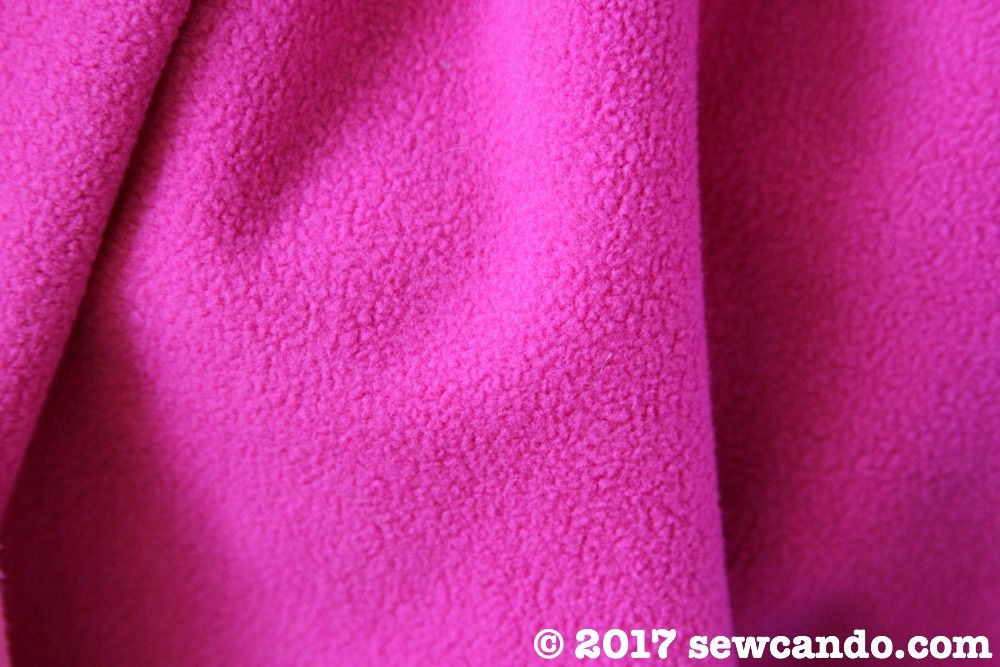
By using softshell fabric it's both wind and water repellant to keep her warm and dry.  If you're not familiar with softshell, it's a polyester that is a smooth woven on the outside (to keep the elements out) and napped on the inside for lightweight heat insulation.  It's also very breathable and has just a hint of stretch.  Perfect for outerwear.  Nice & practical, right?


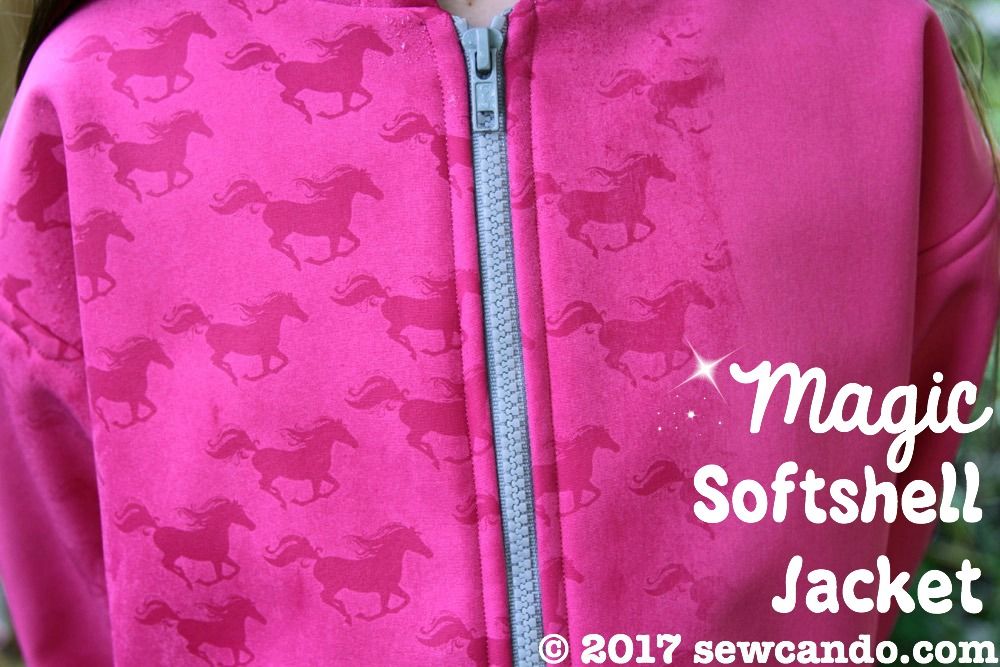
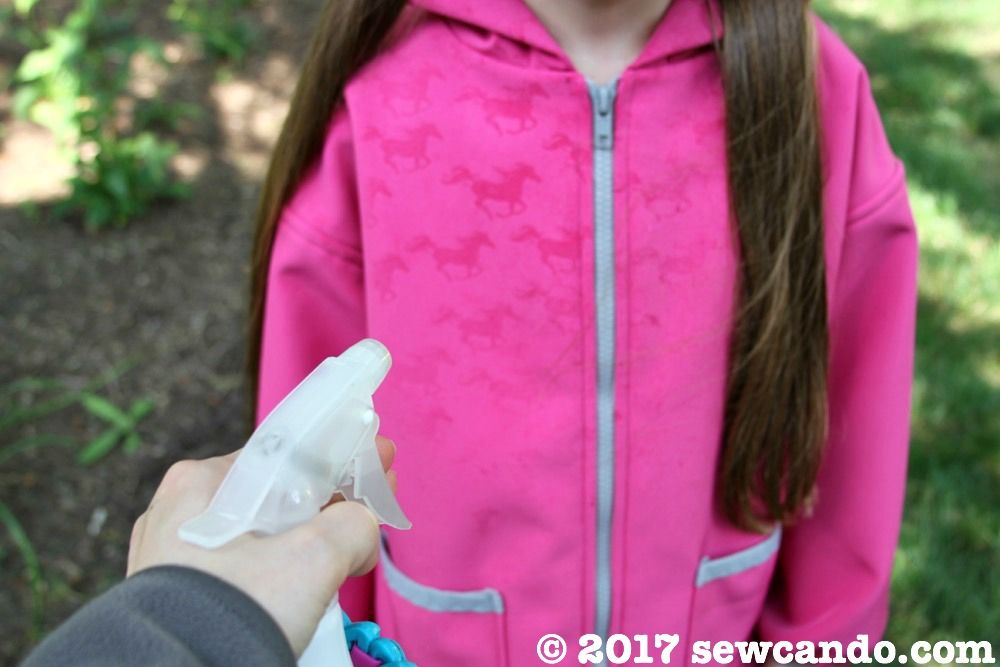
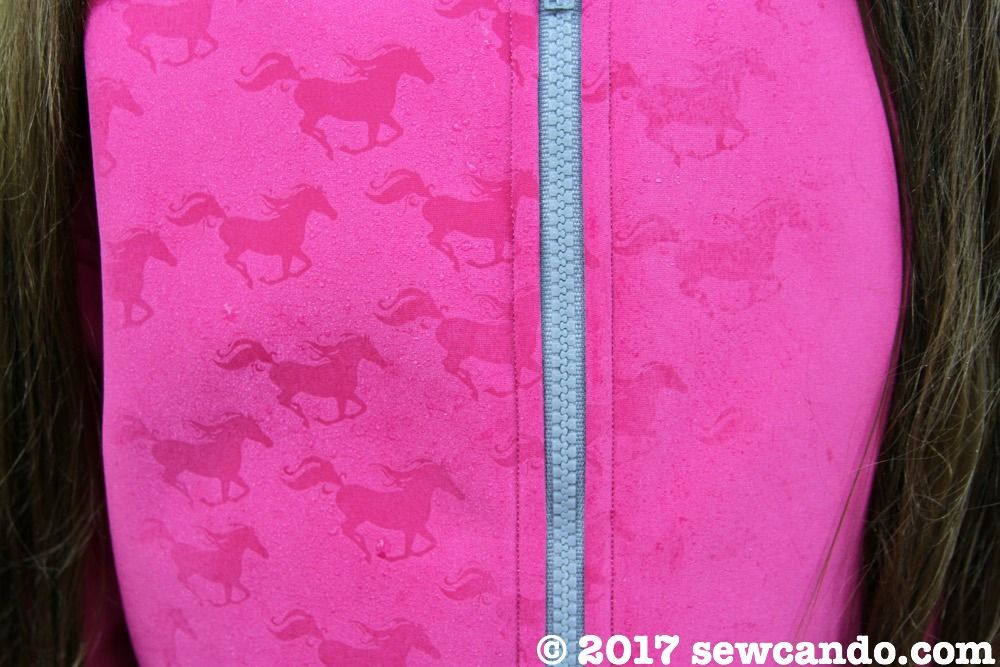
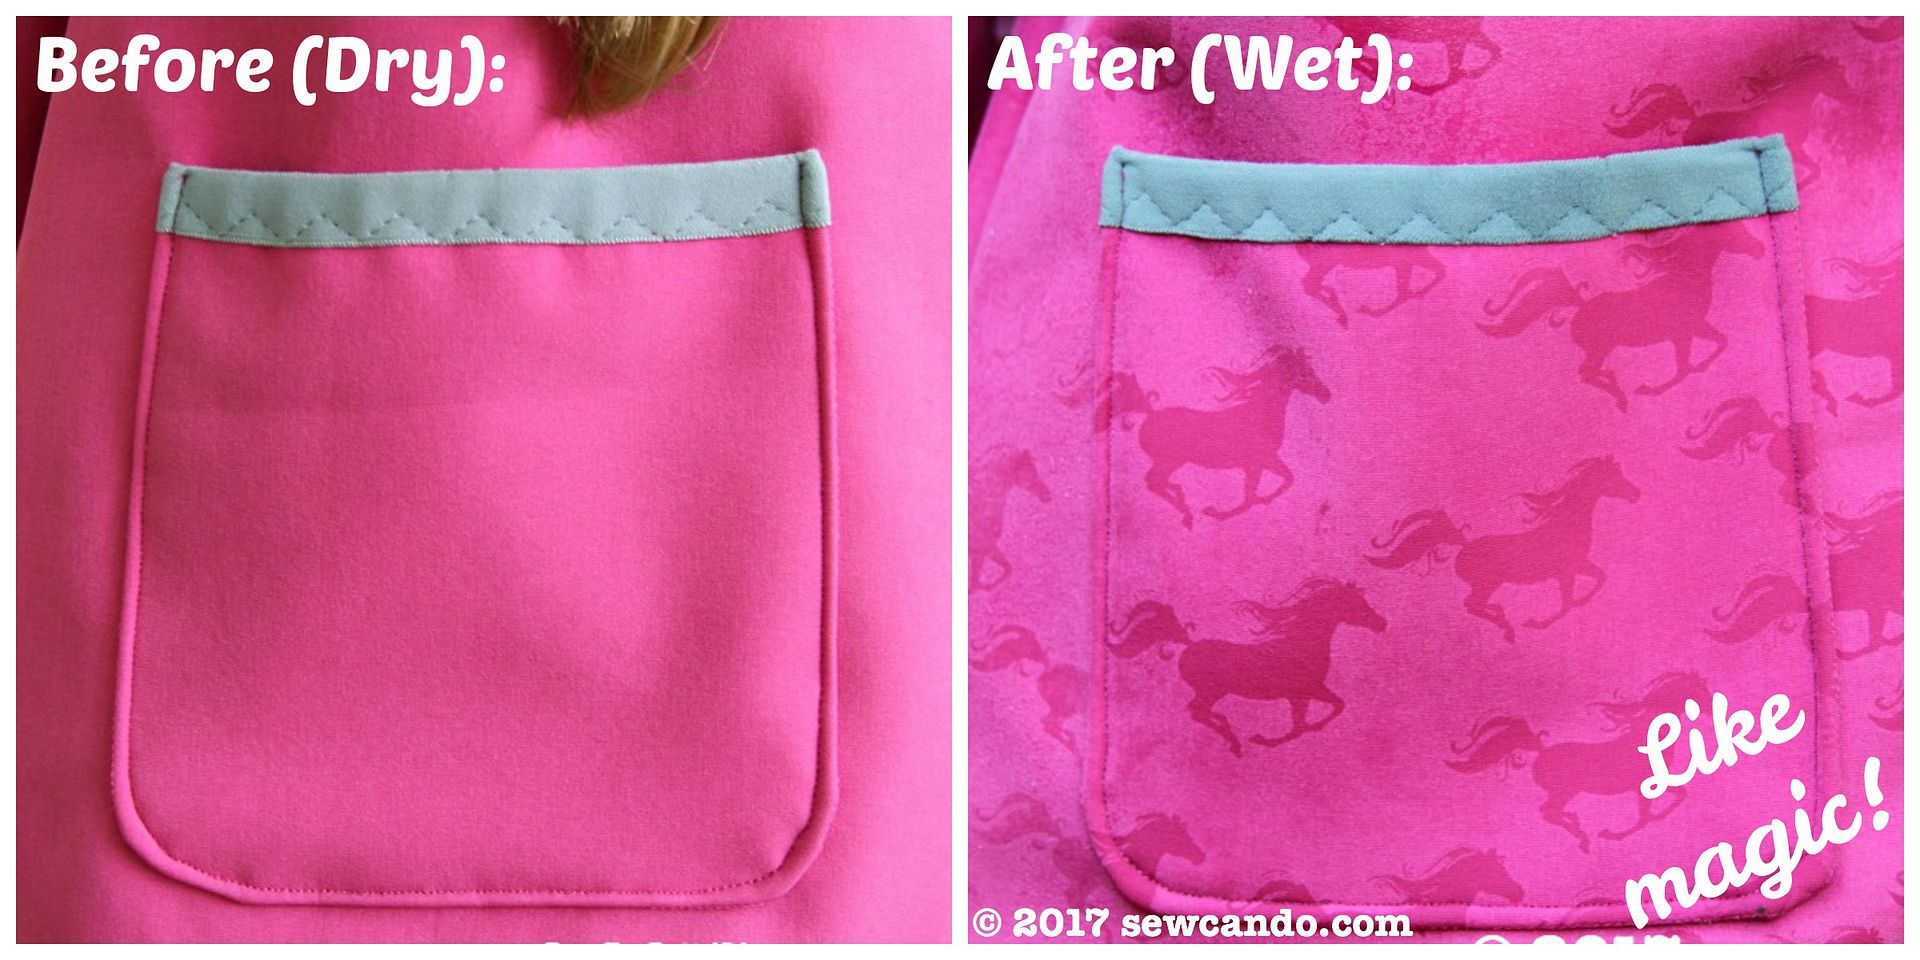
But it has a hidden secret that gets revealed when the jacket gets wet:


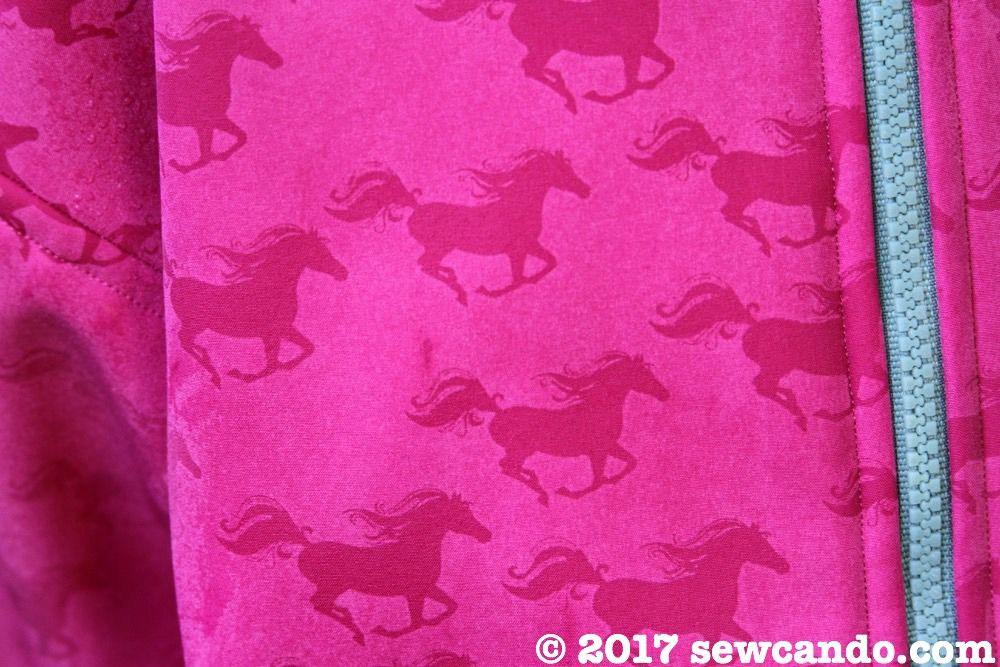
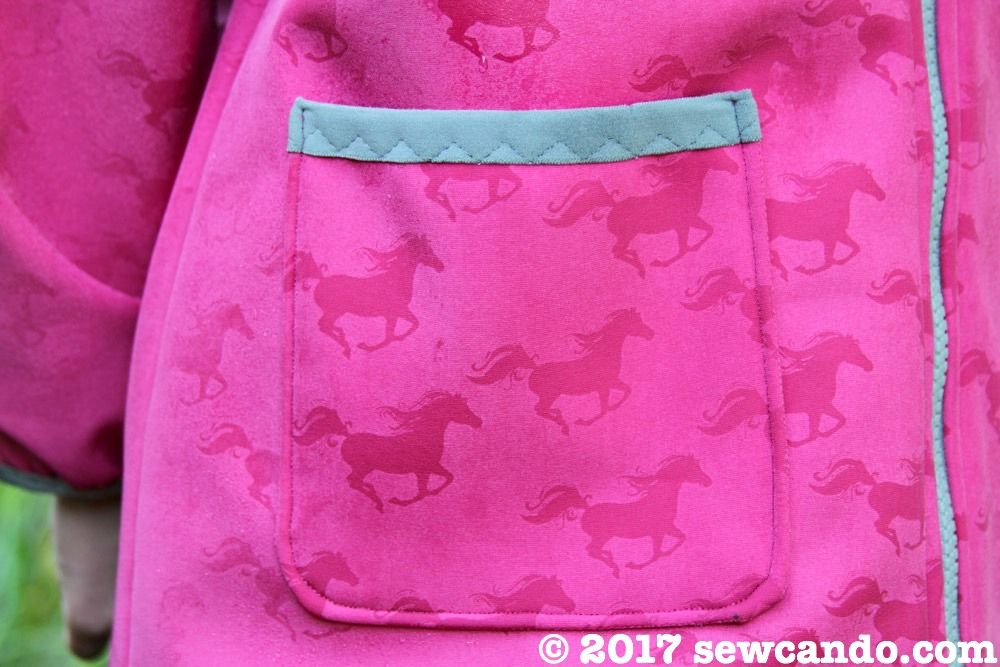
These galloping ponies appear!


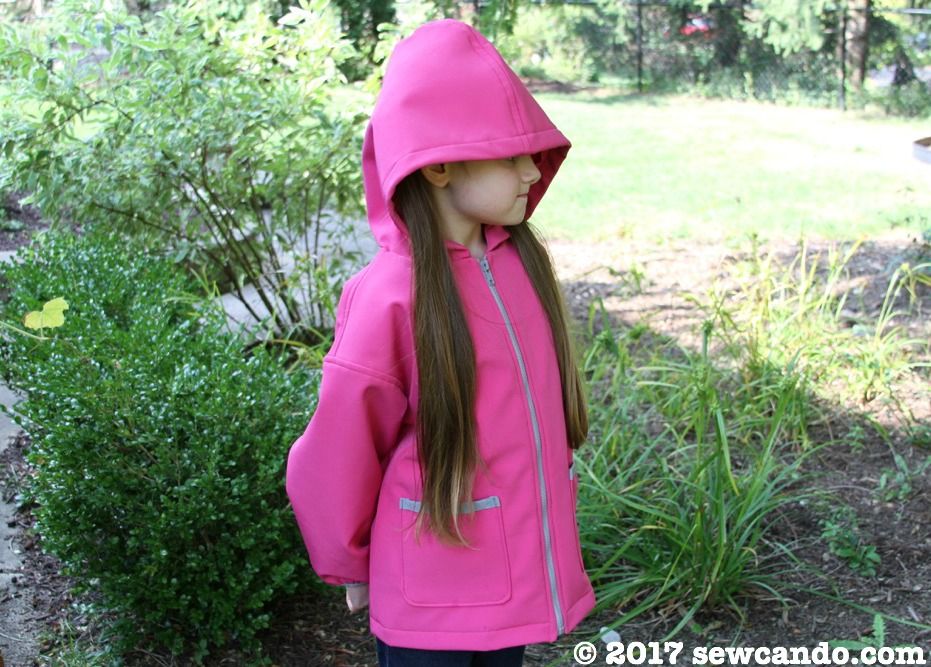
It adds a layer of awesomeness to an otherwise basic jacket:


Getting caught in the rain has never been more fun:


The great thing about using softshell fabric is no lining is required.  Just be sure to use clips when stitching, not pins, since pinholes will be visible (much like with PUL or laminate).  It has a cozy brushed fleece wrong side, which makes for both any easy sew and a comfy, bulk-free feel for the littler wearer.


I bought this awesome fabric as an imported pre-order from Frollein S, a custom fabric group that also has a retail site.  I shared a bit about How To Shop Custom Fabric Groups a few weeks back here.  They have some regular print soft shells and a couple of the magic reveal prints left on their retail site here right now.  


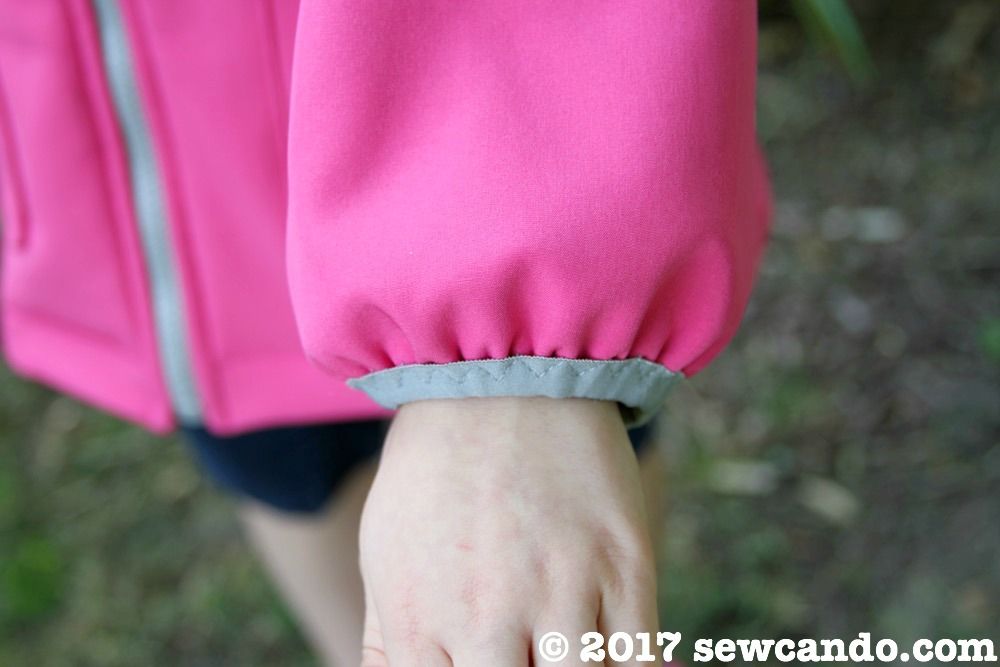
The pattern I used is an old one from the 80s my mom gave me from her stash, McCalls 2967.  I did make a few adjustments though.  First was making it about 4 inches shorter - the original design was mid-thigh length which looked odd.  I also used FOE to gather the sleeve cuffs instead of leaving them wide.  I liked how the grey trim coordinated with my grey zipper and the snugger fit would keep wind and rain out of her sleeves.


I also had to size down the patch pockets to fit the shorter front and did a little FOE trim at the tops to make everything match-y like a store bought jacket would be.


Except I haven't seen any jackets in stores that make sweet ponies appear in the rain, like ours does:


This was my first experience working with softshell and I'm looking forward to making more things with the other magic reveal prints I bought.  I just need to find the ideal jacket pattern for my 11yr old and one for myself.  And figure out what to do with the cool scrap bits I have left over - they're too awesome to just toss in the bin!  

What would you make with softshell fabric?


Wednesday, October 5, 2016

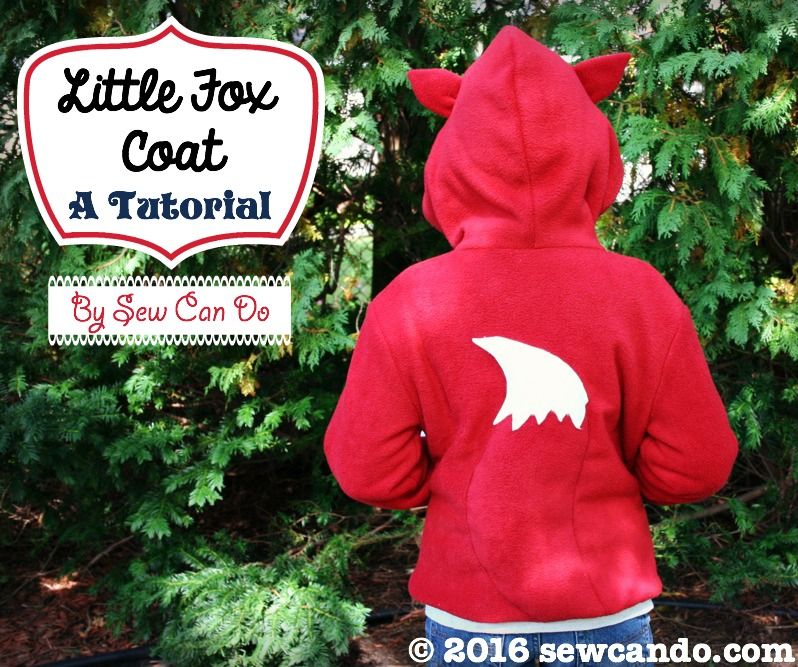
Tutorial Time: A Crafty Little Fox Coat


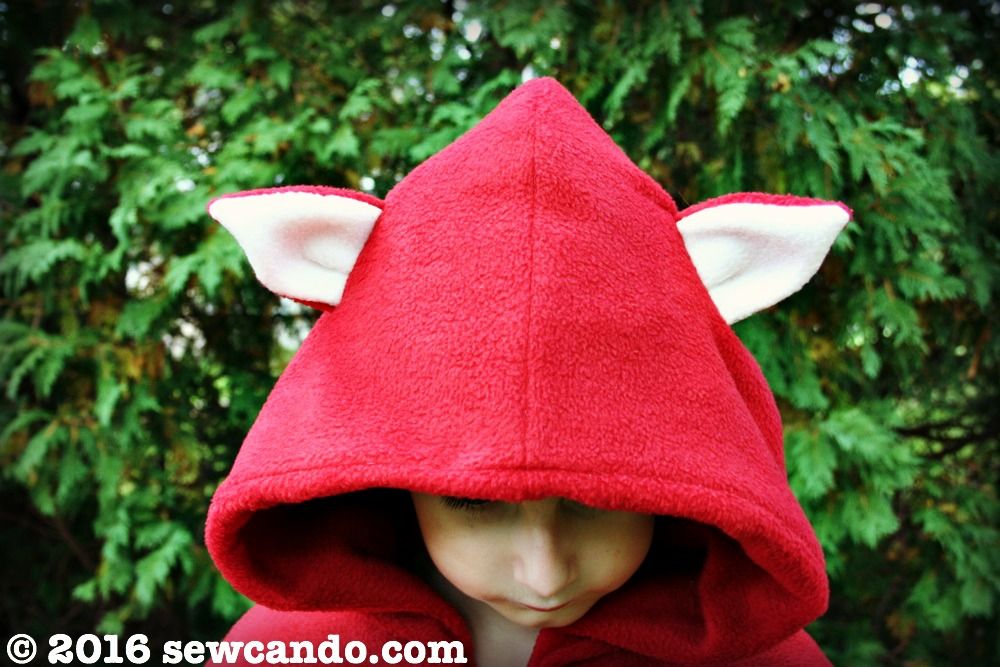
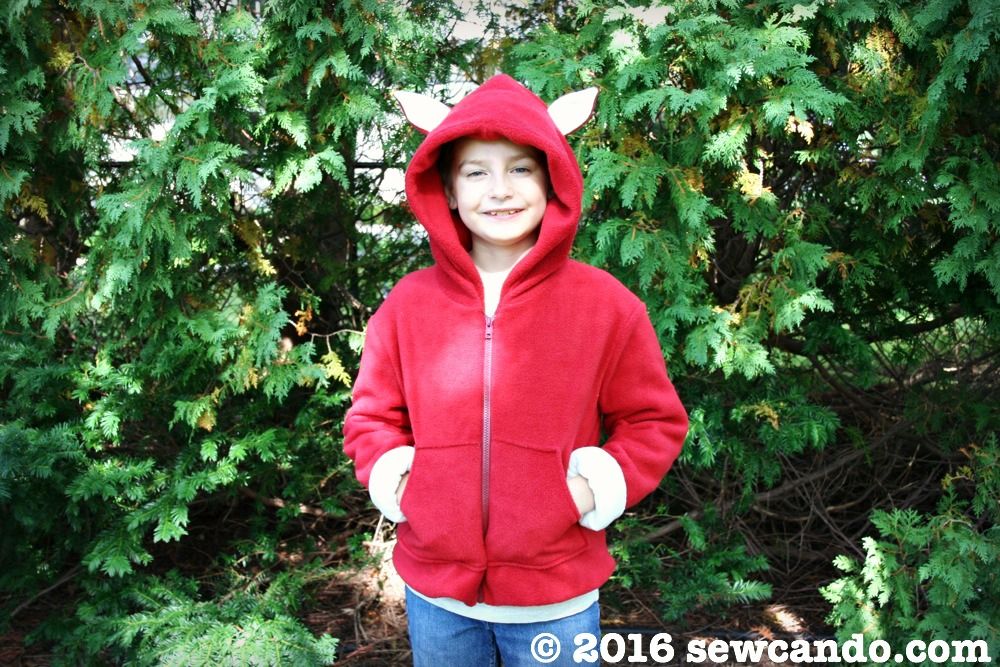
There is something about Fall that makes animal feature coats extra cute.  Maybe it's so many sweet woodland critters to pick from?  My middle guy needed a new fleece jacket, so I raided my stash and whipped up my fun Crafty Little Fox Coat for him with just a basic pattern, fleece and a little initiative:

Clever like a fox thanks to a fleecy fox coat

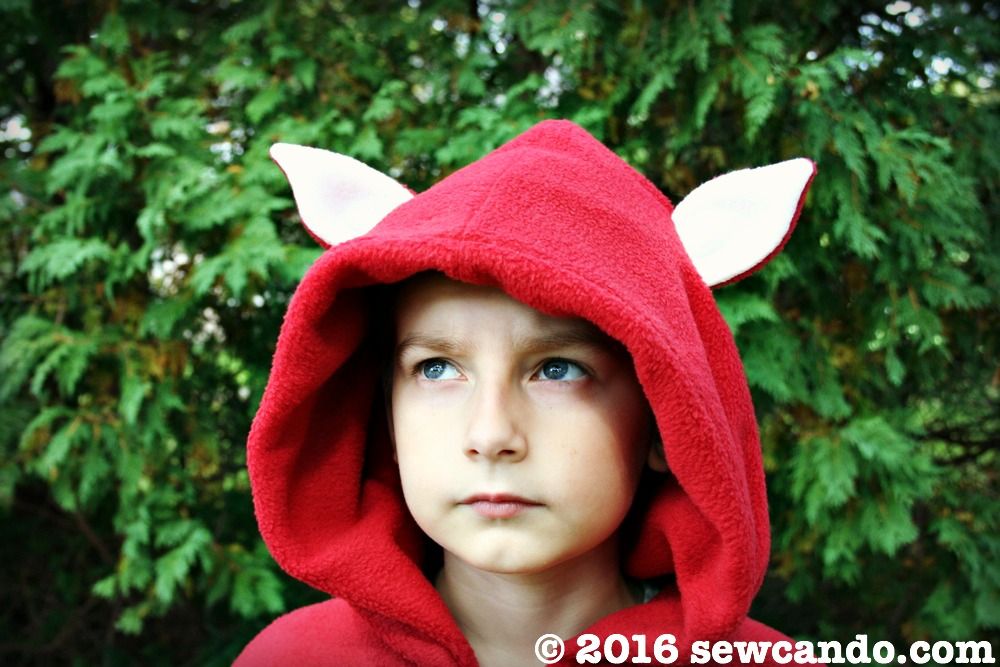
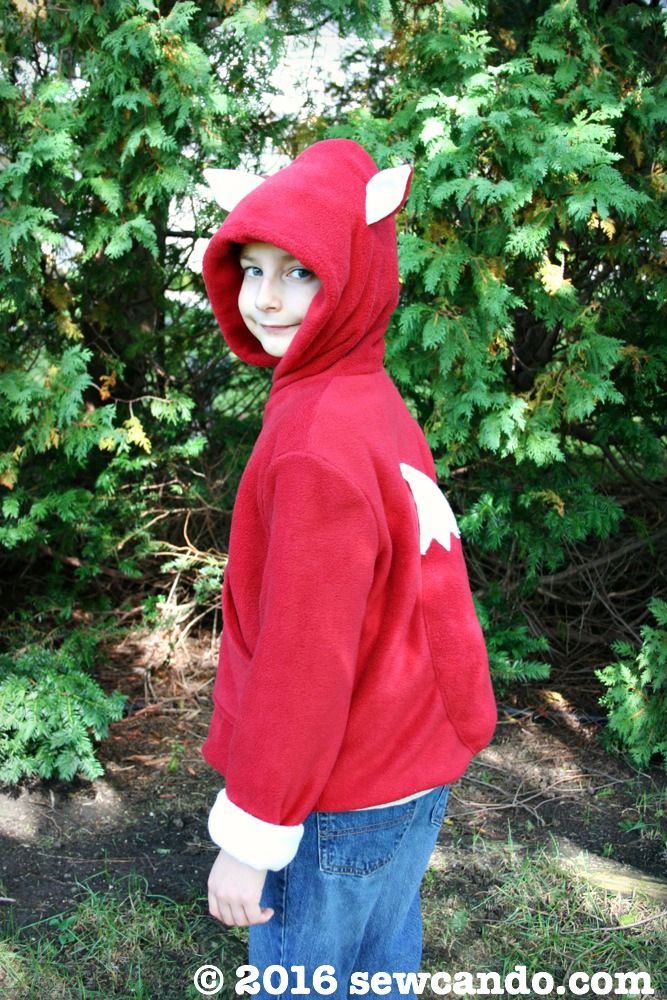
This little fox's ears prick up at any sign of danger...


...or food:


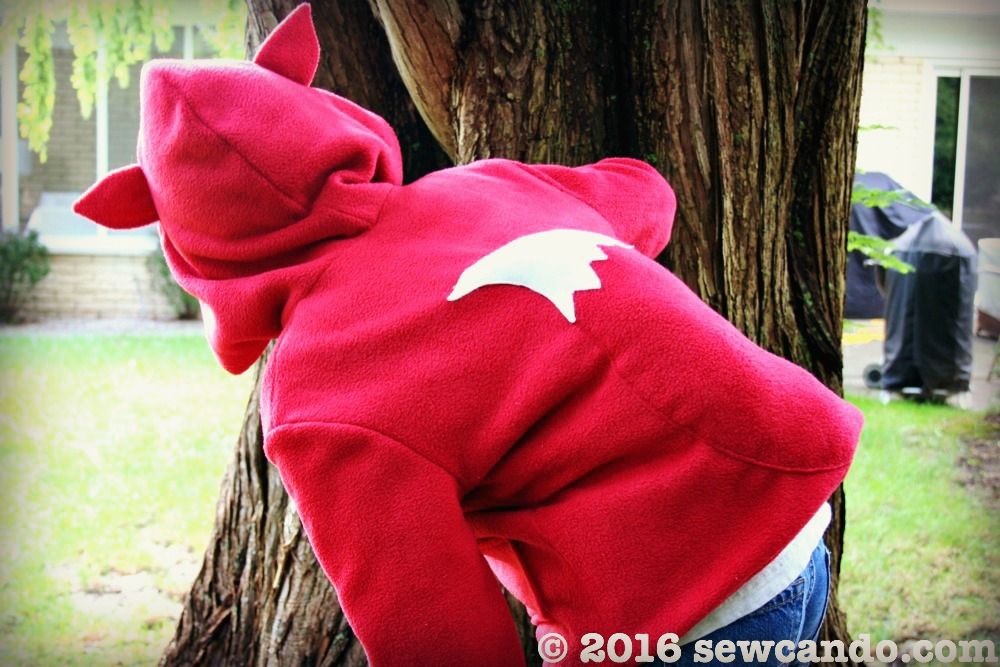
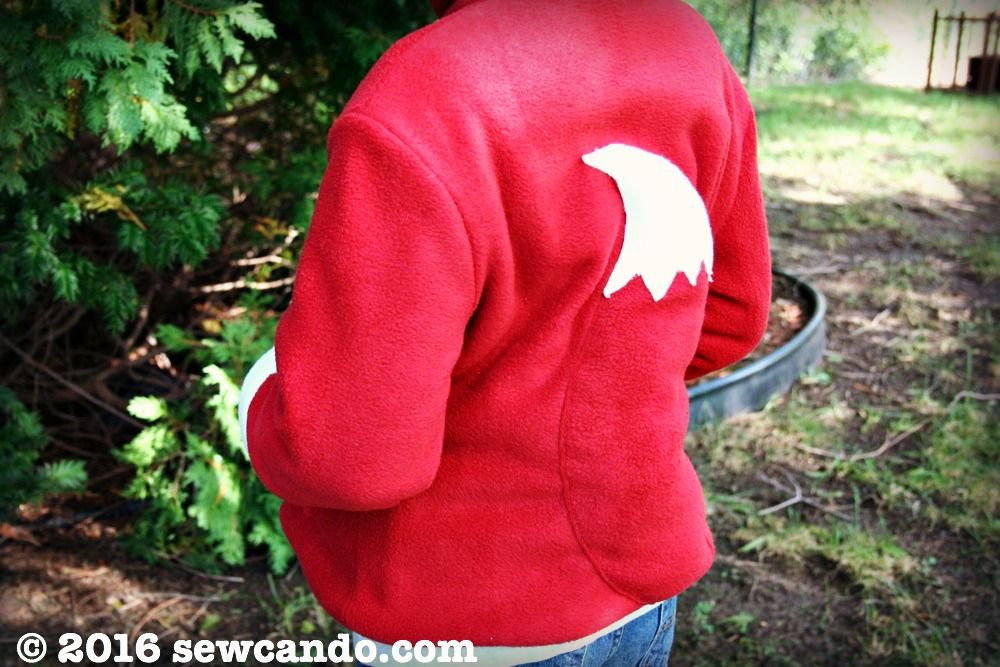
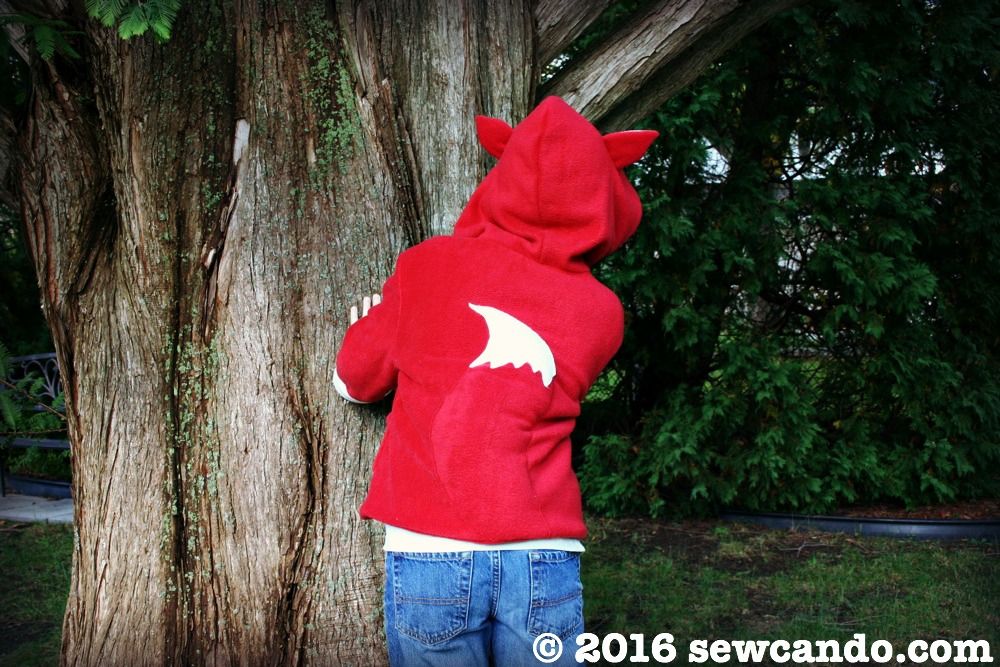
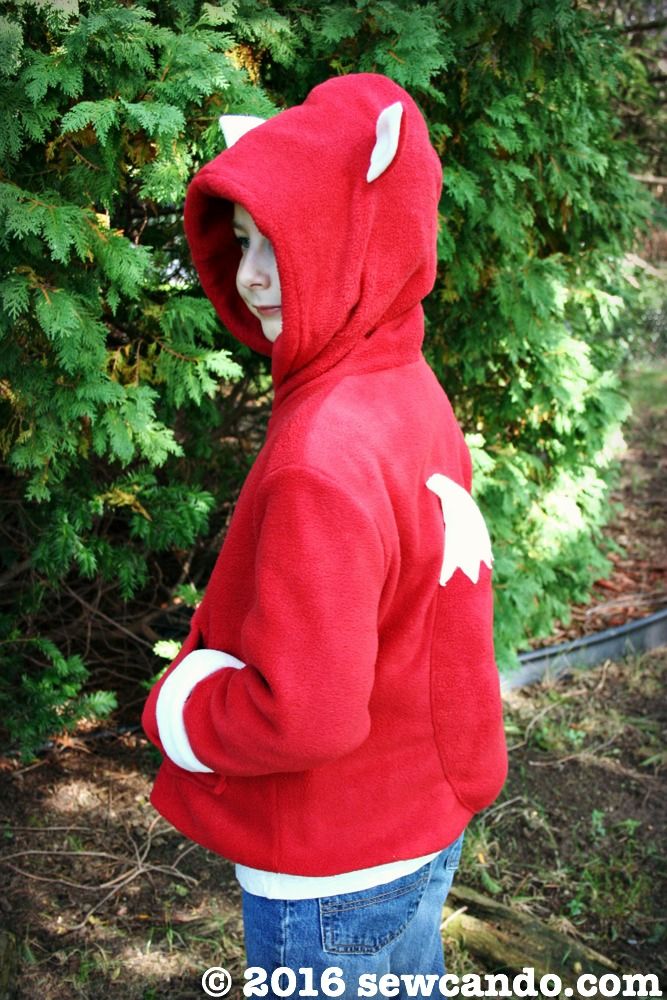
He likes peeking around corners to see who's around, so he had to have a fun tail like a real fox:


The tail is even 3-dimensional for some extra realism (and cuddly cuteness):


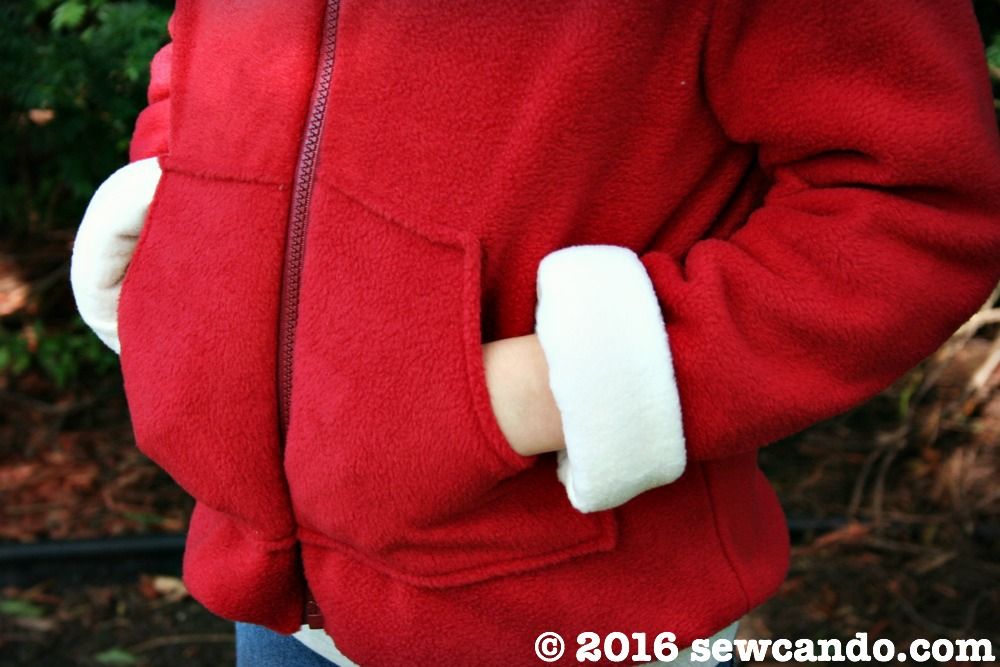
There are also cozy front pockets to keep hands warm.  I deliberately made the sleeves a little long too, so we could roll up the cuffs for a little color detail (and get some extra wear time as he grows).


A fox coat is so much fun for pretending in and making the everyday a little more magical:


I used this base pattern previously to do my Just A Giraffe Fleece Coat:


It was complete with ears, horns and a swingy tail:


Now onto this season's critter - the Little Fox!


How I made it:

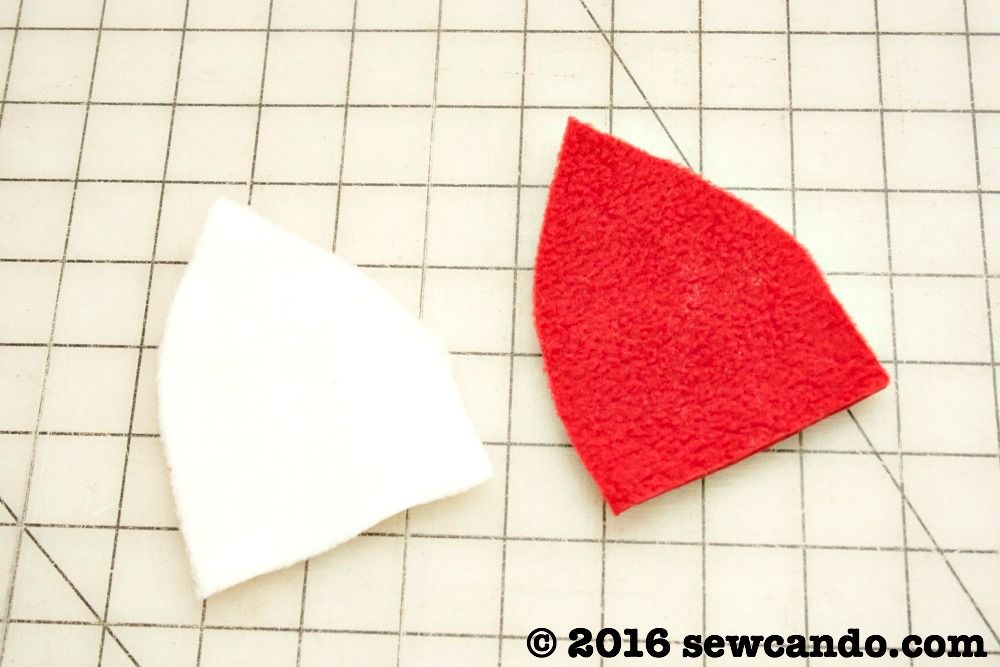
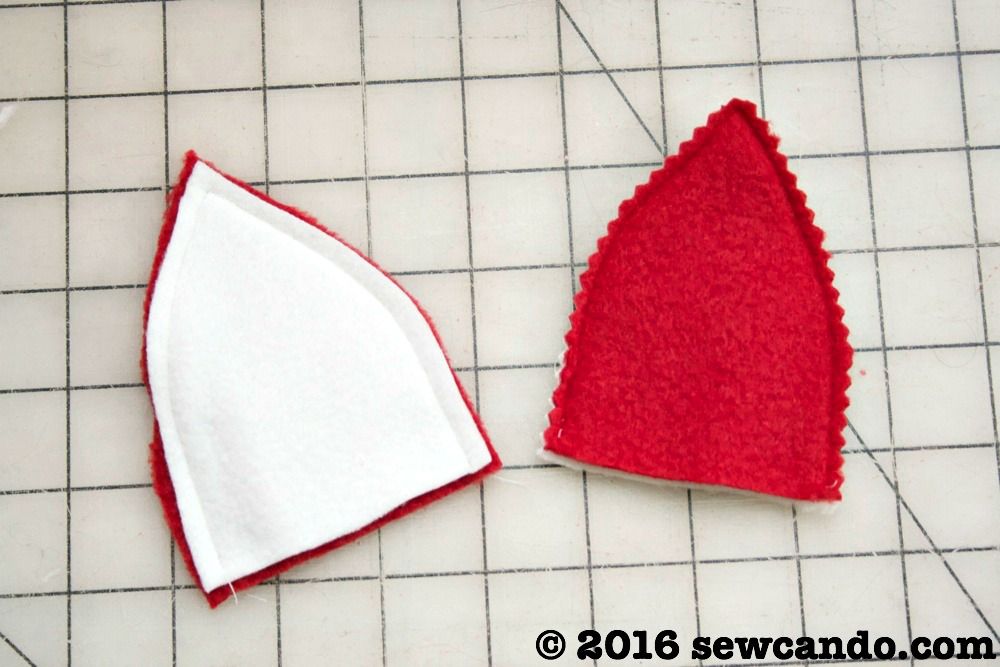
For the coat itself, a basic fleece zip-up hoodie pattern was needed. There are lots out there, but I used Simplicity 5362.  That pattern was ideal because it's easy to sew (and includes kids & adults sizes).  I drafted up some ear pieces that were about 3 inches wide by 4 inches high and cut out two pairs: one each from my red and cream anti-pill fleeces:


I stitched my ears together (right sides facing) with a 1/4 inch seam allowance and then trimmed the seams down with pinking shears to make it easy to turn them right side out:


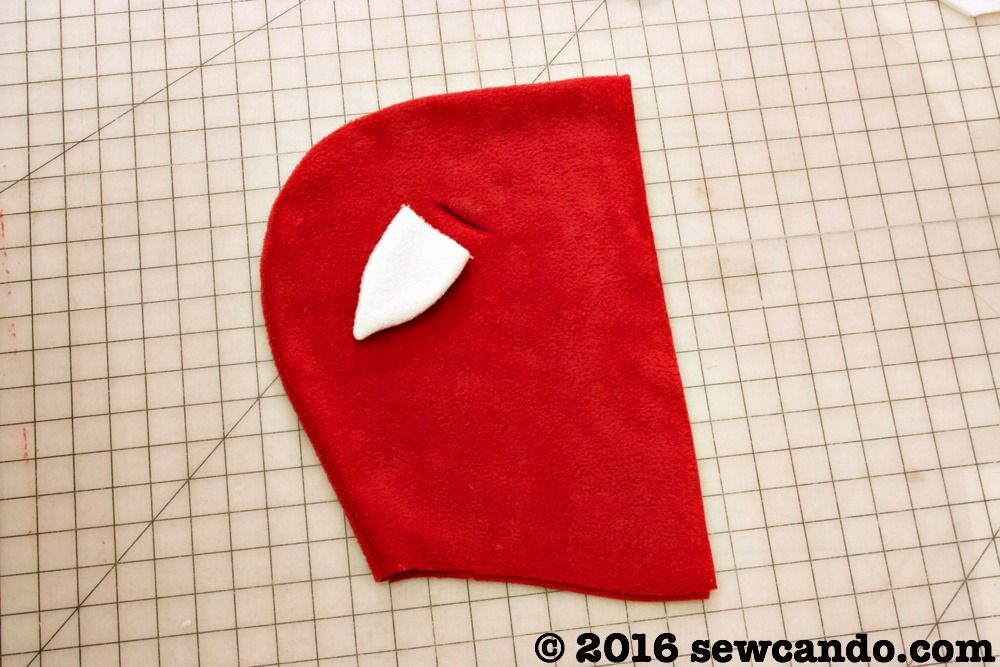
I stitched together the hood pieces and I clipped a small line on either side of the hood just 1/2 inch smaller than the width of each ear and inserted them in.  I wanted to have a little fold in the front to give the ears a little curved shape when sewn in.  


On the wrong side, I stitched across the opening to close it and sandwich the hood & ear layers together. 


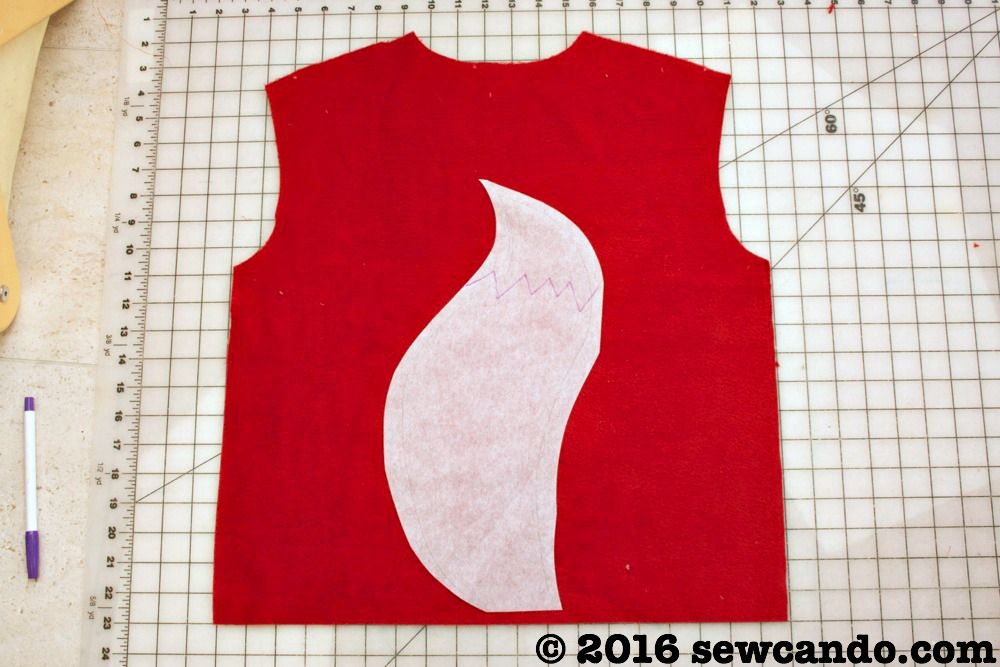
For the tail I freehand drew a bushy & curved fox tail on paper to make a pattern to fit my coat's back panel.  I drew an irregular zig-zag  near the top for the white tip.


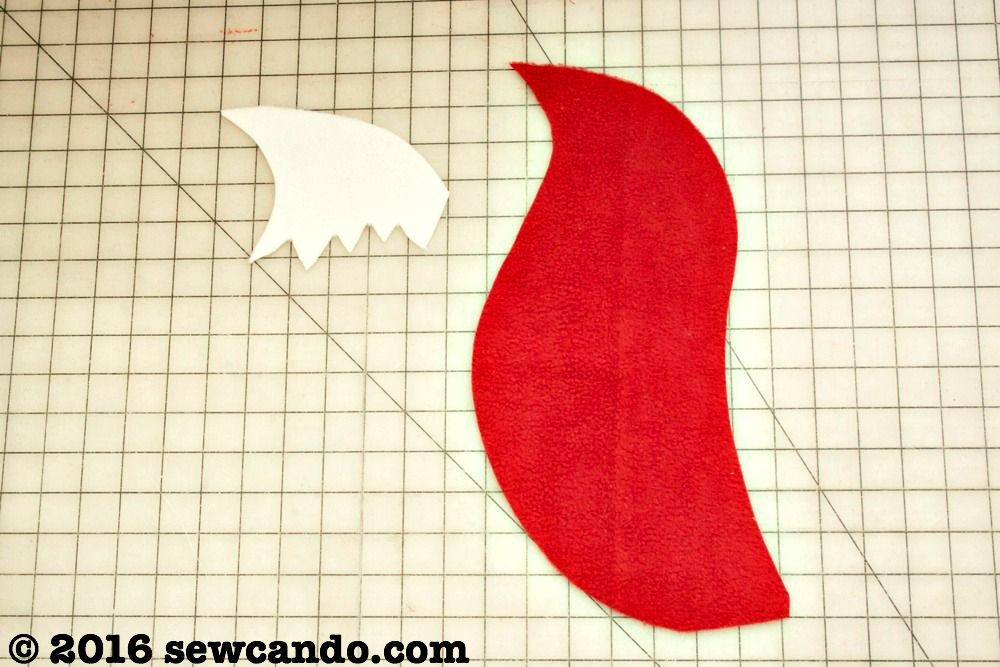
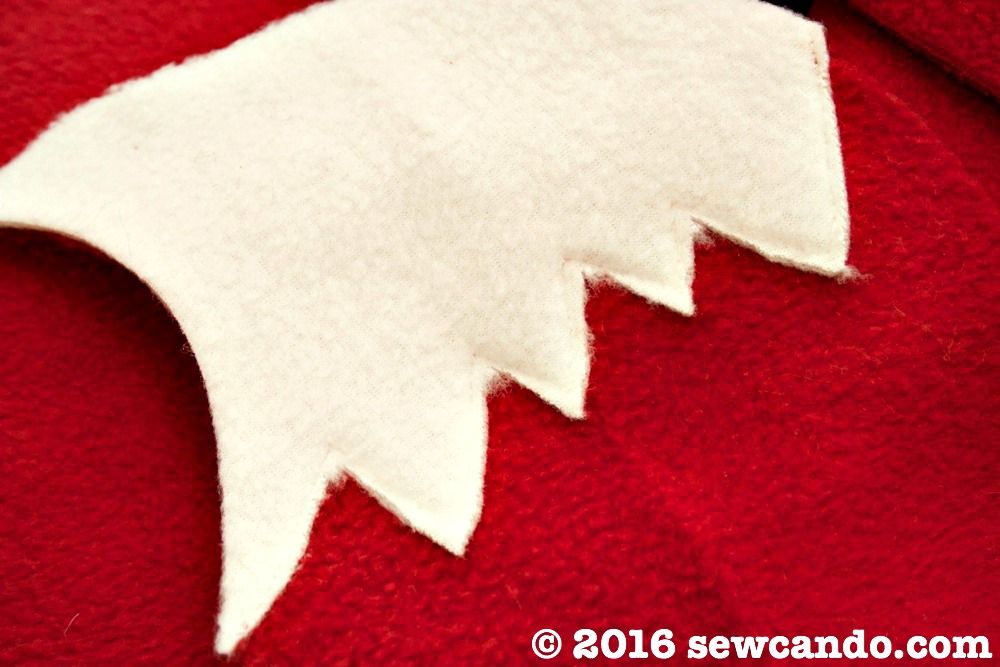
I cut out the main tail piece from my red fleece and then cut off the tip section and used it to cut out that portion  from the cream fleece.  I cut that piece just slightly larger than the pattern (maybe an extra 1/8 inch all the way around) so that it would totally cover the red piece when put together.


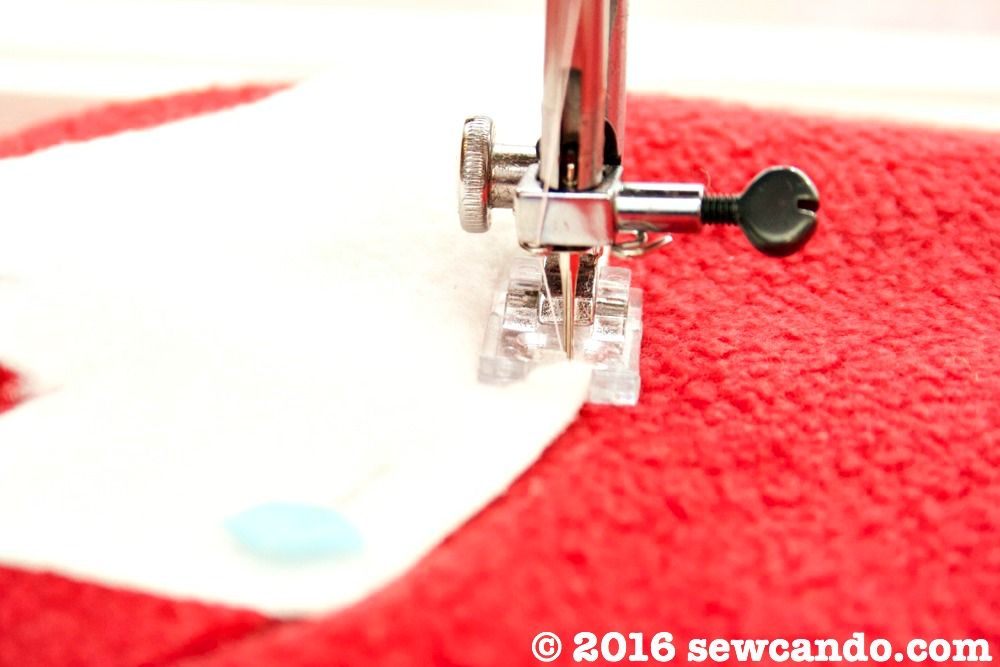
I top stitched the white tip onto the red tail at the zig-zag.


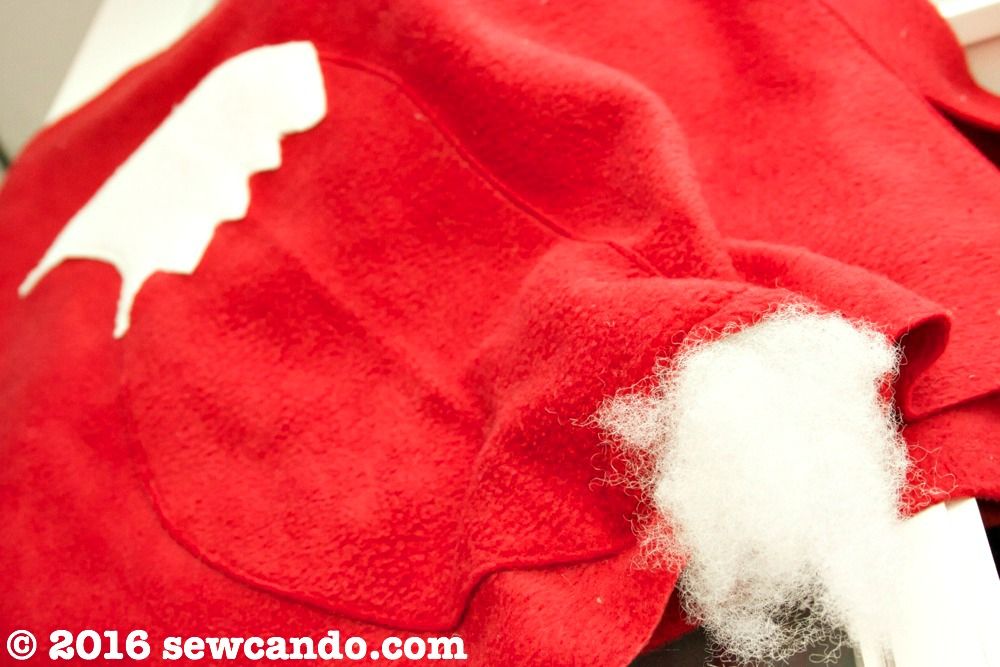
Then I pinned the tail to the back panel and topstitched them together from one side of the tail, up and back down to the other, leaving the bottom section open.


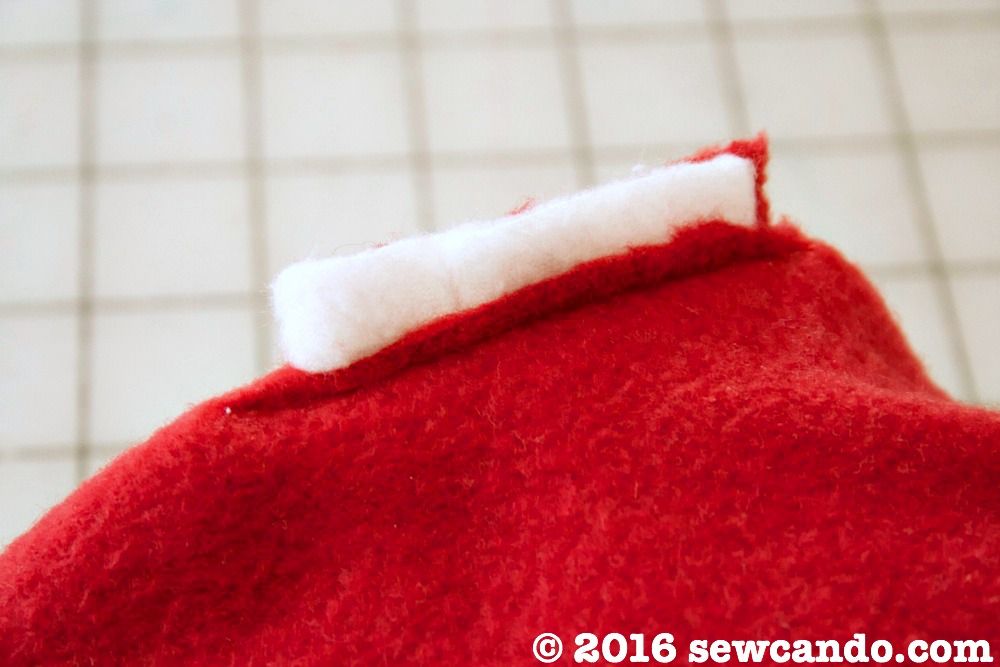
I gently stuff the tail with polyfill to give it some body and then basted the opening closed:


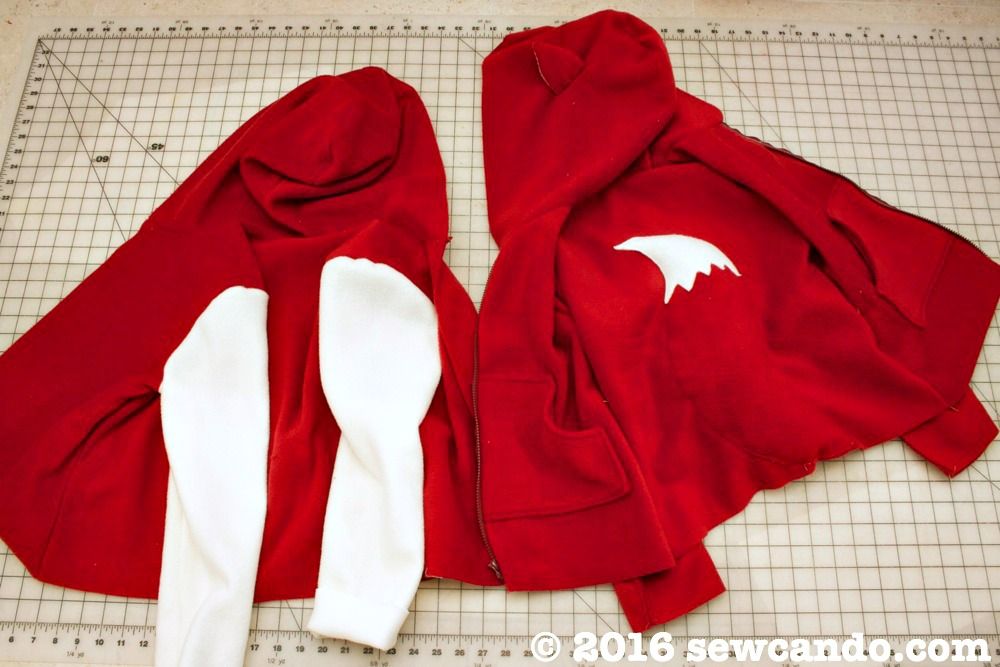
I followed the pattern directions to put all the pieces together to make the actual coat.  This pattern happens to be unlined, sI made two jackets - the one with the fox features and a second one with cream fleece sleeves for the lining. 


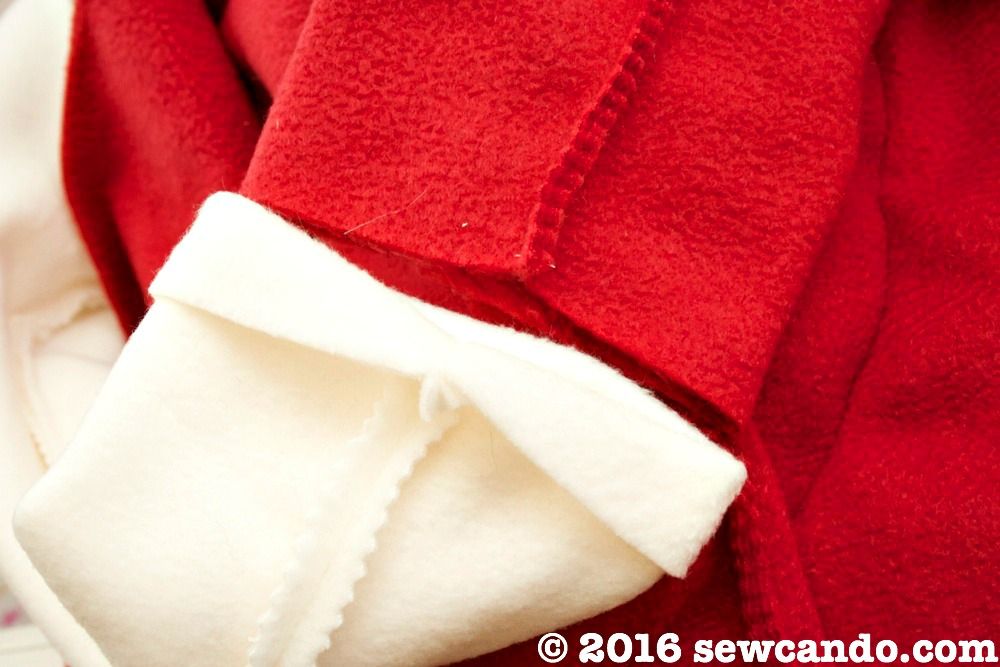
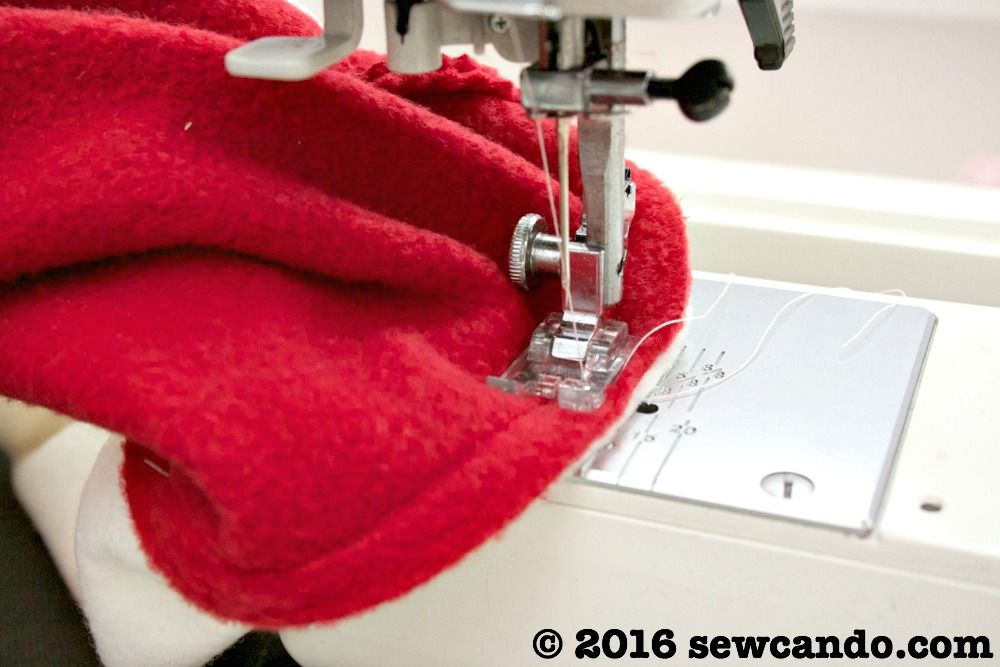
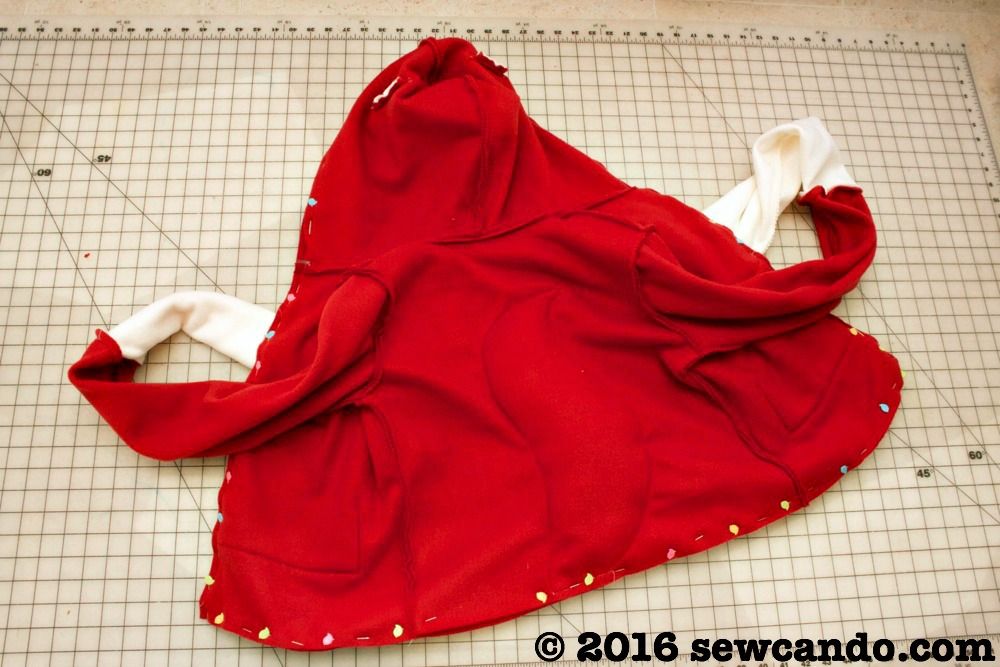
To attach the outer & lining, I did the sleeves first by folding the sleeve cuff of the lining right side out and inserting it into the corresponding sleeve of the outer: 


Then, I pinned them together, matching up the seams and stitched them together:


To put the main parts of the coat outer & lining together, I pinned, then sewed the lining and outer together around the front, hood and bottom edges, leaving a few inch gap at the bottom to turn right side out.  I turned everything right side out, pushed the lining into the outer coat and then slipstitched the opening closed.


I rolled up the sleeves so the creamy lining would show at the cuffs.


Now my little guy is ready to be as clever and warm as a fox this Fall:


LinkWithin

Related Posts with Thumbnails