
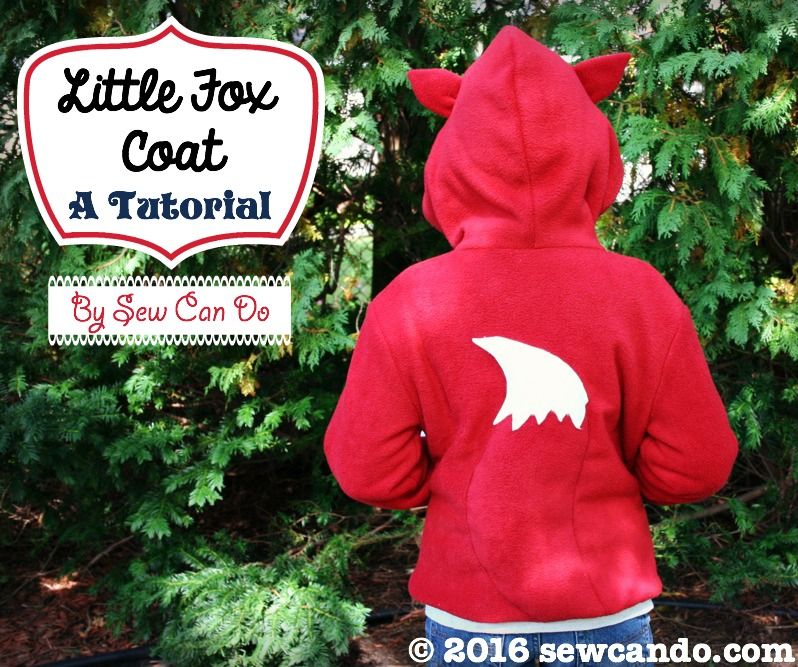
There is something about Fall that makes animal feature coats extra cute. Maybe it's so many sweet woodland critters to pick from? My middle guy needed a new fleece jacket, so I raided my stash and whipped up my fun Crafty Little Fox Coat for him with just a basic pattern, fleece and a little initiative:
 |
| Clever like a fox thanks to a fleecy fox coat |
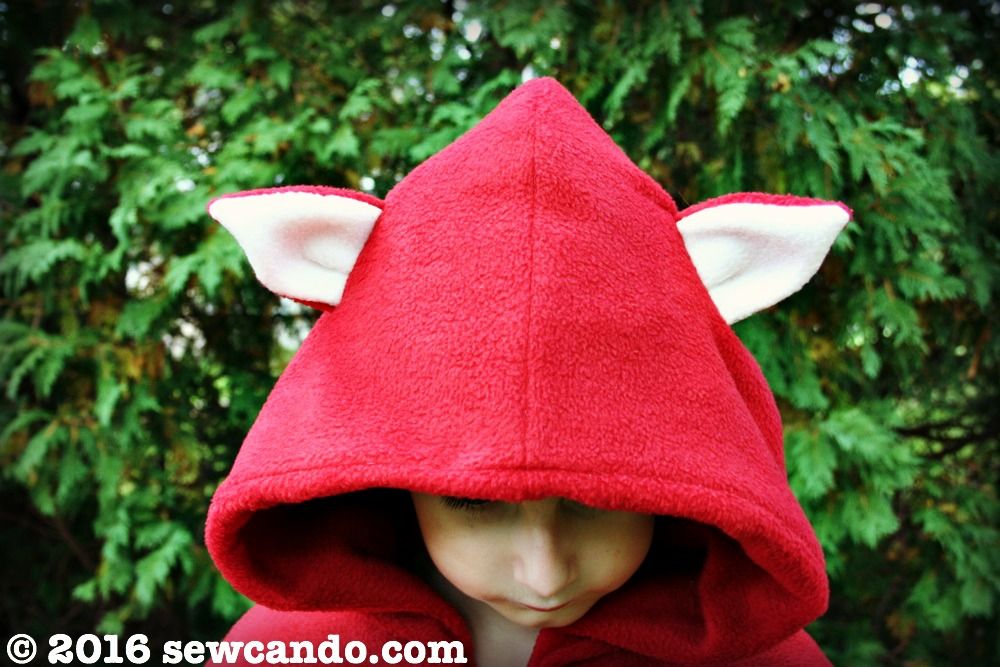
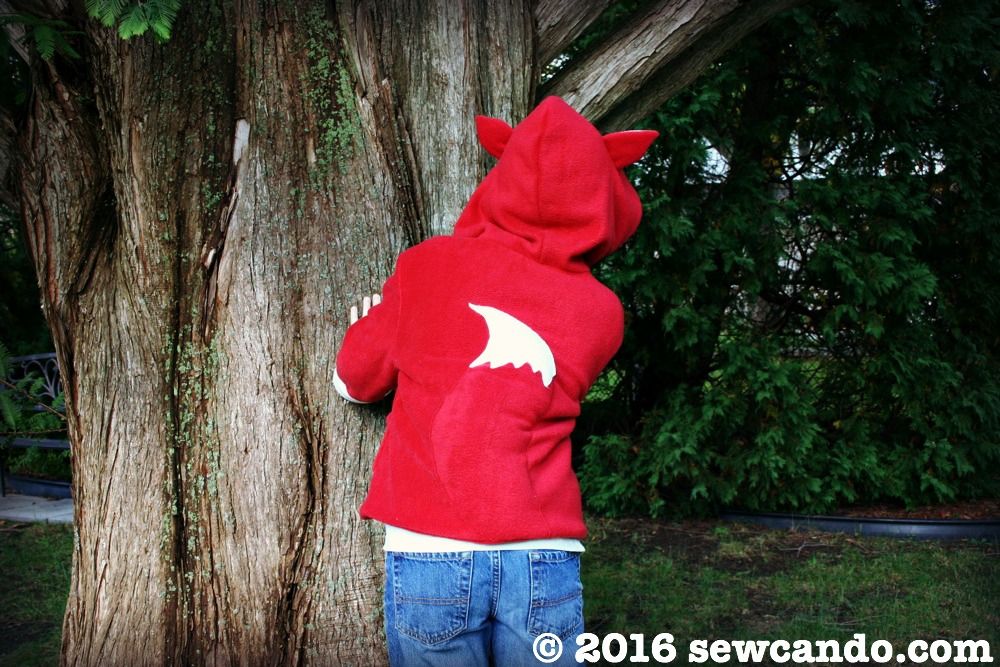
This little fox's ears prick up at any sign of danger...
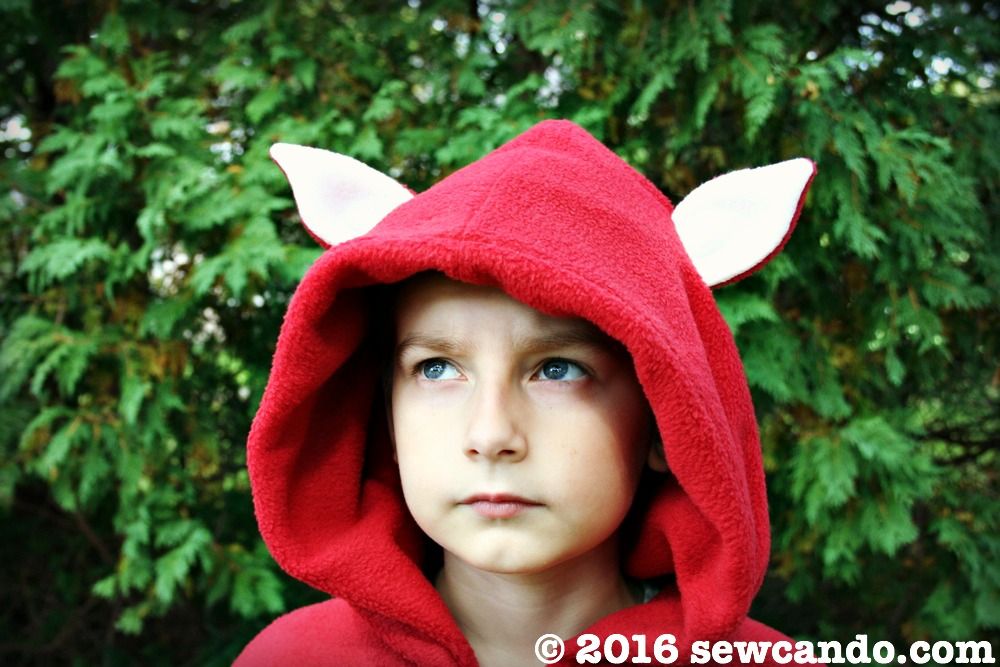
...or food:
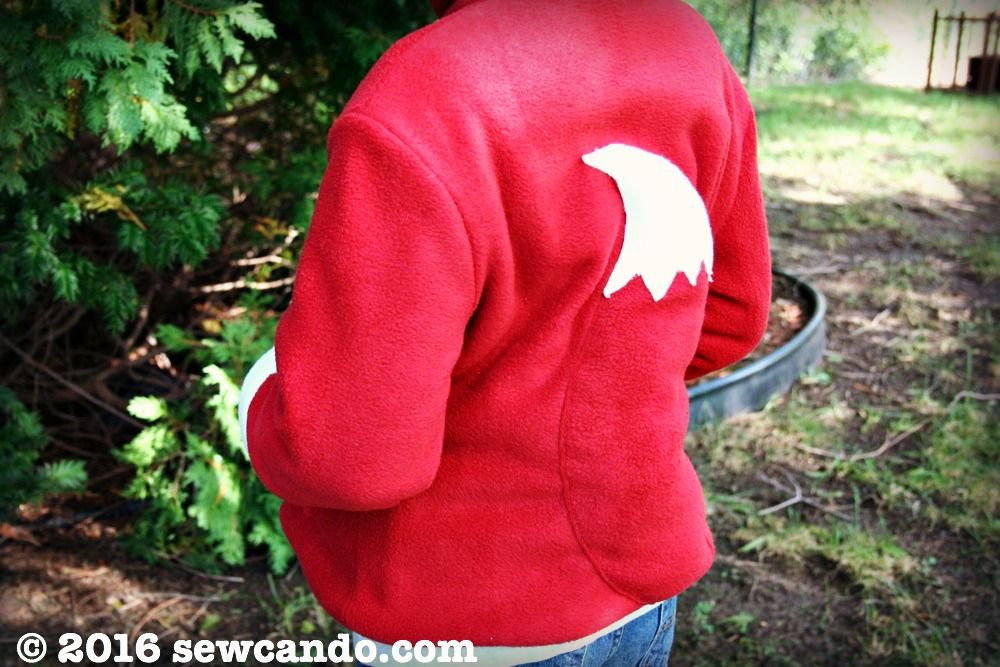
He likes peeking around corners to see who's around, so he had to have a fun tail like a real fox:
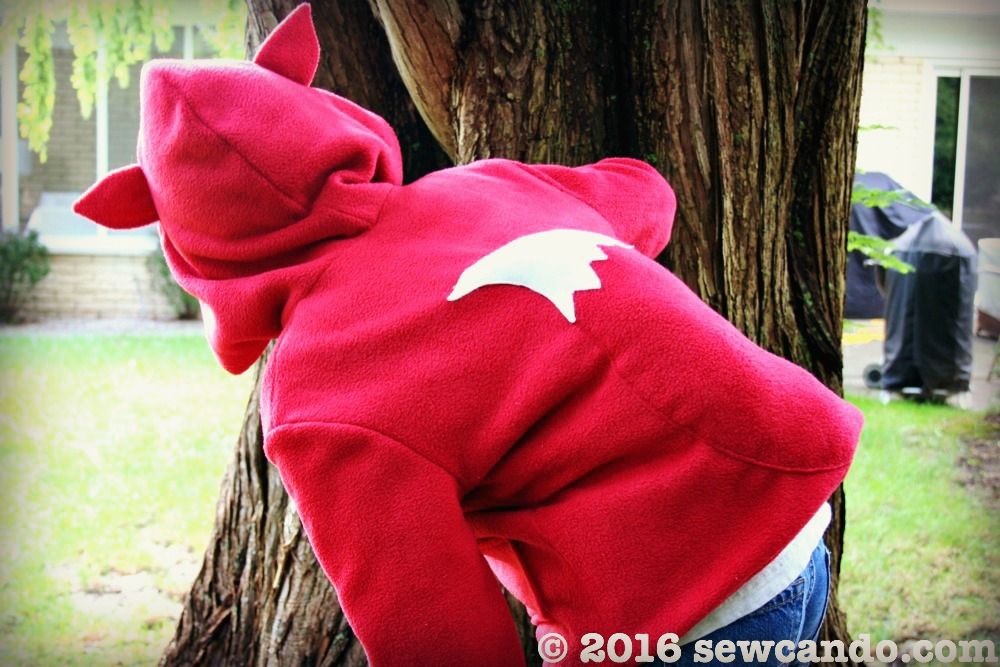
The tail is even 3-dimensional for some extra realism (and cuddly cuteness):
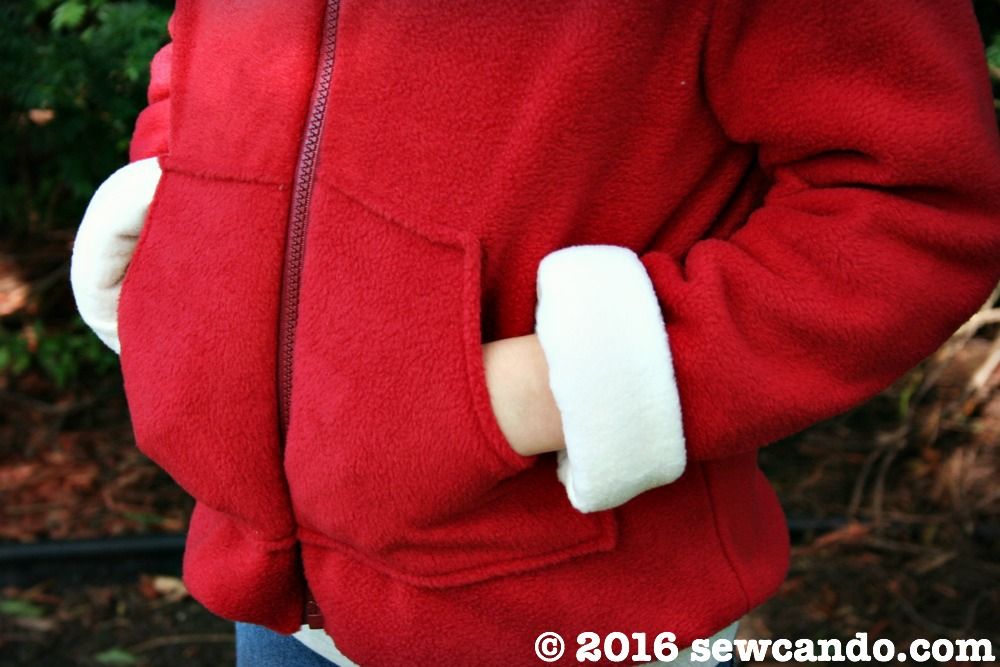
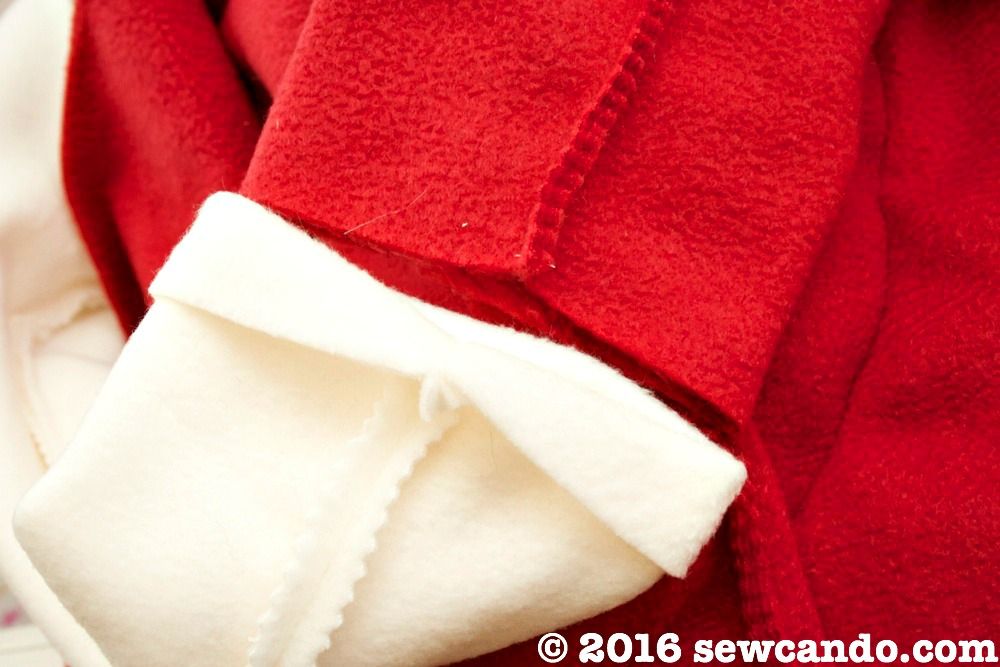
There are also cozy front pockets to keep hands warm. I deliberately made the sleeves a little long too, so we could roll up the cuffs for a little color detail (and get some extra wear time as he grows).
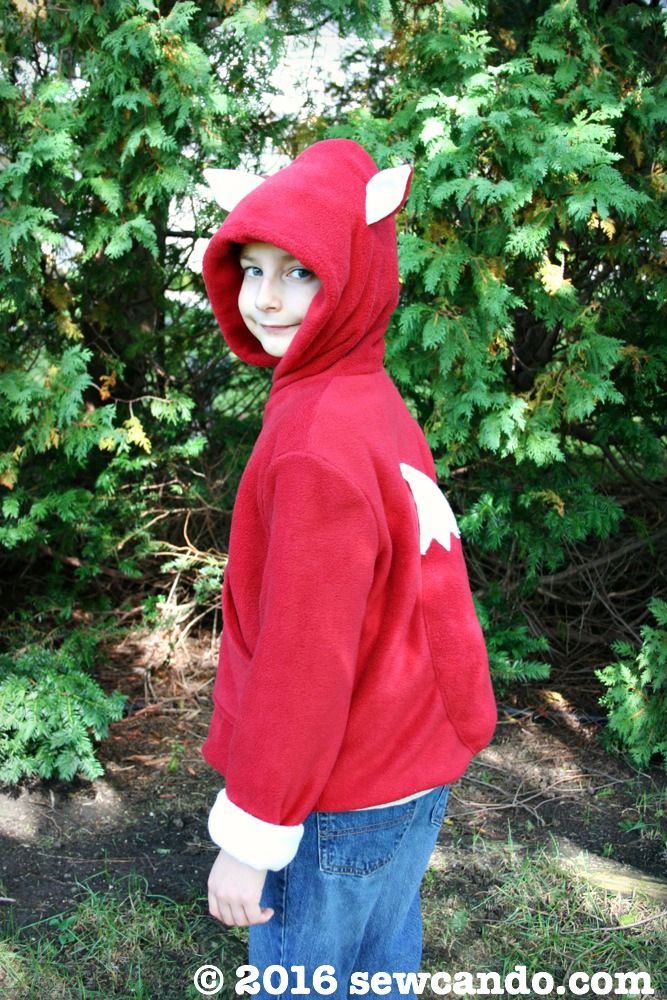
A fox coat is so much fun for pretending in and making the everyday a little more magical:
I used this base pattern previously to do my Just A Giraffe Fleece Coat:

It was complete with ears, horns and a swingy tail:

Now onto this season's critter - the Little Fox!
How I made it:
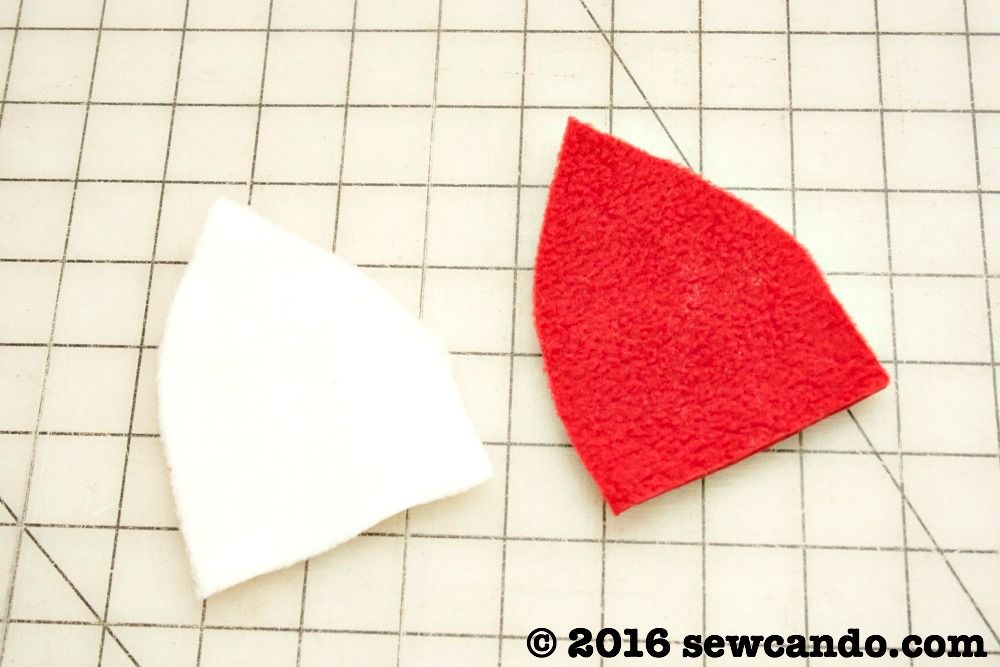
For the coat itself, a basic fleece zip-up hoodie pattern was needed. There are lots out there, but I used Simplicity 5362. That pattern was ideal because it's easy to sew (and includes kids & adults sizes). I drafted up some ear pieces that were about 3 inches wide by 4 inches high and cut out two pairs: one each from my red and cream anti-pill fleeces:
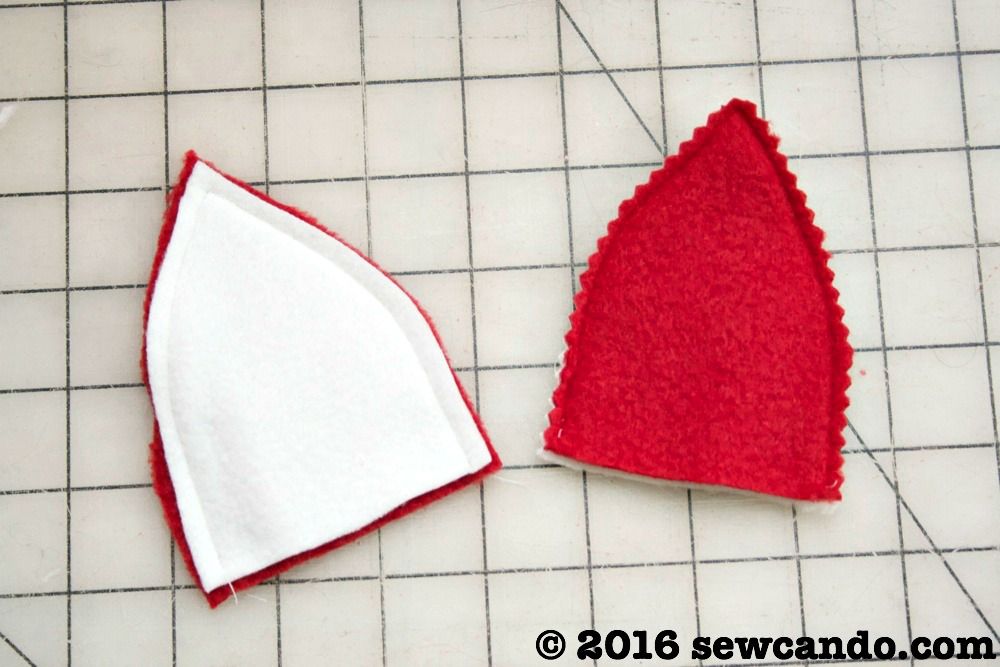
I stitched my ears together (right sides facing) with a 1/4 inch seam allowance and then trimmed the seams down with pinking shears to make it easy to turn them right side out:
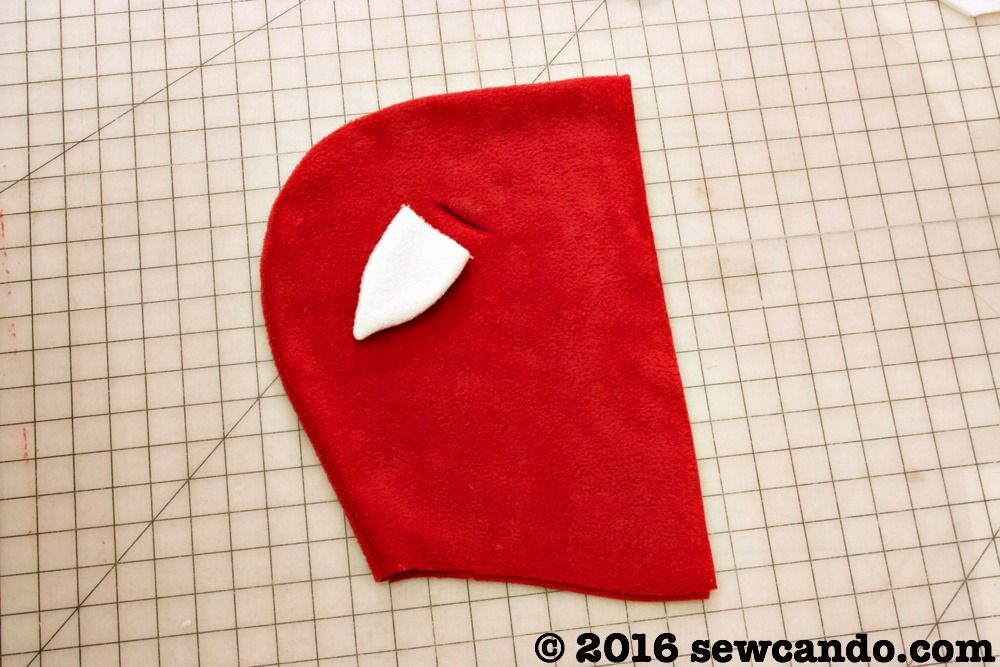
I stitched together the hood pieces and I clipped a small line on either side of the hood just 1/2 inch smaller than the width of each ear and inserted them in. I wanted to have a little fold in the front to give the ears a little curved shape when sewn in.
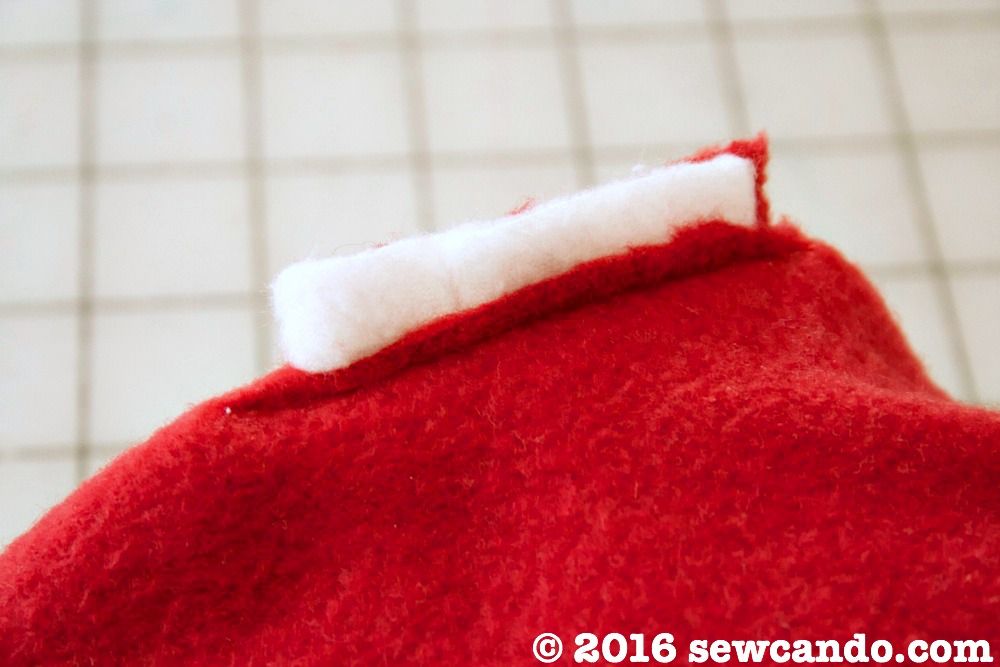
On the wrong side, I stitched across the opening to close it and sandwich the hood & ear layers together.
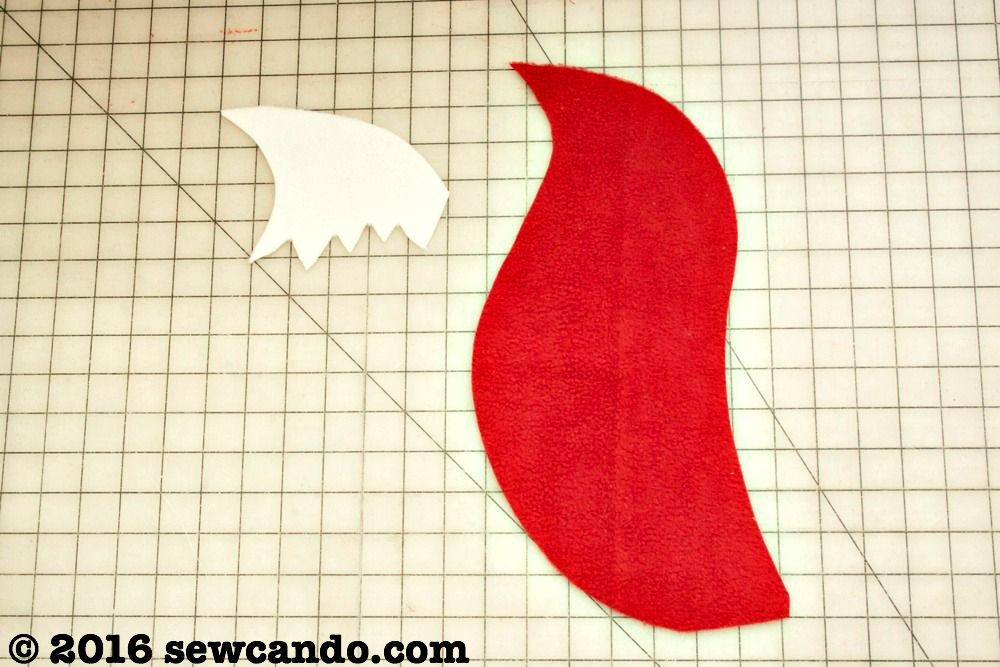
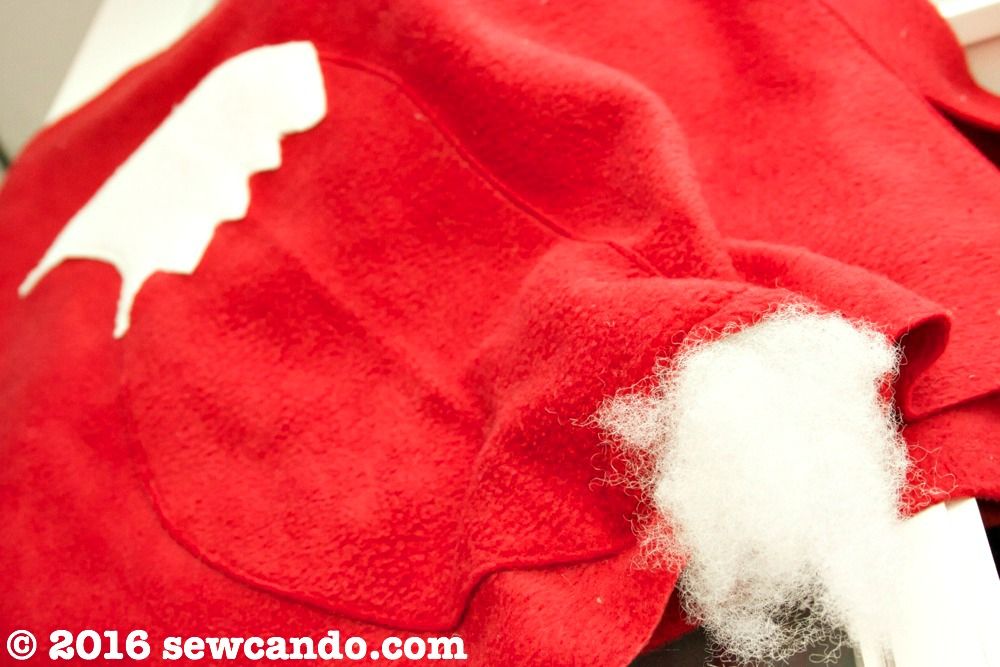
For the tail I freehand drew a bushy & curved fox tail on paper to make a pattern to fit my coat's back panel. I drew an irregular zig-zag near the top for the white tip.
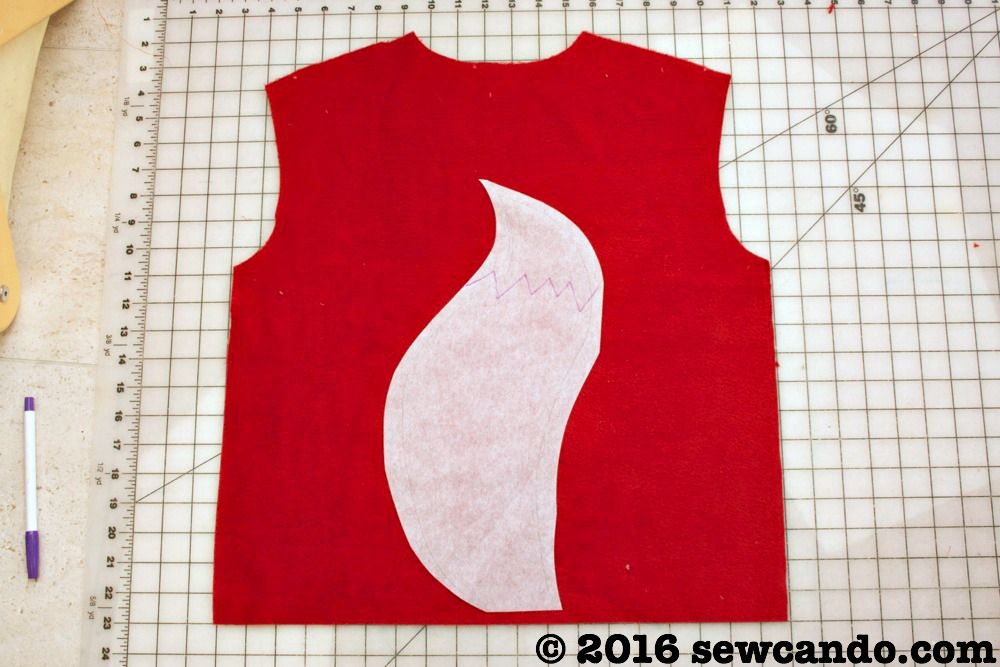
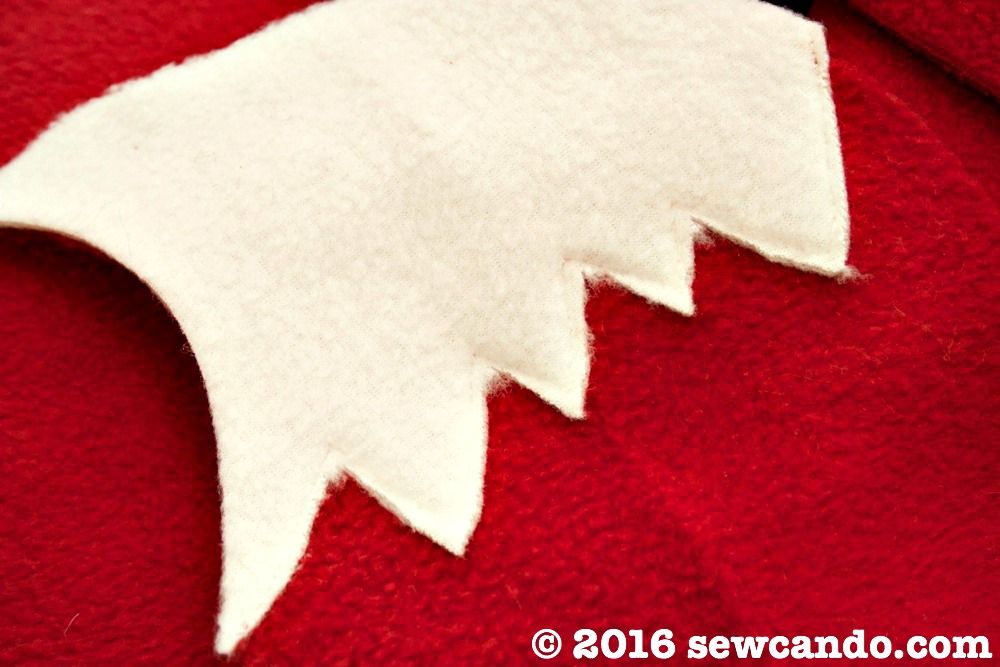
I cut out the main tail piece from my red fleece and then cut off the tip section and used it to cut out that portion from the cream fleece. I cut that piece just slightly larger than the pattern (maybe an extra 1/8 inch all the way around) so that it would totally cover the red piece when put together.
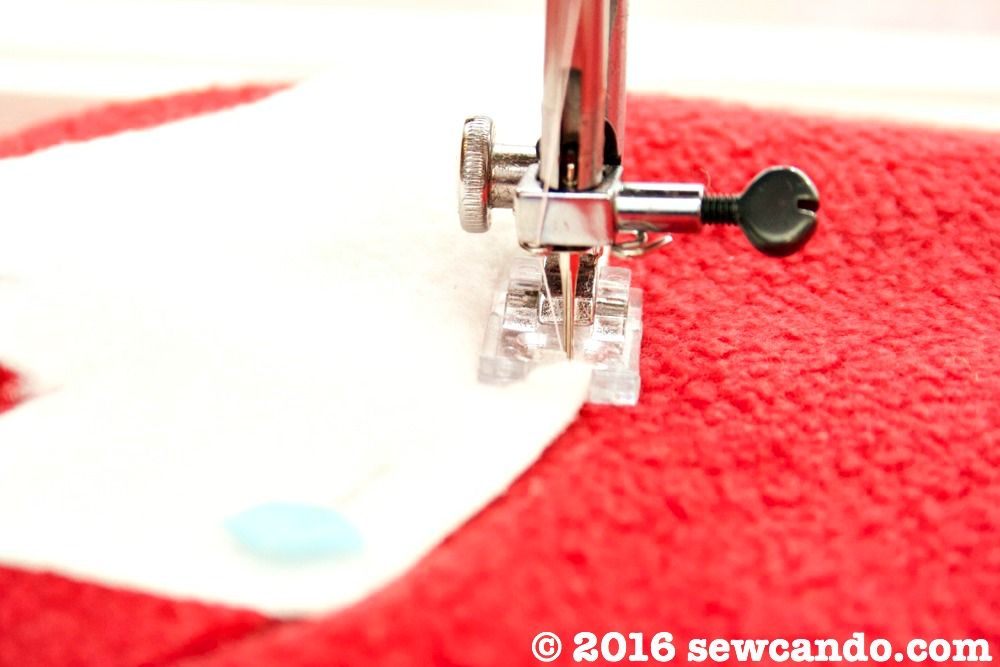
I top stitched the white tip onto the red tail at the zig-zag.
Then I pinned the tail to the back panel and topstitched them together from one side of the tail, up and back down to the other, leaving the bottom section open.
I gently stuff the tail with polyfill to give it some body and then basted the opening closed:
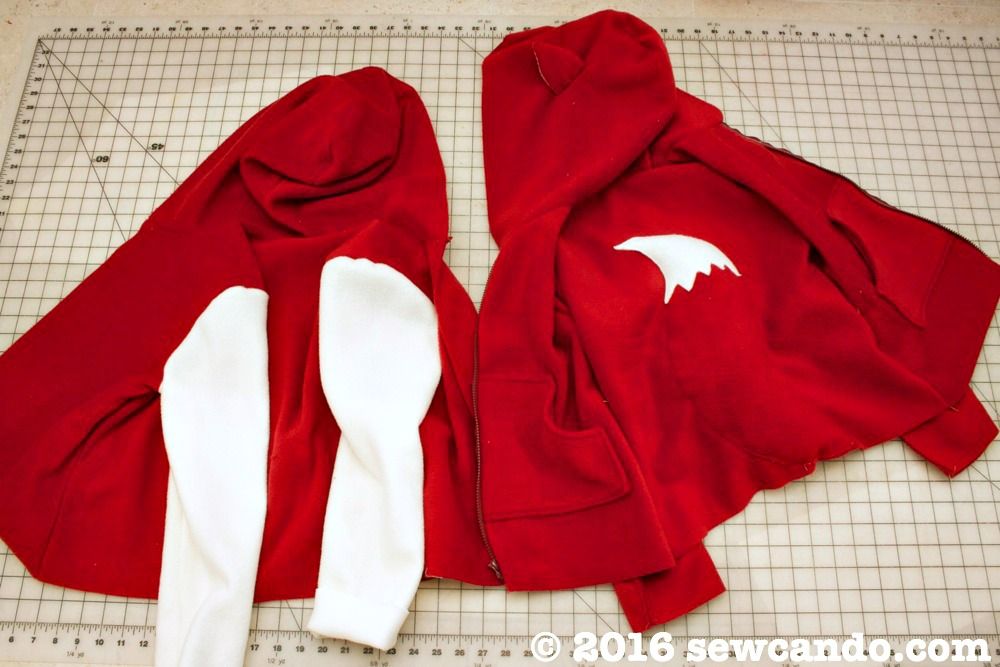
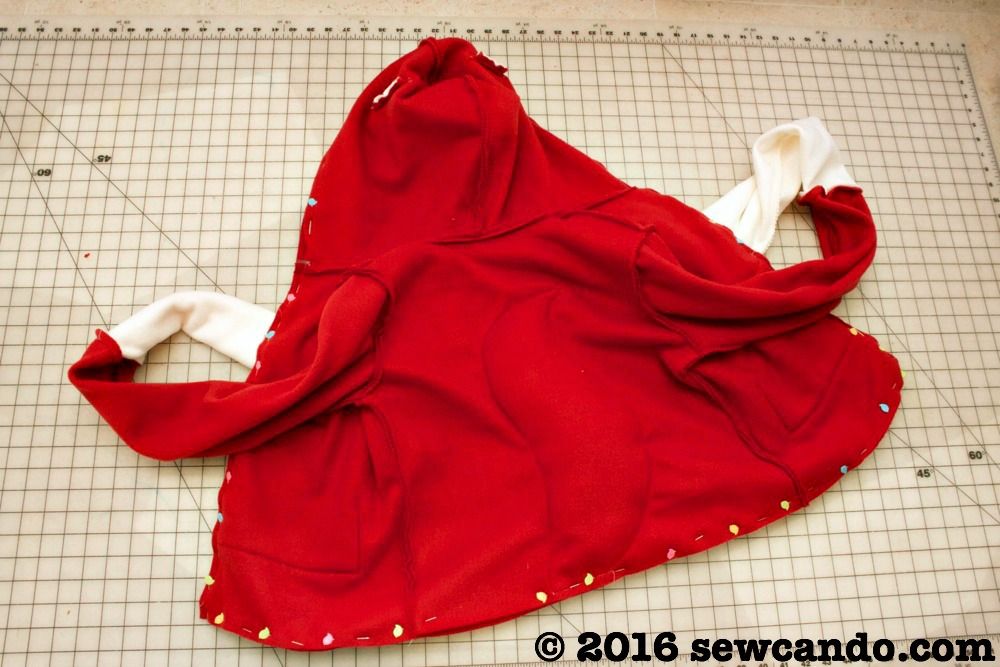
I followed the pattern directions to put all the pieces together to make the actual coat. This pattern happens to be unlined, so I made two jackets - the one with the fox features and a second one with cream fleece sleeves for the lining.
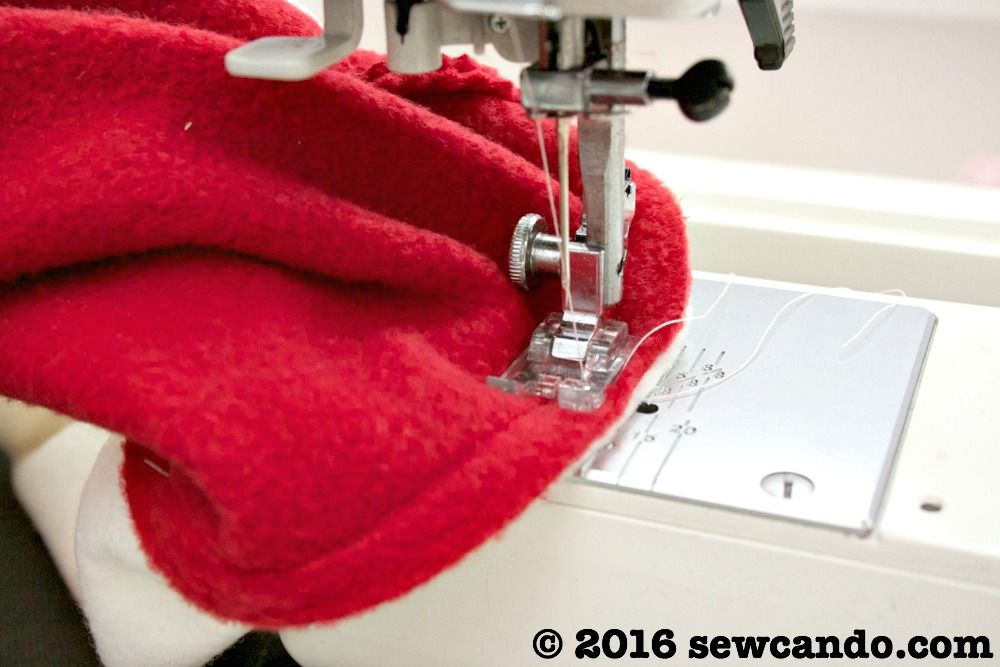
To attach the outer & lining, I did the sleeves first by folding the sleeve cuff of the lining right side out and inserting it into the corresponding sleeve of the outer:
Then, I pinned them together, matching up the seams and stitched them together:
To put the main parts of the coat outer & lining together, I pinned, then sewed the lining and outer together around the front, hood and bottom edges, leaving a few inch gap at the bottom to turn right side out. I turned everything right side out, pushed the lining into the outer coat and then slipstitched the opening closed.
I rolled up the sleeves so the creamy lining would show at the cuffs.
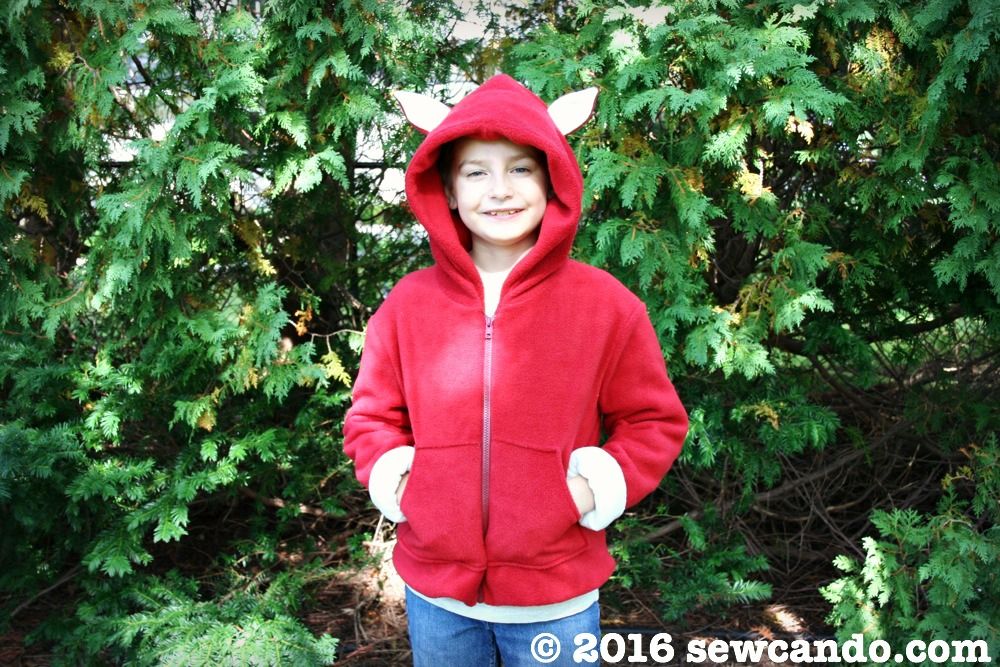
Now my little guy is ready to be as clever and warm as a fox this Fall:


I loved sewing for my kids when they were younger. He looks like he loves the jacket which must make you feel wonderful. Thanks for linking up at Handmade Halloween!
ReplyDeleteIt really does. Seeing them happy when the finished item is revealed makes it worth the effort!
DeleteOh my gosh, that is just so cool! What a great idea to make the tail attached to the back and to stuff it! Love it! :) Lisa
ReplyDeleteThanks! We wanted the tail to be more real looking and this way it won't get caught on anything.
DeletelThese are so adorable!! Definitely pinning!!
ReplyDeleteVery appreciated - thank you:)
DeleteHi Cheryl
ReplyDeleteJust stopped by to let you know that I featured this on my Round Tuit post this week!
A Round Tuit 332
Thanks again for linking up to A Round Tuit Hope you have a great week!
Jill @ Creating my way to Success
Your little fox jacket is the cutest Cheryl! Thanks for sharing!
ReplyDeleteThanks Connie. It's nice to hear other people love cute & cuddly as much as I do:)
Delete