Showing posts with label Die Cut Crafts. Show all posts

Wednesday, December 3, 2014

Tutorial Time: Make An Indoor Snowball Fight Set


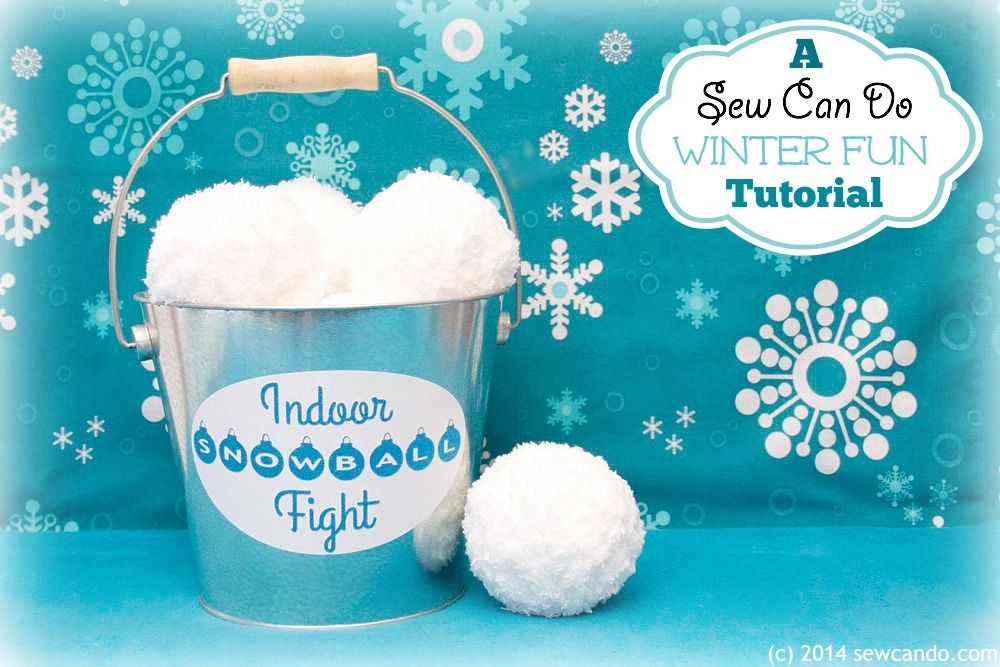
Now that December is here I'm feeling extra festive & thought I'd start the month with this fun winter-time how-to: a DIY Indoor Snowball Set!


I saw a similar idea in a catalog and thought it was cool.  Have snowball fight fun, but without the cold and wet mess?  I'm in!  I did not dig the sort of high price tag though.  I also discovered that the "realistic" snowballs were really just giant pom poms...which doesn't seem all that snow-like to me, so I came up with my own version.  I think these look & throw more like the real deal:


The best part is this project uses basic materials and is super quick to make.  It's also the perfect DIY holiday gift for kids (or kids at heart)!  Here's how to make 'em:


Materials:
- 2 skeins of fluffy white yarn (I used Bernat Pipsqueak)
- 10 to 12 golf practice or ping pong balls
- Crochet hook
- Small bucket
- Vinyl & adhesive cardstock
- Die cutting machine (or stencils and scissors)
- Optional: plastic needle

Most of the supplies were things I already had at home so it made this a quick & fairly inexpensive project.  I started by threading some of the yarn through two holes in the ball.  Used a plastic needle makes this easier. Then I knotted the yard to hold it in place on the ball.  


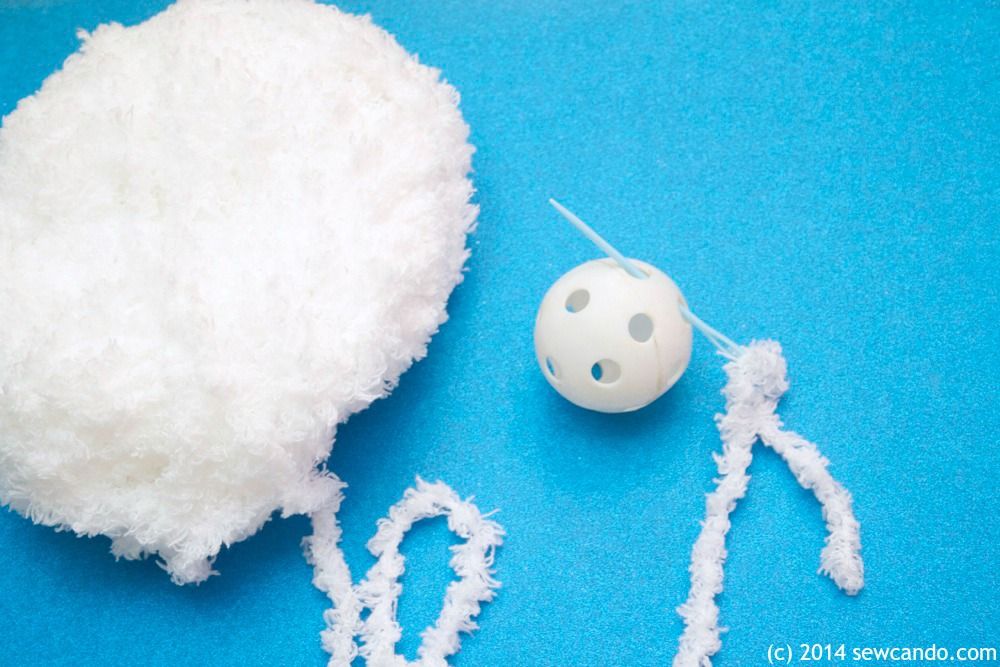
Then carefully wound the yarn around the ball, spacing it evenly.  I also did one with a regular ping pong ball by holding the end until I had things wound a few times which worked great too if you don't have the holed balls.


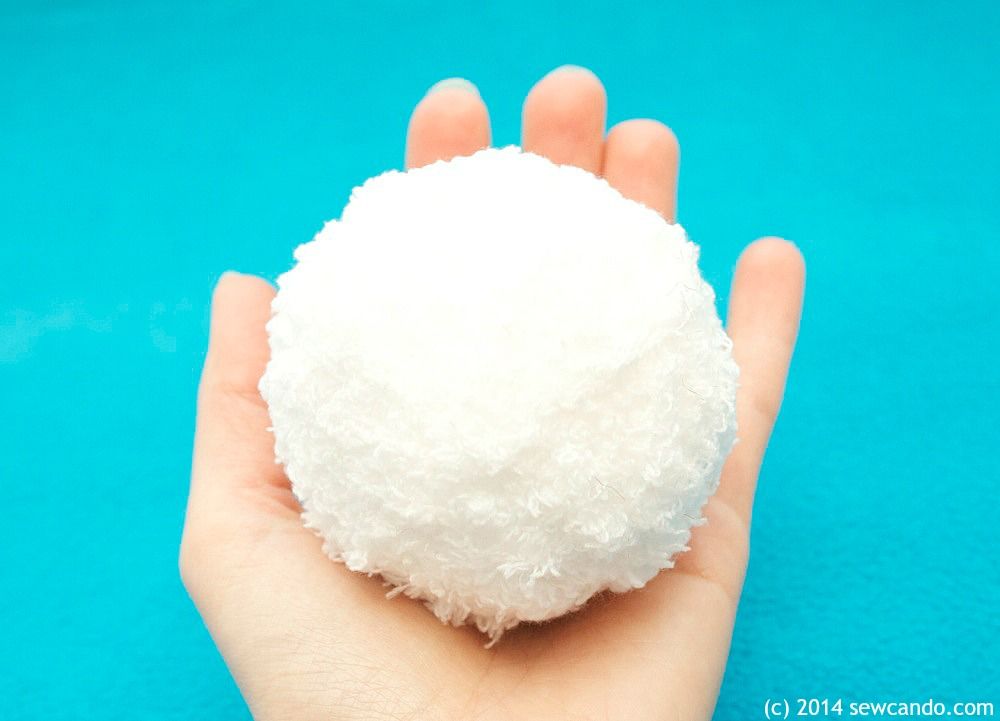
I wound until the ball was snowball sized as desired.  Staying tennis ball-sized or smaller so keeps the weight light enough for indoor play.


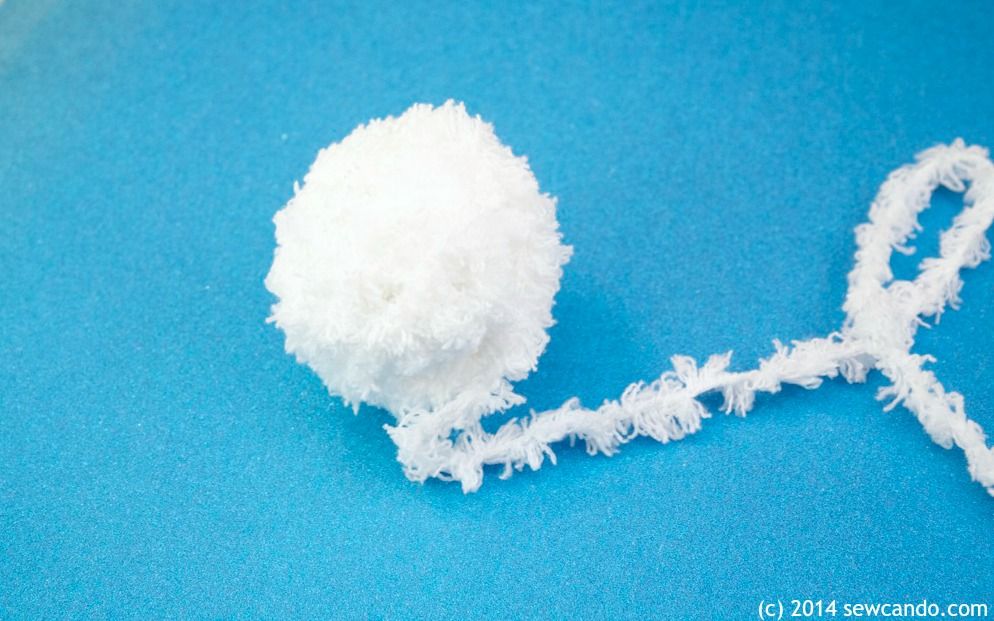
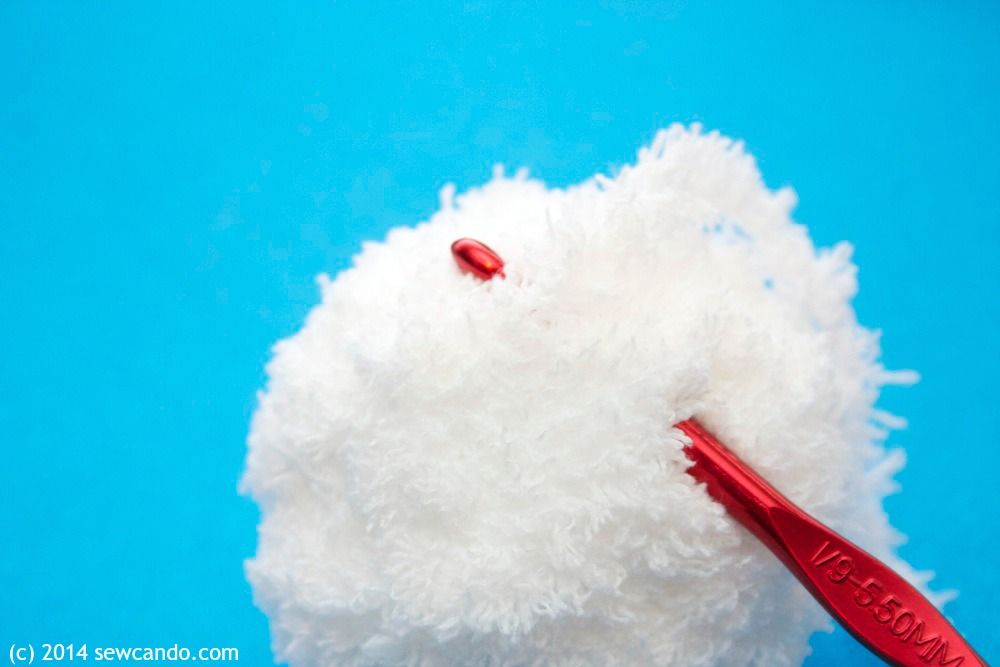
I cut a yarn tail a few inches long and then used a crochet hook to pull the tail under a few tightly wound strands.  I repeated this several more times until the tail is hidden and secure.  Then repeated it all with the rest of the balls.


The secret to the snowball's success is in the fluffiness of the yarn.  It means you can't see the individual strands so each snowball looks like downy soft snow and has a soft to the touch, yet firm feel like a real snowball:


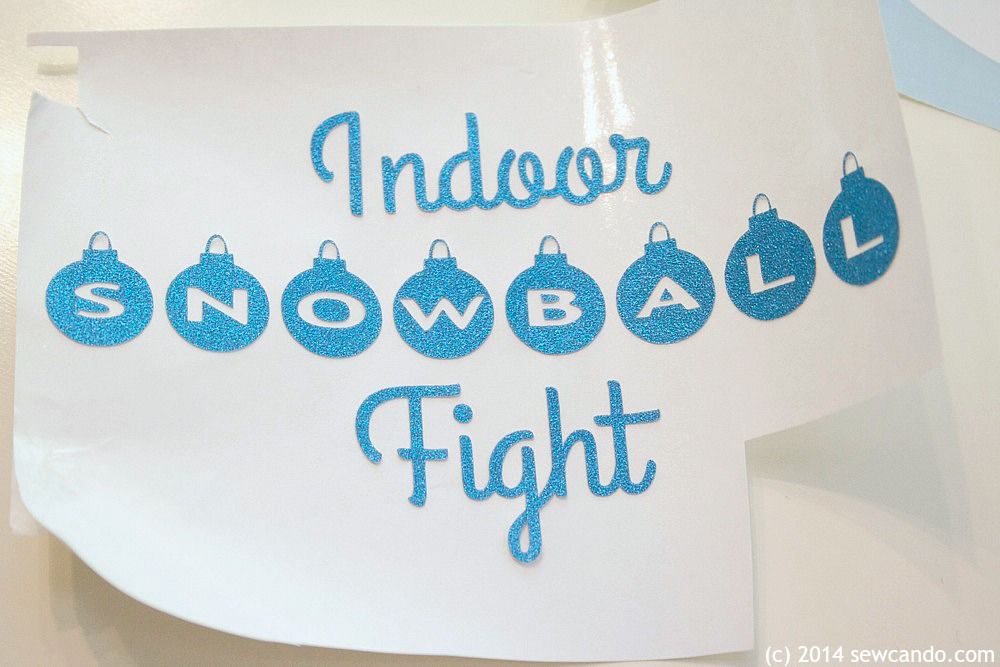
For a cute container, I used a galvanized bucket and made sure sides were nice & clean. Using glittered adhesive card stock, I cut my lettering using my Silhouette Portrait.  I found some free holiday fonts (Alpha Shapes Christmas Balls and Grand Hotel) that were ideal.


I weeded with a toothpick to remove the portions I wasn't transferring:


I also cut an oval from some white vinyl (about 5in wide by 3 in high) for the background of my label.


I recommend applying the oval to the bucket with some transfer tape, smoothing that out with a credit card or scraper first, and then using transfer tape to apply the lettering.  I put my lettering onto the vinyl before I applied it and it meant fiddling around too much trying to get air bubbles out around some of the letters.  So learn from my mistake and don't do that!


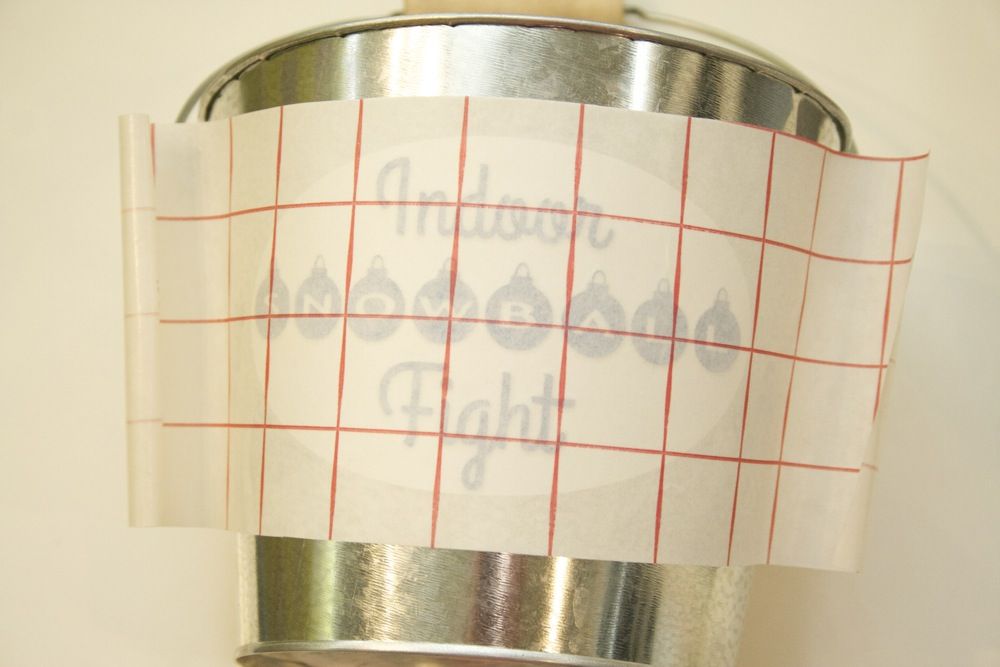
The transfer tape made it easy to keep everything even.  After carefully peeling it away the bucket was looking pretty good:


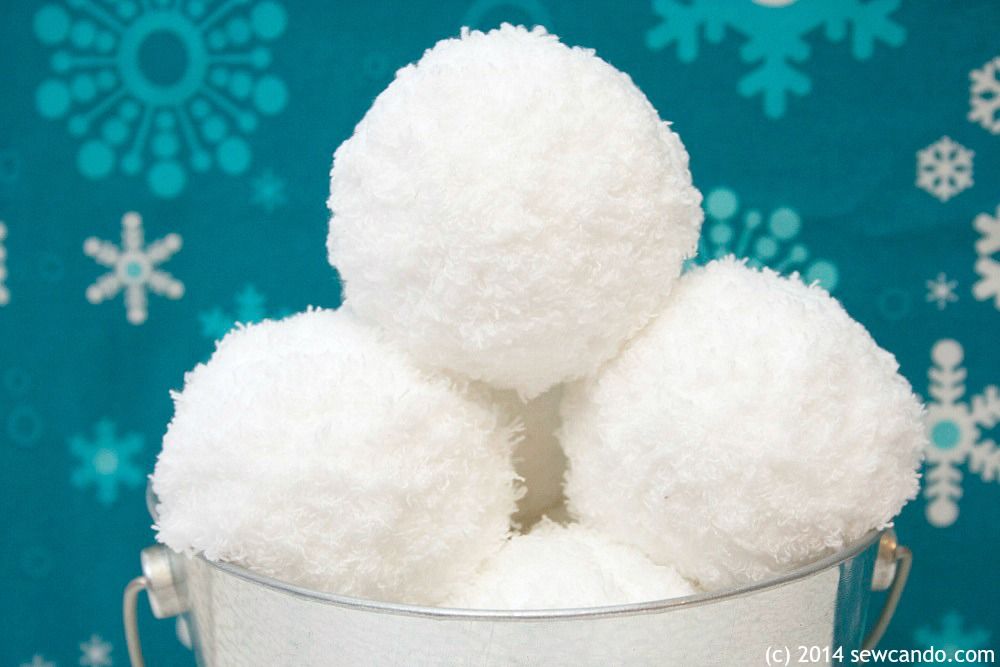
I added those fluffy snowballs to the bucket & we were ready for a little indoor snowball action.


A few other tips:  Remove delicate or breakable items - these are quite soft, but could still knock something over.  Vacuum/sweep the floor first so your snowballs don't become dirty or collect a bunch of dust too quickly (dirty snow, real or fake, is not fun, nor easy to clean).  If any strands of yarn become dislodged from over-vigorous snowball throwers, aka kids, just use a crochet hook to snag them back into place.  Now, enjoy a snowball fight and stay warm & dry at the same time;)


Friday, April 27, 2012

Crafty Gear 411: What Is Lutradur?


Today's Crafty Gear 411 is about a truly crafty material: Lutradur®.  A unique cross between fabric and paper. It is a 100% polyester, spun bond, non-woven, translucent web. It can be used for crafting, sewing, quilting, scrapbooking, wall art - just about everything you can dream up!


It's ideal for crafters of all sorts because it:
  • Can be cut, but does not fray
  • Works well as an overlay when put over paper as shown above
  • Looks delicate and filters light, but also has incredible strength
  • Works well with a wide range of glues & paints to add infinite colors or embellishments  
  • Can be heat set to 400 degrees or melted/singed for antiquing effects
  • Can be used like paper and run through an ink-jet printer to add graphics, photos or text and even be written on with pen or marker.  

I used my Cuttlebug & dies to cut a lovely butterfly shape and then overlapped pink and purple paint to make an ombre feel.


I die cut some scalloped shapes and then painted them with a sponge brush on freezer paper.  It was easy to peel them off when dry.  I used metallic fabric paint, opaque acrylics and glazes to get different shades and effects.


This is a close-up of the metallic:

By using liquid fabric softener to "paint them on" they give a sponge-painted look on the wall (or any other hard surface), but without the permanence.  Simply peel off and use again, somewhere else, without any damage:

I've also used iridescent glitter fabric paint on some shapes I handcut for my Rainbow Showers quilt and machine stitched them on for some added embellishment to my fabric appliques:

And by taping a piece to a sheet of cardstock, I was able to run it through my printer to make some dreamy-looking text & ghostly photos.  By coating the surface with gesso or a setting medium first (and drying before printing, obviously), the inks can look even brighter and no issues with smudges.  I just did it as-is just so you'd have an idea of the effect:

There are endless ways to use it, so it's a very practical medium, no matter what types of crafting you like to do.  Would you like to win a yard of Lutradur to play with, as well as several other useful crafty materials?  

Enter my Pellon Crafty Goods Giveaway HERE for a chance to win over $50's worth of crafting supplies! 


Wednesday, December 14, 2011

Dashing Through The Snow: A Reindeer Barrette How-To


This was my first try at making barrettes, let alone themed ones.  I totally loved it, which doesn't surprise me since I've been waiting for SO LONG to make some!  My daughter is 2yrs old, but her hair has taken it's sweet time coming in (hence all the hairdo hats and headbands you've seen here).  We can finally do tiny ponytails, but that's about it.  Most barrettes still just slip right out, but thanks to a friend who is a barrette making expert, I got hold of some great snap clips that really hold her wispy locks.  So all I needed was to make them look cute super quick.
    

To make this pair of barrettes, you'll need:
- Shaped satin ribbon ( I get mine from Sugar Pink Boutique)
- Scraps of red & white felt
- 1/8" wide red satin ribbon
- Scalloped Circle Die + Cutting machine (I used my Cuttlebug, but cutting with scissors works too)
- Snap lip barrettes
- Hot glue gun


First I cut two flower shapes for red & white felt with my die and Cuttlebug:


I cut a single reindeer from this cute shaped satin ribbon (I had to trim the back leg a bit to fit my background shape):


Then I tied on my red ribbon for a jaunty scarf:


Then I put a bit of hot glue along the face of the barrette:


And centered the red felt over the barrette.  After pressing in place I dabbed a circle of glue on the center of the red:


Then placed the white over it having the scalloped parts alternate:


Next I placed a bit of glue on the back of the reindeer and then placed him in the center of the white shape:


I also placed a small bit of glue behind the head and at the ends of the scarf so the ribbon would stay in place.  Now my little girl's tiny ponytails have some holiday reindeer flair:


Fun, fast and they actually stay put!!  I cannot wait to make more and am looking forward to building up a little DIY barrette collection in the coming year:)

Sharing this with my FAVE LINK PARTIES too so click HERE to check them out!

Friday, July 29, 2011

Cutting Machine Stencils with Rae Gun Ramblings


Today we've got a special guest, Marissa from Raw Gun Ramblings, with a great Cutting Machine Tutorial: How to Make Freezer Paper Stencils.  So let's get to the goods and see how to make these!


Hi, I'm Marissa from Rae Gun Ramblings.  I blog about all things crafty, tasty, pretty and just plain life. I'm an insanely huge Harry Potter fan, fresh pasta addict, and married to a crazy talented musicianI also run a handmade baby and toddler clothing shop on Etsy called Rae Gun. Hopefully you'll stop by my blog and shop and see some of my latest adventures.


Today I want to show you how to use your cutting machine (or an exact-o knife plus some patience) to make awesome stencils. Sorry most of my examples are Harry Potter themed, I wasn't kidding when I said I'm a big fan, but the wonder of freezer paper stenciling is that you can make anything you want.
  
Freezer Paper Stenciling

1. Pick your design and cut it out of freezer paper. You want the shiny side down so consider that while positioning. I used my Cricut and put the shiny side on my mat when I cut my stencils out but you can use a Silhouette or even an exact-o knife and put a print out under the freezer paper to trace. I use a program called Sure Cuts A Lot for the Cricut that allows you to cut almost any image you find or make on your machine. Keep in mind that when you pick a design the simpler the better. When I cut the Potter font it usually takes me 3-4 tries and when I cut the Lego Star Wars stencil it took me 2 tries (luckily the paper is cheap and comes in a gigantic roll). This is the most time consuming and annoying part. And you may need to trim it a little when you're done cutting.


2. Iron the stencil on your shirt (or bag or whatever). Shiny side down. Be anal about this make sure you do a good job getting all the edges. This is the step that I worry about most since if you don't have it ironed tightly, paint might get onto parts you don't want.


3. With a board or more freezer paper (shiny side up towards the part of the shirt with the stencil) in between your shirt layers use fabric paint (I got mine at Jo-anns and Michaels) and a foam brush and apply the paint. Blot and smoosh as opposed to brush.  Don't go too heavy at once just keep on blotting and adding a little paint at a time. I add a pea-bean size amount to my brush each time.


4. Next you pull off the stencil. I like to wait about an hour. It will still be wet so be careful not to touch the paint and not to touch the wet stencil to the shirt. Sometimes I use one hand to lift the paper and the other has a pin to either hold down the shirt or lift up stubborn parts of the stencil.


5. Let dry and enjoy.

I hope you stop by my blog to say hi and definitely let me know if you have any questions or try it out.

Thanks for sharing this today Marissa!  Don't forget there's a new giveaway for some great cutting machine tools going on now - click HERE to head over & enter!

LinkWithin

Related Posts with Thumbnails