Showing posts with label Sure Cuts A Lot. Show all posts

Thursday, August 7, 2014

FREE SVG File: Mini Muscle Man Freezer Paper Stencil Shirts


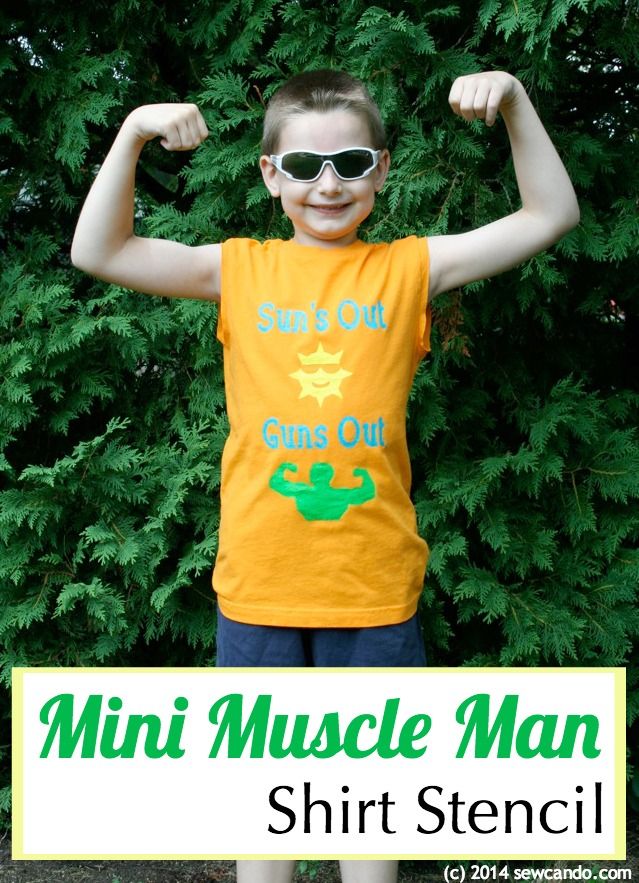
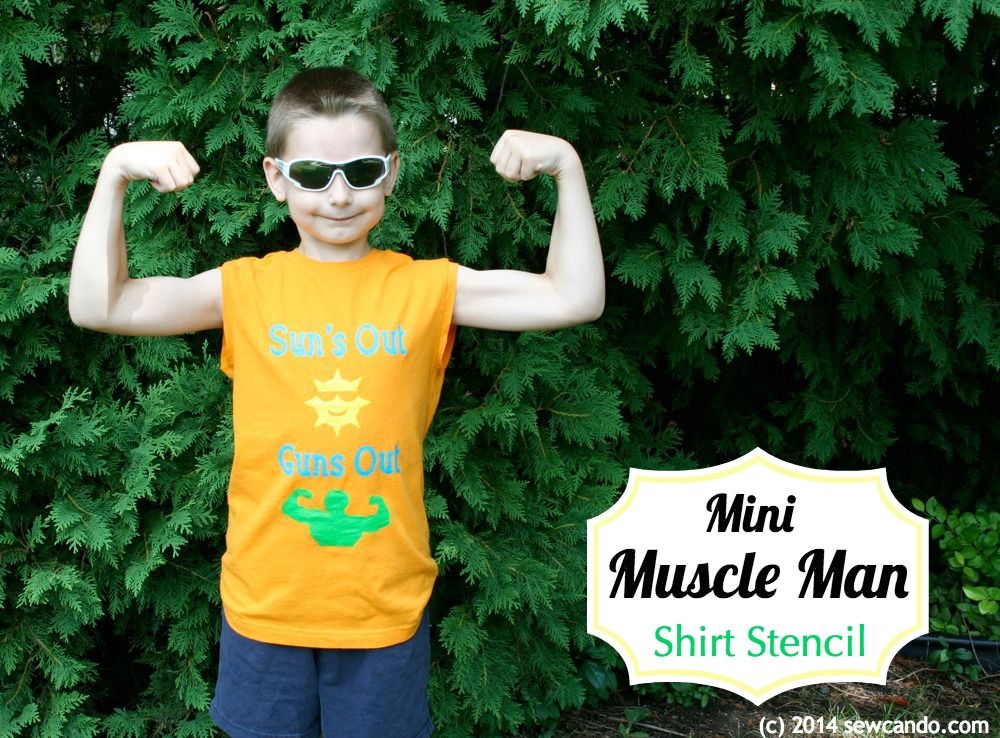
As much as I hate to admit it, I haven't done a lot of crafting this summer.  Between being sick on & off, a ton of home/yard improvements and all the kids' activities, there just hasn't been much free time.  And when I do get a little window I just haven't felt the creative bug like I usually do.  This project however, had been on my mind and got me out of my rut because my kids were so excited to have them: our Sun's Out, Guns Out Shirts!!


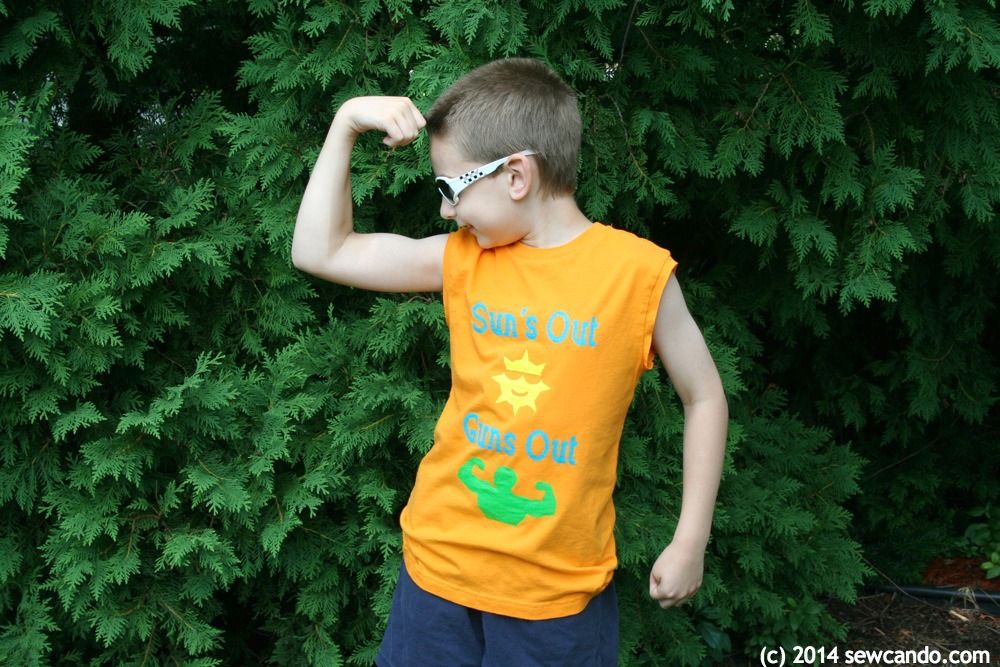
The idea for this came from some summertime people watching.  I saw a totally 80s looking guy when we were out one day.  He was wearing a neon pink tank top that said "Sun's Out, Guns Out" across the front.  He looked somewhat ridiculous (his muscles were practically non-existent), but the phrase stuck with me and I thought it could turn from cheesy to cute if done up right for a kid.  I think these "guns" are much more fun to see flexing than those on some middle aged dude with a mullet:


So, to bring our own version to to life I made a freezer paper stencil design and whipped up this baby.  Here's how you can too:

Materials Needed
- Freezer Paper
- Fabric paint or Acrylic paint + fabric medium
- Sponge pouncers
- Cardboard
- T-shirt
- Iron
- Cutting machine (Cricut, Silhouette, etc.) or an exacto blade + patience
- My FREE svg file: Download HERE

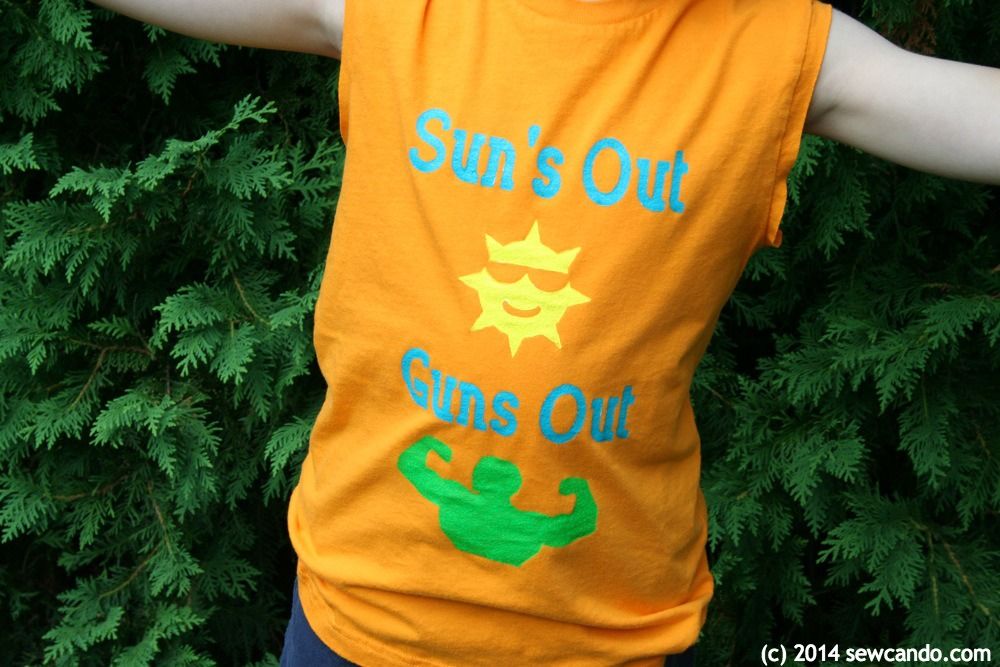
First, I created a design as an svg file using my handy Sure Cuts A Lot software.  I created the shades-wearing sun and modified a clipart bodybuilder silhouette I found online to be just the arms (aka guns) to go with my phrase.  I also reversed it so it would face the right way when cut out.


Then I cut out my design on freezer paper with my old Cricut Expression.  I know I'm "behind the times" since I'm not using a Silhouette here.  I actually have a new Silhouette Portrait I won in a giveaway in January, and hear everyone rave about all the projects they make with it, but I still find my Cricut/SCAL software combo to be easier to use for designing.  Maybe it's just because I'm lazy and don't want to spend hours relearning how to do everything on another tool.  Sooner or later I'll have to just bite the bullet and do more with it.  Much like I'll have to finally get a cell phone with a camera & texting.  Yes, I'm still using a prehistoric flip phone. Can you tell I'm a real technology wizard?

Anyway, in case you're not already a pro at machine cutting freezer paper stencils (I've only done a couple myself), it's key to load the paper shiny side up:


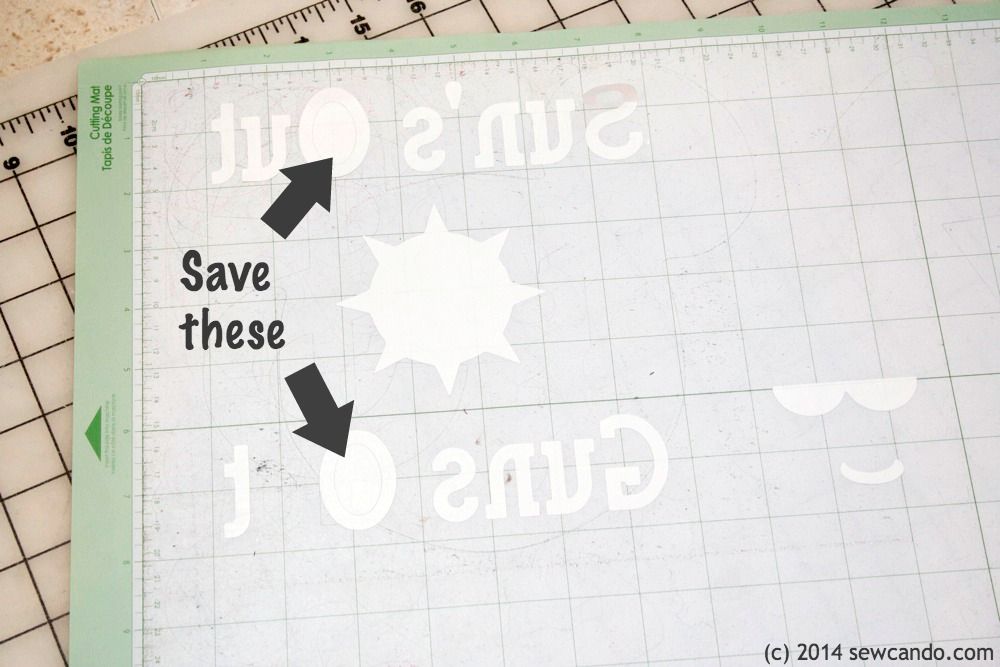
Also be careful when weeding (removing the excess paper).  You'll need the centers of the "O"s for the shirt:


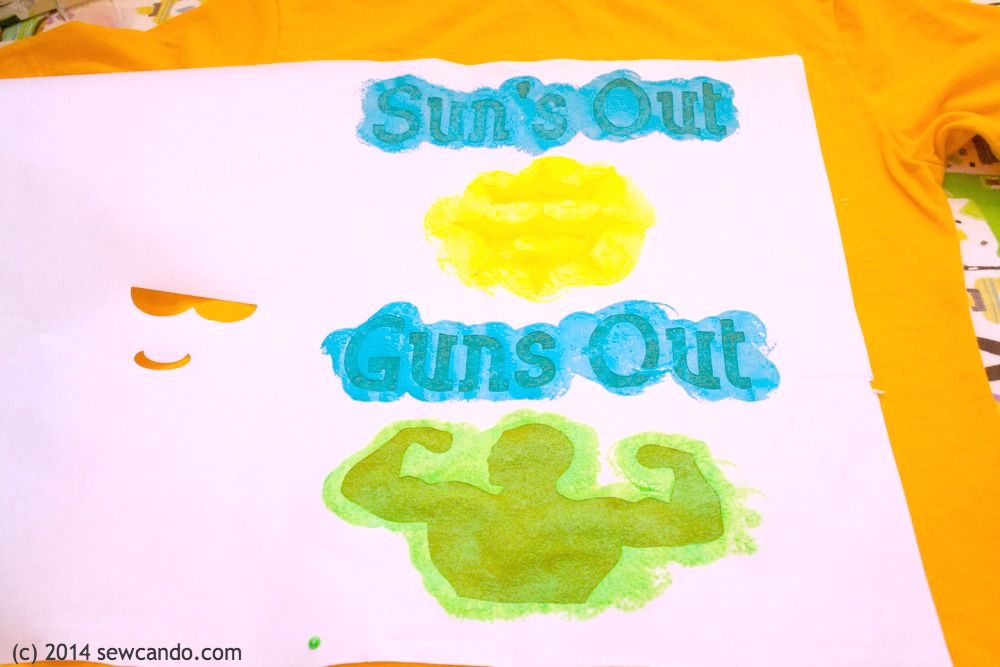
Slip a piece of cardboard inside the shirt to prevent the paint from bleeding through:


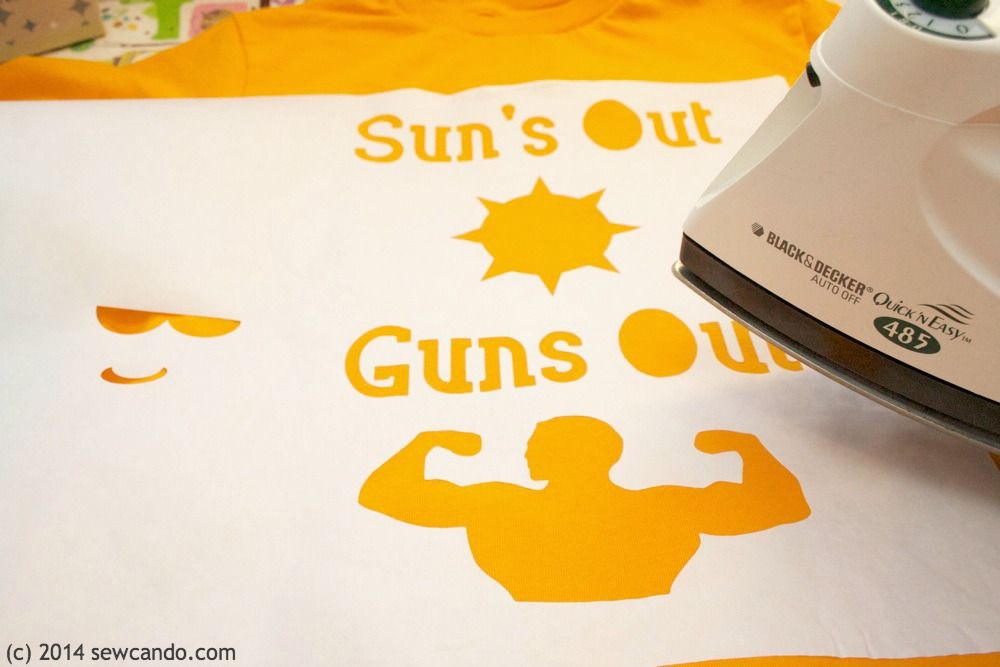
Iron on the freezer paper, shiny side down, using the cotton setting.  I added the shades and smile to the sun after the outline.


Now you could just start painting if you have fabric paint, but of course I never make it that easy for myself.  When I was shopping for the paint for this I fell in love with colors that weren't fabric paint.  I really liked the brightness of these and the fact they also glowed in the dark.  I figured I'd use them for other things besides fabric, so I bought them knowing I'd need to use fabric medium to make these washer-friendly.


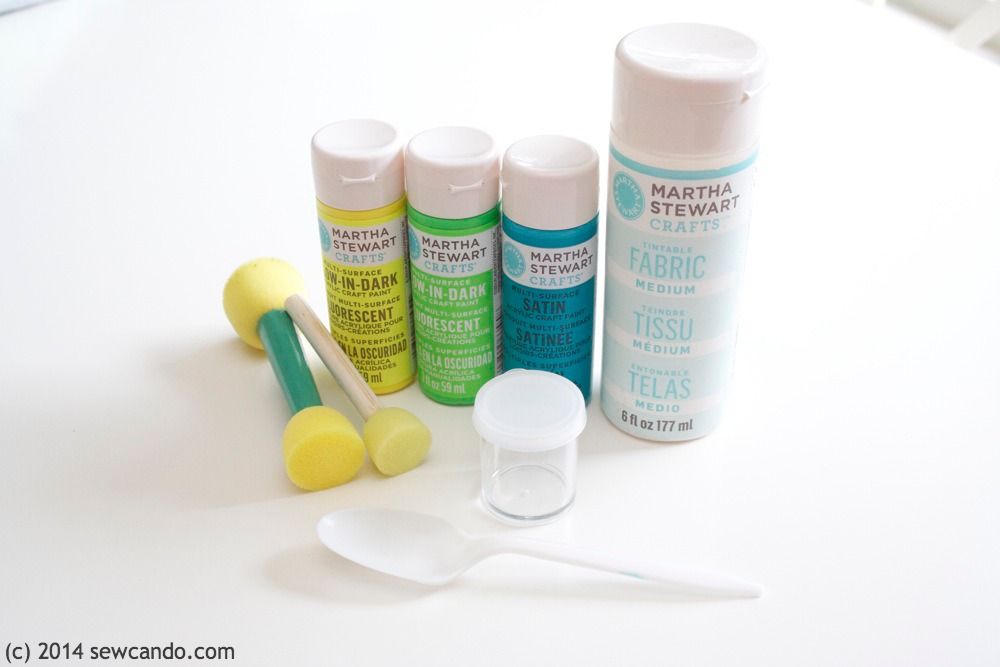
To blend the paint & medium, I did one spoonful of medium to two spoonfuls of paint and mixed with a toothpick in some little plastic paint jars I found in the same aisle.  These were really handy because they have lids and can be reused.  Since I want to make more than one of these, it means no paint gets wasted and I can easily work on the second one a few days from now.


Once the paints are well mixed with the medium, grab some sponge pouncers and start painting.  I did several coats, with dry time in-between, to make sure the colors were nice and solid.


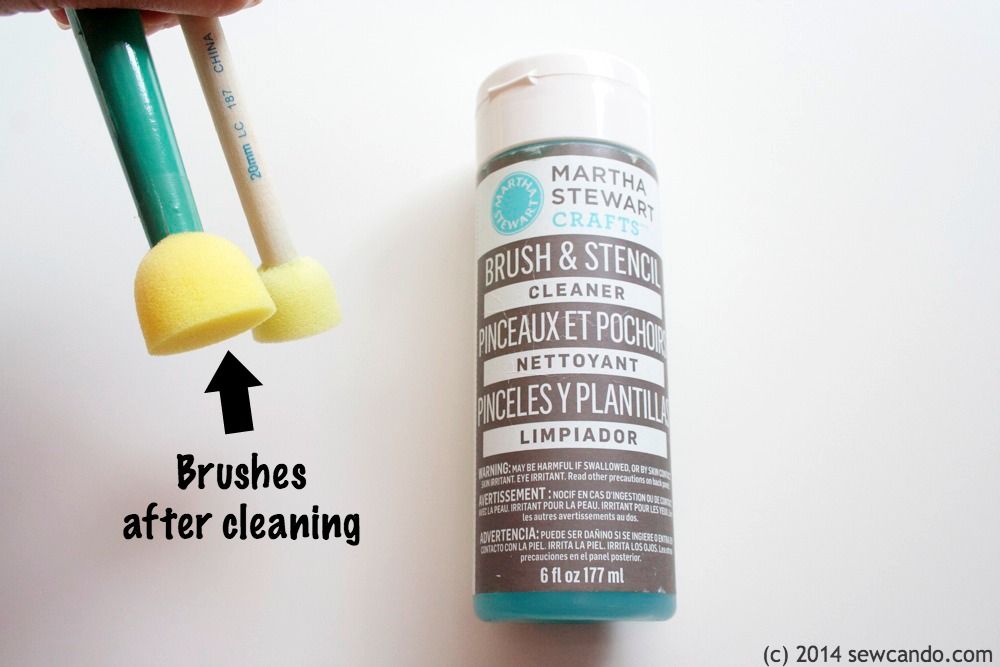
Side note: I wrapped my pouncers in cling film between coats to keep them moist and when all done I used brush cleaner to make them good as new.  I used to think that stuff was a waste of money "Soap & water works the same and it's practically free!", but I've realized the cleaner is totally worth it.  Sponge, bristle, whatever the brush is, the paint comes off easily and they look & feel like new.  No stiffness and I can use the same few over and over so it does save me money. I happen to like the Martha Stewart Crafts version, since I also like using those paints (and btw I'm not getting these for free or paid to talk them up, I just like 'em).  Any kind is better than having to throw away your brushes after one use!


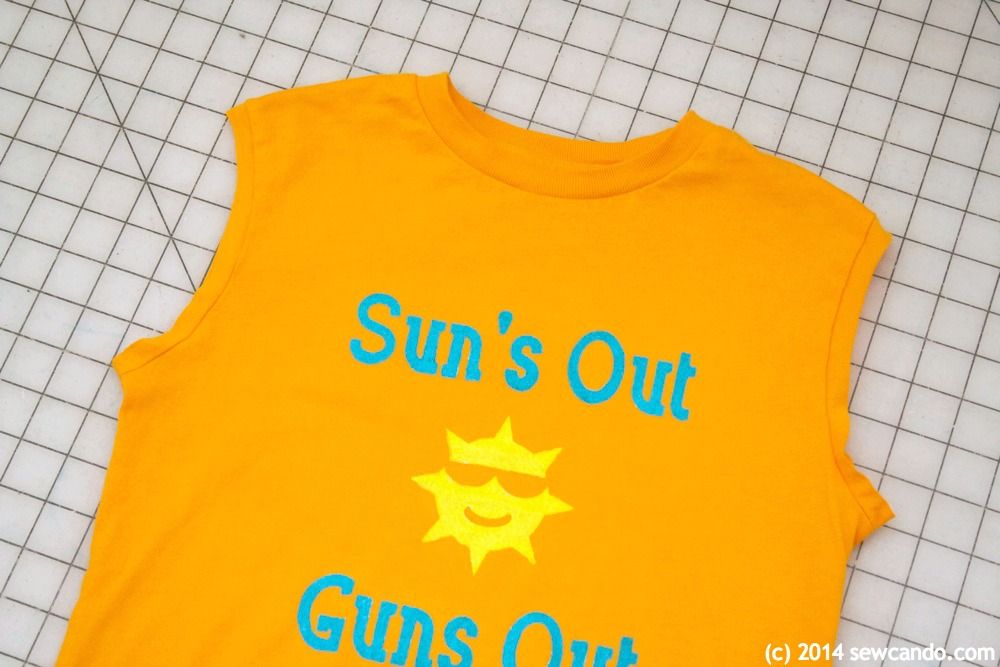
When the last coat is dry, pull away the stencil and heat set the paint with the iron, using a press cloth in-between.  Now you can either roll up the sleeves or cut them off to fully expose the "guns".  I'd wanted to just buy a blank boy's tank top from the get-go, but it proved impossible to find (isn't it still summer?), so I just used t-shirts and cut the sleeves off with my rotary cutter:


Now all we need is a little muscle man to rock the look.  This guy hopes you've got tickets 'cause he's about to start the "Gun Show"!


And it also works in serious mode, for when a tough guy doesn't need to flex his muscles to show he's strong:


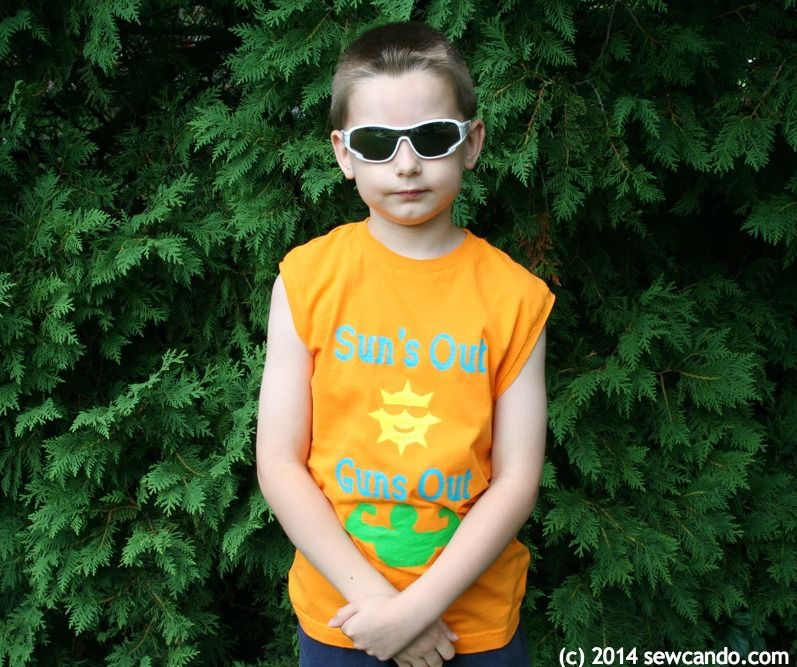
But this look is definitely the most fun: 


Tuesday, March 18, 2014

Make A Cute Nautical Clutch in Just 5 Minutes


Did you know March is National Craft Month?  It's the ideal time to try your hand at new projects and supplies.  A great place to get ideas & see new trends is the Jo-Ann Fabric and Craft Stores®  spring crafting inspiration website.  I've been loving the nautical trend & thought I'd create a project that celebrates this theme and make it really easy to do: a Nautical Clutch Wallet.  If you've got 5 minutes, you can make one too!


Materials:
- Clutch wallet
- Vinyl
- Transfer Tape
- Anchor button
- Wire Cutter/Button Shank Remover
- E-6000
- Optional: Cutting machine like a Cricut or Silhouette

I found all my supplies at Jo-Ann, including the cute striped clutch.  Jo-Ann makes spring crafting easy during National Craft Month with a $5 off $25 or more purchase coupon. So you can make something new & get a deal;)


Start by making the "Ahoy!" lettering out of vinyl.  I used the Pacifico font and made mine about 1.5in high by 5in wide and cut it out on my Cricut machine using the settings 3-2-3.  If you don't have a cutting machine, make a stencil by printing your lettering out on card stock and cutting it out with a utility knife.  Then use that to trace cut out the vinyl.


Remove all the negative vinyl away from the lettering (aka weeding).  Also remove the dot from the exclamation point.


Peel the paper away from the transfer tape and place the tape over the vinyl, burnishing it with something hard like this stick that came with the transfer tape. Pull the backing away and the lettering should stick to the tape (if it doesn't, keep burnishing).


Center the lettering on the clutch and then burnish into place.  Since this wallet was padded, I also pressed & smoothed the lettering down with my hands after removing the transfer tape to make sure it was attached well.


Clip off the shank on the back of the button with cutter.


Use the E6000 glue to attach button to clutch just under the exclamation point:


Now you've got a cute, nautical-style clutch and it only took minutes to make!


I'm also sharing this with my FAVE LINK PARTIES.
Click HERE to check them out!

I was not financially compensated for this post.  I received a Jo-Ann gift card from Jo-Ann Fabric and Craft Stores® to use to make a project of my choosing for their National Craft Month Campaign.  The opinions are completely my own based on my experience.  For my complete disclosure policy, click here. 

Friday, July 29, 2011

Cutting Machine Stencils with Rae Gun Ramblings


Today we've got a special guest, Marissa from Raw Gun Ramblings, with a great Cutting Machine Tutorial: How to Make Freezer Paper Stencils.  So let's get to the goods and see how to make these!


Hi, I'm Marissa from Rae Gun Ramblings.  I blog about all things crafty, tasty, pretty and just plain life. I'm an insanely huge Harry Potter fan, fresh pasta addict, and married to a crazy talented musicianI also run a handmade baby and toddler clothing shop on Etsy called Rae Gun. Hopefully you'll stop by my blog and shop and see some of my latest adventures.


Today I want to show you how to use your cutting machine (or an exact-o knife plus some patience) to make awesome stencils. Sorry most of my examples are Harry Potter themed, I wasn't kidding when I said I'm a big fan, but the wonder of freezer paper stenciling is that you can make anything you want.
  
Freezer Paper Stenciling

1. Pick your design and cut it out of freezer paper. You want the shiny side down so consider that while positioning. I used my Cricut and put the shiny side on my mat when I cut my stencils out but you can use a Silhouette or even an exact-o knife and put a print out under the freezer paper to trace. I use a program called Sure Cuts A Lot for the Cricut that allows you to cut almost any image you find or make on your machine. Keep in mind that when you pick a design the simpler the better. When I cut the Potter font it usually takes me 3-4 tries and when I cut the Lego Star Wars stencil it took me 2 tries (luckily the paper is cheap and comes in a gigantic roll). This is the most time consuming and annoying part. And you may need to trim it a little when you're done cutting.


2. Iron the stencil on your shirt (or bag or whatever). Shiny side down. Be anal about this make sure you do a good job getting all the edges. This is the step that I worry about most since if you don't have it ironed tightly, paint might get onto parts you don't want.


3. With a board or more freezer paper (shiny side up towards the part of the shirt with the stencil) in between your shirt layers use fabric paint (I got mine at Jo-anns and Michaels) and a foam brush and apply the paint. Blot and smoosh as opposed to brush.  Don't go too heavy at once just keep on blotting and adding a little paint at a time. I add a pea-bean size amount to my brush each time.


4. Next you pull off the stencil. I like to wait about an hour. It will still be wet so be careful not to touch the paint and not to touch the wet stencil to the shirt. Sometimes I use one hand to lift the paper and the other has a pin to either hold down the shirt or lift up stubborn parts of the stencil.


5. Let dry and enjoy.

I hope you stop by my blog to say hi and definitely let me know if you have any questions or try it out.

Thanks for sharing this today Marissa!  Don't forget there's a new giveaway for some great cutting machine tools going on now - click HERE to head over & enter!

Wednesday, July 27, 2011

CraftShare: Embossing Decor Tutorial


Yesterday we took a look at how embossing works in Cricut, Silhouette or other personal cutting machines.  Today I'm going to share some ways to use it to make some great decorative accents that are perfect for wall decor, scrapbook pages or cards.

For this little garden themed project I used the CRI-Kits Embosser kitmy Sure Cuts A Lot software, and a Cricut machine.

I used a 12 x 12 sheet of scrapbook paper for my main background and cut a large scrolled rectangle shape from some complimentary colored green paper:


For the vellum center I used my SCAL software to make a rounded rectangle that was 3 inches smaller in height and 2 inches smaller in width than the green background shape.  Then I inserted my text, one word at a time, in various fonts.  I dragged the words around until I liked the placement.


I loaded my embossing stylus & holder into my machine and put a sheet of vellum on my embossing mat.  Then here's the easy trick - I deleted the rectangle so I'd just emboss the words.


After the embossing was done I hit the "reload" button on my machine so the mat would realign in the right spot to cut the shape out (this is critical so everything lines up perfectly every time - DO NOT unload the mat).  Then I hit "undo" to to bring back the rectangle, deleted out the words.


I swapped in my cutting blade and clicked "cut".  When it was done I peeled the excess vellum away first and then peeled off my center piece.


I used the cartridge method for the flowers & leaves, by embossing the detailed version of shapes first, then hitting reload and swapping in a cutting blade to cut the outline version of the shapes around the embossing details.


I also cut the shapes from card stock to layer under the vellum cutouts,


And used small bits of double stick tape to adhere the vellum to the card stock:


Then I attached the accent shapes to the background paper


and the artwork was complete!  


The embossing adds that delicate detail that layered cuts of paper just don't quite have.  


I also like the softness it gives on colors that would normally be a bit louder than I'd usually like.


Got any ideas on uses for embossing?  I'd love to hear them:)  Head on back tomorrow for more die-cutting projects!


Sharing this creation with my FAVE LINK PARTIES too so click HERE to check them out!

LinkWithin

Related Posts with Thumbnails