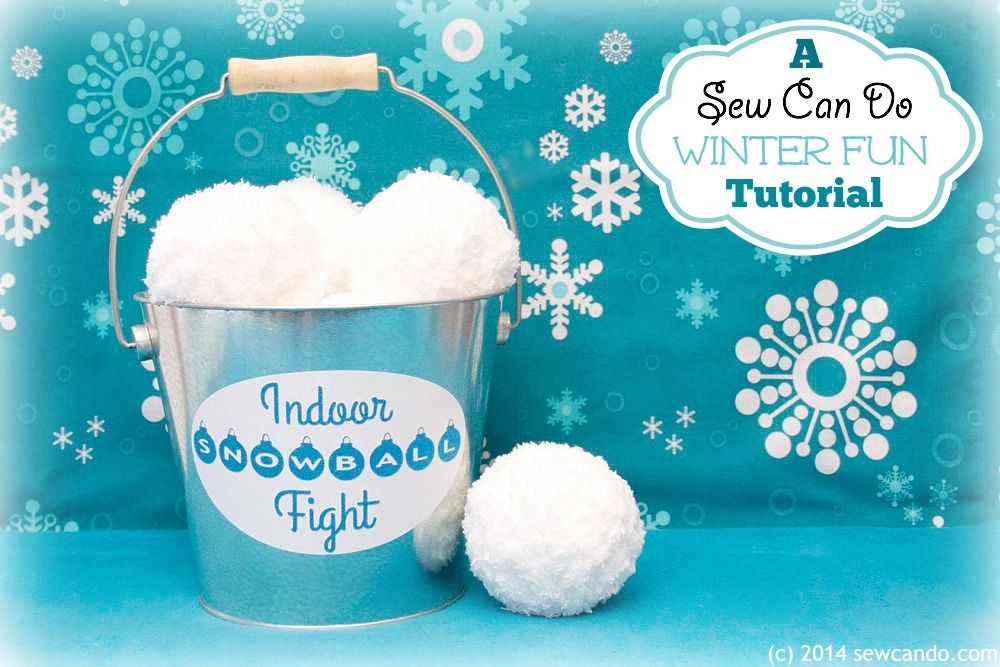
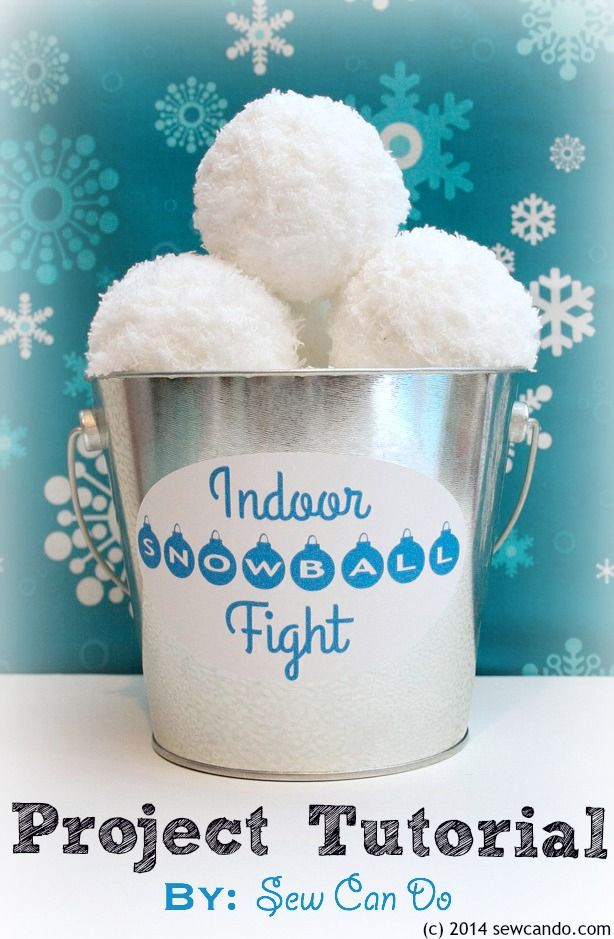
Now that December is here I'm feeling extra festive & thought I'd start the month with this fun winter-time how-to: a DIY Indoor Snowball Set!

The best part is this project uses basic materials and is super quick to make. It's also the perfect DIY holiday gift for kids (or kids at heart)! Here's how to make 'em:
Materials:
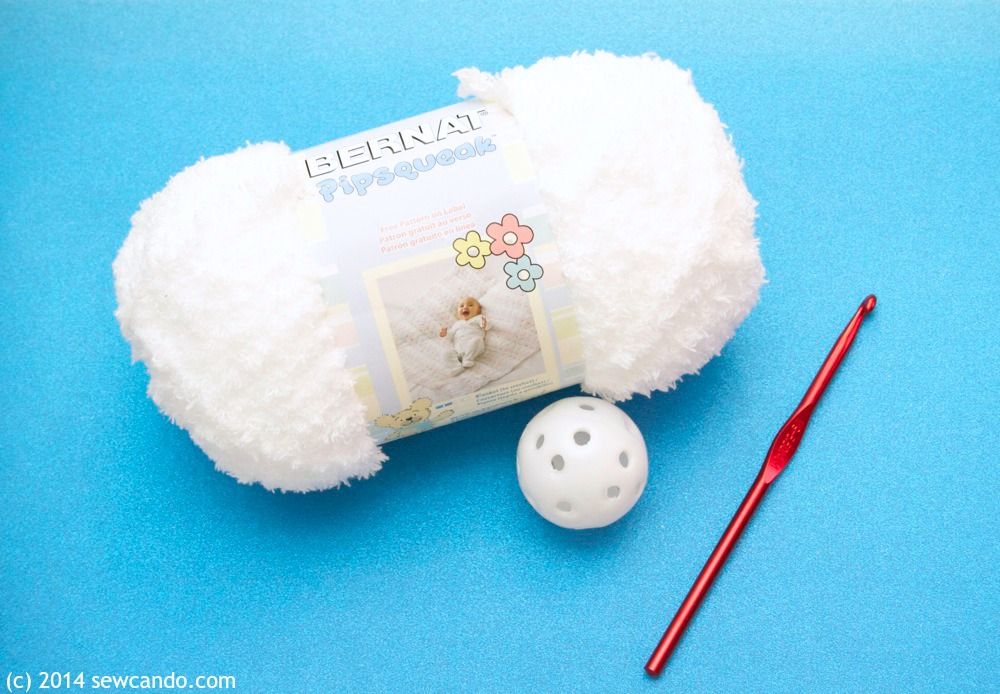
- 2 skeins of fluffy white yarn (I used Bernat Pipsqueak)
- 10 to 12 golf practice or ping pong balls
- Crochet hook
- Small bucket
- Vinyl & adhesive cardstock
- Die cutting machine (or stencils and scissors)
- Optional: plastic needle
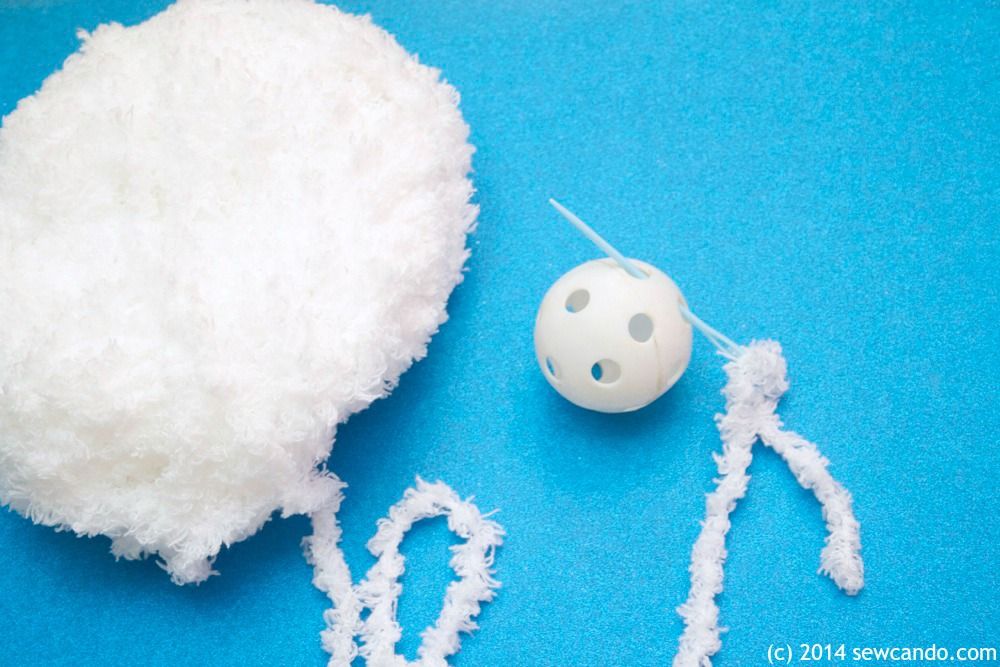
Most of the supplies were things I already had at home so it made this a quick & fairly inexpensive project. I started by threading some of the yarn through two holes in the ball. Used a plastic needle makes this easier. Then I knotted the yard to hold it in place on the ball.
Then carefully wound the yarn around the ball, spacing it evenly. I also did one with a regular ping pong ball by holding the end until I had things wound a few times which worked great too if you don't have the holed balls.
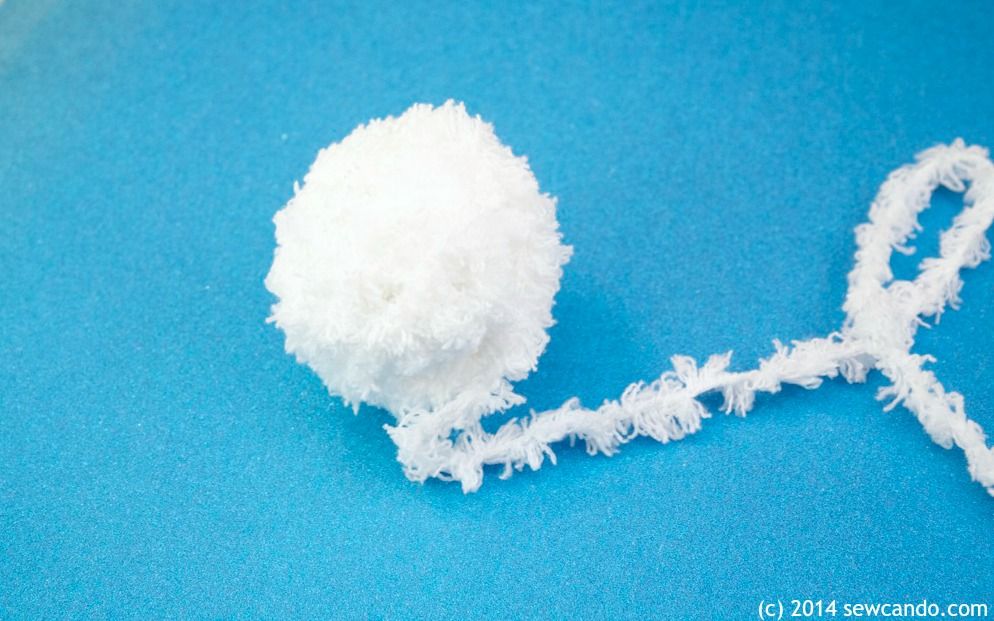
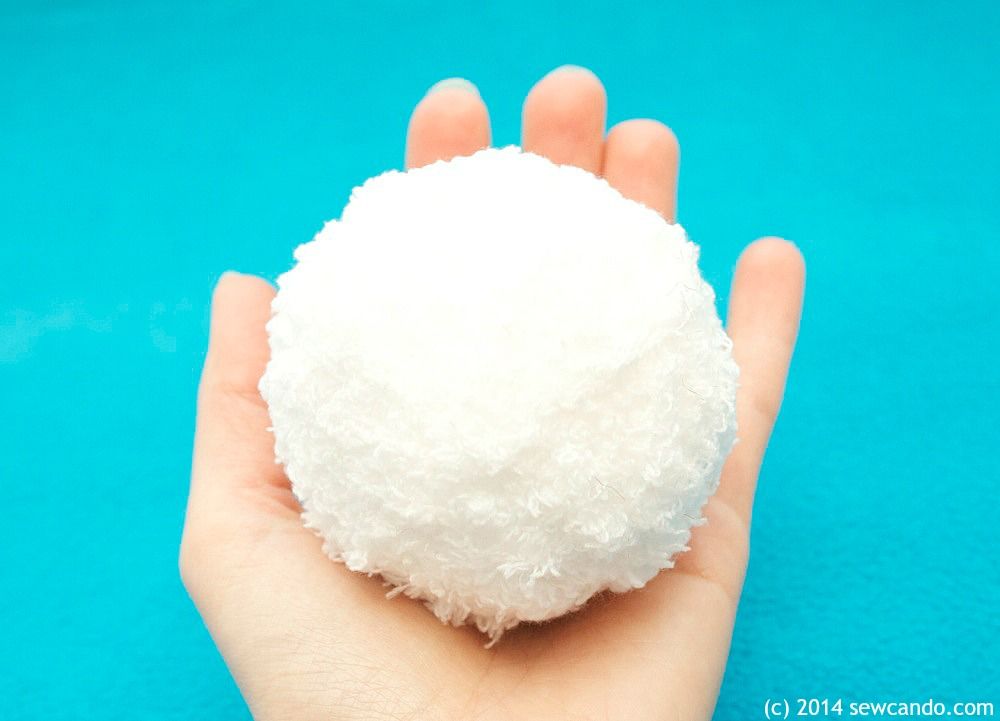
I wound until the ball was snowball sized as desired. Staying tennis ball-sized or smaller so keeps the weight light enough for indoor play.
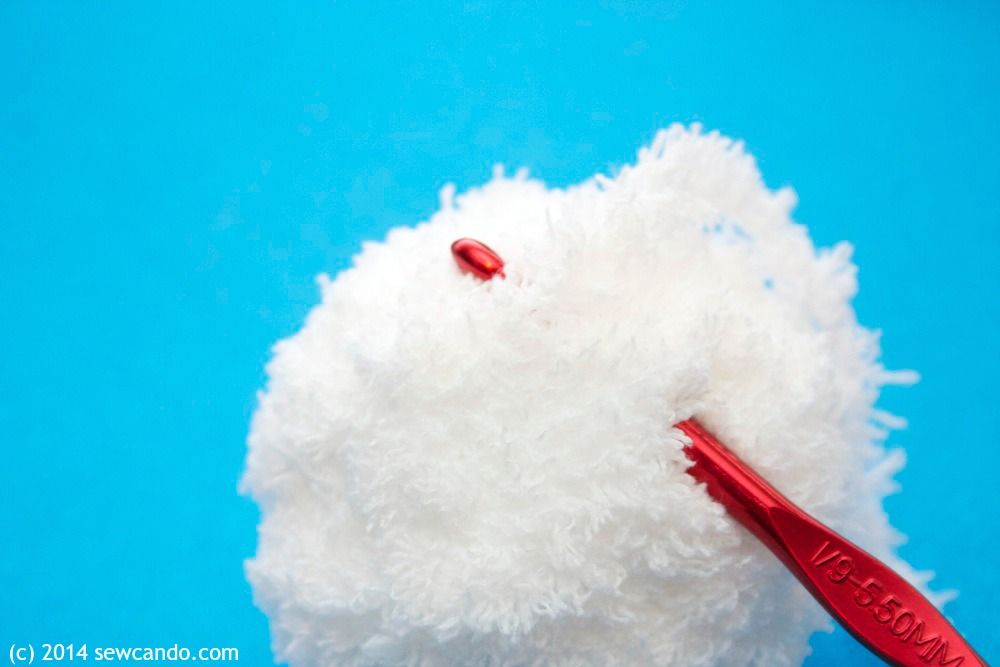
I cut a yarn tail a few inches long and then used a crochet hook to pull the tail under a few tightly wound strands. I repeated this several more times until the tail is hidden and secure. Then repeated it all with the rest of the balls.
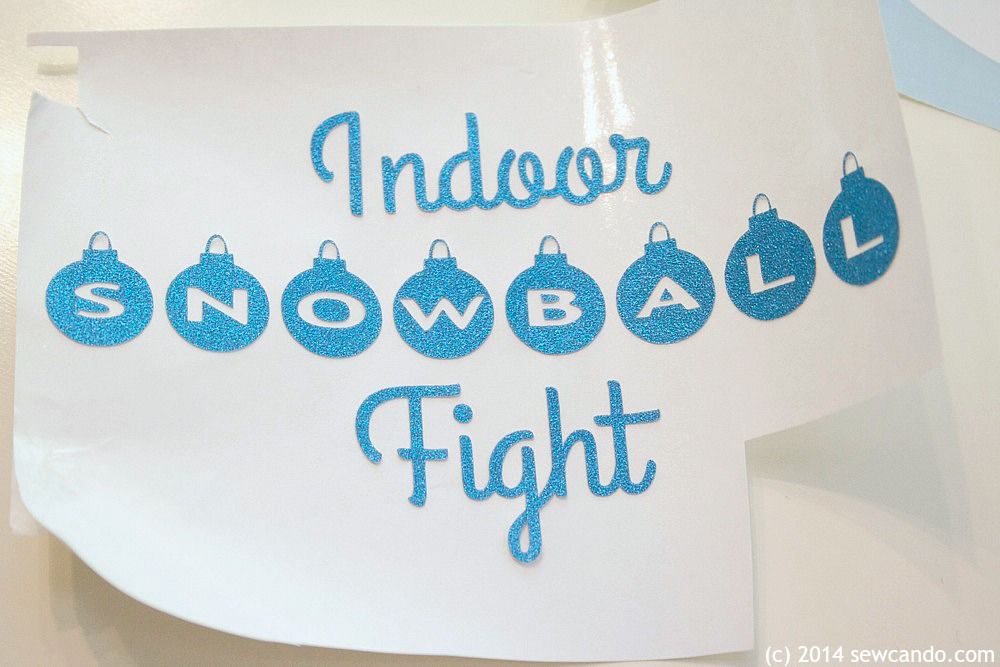
For a cute container, I used a galvanized bucket and made sure sides were nice & clean. Using glittered adhesive card stock, I cut my lettering using my Silhouette Portrait. I found some free holiday fonts (Alpha Shapes Christmas Balls and Grand Hotel) that were ideal.
I weeded with a toothpick to remove the portions I wasn't transferring:
I also cut an oval from some white vinyl (about 5in wide by 3 in high) for the background of my label.
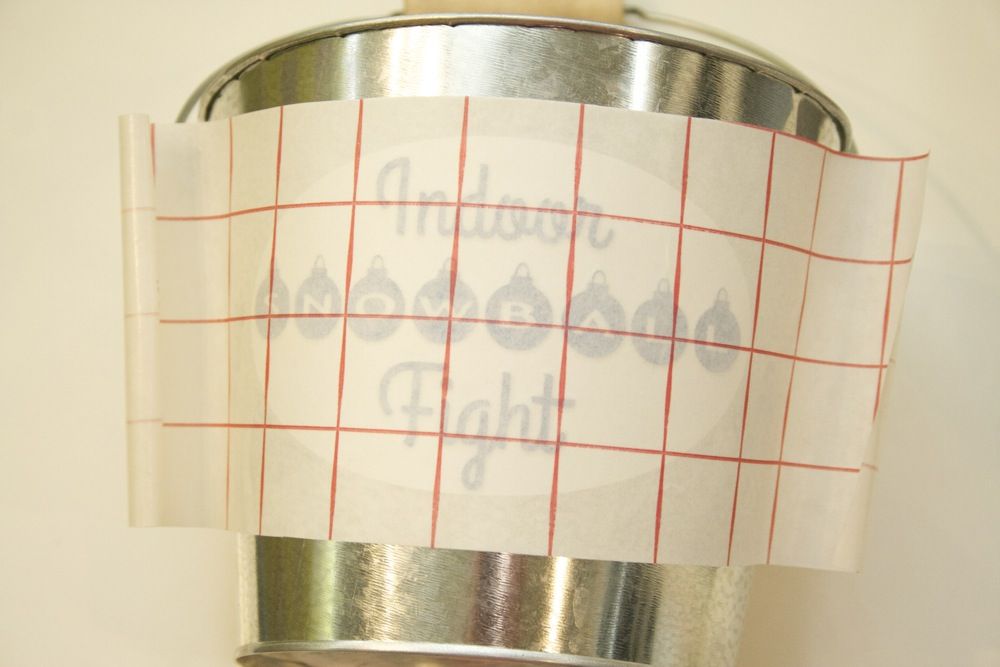
I recommend applying the oval to the bucket with some transfer tape, smoothing that out with a credit card or scraper first, and then using transfer tape to apply the lettering. I put my lettering onto the vinyl before I applied it and it meant fiddling around too much trying to get air bubbles out around some of the letters. So learn from my mistake and don't do that!
The transfer tape made it easy to keep everything even. After carefully peeling it away the bucket was looking pretty good:
I added those fluffy snowballs to the bucket & we were ready for a little indoor snowball action.
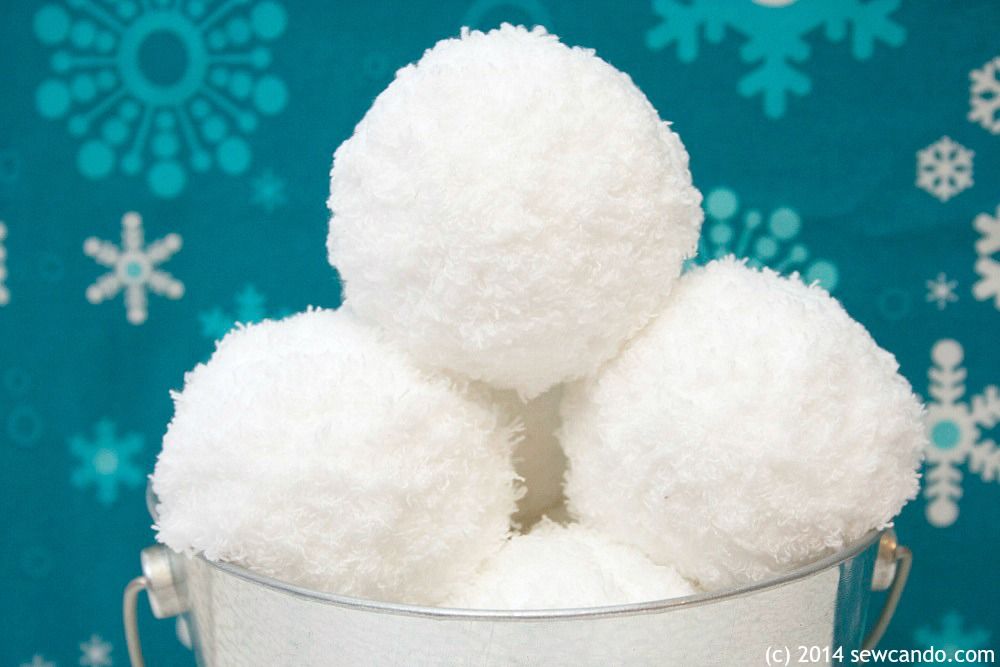
A few other tips: Remove delicate or breakable items - these are quite soft, but could still knock something over. Vacuum/sweep the floor first so your snowballs don't become dirty or collect a bunch of dust too quickly (dirty snow, real or fake, is not fun, nor easy to clean). If any strands of yarn become dislodged from over-vigorous snowball throwers, aka kids, just use a crochet hook to snag them back into place. Now, enjoy a snowball fight and stay warm & dry at the same time;)


