Showing posts with label Cuttlebug. Show all posts

Wednesday, February 26, 2014

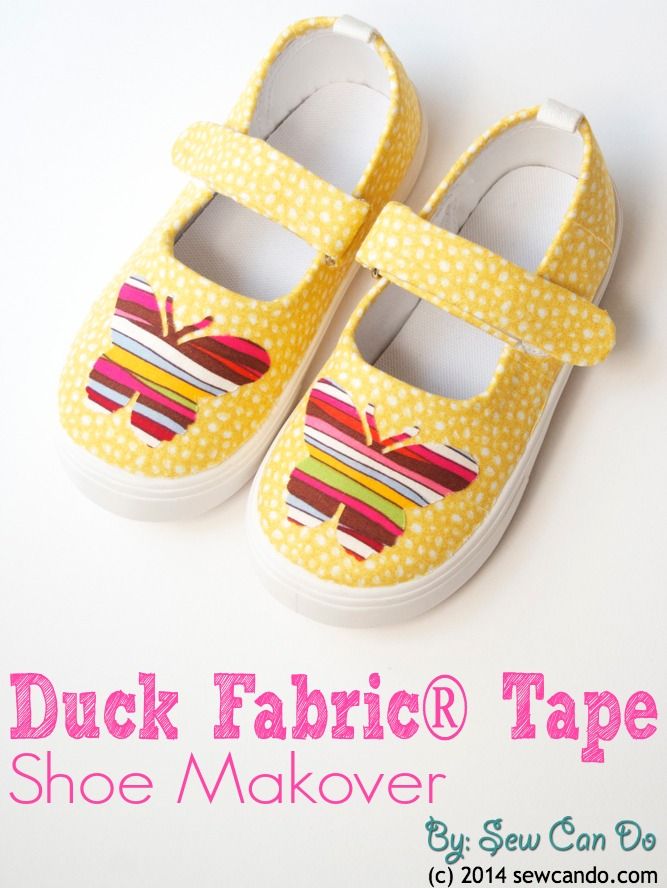
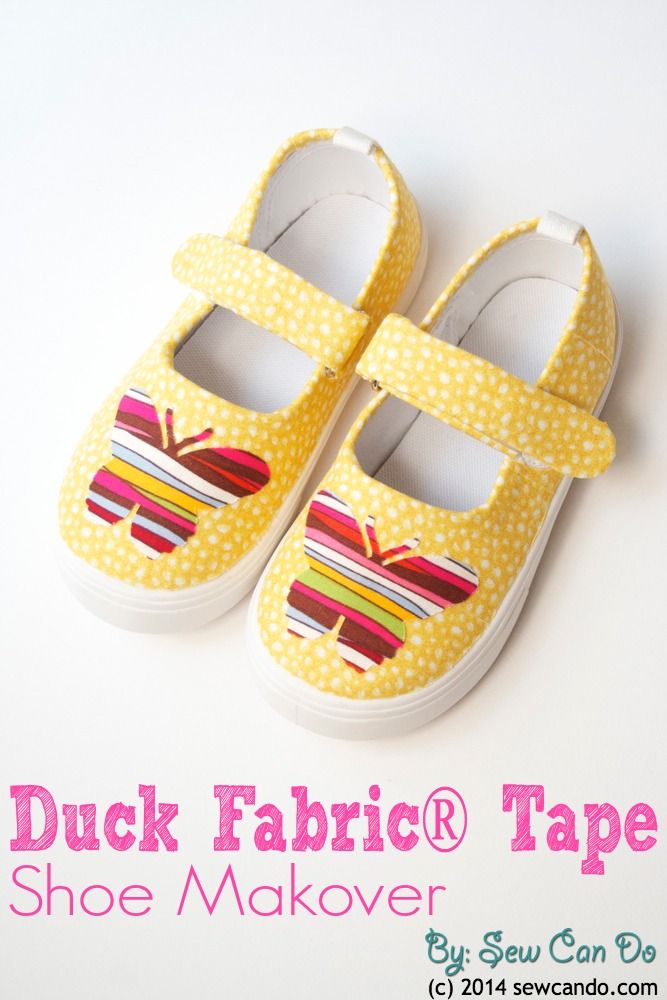
Tutorial Time: Duck Fabric® Tape Shoe Makeover

This post brought to you by Duck Brand. All opinions are 100% mine.


Today's project is one I'm very excited about because it's also a chance to share a new product I now love: Duck Fabric® Tape.  I was intrigued when I first heard about this new item from Duck Brand Craft Tapes. Fabric that's really a tape? It sounded magical!

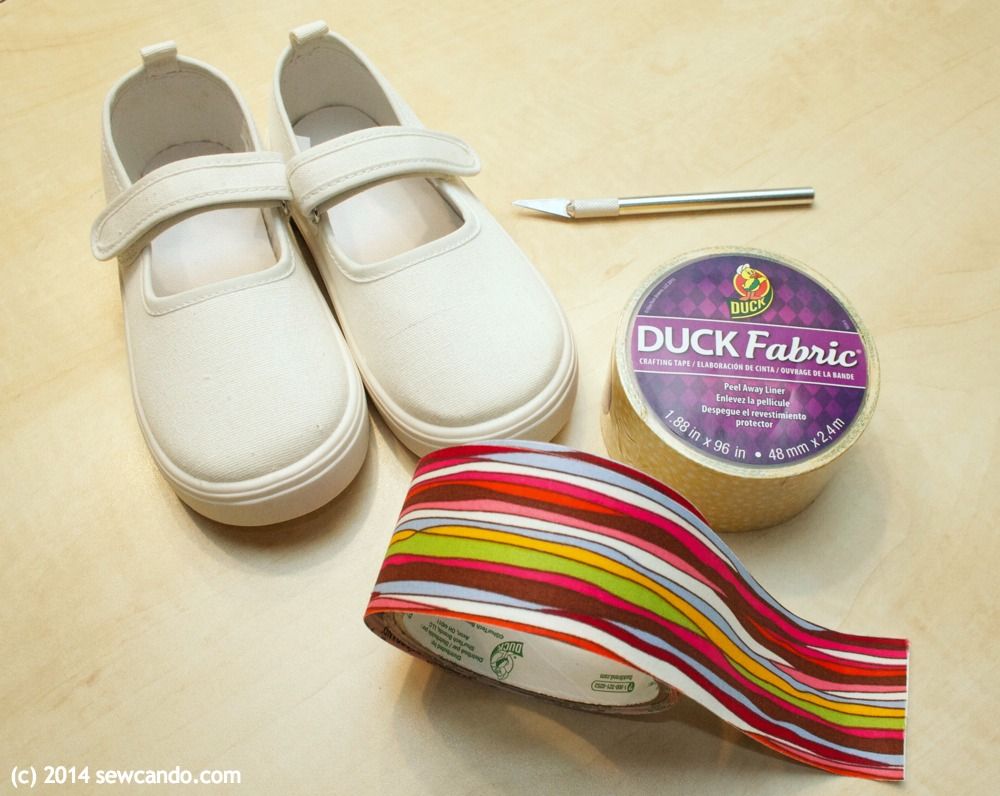
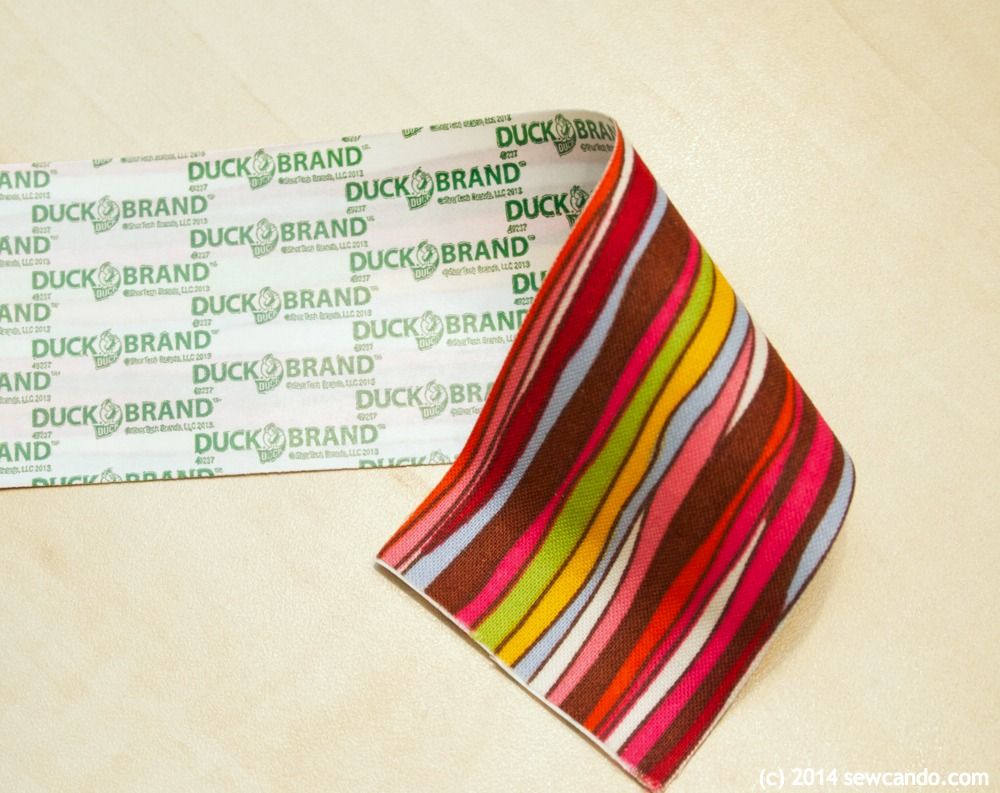
Here's the 411 on it: It's a bit different than regular Duck® Tape since it's actually soft cotton fabric.  This means it behaves like fabric in being soft and smooth, but has a built-in grip adhesive on the back so it can function like a traditional tape to adhere to just about anything.  It also comes paper backed so you can plan things out before you peel.  


It sounded totally up my street, so you can imagine my excitement when I was asked to by Duck Brand® to come up with a craft using it.  This tape allows you to add fabric texture to just about anything - home decor, toys, cards, you name it.  You can even write on it!  It's as cool as it sounds.  I had a lot of ideas in mind, but this one really jumped out at me - Duck Fabric® Tape Shoes!  


Turn a boring or ugly pair of shoes into a custom design without messy glues, wrinkled fabric or complicated steps thanks to this special tape.  It's easy - here's how:


Materials:
- Duck Fabric® Crafting Tape.  I used Yellow Speckled Dot & Coral Multi Stripe*
- Scissors
- Disappearing fabric marker
- Canvas shoes


*This fabric tape is available in a number of versatile prints in standard tape width shown, as well as 3/4in wide mini rolls and in 8x10in sheets.

Start by cutting a strip of fabric tape slightly wider than the toe cap of the shoe. Place tape over top of shoe so edges cover canvas of shoe and overlap onto the welt (rubber side).  Press firmly using a fingernail, or non-sharp edge of a blade cutter, so the indentation where the canvas meets the rubber will show through the tape.  Draw along that seam with the disappearing marker to make the cut line. 


Pull lower edge of tape up & away from shoe just enough to be able to cut along line with scissors.  Smooth tape back down after cutting.
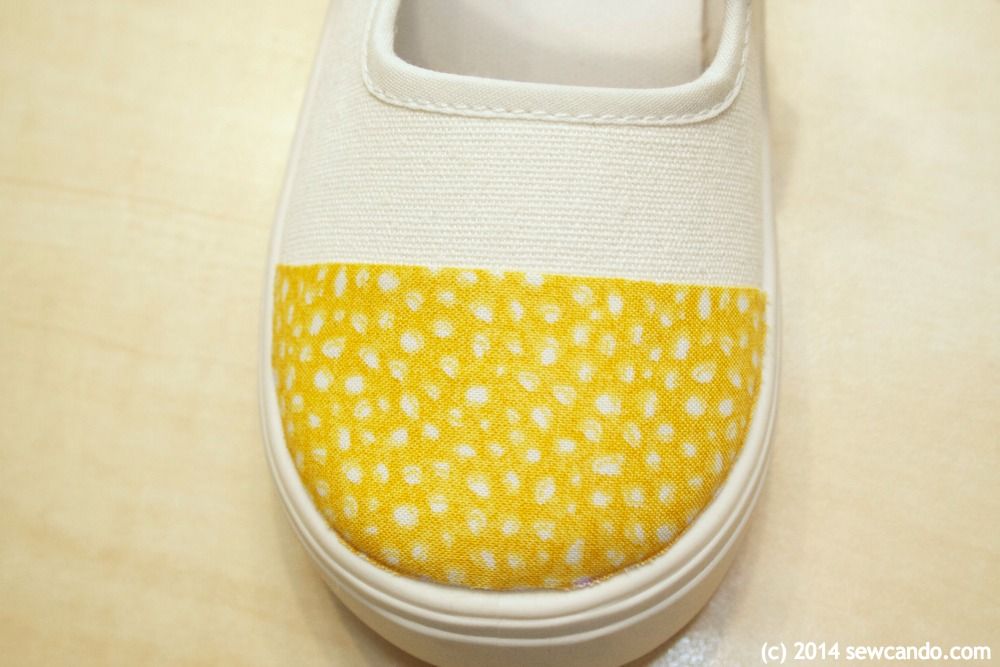

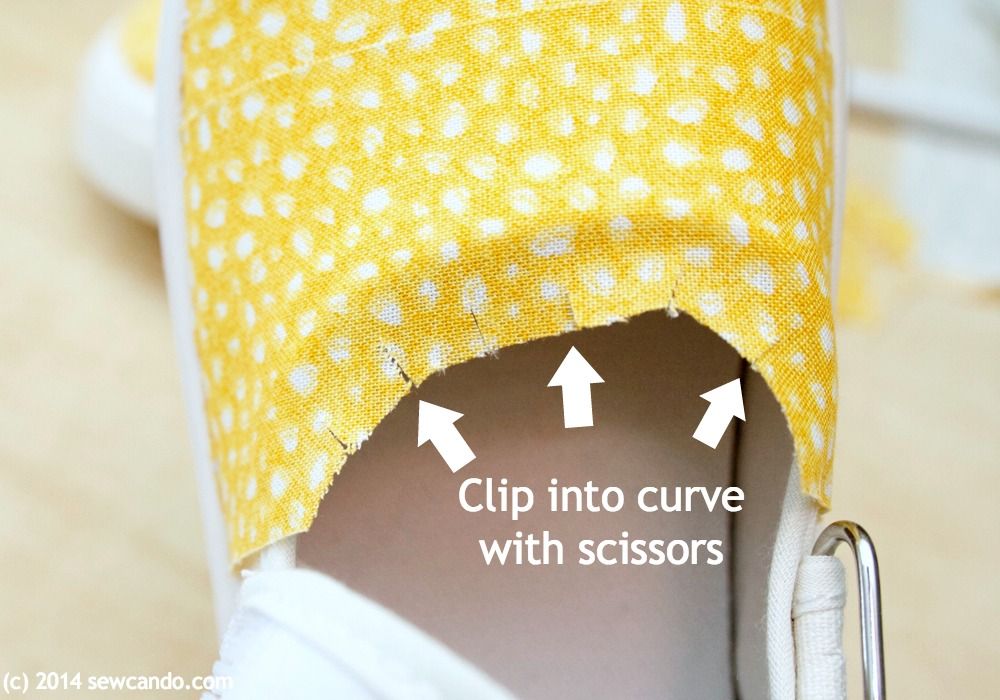
Add another strip of tape next to the first and repeat the creasing, marking & cutting along the sides.  Don't worry if it isn't perfectly aligned - the tape can be repositioned easily to get it just right.  To wrap around the upper edge, trim the overlapping portion of the tape to 1/4 inch and clip as shown so tape will easily wrap around the curve.  Press firmly to the inside of the shoe.

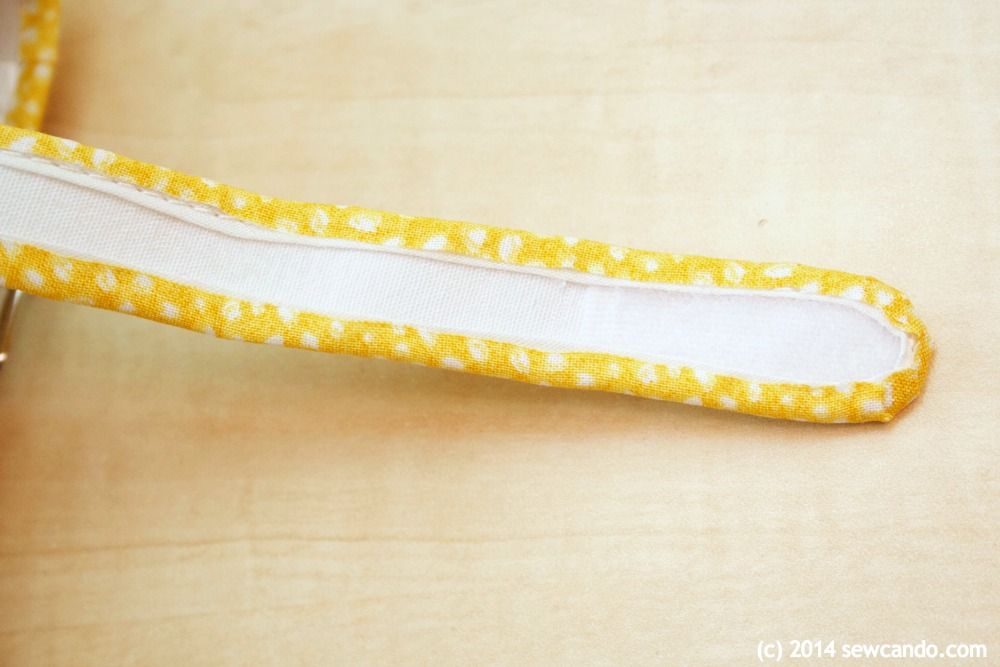
To do a strap, cut a strip of tape that is 1/4 inch wider than the strap on either side and place as shown.


Clip into the curved end and then fold tape over to the underside of the strap.

To cover any buckle edges, cut a tape piece to fit around buckle area first:
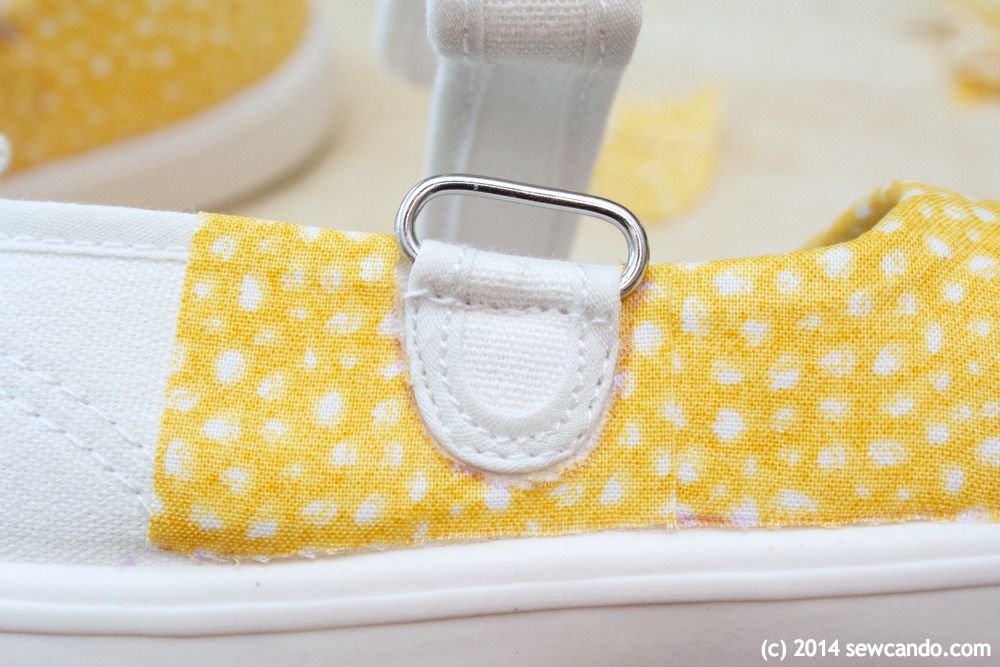

Then add an additional piece of tape, and cut with a slight edge to wrap around the buckle sides:
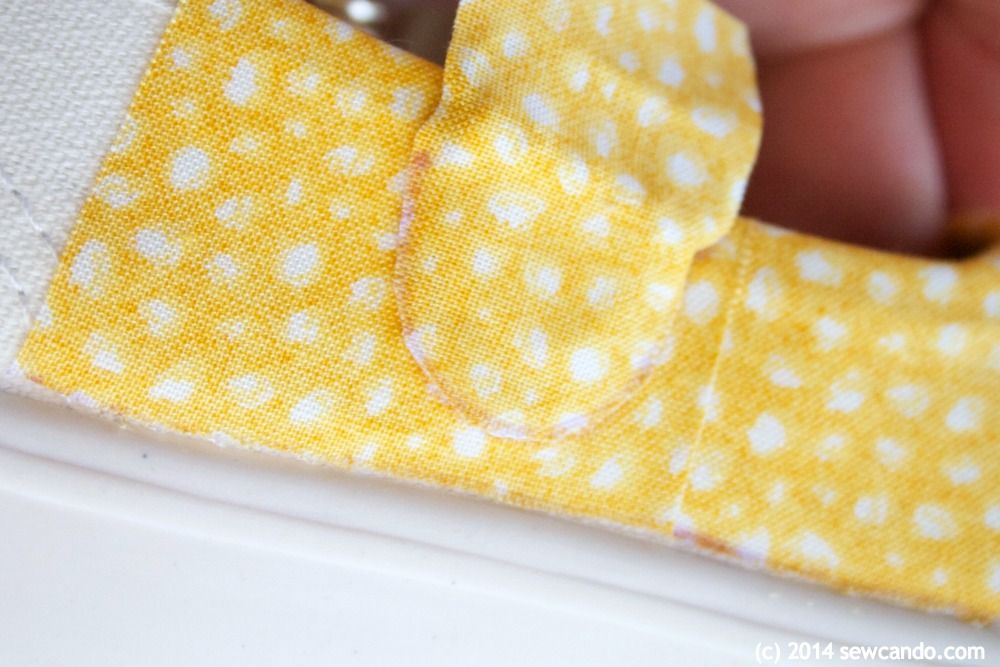

To add decorative touches, cut shapes in a contrasting print tape.  This part is what I really love about this tape - since it's paper backed, it's easy to trace on and to cut any shape.


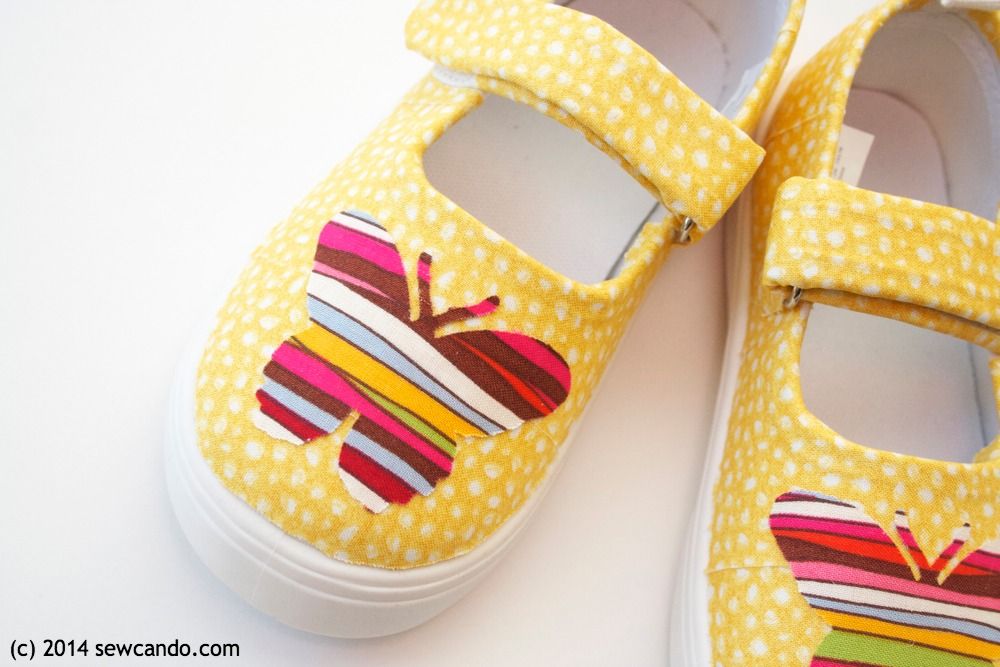
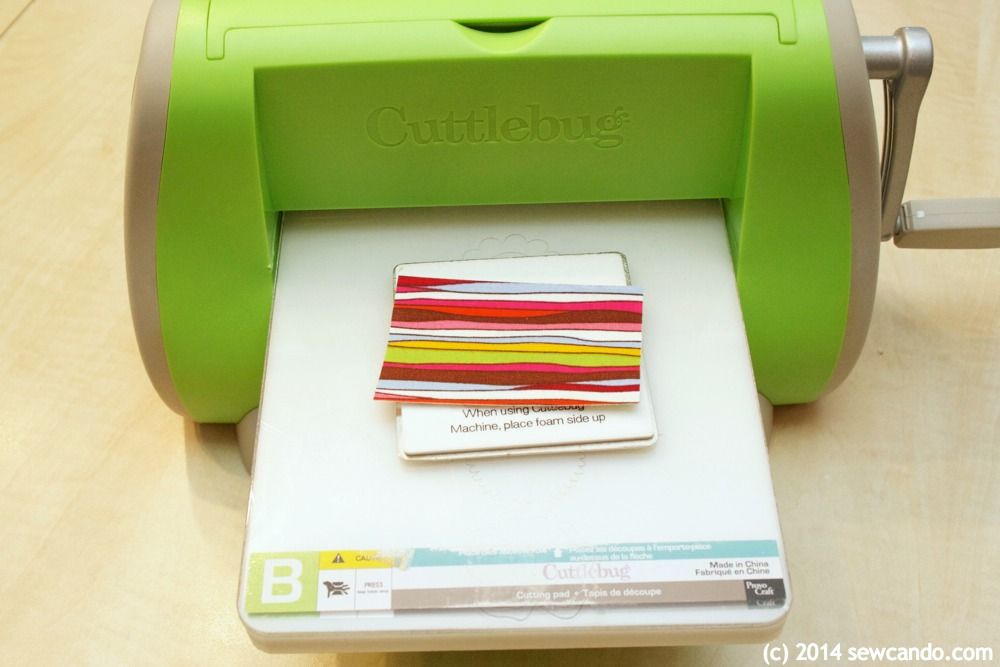
I used my Cuttlebug and a die cut to make detailed butterfly shapes in seconds:

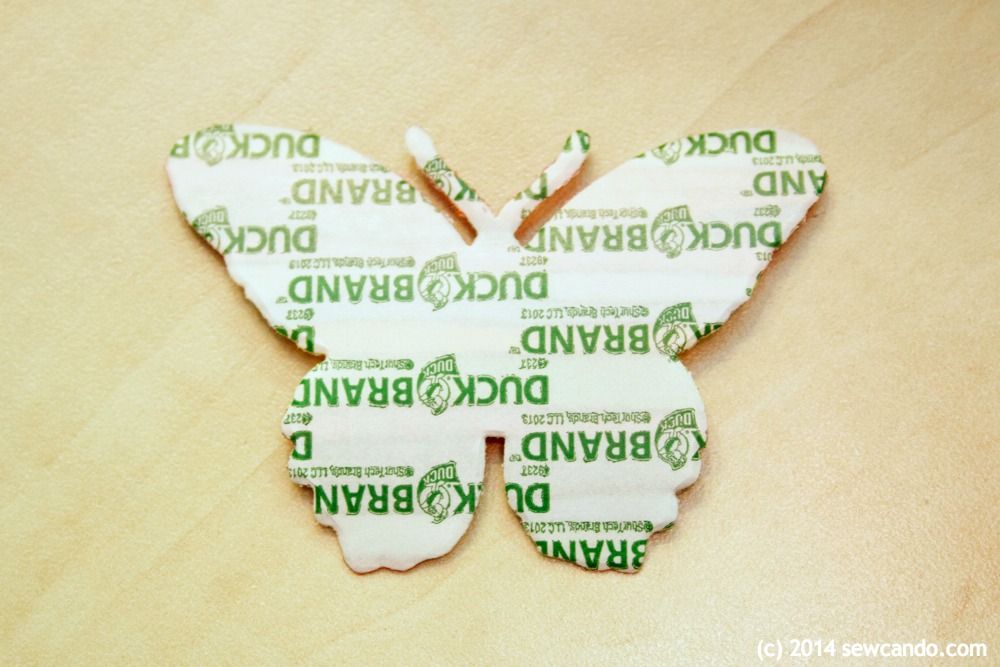
All I needed to do was peel away the paper and stick:

Now some plain shoes have a totally colorful & custom look:
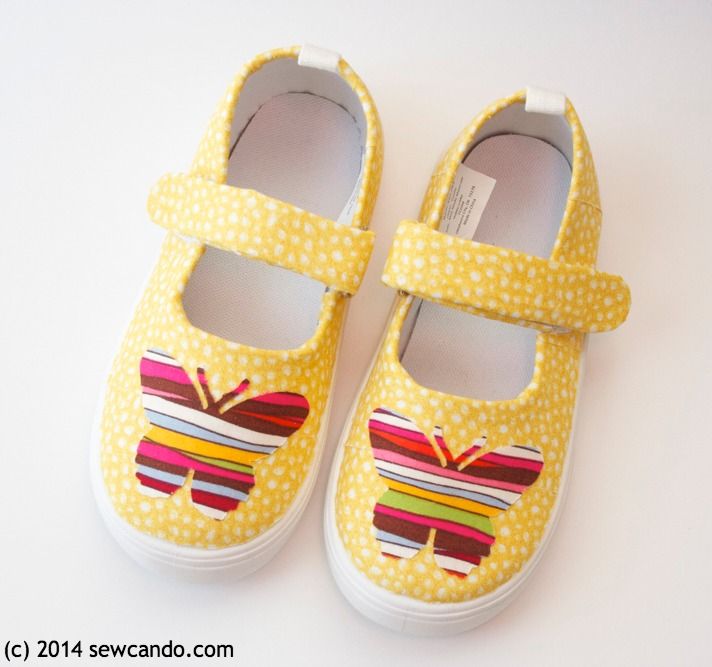

The transformation from drab to fab is incredible - and was easy to do.  It was so fun to work with, I'm planning to do some home decor and paper projects with it too.  I want to tape just about everything with this stuff!
  

Want more fun project ideas using Duck Tape®?  Follow Duck Brand® on Twitter @TheDuckBrandAnd share your own ideas on Twitter & Pinterest with #DuckCraftTape hashtag!


I'm also sharing this project with my FAVE LINK PARTIES.
Click HERE to check them out!

Visit Sponsor's Site

Friday, April 27, 2012

Crafty Gear 411: What Is Lutradur?


Today's Crafty Gear 411 is about a truly crafty material: Lutradur®.  A unique cross between fabric and paper. It is a 100% polyester, spun bond, non-woven, translucent web. It can be used for crafting, sewing, quilting, scrapbooking, wall art - just about everything you can dream up!


It's ideal for crafters of all sorts because it:
  • Can be cut, but does not fray
  • Works well as an overlay when put over paper as shown above
  • Looks delicate and filters light, but also has incredible strength
  • Works well with a wide range of glues & paints to add infinite colors or embellishments  
  • Can be heat set to 400 degrees or melted/singed for antiquing effects
  • Can be used like paper and run through an ink-jet printer to add graphics, photos or text and even be written on with pen or marker.  

I used my Cuttlebug & dies to cut a lovely butterfly shape and then overlapped pink and purple paint to make an ombre feel.


I die cut some scalloped shapes and then painted them with a sponge brush on freezer paper.  It was easy to peel them off when dry.  I used metallic fabric paint, opaque acrylics and glazes to get different shades and effects.


This is a close-up of the metallic:

By using liquid fabric softener to "paint them on" they give a sponge-painted look on the wall (or any other hard surface), but without the permanence.  Simply peel off and use again, somewhere else, without any damage:

I've also used iridescent glitter fabric paint on some shapes I handcut for my Rainbow Showers quilt and machine stitched them on for some added embellishment to my fabric appliques:

And by taping a piece to a sheet of cardstock, I was able to run it through my printer to make some dreamy-looking text & ghostly photos.  By coating the surface with gesso or a setting medium first (and drying before printing, obviously), the inks can look even brighter and no issues with smudges.  I just did it as-is just so you'd have an idea of the effect:

There are endless ways to use it, so it's a very practical medium, no matter what types of crafting you like to do.  Would you like to win a yard of Lutradur to play with, as well as several other useful crafty materials?  

Enter my Pellon Crafty Goods Giveaway HERE for a chance to win over $50's worth of crafting supplies! 


Wednesday, December 14, 2011

Dashing Through The Snow: A Reindeer Barrette How-To


This was my first try at making barrettes, let alone themed ones.  I totally loved it, which doesn't surprise me since I've been waiting for SO LONG to make some!  My daughter is 2yrs old, but her hair has taken it's sweet time coming in (hence all the hairdo hats and headbands you've seen here).  We can finally do tiny ponytails, but that's about it.  Most barrettes still just slip right out, but thanks to a friend who is a barrette making expert, I got hold of some great snap clips that really hold her wispy locks.  So all I needed was to make them look cute super quick.
    

To make this pair of barrettes, you'll need:
- Shaped satin ribbon ( I get mine from Sugar Pink Boutique)
- Scraps of red & white felt
- 1/8" wide red satin ribbon
- Scalloped Circle Die + Cutting machine (I used my Cuttlebug, but cutting with scissors works too)
- Snap lip barrettes
- Hot glue gun


First I cut two flower shapes for red & white felt with my die and Cuttlebug:


I cut a single reindeer from this cute shaped satin ribbon (I had to trim the back leg a bit to fit my background shape):


Then I tied on my red ribbon for a jaunty scarf:


Then I put a bit of hot glue along the face of the barrette:


And centered the red felt over the barrette.  After pressing in place I dabbed a circle of glue on the center of the red:


Then placed the white over it having the scalloped parts alternate:


Next I placed a bit of glue on the back of the reindeer and then placed him in the center of the white shape:


I also placed a small bit of glue behind the head and at the ends of the scarf so the ribbon would stay in place.  Now my little girl's tiny ponytails have some holiday reindeer flair:


Fun, fast and they actually stay put!!  I cannot wait to make more and am looking forward to building up a little DIY barrette collection in the coming year:)

Sharing this with my FAVE LINK PARTIES too so click HERE to check them out!

Thursday, July 29, 2010

Embossed Pop Can Card Tutorial

We've got another awesome guest for this week's CraftShare topic of Die Cut Crafts.  Alicia from Joy In The Everyday is showing us how to make this amazing card using pop cans!  She's a fellow homeschooling mom who shares their adventures and makes all kinds of pretty & fun things.  So while I rummage around in the recycling bin for mine, Alicia's going to get us started!


I am so excited to be guest posting today here on Cheryl’s blog Sew Can Do for CraftShare!! Just a quick few lines about me – my name is Alicia from Joy in the Everyday and I live in the northern suburbs of Atlanta with my husband and three kids, who we homeschool. When I am not teaching my three - or running them to their activities I enjoy baking, photography and paper crafting! I am always happy to share something new with my blog friends and today that is using soda cans in your die cutting machine. Let’s get started making this fun end of summer card.


Step 1 – You will need a soda can that has been completely washed and air dried. Using a good pair of heavy cutting scissors (I am using my Stampin Up rubber cutting scissors) cut a line from the opening of the can to the base.


Then cut around both the top and bottom – which will leave you with a can that looks like this.
Always be sure to use caution when cutting into and around the cans. Some crafters even wear gloves. I have never had any problems and I do not use gloves but, I am super cautious and take my time when cutting.
Step 2 – Now, decide what die you would like to use and run the can through your Big Shot or similar die cutting machine, just like you would a sheet of paper. I chose to use the Top Note Die made by Sizzix for Stampin Up.

Step 3 – To embellish my Top Note I decided to run the piece back through using a Sizzix Folder – which gave me this beautiful flower.

Step 4 – You could choose to leave the piece just as is but, I thought it would be fun to color in the roses using Alcohol Inks, perfect for use on metal!


Alcohol Inks are fast drying and will not rub off. Place a little alcohol ink on a plastic disposable plate and using cotton swabs dab color in the flowers. For a really random look you could just put drops of alcohol ink on your project and quickly rub in.
Step 5 – I also punched a scallop oval out of the remaining soda can and stamped a sentiment on it, using Stazon Ink.

Step 6 – Mount the piece on your cardstock using a heavy tape – such as red line or Sticky Strip from Stampin Up.


That is it. Now I also like to use various dies to punch shapes from the soda cans. Living in Atlanta we all love Coca Cola and I die cut this butterfly to hang in my daughter’s room. For that project I want the Coca Cola logo to show.

Hope y’all have fun with this technique! Thanks Cheryl for allowing me to guest post!


Thanks for teaching us how to make such a cool project Alicia!!

LinkWithin

Related Posts with Thumbnails