Wednesday, February 26, 2014

Tutorial Time: Duck Fabric® Tape Shoe Makeover

This post brought to you by Duck Brand. All opinions are 100% mine.


Today's project is one I'm very excited about because it's also a chance to share a new product I now love: Duck Fabric® Tape.  I was intrigued when I first heard about this new item from Duck Brand Craft Tapes. Fabric that's really a tape? It sounded magical!

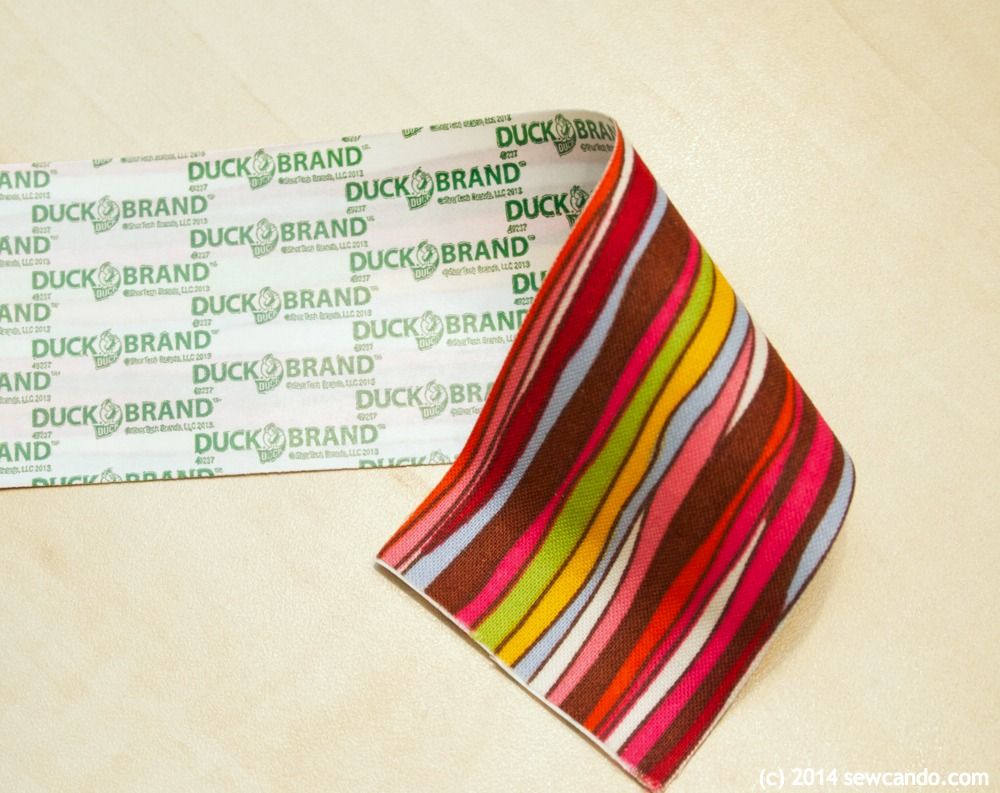
Here's the 411 on it: It's a bit different than regular Duck® Tape since it's actually soft cotton fabric.  This means it behaves like fabric in being soft and smooth, but has a built-in grip adhesive on the back so it can function like a traditional tape to adhere to just about anything.  It also comes paper backed so you can plan things out before you peel.  


It sounded totally up my street, so you can imagine my excitement when I was asked to by Duck Brand® to come up with a craft using it.  This tape allows you to add fabric texture to just about anything - home decor, toys, cards, you name it.  You can even write on it!  It's as cool as it sounds.  I had a lot of ideas in mind, but this one really jumped out at me - Duck Fabric® Tape Shoes!  


Turn a boring or ugly pair of shoes into a custom design without messy glues, wrinkled fabric or complicated steps thanks to this special tape.  It's easy - here's how:


Materials:
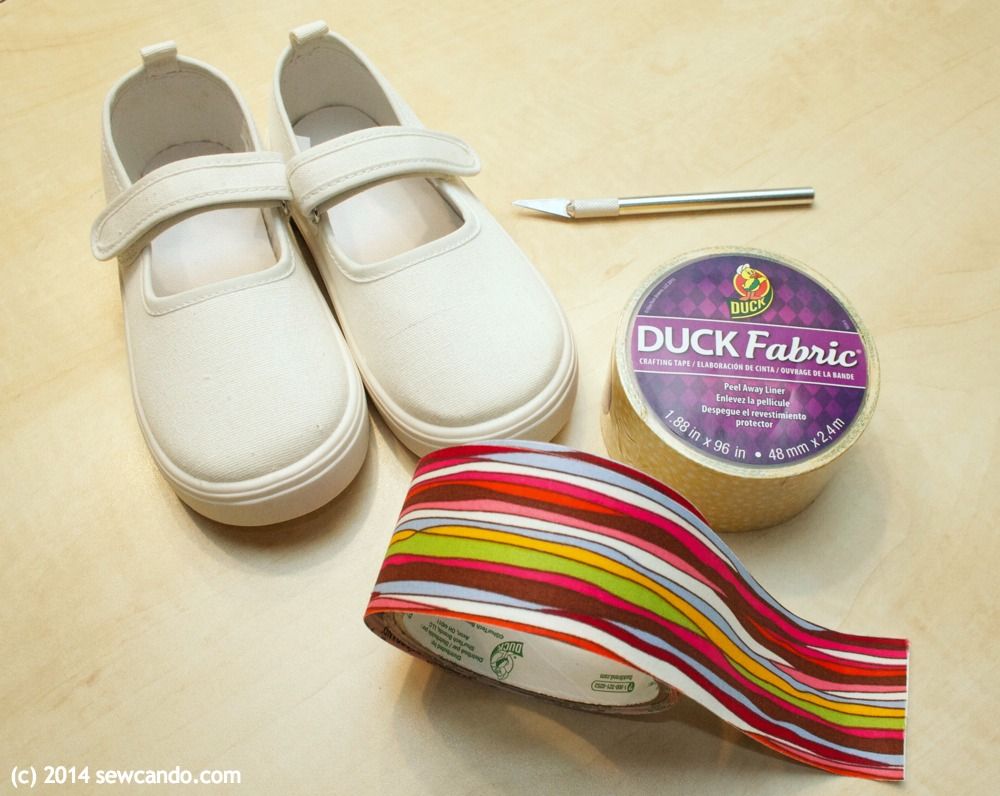
- Duck Fabric® Crafting Tape.  I used Yellow Speckled Dot & Coral Multi Stripe*
- Scissors
- Disappearing fabric marker
- Canvas shoes


*This fabric tape is available in a number of versatile prints in standard tape width shown, as well as 3/4in wide mini rolls and in 8x10in sheets.

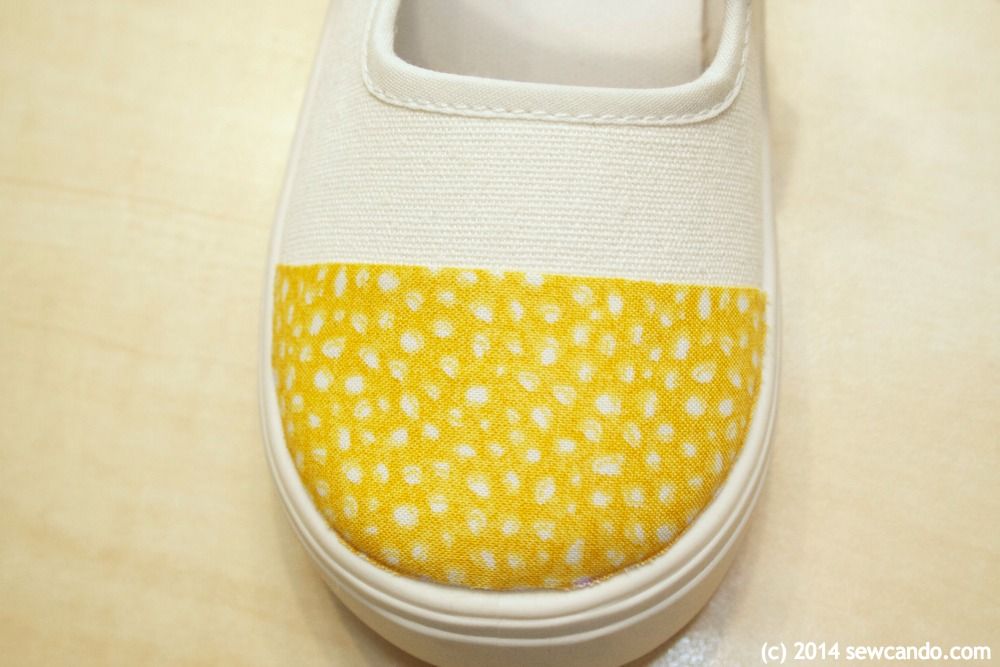
Start by cutting a strip of fabric tape slightly wider than the toe cap of the shoe. Place tape over top of shoe so edges cover canvas of shoe and overlap onto the welt (rubber side).  Press firmly using a fingernail, or non-sharp edge of a blade cutter, so the indentation where the canvas meets the rubber will show through the tape.  Draw along that seam with the disappearing marker to make the cut line. 


Pull lower edge of tape up & away from shoe just enough to be able to cut along line with scissors.  Smooth tape back down after cutting.


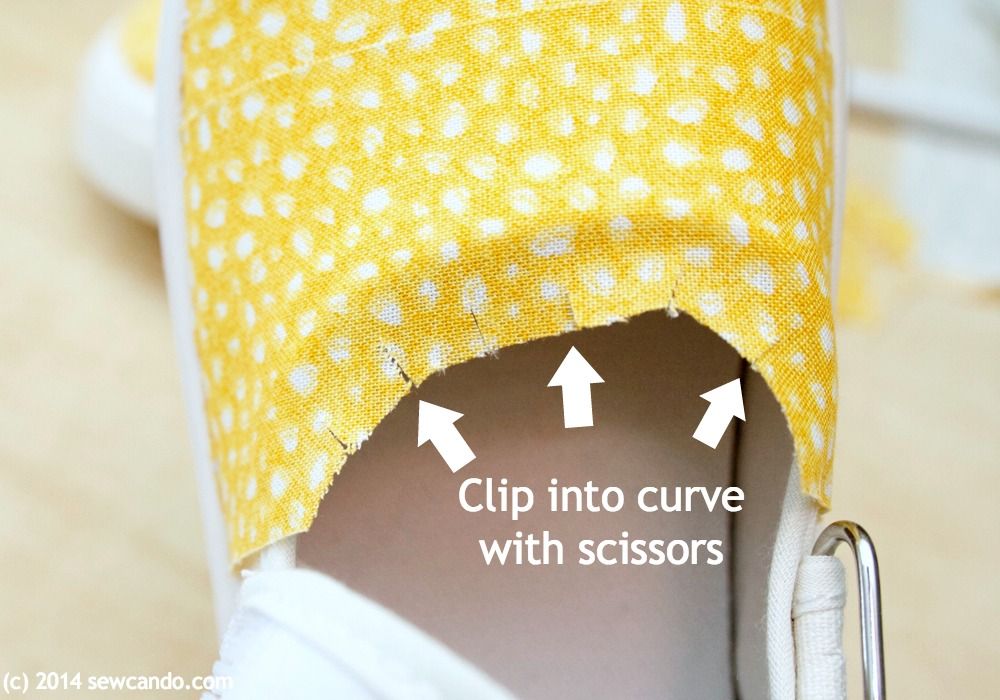
Add another strip of tape next to the first and repeat the creasing, marking & cutting along the sides.  Don't worry if it isn't perfectly aligned - the tape can be repositioned easily to get it just right.  To wrap around the upper edge, trim the overlapping portion of the tape to 1/4 inch and clip as shown so tape will easily wrap around the curve.  Press firmly to the inside of the shoe.


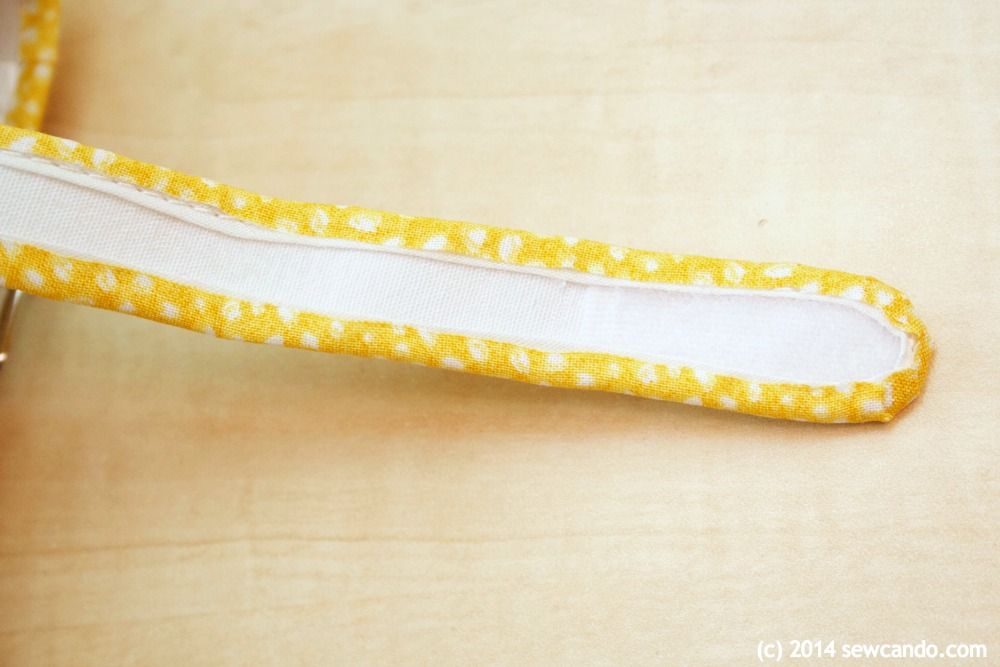
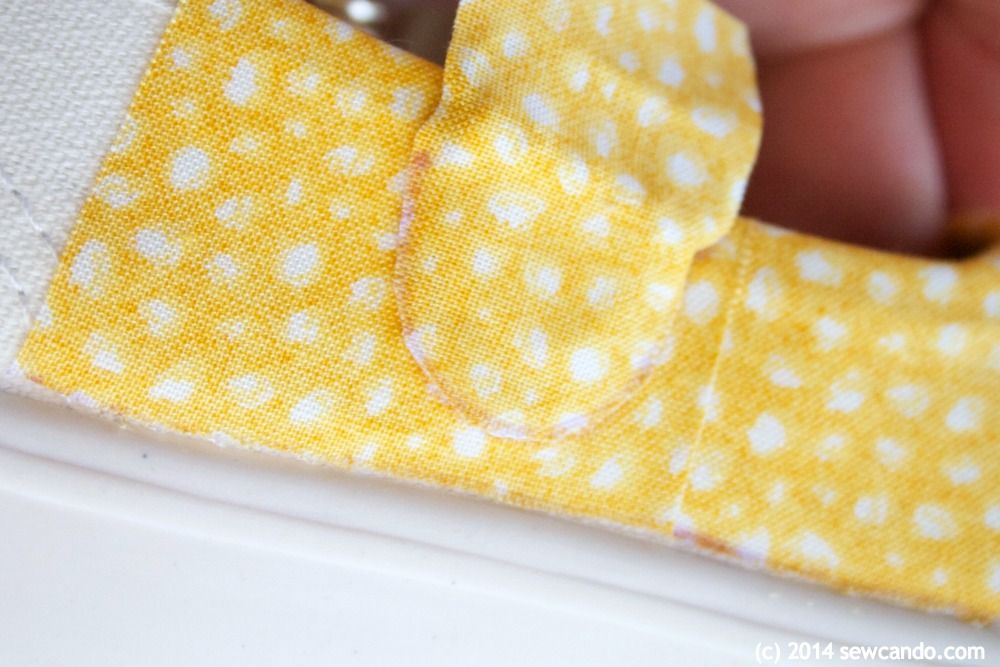
To do a strap, cut a strip of tape that is 1/4 inch wider than the strap on either side and place as shown.


Clip into the curved end and then fold tape over to the underside of the strap.


To cover any buckle edges, cut a tape piece to fit around buckle area first:


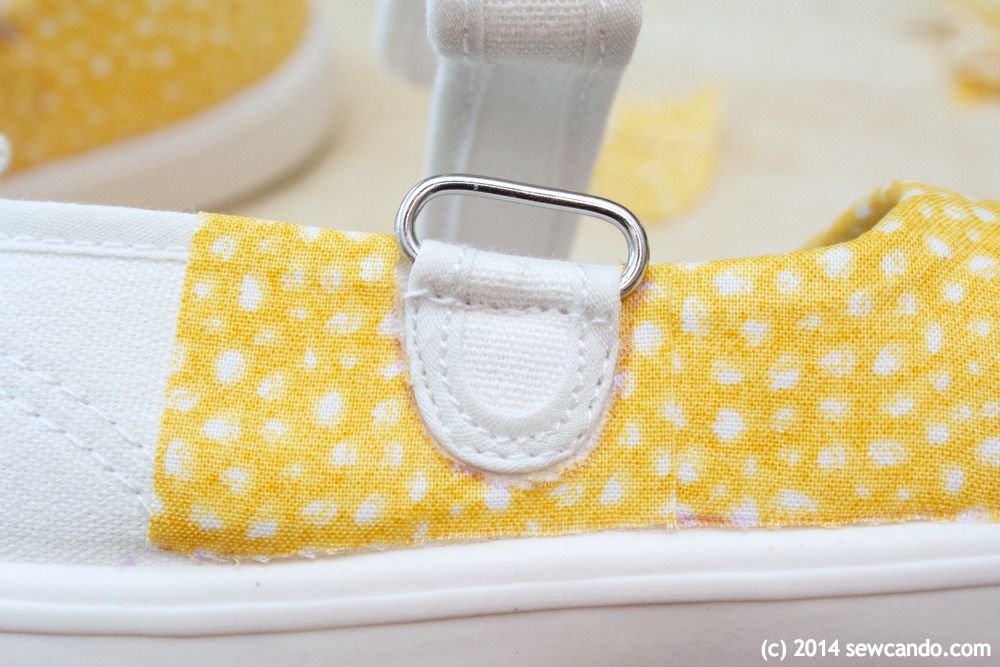
Then add an additional piece of tape, and cut with a slight edge to wrap around the buckle sides:


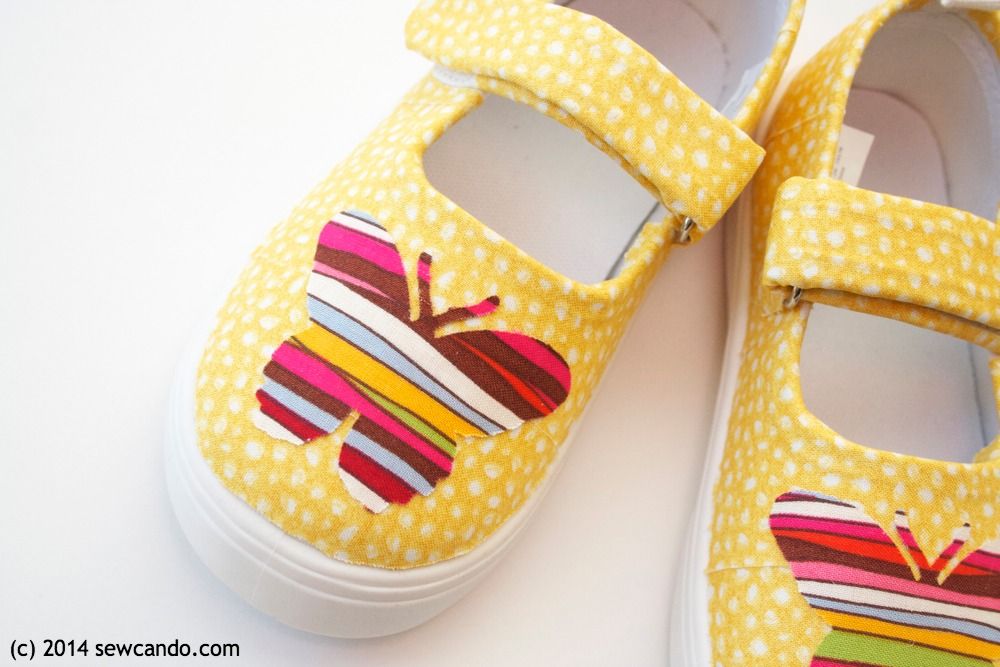
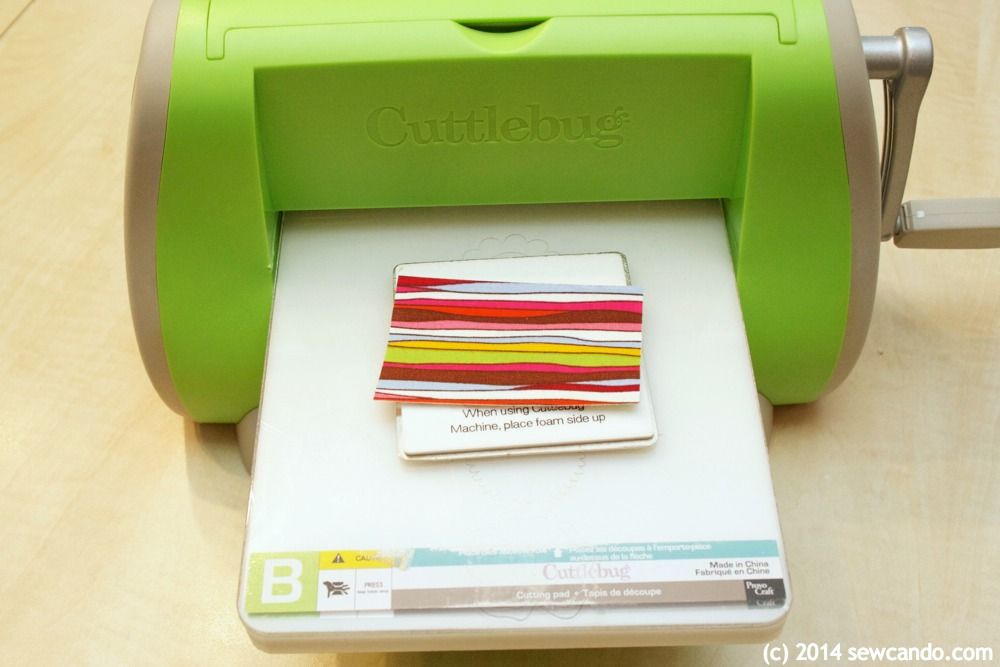
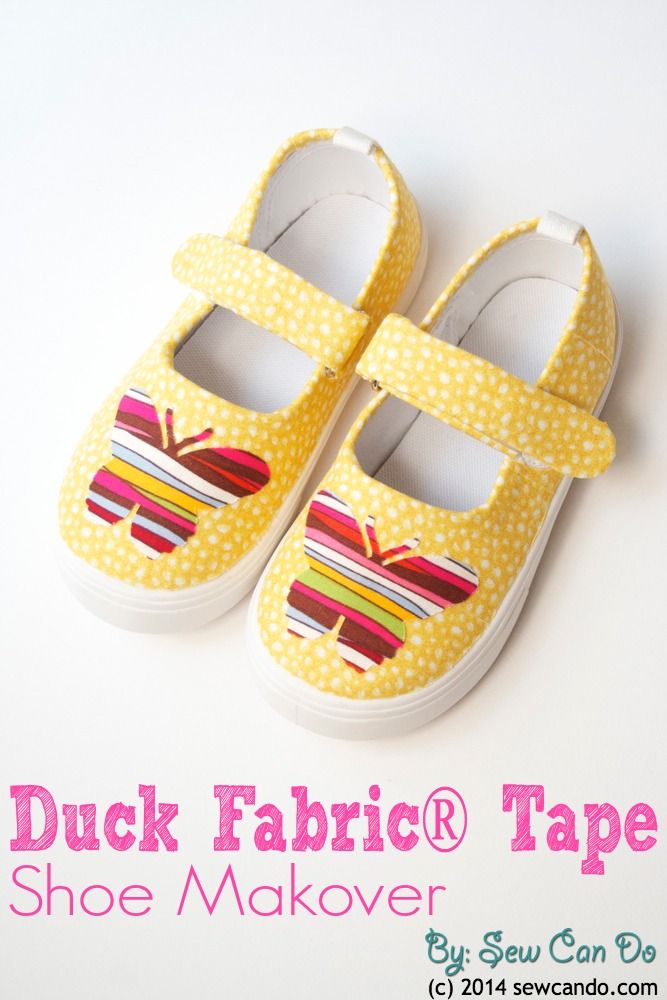
To add decorative touches, cut shapes in a contrasting print tape.  This part is what I really love about this tape - since it's paper backed, it's easy to trace on and to cut any shape.


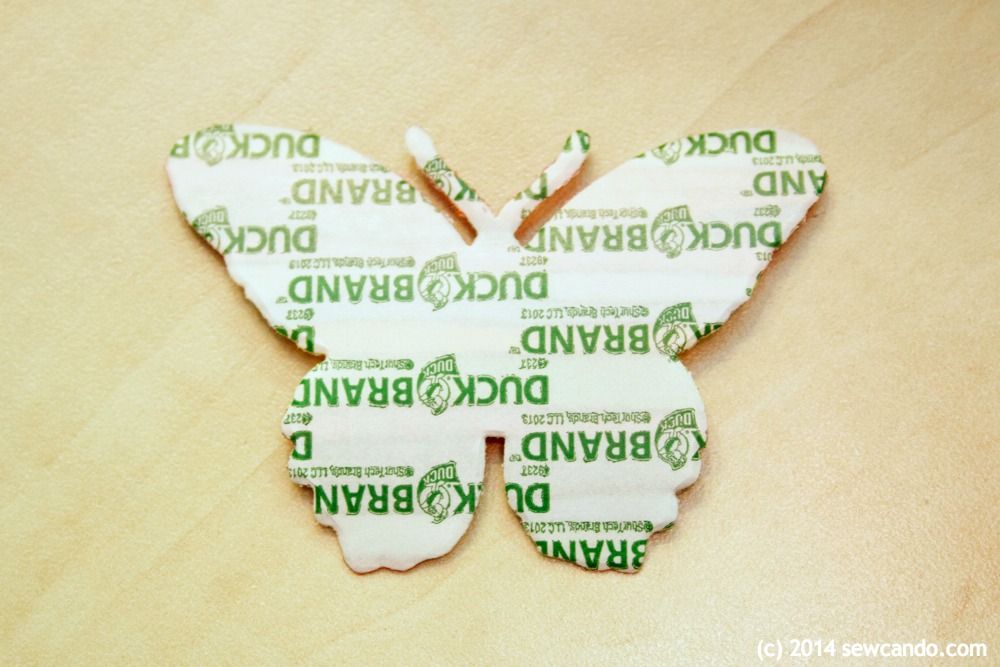
I used my Cuttlebug and a die cut to make detailed butterfly shapes in seconds:


All I needed to do was peel away the paper and stick:


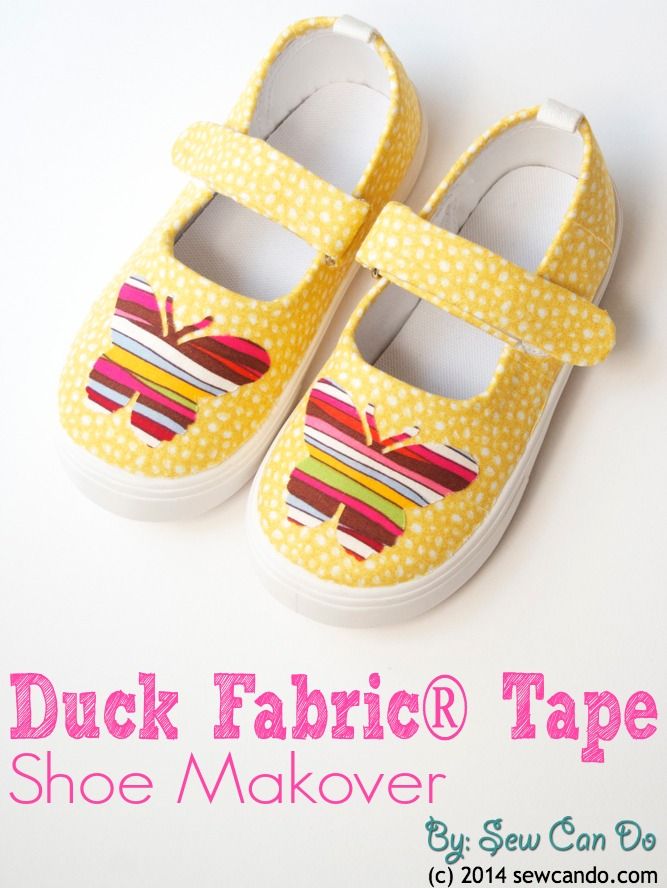
Now some plain shoes have a totally colorful & custom look:


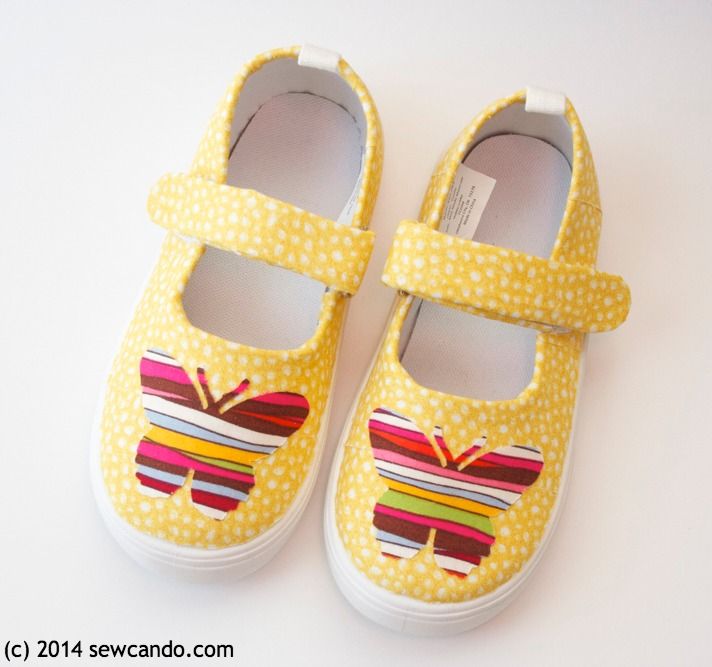
The transformation from drab to fab is incredible - and was easy to do.  It was so fun to work with, I'm planning to do some home decor and paper projects with it too.  I want to tape just about everything with this stuff!
  

Want more fun project ideas using Duck Tape®?  Follow Duck Brand® on Twitter @TheDuckBrandAnd share your own ideas on Twitter & Pinterest with #DuckCraftTape hashtag!


I'm also sharing this project with my FAVE LINK PARTIES.
Click HERE to check them out!

Visit Sponsor's Site

Sunday, February 23, 2014

Craftastic Monday Link Party & Fabric Giveaway Winner


Welcome to another Craftastic Monday Link Party!  Let's see what crafty creations, how-to's, recipes and other clever ideas you have to share.  

It's also time to announce the winner of the Modern Yardage Fabric Giveaway:


Congratulations Rebecca and enjoy picking out 8 fat quarters of your choice!  A big thanks to Modern Yardage for providing this fabulous fabric prize.


Now for some Craftastic picks..

Check out this fantastic slip-cover tutorial from What Does She Do All Day?  The transformation is great.  I've got some sunroom furniture needing some redoing, so this is so handy.  


I love these polymer clay buttons from Bonito Servico:


PA Country Crafts made this fantastic sewing-themed page for a quiet book.  A great way to get the kids loving sewing early on:)


Learn how to make a fun parachute cord bracelet with this handy how-to from Hungry Hippie:


Use an apple corer to make easy potato wedge fries thanks to Mama to 5 Blessings:


Howling At The Moon made this beautiful heart using perler beads and a cross stitch pattern.  Love this idea!!


If you're one of this week's f
eatures, be sure to grab my Featured On button over on the Buttons Page to let everyone know.  I also feature these projects & more party favorites on the Sew Can Do's Craftastic Picks board on Pinterest AND I share each of them on Twitter too Follow me there to see more great projects (and see if yours is one of them)!   
  
Follow Me on Pinterest


Ready to link up your crafty creations?

 
Party rules are simple:
  • As long as it's crafty, and made by you, it's Craftastic (no links to giveaways, shops, link parties or other people's work).  Add the link to your specific post (not the main page of your blog).
  • Grab my party button & put it on your post or blog somewhere.  The code's on the sidebar -> 
  • Check out some of the other fabulous links and share some crafty comment love.  We all love getting comments!!


    An InLinkz Link-up
   

Friday, February 21, 2014

Tutorial Time: Super Easy Linen Laundry Jar


Sometimes projects can be super simple and still have a big impact, like today's Linen Laundry Jar.  For Christmas my sister got me a set of wool dryer balls.  I've been using them a lot, but I needed a place to put them when not in use.  I decided to spruce up a glass jar so they'd have a home that wouldn't be knocked over easily and would still show me what's inside at a quick glance.  It would also work great to hold powder detergent, dryer sheets, clothespins.


This is SO easy to do and a great way to spruce up boring spaces & plain containers. Totally works for craft spaces, bathrooms & kid's rooms too.


Materials:

- Wide mouth glass jar
- Decorative Linen Panel
- Duck Fabric® Crafting Tape
- Scissors, ruler

I found this super cute, laundry themed linen mini panel at Wholeport.  Cute bunnies, dinosaurs & vegetables playing in the laundry? I LOVE it!  And they have loads of other cute designs in their linen fabric section (you can scope them all out here).  I snagged a few more for some other projects I have in mind.  


I trimmed down the panel so it would fit the side of my jar and then cut 1/4 inch wide strips of the fabric tape that were about 1/2 inch longer than the panel sides.


I centered the panel and attached it to the jar on the sides first to make sure it was straight. Then I added the tape on the top and bottom and smoothed everything in place. 


That was it.  All decorated and good to go.  The best part is if I ever decide I want to use the panel or the jar for something else, it's all removable & reusable.  I'm kind of a commitment phobe with décor (I hate using stuff up if I'm not sure I'll love it long term), so if you are too, this is an ideal project.  

If my basement was even remotely decent in appearance I'd show you how it looks on my dryer, but since the jar is now the only ray of sunshine in that dungeon, I figure it's best to stick to that and not horrify anyone with it's surroundings.


Have a great weekend!


I'm also sharing this project with my FAVE LINK PARTIES.
Click HERE to check them out!

I was not financially compensated for this post.  The opinions are completely my own based on my experiences.   I selected items from my Sponsor, Wholeport, to review.  I am an affiliate of Wholeport.  For my complete disclosure policy, click here. 

Wednesday, February 19, 2014

Though She Be But Little, She Is Fierce: A Pink Ninja Birthday Party


Since I'm in the middle of making a bunch of crafty projects right now, I thought this would be a good time to share something I created a few months ago, but hadn't had a chance to post: my custom Pink Ninja Birthday Party.  

My 4yr old is a fierce & fabulous little girl.  Shakepeare definitely got that quote right.  She holds her own with bigger kids and has some serious stamina no matter what she's doing. Her older brothers love ninjas & she does too; all last summer she called herself the "Pink Ninja".  I thought that would be a fun birthday theme for her & a nice departure from the usual princess/fairy/super sweet parties most girls do at this age. I was disappointed to discover that any ninja-related party stuff was red & black and always depicted boys.  A little girl who likes pink should still be able to be a ninja....

So I created my own girl-themed ninja printables with a grey, pink & purple color scheme. 


Invitations, bunting, placards, birthday sign & favor labels, to make my daughter's Pink Ninja personality shine:


I started by creating this invitation, showcasing a girl ninja face I designed (with eyelashes & brown eyes like my little lady):


Next a personalized banner for my birthday ninja out of my printable, cardstock & baker's twine:


I created some small custom oval printables to affix to basic takeout containers to serve as perfectly themed goody bags.  Coordinating paper straws and a special birthday sign added some decoration.


Food-wise, I wanted to do a party that would be fun, but also a good balance of healthy & treats.  Sometimes I see high-styled parties that look breathtaking, but the massive amount of colorful candies, cakes, cookies & other sugar-laden items is overwhelming.  No kid needs their body weight in sugar as a meal.  You can style a beautiful party with some healthy food in the mix folks!

For our savory section we had vegetarian and regular sushi, cucumber sandwiches, soybeans, seaweed and rice crackers.  I created some themed placards for the food and added some chopsticks for double duty as utensils and decoration:


The shuriken (throwing star) sandwiches were cucumber and cream cheese filling on whole grain bread and cut with a star-shaped cookie cutter.  Some fabric yardage served as my tablecloth:


And since I'm not the sugar police, we did have some sweet goodies too.  On the treat side we had Kunoichi (female ninja) face cupcakes I made with my fave cake decorating element, modeling chocolate.  


I came up with a super-easy method for making them (which I can share in another post if there's interest).  I really loved how they turned out.


We also had some pearlized gumballs, Pocky sticks and Chocorooms (aka mushroom shaped chocolate dipped biscuits).  


And of course my favorite wafer candy saucers - found for a bargain price at Staples.com of all places!


Decoration-wise I kept it thrifty with glass containers I already had, paper throwing stars my husband made and this little zen garden I picked up at the dollar store (Nin Dogu means Ninja Tools):


We had a great time and the birthday girl was proud to show her stealthy skills on her special day.  Go Pink Kunoichi!


Where I Got The Party Goods:

Pink Ninja Printables: Designed by me :)
Pocky, Chocorooms: Five Below
Pearlized Gumballs: Toys R Us
Wafer Candy Saucers: Staples.com
Zen Garden: Dollar Store
Paper Straws, Baker's Twine: Simple Addiction
Fabric for tablecloth & backdrop: My stash


I'm also sharing this project with my FAVE LINK PARTIES.
Click HERE to check them out!

LinkWithin

Related Posts with Thumbnails