


- Holed-up striped shirt (or really anything with a narrow stripe for this look)
- Scrap fabric (mine was some Timeless Treasures Rain Basics quilting cotton)
- Paper-backed fusible
- Notions (Iron & ironing board, disappearing marker, disappearing marker, shears)
- Optional: Cricut or Silhouette
To make the birds, I searched around online and found this cute lovebirds image over on Clker.com:
 |
| Love birds clip art by: 1225design on clker.com |
I just discovered this site and LOVE it. It's full of free clip art you can download in a bunch of different file formats - including svg - so they'll work with a cutting machine like the Cricut or Silhouette.
I enlarged the images slightly & cut 'em out on card stock to make my templates. If you don't have a cutting machine you could just print it on card stock and cut by hand.
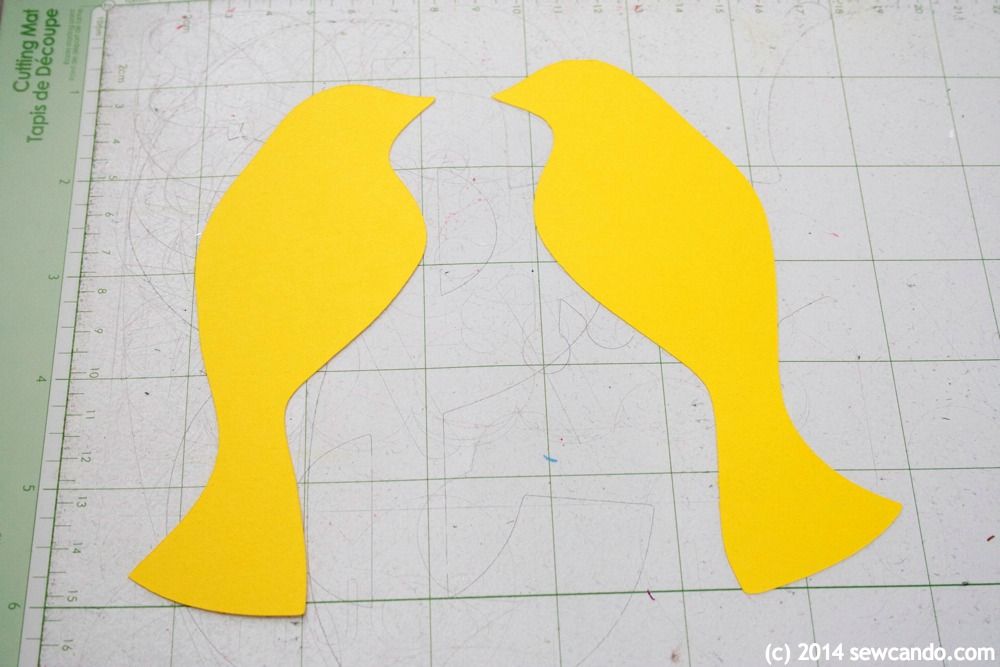
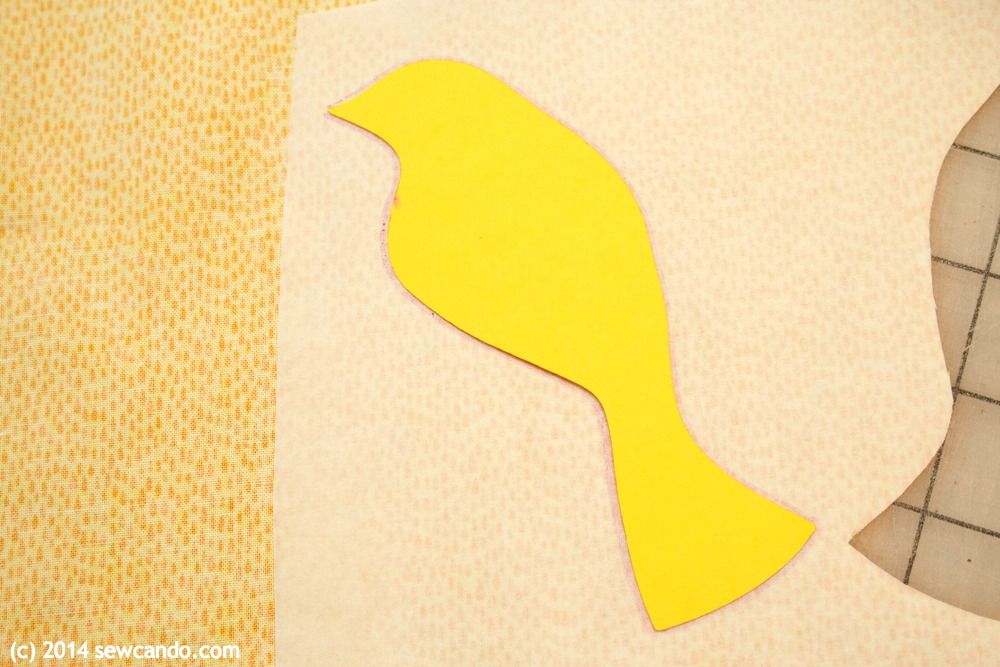
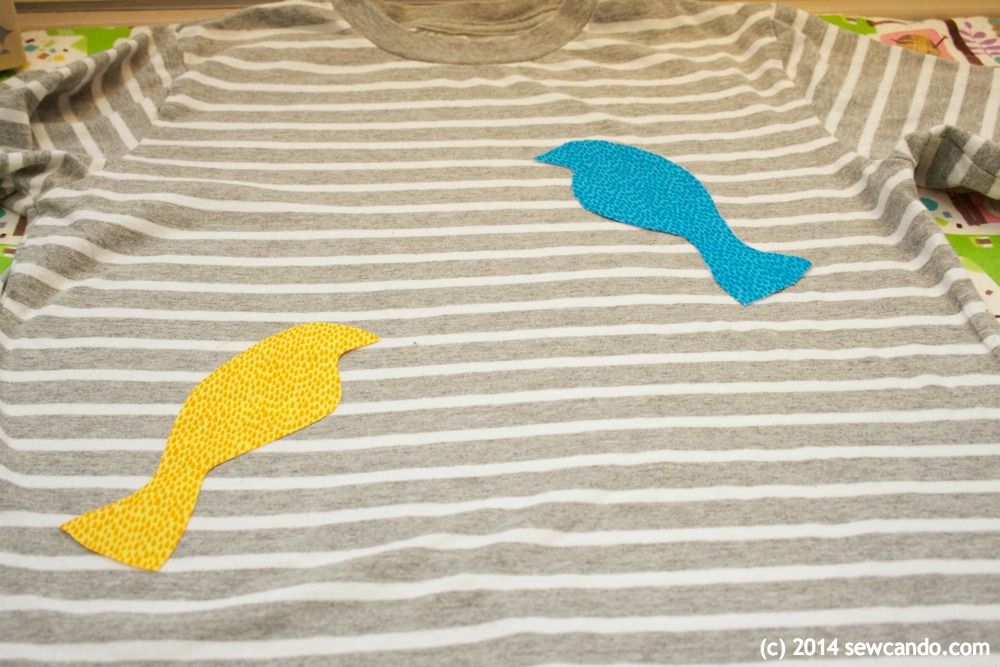
I traced around the templates with my disappearing marker on some scrap fabric and paper-backed fusible and cut them out. I did two pairs of birds - one for the front & the other for the more critical back.

You could also iron the fusible to the fabric first, then trace & cut. I tried that with one to see if it was any faster...it wasn't, so it's really just personal preference.
I ironed the fusible onto the wrong side of each bird. When they were cool, I peeled off the paper:

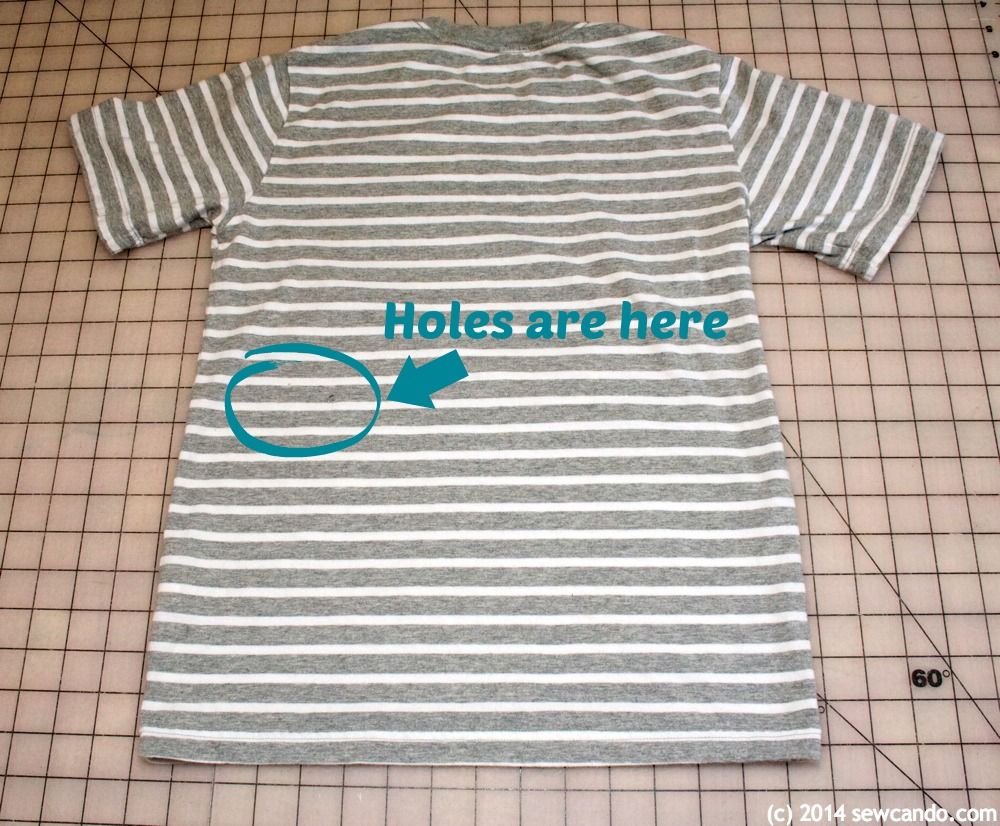
For placement, my birds needed to "perch" on the stripes and that key birdie on the back needed to completely cover the hole trifecta:
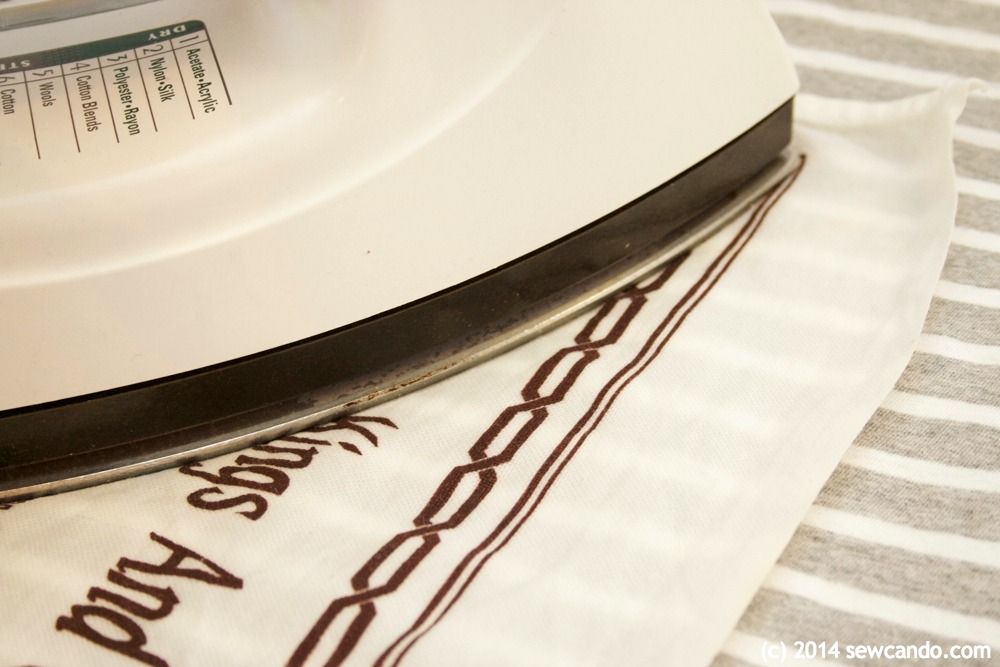
Then I fused them in place with a press cloth between them and the iron, using the wool setting.
For extra security and keeping the edges neat I topstitched around the edges.

I used a triple stitch so it would and give a nice, thick, border stitch.

Now the holes on the back are all hidden, covert-style:

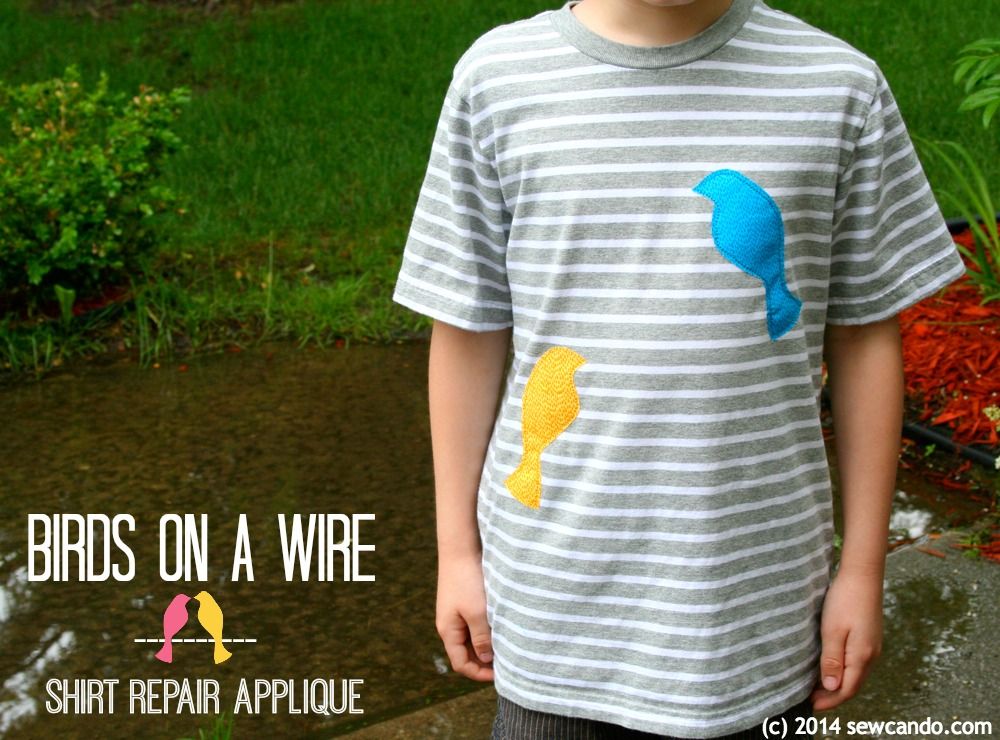
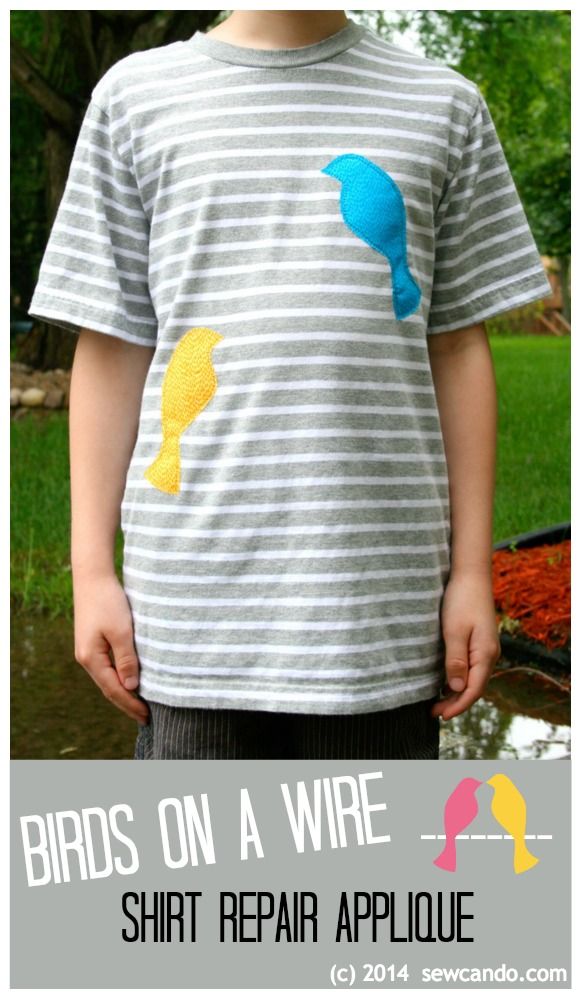
And our little shirt looks more fun and has loads more life left in it too. I love it when a repair turns into something better than where it started!

Great solution and it looks a lot cuter than a plain shirt! Thanks for the new clip art source, too.
ReplyDeleteWhat a great idea! Super cute! Pinned. Thank you for being a part of our party. I hope to see you tonight at 7 pm.. It is always a pleasure to have you! http://loulougirls.blogspot.com/
ReplyDeleteHappy Monday! Lou Lou Girls