Showing posts with label storage containers. Show all posts

Wednesday, May 11, 2016

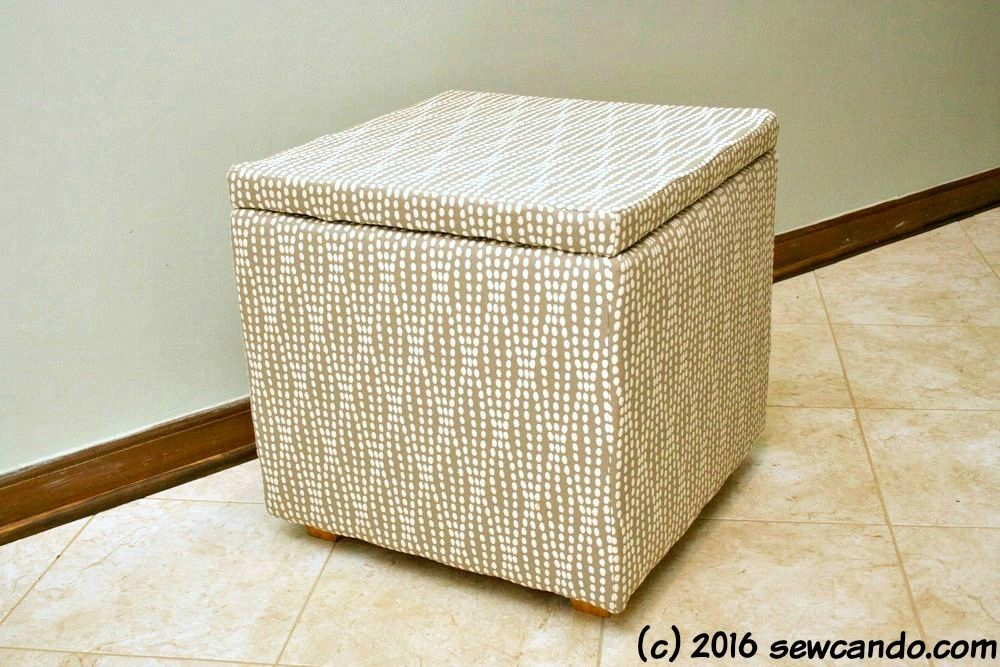
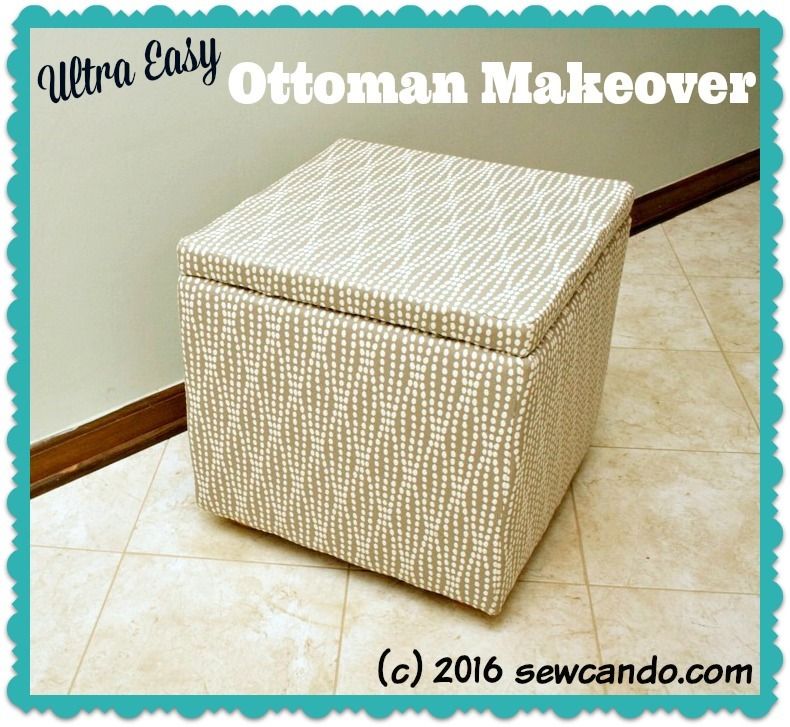
The Reupholstered Storage Cube ANYONE Can Do


Do you love DIY'd home decor?  Doing makeovers on stuff in the house?  I love the idea of revamping things to pretty up my house, but execution-wise, I always feel like I'm flailing around.  Stuff ends up looking like I cobbled it together myself.  Blindfolded.   Is that better than just buying something new?  Not really.  Except with today's project.  Which tells me if I can make it look good anyone can.


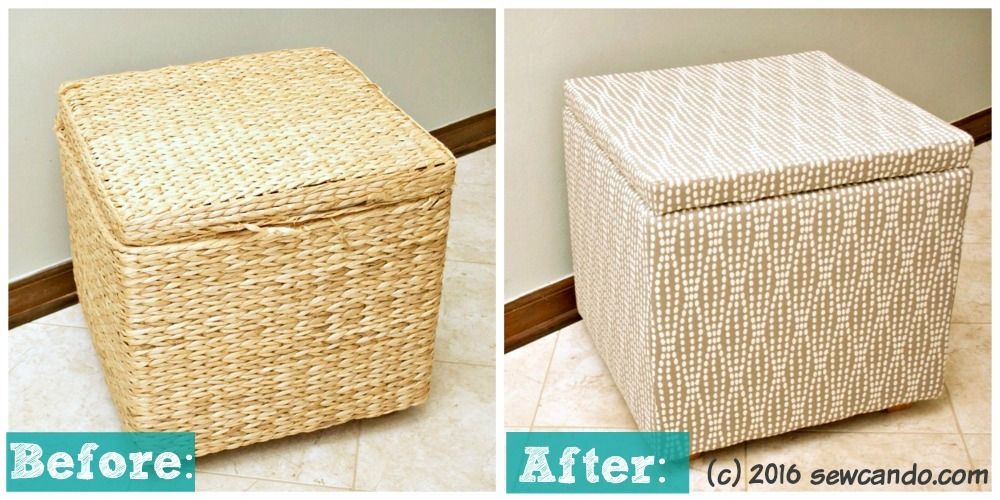
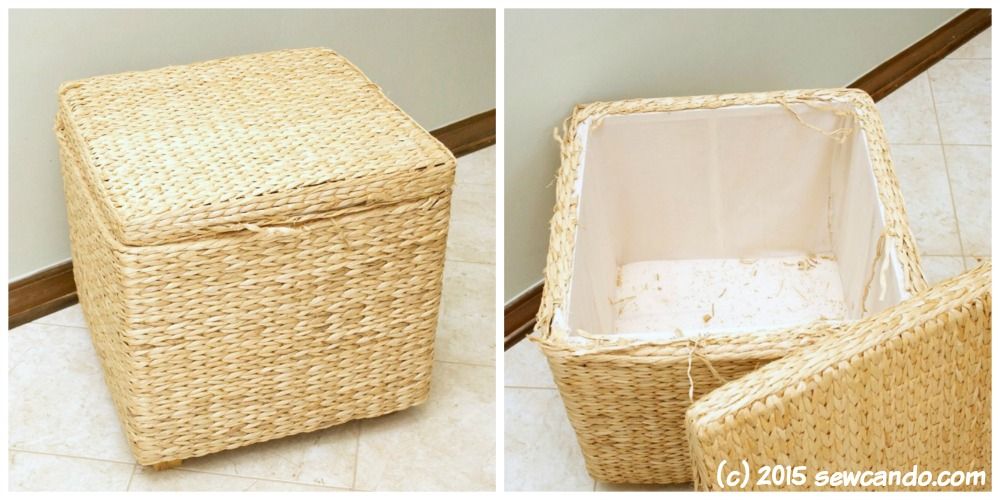
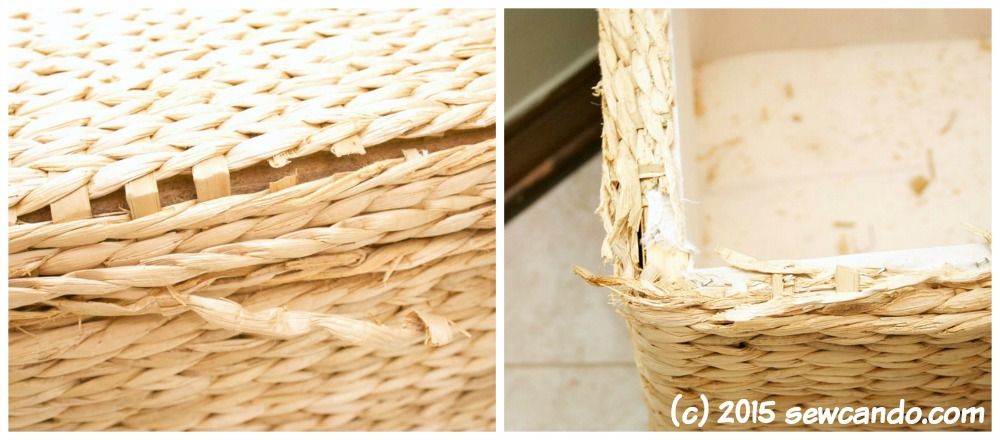
We had this rattan cube for years.  The kids stored their dress-up clothes in it and helped keep our family room from totally being taken over by kid stuff.  I'd loved it, but it started to show its age and look worn out:


We found a bigger basket hamper to replace it, but I still couldn't bear to throw this guy away.  His bones were still good, just looking superficially rough.  There was no way I could repair his woven exterior, but I could give him a total body lift!     


Added bonus: it cost me $0.  That's right: FREE.  I had some old batting and this really nice Waverly Home Decor fabric in my stash crying out to be used:


I'd won the fabric as a prize in a design competition a few years back - when I'd created this fabric clock project:  


Knowing I wasn't out any money really helped.  If things turned disastrous, it wouldn't be a loss, right?  I tend to get paralyzed with indecision when tackling a new home project, because I'm afraid I'm going to mess up and waste valuable materials.  Great mentality for a crafter, right?  Ha.

Materials:
- Ratty storage cube
- Home decor fabric ( I used about 1 1/2yds)
- Poly batting 
- Staple gun
- Sewing machine
- Notions: Yard stick/ruler, rotary cutter
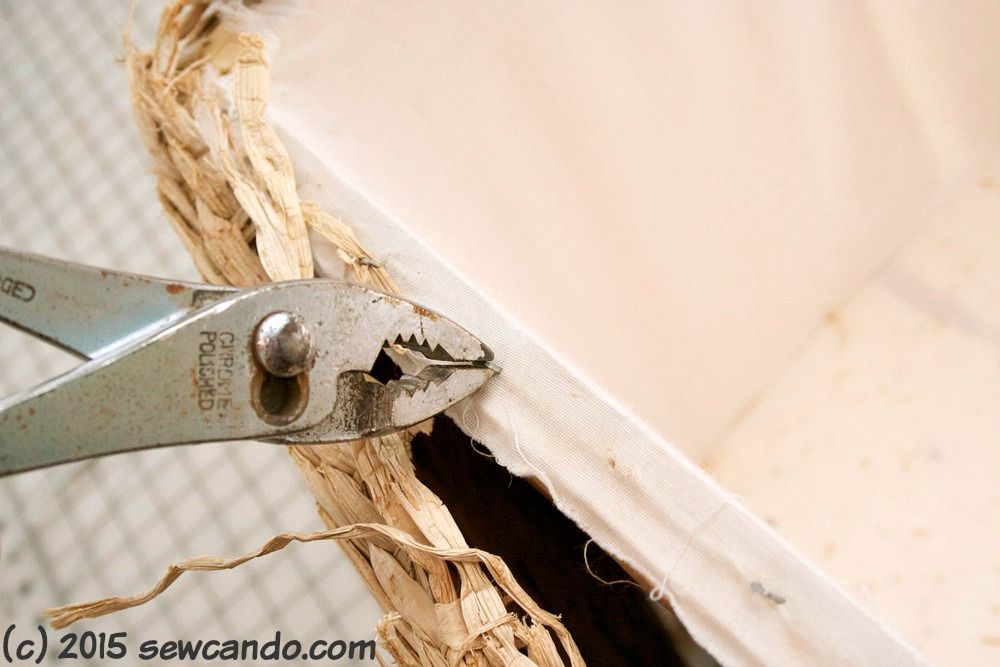
First I used pliers to pull out the staples that held the rattan on:


Then, I carefully cut through one side to easily take it off in one piece:  
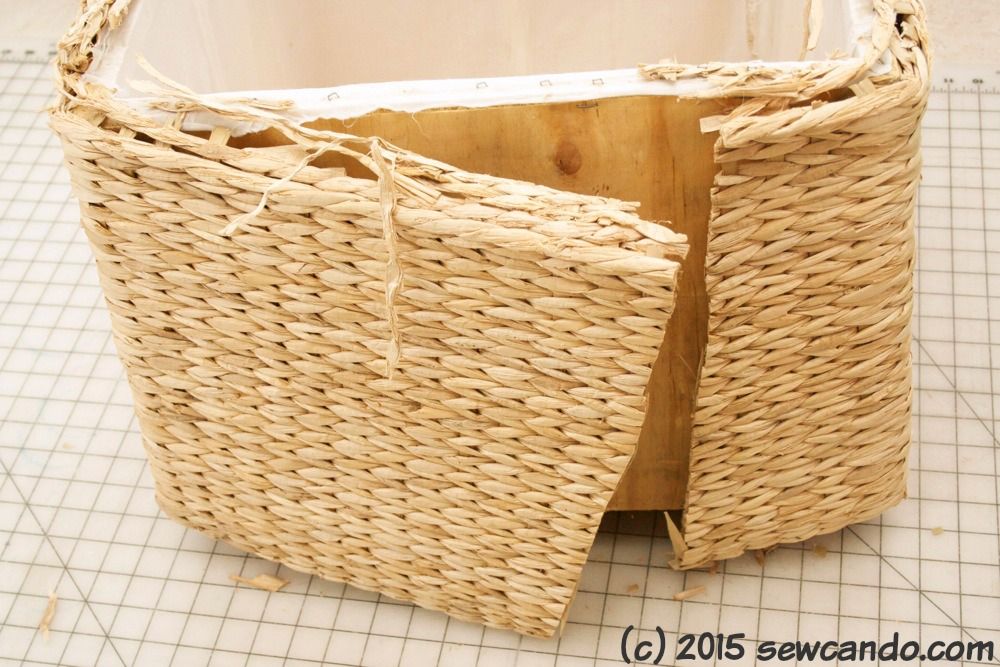


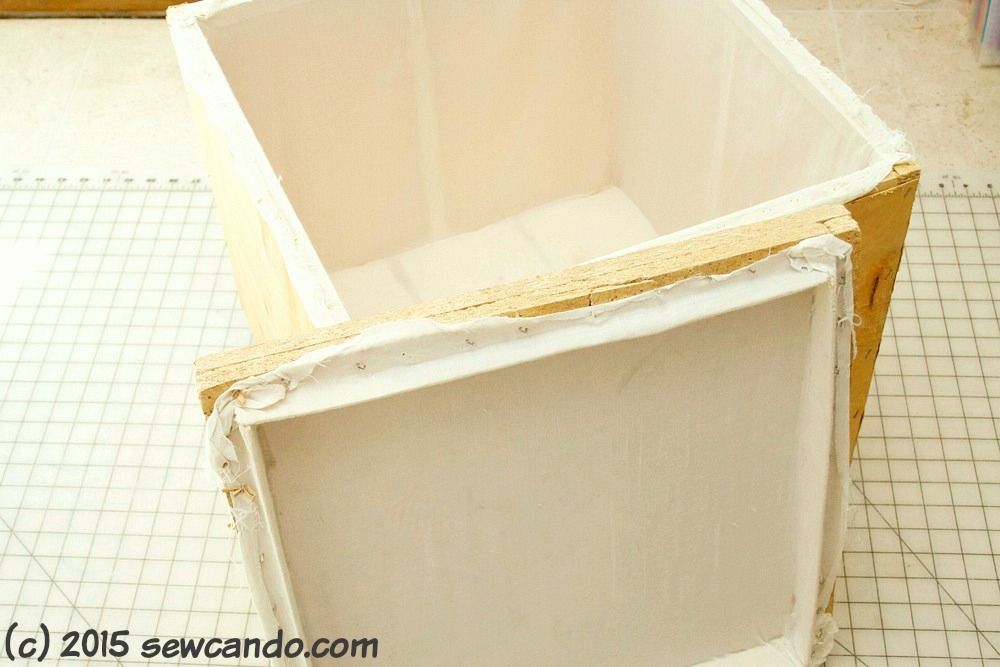
The base unit was MDF & thin wood veneer.  Not nice on it's own, but perfect for upholstering with a little padding & fabric:


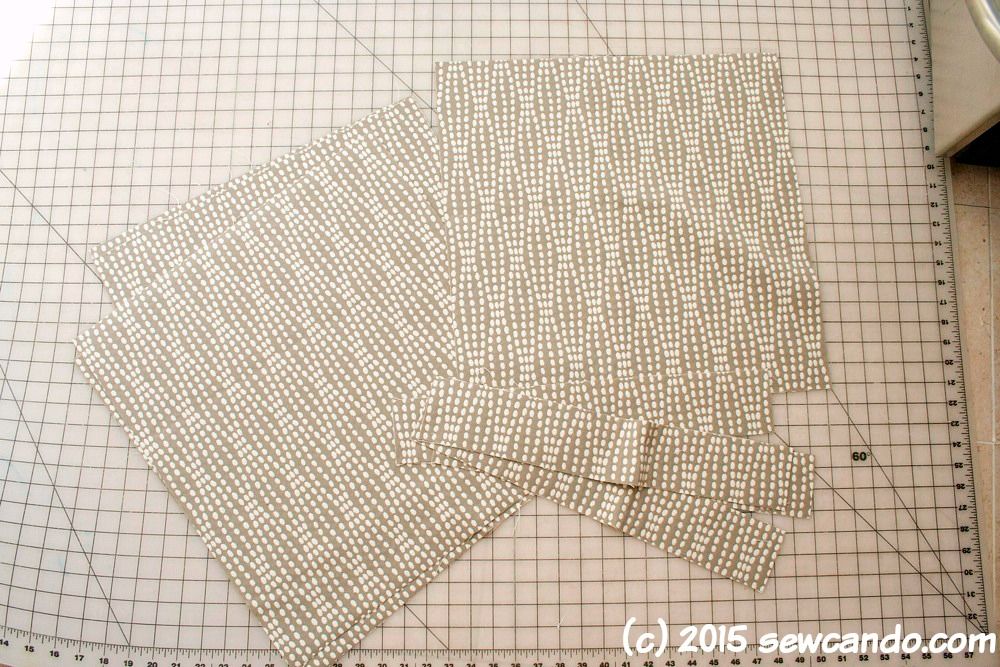
I measured the sides and decided to cut four pieces that were 1/2 inch wider on either side (for the seam allowance) and 2 inch higher on top & bottom for folding in.  For the lid I added an extra 1/4 inch on all sides of the top piece and for the lid side strips, I added 1/4 inch to the short sides and 2 1/4 inches to the height.  I also cut the same pieces from my batting.


I stitched the four sides together to make the main shell and did the same with the corresponding batting.  


I slide the batting into place and then carefully pull the fabric "sleeve" over it.  It was a snug fit, so I went slowly to keep the batting from shifting.
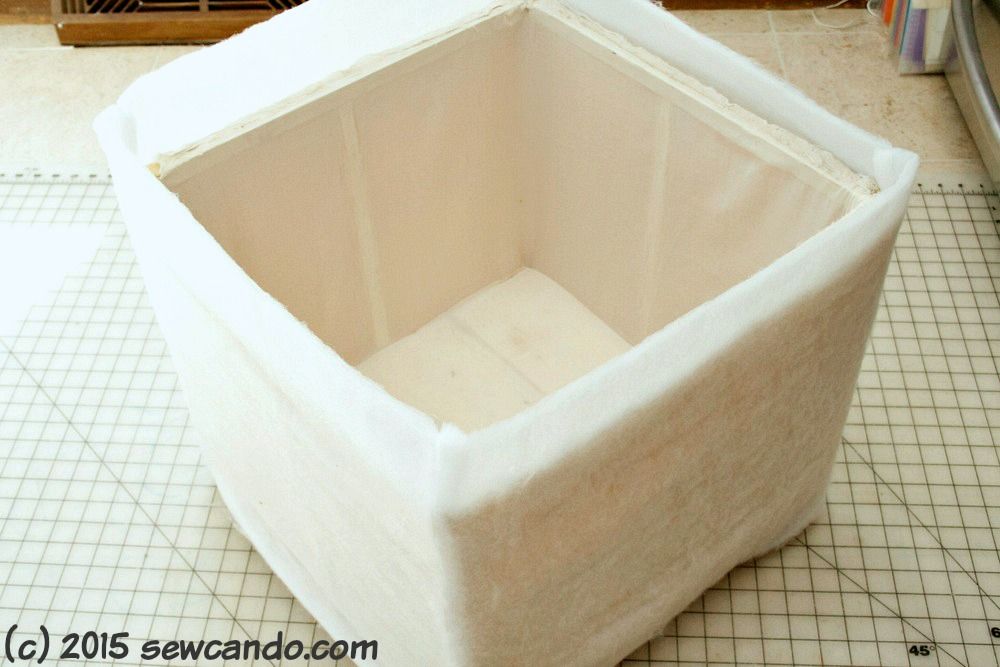


I measured my fabric sleeve all the way around and shifted as needed to make sure there was 2 inches on all sides:
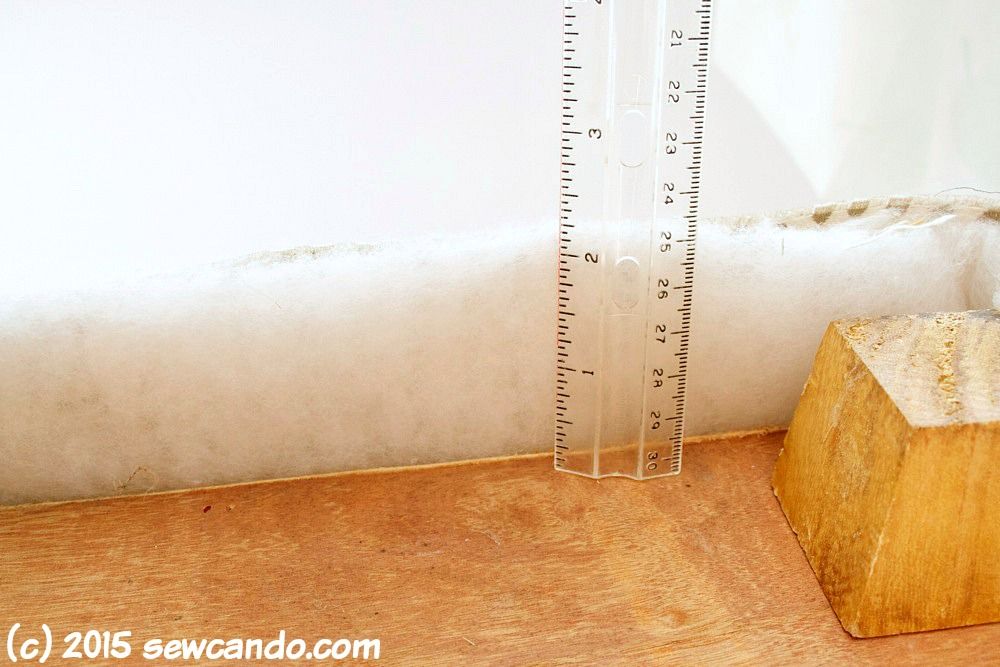


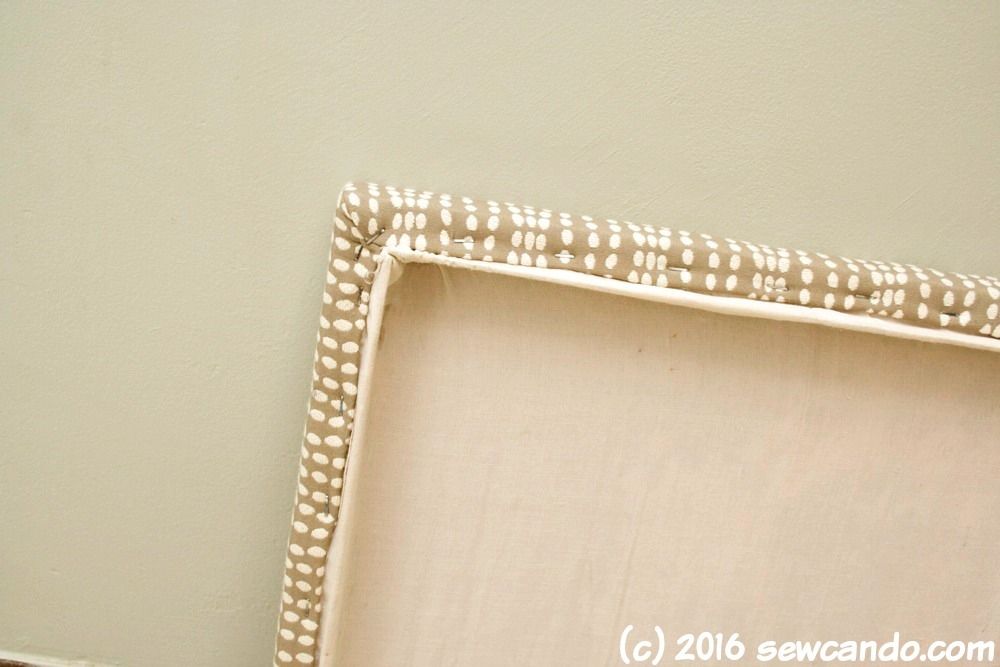
Once everything was even, I set to double folded the raw edge under and then stapling it down underneath and on the inside.  Holding it taught is key.
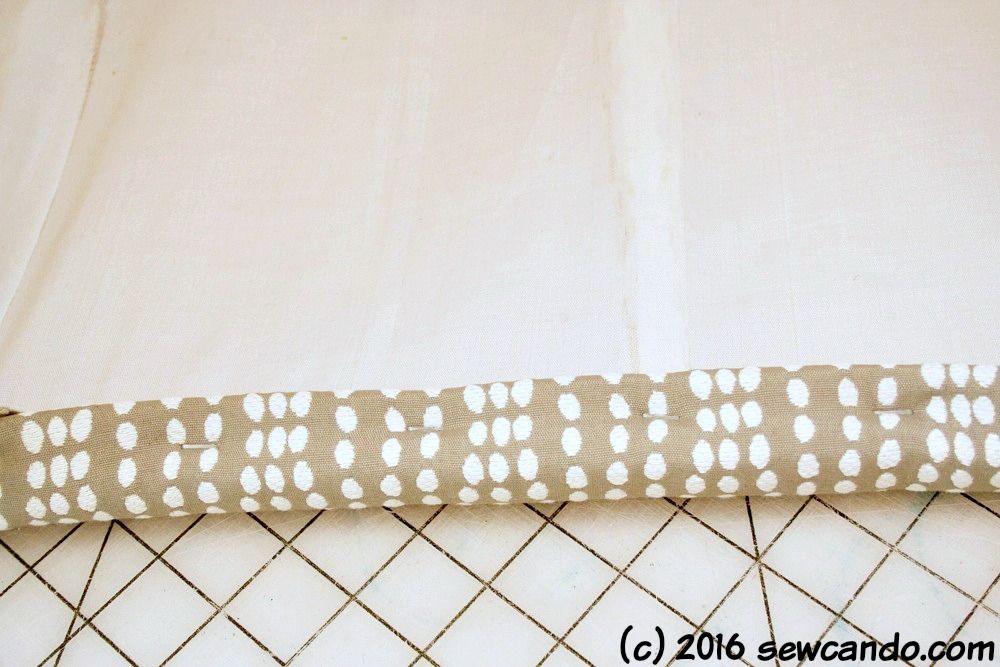

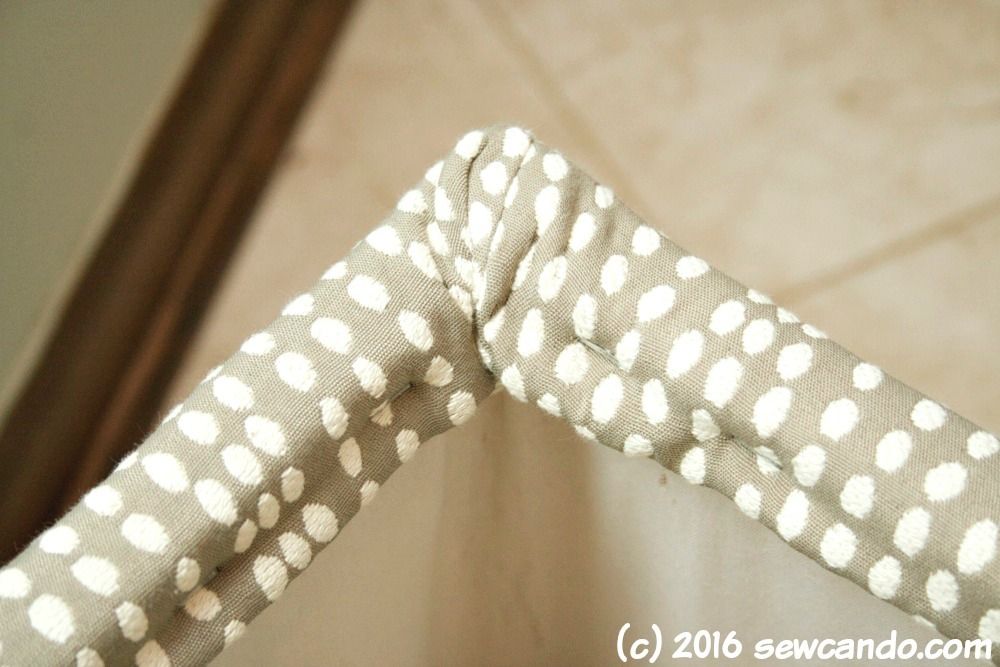
I started in the middle to anchor things and then folded the corners in, flattening them down and then stapling down the sides over them:


For the lid I stitched the thin side pieces to each of the lid top sides with a 1/4 inch seam allowance:
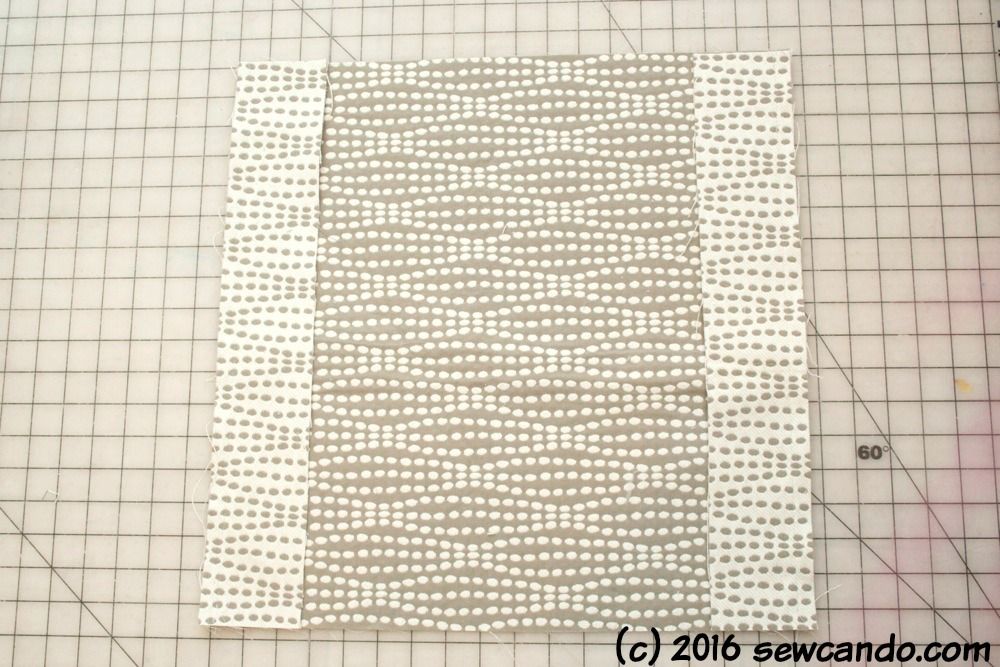

I made sure to stop stitching a little bit before the ends, so it would be easier to do the short sides:
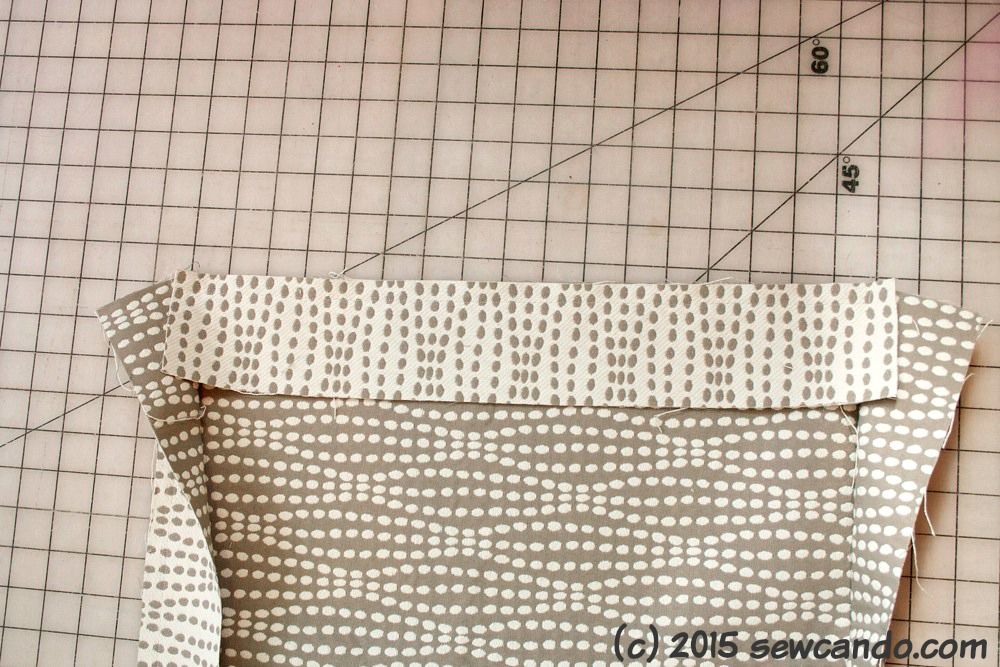


For the sides, I pulled them together and stitched down, crossing over the stitching at the top to get the corners nice & crisp.  
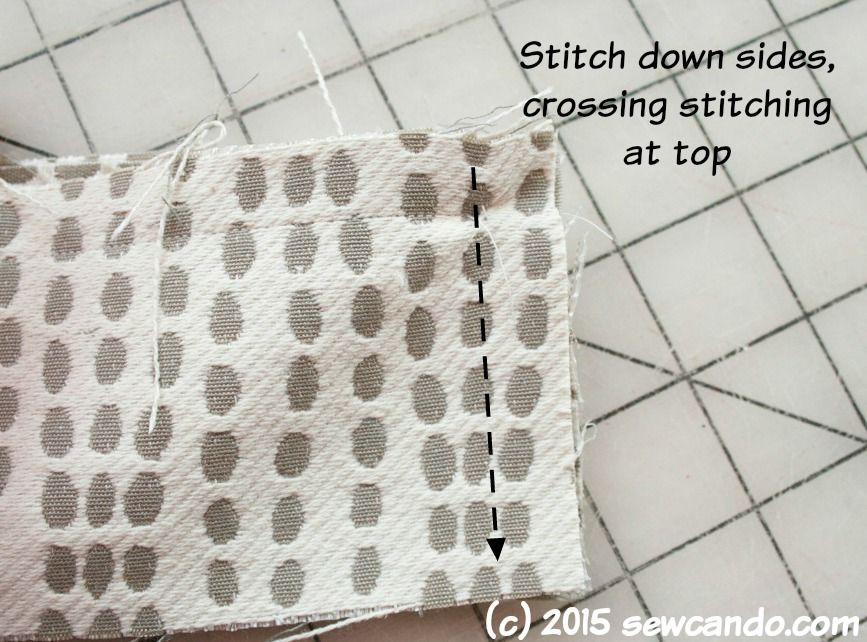


I did the samewith the batting version and then the folding + stapling to secure them to the lid.


The nicest part is every time I look at it I'm pleased and like how it turned out.  This is the total opposite of most of my DIY home projects (where I notice my goofs more than anything).It looks like it came from a store - even up close - which is my "decor success" test.  


So often DIY projects look great in those far away beauty shots online, but get next to them in real life and the homemade-y quality jumps out.  Maybe I'm too much of a perfectionist, but when I'm asked "Oh, did you make that?" that always translates to "Cause it looks like it!" in my mind.  I guess this is a reminder to keep on trying, because sometimes it'll end up a winner!


Wednesday, September 2, 2015

Make an Indestructible, Quick Sew, Drawstring Storage Bin


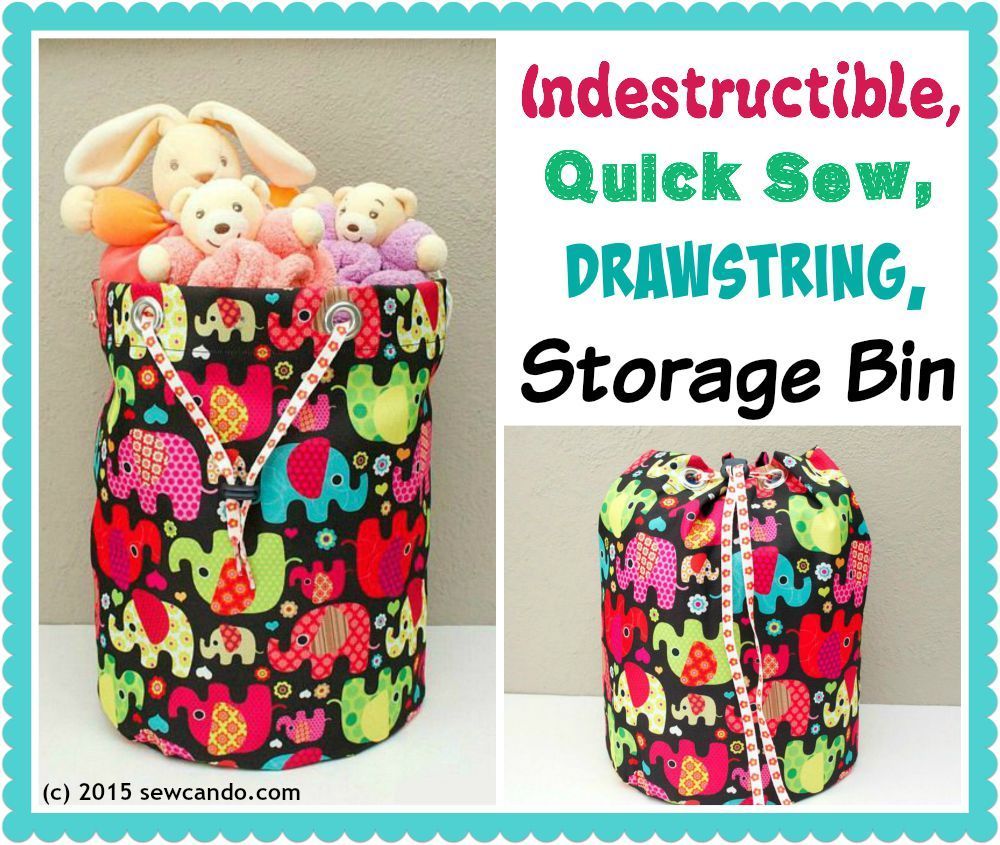
Whether you've got just 1 or half a dozen, kids have lots of stuff.  Containing it is always a challenge.  With 3 kids in our house, it seems like the toys, clothes, gear, etc. are always overflowing and I'm sick of ugly plastic tubs to hold them cluttering it up even more.  Today I'm sharing how to make the ideal bin that can hold and hide just about anything. It's easy to make, looks decorative and, most importantly, kids can't really destroy.  


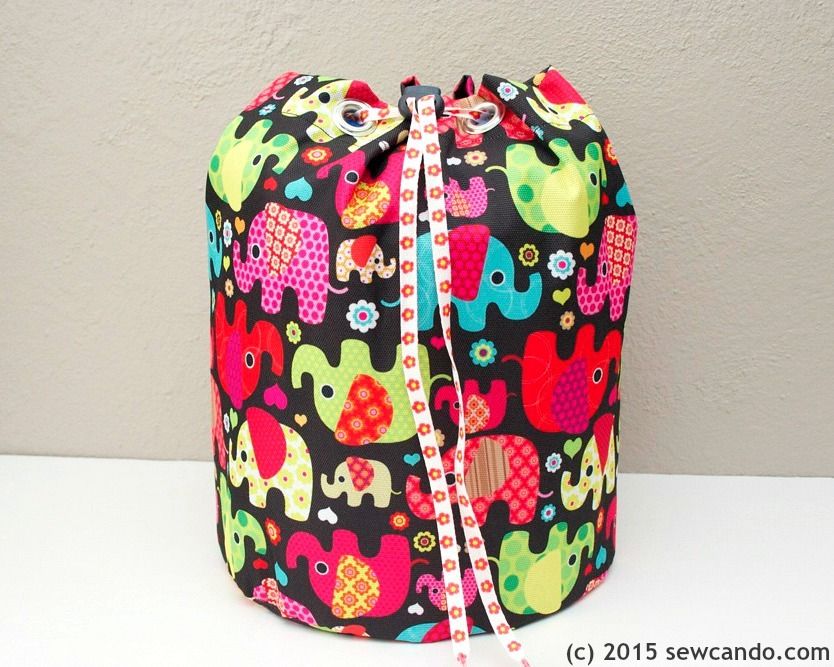
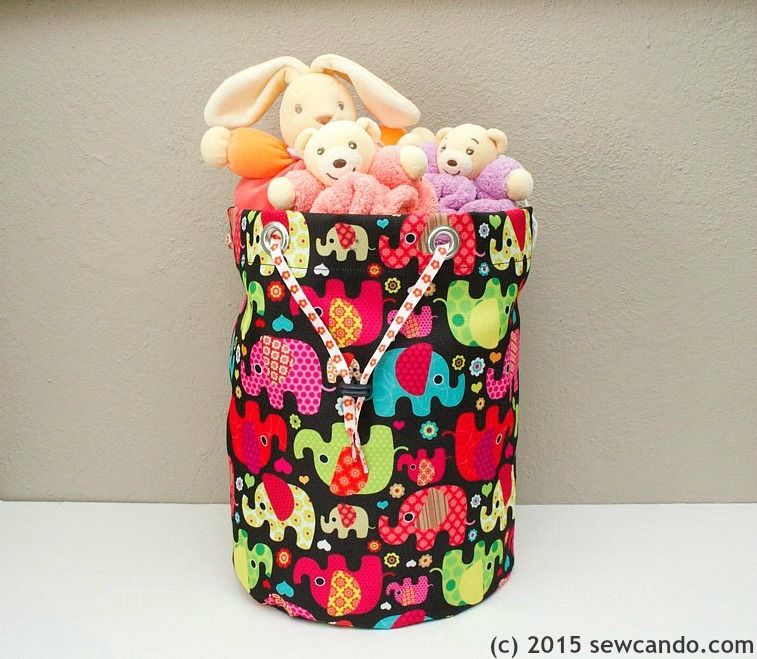
My Indestructible, Quick Sew, Drawstring Storage Bin:


Usually homemade bags or bins look great at first, but after a couple of months of active kid use they can look shabby or wear out with holes, stains, you name it.  What makes this one any different than other drawstring containers?  The fabric my friends!  

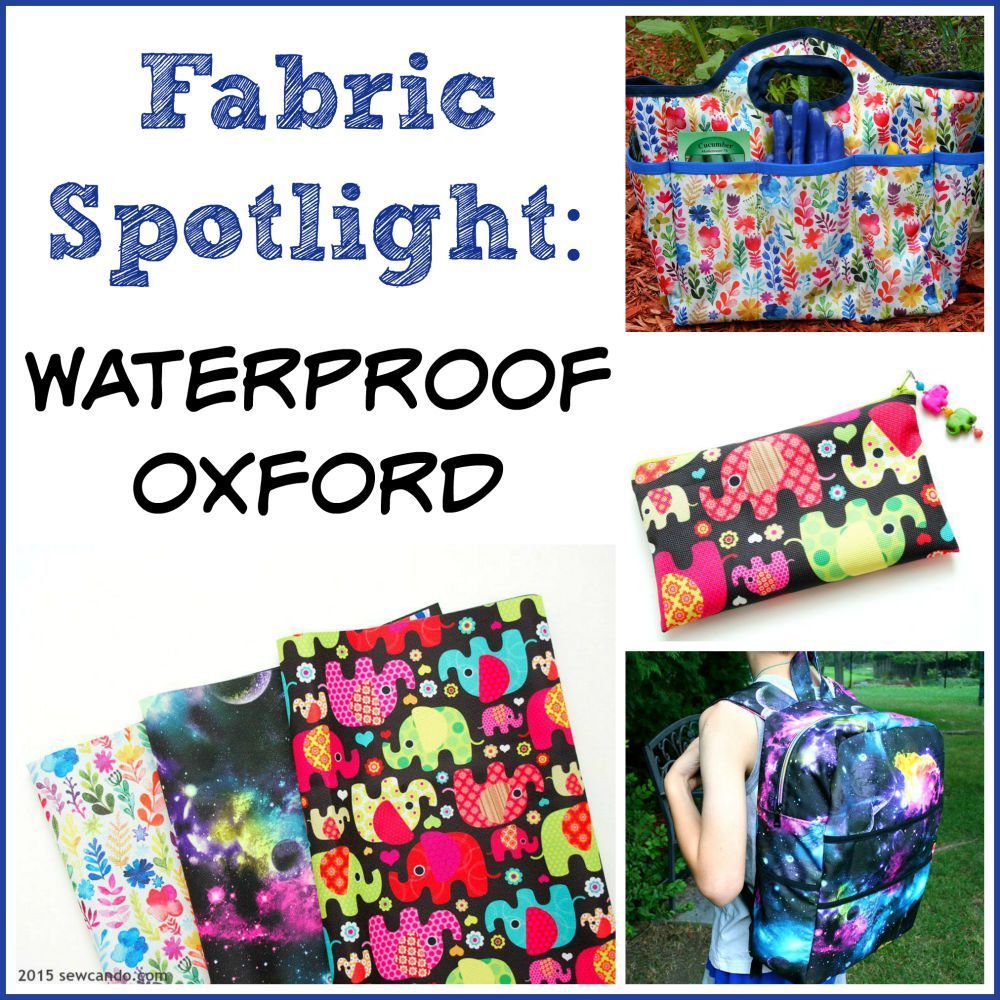
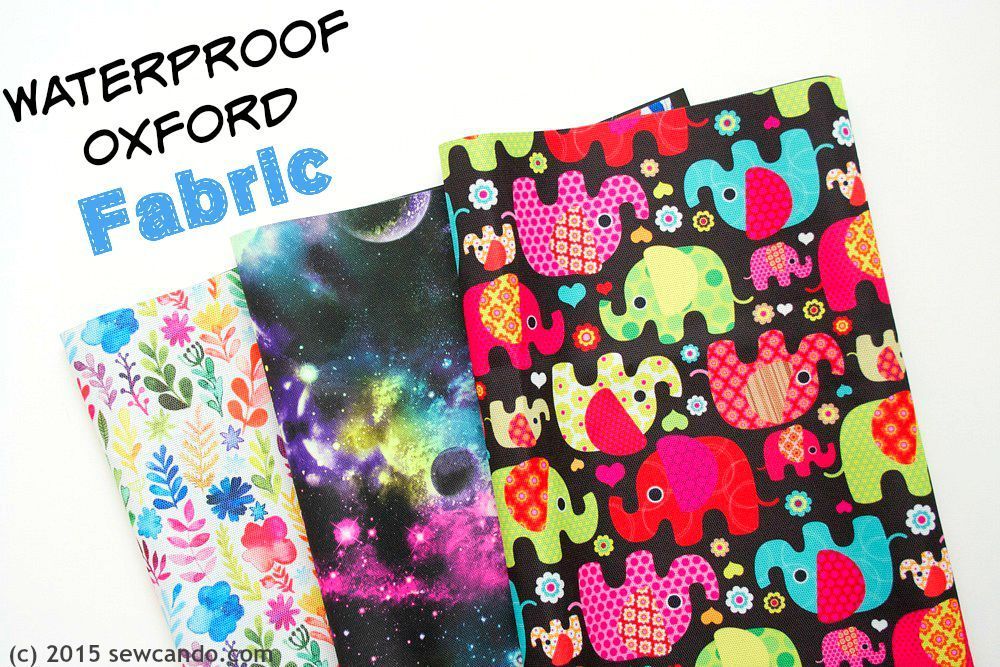
It's made from Waterproof Oxford, a woven 100% polyester oxford fabric. It's finished with a durable water repellent and then laminated with a thin black polyurethane coating on the back.  Last week I shared all about uses and sewing tips for this fabulous fabric here.  This is just one of many projects well suited for the fabric:


Waterproof Oxford also has a bit more body than most other fabrics, so it'll hold its shape well just by being filled with soft toys or clothes.  And it's strong & waterproof quality inside and out means you can use it outdoors or for things than get dirty or wet like sports gear, laundry, outdoor toys or cloth diapers and easily wipe it clean.

Materials:
- 1/2 yd Waterproof Oxford fabric (this cute print is from Diaper Sewing Supplies)
- 6 or more extra large grommets and setting tool
- 1 yd of Drawstring, cord or shoelace
- Double cord stop (in the notions section in most craft stores)
- Hammer
- Pins, small clips, rotary cutter/shears, yard stick, plate or compass 
- Optional: walking foot, pinking shears

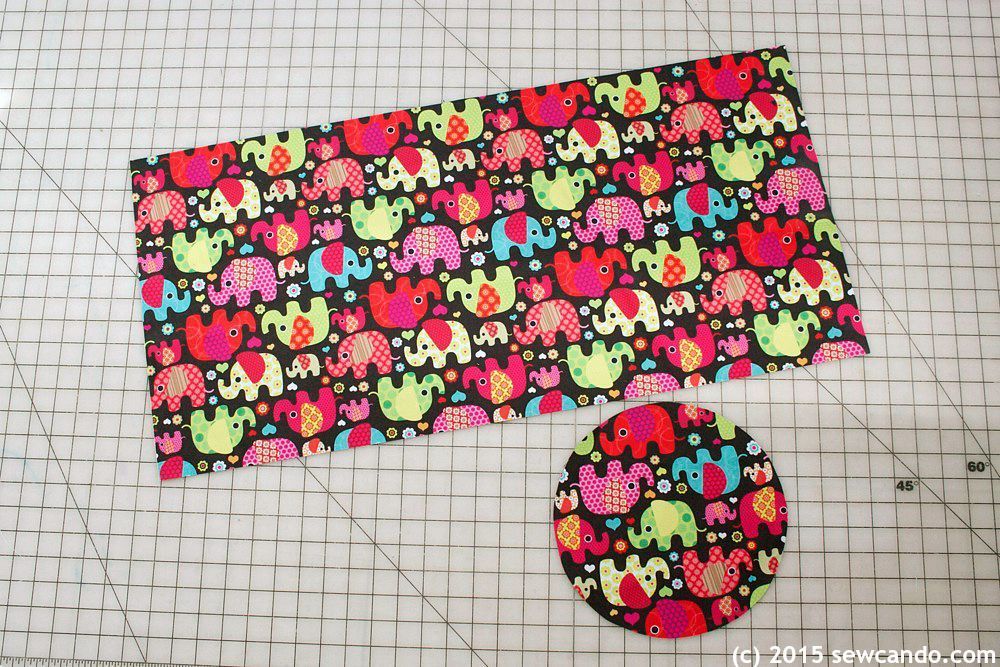
I made mine with a finished size of 12 inches high by 8 1/2 inches wide, which is good for most kid stuff, but you can always make it bigger or smaller to suit your needs.  Start by cutting a 14 1/4 inch high by 30 inches wide rectangle and a 9 inch diameter circle from waterproof oxford.  I used a plate to trace my perfect circle:


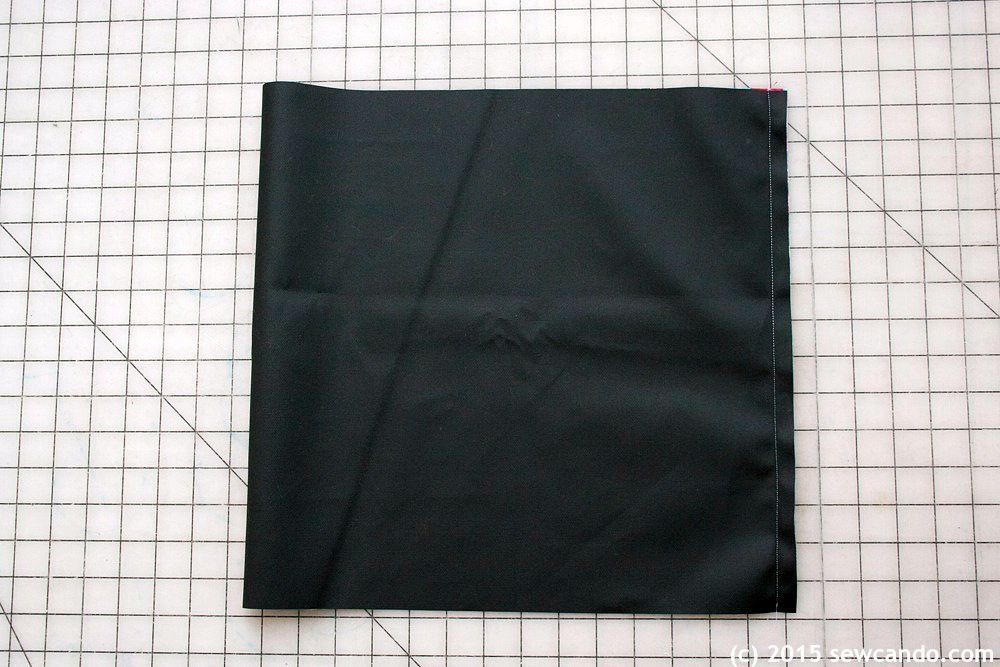
Fold the rectangle in half widthwise and stitch down the side with a 1/2 inch seam allowance:


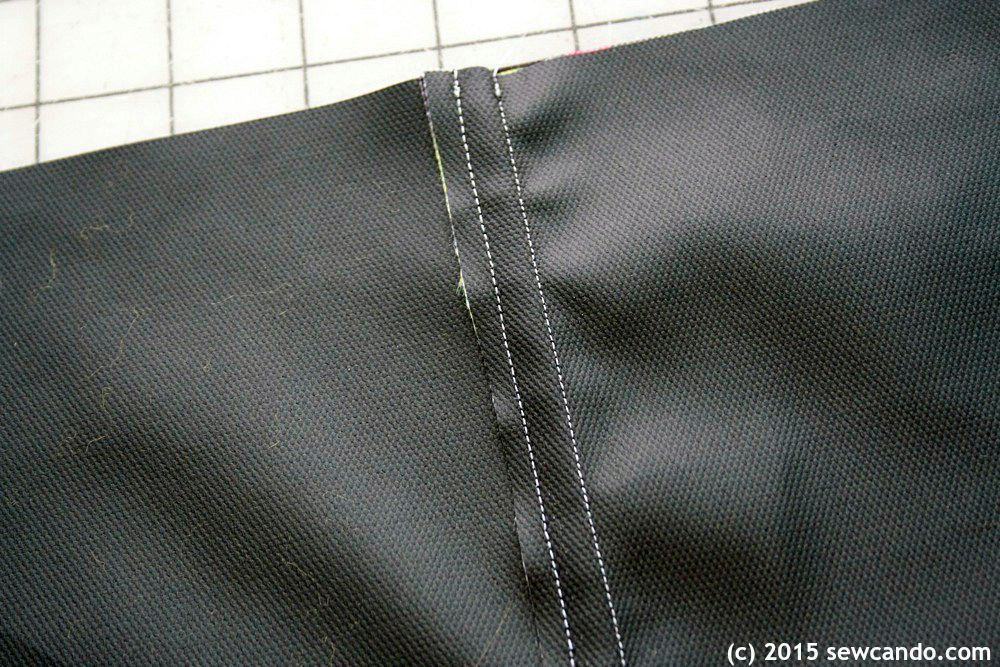
This part is optional, but I didn't want the raw edges sticking out inside, so I pushed the allowance to one side and carefully stitched it down 1/4 inch from seam (this is a tube now so you don't want to stitch through both sides). 


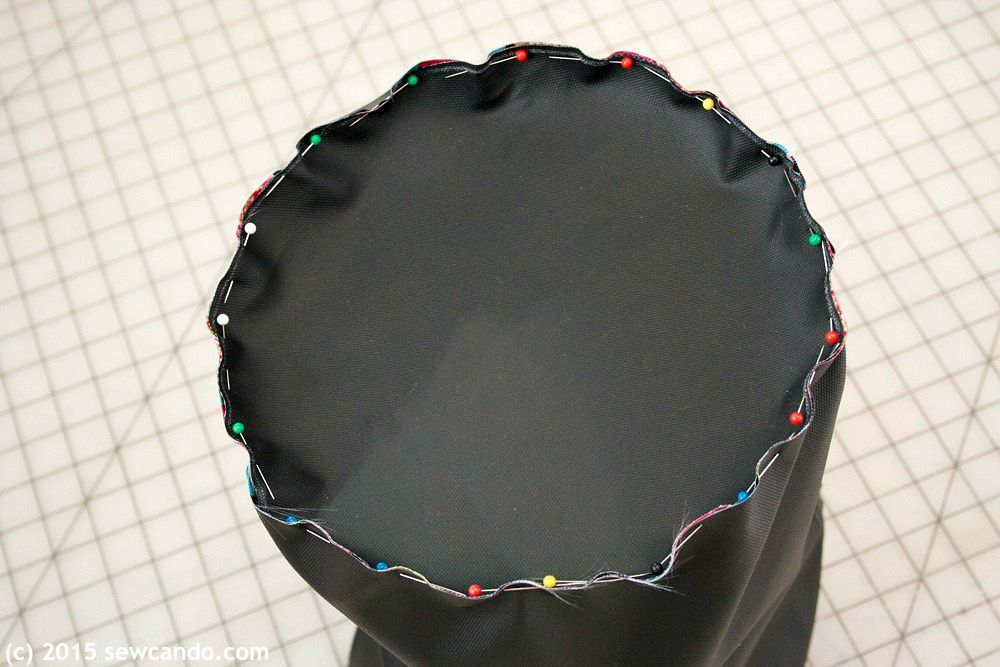
With right sides facing, pin together the bottom opening and the circular piece.  FYI - pinholes will be permanent in waterproof oxford, much like PUL or Laminated Cotton, so pin really close to the raw edges. This way the pinholes will be in the seam allowance and never show.  Stitch together with a 1/4 inch seam allowance, going slow.  A walking foot isn't required, but it can make it easier to keep the layers together without shifting as you sew.  


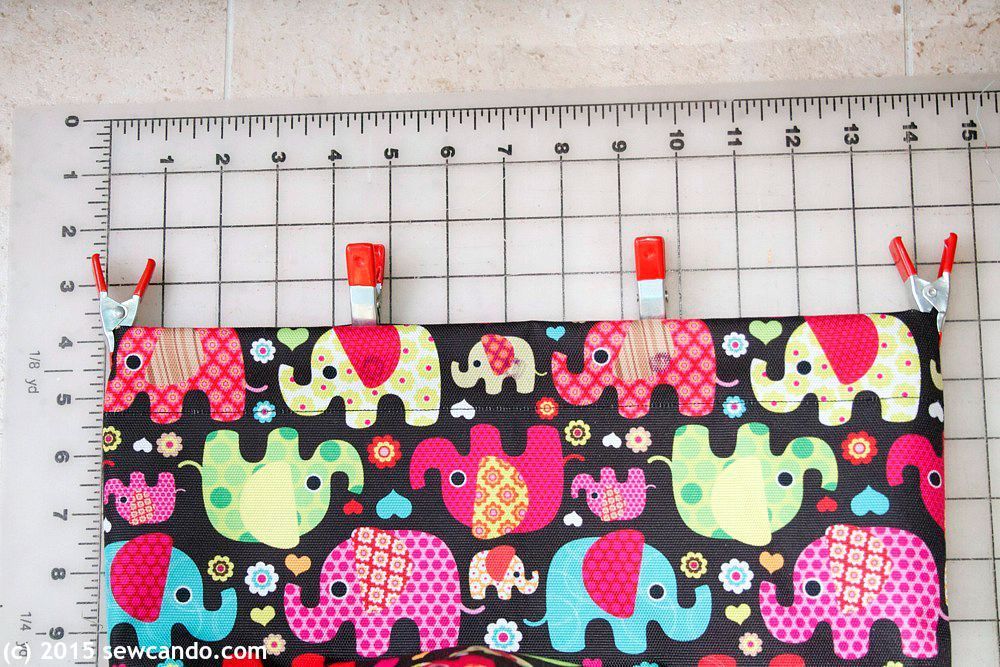
Now, fold the top raw edge inward 2 inches.  To avoid using pins, I like to use small clips to hold the fold in place while I sew.  If you want the raw edge to look a littler nicer on the inside, trim it with pinking shears first.  Then stitch all the ways around 1 1/2 inches from fold.


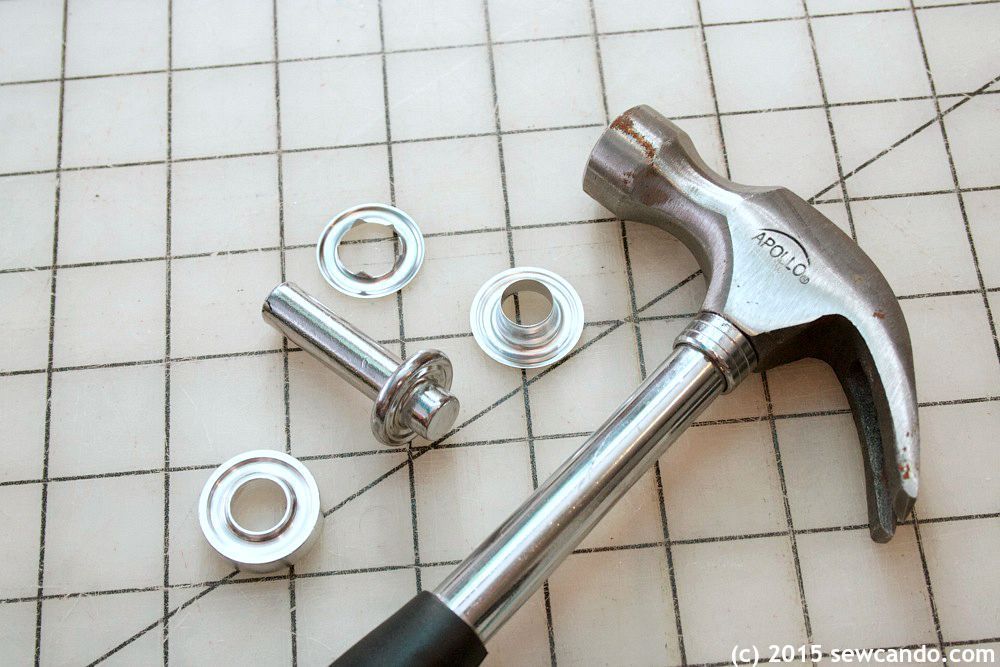
Time to install the grommets!  Extra large size works great and allows for your choice of drawstrings & cords and thicknesses.  All you'll need is an inexpensive grommet install kit and hammer:


First make markings for each grommet.  I only had 6 on hand, so I spaced mine about 4 1/2 inches apart and about 3/4 inch down from top.  To make the necessary holes, I clip a small "plus" sign with thread scissors:


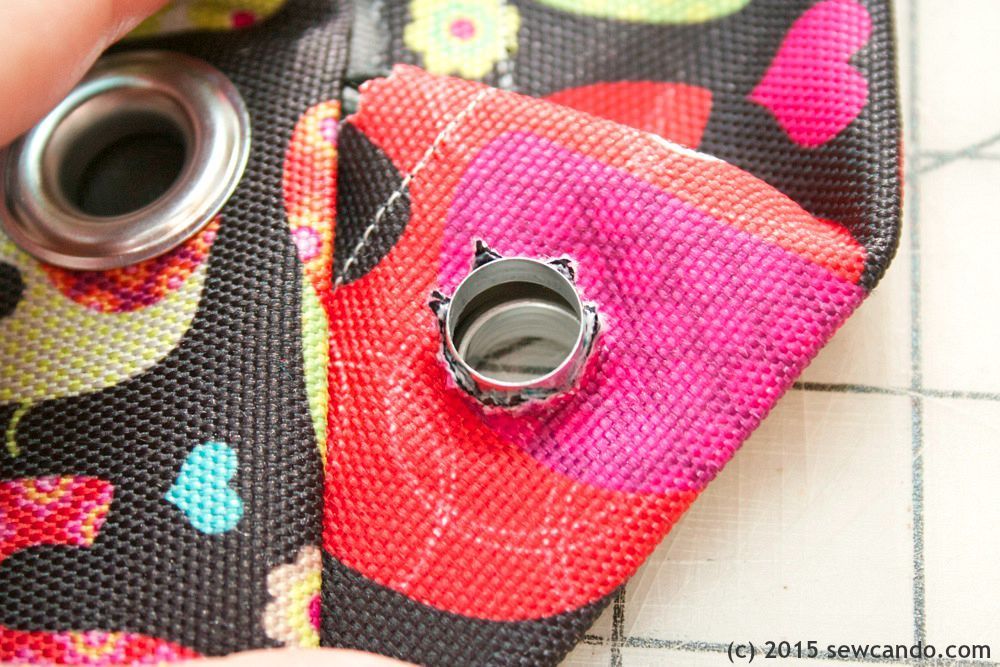
Then cut it a little wider to press the male side of the grommet through (that part should be facing inside the bin):


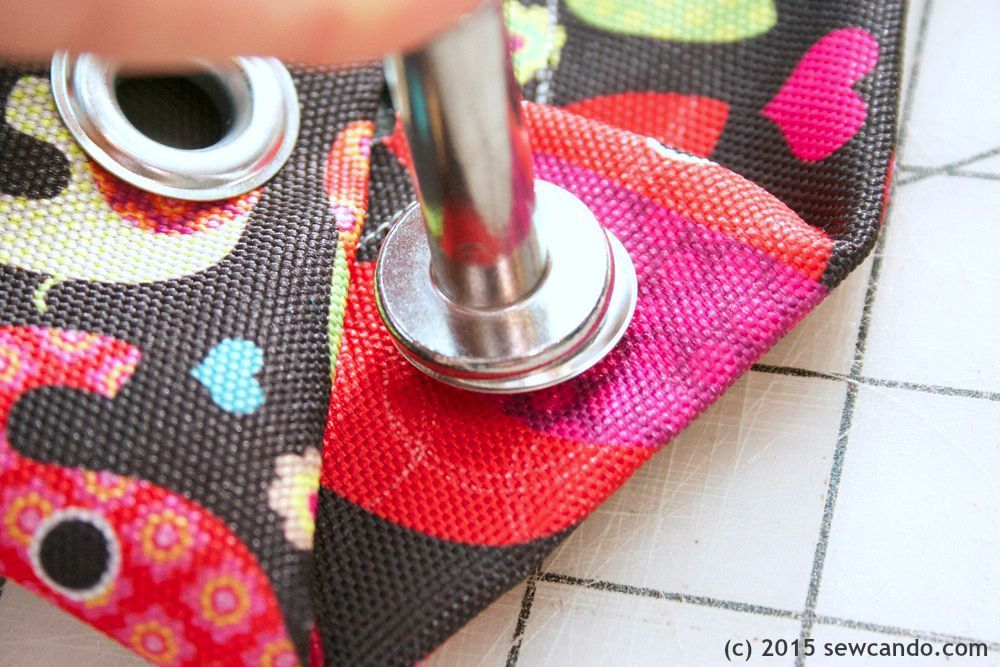
Put the base piece underneath and then the other grommet half on top, followed by the setting tool.  Hammer away:


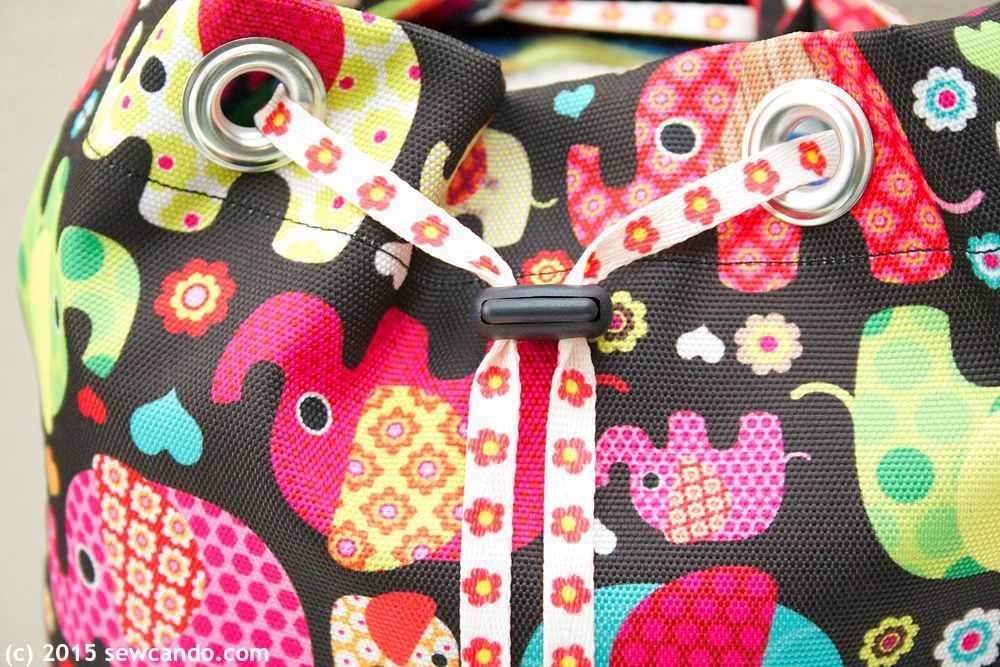
Snake the drawstring through and cut to desired length.  I had this cute flower shoelace that was a perfect fit with the fabric print & colors:


Pull the ends through the cord stop and it's good to go.


Add all the stuff: toys, clothes, school supplies, stuffed animals - whatever needs to be contained.  It'll look organized and really last no matter what the kids get up to;) 


Want a chance to win some of this fabric?  
I'm giving away this FQ trio of Waterproof Oxford fabric HERE.


I was not financially compensated for this post.  I received waterproof oxford fabric from Diaper Sewing Supplis to test sew and was not required to review or promote this fabric or their shop.  The opinions are completely my own, based on my experience. For my complete disclosure policy, click here. 

Tuesday, July 9, 2013

The Ring's The Thing: Roped Fabric Basket Tutorial


Today I've got something a little unusual to share, my Roped Fabric Basket Tutorial.  This ring-style basket is simple, but what gives it the real twist is what it's made from: strips of cotton filled with thick cotton welt cord, so each layer is fully rounded.  No need for lining or stabilizing.  Think old-school kiddie pool shape, but all cotton.


Having a solid, filled body means this basket won't collapse or easily tip over, but it's still soft and squashy because it's still all cotton. That quality is usually lost when you decoupage fabric or have to use extra firm stabilizers to hold a shape.


And the added bonus is it makes a great pincushion too:


Timeless Treasures offered me a set of their new Tonga Treats 6 Pack to play with and I was eager to give them a go.  I'm a sucker for a rainbow assortment of fabric and this had so many pretty colors.  And I laughed out loud at the button they sent with it:


I saw this fabric as a way to challenge myself in a new area.  I don't often work with pre-cut pieces, or do a lot of quilting, so I wanted to come up with a way a non-quilter could get creative with a set of pre-cut strips.

Mixing the coordinated batik strips and the piping filler gives a totally unique look compared to most fabric baskets & bins.  It has a gradient rainbow of shades, for some ombre style, and real dimensional finish: 


I made mine desktop-sized at 7 inches tall with a 6 inch diameter, but this could be scaled up to make some nice big baskets too.  I plan to do a few more with the other colors in my set. Here's how to make 'em!

Materials Needed:
- Five 6 inch high cotton strips.  (I used pre-cut Tonga Strips from the Sugar set)
- 3 yards of 1 inch cotton welt piping cord (you'll find it in the upholstery section)
- A 7 inch square of medium weight fabric for base
- Sewing notions (shears/rotary cutter, iron, pins)

Take the strips and cut to a width of 22 inches.  Fold in half, right sides facing, and stitch together with a .5 inch seam allowance to make a tube.


Turn each tube right side out and press flat so that the seam is in the middle of the back side.  


Stitch the strips together with the seam sides out:


Take the piping cord and cut five pieces that are 20.5 inches long.  It's like rope, but made from a fluffy batting loosely wrapped in thread.  Insert into each of the tube sections, leaving .75 of an inch room on either open end.


With the right sides facing out, match up the raw edges of the tubes and pin together.  I found it helped to push in the cord a bit.  Stitch together with a .25 inch seam allowance.  Go slow and pull along to help keep things straight.  Trim down.


Then turn the newly formed cylinder inside out and fold along the newly made seam.  Repin as before and stitch together again with a .25 inch allowance.  This makes a sort of french seam.  


For the bottom I used some scrap twill fabric and made a circle that was 6.5 inches in diameter.  As luck would have it, I had a small dish that was the perfect size so I just traced and cut it out.


To make things a little easier when attaching the bottom to the rest of the basket, pin around the bottom, as close to the cord as possible, before pinning the base on. 


Then pin circle base to the cylinder portion:


Another handy tip when sewing around tight curves or bulky items (or both in this case), is to switch to a zipper foot.  It makes it a lot easier to keep your seams straight and not have to fight to get things past the foot.


I trimmed down the raw edge of the circle with pinking shears to prevent fraying. Turn right side out.  

The inside will look nice like this, since the edges will be pretty hidden by the bottom ring when it's standing up:

I've got my basket right on my sewing table and not only does it look cute, but it's given me a great place to stick spare pins, dump scraps & generally keep things looking neat and tidy. Now even when I'm smack in the middle of working, it at least appears I've got things under control!


I'm also sharing this project with my FAVE LINK PARTIES.
Click HERE to check them out!

I was not financially compensated for this post.  I received fabric from my Sponsor, Timeless Treasures, to use as I desired.  The opinions are completely my own based on my experience.   For my complete disclosure policy, click here. 

LinkWithin

Related Posts with Thumbnails