
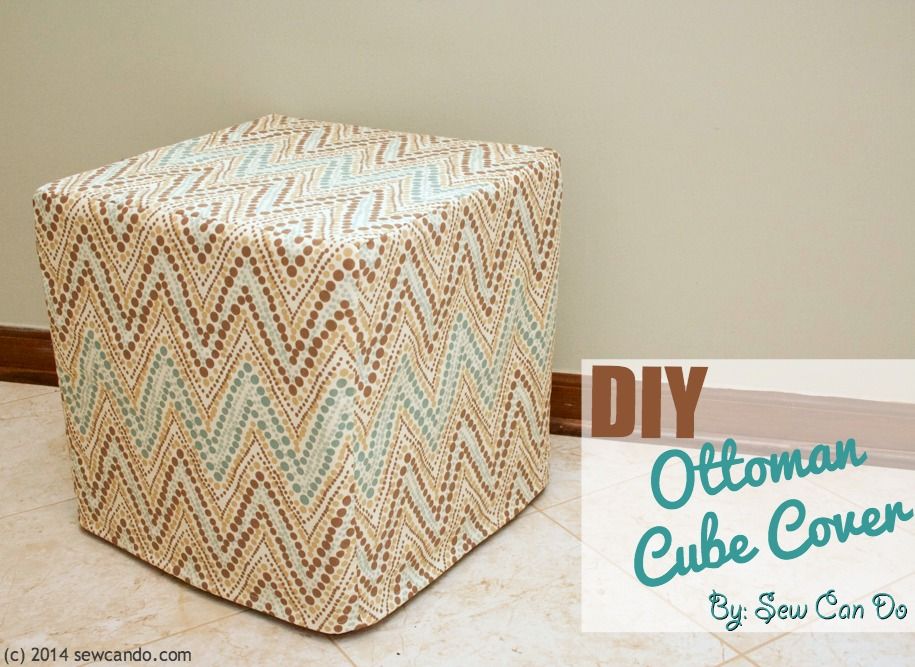

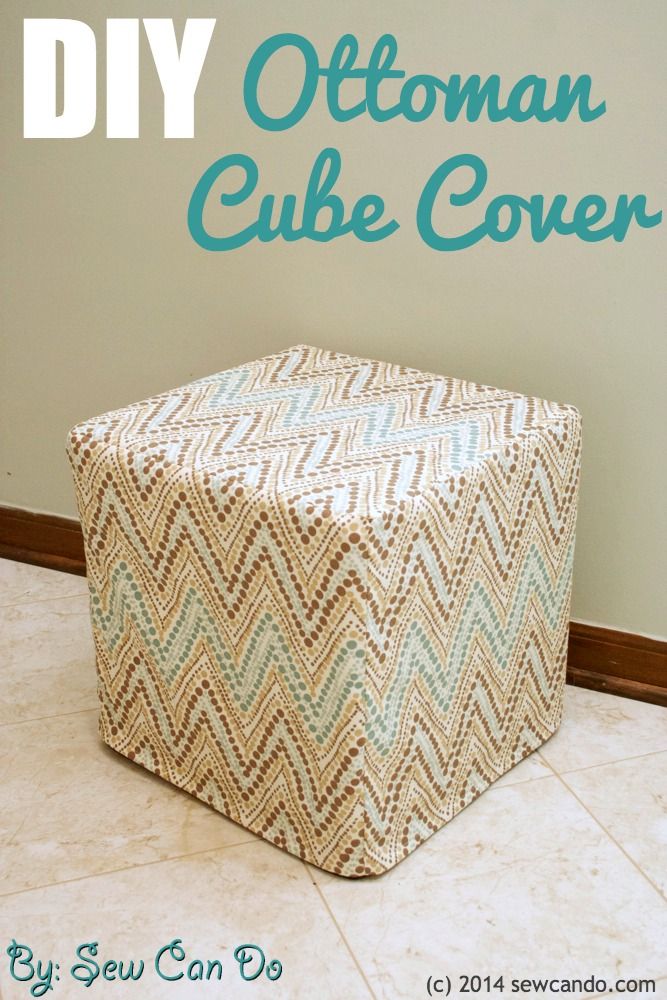
Ever have something in your house that's a real challenge to replace? That was me before I began today's project: my DIY Ottoman Cube Cover. Luckily it's resulted in a major decor improvement at a cheap price AND a handy tutorial I could share here. Double win!!
Project Back Story:
We had two foam cubes in our family room that acted as side tables, footstools and bonus seating. They were beyond handy & we loved them. However, after a decade of serious use they were saggy and pretty stained-up. It was time to replace them, but I spent months looking with no luck. Sure there were cubes out there, but most were either squashy beanbag style that wouldn't work or were too crazy expensive for my kids to climb all over.
I finally hit pay dirt at good old Ikea with their Solsta Pällbo Footstools. At $14.99 each they were a steal, so I grabbed two. They have foam on top for a soft seat, but the frame is all woodish (particleboard + wood legs) so they're pretty sturdy and won't lose their shape like the old ones.
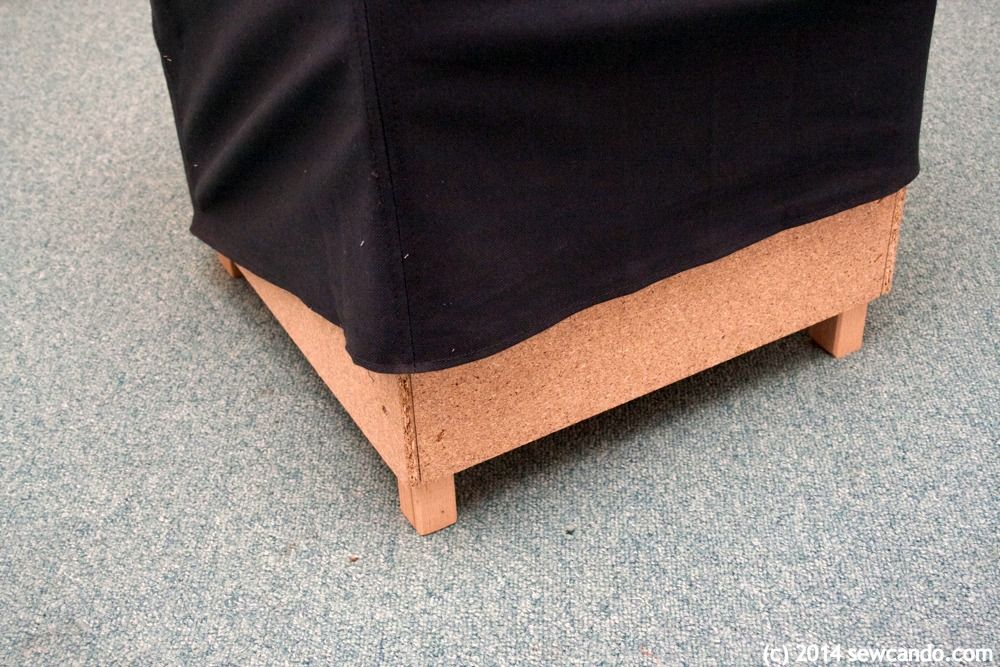
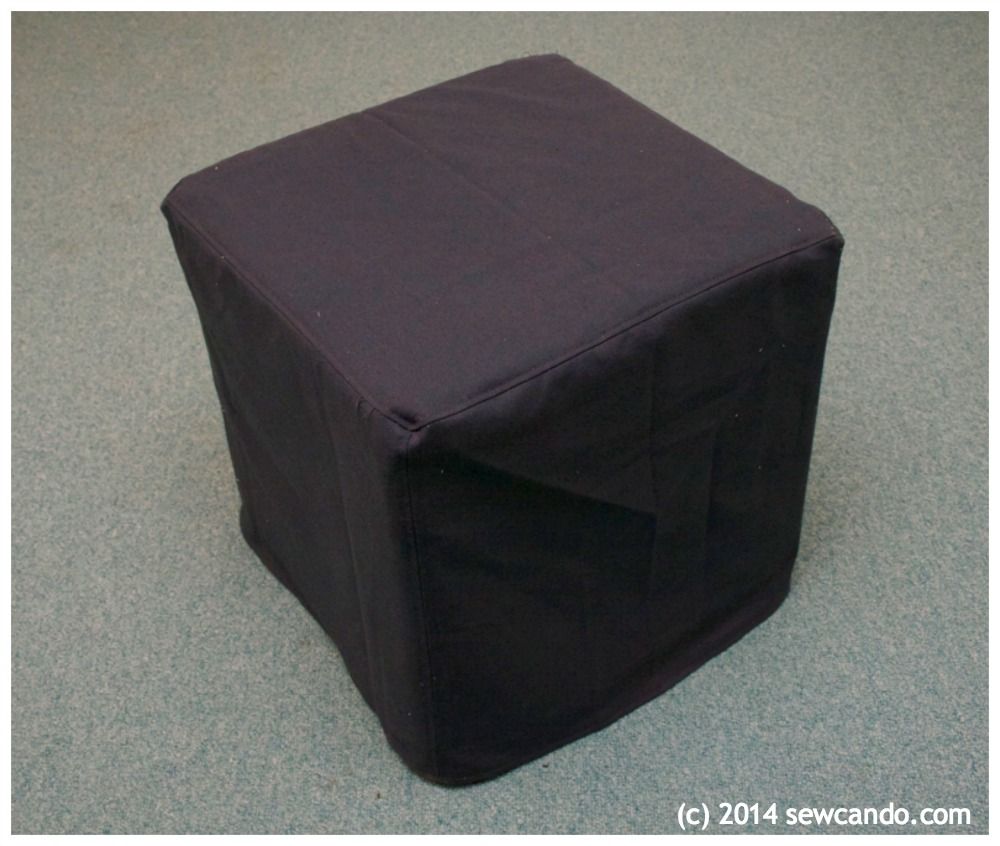
The trouble was that they only came in boring black, which didn't match my decor at all. I found some fun home dec fabric on sale and set to making some new covers to customized those plain, drab cubes.
Materials:
- 1 7/8yd non-directional or 2 1/4yd directional print home decor fabric (54 inches wide)
- Notions: yardstick, rotary cutter, pins, iron, matching thread, pinking shears
- Cube/Ottoman to cover
* I'm giving dimensions & yardage to fit my two 15 inch cubes, but this could be adjusted to do any size cube or rectangle.
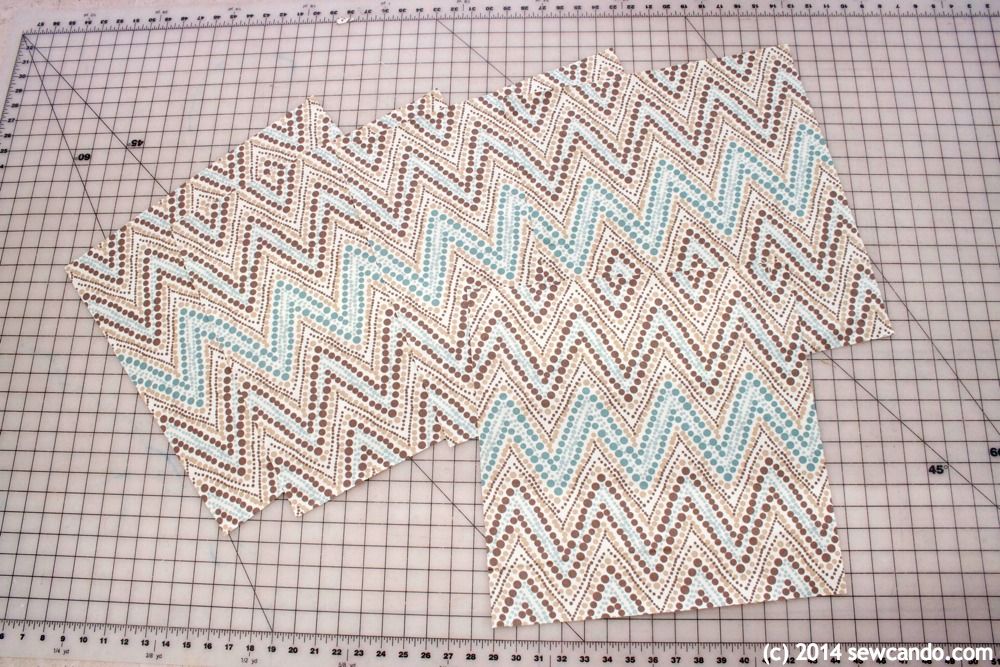
For each cube cut one 16 inch square for the top and four 16 inch wide by 17 inch high rectangles for the sides. I wanted my print's repeat to match up so I used the first pieces to help line things up when cutting the others.
Start by stitching side panels to the top and bottom edges of the top piece of the cover (right sides facing obviously). Use a 1/2 inch seam allowance and start and stop each seam 1/4 inch inward from the ends. This will make it easier to put together the corners later.
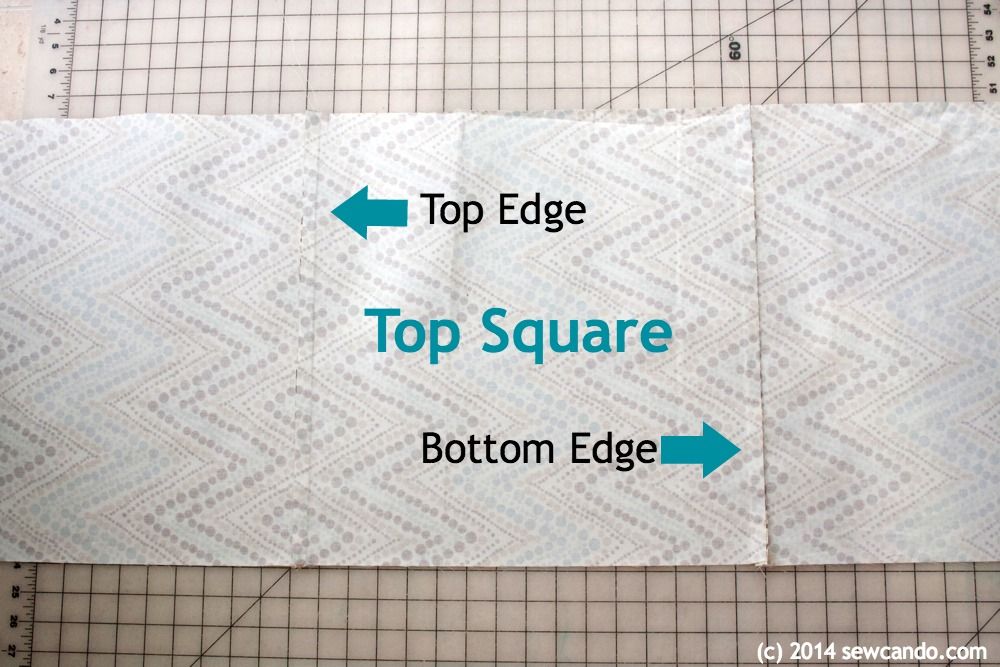
Press the seam allowances towards the sides and press along the right side too so the seams are nice and flat.
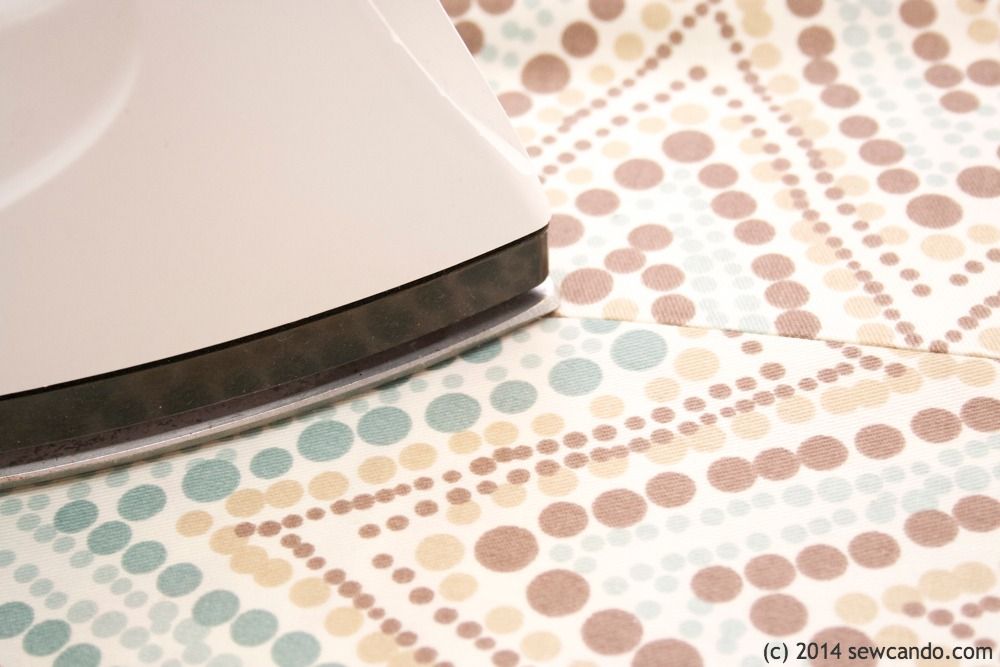
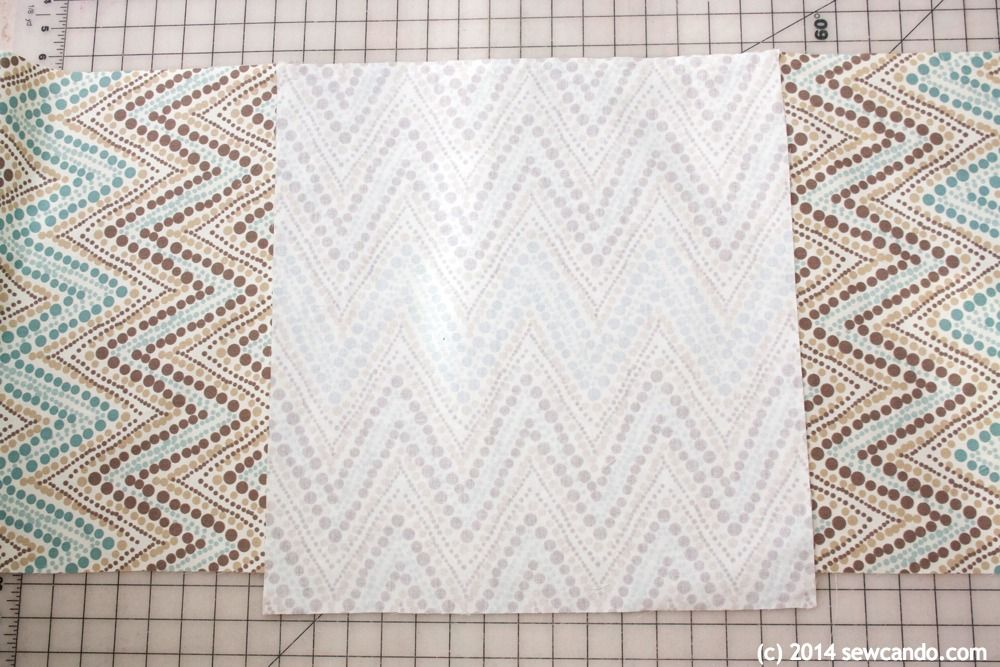
With the top facing right side up, place another side face down and repeat stitching & ironing. Do the same with last piece on remaining top side.
Now bring two side pieces together and pin.
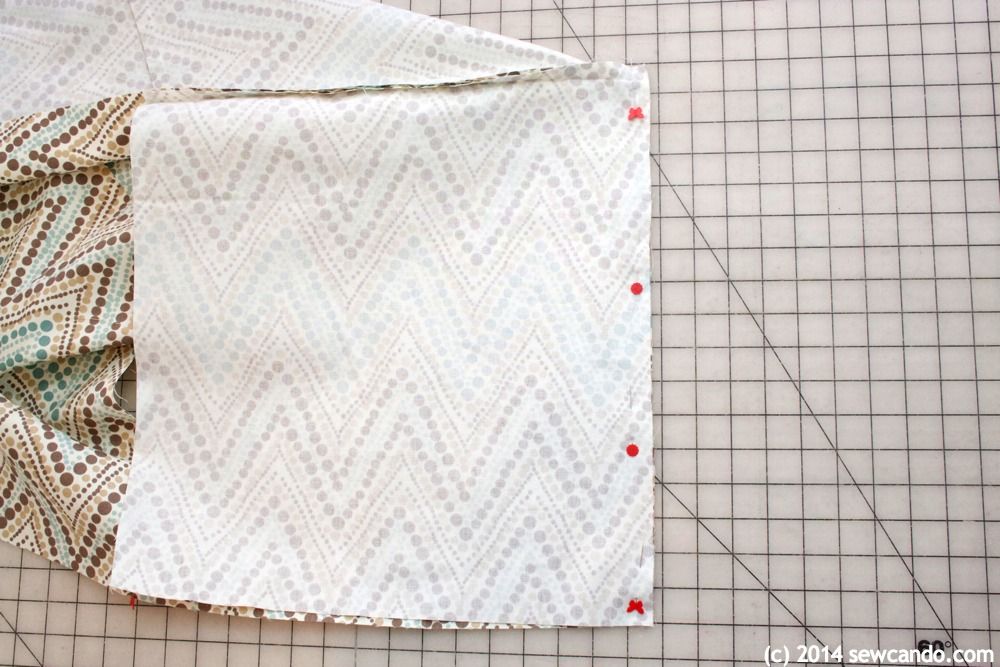
At the top corner make sure the fabric lays nice & flat and stitch downward, just crossing over the horizontal seam, then clip the points off each corner and trim seam allowances on sides.
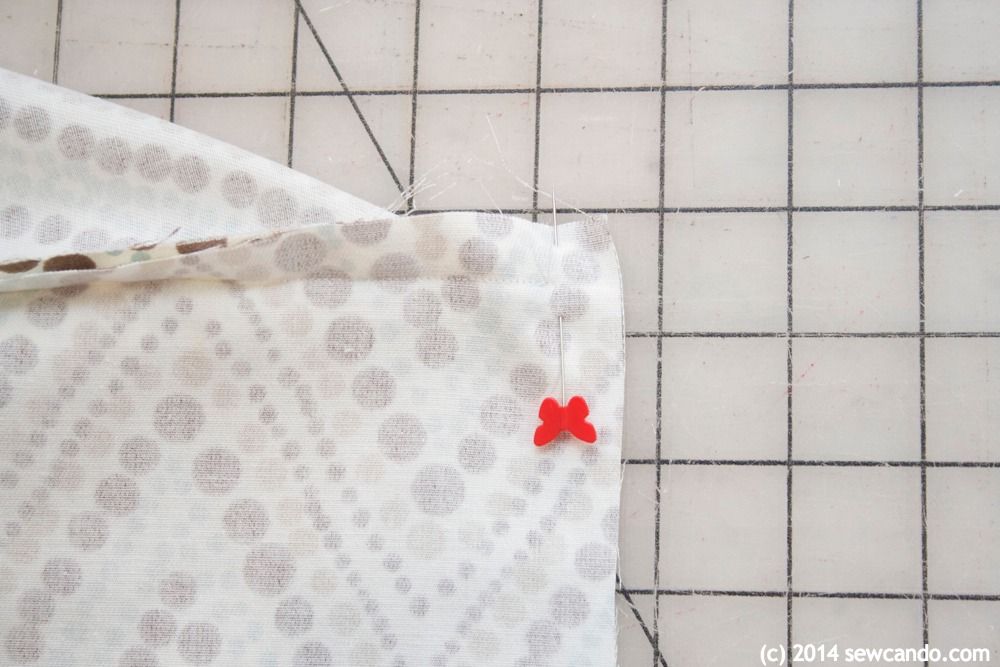
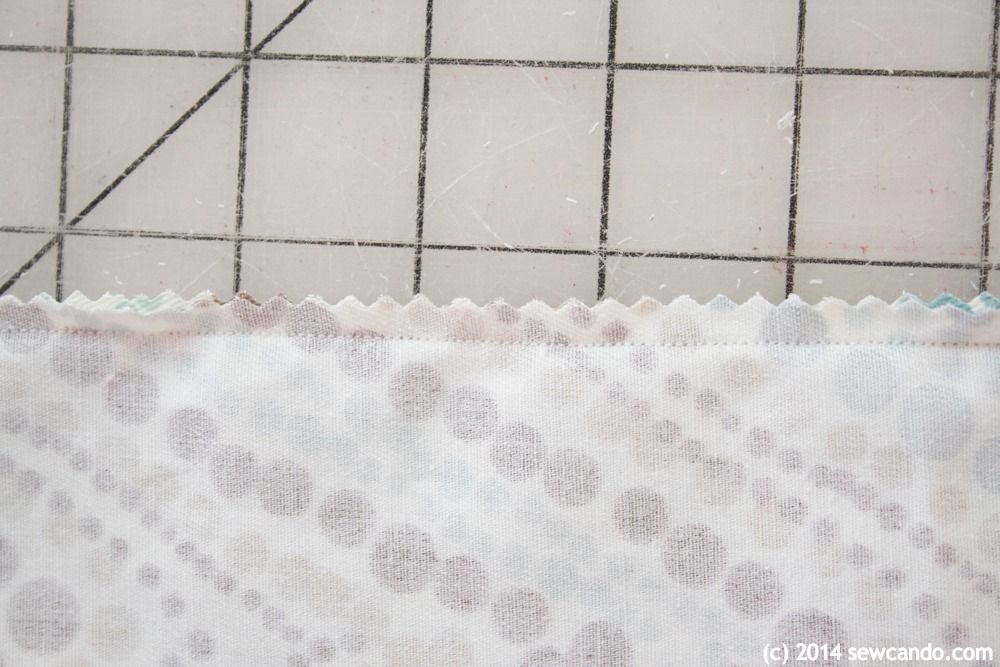
Home dec fabric tends to fray a lot so I recommend doing one of the following: doing a zig-zag over the raw edge, serging or, as I prefer (since it's fast and easy), trimming with pinking shears:
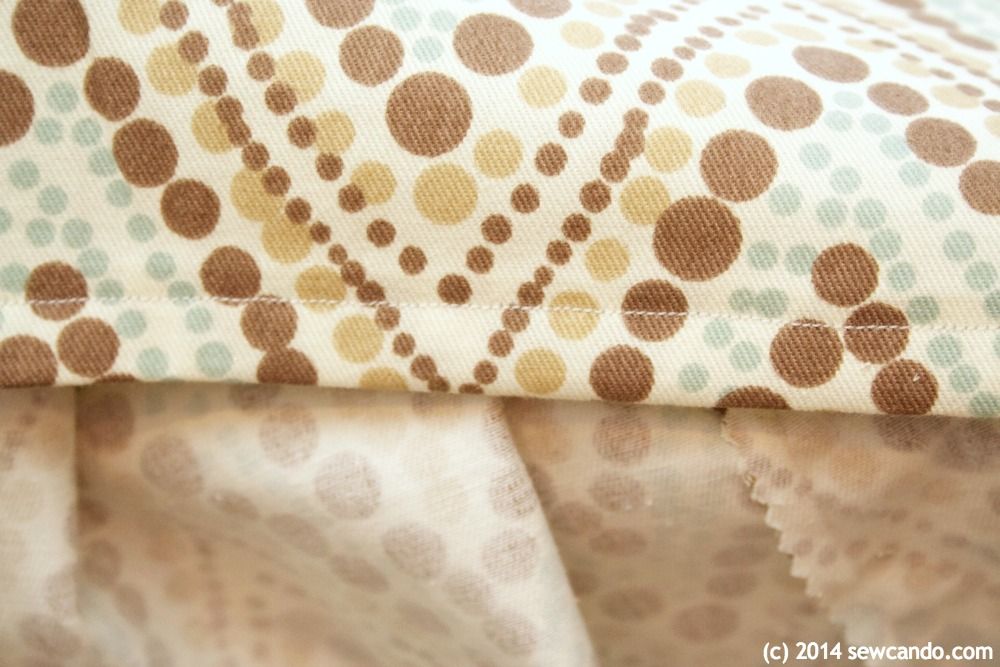
Fold up the bottom edge 3/4 inch and press, then fold & press again to create the hem:
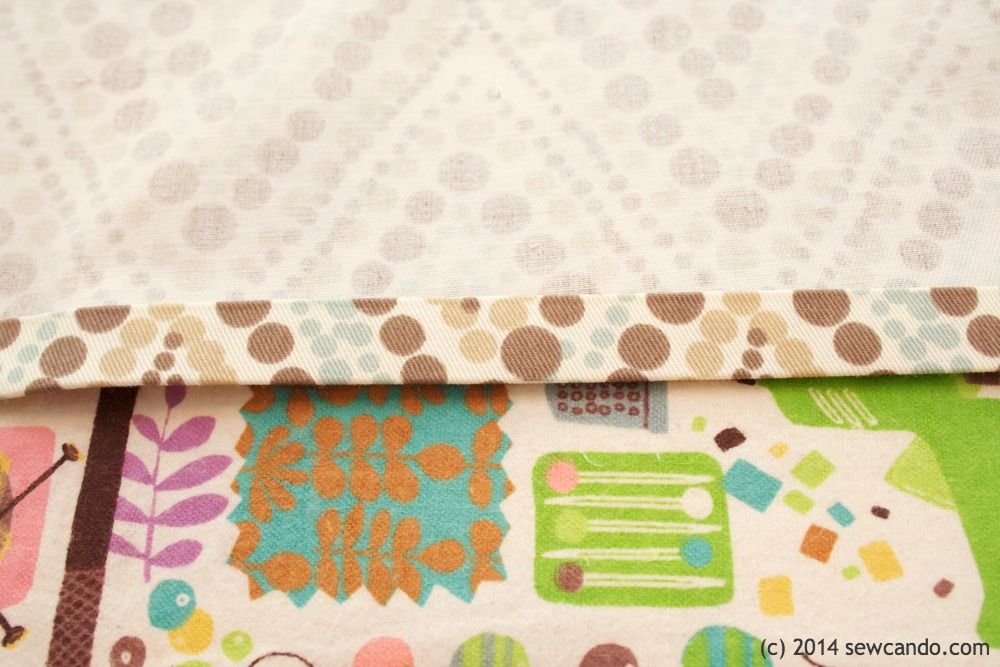
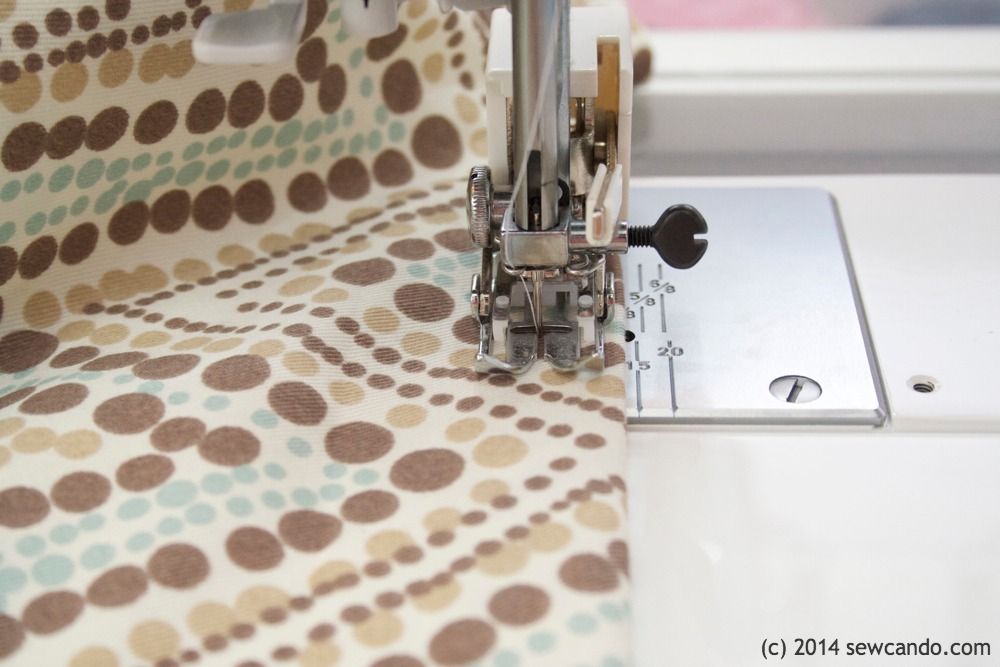
Topstitch 1/2 inch from the folded edge:
Now the cover is good to go and ready to slip cover the blah looking cube.
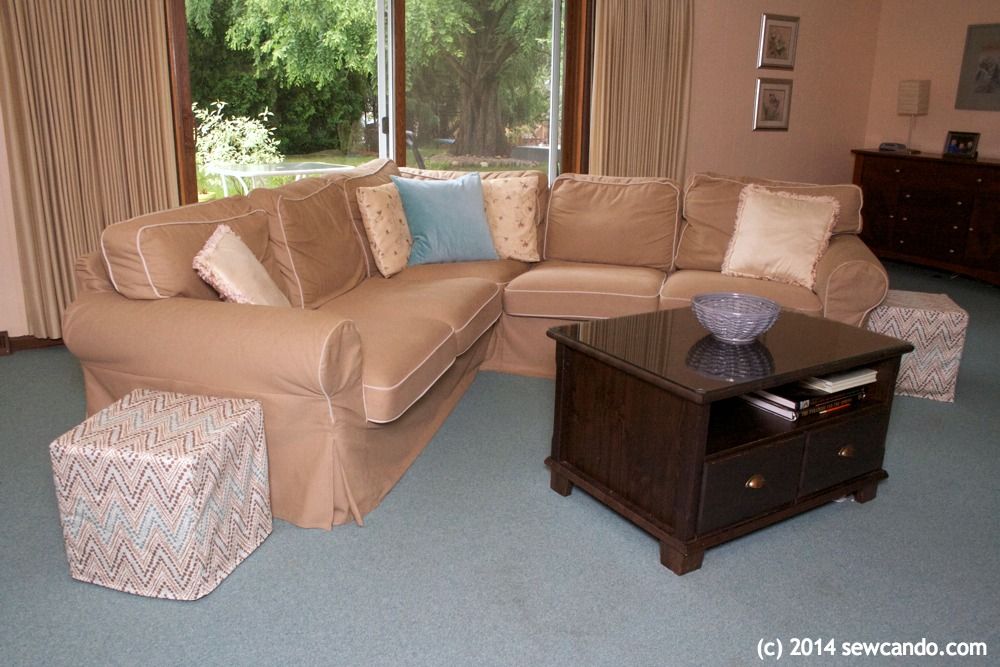
I love how this simple change livens up my family room:
And since it's easy to make and swap out covers, I can switch things up whenever I want. Who doesn't like a decorating change that doesn't take much effort or $$?
Sharing this with my FAVE LINK PARTIES too-
Click HERE to check them out!



.)


