Showing posts with label Dollar Store. Show all posts

Wednesday, August 29, 2018

Quick & Easy Mini Fairy Garden Bowl


Love fairies?  Love gardens?  Love things in miniature?  Then today's project is for you!  It's a super Quick & Easy Fairy Garden Bowl!

There are a thousand kinds of fairy gardens out there.  Some very simple, some very elaborate.  All should be cute and relaxing to make.  Even when free time is scarce (like when you have an erratically napping baby and 3 active kids).  Enter my version.


The materials are easy to get together and pretty inexpensive.  The basics are from the dollar store or easy to get at the craft store with coupons.  


A little mushroom house with fairy door adds some crafted whimsy and, since there are no live plants, it'll always stay green and indoor-friendly, which will be a big help when it's a gloomy winter day (or month).


Let's Make A Fairy Garden!


Materials:
- Glass bowl 
- Glass marbles 
- Dried moss
- Wooden mushroom 
- Baker's twine
- Craft glue
- Craft wire 
- Fairy buttons 
- Hot glue (optional)

The fairy buttons are from my shop.  I fell in love with these beauties the moment I first saw them.  They're so cute & cheery.  Especially the fairy doors & welcome sign.  I've used a few for this project and plan to use others from the sets for some hair clips and jewelry for my daughter!


Start by filling the bowl halfway with marbles.  I used clear so the blue "water" would just be on top:


Fill the the rest of the bowl with moss at the back half and blue marbles at the front:


For the garden mushroom, take the wooden mushroom and put a thin layer of glue on the stem.  Beginning at the bottom, wind the bake's twine around snugly and closely to cover the wood.


Do the same with the cap, starting at the bottom and then winding upward and cutting the twine at the top center.  It's easier to do the mushroom as two steps so you've one part to hold onto while the other is covered in glue.  Hot glue fairy door and smiling flower buttons into place.


For anchoring the button decorations, cut a piece of craft wire a few inches long for each button and the fold & twist around the shank to create a stake that will help them stand in the moss.  


Hot glue into place to permanently affix.


I'm all about the easy projects to feel accomplishment and contentment, rather than stress and disappointment trying to attempt time consuming items and then being frustrated I can't get them done, or worse, make big mistakes while rushing.  This little garden is the perfect solution!  


Wednesday, July 5, 2017

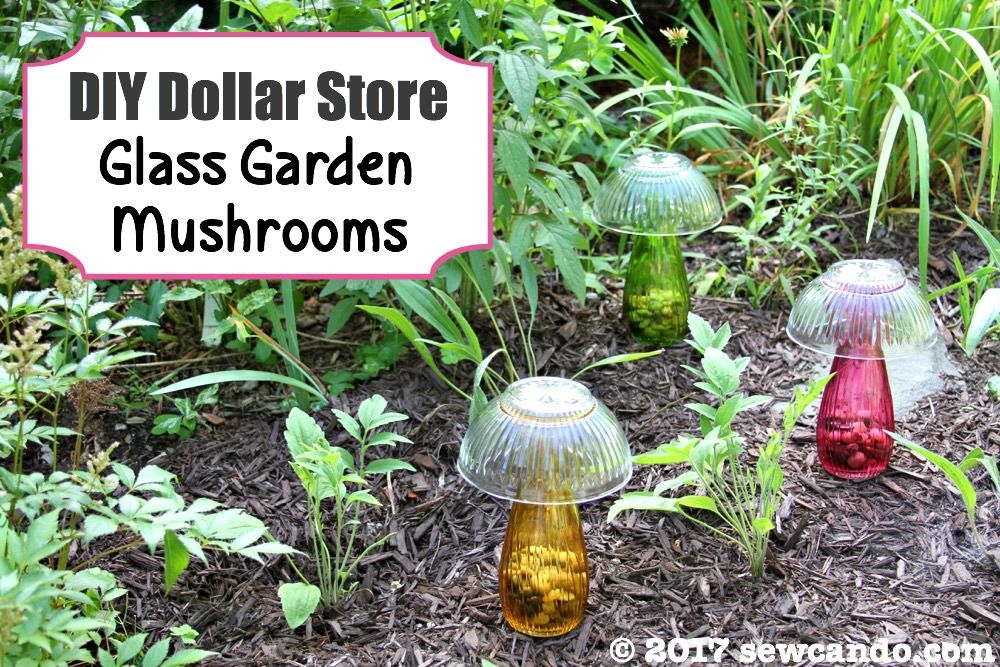
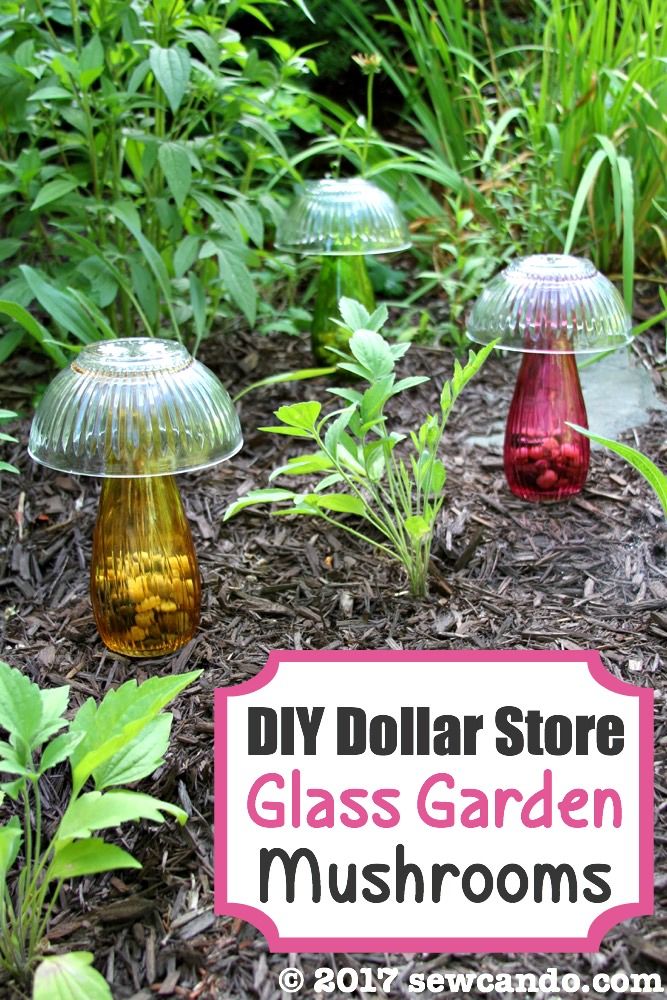
DIY Dollar Store Glass Garden Mushrooms


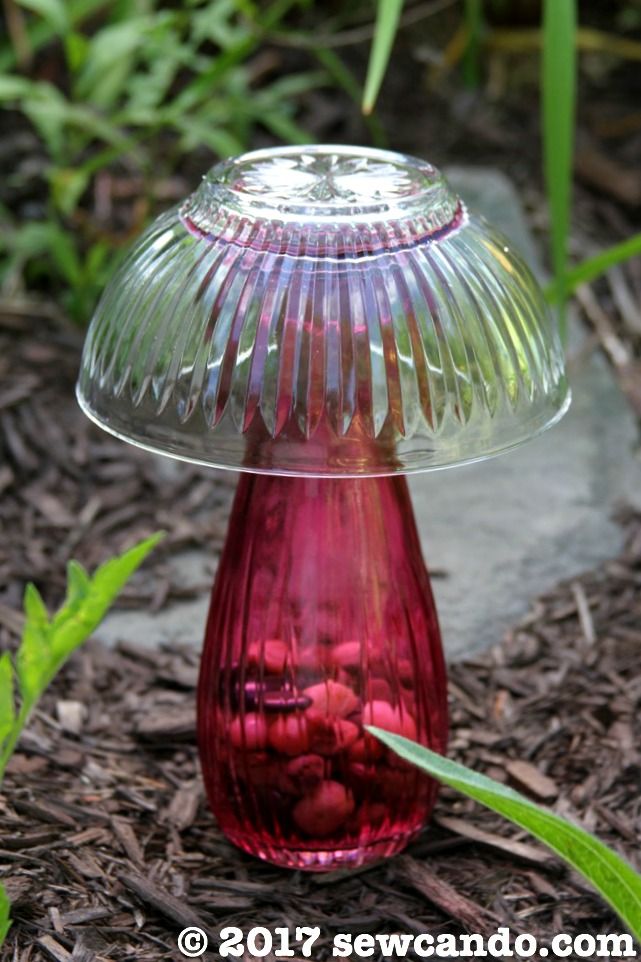
Today I'm taking a little departure from my summer Sewing with Knits series to delve into an easy outdoor craft project: DIY Dollar Store Glass Garden Mushrooms.


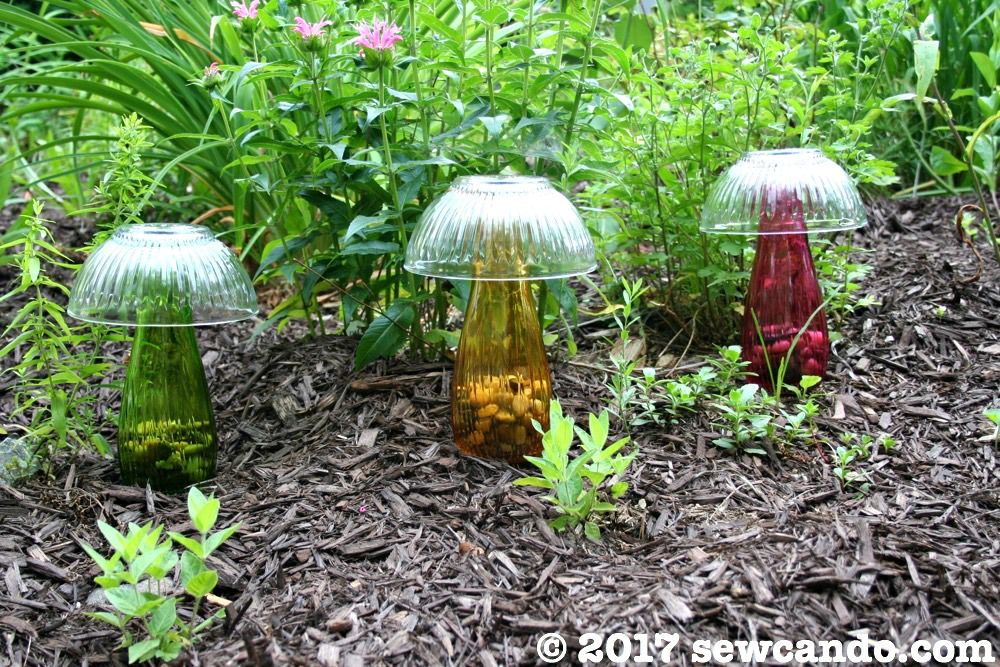
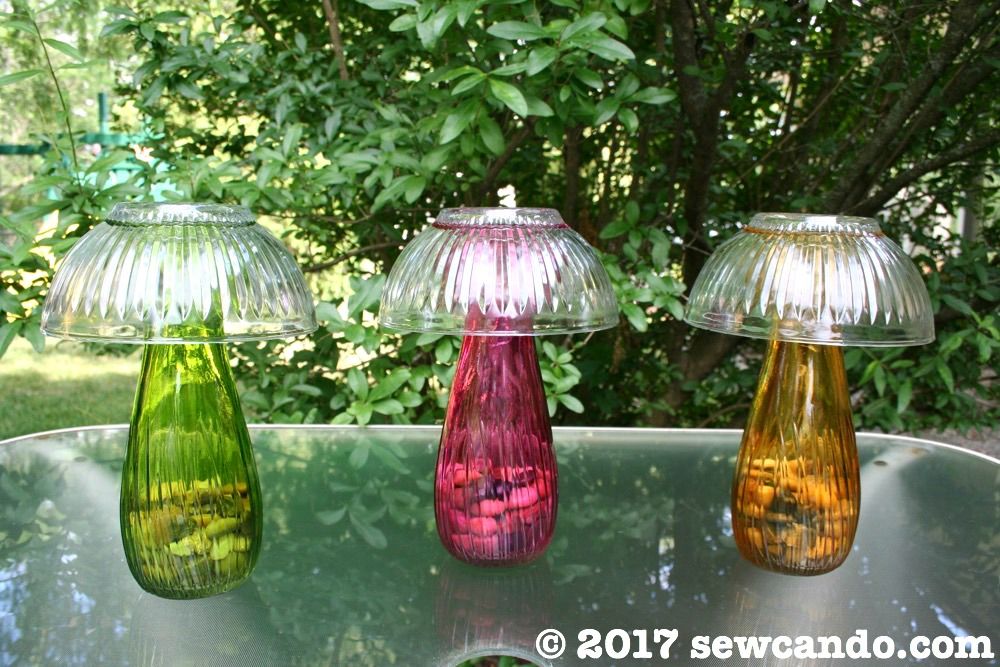
Super quick to make and easy on any budget.  It's a great way to add a little decoration and color to the garden:


I saw a similar idea in a photo (with no way to track down the original source), but it used cheap styrene plastic bowls and vases.  The concept was cute, but it totally looked like what they were - thin plastic bowls with a fake flower carving designs stuck on cheap plastic bud vases.  Not the most stylin' garden decor.  

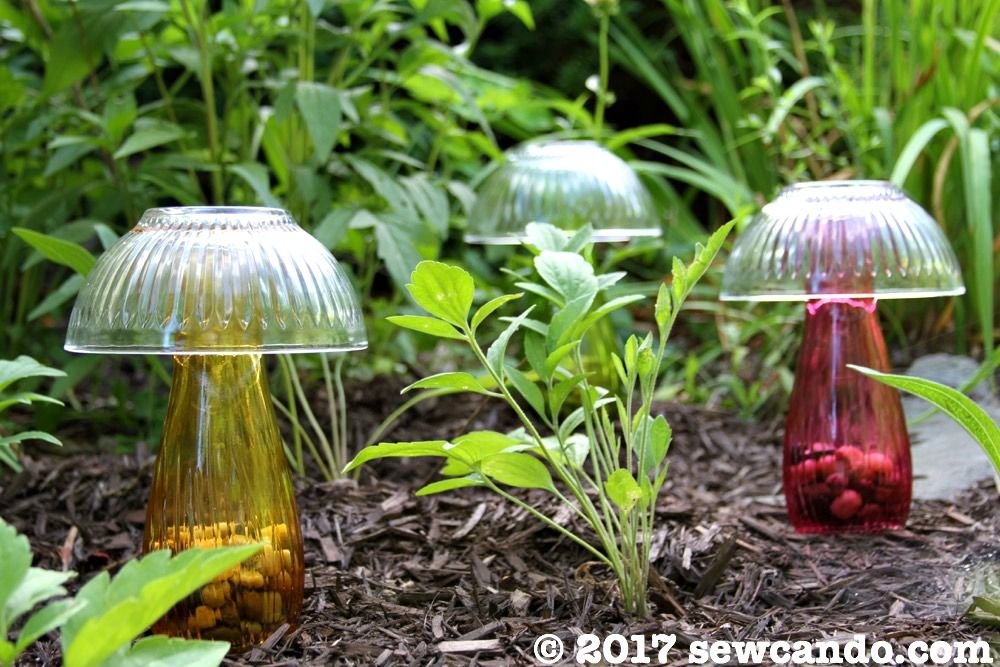
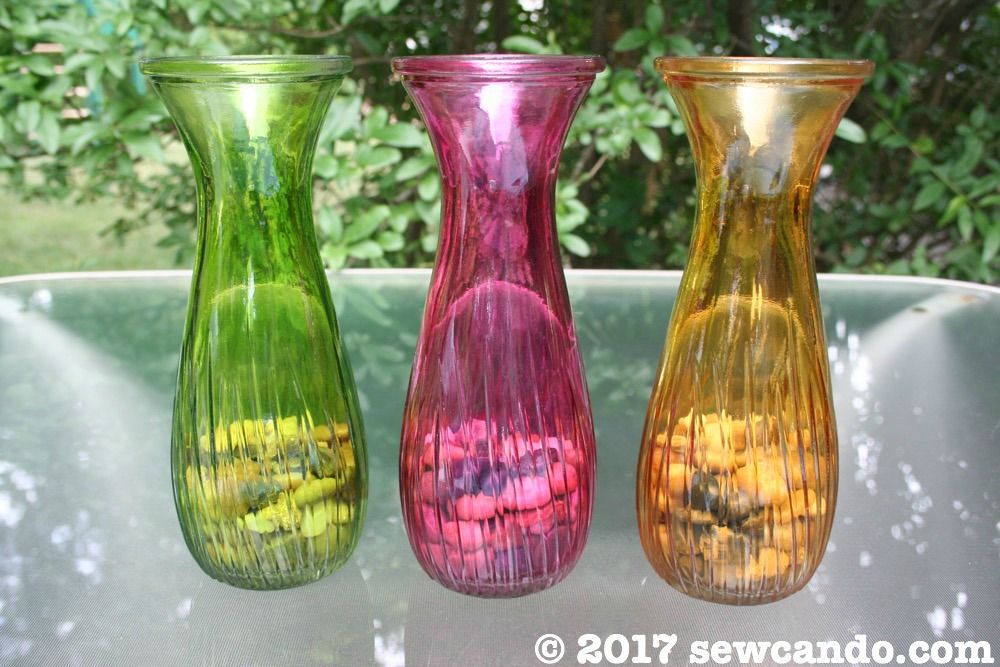
Flimsy clear plastic couldn't withstand the sun, wind or rain longterm either.  One good gust of wind and they'd be airborne!  I figured glass would be a much better option for durability and appearance, as well as river rocks inside for extra base weight and aesthetic detailing. Using colored glass also makes them pop against the plants and mulch: 


I got my supplies from the dollar store.  They literally cost me $2.25 apiece.  A much better price than most garden decorations I've seen for sale!

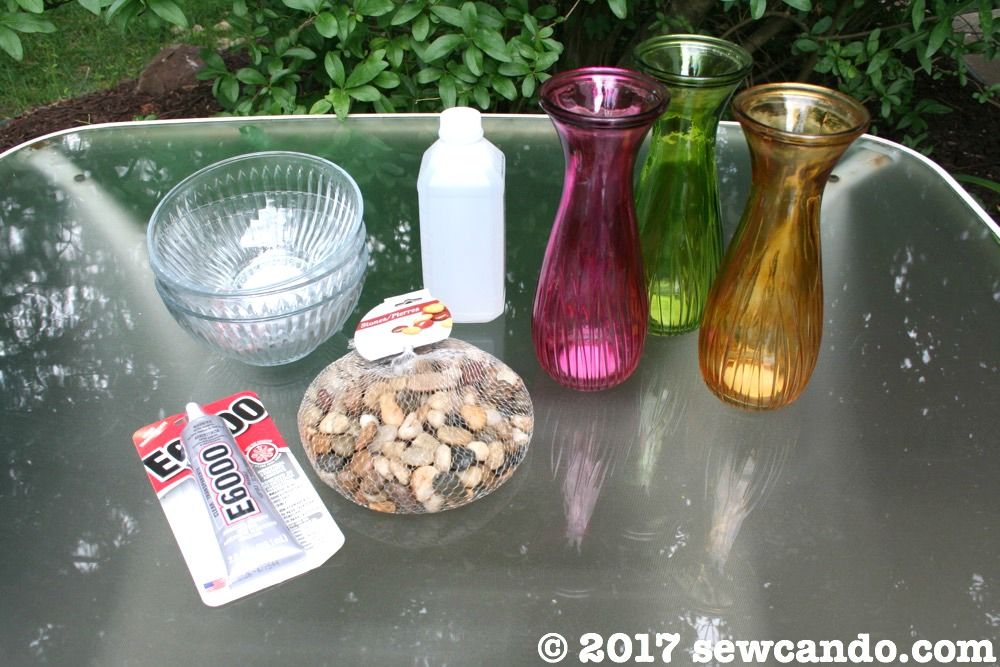
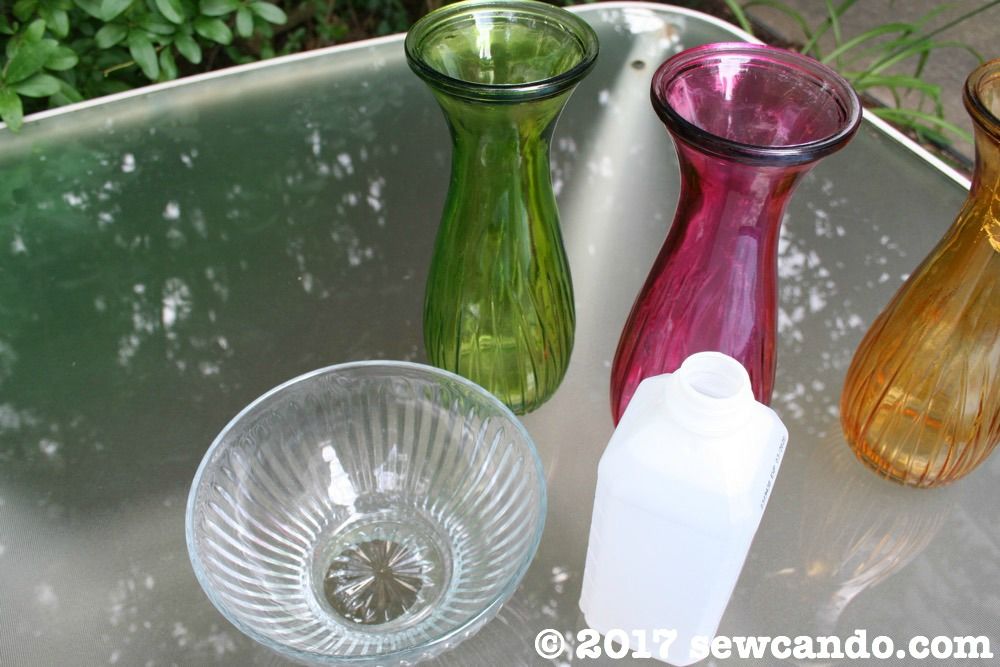
Materials:
- Colored glass vases
- 5 inch glass bowls
- Bag of river rocks
- E6000 glue
- Rubbing alcohol 


Start by using rubbing alcohol and a paper towel to clean the top edges of the vases and insides of the bowls.  This makes things sparkling clean & residue free and insures the glue will hold well.


Add river rocks to each vase until one third full:


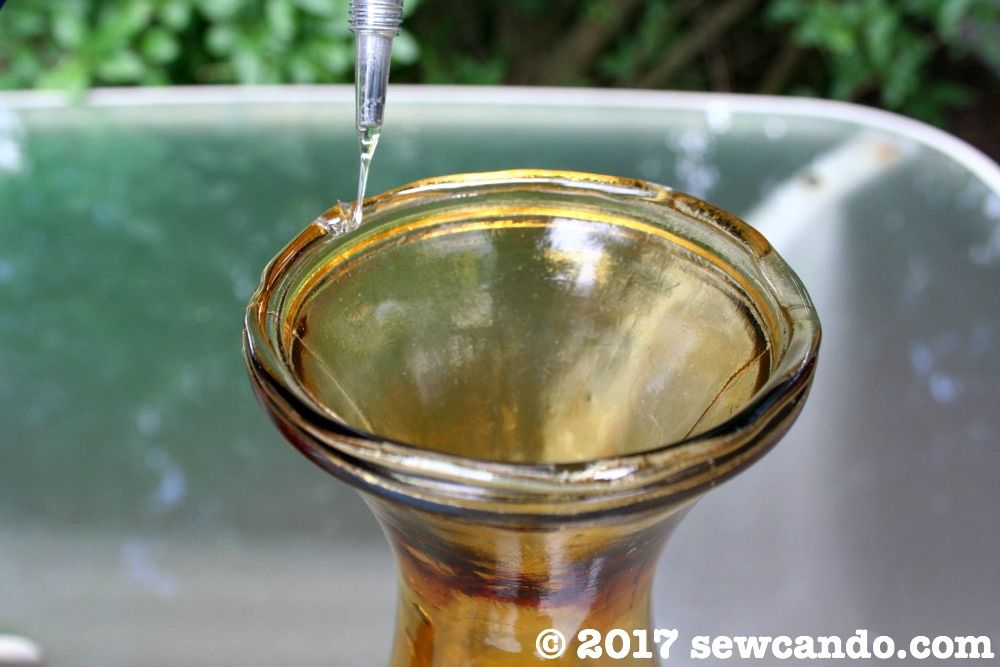
Run a line of the glue over the top edge of each vase:


Set an inverted bowl on top of each vase, being careful that it is straight and wait for the glue to dry and cure.


Place them out in the garden and enjoy the added whimsy.


Their durability means they can be hosed off and no garden critters can easily tip them over.  My garden & my wallet are both happy!


Friday, November 15, 2013

Holiday Magic You Can Make: Gilded Reindeer Glass Vases


Today's project is one I've been dying to share!  I'm getting a head start on my holiday crafts with these Gilded Reindeer Vases.  I received a box of multi-surface craft goodies from Martha Stewart Crafts for making something special for the holidays and they got me inspired to try something totally new to me: gilding.  And believe me, once you get the hang of it, it's pretty simple and addicting!
  

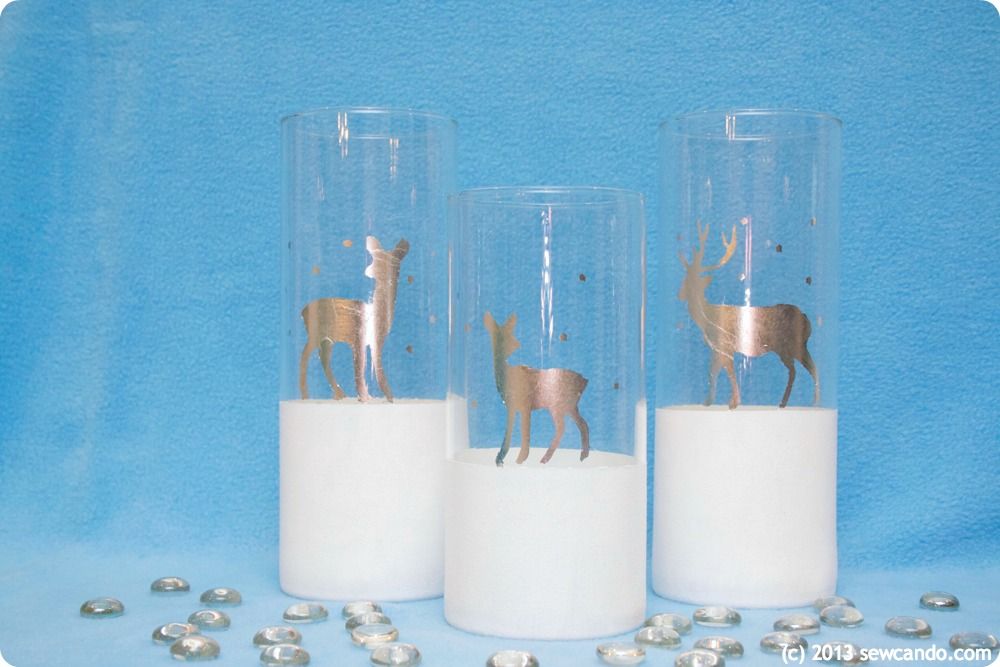
With a few key supplies I transformed some plain glass vases into a trio of snowy reindeer that look more like something from a fancy catalog than DIY from the dollar store.  And they've got that special holiday sparkle thanks to the silver gilding on the reindeer: 


As well as the glittery finish of freshly fallen snow below:


Now let's get started on the reindeer crafting magic!


Materials Needed:
- Glass vases (mine are from the dollar store)
- Martha Stewart Crafts Gilding sheets in Silver
- Martha Stewart Crafts Gilding Adhesive & Gilding Brushes
- Martha Stewart Crafts Paint in Wedding Cake White & Basic Brushes
- Martha Stewart Crafts Decoupage Medium in Glitter & Decoupage Brush
- Martha Stewart Crafts Christmas Icon Stencils
- Painter's tape
- Rubbing alcohol & paper towel
- Optional: Martha Stewart Crafts Gilding Gloves, razor blade

* You can find Martha Stewart Crafts line in-store at Michaels or in Plaid’s online store.

Critical first step: start by cleaning the surface of the vases with rubbing alcohol & a paper towel.  This will remove any residues or oils that will prevent the paint & gilding from adhering.  Tape around each vase at the point you want the snowy ground to start.


I like to work on a piece of waxed paper since it's an easy, disposable work surface.  I just put a blob of paint right on it and work from there and then toss it when done.  I brushed on a layer of paint in vertical strokes. When it dried I did the next two coats horizontally so the brush strokes wouldn't be as noticeable and there was good coverage. 


Once all the painting was dry, I did the same layering job with my glitter decoupage medium and then peeled off my tape.


Then I taped on my stencils just above my snowy ground.  It's a little tricky to use these stencils on a rounded surface, but I really loved these reindeer, so I was determined to make it work. The gilding brush set includes a brush for painting on the adhesive so I used that to carefully brush on the clear adhesive.  A little goes a long way so don't be too generous or it could seep under the edges of your stencil (I learned that the hard way).  To make it easier to avoid that around some of the edges, I pressed down the stencil in that area with one hand while I dabbed my adhesive with the other.  Then remove the stencils and allow the adhesive to set for about 20 minutes.  It should feel nearly try and a little tacky to the touch when ready.


I slipped on my cotton gilding gloves and took a sheet of gilding from the pack, careful to keep the tissue backing paper on, and laid it over my adhesive.


Then I smoothed the gilding down with my hands and pressed with a circular motion to make sure it adhered to the adhesive and let it sit for an hour.  It was SO hard to be patient and wait to see the results!!!


Then came the fun part: the reveal.  I removed the tissue and carefully brushed at the gilding with the fluffy, round gilding brush.  Any bits that weren't glued to my design began to break and flake off.  This is the part where the gloves really come in handy.  The gilding is very fine and will definitely stick to bare hands, so cleaning up was much easier thanks to the gloves.


I used a razor blade to carefully scrape away any spots where adhesive snuck out of the stencil and make some of the edges look cleaner.  They add some holiday style as they are, filled with seasonal greens or filled with candles and can be grouped together as a centerpiece or spread out on a mantel.  Lots of decorating options!


To find more holiday inspiration, or info on ways to use this materials:

- Follow Plaid on Facebook
- Sign up for Plaid's Newsletter
- Follow Plaid's Martha Stewart Crafts board on Pinterest

And check out more project tutorials made with some of these items:


I'm also sharing this with my FAVE LINK PARTIES.
Click HERE to check them out!

I was financially compensated for this post.  I received select craft supplies from Plaid Crafts for their Martha Stewart Crafts Holiday campaign.  The opinions and ideas are completely my own based on my experience.  For my complete disclosure policy, click here. 

LinkWithin

Related Posts with Thumbnails