Showing posts with label Mushrooms. Show all posts

Wednesday, August 29, 2018

Quick & Easy Mini Fairy Garden Bowl


Love fairies?  Love gardens?  Love things in miniature?  Then today's project is for you!  It's a super Quick & Easy Fairy Garden Bowl!

There are a thousand kinds of fairy gardens out there.  Some very simple, some very elaborate.  All should be cute and relaxing to make.  Even when free time is scarce (like when you have an erratically napping baby and 3 active kids).  Enter my version.


The materials are easy to get together and pretty inexpensive.  The basics are from the dollar store or easy to get at the craft store with coupons.  


A little mushroom house with fairy door adds some crafted whimsy and, since there are no live plants, it'll always stay green and indoor-friendly, which will be a big help when it's a gloomy winter day (or month).


Let's Make A Fairy Garden!


Materials:
- Glass bowl 
- Glass marbles 
- Dried moss
- Wooden mushroom 
- Baker's twine
- Craft glue
- Craft wire 
- Fairy buttons 
- Hot glue (optional)

The fairy buttons are from my shop.  I fell in love with these beauties the moment I first saw them.  They're so cute & cheery.  Especially the fairy doors & welcome sign.  I've used a few for this project and plan to use others from the sets for some hair clips and jewelry for my daughter!


Start by filling the bowl halfway with marbles.  I used clear so the blue "water" would just be on top:


Fill the the rest of the bowl with moss at the back half and blue marbles at the front:


For the garden mushroom, take the wooden mushroom and put a thin layer of glue on the stem.  Beginning at the bottom, wind the bake's twine around snugly and closely to cover the wood.


Do the same with the cap, starting at the bottom and then winding upward and cutting the twine at the top center.  It's easier to do the mushroom as two steps so you've one part to hold onto while the other is covered in glue.  Hot glue fairy door and smiling flower buttons into place.


For anchoring the button decorations, cut a piece of craft wire a few inches long for each button and the fold & twist around the shank to create a stake that will help them stand in the moss.  


Hot glue into place to permanently affix.


I'm all about the easy projects to feel accomplishment and contentment, rather than stress and disappointment trying to attempt time consuming items and then being frustrated I can't get them done, or worse, make big mistakes while rushing.  This little garden is the perfect solution!  


Wednesday, July 5, 2017

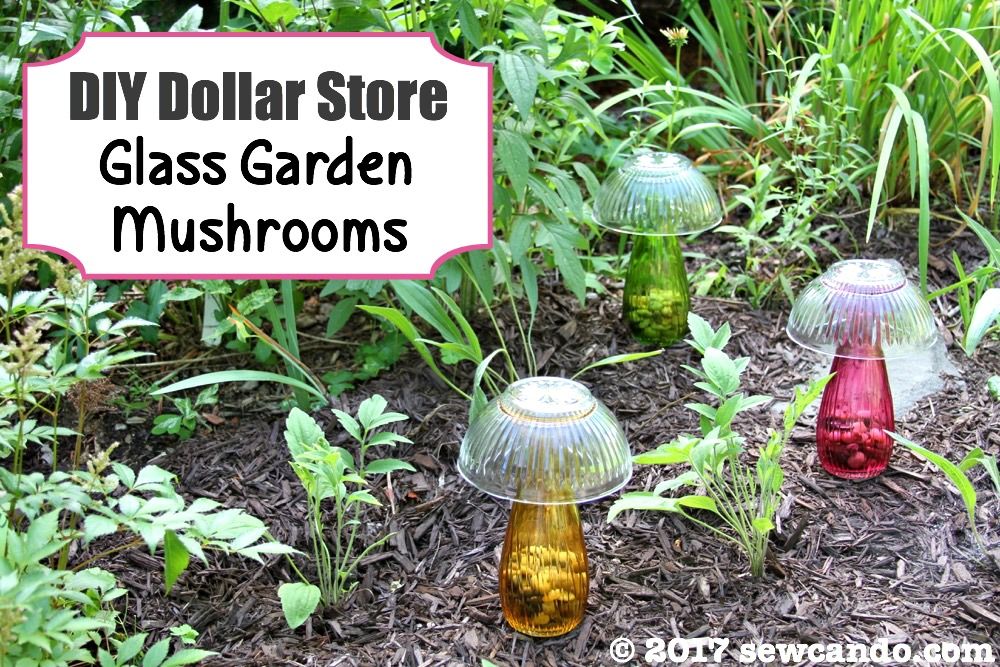
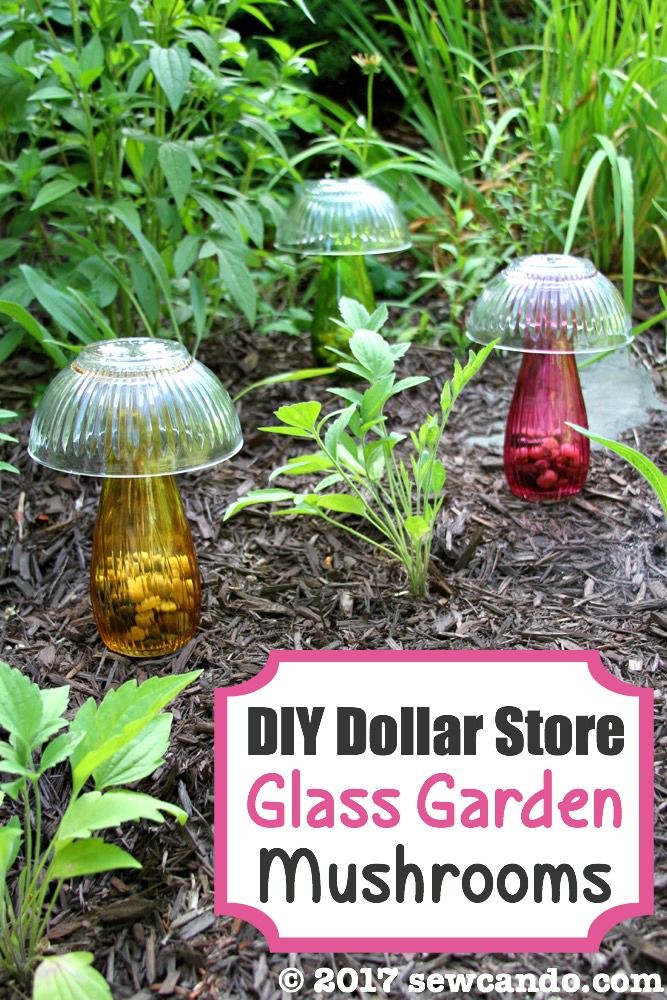
DIY Dollar Store Glass Garden Mushrooms


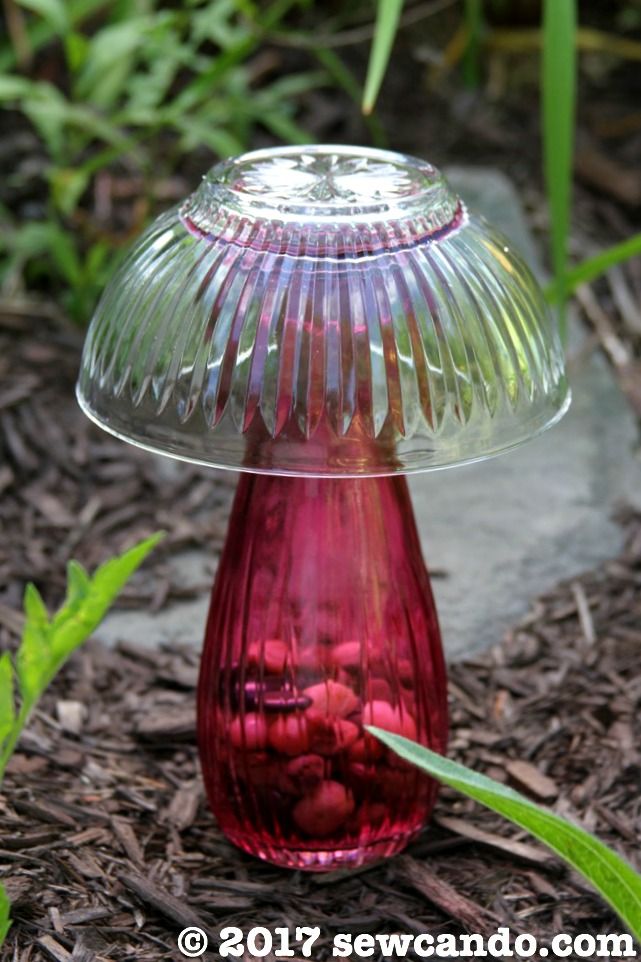
Today I'm taking a little departure from my summer Sewing with Knits series to delve into an easy outdoor craft project: DIY Dollar Store Glass Garden Mushrooms.


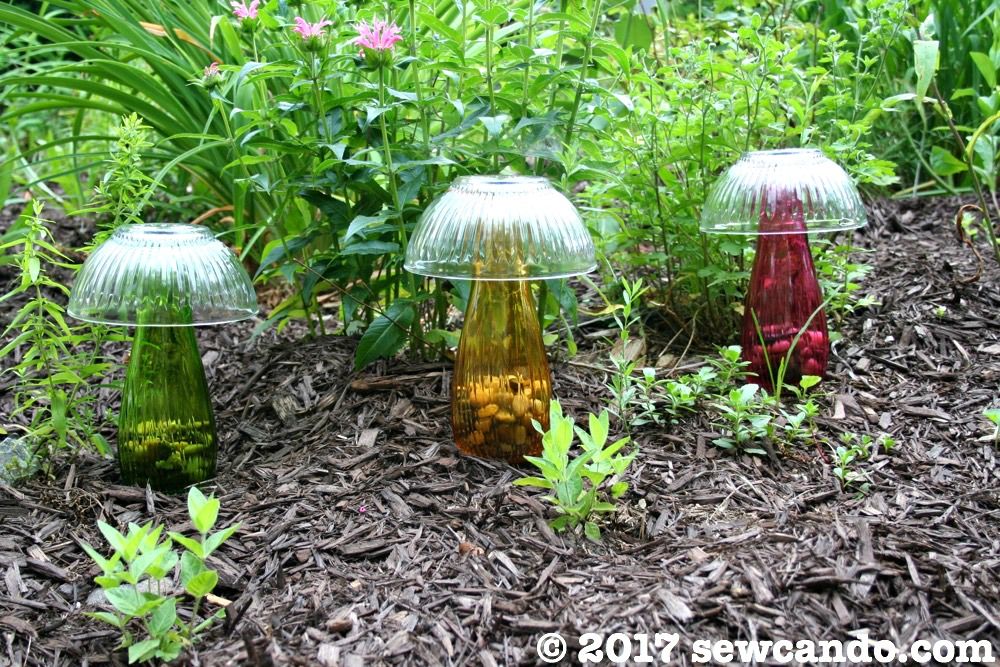
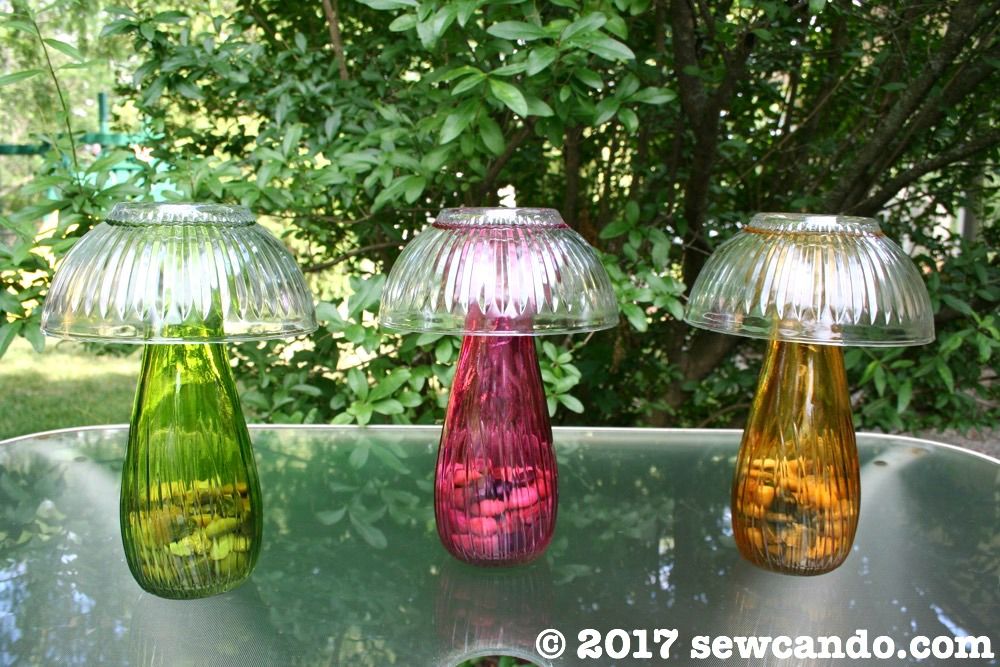
Super quick to make and easy on any budget.  It's a great way to add a little decoration and color to the garden:


I saw a similar idea in a photo (with no way to track down the original source), but it used cheap styrene plastic bowls and vases.  The concept was cute, but it totally looked like what they were - thin plastic bowls with a fake flower carving designs stuck on cheap plastic bud vases.  Not the most stylin' garden decor.  

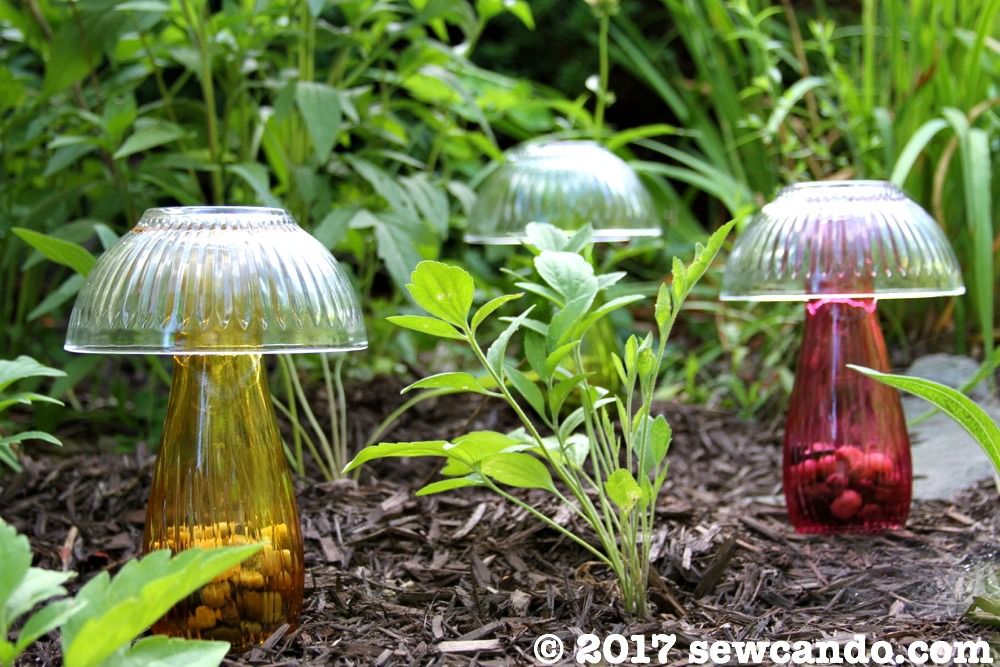
Flimsy clear plastic couldn't withstand the sun, wind or rain longterm either.  One good gust of wind and they'd be airborne!  I figured glass would be a much better option for durability and appearance, as well as river rocks inside for extra base weight and aesthetic detailing. Using colored glass also makes them pop against the plants and mulch: 


I got my supplies from the dollar store.  They literally cost me $2.25 apiece.  A much better price than most garden decorations I've seen for sale!

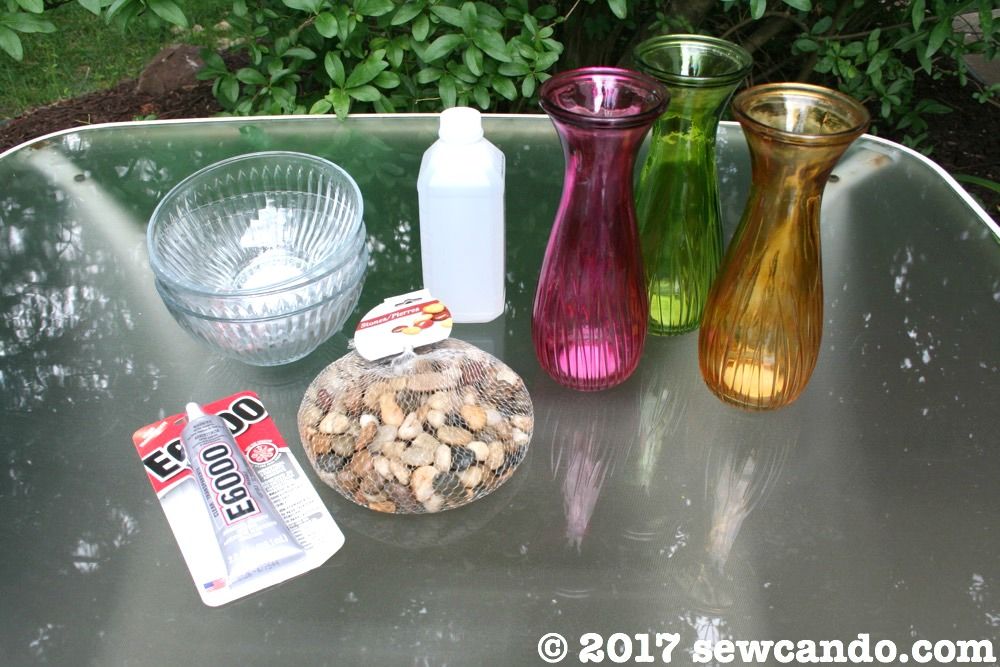
Materials:
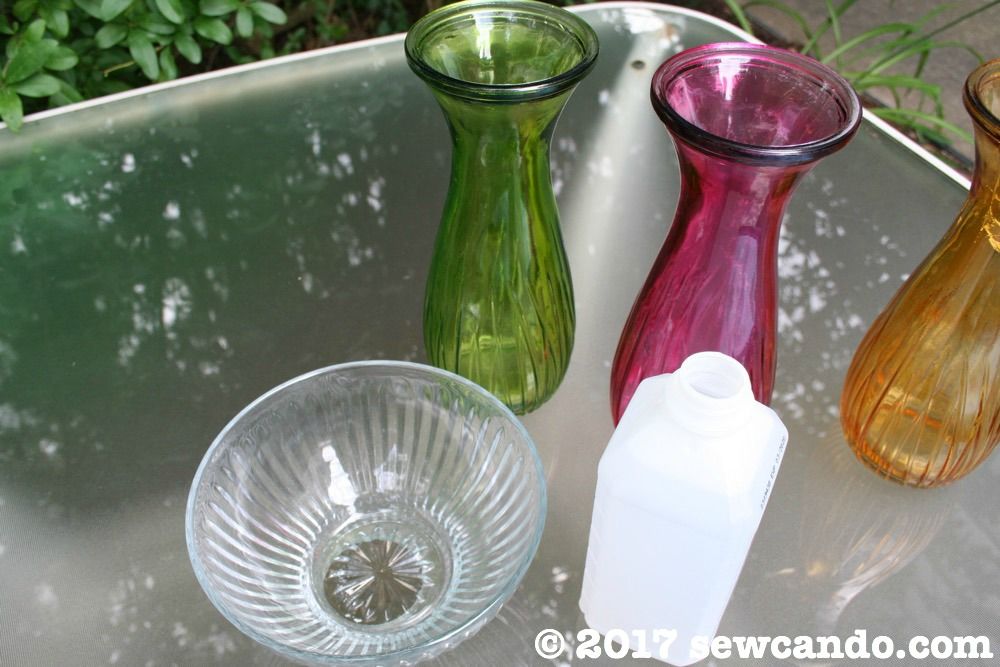
- Colored glass vases
- 5 inch glass bowls
- Bag of river rocks
- E6000 glue
- Rubbing alcohol 


Start by using rubbing alcohol and a paper towel to clean the top edges of the vases and insides of the bowls.  This makes things sparkling clean & residue free and insures the glue will hold well.


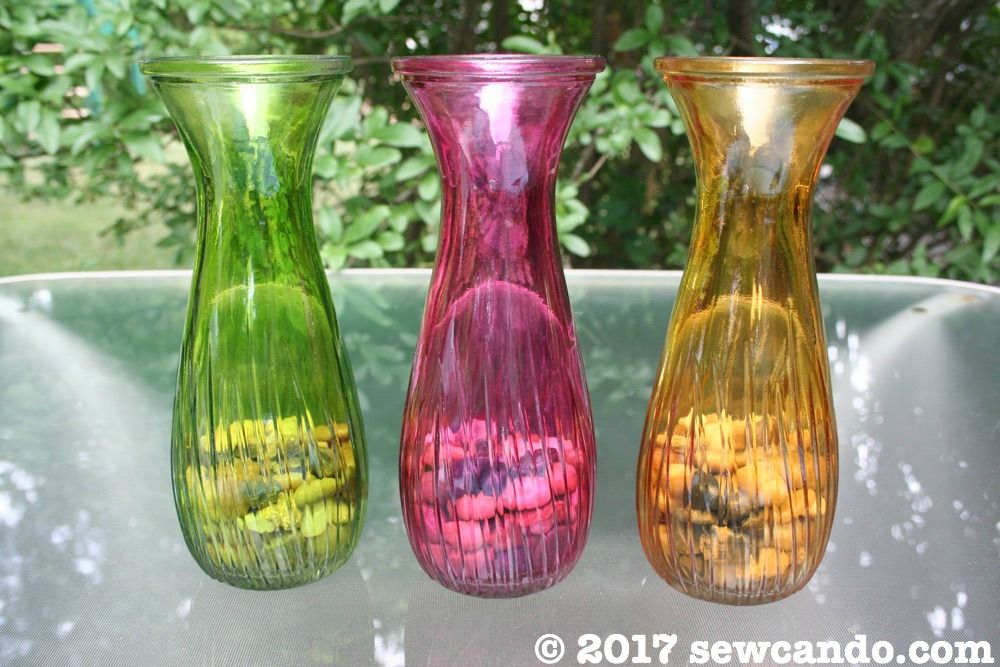
Add river rocks to each vase until one third full:


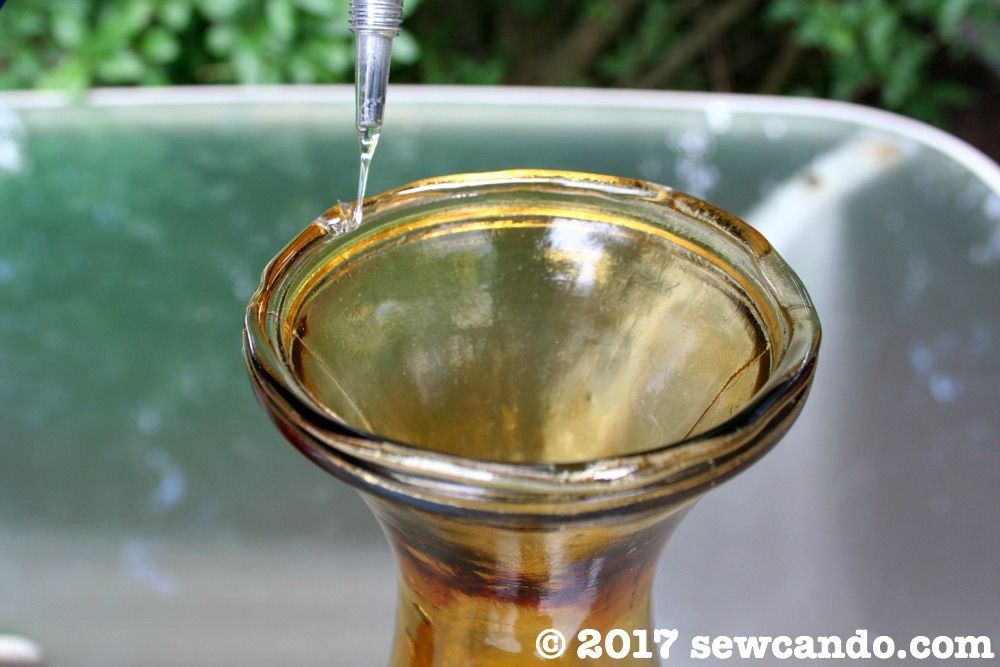
Run a line of the glue over the top edge of each vase:


Set an inverted bowl on top of each vase, being careful that it is straight and wait for the glue to dry and cure.


Place them out in the garden and enjoy the added whimsy.


Their durability means they can be hosed off and no garden critters can easily tip them over.  My garden & my wallet are both happy!


Wednesday, October 16, 2013

Happy Mushroom Applique Shirt Tutorial


I love all the fun woodland themes Fall brings.  One of my favorites is mushrooms.  My kids are studying mushrooms in our homeschool science right now I thought a little fungus-friendly shirt would be the perfect project. 

I made it especially for my almost 7 year old son.  Now that my boys are in the older kid sizes it has gotten really hard to find fun stuff for them to wear.  Everything looks super boring or is covered in sports, superheroes, skulls or snarky comments.  I prefer my kids snark-free and am not a big fan of the other themes, so I've gotta get crafty coming up with my own designs. Fun, happy mushrooms make a nice change and aren't too cutesy for my getting big, (but still little to me, guys.

Materials Needed:
- Plain long sleeved t-shirt 
- Fleece scraps
- Embroidery Stabilizer
- Ball point needle
- Optional: machine embroidery for lettering*

*I used my Brother SE-400 (which does machine embroidery & regular sewing) for my lettering, but this could also be done with iron-on letters or freezer paper stencils.  

I decided on "Fungus Among Us" for my wording and did each word separately since my machine has some limits on size.  For machine embroidering I always use stabilizer on the back & pull my fabric nice and taut in the hoop (for more details on how to do machine embroidery, see here).


I also cut a large piece of stabilizer to go behind the entire face of the shirt, covering the entire applique area and pinned it into place. Using stabilizer is a good idea when doing applique on knits - it helps keep the fabric from stretching or pulling.  I used tear away on this shirt, but I normally use the softer kind that stays on for items that are worn next to the skin.   


I cut out some cap & stalks from my fleece scraps.  "U" shaped for the stems and curved triangles for the tops:


I pined them together with the stem slightly underneath:


I appliqued the stalks first with a mid-sized zig-zag stitch (flipping up the bottom edges of the caps), then my mushroom caps and lastly, the  text bubble.  Using fleece means there's no fraying and is soft & fuzzy so it's ideal for this sort of applique.


I satin stitched (wide, close together zig-zag) some arcs for the big mushrooms eyes and some small spots for the smaller one.  I hand stitched a little smile on both and our little fungus friends were all set.


Now we've got some happy mushrooms to make our experience learning about them even more fun!


I'm also sharing this with my FAVE LINK PARTIES.
Click HERE to check them out!

LinkWithin

Related Posts with Thumbnails