Showing posts with label Cabochons. Show all posts

Wednesday, August 14, 2019

Crafting With Cabochons: Project Ideas & Tips


Crafting doesn't always have to be complicated or time consuming.  That's why I find crafting with cabochons so fun. I feel like this versatile craft supply isn't well known outside of DIY jewelry though, so I thought I'd share some ways to use them to inspire other crafters to try something new. 

What are Cabochons? They are glass domed flat backs that  have a smooth beveled surface (think flattened marbles).  They come in lots of shapes and sizes, but the most versatile is the round 25mm (1 inch).  


There's almost every design style imaginable too.  


I carry a number of inspirational & faith design cabochons in my store, Heavenly Fabric Shop, so since I'm blessed to have a good built-in cabochon stash, I used a few of mine to showcase some project ideas:)  


How to use cabochons: They can be glued to almost anything thanks to the flat back side.  I prefer to use E6000 glue with them since it's the strongest and dries clear and it'll hold like crazy.


What can you make with cabochons?

I did some DIY Inspirational Bookmarks using a few a while back.


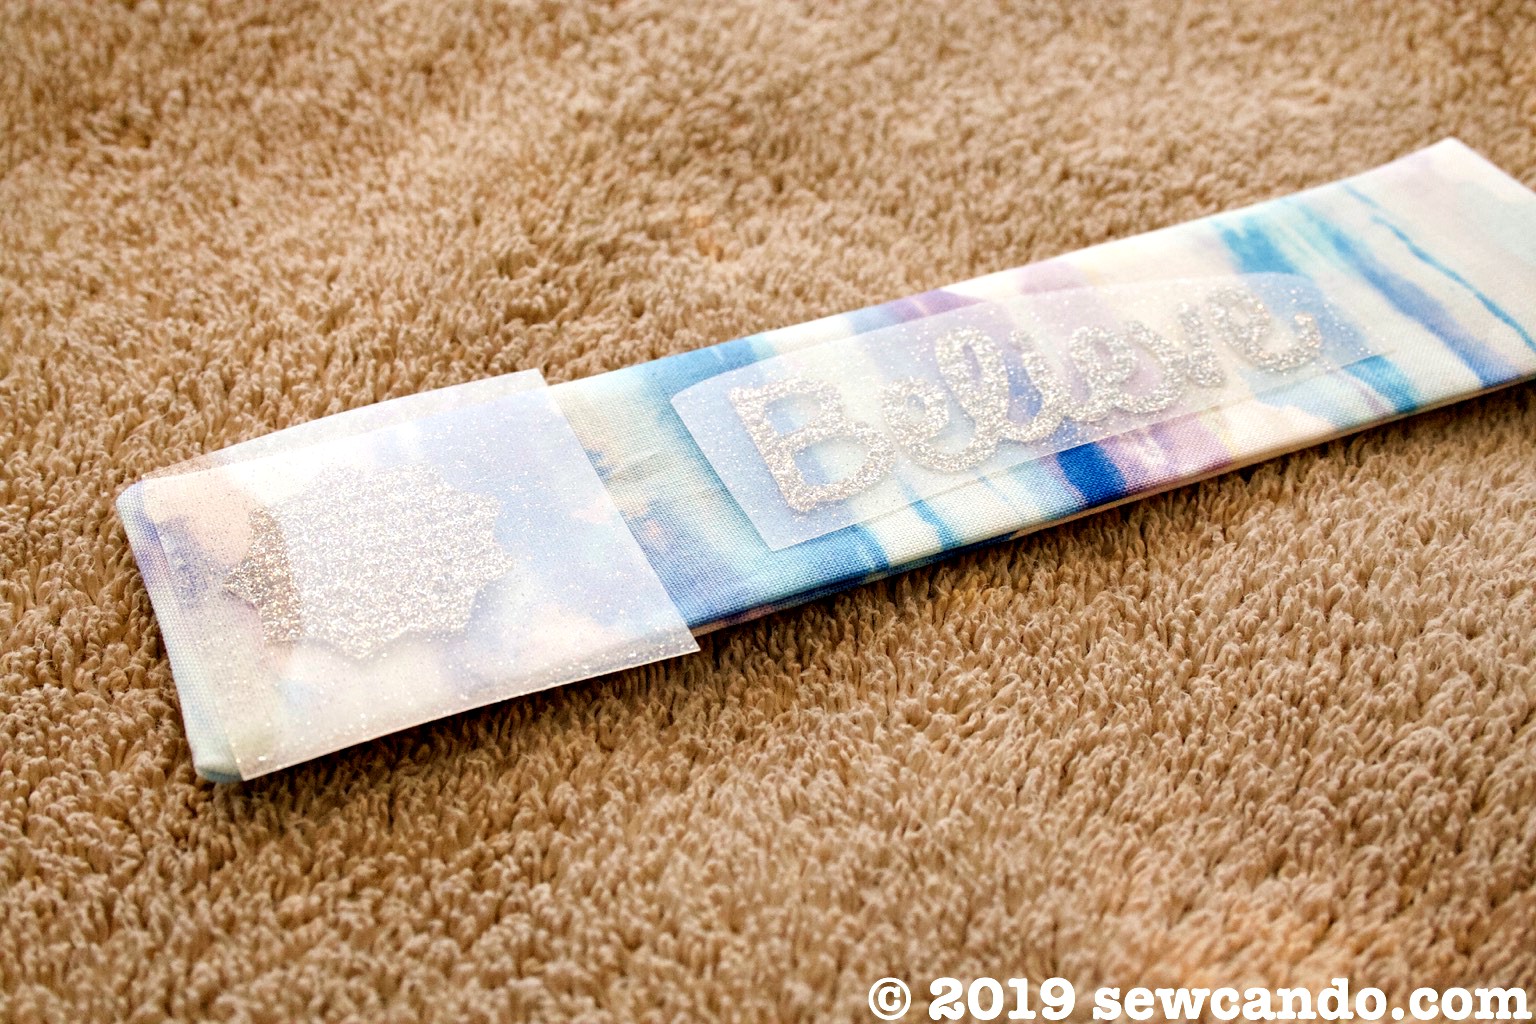
I made fabric bookmarks and embellished them with HTV.  then I glued the cabs directly onto the glitter heat transfer vinyl I used & they've held up great:


Jewelry: Using a setting is ideal if you want to do something wearable like jewelry.  This is the most popular use for them.  You'll need to get bezel settings for that, which found in the jewelry supply section at most craft stores.  Getting the right diameter is key though (it's gotta fit inside the framed edge!).  


I used a basic thin edge silver one with a top loop to make this necklace.  I added a glass bead & silver leaf charm using a couple of jump rings and had an instantly pretty pendant:


You can also use simple stud posts to do earrings with the smaller cabochon sizes:


Keychains: Pair a thicker bezel setting with a key ring for a sweet keychain.


Another setting option is to use a decorative metal medallion.  These are lightweight, but add some extra flair to the center design.  Just glue the cab to the medallion and then glue that to whatever you want to decorate.  I carry this particular style in my shop in silver & antique bronze to fit my selection of 25mm rounds, but there many sizes, metal finishes and medallion designs out there to suit whatever cabochons you're using.


Magnets: Glue a magnet directly on the back of the cab (or after you've added a medallion) to make some handy magnets.  I did these for Easter at our house this year:


Decorations: You can use other items to layer and add extra detail too.  I combined a St. Patrick cabochon with a silver cab medallion and a pre-cut wooden shamrock to make a fun dimensional St. Patrick's Day decoration:


Candles: I used a cabochon & medallion with grosgrain ribbon to wrap a candle for instant decorative swag:


Hair Accessories: Add some smaller sizes to bobby pins or barrettes or use them as hair bow centers:


Religious or special occasion items: Since the designs I carry in my shop are faith-based, there's also the option to use them for things like rosaries.  I made an Our Lady of Guadalupe themed rosary with a cabochon and some matching design beads.  


Use other themed designs to make wedding, anniversary, birthday or baptism favors or gifts.  Dress up picture frames, artwork, keepsakes...the possibilities are endless.  So get some cabs, some glue & things to add them to and start some relaxing & rewarding cabochon crafting!    


 What would you make with cabochons??

Wednesday, March 6, 2019

Easy St. Patrick's Day Decorative Celebration Candles


Saint Patrick's Day is coming up and we wanted to create a fun decorative item for our house that was festive & functional.  What better project than some St. Patrick's Day Celebration Candles?!?


This quick & simple craft is inexpensive, but practical too.  It also makes a great project to do with a group of kids. 


This was easy to do and ends up being so much more useful that cheap paper & plastic decorations that will just get tossed out the next week.  Put them on a shelf, as a centerpiece or wherever you want to add a little Irish flair.  I used some themed embellishments from my shop that are just perfect for gluing onto things.


These candles still feature all the quintessential Irish holiday symbols like shamrocks and four leaf clovers:


Celtic crosses and knots:


And of course the reason for the holiday itself, Saint Patrick:


The pillar style makes a great devotional candle for those that love St. Patrick the rest of the year too:


☘️ Now let's get to the making!☘️ 


Materials:
- Pillar and votive candles (dollar store)
- Celtic Buttons (Erin Go Bragh set)
- St. Patrick glass dome cabochons
- Grosgrain or satin ribbon 
- Glue (I prefer E6000)
- Lighter 


Start by cleaning the glass of the candles with rubbing alcohol for best adhesion.


Cut a length of ribbon that will wrap around each candle with one inch of overlap.  Heat seal the cut ends with a lighter to prevent fraying:


Add small dabs of glue along each end and the center of the ribbon.


Apply ribbon to the center of each candle.


If using shank buttons like, my solid shamrocks, you can snip the shank off with a sharp pair of scissors, craft knife or pliers to get a nice flat back.


Add some glue to the backs of the buttons, cabochons and flat backs.


For the open shapes like these shamrocks, we use a toothpick to spread the glue:


We glued a Saint Patrick to the center of our pillar candle...


and  surrounded him with shamrock and Celtic cross flat backs:


For our votives we used some Celtic knots and shamrock buttons:


Allow glue to dry for 24hrs with candles on their sides to prevent slippage.  Enjoy your new Saint Patrick's Day Candles!


Happy St. Patrick's Day! ☘️ 


Wednesday, February 20, 2019

Easy Tutorial: DIY Inspirational Message Bookmarks


We have a house full of avid readers, but we never seem to have any bookmarks.  I got tired of using old receipts/scraps of paper and decided to make some that would be durable, easy to see, and most of all pretty!  It was time to make these Inspirational Message Bookmarks.

I feel like these are a huge step up from a bent Post-it or gas station receipts we've been using around here:


I was inspired to create them by these beautiful ethereal angel glass cabochons I started carrying in my shop.  They're just so lovely and dreamy.


The colors were a perfect match to this Heavenly Sky fabric, so some heavenly themed bookmarks seemed ideal!


They also add a little inspiration to every read by having a glittery message too:


The beautiful glass angel cabochon adds some special detail,


 and makes sure they don't slip out of place.


This is an easy project and makes a beautiful handmade gift!


Materials:
- Fat quarter cotton fabric (mine is Heaven Sent Heavenly Sky)
- Glass cabochons (mine are these) & glue 
- Card stock or firm stabilizer 
- Heat transfer vinyl 
- Cricut or other cutting machine*
- Iron and/or Cricut Easy Press

* If you don't have a cutting machine you could print my files on paper and lay them over the heat transfer to cut them out by hand with an x-acto knife.

For each bookmark, cut two pieces of cotton fabric 3 inches wide by 9 inches high.  Also cut a piece of the card stock/stabilizer that's 1 3/4inches wide by 7 1/2 inches high.  


With right sides facing, stitch the fabric together on three sides with a 1/2 inch seam allowance.  Leave one short end open for turning.  Trim down the raw edges and turn right side out, poking out the corners with a knitting needle or chopstick.


Insert the card stock or stabilizer inside and fold raw edges of the open end inward and press.  I used a fusible stabilizer so it would all adhere together smoothly.  Top stitch all the way around.


To do the lettering, right click to save my file for these inspiring words & shapes:


Upload them to your cutting machine software and size so they are 1 inch high.  Mirror the image (since it's cut with the right side facing down) and cut out the heat transfer vinyl.


Weed all the material around and inside the letters:


Place a star shape on one end and then center the wording.  Adhere the HTV to the bookmark with an iron or Easy Press, following the HTV directions for time & temperature (since it can vary) pulling off the carrier sheet while still hot.  


Once cool, glue a cabochon onto the top with some glue.  I use E6000 since it's the strongest.  Let dry.


Now you have some beautiful, inspiring bookmarks to brighten the day!


LinkWithin

Related Posts with Thumbnails