
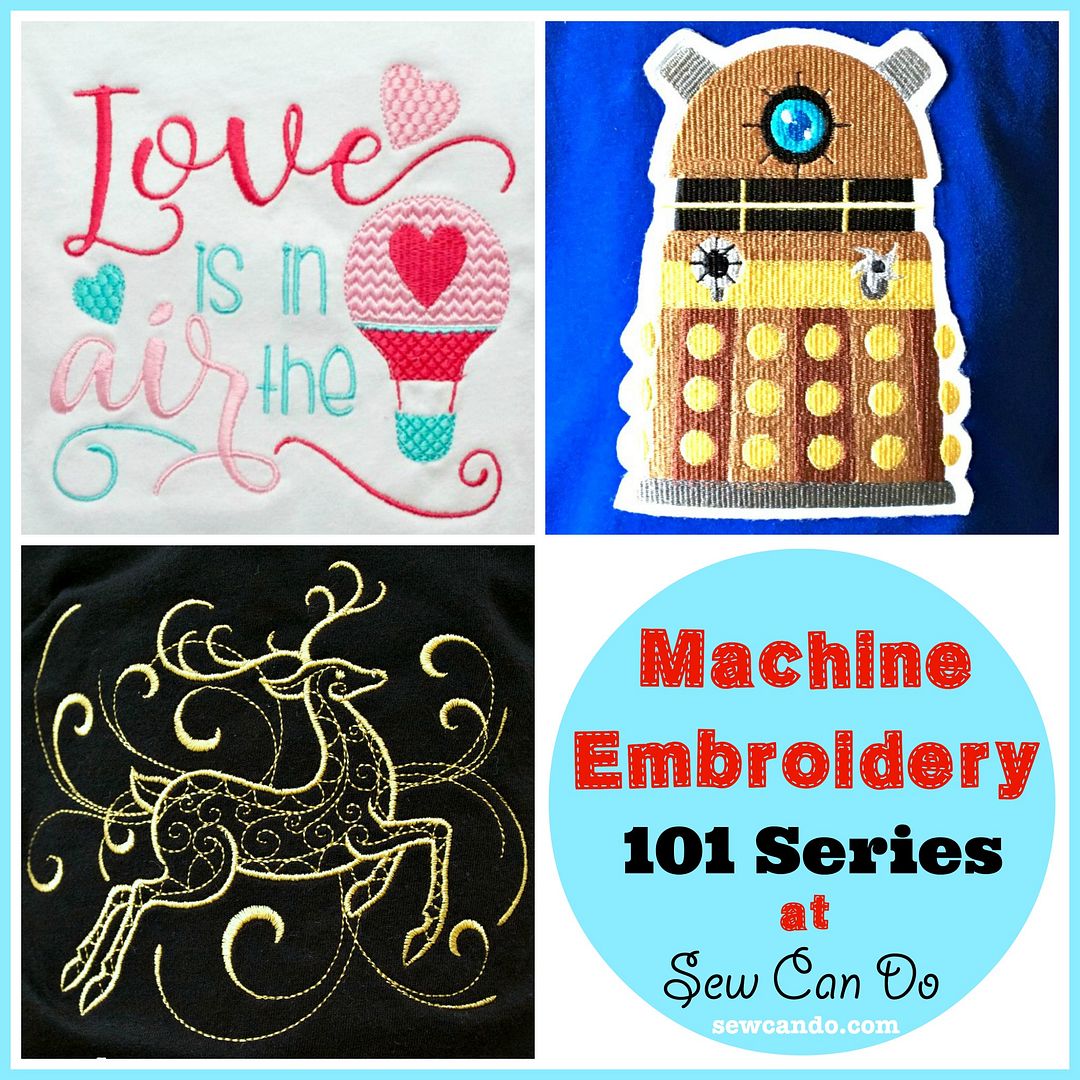
Machine embroidery. A couple of months ago I shared my new love affair with it. It seems like crafters either are regular embroiderers or figure it's just too complicated, specialized or expensive for them. I feel like it's one of the crafting mediums that gets ignored on most crafting blogs. When done right it can make a plain item look amazing, add personalization and rival embroidered items sold for high prices in stores. I extolled many of the fabulous things about it here.
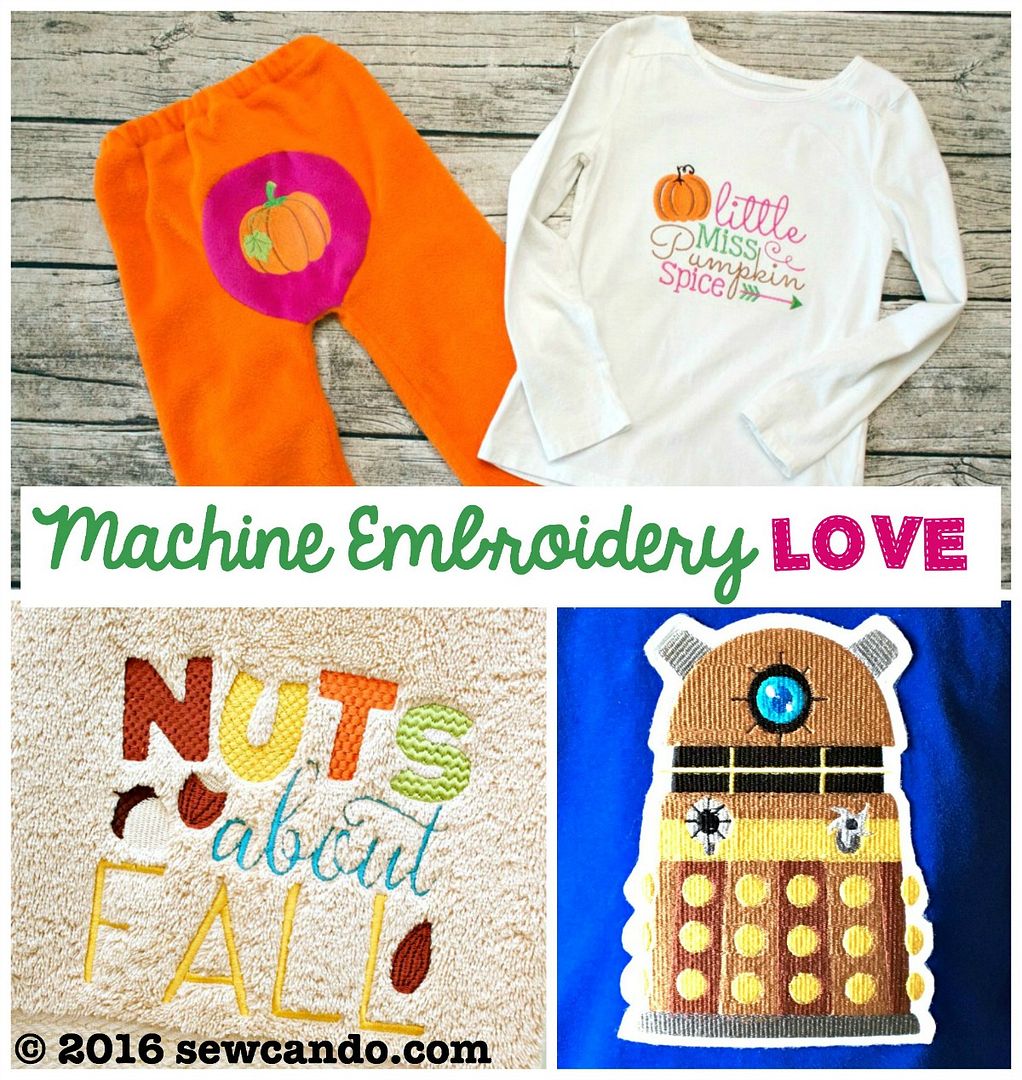
So my next step is a new series, beginning with this post, to take the mystery out of machine embroidery. Speaking from my own experience, it seems like you already need to know a lot about machine embroidery before you even begin it. Figuring out what's needed and what to do can seem pretty overwhelming & that makes it tough for a newbie. I'm hoping by sharing this series it'll make it a littler easier for others to jump into and enjoy as much as I now do. Now let's get to the info!
Starting Machine Embroidery: The Gear
The Machine: There are a wide range of embroidery machines out there - starting from reasonable sewing+embroidery combos that are just a couple hundred dollars, like my Brother SE400...

Up to giant 6 needle leviathans that need serious square footage to use and a bank loan to buy. Most embroidery machines come programmed with limited designs & fonts, some have slots for branded design cards you can buy separately and/or usb capability to upload individual designs from the internet or use design software to make your own. I'll share more on all those in a future post. Brother machines have a reputation for being really user friendly & well featured so that's what I've always purchased. I can attest to the learning curve being pretty short and the results being good overall.
 |
| My Brother PE770 Embroidery Machine |
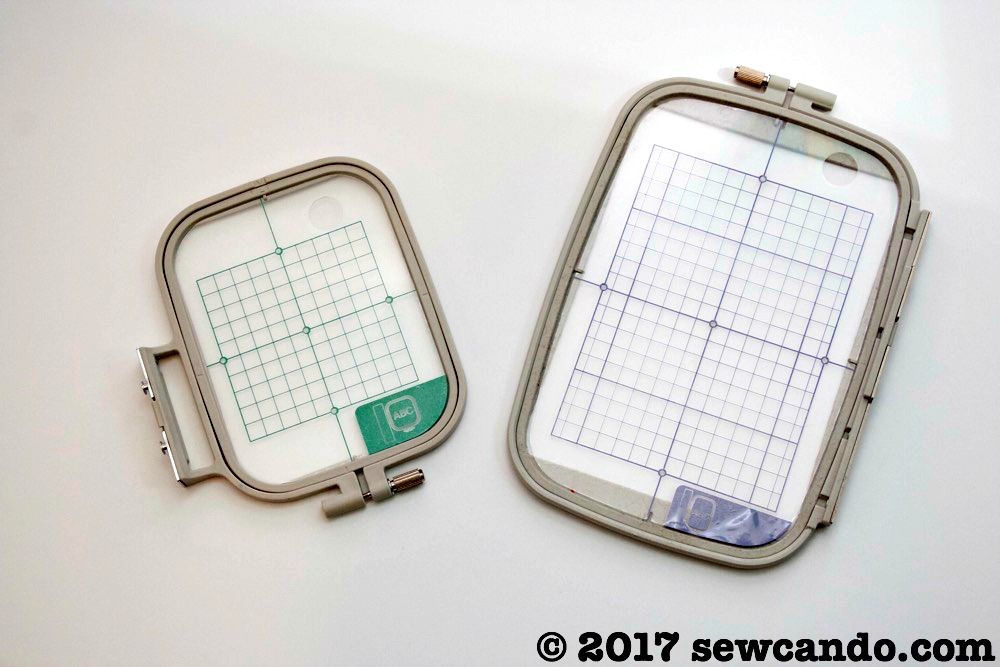 |
| Left: 4in x 4in hoop, Right: 5in x 7in hoop |
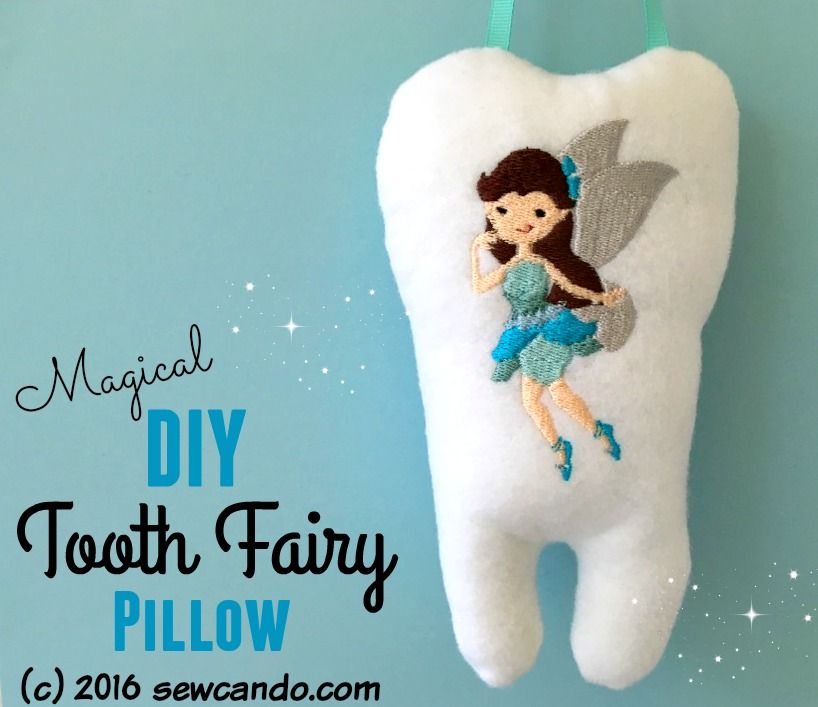
If you're not sure how much embroidery you're going to do, I'd advise to start small. Unless you're going into the embroidery business, a single needle machine is probably fine and for most beginners a 4in x 4in hoop size is versatile enough. I started with a sewing+embroidering machine several years ago that had a basic set of designs and 4in hoop which was fine for projects like my Felt Tooth Fairy Pillow.
and some smaller personalized projects like this tote bag:

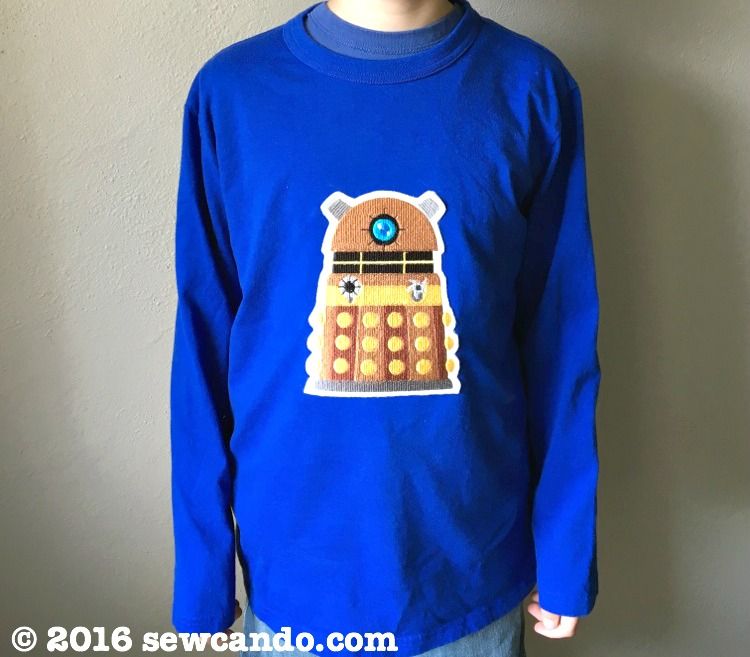
I upgraded this year to one that goes up to 5 in x 7 in since I wanted to be able to do larger designs across shirt fronts like this:
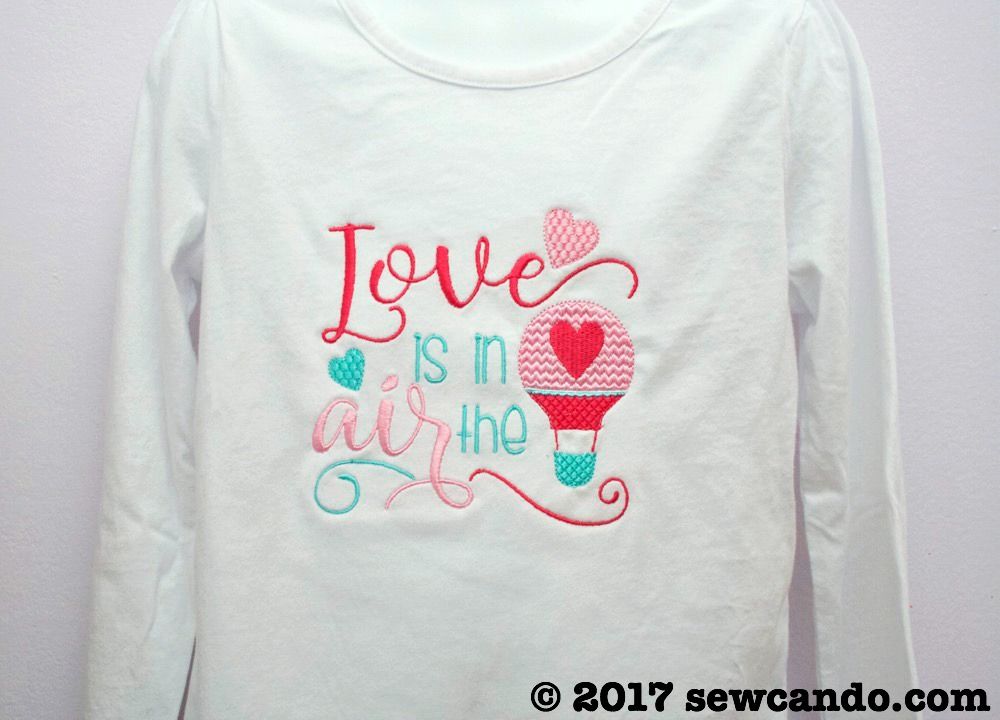
and this:
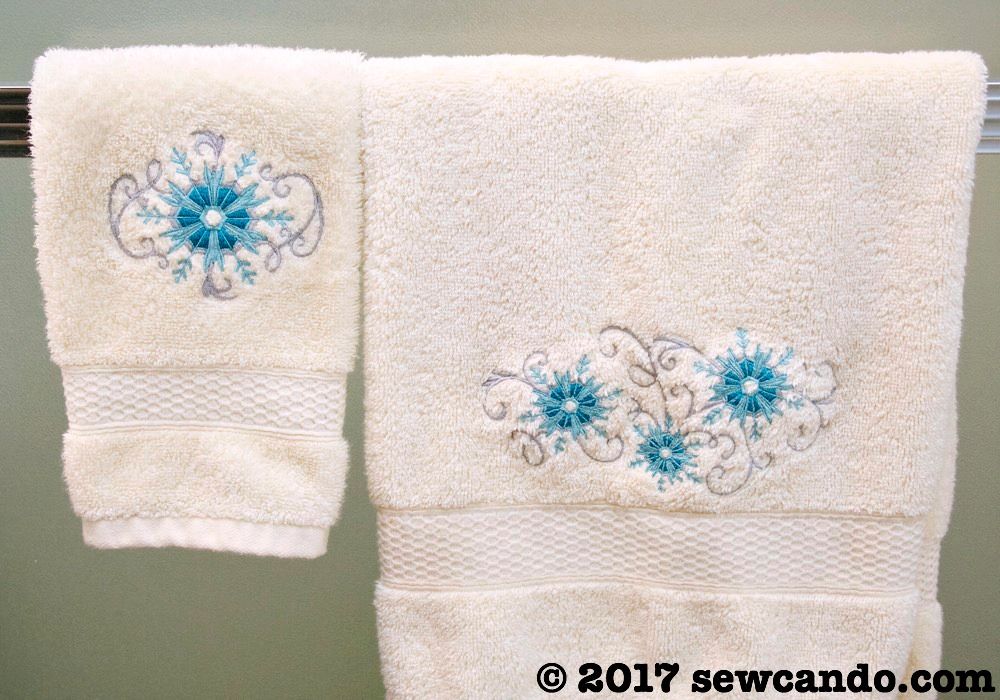
As well as bigger bags, towels and the like. The machine can still use a 4x4 hoop for smaller designs too.
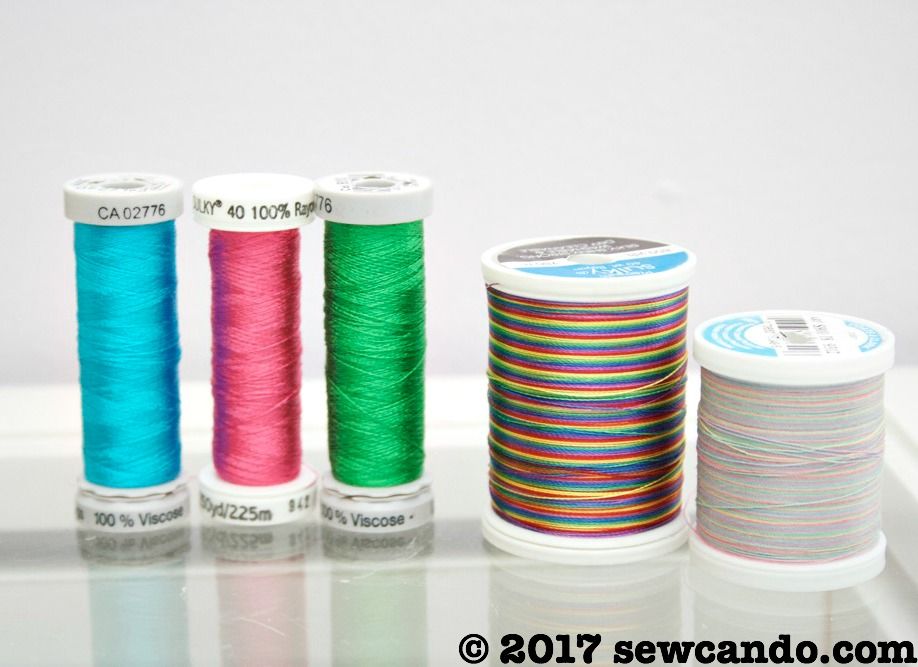
Polyester & rayon types are used most, but there are also specialty varieties like metallic, mylar and silk. There are a number of brands and prices are all over the place. I've used mainly the Sulky and Gutermann and found them to be very affordable and give nice results.

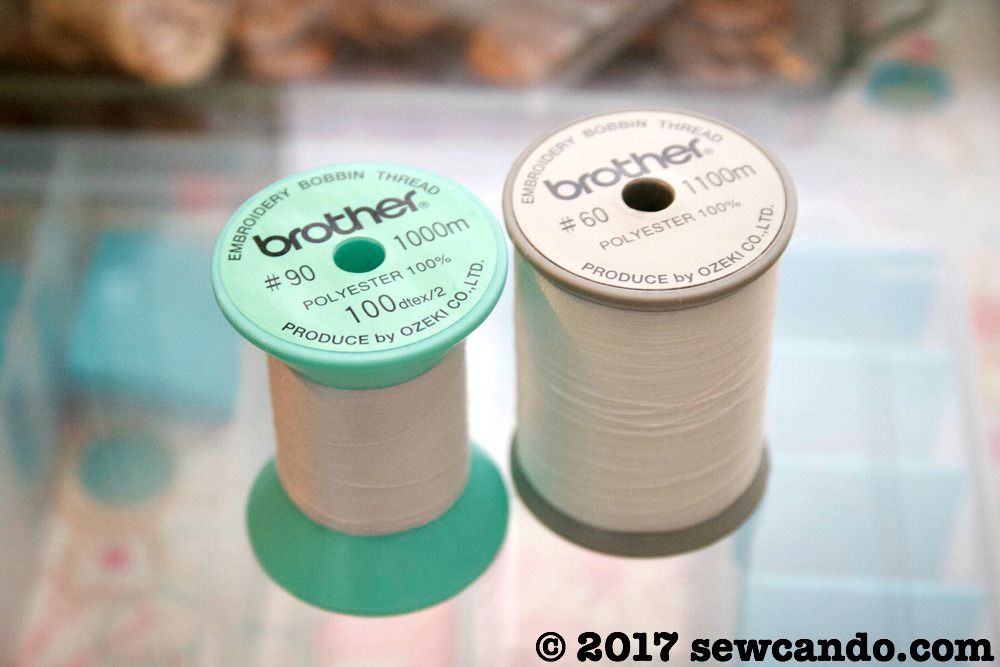
Bobbin Thread Is Key: This is important - every machine has a recommended bobbin thread weight that should be followed. You don't just wind the same upper thread on a bobbin like with sewing. My Brother SE400 needs 60wt bobbin thread, but my Brother PE770 needs 90wt. Both came with a spool of the requisite thread (which thankfully lasts forever). I once found a cool lace design file that recommended using the upper thread in the bobbin so it looked nice from both sides, like it was no big thing. Seconds after starting, my machine was a bird's nest mess, it took 15 minutes to untangle everything and I'd wasted precious thread in an unusable bobbin. Never again.
Stabilize!! There are TONS of different stabilizers, all for different uses, and this element can make or break the quality of your stitching. In the past I thought my machine was the issue when a design didn't turn out smooth. Turns out it was the stabilizer not being right. Bizarrely, none of the machine manuals I've ever seen actually tell you this or give any info other than "use stabilizer". Thanks, that was super helpful guys (insert eye roll). I'll get into more details in a future post of what key types are most needed/useful, but there's a handy guide here that gives loads of info on what types go with what fabrics to get the best results.
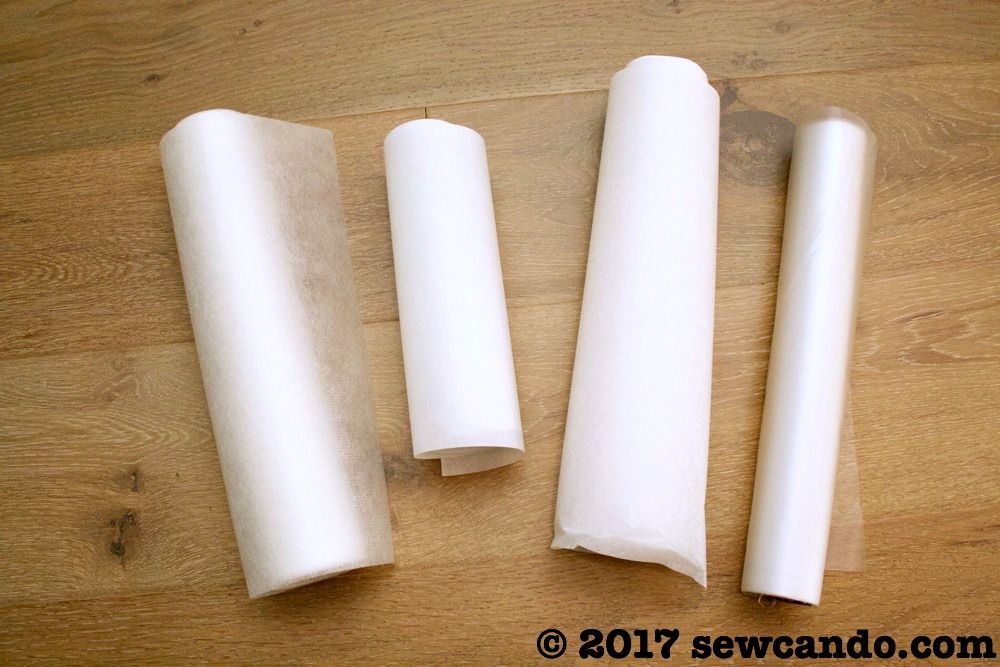 |
| From left: Cutaway fusible for knits, general cutaway, tearaway, soluble film |
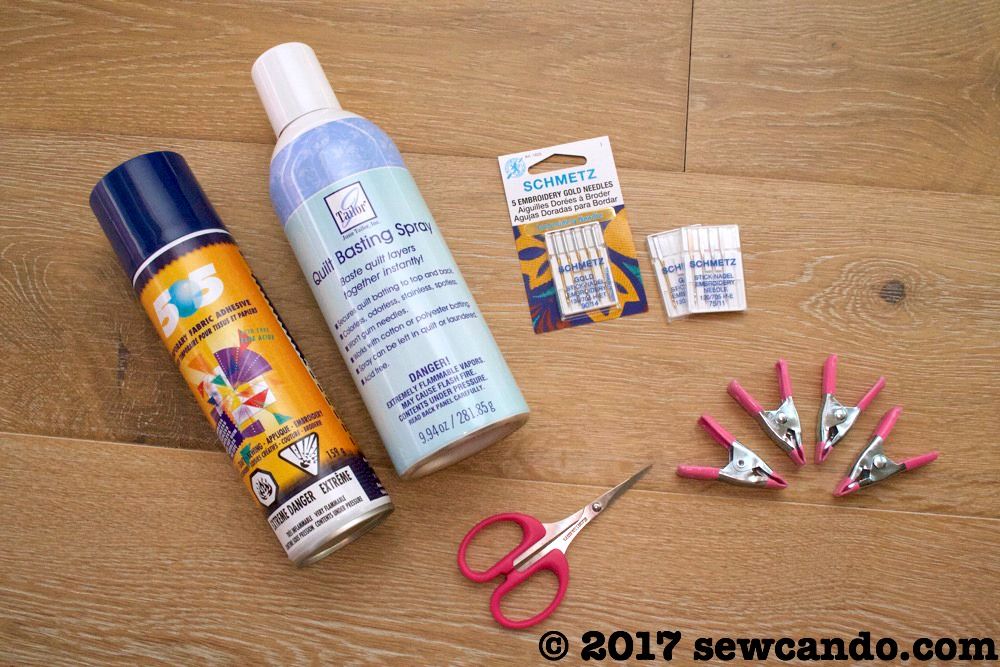
Needles - a lot of people use whatever needle corresponds to the fabric they use and say it's just fine. Others use embroidery needles that have a larger eye to keep the the thread from shredding on woven and a standard ball point for knits. I've found using universal embroidery needles (I get the Schmetz Gold Titanium 75/11) work great on all the various fabrics and keep it simple so I don't have to buy or switch needles for every project.
Thread scissors - good snips are a lifesaver for removing the jump threads connecting design parts.
Adhesive Spray - very handy for keeping layers of fabric & stabilizer together when you can't hoop them all. This has been critical when embroidering on blank shirts or thick items that would be impossible to hoop. Small clips are also key for keeping those bunched up bits of clothing out of the way of the needle.
It may seem like a lot to get together upfront, but once you do, sky's the limit with project possibilities! In my next installment, I'll share more info like ways to use machine embroidery to save money and where to find cheap & free designs. Happy Embroidery Crafting!
Next Up, How Machine Embroidery Save $, Where To Find Cheap Files & a FREE Design Download!

This is fantastic, Cheryl! My mom set me up with a Janome 10000 before she died. She really got into machine embroidery, and we were able to bond over it as she taught me some things she learned in her many classes. I have never been able to afford the classes, so this will be a good refresher and learning experience for me. I have been wanting to get back to machine embroidery for a while, now, so looking forward to your next post.
ReplyDeleteHow wonderful to have that passed down to you. This is exactly why I wanted to create a way embroiderers of all levels can share what we know. You can check out my latest Machine Embroidery 101 post here (and I've added it above too): http://www.sewcando.com/2017/02/machine-embroidery-101-saving-money.html
Delete