


Added bonus: it cost me $0. That's right: FREE. I had some old batting and this really nice Waverly Home Decor fabric in my stash crying out to be used:

I'd won the fabric as a prize in a design competition a few years back - when I'd created this fabric clock project:

Knowing I wasn't out any money really helped. If things turned disastrous, it wouldn't be a loss, right? I tend to get paralyzed with indecision when tackling a new home project, because I'm afraid I'm going to mess up and waste valuable materials. Great mentality for a crafter, right? Ha.
Materials:
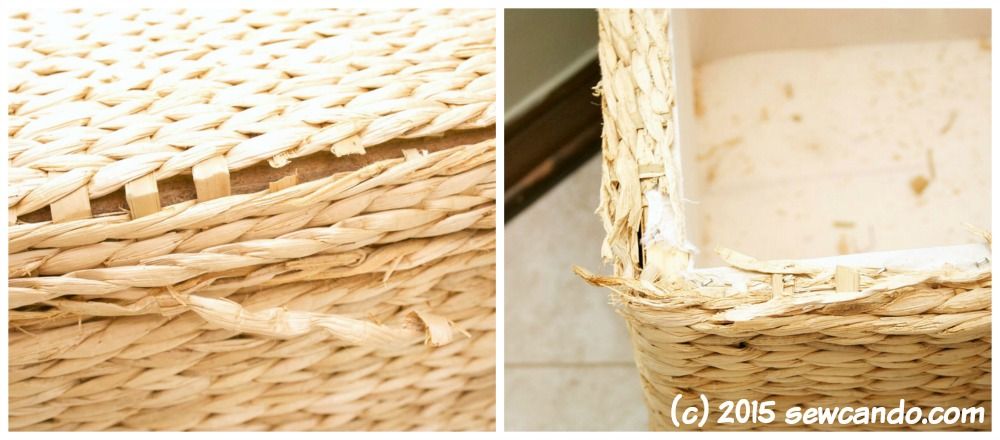
- Ratty storage cube
- Home decor fabric ( I used about 1 1/2yds)
- Poly batting
- Staple gun
- Sewing machine
- Notions: Yard stick/ruler, rotary cutter
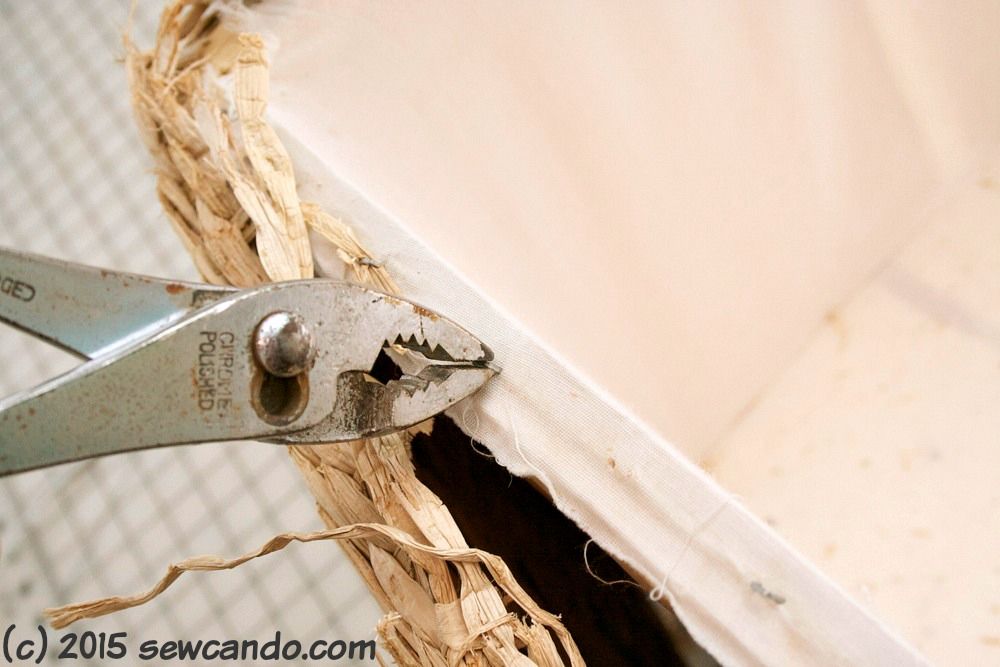
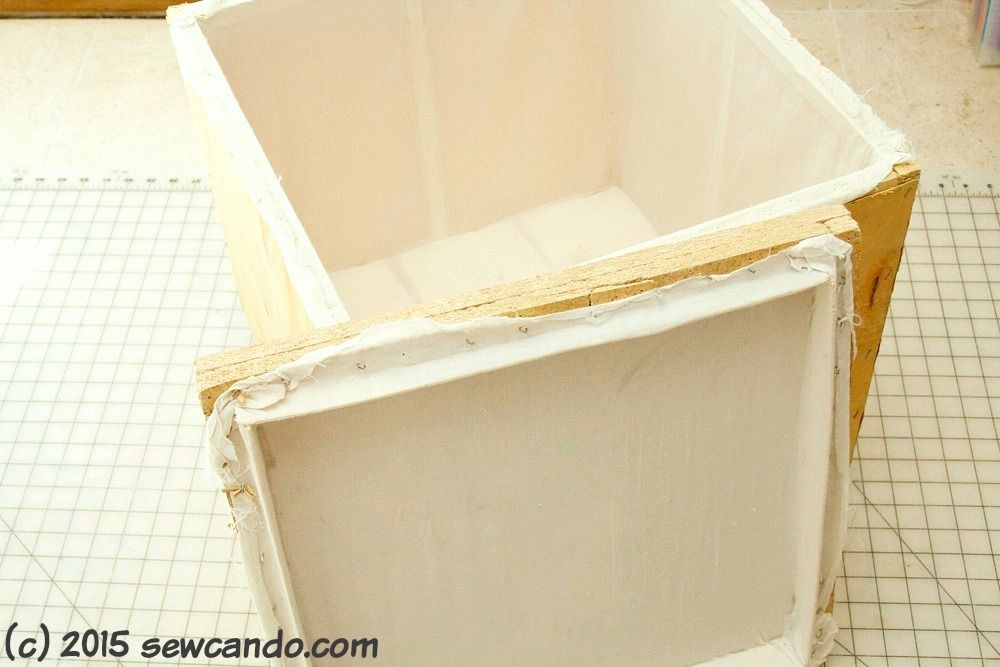
Then, I carefully cut through one side to easily take it off in one piece:
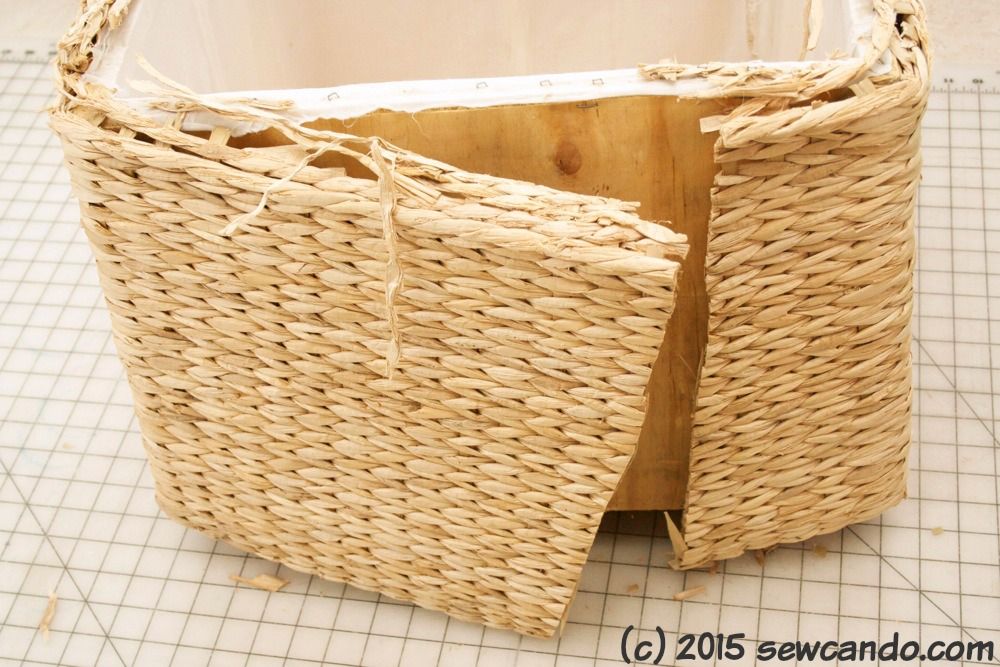
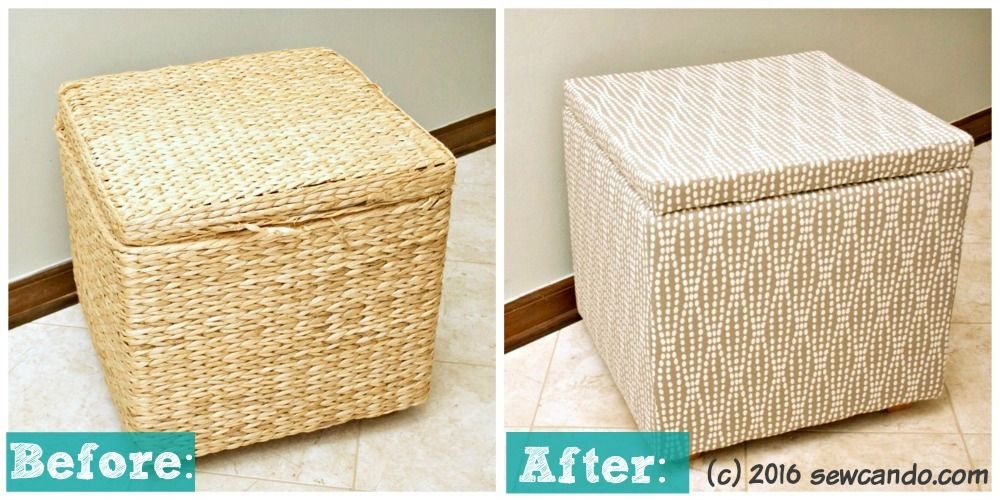
The base unit was MDF & thin wood veneer. Not nice on it's own, but perfect for upholstering with a little padding & fabric:
I measured the sides and decided to cut four pieces that were 1/2 inch wider on either side (for the seam allowance) and 2 inch higher on top & bottom for folding in. For the lid I added an extra 1/4 inch on all sides of the top piece and for the lid side strips, I added 1/4 inch to the short sides and 2 1/4 inches to the height. I also cut the same pieces from my batting.
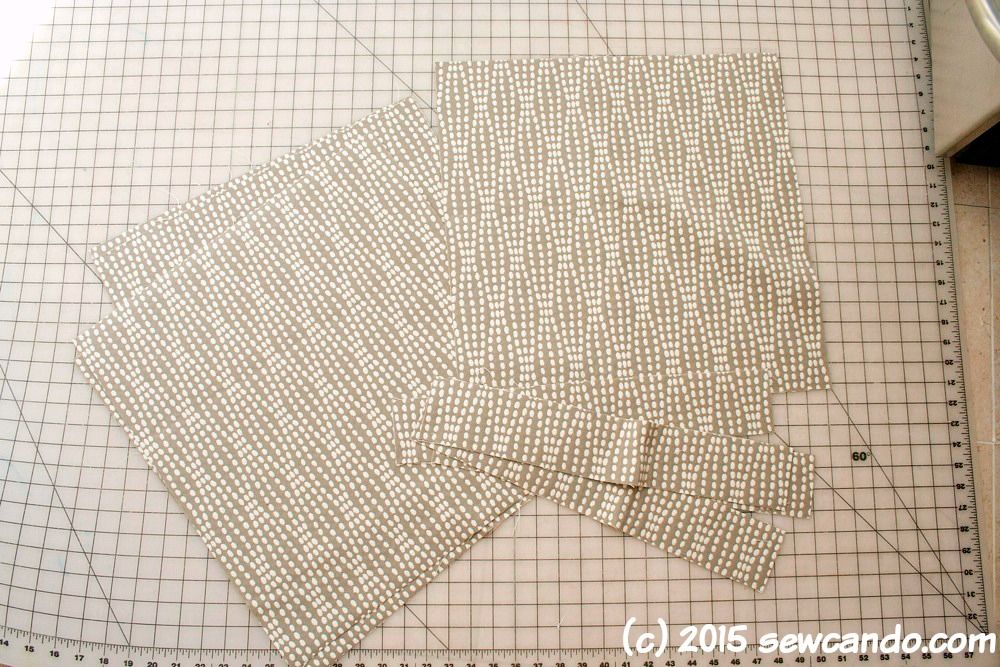
I stitched the four sides together to make the main shell and did the same with the corresponding batting.

I slide the batting into place and then carefully pull the fabric "sleeve" over it. It was a snug fit, so I went slowly to keep the batting from shifting.
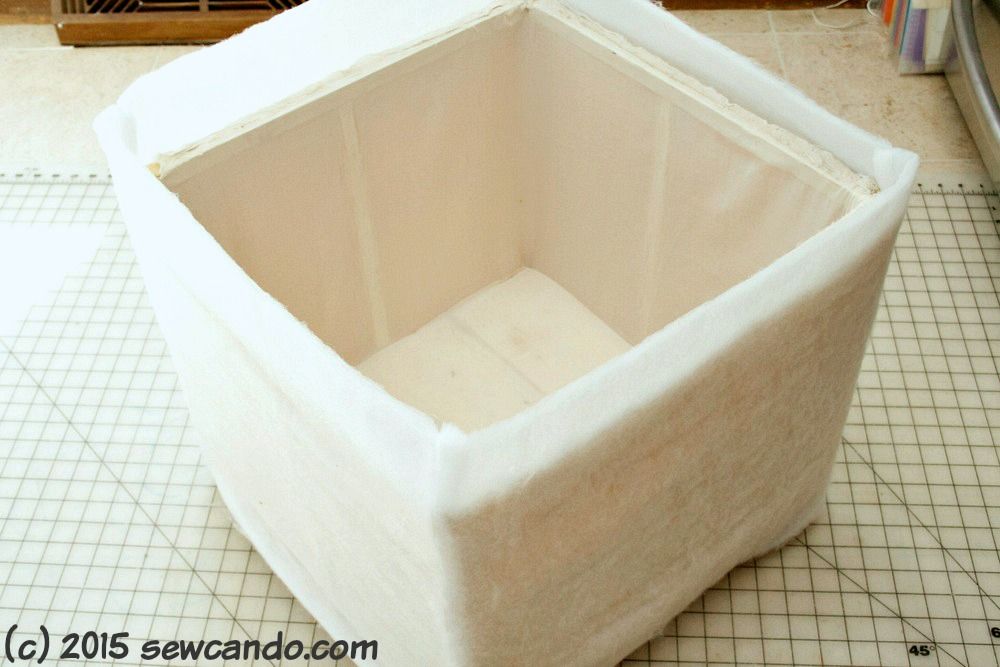
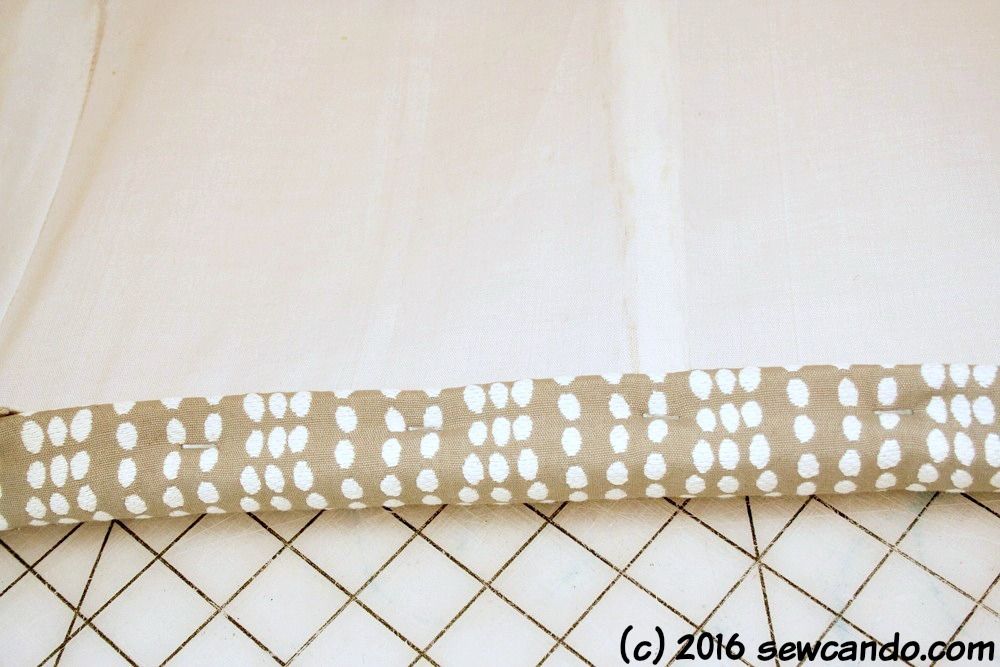
I measured my fabric sleeve all the way around and shifted as needed to make sure there was 2 inches on all sides:
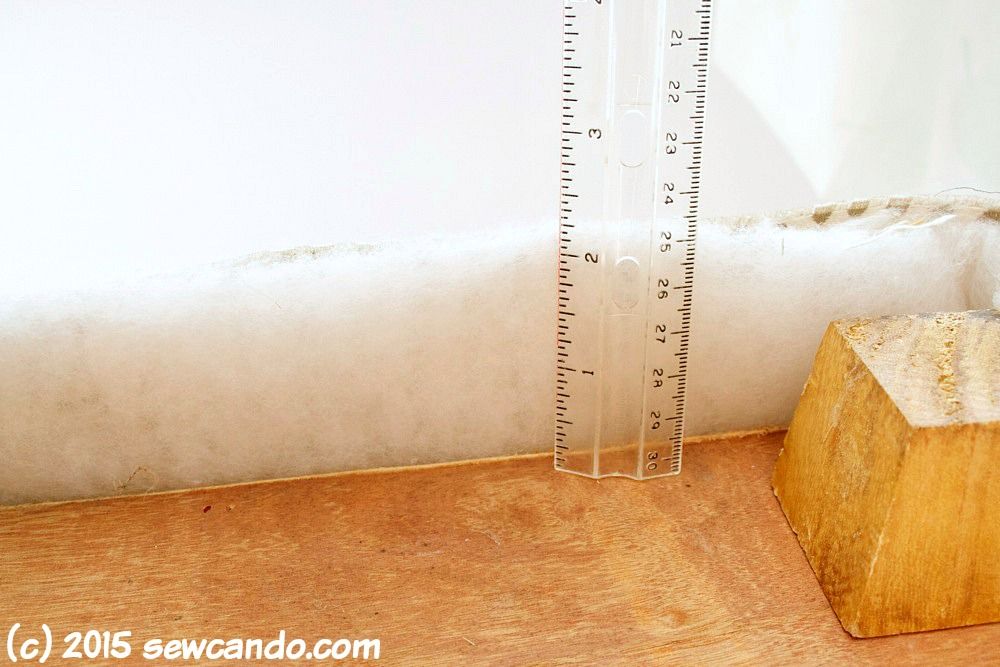
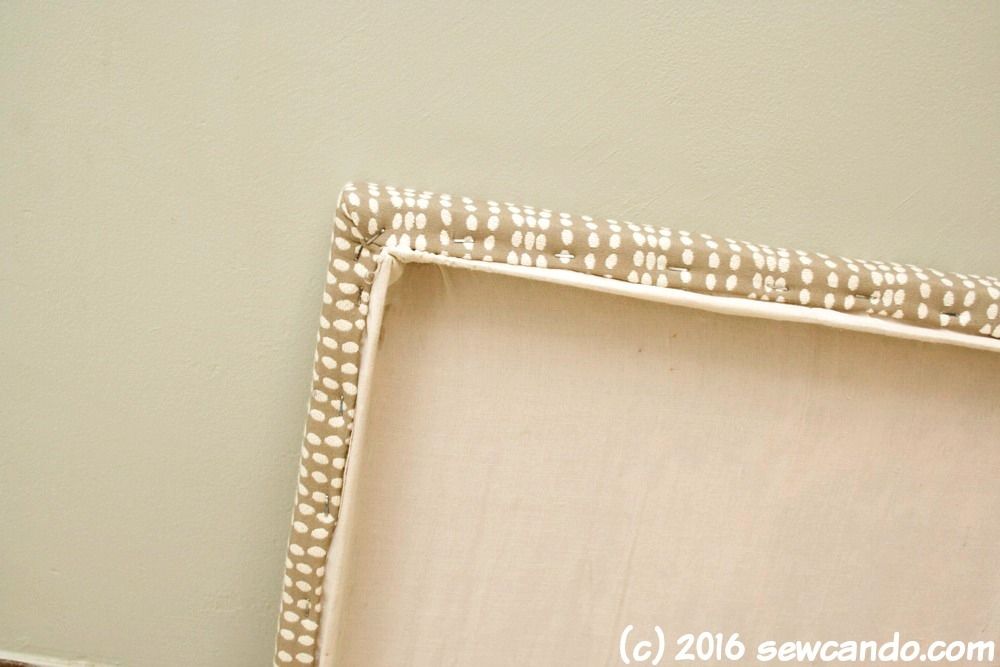
Once everything was even, I set to double folded the raw edge under and then stapling it down underneath and on the inside. Holding it taught is key.
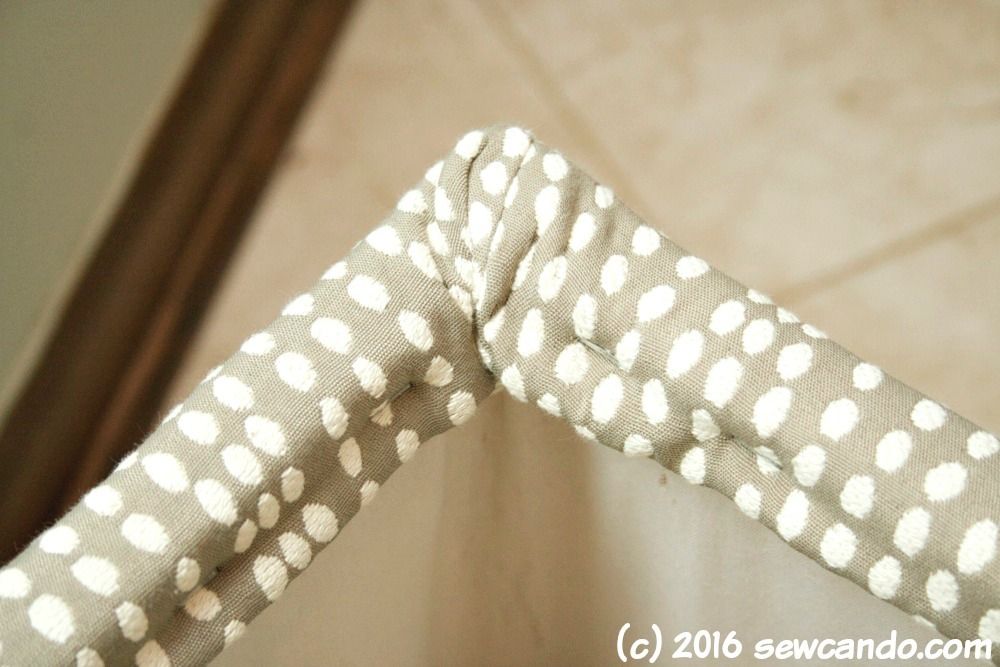
I started in the middle to anchor things and then folded the corners in, flattening them down and then stapling down the sides over them:
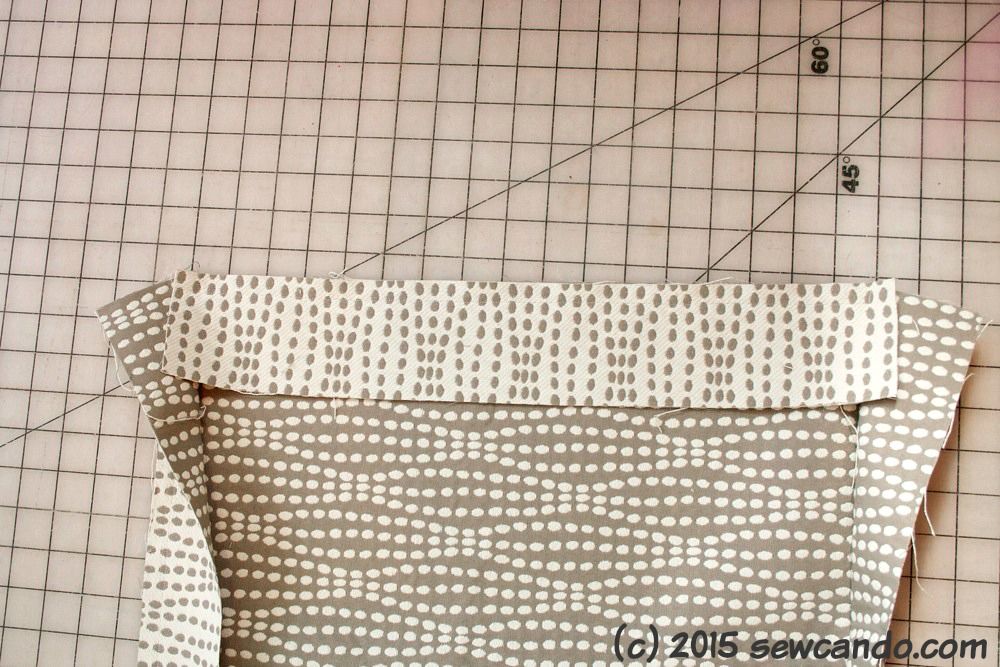
For the lid I stitched the thin side pieces to each of the lid top sides with a 1/4 inch seam allowance:

I made sure to stop stitching a little bit before the ends, so it would be easier to do the short sides:
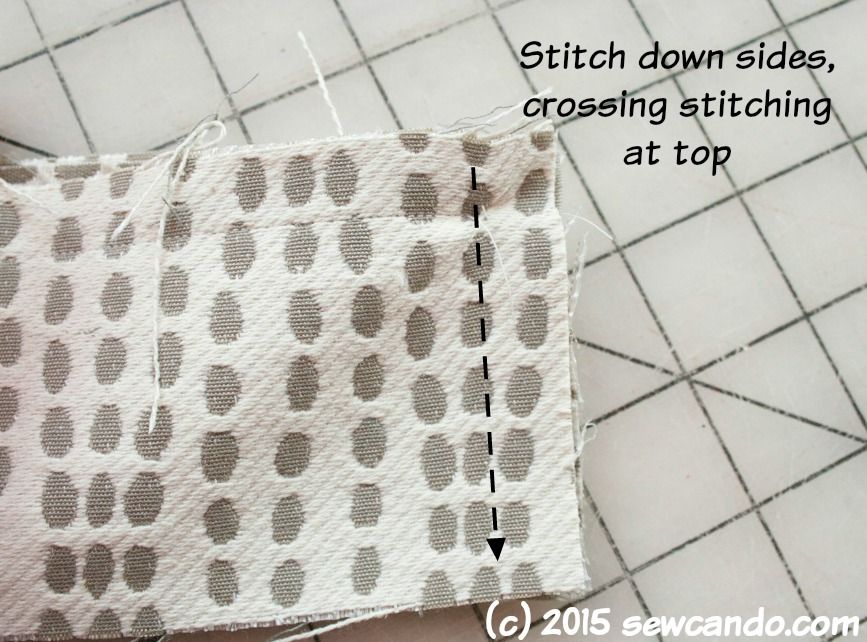
For the sides, I pulled them together and stitched down, crossing over the stitching at the top to get the corners nice & crisp.
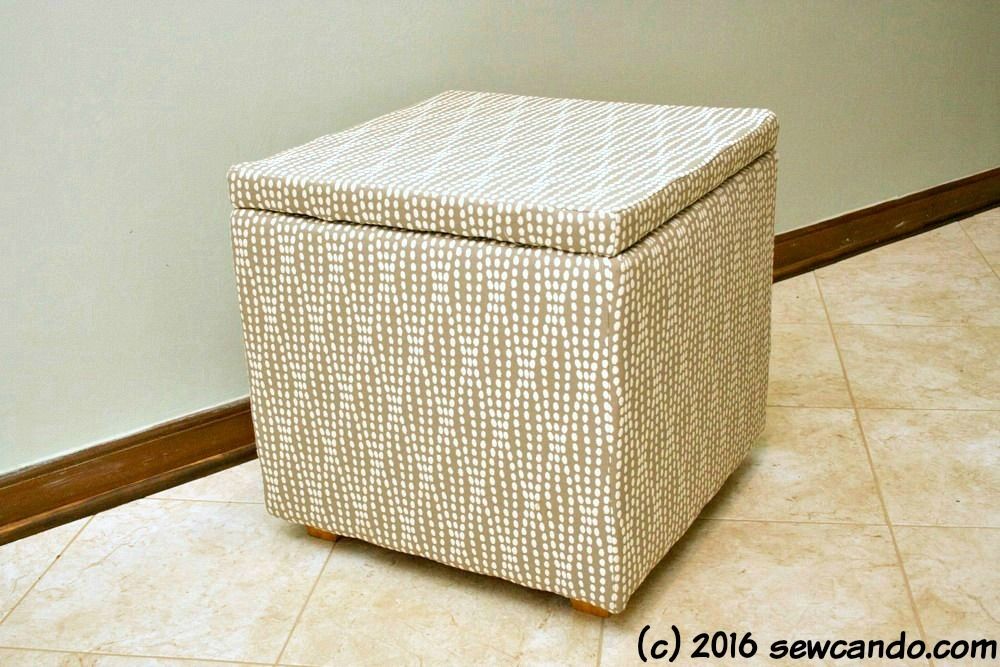
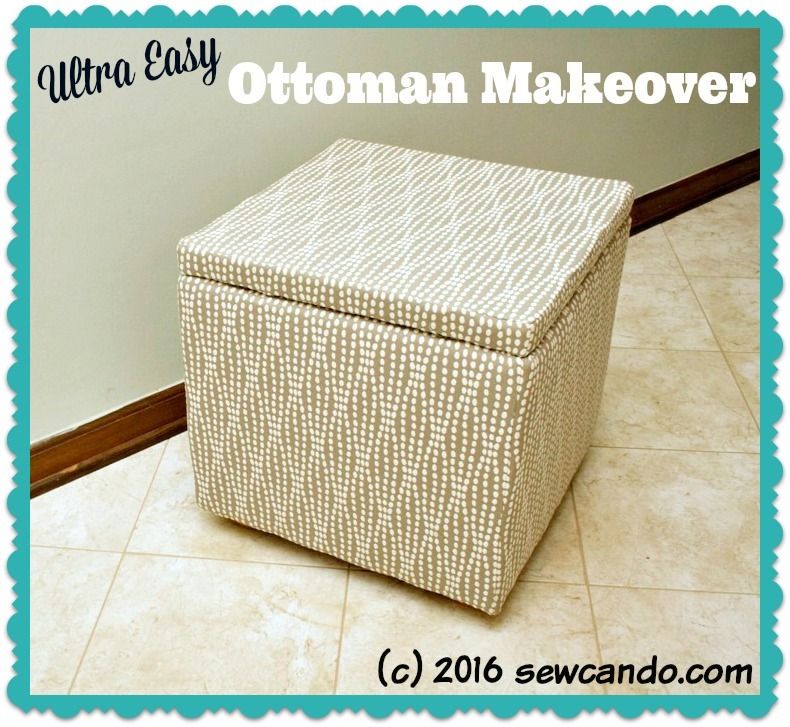
So often DIY projects look great in those far away beauty shots online, but get next to them in real life and the homemade-y quality jumps out. Maybe I'm too much of a perfectionist, but when I'm asked "Oh, did you make that?" that always translates to "Cause it looks like it!" in my mind. I guess this is a reminder to keep on trying, because sometimes it'll end up a winner!

Great tutorial, and the storage box is really gorgeous. I'm the same way with my projects - I always aim for perfection whether it happens or not. Have a great week!
ReplyDeleteThanks so much and I'm glad I'm not the only one. Sometimes my pickiness stops me from doing projects - my hands' abilities don't always match my brain's vision!
DeleteWhat a fun party! Thanks so much for hosting!
ReplyDeleteI love what you did with the storage cube. It looks great. I will be featuring this tonight at my Swing into Spring party that opens at 8pm EST. Please stop by and pick up an I've Been Featured button. Thanks. http://diybydesign.blogspot.com
ReplyDeleteThat's a big compliment - I always love your transformations, so being featured is a real honor:)
Delete