Showing posts with label jewelry. Show all posts

Wednesday, November 18, 2020

Easy Baby Friendly Silicone Statement Necklace

Sometimes something small can have a big impact.  That's definitely the case with statement necklaces.  They can turn a basic top into a whole fashion look, which is a big plus for those of us without the time, budget or ability to style ourselves up on the regular.  Some days I'm lucky I've run a brush through my hair... 

The challenge these days is that I can't wear most necklaces since my smallest will yank on it with a mini grip of iron AND put it in her mouth.  Or my 2 yr old will gross it up with food covered fingers or something else similar.  Both reasons have already limited my clothing wardrobe, so throw out the jewelry and things are pretty blah looking most of the time.  Enter the perfect solution, this DIY'd Silicone Statement Necklace.


This necklace looks fancy, but is so easy to do.  You don't need any real jewelry making expertise.  It's a basic design pattern, but the different sized beads in different colors makes it a lot more interesting.  Using silicone beads makes a necklace like this ideal for so many reasons: 


- Totally safe for kids to touch and put their mouth on 

- Great for those with allergies since it's food safe silicone

- Easy to keep clean since you can wash it

- No worries about weird chemicals or alloys like in cheap metals or painted beads

- Inexpensive to make 


I saw a photo of a similar necklace when I was doing a search for silicone beads, but there was no tutorial. The photo source was from a foreign handmade craft marketplace where the shop that made them (Jelly Beads) was no longer operating.  So I did what any good crafter does, I tried to figure out how to make one myself.  And it worked!  So now I'm sharing the fun so you can too.


 Materials:

- (4) 9mm Grey silicone beads

- (6) 15mm Fuchsia silicone beads

- (4) 15mm Apricot silicone beads

- (4) 12mm Navy silicone beads

- (2) 19mm Navy silicone beads

- (3) 19mm Turquoise silicone beads

- (1) Safety clasp

- 2 yd cuts of matching colored 1.5mm nylon cord


It should go without saying, but I'm gonna say it anyway, this is obviously a necklace for an adult or child over 5yrs.  It's safe for a baby to chew on while you're wearing it because the beads are food grade silicone, but obviously it's not meant as a toy or to leave with an unattended baby.  Safety first folks!

Now let's get started....

 
Separate the beads by color so it's easy to order them when stringing.  You can use whatever colors you want, but I'm referring to my specific ones throughout so it's easier to see the stringing pattern.
 
 
Knot the two cord strands together 10 inches from one end and string (1) 9mm grey bead on both cords.  Then string (1) 12mm navy on each cord, followed by (1) 15mm apricot on the top cord and (1) 15mm fuchsia on the bottom cord.
 
 
Turn the apricot bead sideways and thread the bottom cord through it from right to left so the cords are crossed inside the bead, then pulling the cords tight to bring the beads together.

    
Now string a 15mm fuchsia on the new top cord, a 19mm turquoise on the bottom one and add another 15mm apricot with cords crossing, pulling the cords to remove slack after each crossover step:
 
 
Next string a 15mm fuchsia on the new top cord, a 9mm grey on the bottom one, followed by a 19mm navy and add the last 19mm turquoise with cords crossing:
 
 
Halfway done!  String a 15mm fuchsia on the new top cord, the last 19mm navy on the bottom one followed by another 9mm grey then the last 15mm apricot with cords crossing:
 
  
To finish string a 12mm navy on the new top cord, the last 15mm fuchsia on the bottom one, then the remaining 12mm navy. Make sure the cord is evenly "snug" along the entire necklace.  Lastly, thread the last 9mm grey on both cords and knot.
 
 
I used a safety clasp as my closure, but technically any would do.  Hold the necklace up to decide how high you want it before knotting the ends since that determined the necklace length.  Then, for the safety clasp, you just thread the cord ends through the hole, double knot, cut off the remaining ends and side the clasps to cover the knots.  I also run a lighter under the cut ends to fuse them to the knot for a bit of extra security.


This was so quick & fun to make I want to do a bunch more in different color patterns.  All together, the materials only cost about $10 so it's pretty budget friendly.  I've also got some other designs in the works since I'm now addicted to making stuff with these beads.  And I'm now looking a bit more styled, which is a good feeling too! 


Wednesday, June 26, 2019

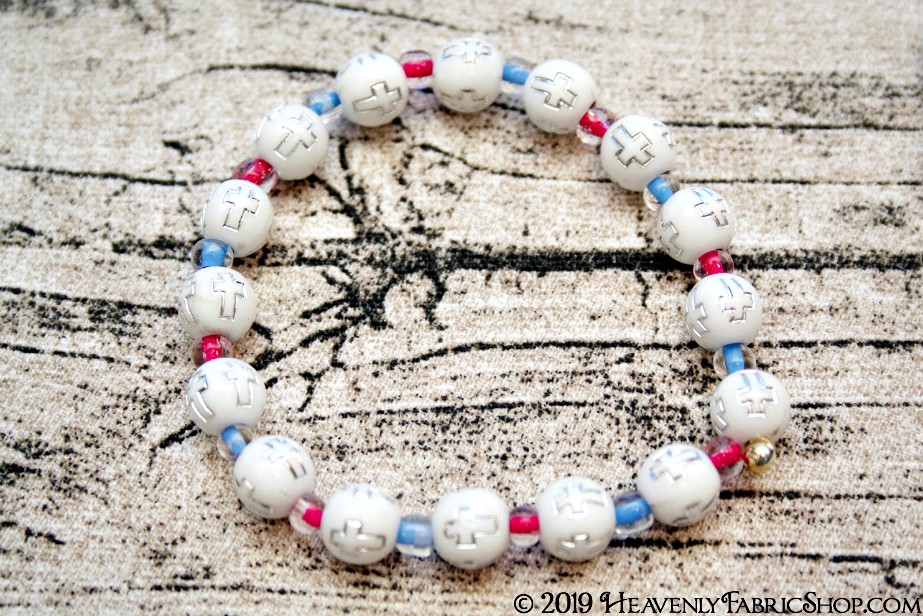
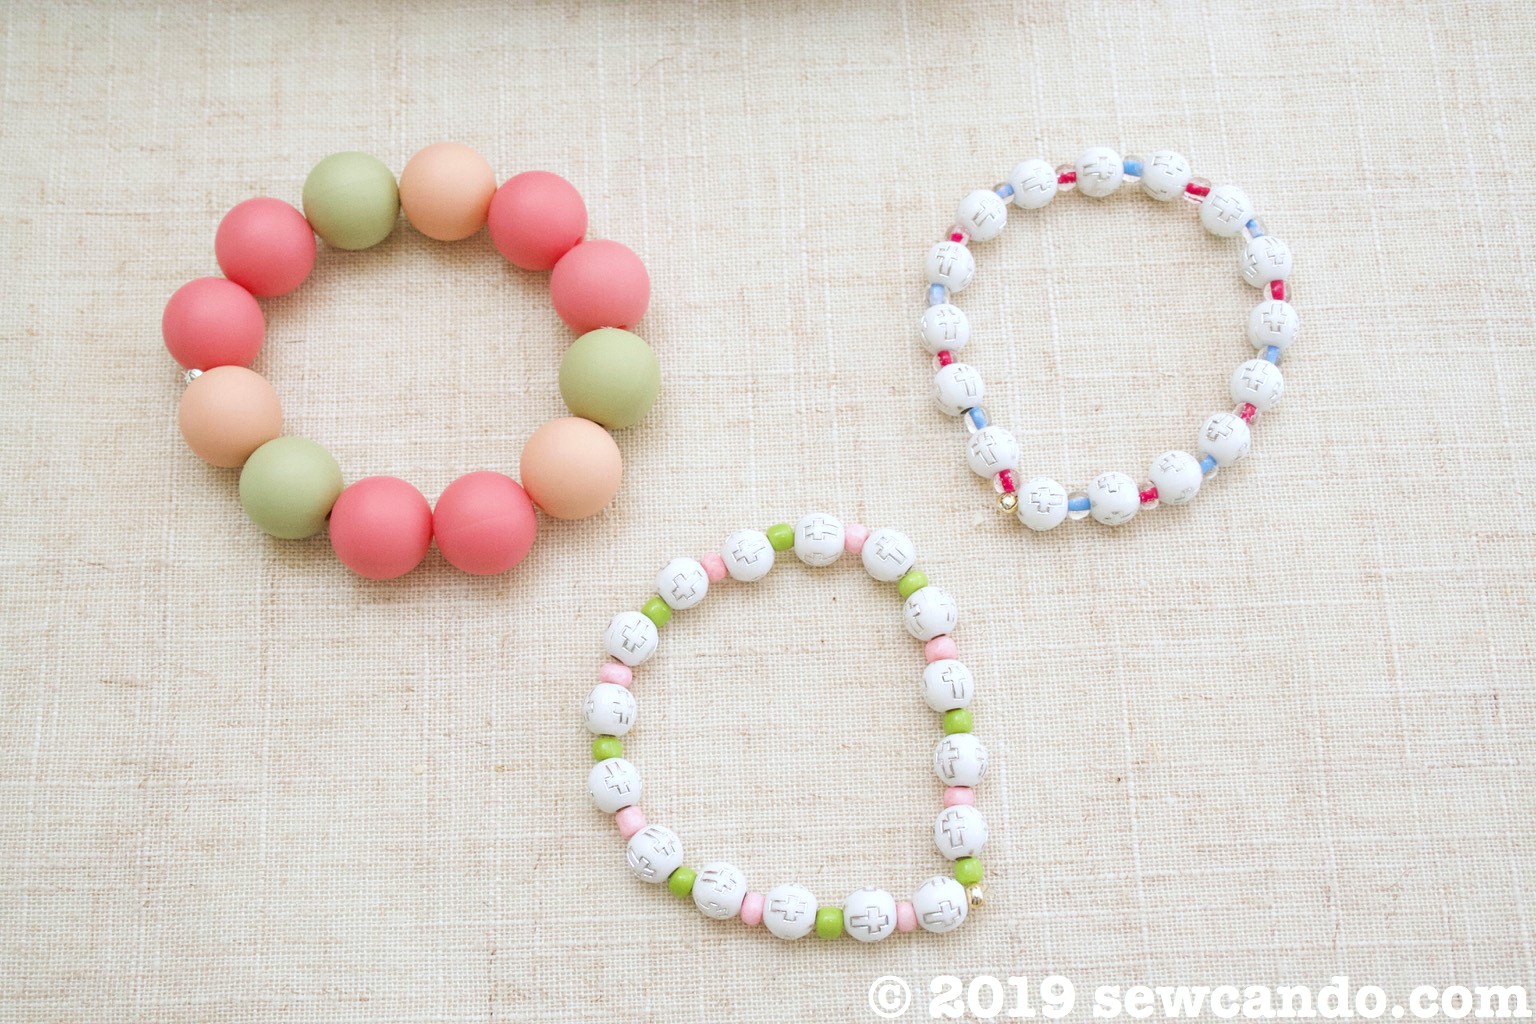
Easy DIY Bead Stretch Bracelets


This summer I'm getting serious about using my hoard of craft supplies.  It's a move it or lose it kind of mentality after years of collecting stuff that I've "meant to get around to using" and then well, not.  I'm starting with some of my jewelry making supplies and this 
Easy DIY Beaded Stretch Bracelet how-to.  


This is a great project for a beginning crafter & also ideal for keeping kids busy during summer.  Choose different colors, sizes styles and contrasting beads to make unique looks. I used chunky silicone beads for my melon colored bracelet and smaller acrylic beads & glass seed beads for my others.


   Materials:
     - Round beads (I get my silicone beads here & the acrylic ones are from my shop here)
     - Contrasting seed beads (optional)
     - Clear elastic stretch cord
     - Round crimp beads
     - Pliers
     - Ruler


Start by laying out a bead design against a ruler.  If possible, measure around the wrist to get the perfect fit.  7 inches is the ideal length for kids or petite adults.  Cut a strand of stretch cord that is 2 inches longer than the wrist measurement.  String the beads.


Bring the ends of the cord together and wrap them around a finger snugly & tie in a knot like you would a balloon.  Pull the cord ends to bring knot as close to beads as possible.


Grab a round crimp bead.  It will look like a puffy letter "C".


Cover the knot with the crimp bead so that it is fully inside it.  Move the excess cord pieces so that one piece is coming out of each end of the crimp bead.  Use the pliers to gently press the crimp bead closed. 


It should look like a little ball.


Trim off excess cord and try the bracelet on.  


Make more to share.  These make a great gift!


Friday, March 4, 2016

Support Handmade: Artsy Clay For Spring + Discount Offer


I'm proud to have small business and cottage industry advertisers here at Sew Can Do. Their support helps make it possible for me to keep on crafting and making tutorials for you.  One longtime supporter is Artsy Clay. This shop is the brainchild of the talented Judy.  She hand makes lovely jewelry and accessories using clay, beads and creativity:  


Not only does she have some lovely things for Spring, but she's also got a special discount offer for Sew Can Do readers!  

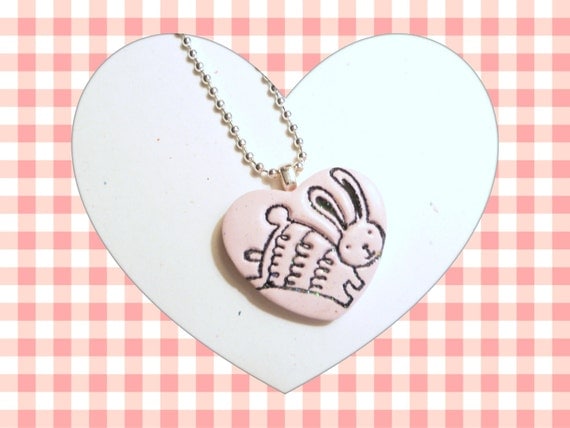
For something sweet to put in the Easter baskets or to wear with your Spring finery, there's this Bunny Heart Pendant


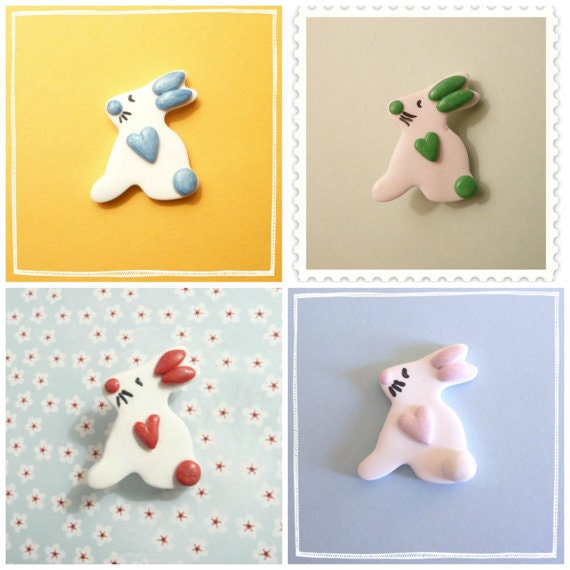
Or maybe these fun Easter Bunny Brooches.  They come in loads of colors - you can even ask for custom colors:


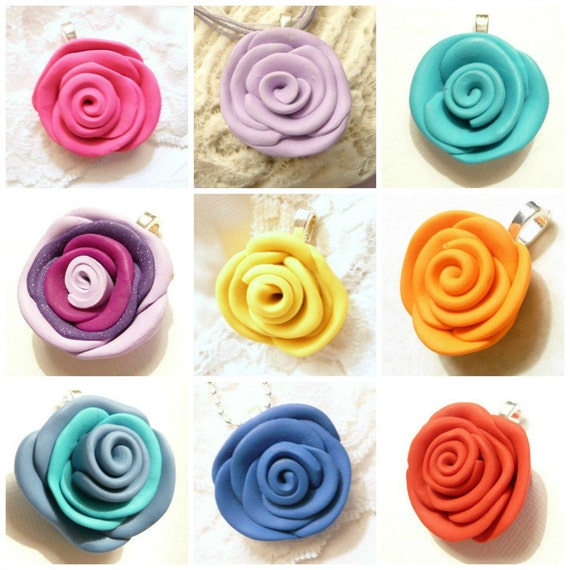
Colorful Rose Pendants in a choice of a dozen colors:


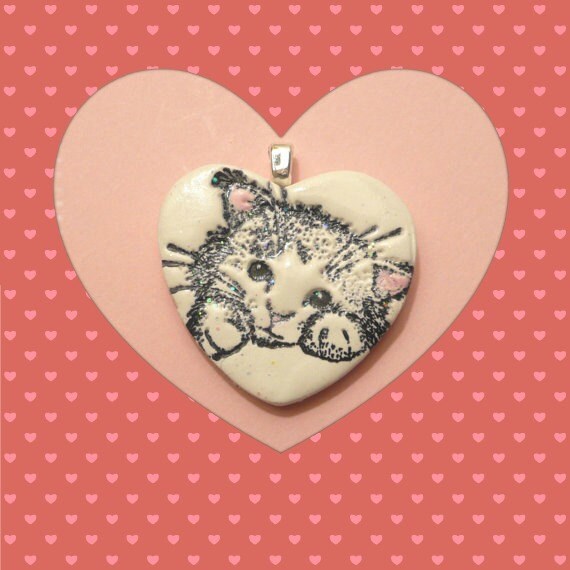
This Sweet Cat Heart Pendant that is beyond cute and has a soft shimmer:


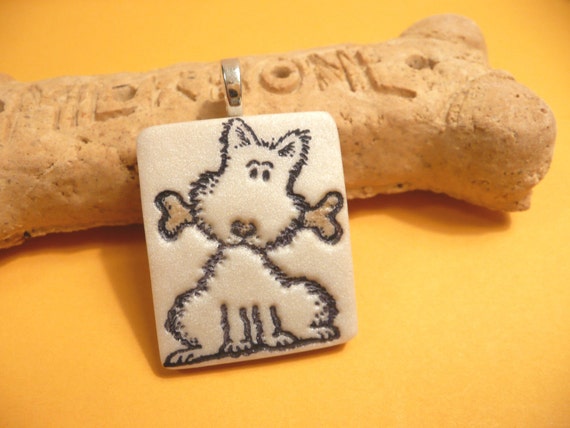
Or if you're more into dogs, there's a lovable Puppy Pendant too.  Judy even makes other pendants, magnets and ornaments in custom dog breeds to be able to see your fur baby immortalized in clay!


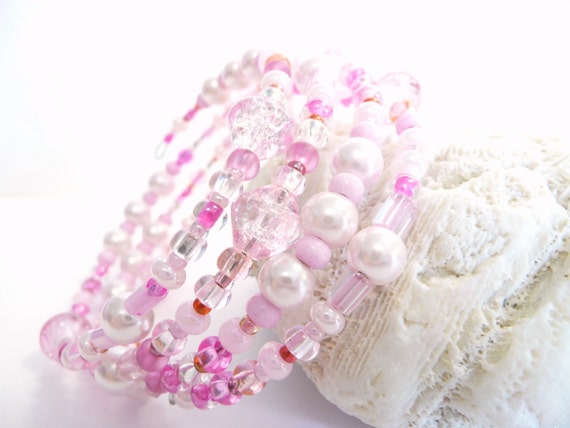
For a dressier look, there's this lovely Pink Beaded Wraparound Bracelet and there are loads of other color combinations available too.


Coupon Code exclusive to readers of Sew Can Do:

Use SPRING2016 for 10% off any purchase, good through 4/30/16.

Check out Artsy Clay to find some great handmade jewelry for Spring and get a deal at the same time!


Wednesday, March 12, 2014

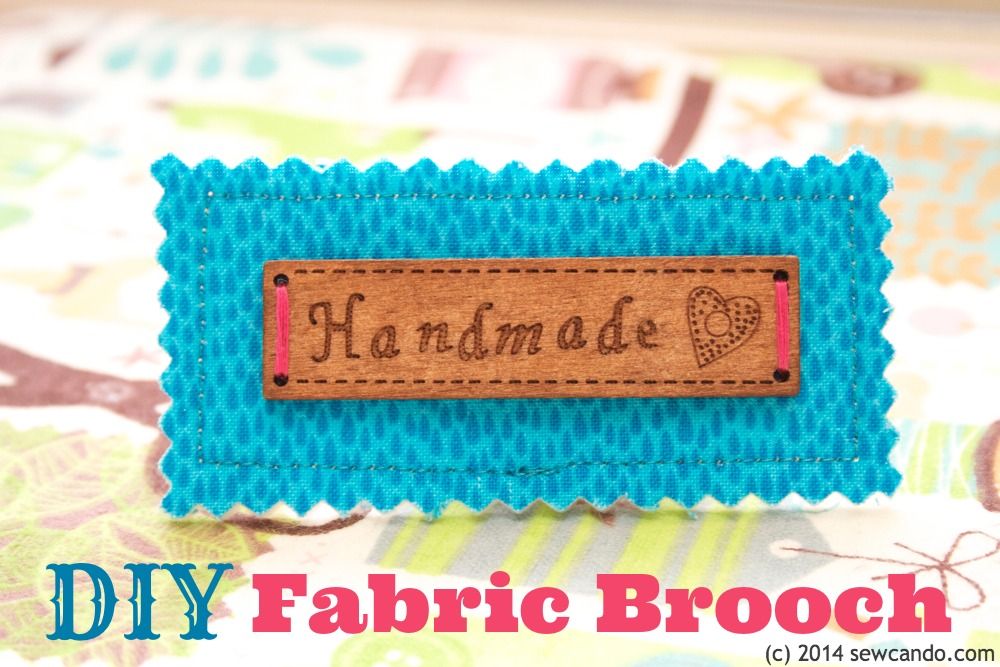
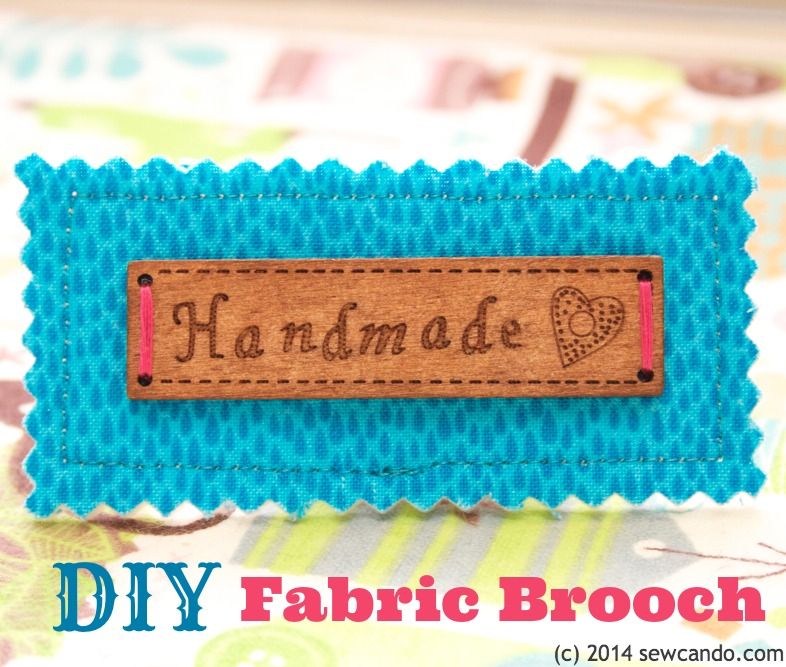
Scrap Buster Project: DIY Fabric Brooches


Got some pretty fabric scraps that are too small for most projects?  Or want to highlight a fabric's fun print on a small scale?  Then this project is for you!  Make pin-on brooches in minutes & add to any outfit or bag for some extra fabric fabulousness.  

I literally whipped this project up an hour before going to a craft event.  I wanted to be able to wear something crafty, that I'd made, and this worked out perfectly.  It's also a great way to feature a design or character from a busy fabric as well.

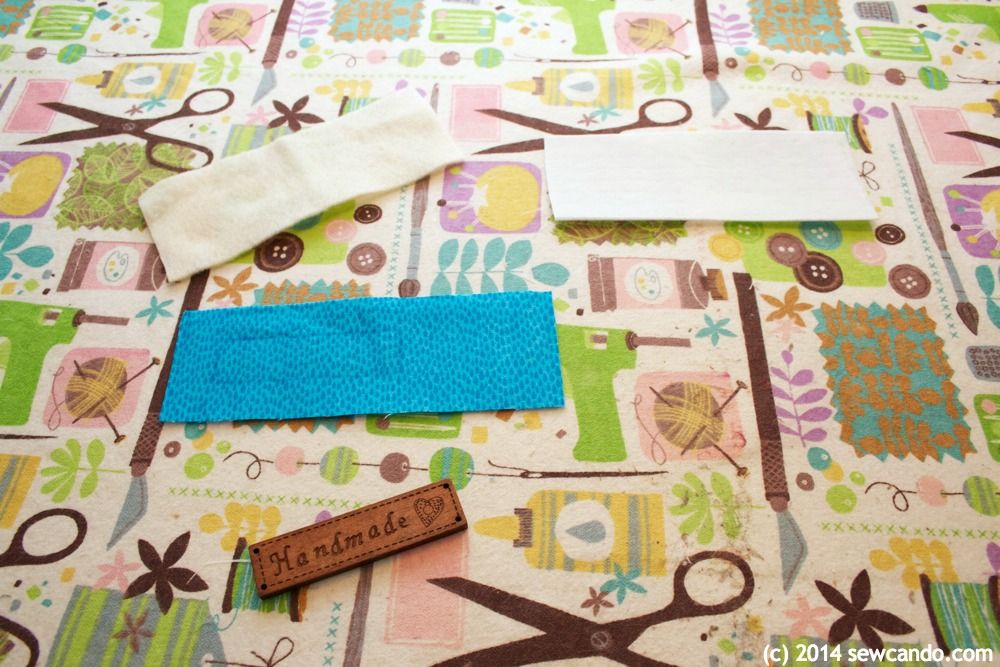
Materials:
- Scrap of quilting cotton (the fabric I used is Rain Basic in Aqua by Timeless Treasures)
- Scrap of felt
- Small piece of ultra firm stabilizer
- Safety Pin
- Sewing notions (disappearing marker, shears/scissors, iron)

Optional: paper-backed fusible web, button/embellishment, pinking shears, embroidery floss, hand sewing needle.  The "Handmade" wood embellishment I used can be found here

Start by cutting your desired shape from your fabric, felt and stabilizers.  Since I was going to add a rectangular embellishment on top, I echoed that shape, but made it about an inch wider and higher all the way around.


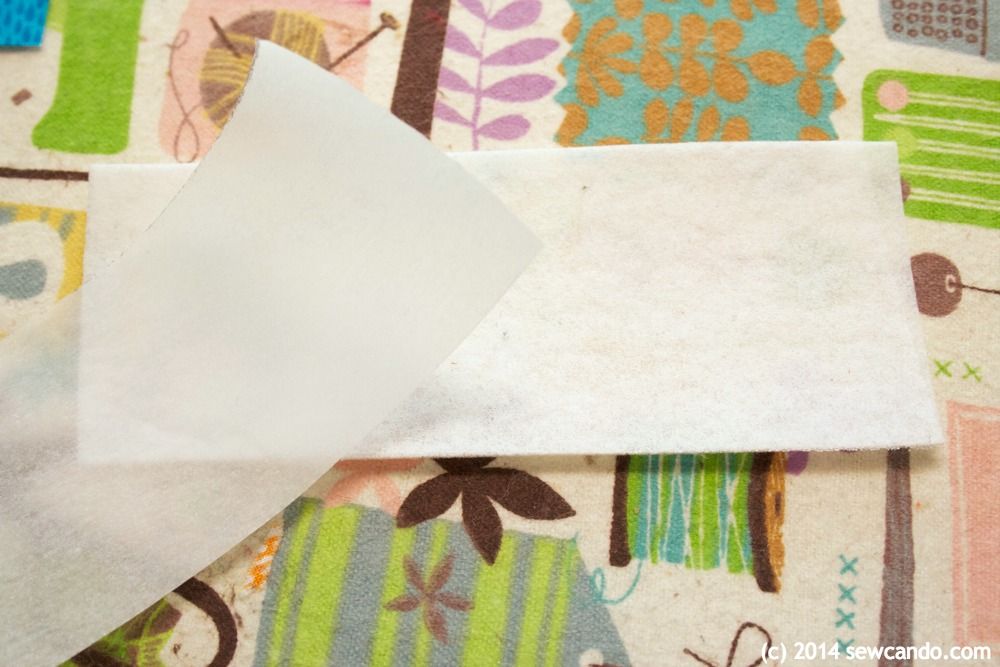
Next iron on some paper backed fusible to the wrong side of the fabric, peel aways the paper and then fuse to the ultra firm stabilizer.  Using paper backed fusible isn't required, but it will keep things from shifting while you sew, so it's a sanity saver.


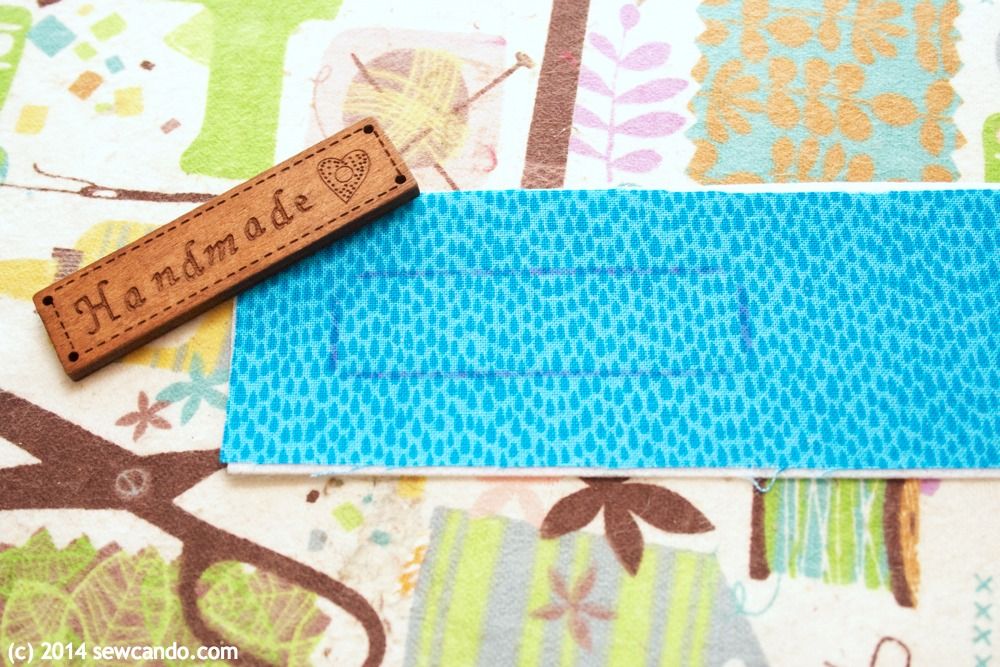
Use disappearing marker to draw the outline of any embellishment if that will be the shape you want to sew around. This makes sure things centered & gives a guide to sew around to make sure the topstitching will be even and straight.


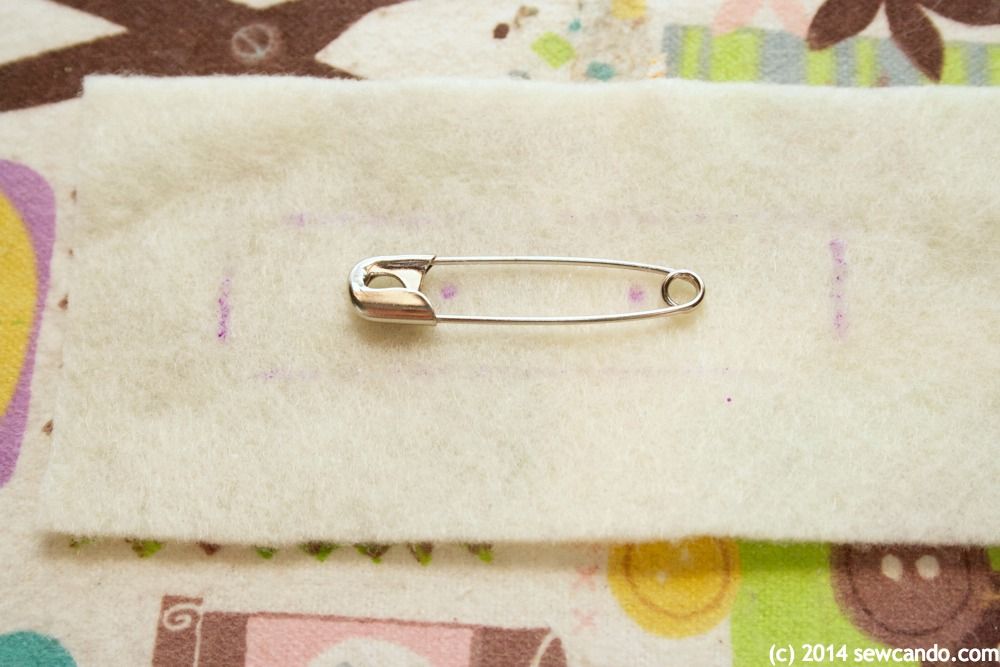
Lay the safety pin on the felt and center.  I used disappearing marker to draw the outline of my wood again to make sure I had things perfectly centered.  Make two small marks as shown:


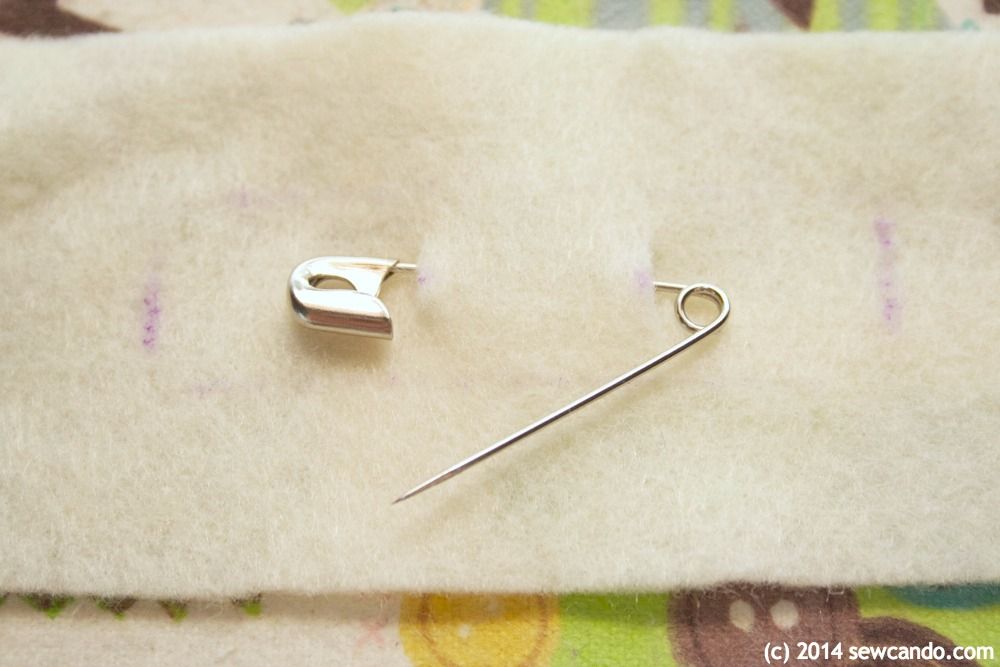
Snip the two marking points to about 1/4 inch high and slip safety pin in to make sure it fits. Slip back out and add after brooch is complete.


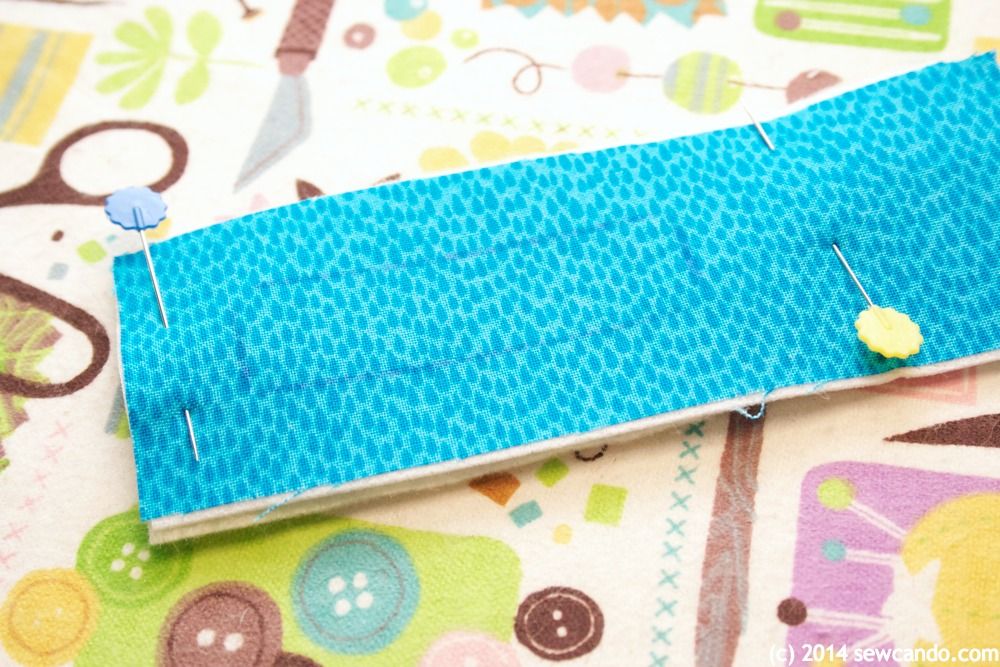
Place felt behind the fabric "sandwich" you've made and pin layers together:


Topstitch all the way around. I did about 1/4 inch away from the outline of my wood piece. Trim just outside the stitching.  I used pinking shears for some extra decorative detail and to prevent fraying.  If using regular shears, add a little Fray Check around the raw edges to seal them.


If you're using an embellishment or decorative button(s) like I did, hand sew them on.  I used bright pink embroidery floss for some extra color.  Slip safety pin through slits in the back. Now the button is done and ready to wear!


I'm also sharing this project with my FAVE LINK PARTIES.
Click HERE to check them out!

LinkWithin

Related Posts with Thumbnails