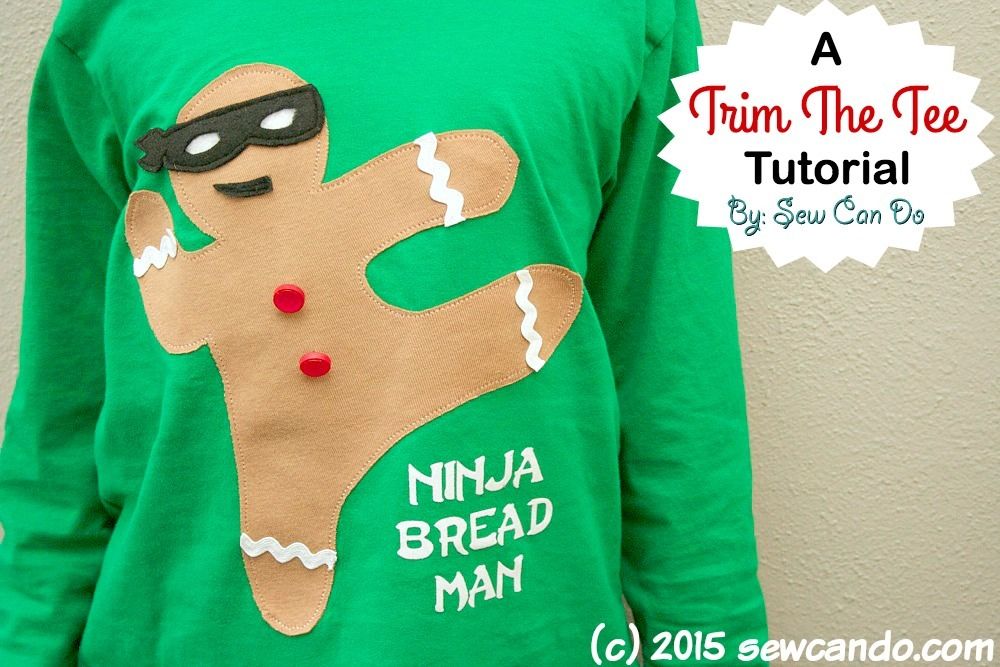
I've finally got a holiday tutorial to share! It's only early December, but the insane volume of seasonal stuff on the internet starting in October makes me feel totally behind the times. Not anymore, thanks to my Ninja Bread Man Shirt Tutorial.

I got the idea for this from a similar shirt I saw in a catalog. They wanted $42 for their ninja bread man appliqued tee. C'mon now, $42 for a Christmas-themed t-shirt for a kid? Get outta here!
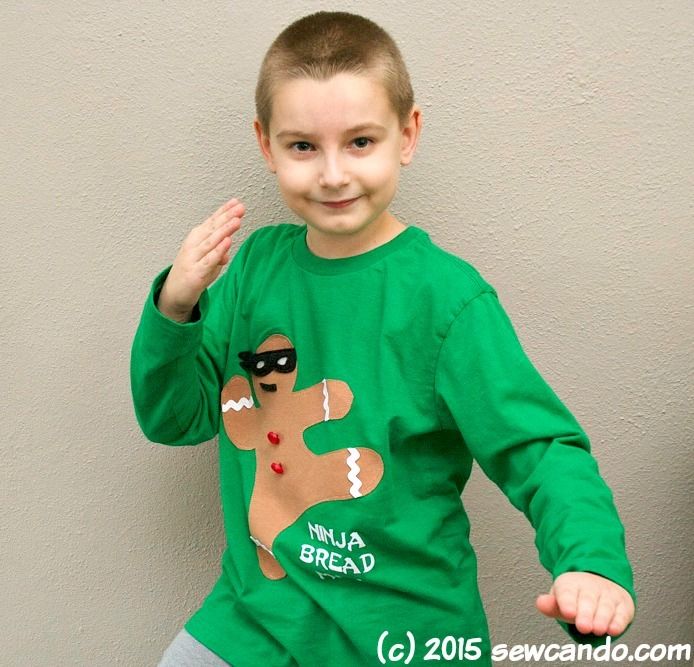
So....I grabbed a plain shirt for $5 and used some scrap fabric to make my own for my ninja-loving 10yr old. It was totally worth it. He can't help but do some ninja moves while wearing it:
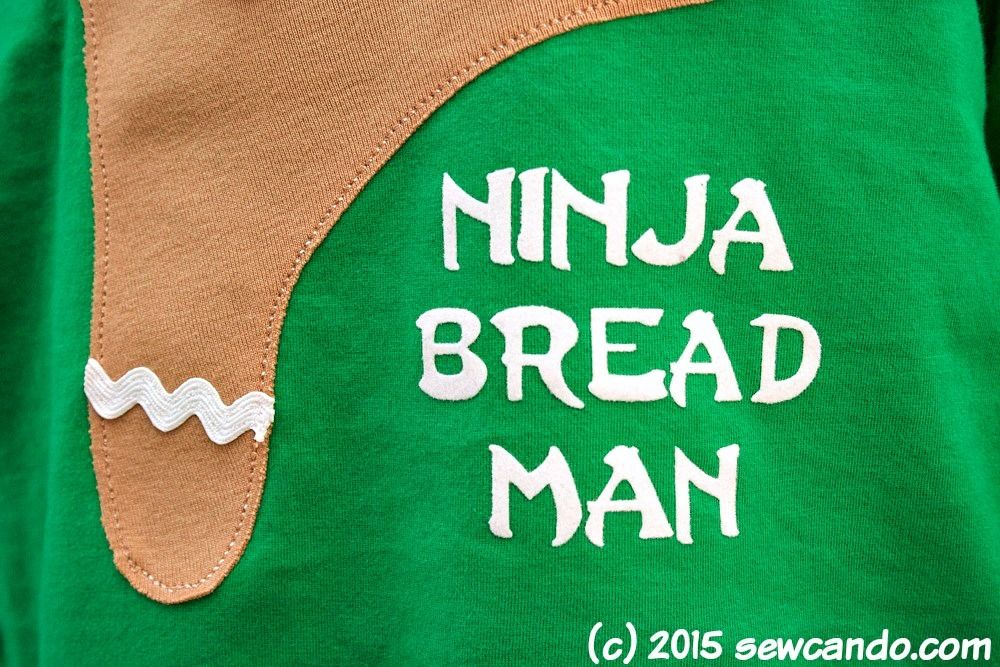
I even did some flocked lettering which makes it look more like something from a store, instead of the usual flimsy, plastic-y iron-on stuff.
Here's how I made the Ninja Bread Man!
- Blank long sleeved t-shirt
- Tan, black and white scrap fabric (I used knit & fleece)- White ric-rac
- 2 red buttons- Paper backed fusible
- Iron, press cloth, pins, fabric shears, lighter, hand sewing needle
- Flocked iron-on transfer material
- Cutting machine (I used a Cricut Explore)
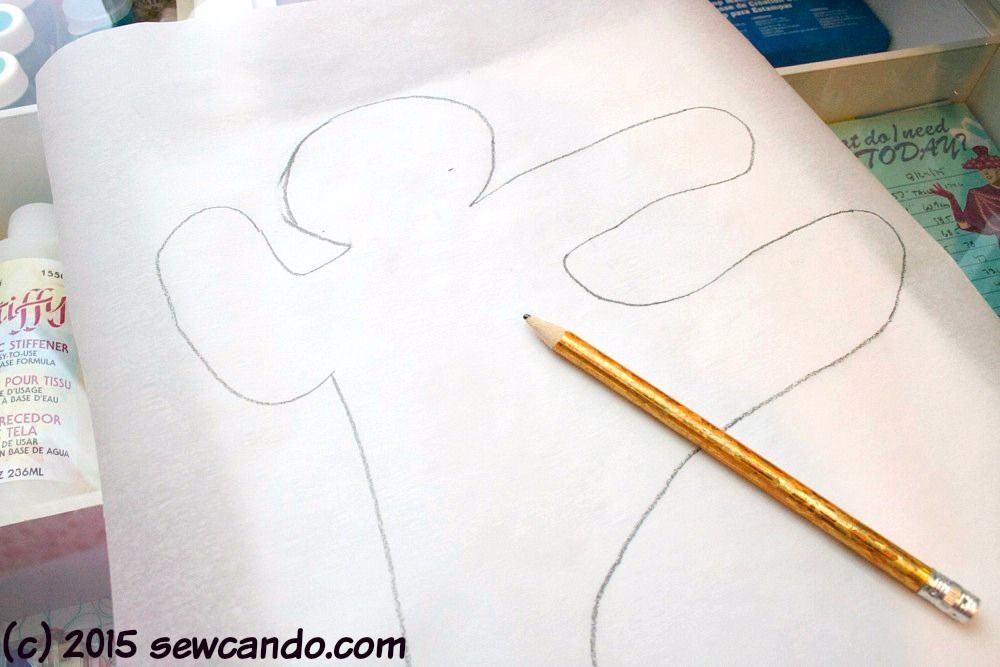
I started by freehand drawing my ninja-style gingerbread man on my paper-backed fusible - giving him one arm raised up and a karate kick leg, then cut him out:
I ironed the paper guy onto the wrong side of my tan knit fabric:

Then I cut the ninja bread man out and peeled away the paper.

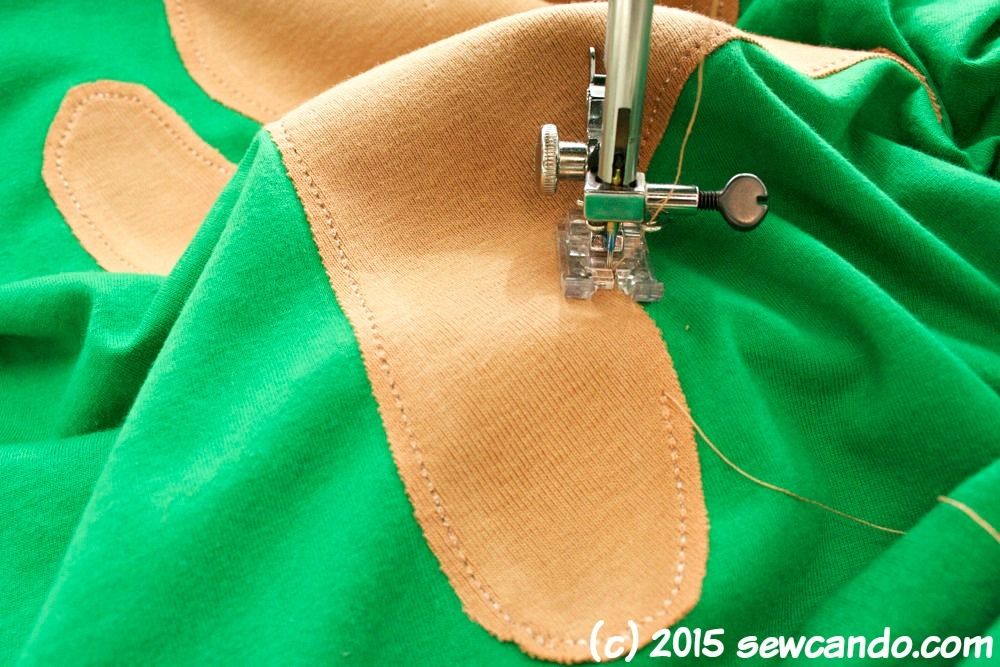
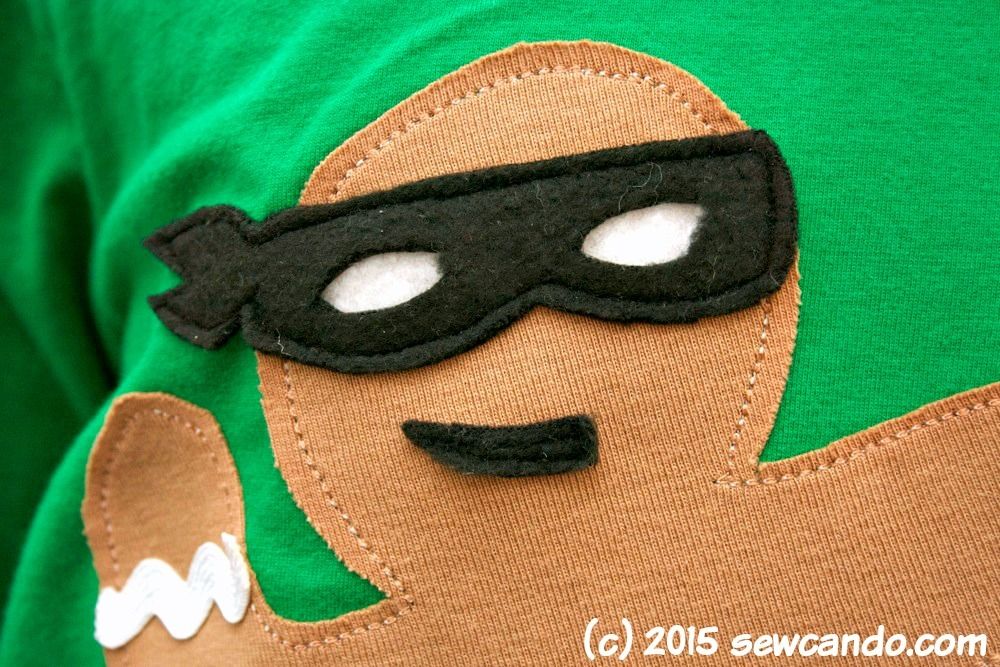
I ironed him onto the front of the shirt according to the fusible directions. I top-stitched him into place, with matching thread, using a triple stitch, which is ideal for sewing knits and also gives a nice, thick appearance:
I cut some ric-rac to trim the arms and legs, making sure to run the raw edges near a lighter flame to melt them slightly (so they won't fray) and then pinning them into place. I stitched them down, close to the wave on each side, rather than just a straight line down the middle so they won't curl upward after a few washes.

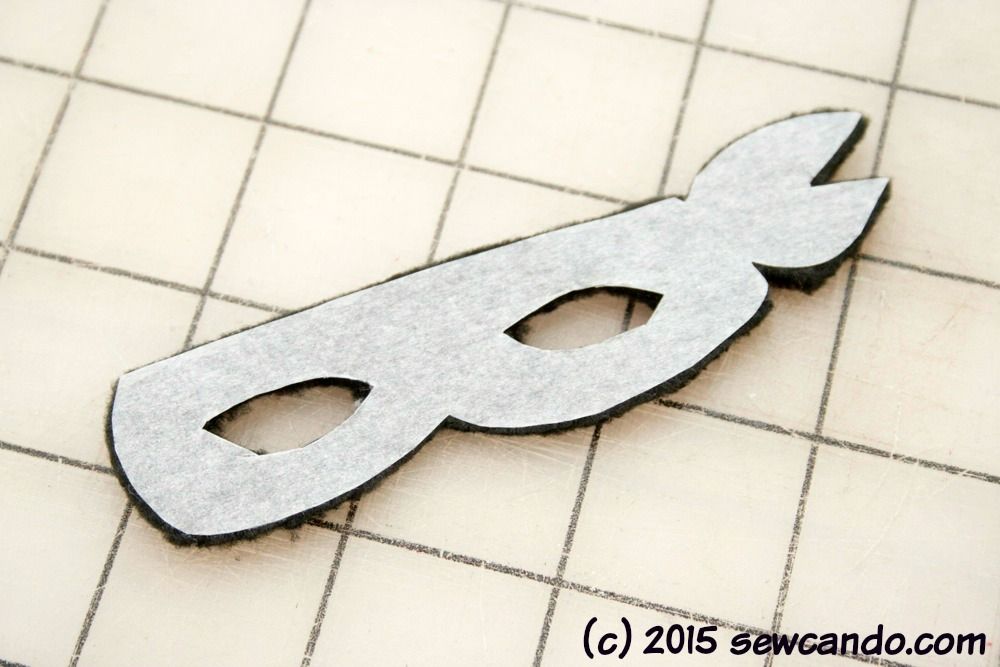
I traced an eye mask on another piece of paper-backed fusible and and did the same, iron onto wrong side, then cut out, except this time with some black fleece. You can iron fleece, but it needs to be on a low setting. I used thread scissors to cut out the eyeholes.
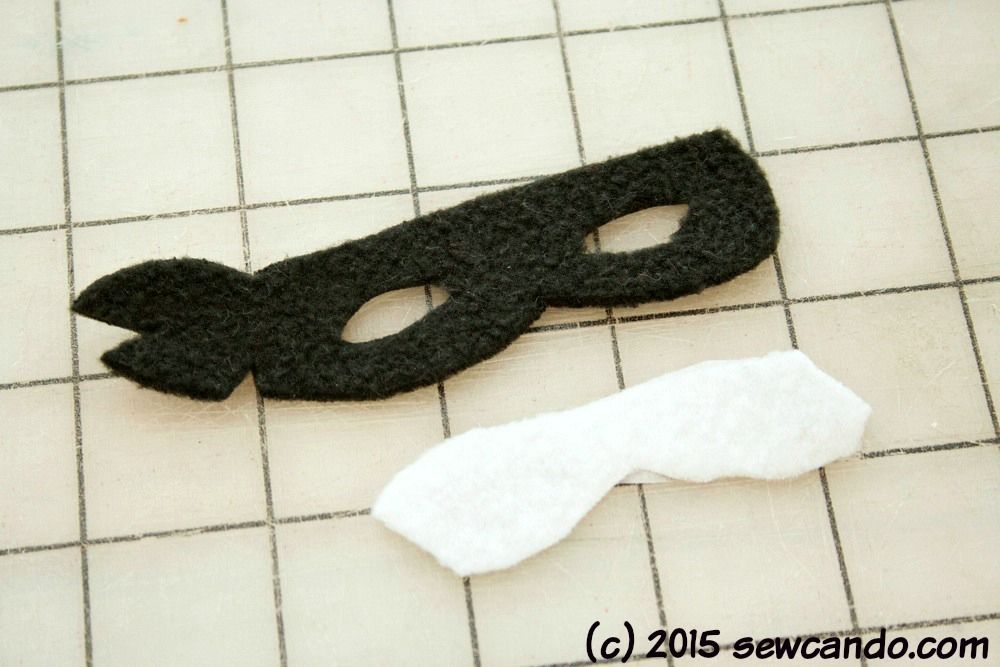
Then I cut a piece of white scrap slightly smaller than the mask and layered it under the mask, then ironing - again on low- on top of the the ninja bread man's face.
I also cut a little curved piece for his mouth and topstitched both the mouth and mask around the edges.
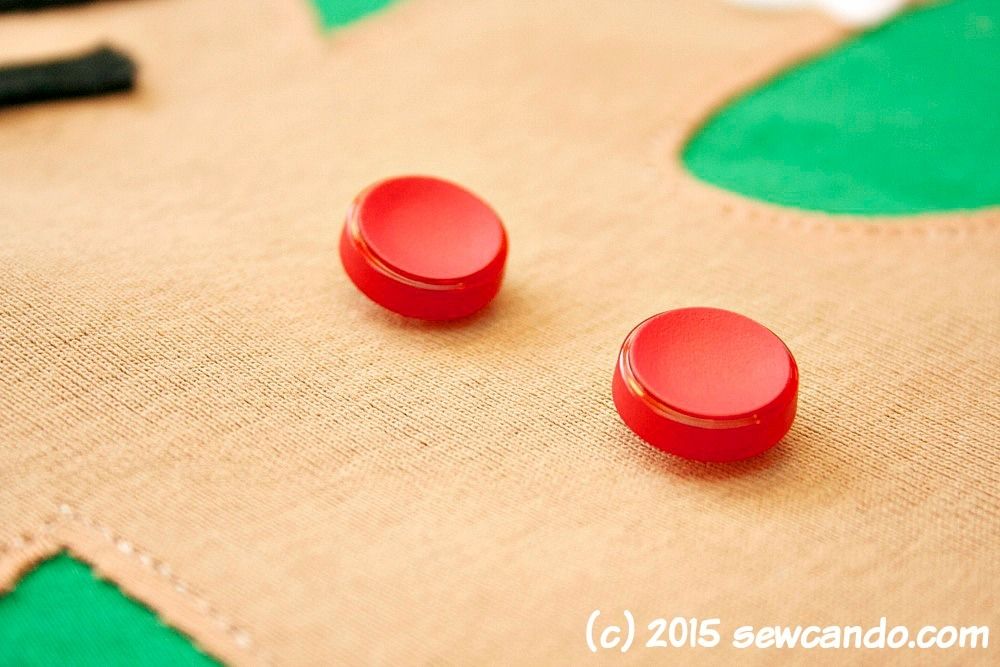
I hand sewed two red buttons on his front:
For the lettering, I used the font Last Ninja and cut a mirrored version of my lettering (since it's cut face down), using my Cricut Explore. I used flocked heat transfer material.

Despite being thicker than the regular stuff, it cuts easily, seems to hold better onto fabric, looks more like something from a store and has a nice, fuzzy feel. All that makes me really love it. I get the best results by ironing the shirt first to warm it, then ironing on the transfer (with plastic sheet still on it) under a press cloth and then when cool, ironing it again from the inside of the shirt.
Now, we've got a fun & festive look that was fairly quick to make and easy on the wallet!
For more winter-themed shirt ideas, check out the rest of my Trim The Tee series. Easy & festive DIY designs for the winter season and cheap to make so you can save the big bucks for the presents;)