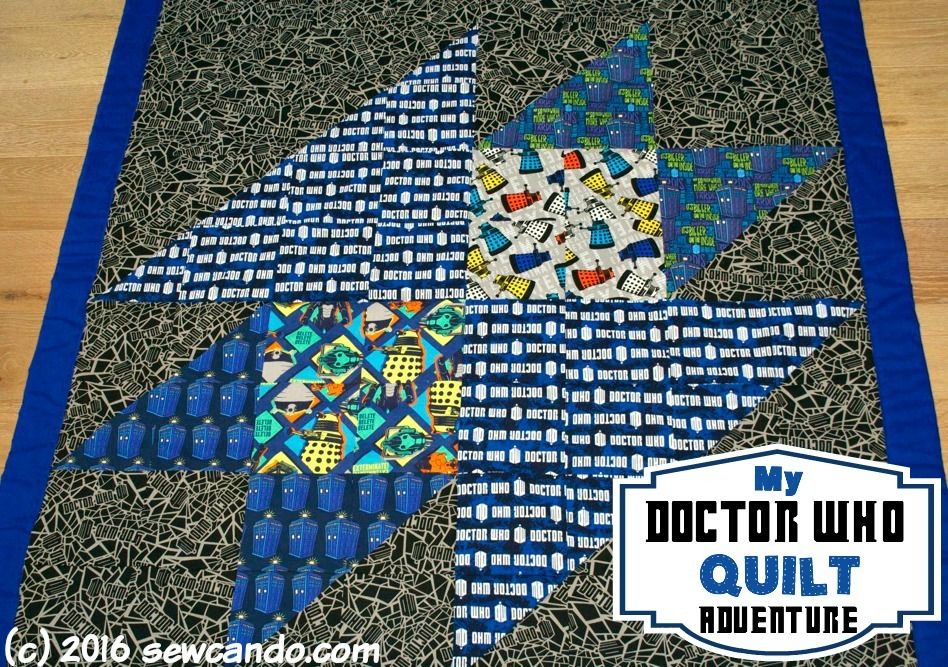
I'm going to start off by saying I am SO not a quilter. This is literally the third quilt I've ever made in the 7 years I've been sewing. It may be the last. I'd be proud to retire on this one though - it's my Doctor Who Quilt!
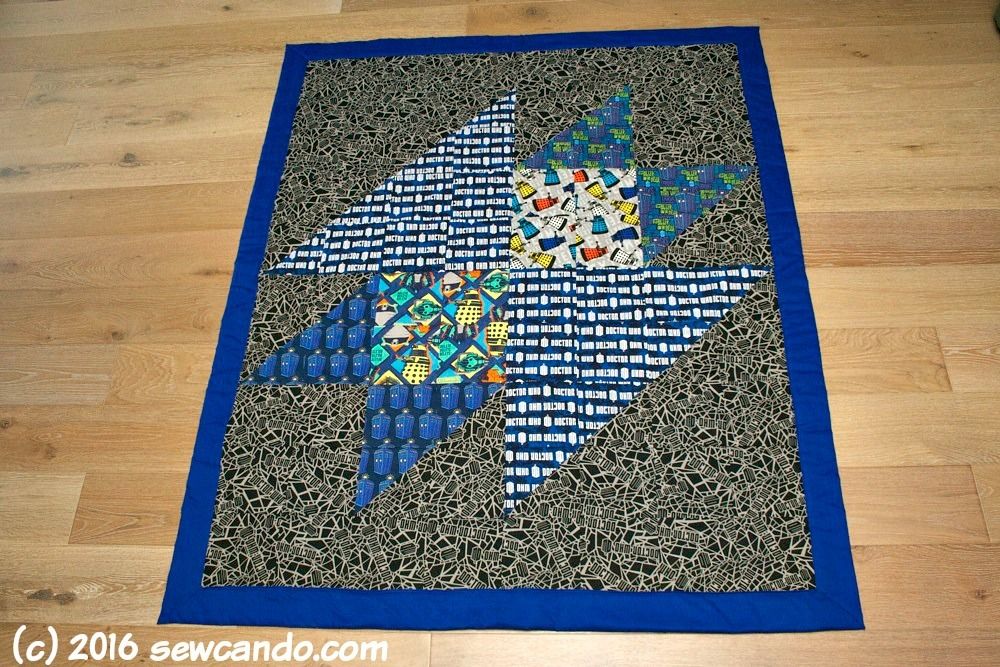
I made this quilt as a donation for my oldest son's school's fundraising auction. The school was really stumping for parents to donate cash & goods for this one. With some pricey remodeling going on at the Sew Can Do house right now, I couldn't afford to donate a typical big ticket item. I thought about what I could make that might get the auction paddles waving and remembered there were some serious Doctor Who fans amongst the school group. So my crafty wheels got turning and I put together a design plan for a Whovian-themed quilt.
I got a bunch of fun Doctor Who cotton prints to make my ideal design. Had to have Daleks and the Tardis:
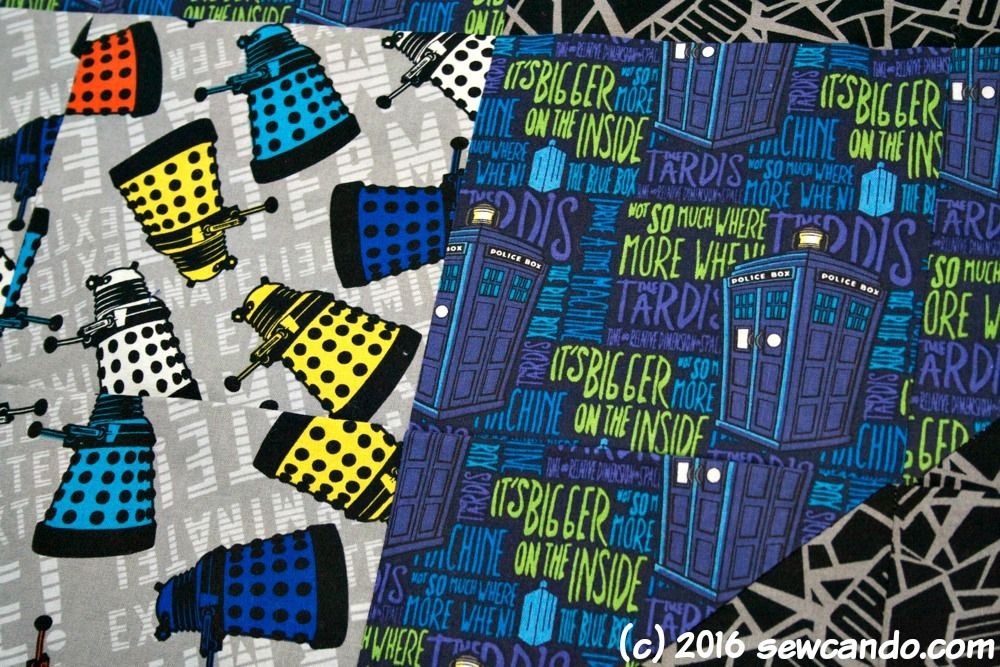
and not just one or two fabrics either. I wanted this to have the ultimate fan experience so I got lots of designs to coordinate (I actually bought too much - big surprise- so I'm selling the rest in my shop here):

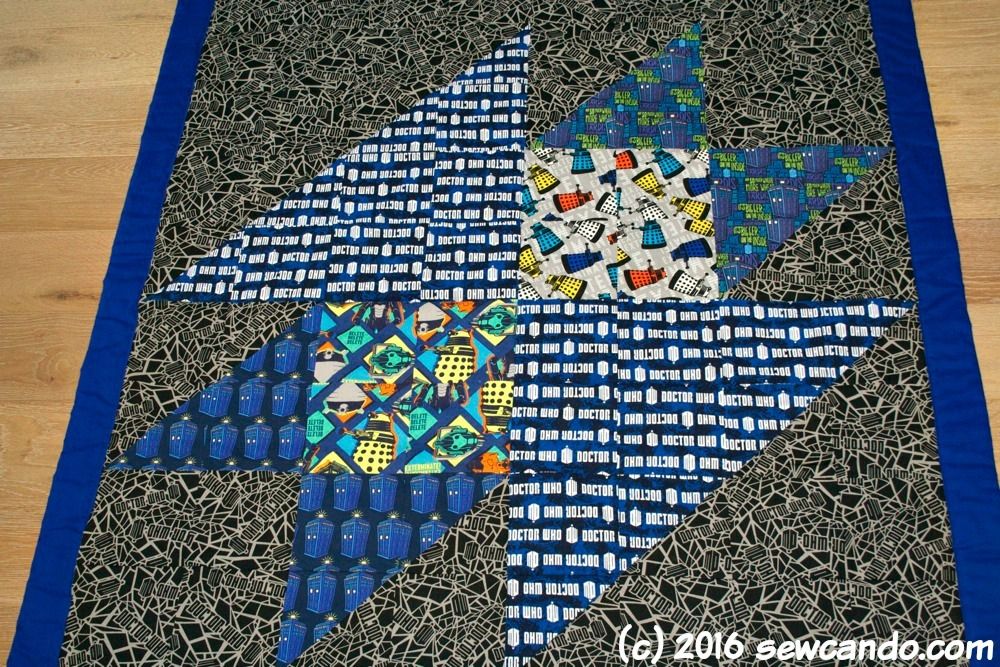
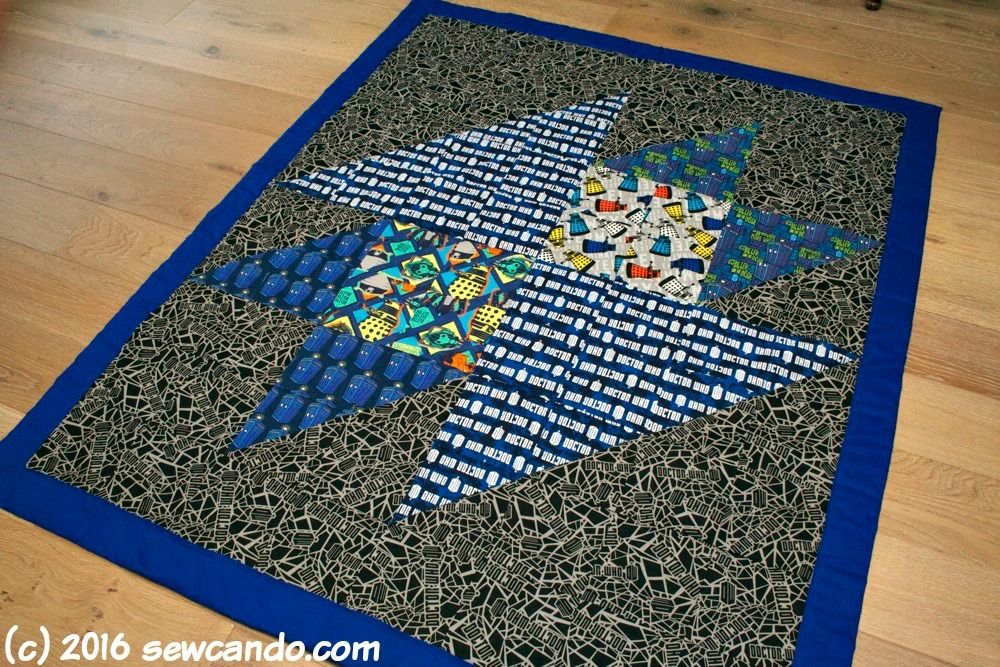
And of course the quilt design itself had to have a Doctor Who vibe, so I did an anvil pattern to look like the Doctor's bow-tie in the main logo and two Tardis prints:

I went with a grey Doctor Who crackle print for my background/filler fabric, so it would add even more geekery, but not take away from the central design or seem to crazy busy:
Since I'm beyond unskilled in quilt design & assembly it made total sense to not use any instructions and just wing it with a general design idea, right? Insert extremely sarcastic tone here. Yeah, I was a dumbo and despite always telling myself not to do this sort of thing, I tend to do exactly that sort of thing and then wonder why I feel stressed out. Why do I never learn?!?
I drafted up a general plan on graph paper and mapped out my dimensions and which fabrics went where and calculated like crazy to figure out what I needed and how to cut it all out. I did a 6 inch square block pattern in a finished lap size of 54 inches wide by 66 inches high. Perfect for cuddling with while watching the show;) I labeled each row while I was cutting to keep things straight.
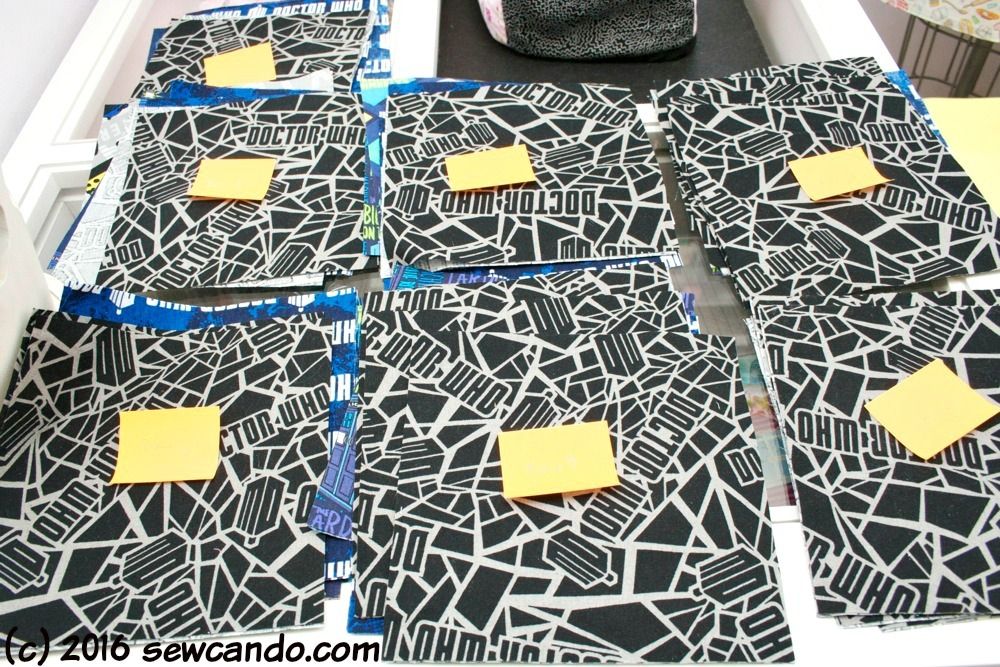 |
| Things getting real with this quilting business |
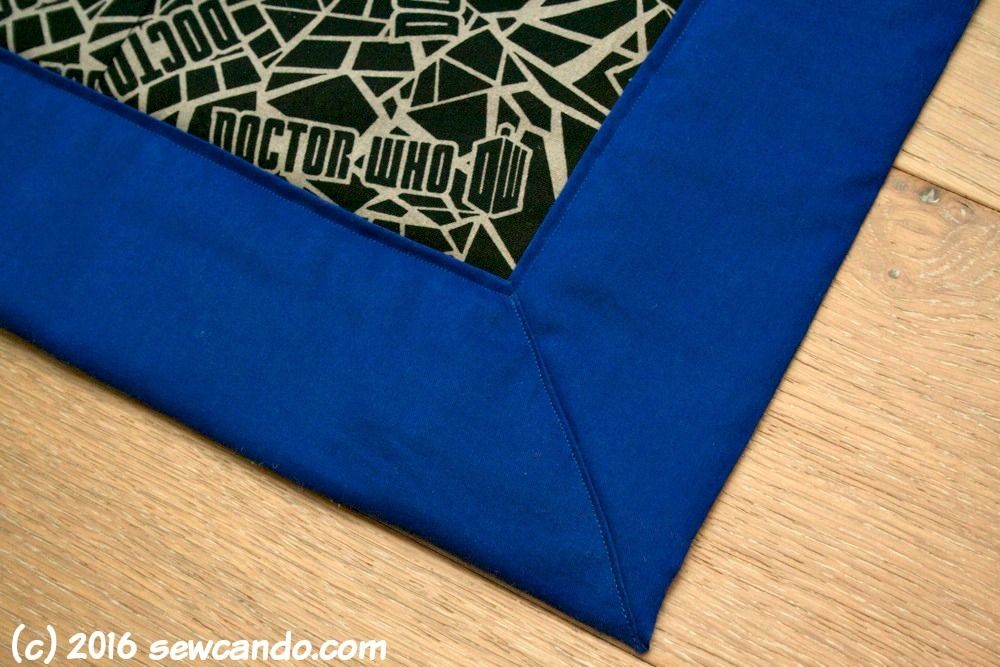
I did a solid blue back that wrapped around to the front to make a border and did some mitered corners. This worked well with wrangling my batting in the middle. I did top stitching around the borders and around the three bow ties. I didn't have it in me to do more quilting at that point.
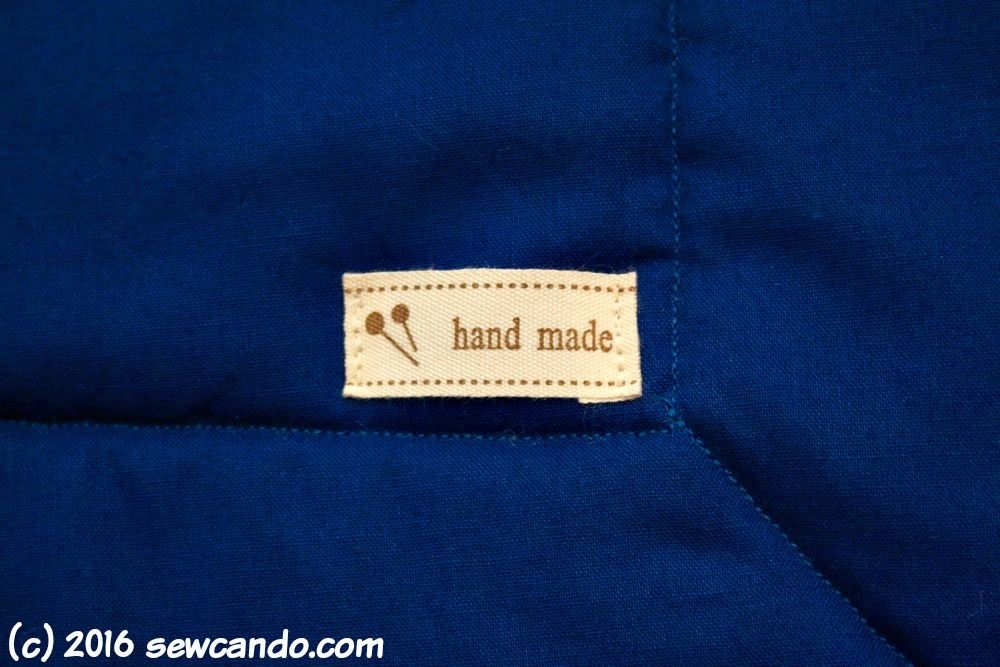
Of course I did have to add a little hand made tag to the back:
The quilt took what seemed like forever (projects tend to do that when you only work on them a bit at a time because daily life keeps interrupting), but in the end it turned out as I'd imagined it. The best part was the winning bid was almost $200, so I was proud that my quilt contribution did pretty well.
Would I want to make a bunch of these? Um...no. Am I glad my big kid will be returning to homeschooling in the Fall so we don't have to do stuff like this next year? Heck yes! Quilting together 80 squares just about sent me over the edge. I've got mad respect for all the serious quilters out there who love to do this sort of thing. I did take photos while I worked, so if anyone else wants to be crazy and make one I have the potential to do tutorial for it. Once I recover from doing the actual project that is;)