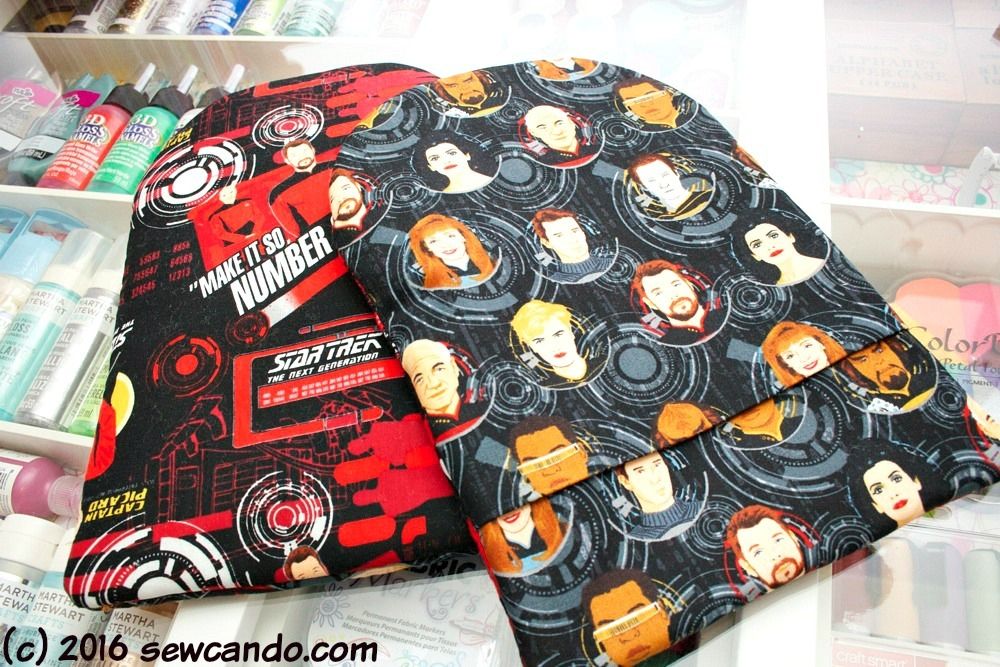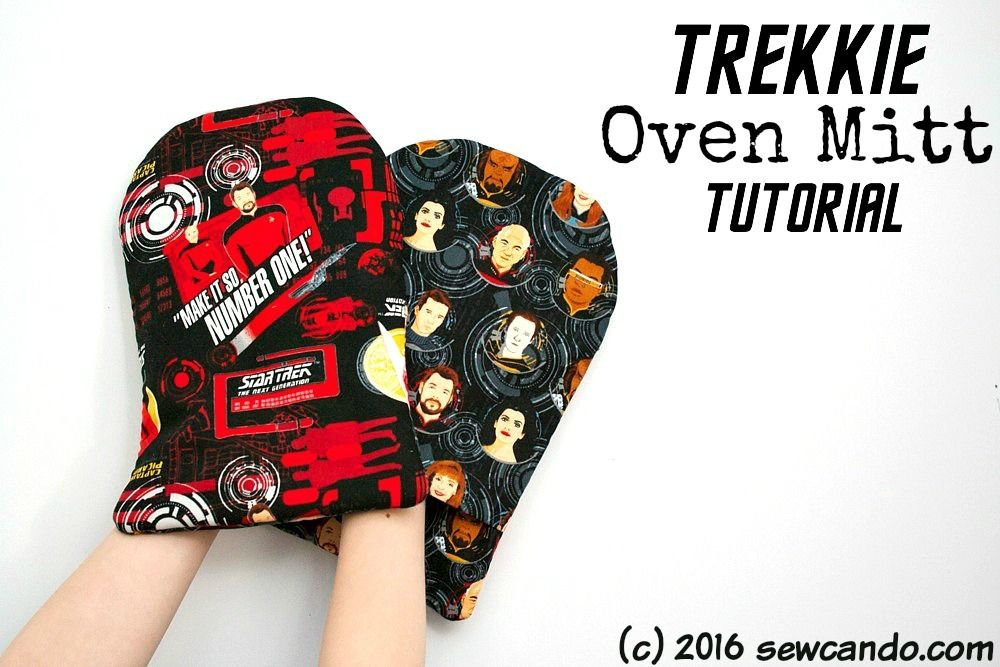
It's been a while since I've done some geek-themed crafting, but I'm back in action now and starting off a new month with this project: Trekkie Oven Mitts.
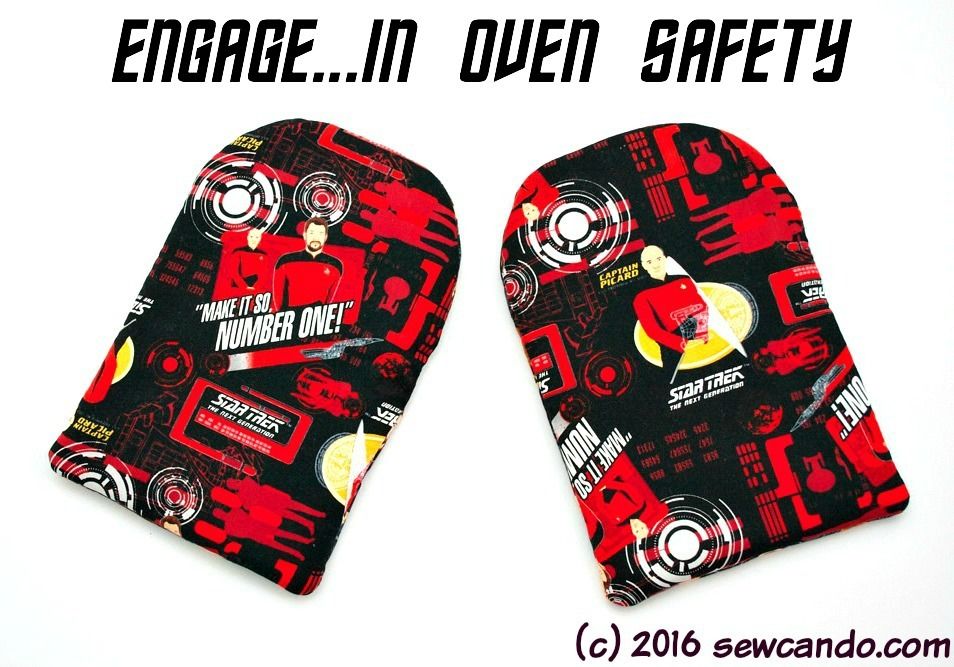
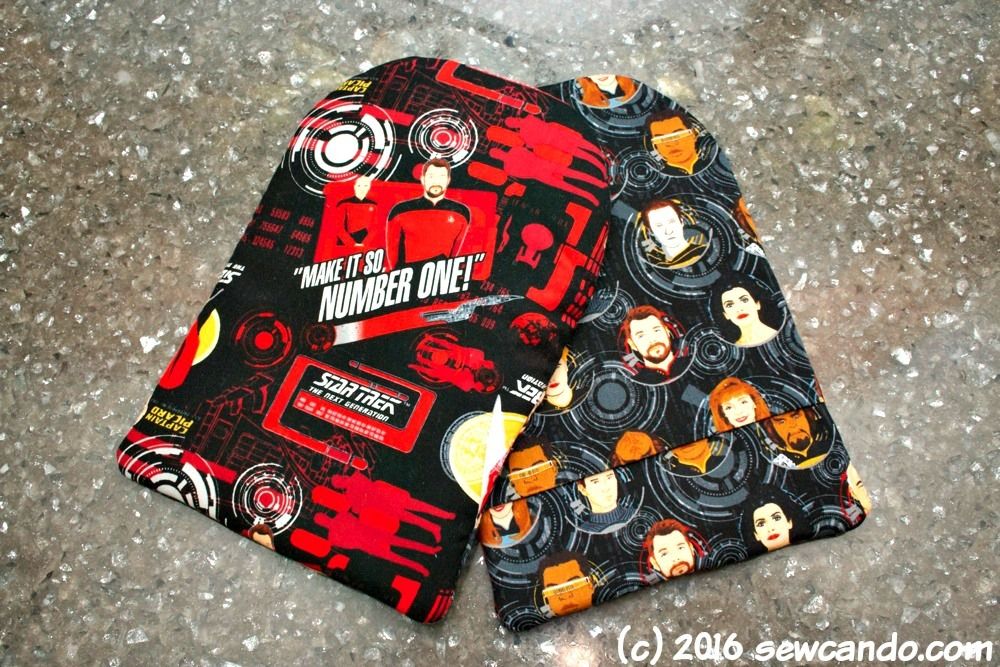
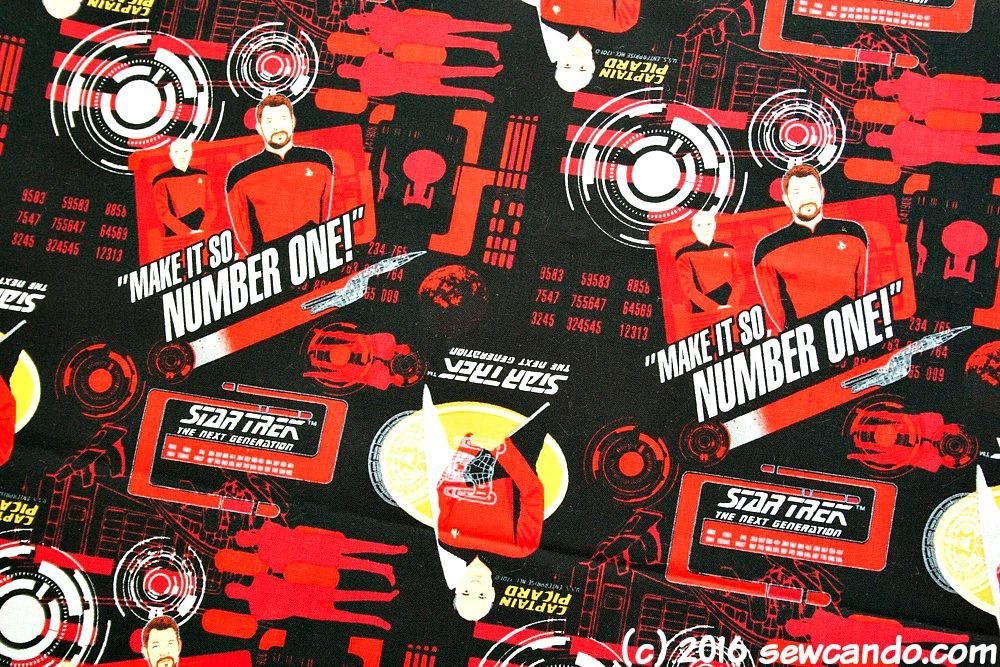
My Dad is a huge Star Trek The Next Generation fan, so when I stumbled across these fabrics I couldn't resist buying them. He does a lot of grilling and oven cooking, so new mitts seemed right up his street. This print's got the classic catch phrase for Captain Picard and his Number One, Will Riker:
and this awesome print had the full cast:

FYI, these oven mitts could be done in any motif/print, so if you're not a Trekkie or sci-fi fan, they'll work just as well with any other theme.
Here's how to make them....
Materials:
- 1/4 yard Insul-Bright
- 1/4 yard Cotton batting
- Shears/rotary cutter, pinking shears
- Heavy duty needle + hand sewing needle
- Small clips/clothespins
- Paper & pencil
- Optional: walking foot
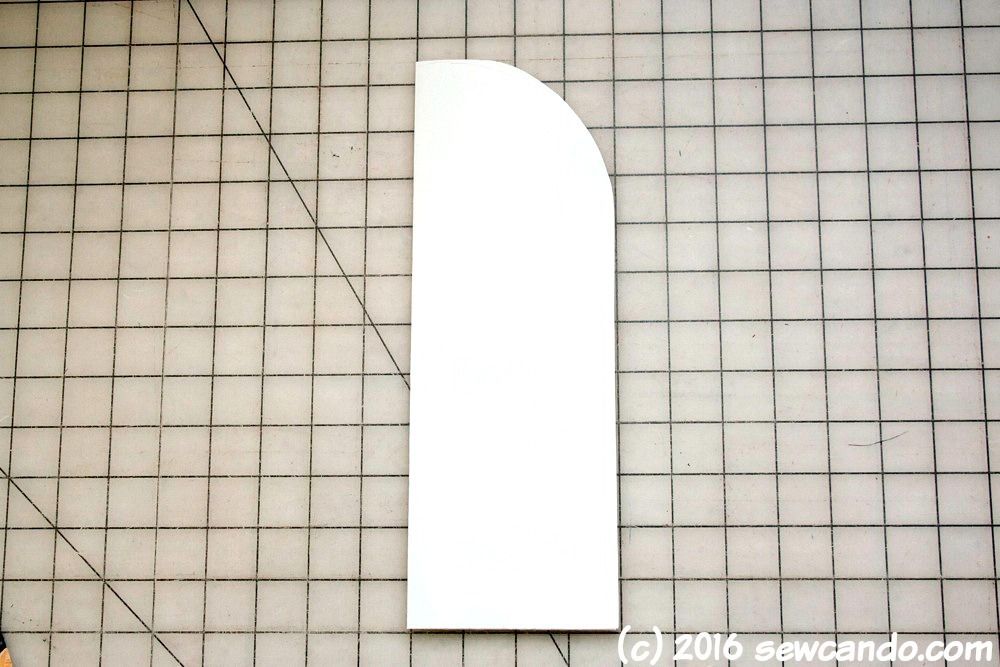
I started by drafting a basic pattern. I folded a piece of paper and cut it to be 4 inches wide by 11 1/2 inches high. I rounded the top corner using a plate about 2 1/2 inches from the top. Opened it up and oven mitt pattern was now ready.
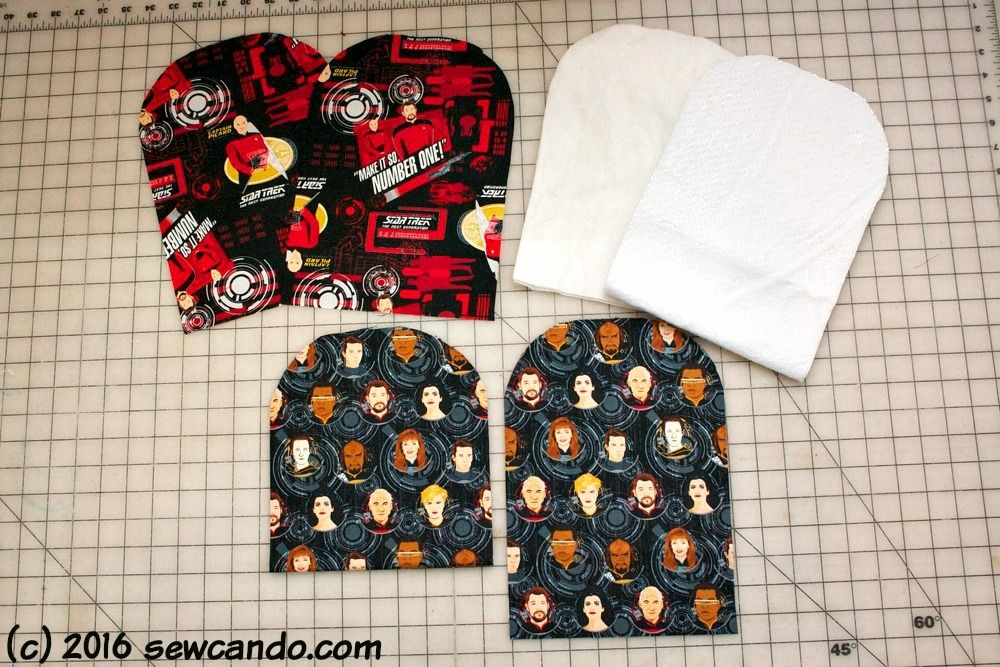
I cut out pairs from both fabrics, batting and insulating fleece.
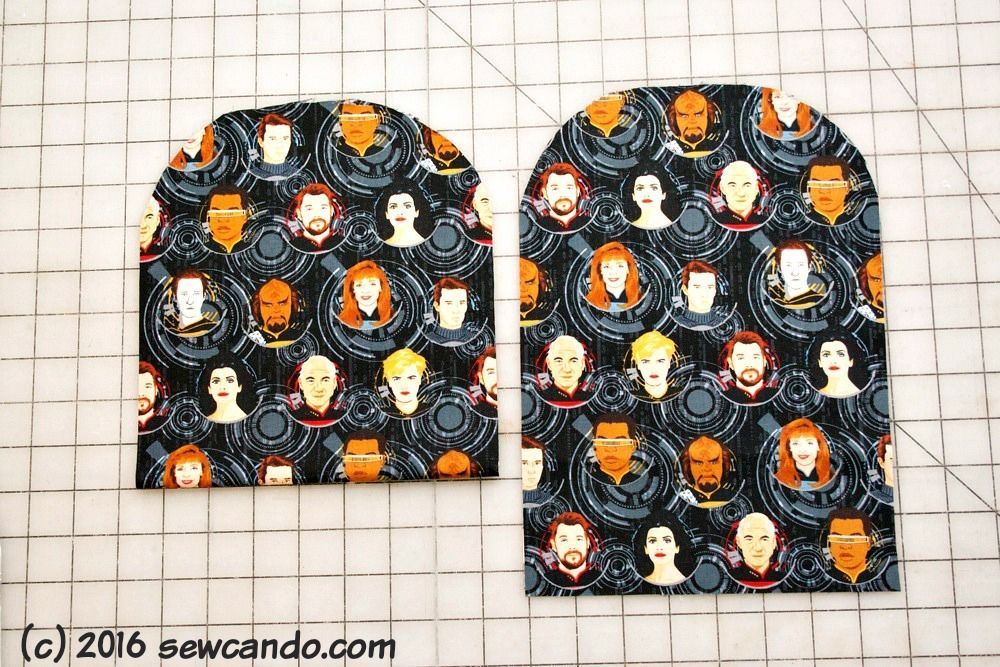
For the hand pocket, I also cut an extra pair from the Star Trek TNG Badges in Black, but made each 2 1/2 inches shorter and cut them with the fabric folded, so that the fold is the straight bottom (this makes for super easy pockets):
Now it's time to layer all the bits together:
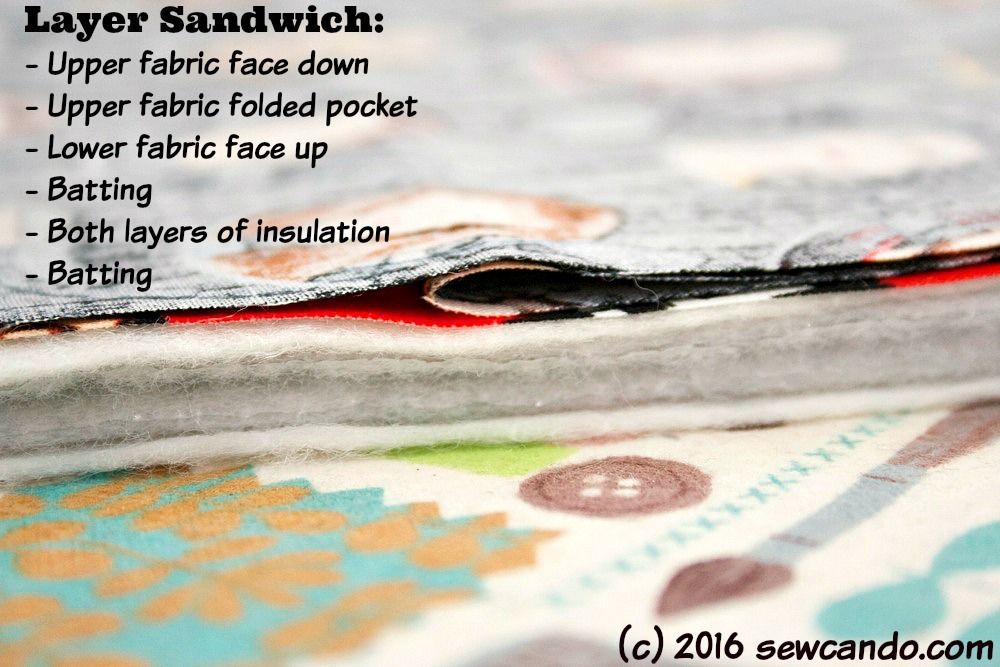
Since this is a pretty thick stack, I used clips all the way around instead of pinning:
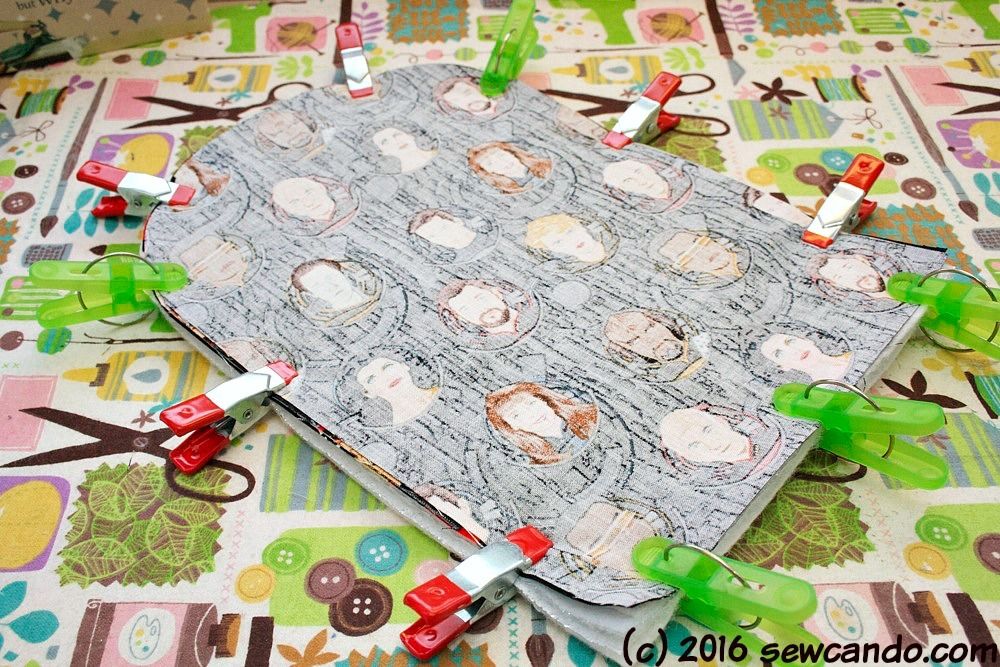
I stitched all the way around with a 1/4 inch seam allowance, leaving a several inch gap on one side for turning. I highly recommend using a walking foot when sewing this many layers. It really keeps the fabrics from shifting.
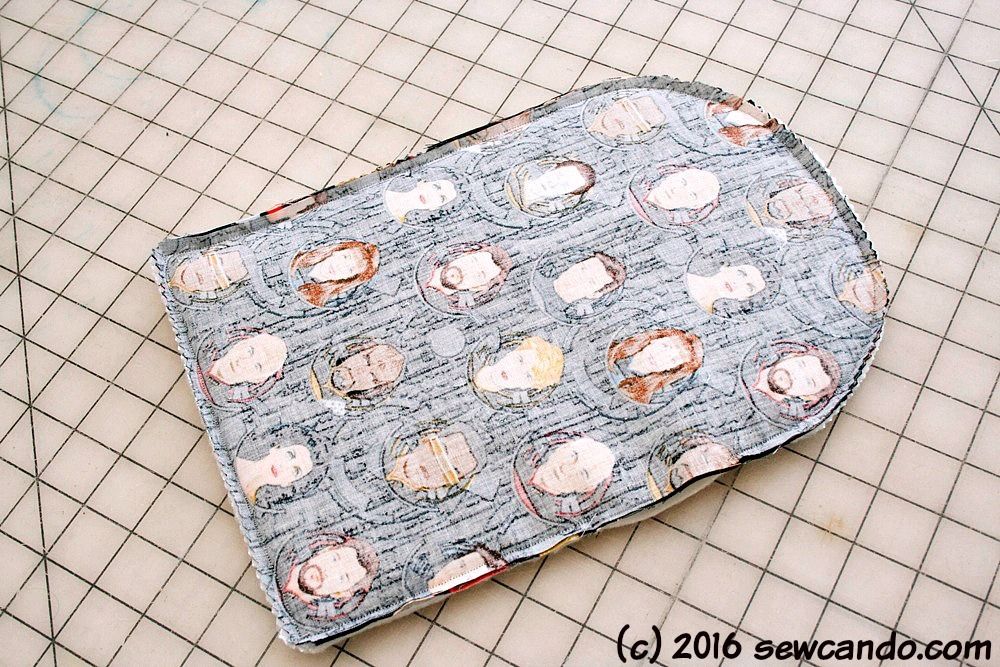
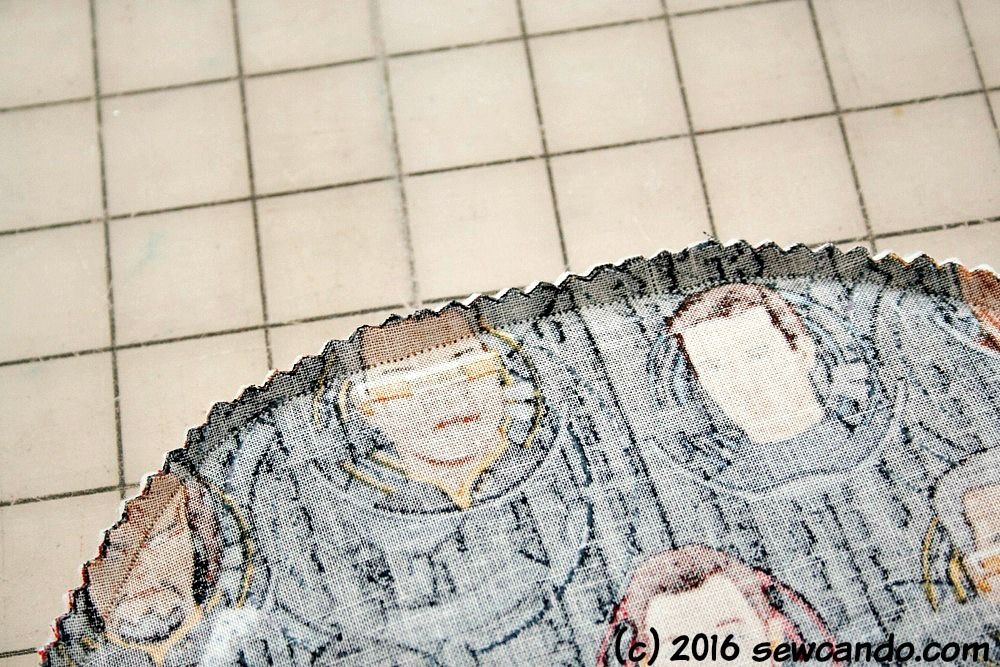
I trimmed the seam allowances with pinking shears. It's quicker and just as effective as clipping into curves and there's no danger you'll clip through your seam:
Then I turned each one right side out and slipstitched the openings closed by hand. These were a great birthday surprise gift and are sure to get my dad's cooking to boldly go where no one has gone before. Yes, that was super corny, but I couldn't resist! Now, I'm feeling the geek craft vibe again, it's time to think up some other geektastic projects...