

We're in the holiday home run season folks. 3 months in 3 holidays. Yikes! It can be a challenge to find time to craft and not feel like the relevant time frame is over the second you've made it. I especially feel like that about holiday themed wearables.
I love cute kid's Halloween outfits, but with 5 kiddies, it seems like a waste to buy stuff with a 1 month or less wear time. Especially with my two smalls who are less than 2 years apart. I can't justify making/buying stuff for my 2 yr old boy, then chucking it and for something similar but "girly" for my 8 month old daughter the next year. Longevity in kid's wear is key people!
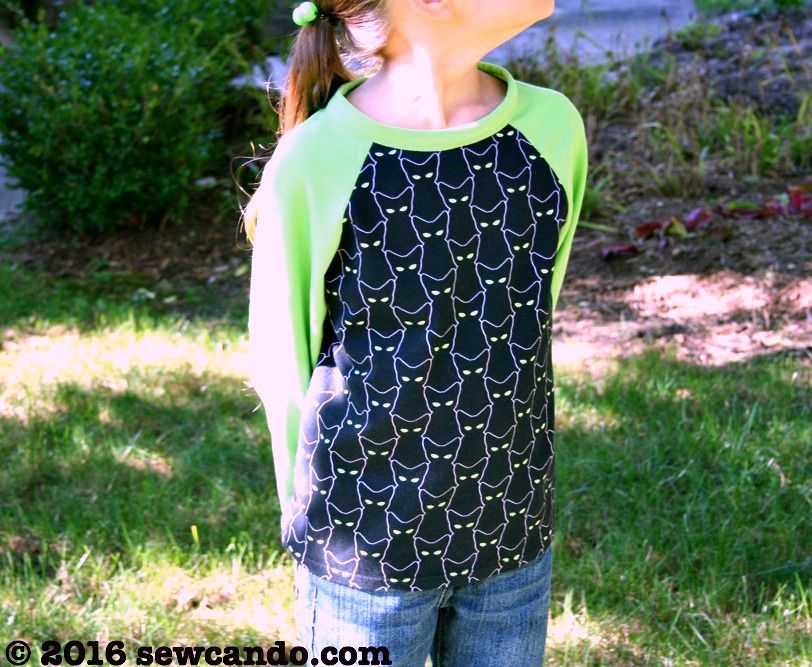
A few years back I made these spooky cat raglan shirts for my 3 big kids and they've gotten tons of wear as they've been handed down from one to the other to the other:
Yet, I realized I didn't have anything Halloween-y for my toddler (which happens when there's an 8 yr gap between two of the kids). Baby girl is sporting his too small pumpkin face onesie this year. Already being nearly mid-October, I wanted to use stuff I had at home rather than spend $. I also needed to make sure it would work for my little lady to wear next year. Mission accomplished:

This project was a little nod to the heat transfer DIY Pumpkin Maternity Shirt I made (and sported the past few Halloweens):
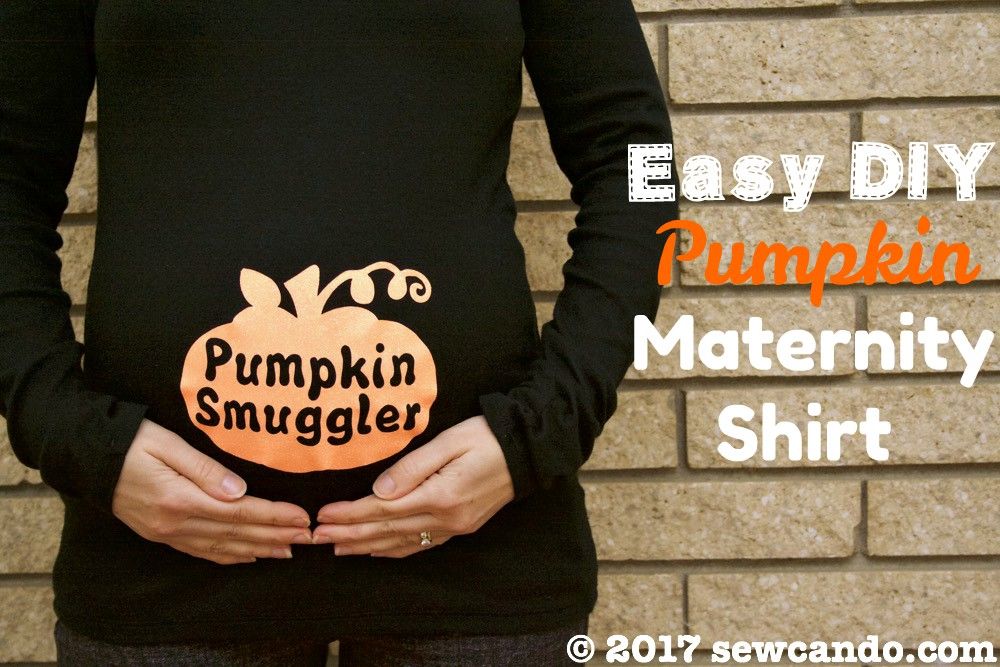
I used the same pumpkin file, fonts and leftover orange glitter heat transfer vinyl. The design is cute for boys or girls so it'll be just as cute on my sweet girl next year as it is on my little guy now.

I couldn't find a cheap basic black shirt in his size ('rona restrictions make shopping is such a hassle these days), so I scrounged his closet and found an olive green onesie that still fits well.

Materials:
- Onesie or t-shirt
- Heat transfer material (mine is the glitter variety)
- Cutting machine or exact-o and patience.
- Cricut EasyPress (or iron)
- Onesie or t-shirt
- Heat transfer material (mine is the glitter variety)
- Cutting machine or exact-o and patience.
- Cricut EasyPress (or iron)
I used a pumpkin silhouette image found online and opened it in Cricut Design Space then turned it into a cut file there.
I added the Mommy's Little Pumpkin text in free fonts (Bubblegun and Milkshake) that are nice and thick, so ideal for cut files. You can right click to save my file to cut your own.
I added the Mommy's Little Pumpkin text in free fonts (Bubblegun and Milkshake) that are nice and thick, so ideal for cut files. You can right click to save my file to cut your own.

I sized it at 5 inches by 5 inches in Cricut Design Space to be the perfect size for a 24 month sized top/onesie. It also needs to be mirrored before cutting since the
material is cut face down on the mat.

Since the details are pretty small, I used a weeding tool to get all the tiny bits out. The letters need to be removed for the shirt to peek through inside the pumpkin, but you need to keep the tiny bits inside the "o", "e" and "l" in place.

It ends up looking like this on the carrier sheet:

I've gotten a lot of use out of my Cricut Easy Press the past couple years (you can get my full, unbiased review of it here) & this was no exception. I used the recommended settings from Cricut for my EasyPress model & the glitter material: 340 degrees for 30 seconds followed by 15 seconds on the backside and waiting until cool to peel. I always use a thick towel underneath for best results.

By using green rather than traditional black as the background color, it's
still Halloween-y, but also more generally fall, so wearing it in
September and November won't look weird.

Thanks to that happy accident, I figured out how to make it wearable for about 3 months rather than 3 weeks!! And it'll be perfect for the entire season on baby girl next year.

Not bad for $0. Even my small fry guy agrees!!


How cute! Thanks so much for linking up with me at my #UnlimitedMonthlyLinkParty 17.
ReplyDelete