

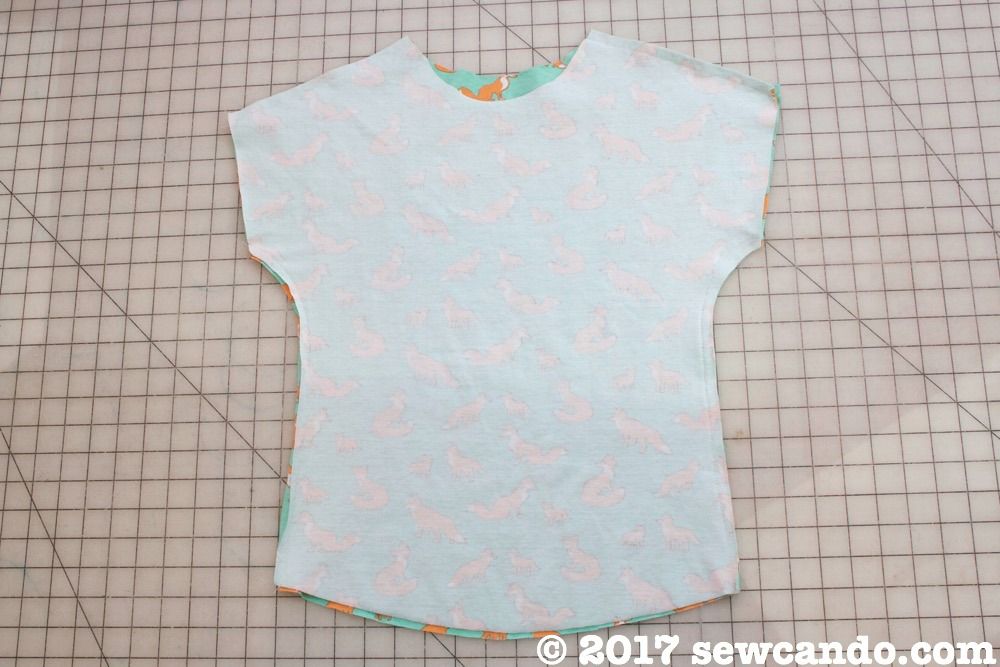
Sunny warm days are popping up, so it's time to whip up some new things to wear. What could be easier than a flattering top in whatever size you want? It's the Comfy, Casual Top and it's beyond easy to DIY.
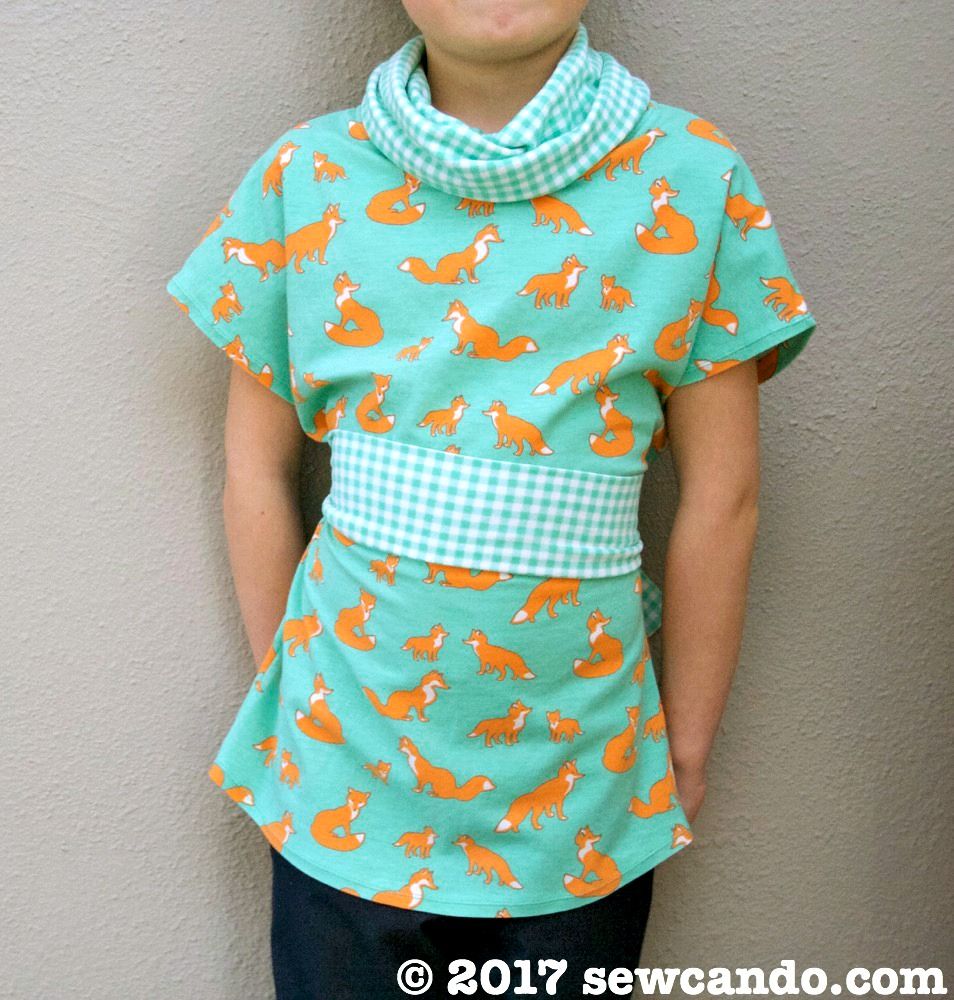
It's great for both girls and ladies. It's tunic length pairs well with pants, leggings, skirts and shorts.
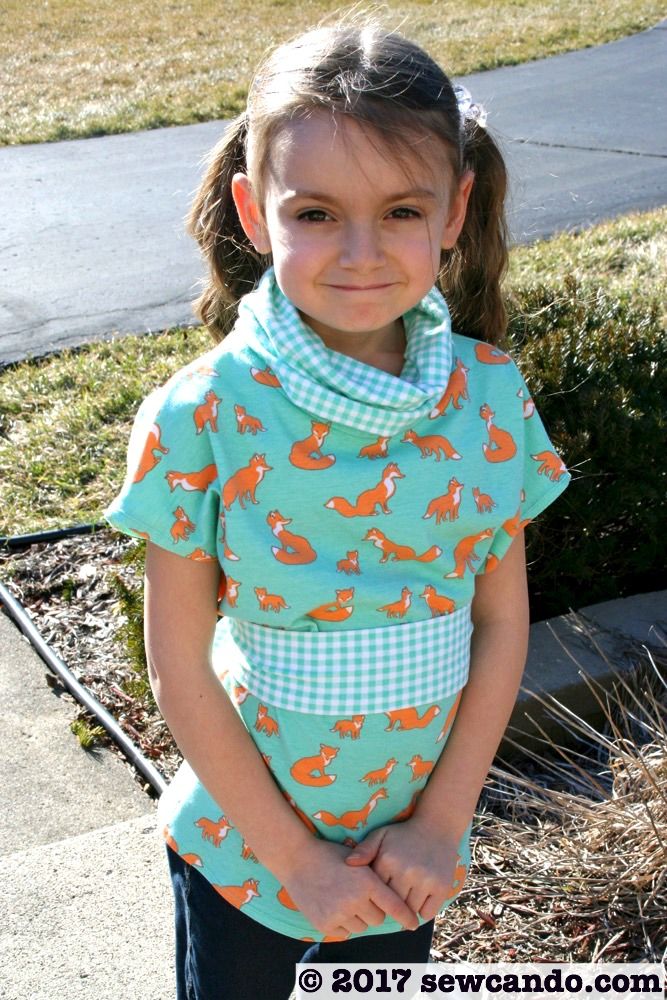
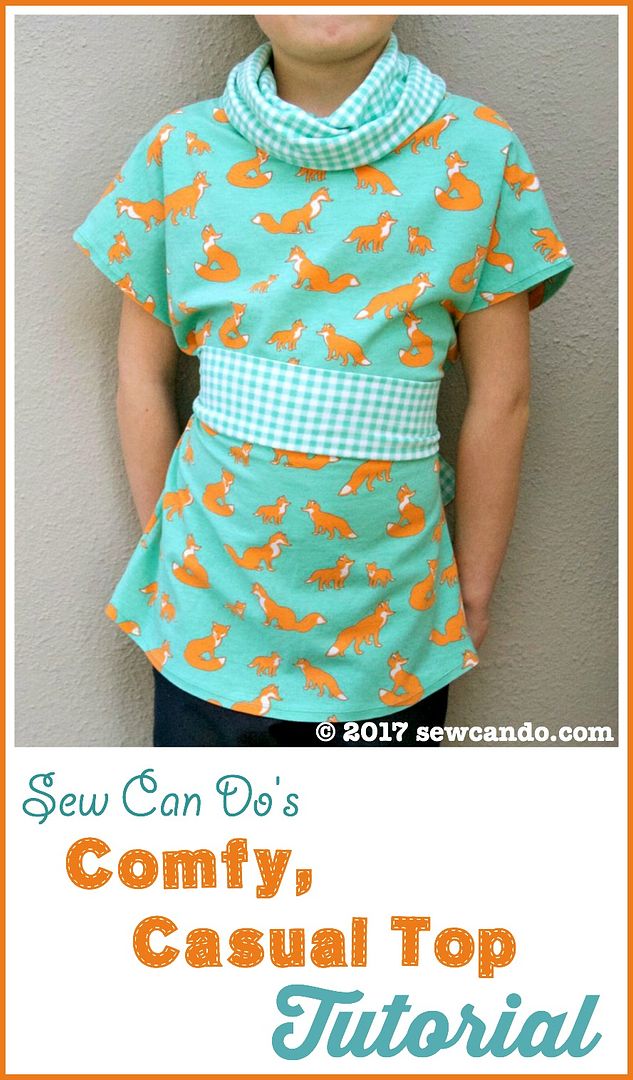
The fit is comfortable and the optional removable belt adds extra detail to pair with the neckline:
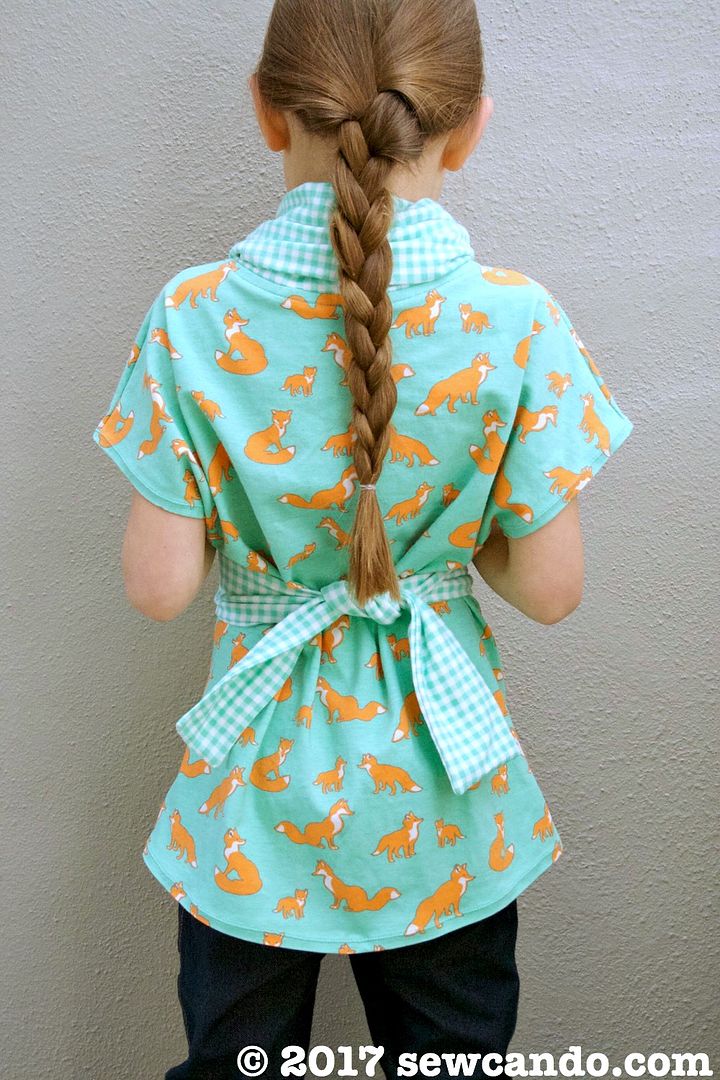
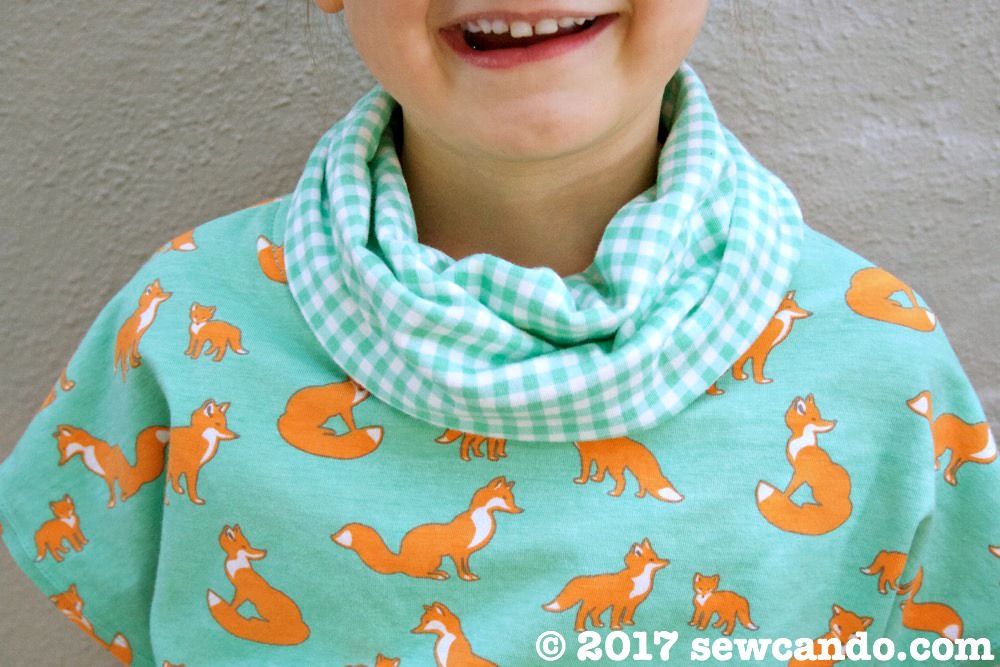
The slouchy cowl neck is a great way to use a second print, add some visual interest and makes the neck finishing super easy:
With the quick trace pattern ready to go, this sews up in about an hour. Who doesn't love that?
Now, let's get to the making!
Materials:
- 1 yd light to medium weight knit fabric
- 1/2yd knit fabric for cowl & belt (30% stretch or better)
- Loose fitting t-shirt to trace
- Tracing paper
- Pencil
Notions: pins, rotary cutter/shears, ruler, iron, twin needle, ball
point needle, marking pen coordinating colored thread.
Optional: Walking foot, paper backed fusible tape
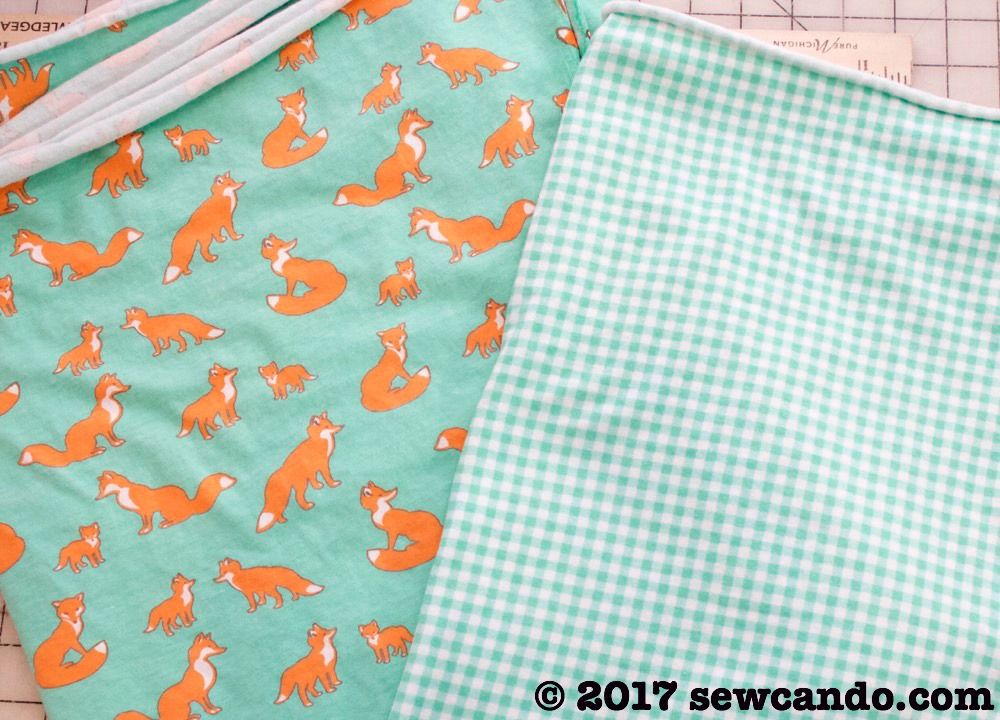
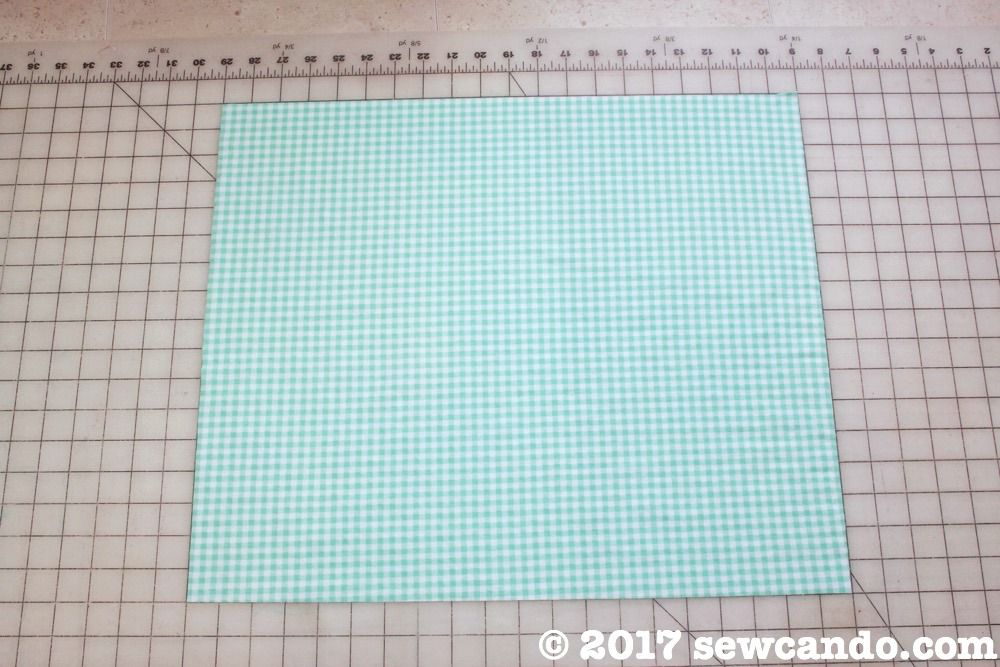
Girl Charlee Fabrics, the online shop with many a cute & affordable knit fabric, offered me a choice of knits to try out, so I picked some specifically with this project in mind. This was the first time I'd used their knits and I was curious how they'd feel & sew. For my fabrics I picked, Fox Family and Gingham cotton spandex knit from their BOLT collection, both in the Desert Sky Mint color way. FYI, Girl Charlee has a section specifically for 1/2yd cuts here, so that's a good way to buy for small parts like the cowl & belt and easily find contrast fabric.
Start with the t-shirt and tracing paper to make an easy pattern. Fold both in half and place the shirt on the paper along the fold.
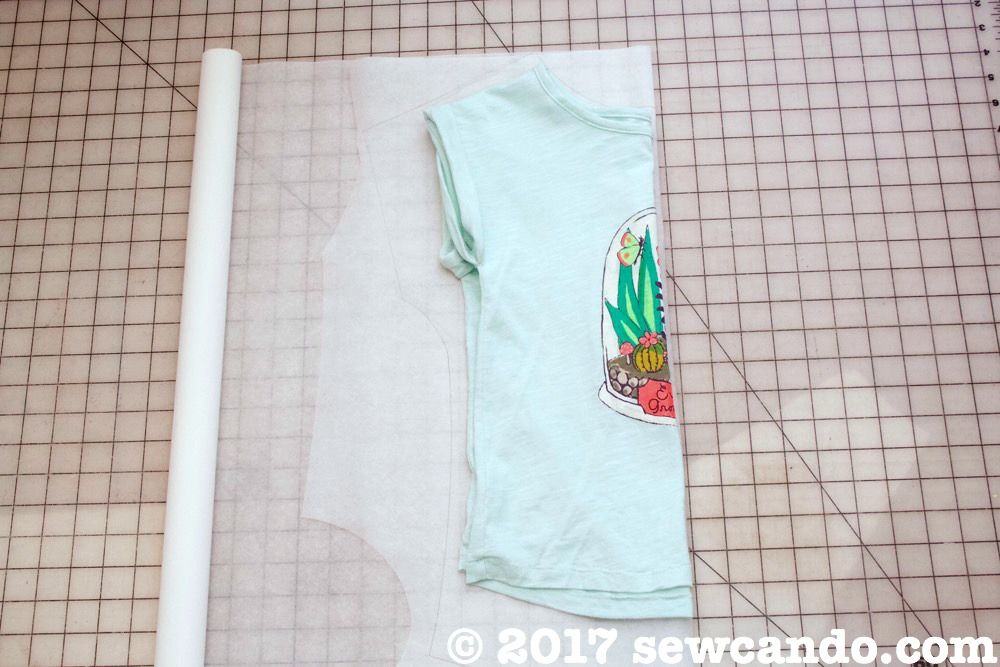
Trace around the shirt, adding about 5/8 inch around the neckline:

Then adding an inch and a half to the shoulder and side areas and extending the sleeves and hem by two inches.
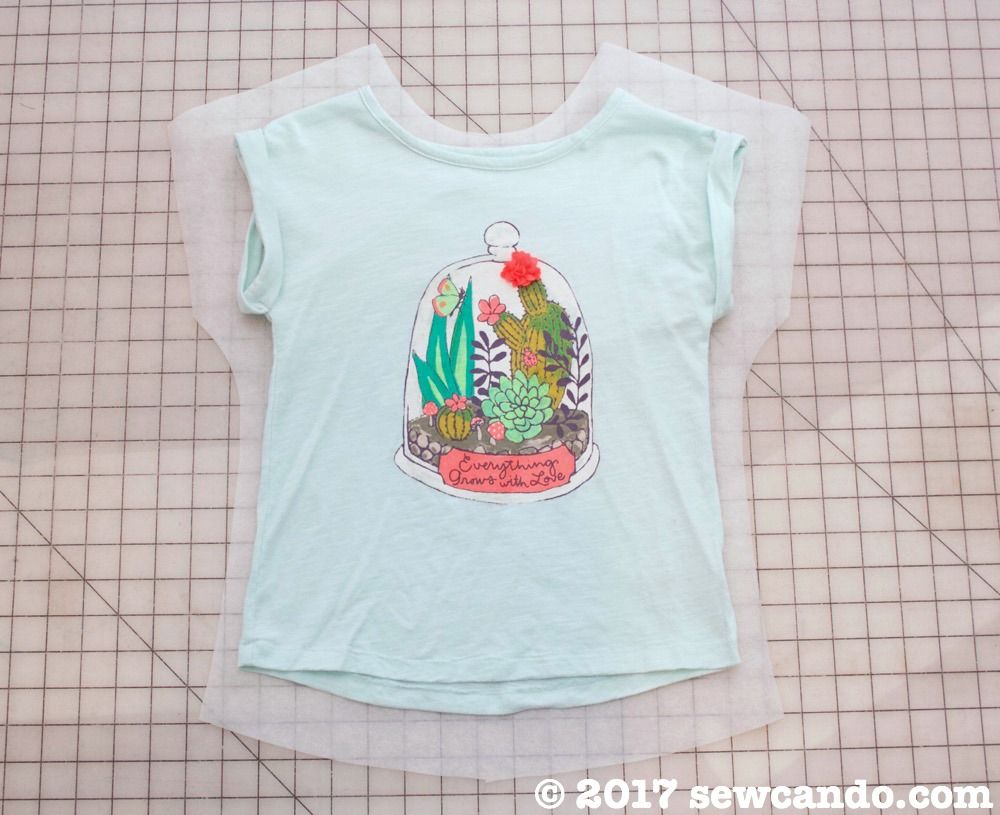
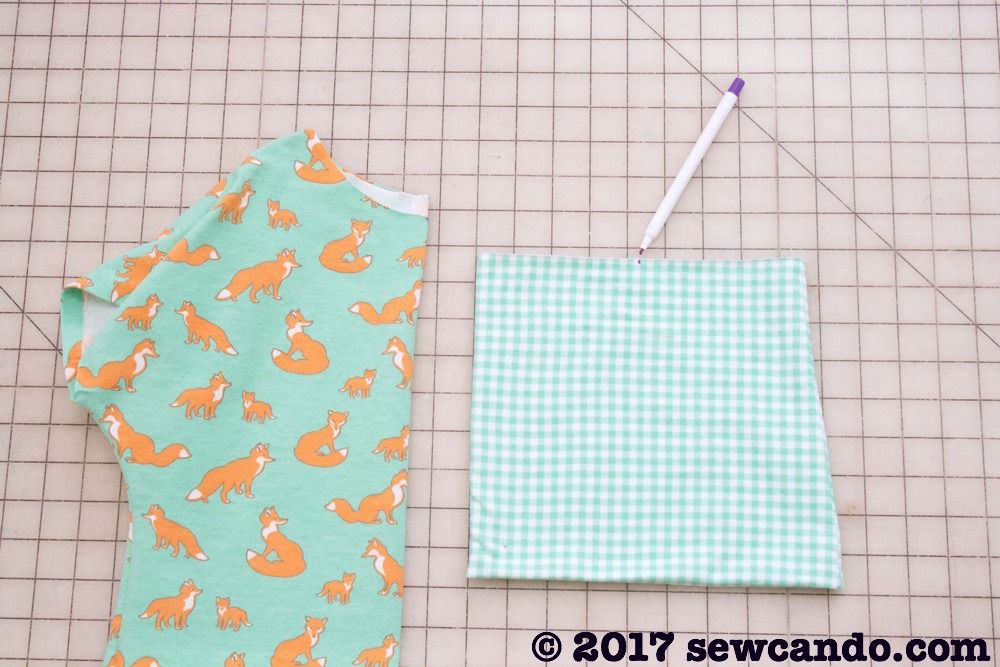
If the back side has a much higher neckline than the front, do a second paper pattern and redraw the neckline for the back by fold the shirt in half with the back side out, using that neckline as a guide. Making it a full piece pattern makes it a lot easier to center on prints like this one. Use patterns to cut a front & back from the fabric:
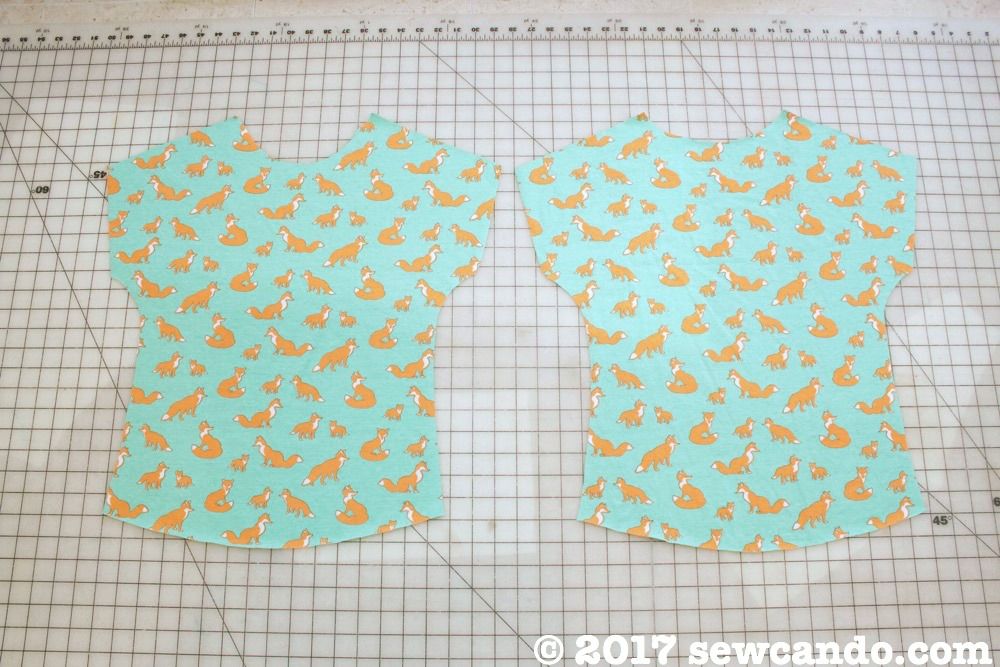
With right sides facing, stitch front & back together at shoulders and sides using a 3/8 inch seam allowance.
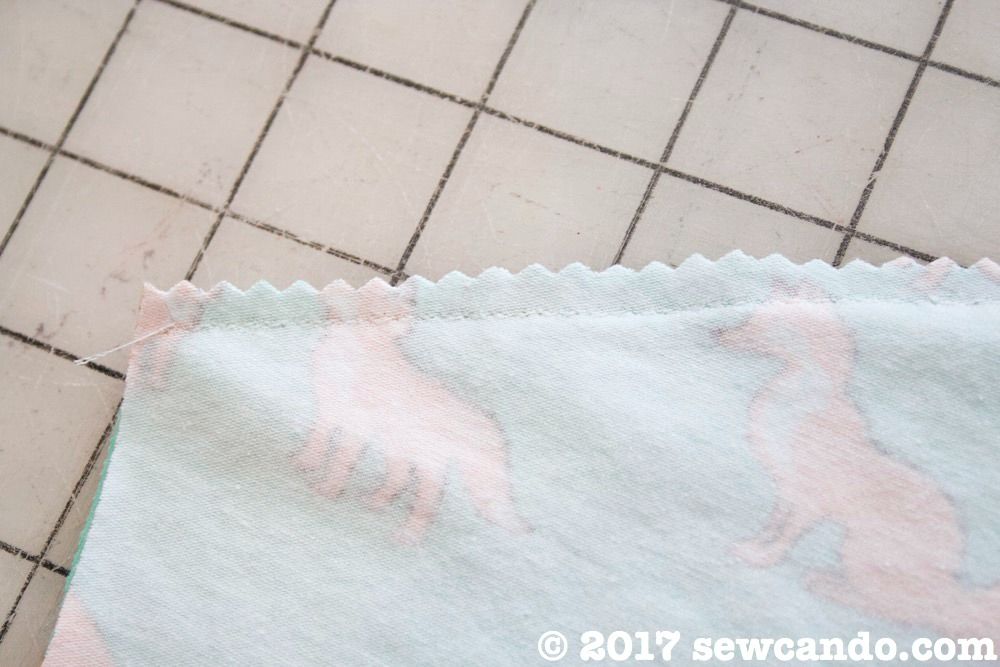
You can use a zig-zag, knit stitch, overlock or serge for the seams. Personally I like doing a triple stitch which is easy on any basic sewing machine. Trim down the seam allowances (I use pinking shears to make it quick & simple):
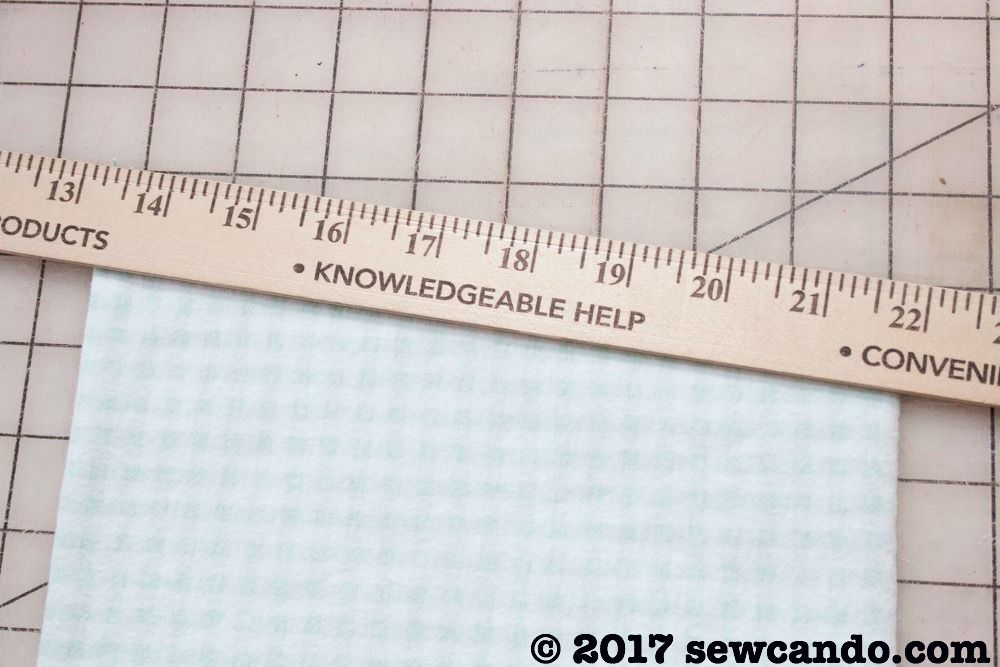
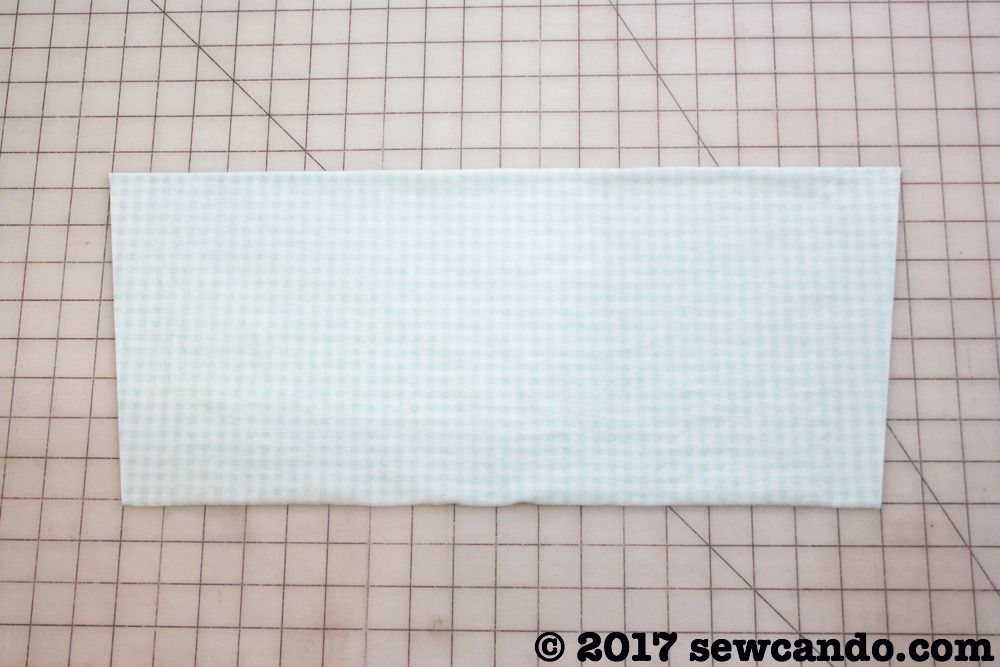
To make the cowl, measure the neck opening and add 2 inches to determine with cowl width. Mine was 18 inches wide, so the cowl piece needed to be 20 inches wide.

I cut a rectangle 20 inches wide by 17 inches high from my contrasting gingham knit. Then folded it in half downward.
Then, using a ruler angled inward an inch at the raw end, trim each side.
This slant will give the cowl the right slouchy-ness when done.
Open the cowl up, fold it width-wise, and stitch down the side using a 1/2 inch seam allowance. Trim then fold the cowl open, with the wrong sides together.

Mark the raw edge of the cowl and the neck hole into fourths:
Centering the cowl seam on the back of the shirt neck hole, pin cowl and shirt together, matching up the marking. Stitch all the way around. The cowl will be stretched slightly as you sew.
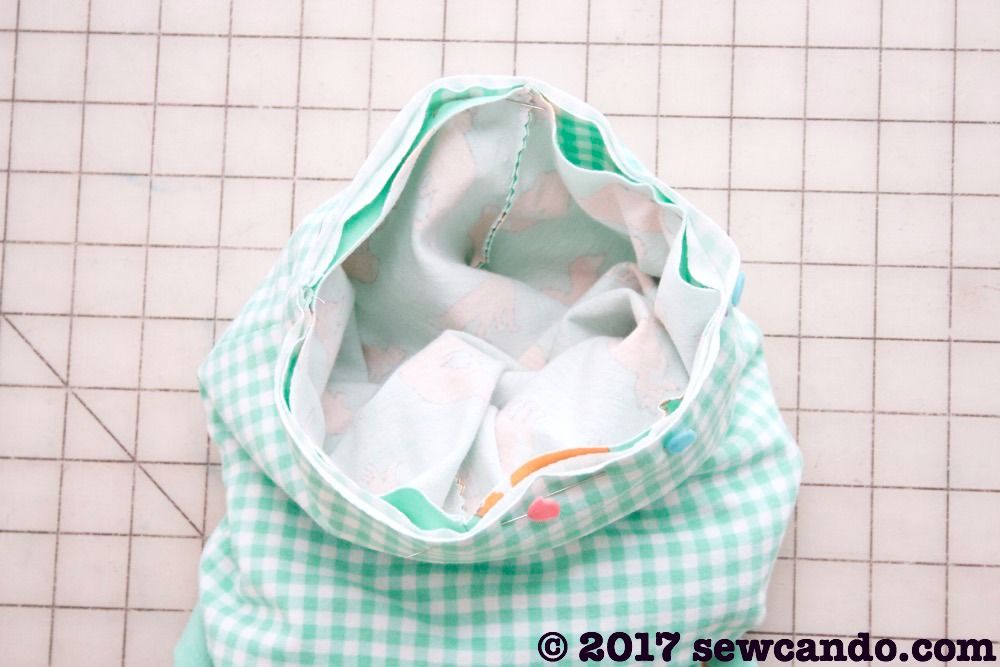
Pull the cowl away from the shirt, with the seam allowance going towards the shirt and top stitch 1/4 inch from the seam (using a stretchy stitch like the triple stitch so the opening will still have give).

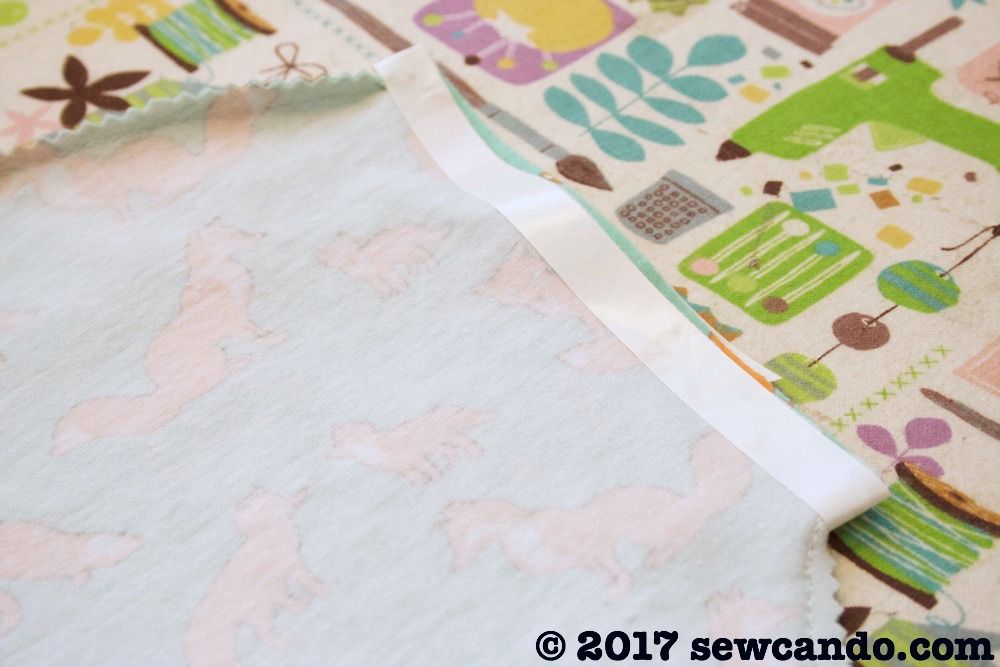
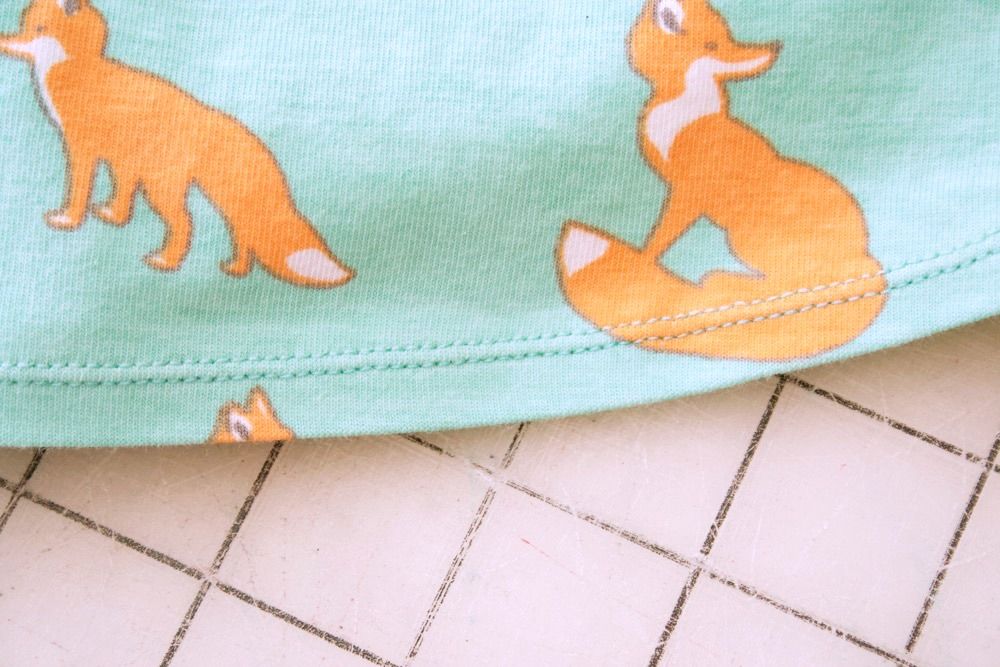
Time to finish the hems. I find using paper backed fusible tape makes this super easy. With the shirt turned inside out, press some tape along the edge of each sleeve and the bottom hem. Peel off the paper and fold the fabric down and press. No need for pins!
Use a twin needle to stitch the sleeves and hem.
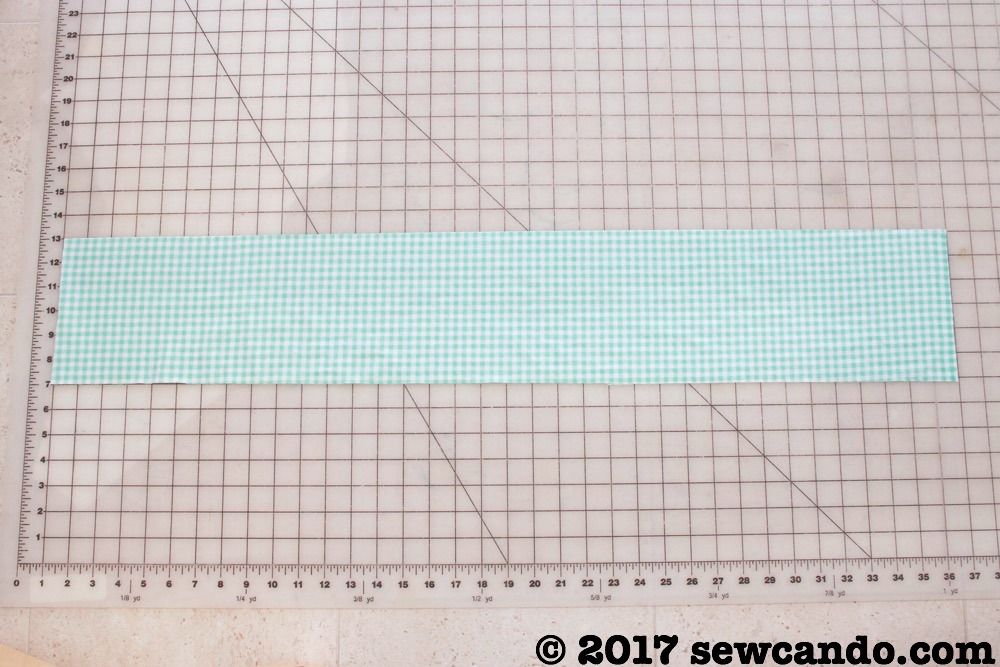
To make the belt, cut a strip of fabric that is 6 inches high by 36 inches wide (make wider or shorter depending on shirt size - this width will work well for 4T-7).
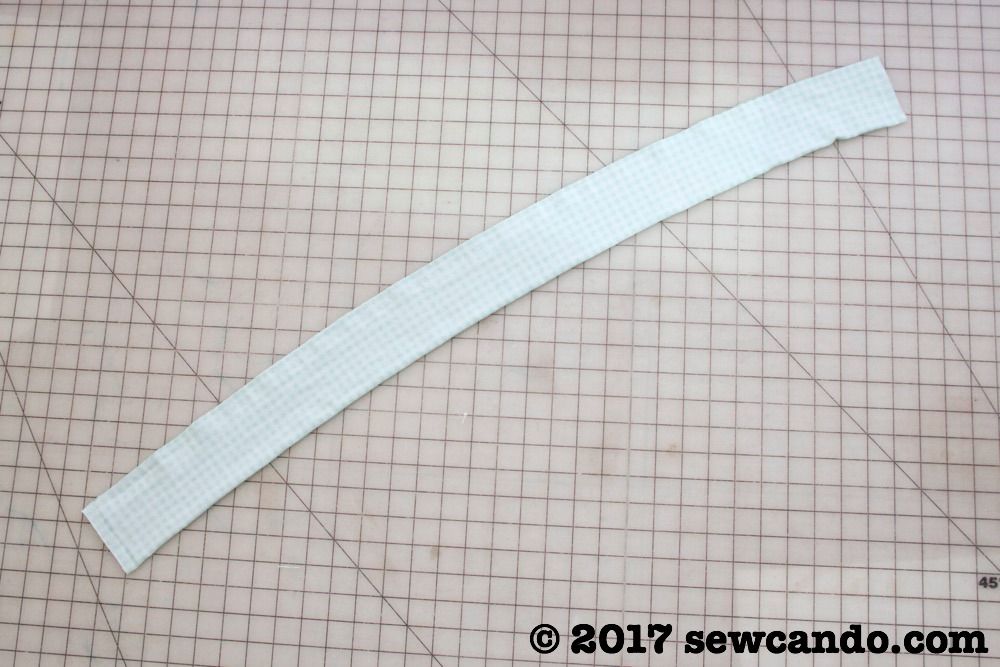
Fold strip in half and stitch along short ends and long side with a 3/8 seam allowance, leaving a 2 inch gap for turning on the long side. Trim allowances, turn and hand stitch gap closed.
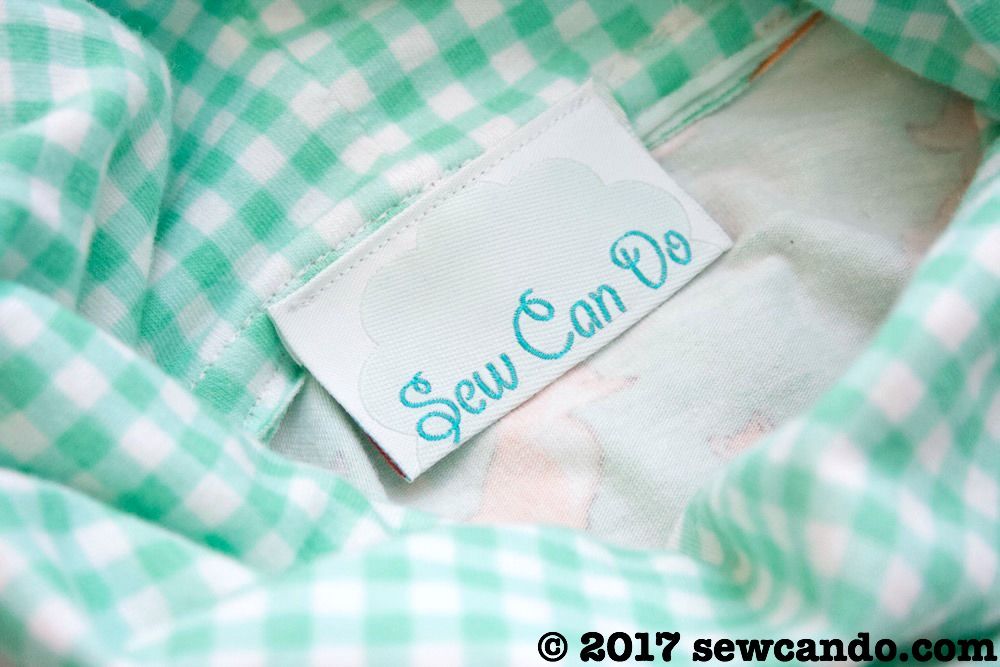
I added my Sew Can Do label inside the top to give it the finishing touch:
The weight of my fabrics was just perfect for this top and sewed really smooth. That's key to making knit sewing more pleasure than work. My daughter wanted to keep wearing this after the photoshoot, despite the weather turning cold again. She's announced it'll be back on her the minute the sun's warmth is back out. Now I really want to make one for me so I can enjoy it too!

I was not financially compensated for this post. Girl Charlee pays for button advertising, not sponsored content. I received knit fabric from Girl Charlee, to review & use as I desired. The opinions are completely my own based on my experience. For my complete disclosure policy, click here.
Love how you use the 2 fabrics together, I'd wear one of these myself! #CreativeMondays
ReplyDeleteOoo, super easy! This is my kind of pattern. I can already see one in dress length and several versions of neckline/sleeve lengths. Thank you for the great idea. Now to find some suitable fabric.
ReplyDeleteThis is a great inspiring article.I am pretty much pleased with your good work.You put really very helpful information. Keep it up. Keep blogging. Looking to reading your next post. Baby products
ReplyDelete