

With chilly weather upon us, what better way to stay warm, than with a classic look from the winters of past eras: A Faux Fur Lined Muff!
Muffs are such a nice, warm and toasty alternative to mittens.

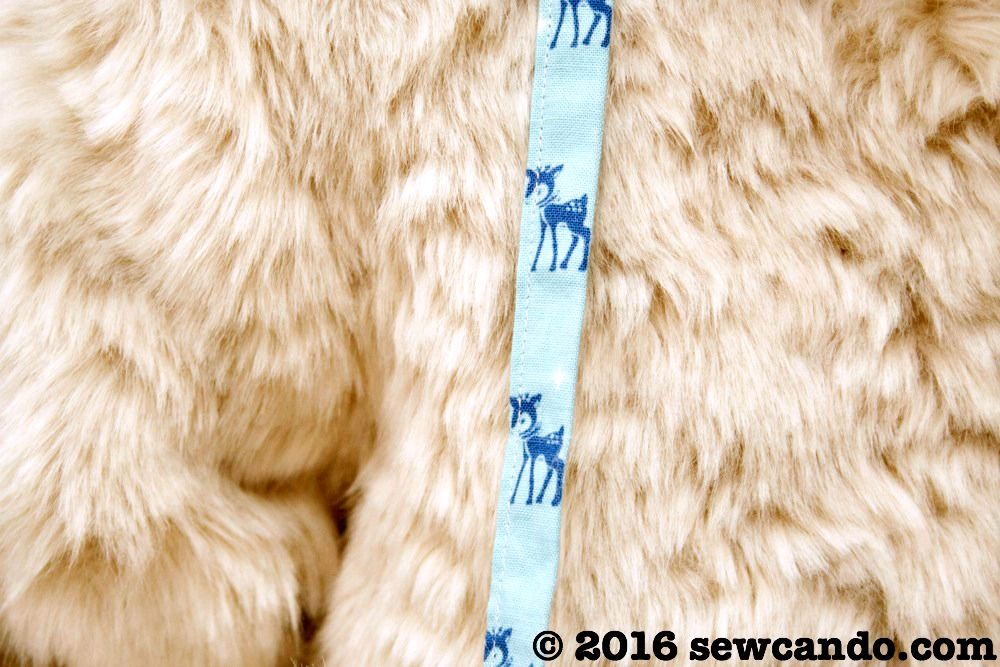
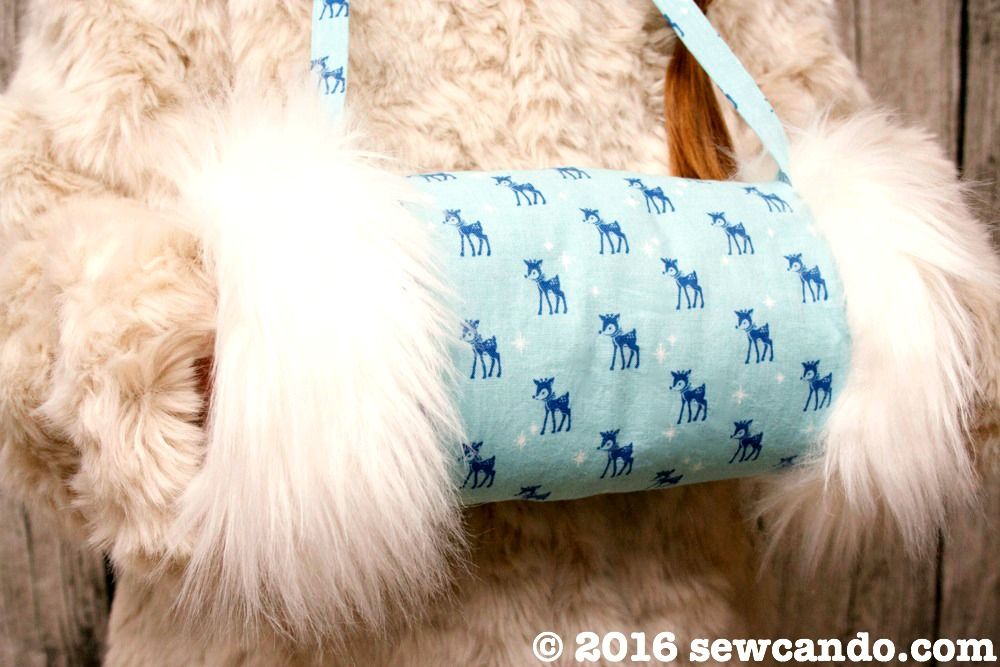
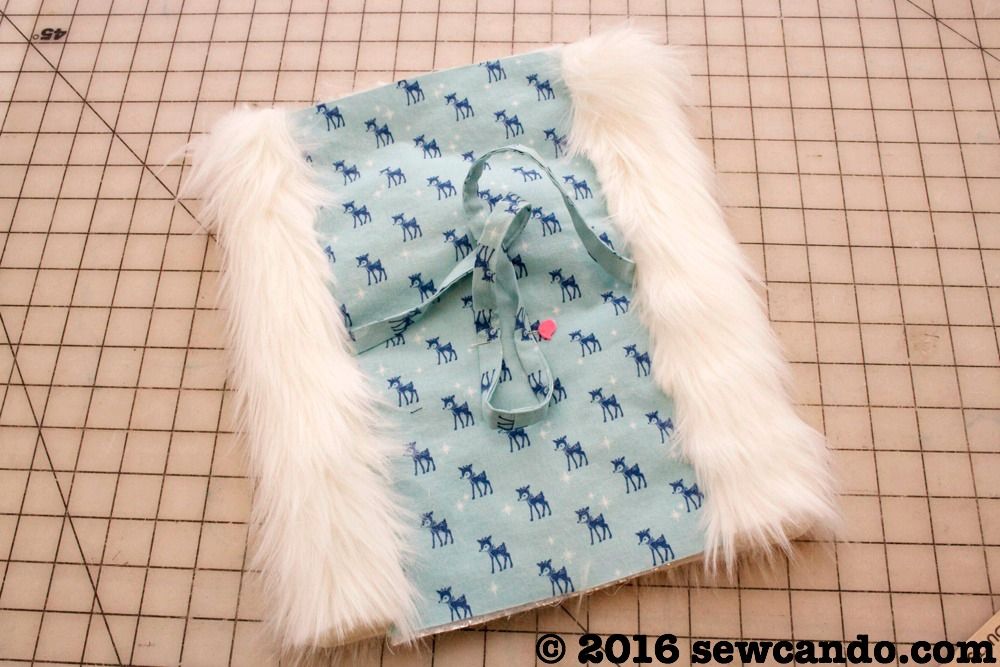
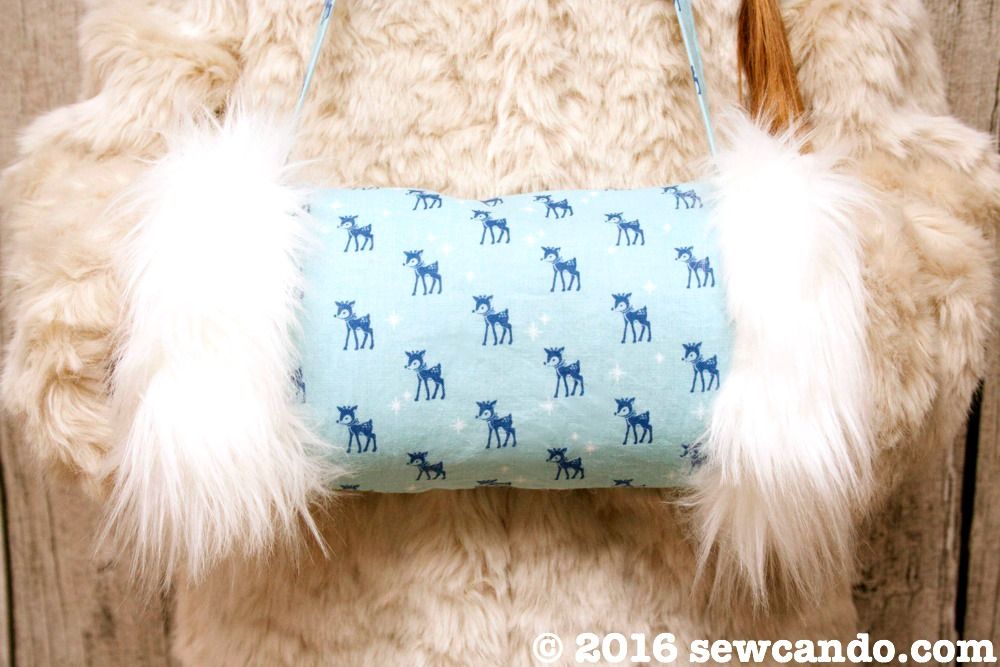
Added bonus - they're a lot harder to lose than gloves or mittens thanks to being a single piece and having a handy neck strap (which is a way to show off even more of the little deer print cuteness too):
I used some cute reindeer print cotton for my decorative outer fabric and ultra soft faux fur to coordinate. The cuddly faux fur not only looks pretty trimming up the ends, but it continues its coziness inside as a full lining. There's also a insulated batting interior between them that means the muff isn't just for looks. It keeps hands as warm as thick gloves, only now with a retro feminine style:
The nice thing about this wearable is it doesn't require a lot of fabric either, so there's plenty to use on other winter projects like stockings, gift bags or quilts. A big thanks to Kawaii Fabric for providing me with the cotton reindeer Christmas fabric. They have loads of high quality festive prints over there, so whether you like classic, retro, rustic, modern or kawaii (aka cute), they'll have the holiday season fabric you want!
~~How To Make A Fur Lined Muff~~
Materials:
- Cotton fabric (I used Cozy Christmas Reindeer)
- Faux Fur (I used Luxury Shag in Ivory)
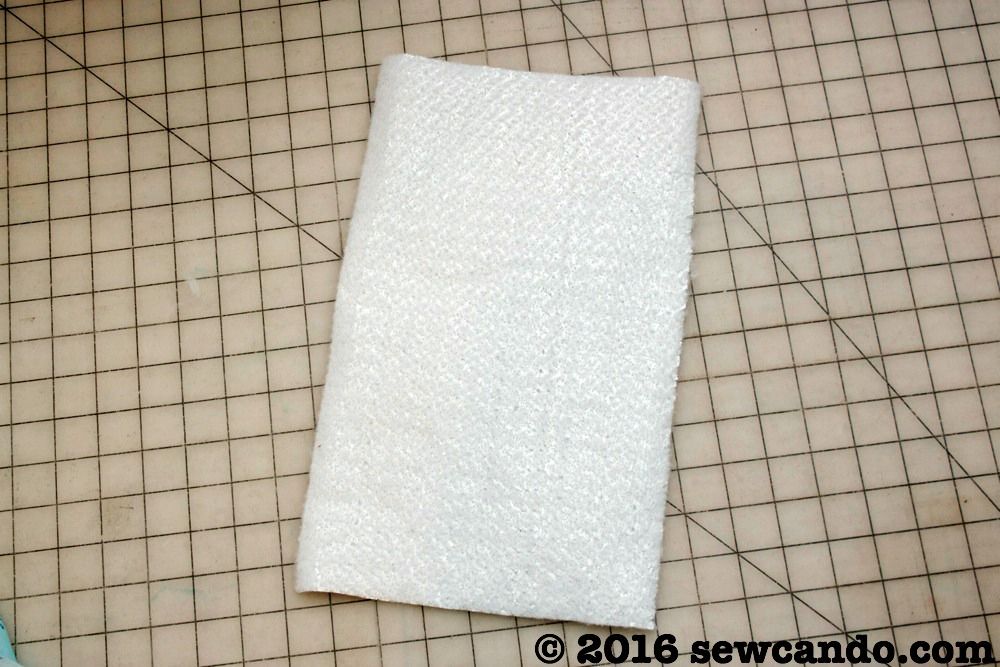
- Insulated batting
- Ruler, rotary cutter/shears, pins, iron, hand sewing needle
Mine is child-sized at 9 inches in circumference and 11 inches wide when finished. If you want adult sized, just add a few inches to the width and height.
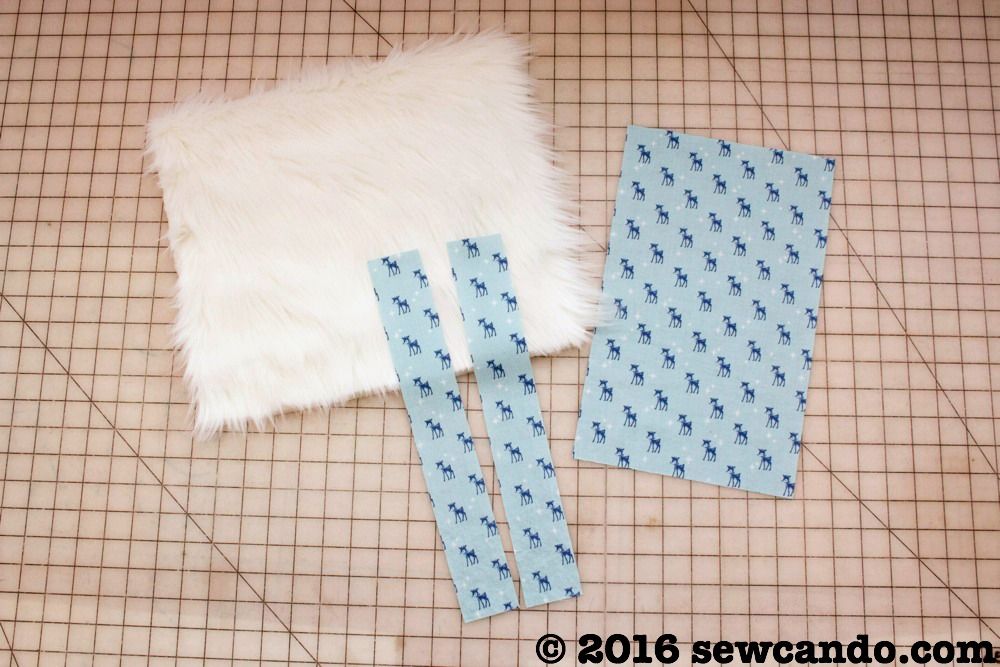
Cut the following pieces:
- From the cotton, cut a rectangle 8 inches wide by 13 inches high and two vertical strips that are 2 inches wide by 13 inches high.
- From the faux fur, cut a rectangle 14 inches wide by 13 inches high.
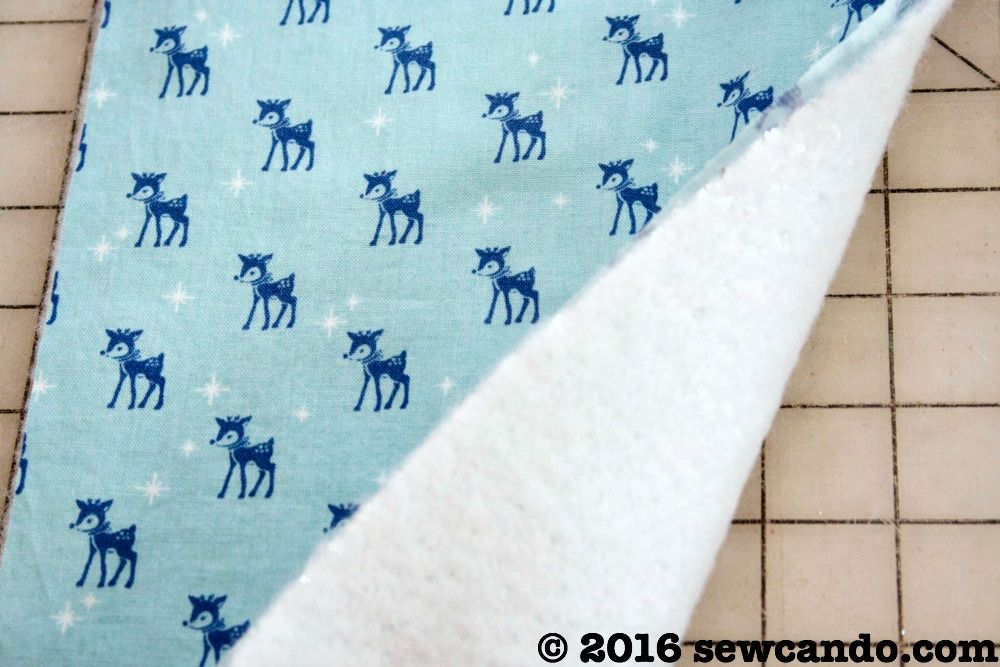
Cut a piece of insulated batting to the same dimensions as the outer fabric as well. This is usually available in the stabilizer section. It's polyester batting that is needle punched with mylar, which makes it great for retaining heat:
Place the insulated batting behind the wrong side of the outer fabric. I find that the texture of the batting clings to cotton well enough not to need to baste them together:
With right sides facing, stitch together one short end of each of the neck strap pieces with a 1/4 inch seam allowance. I made sure to have the direction of the print going downward on both, so one side of the strap wouldn't look upside down when done:

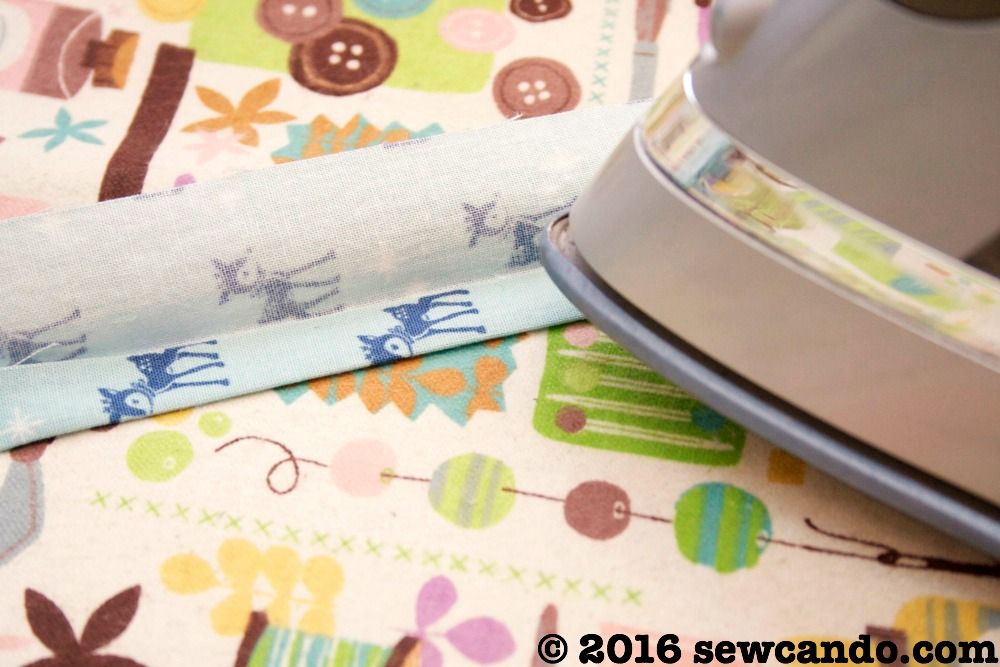
Fold the strap in half lengthwise, wrong sides facing, and press, then open and fold each raw edge inward and press (as you would make double fold bias tape):
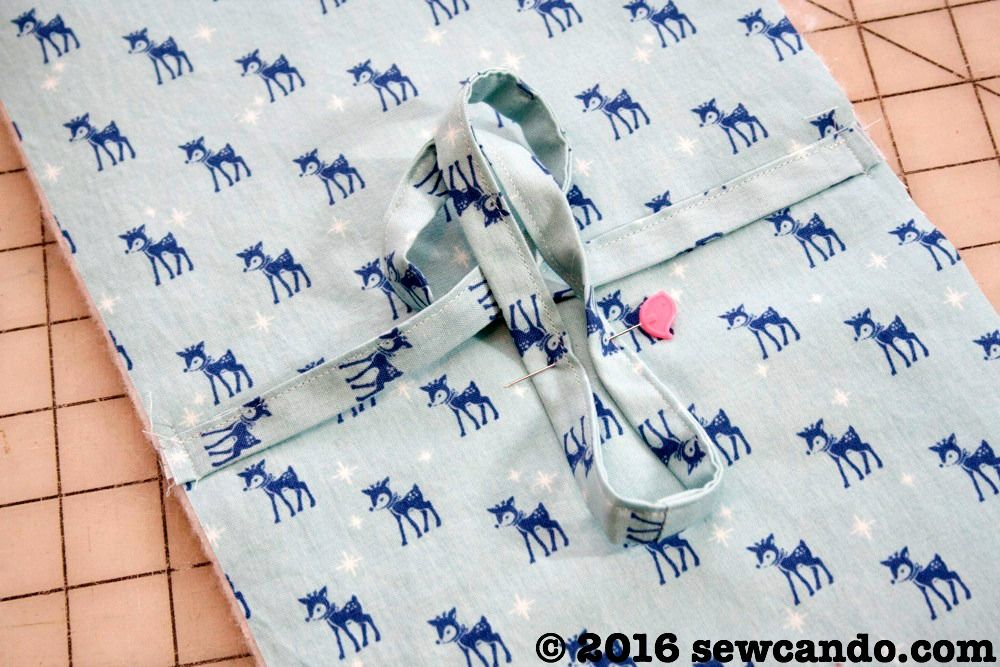
Edge stitch down the open side to finish the neck strap:

Find the midpoint of the fabric and baste the raw edges of the neck strap to either raw edge at the middle of either side:
With right sides facing (and fur nap direction going downward), clip, then stitch together the length sides of the outer fabric to the length sides of the faux fur, using a 1/2 inch seam allowance.

Now a long tube has been created:
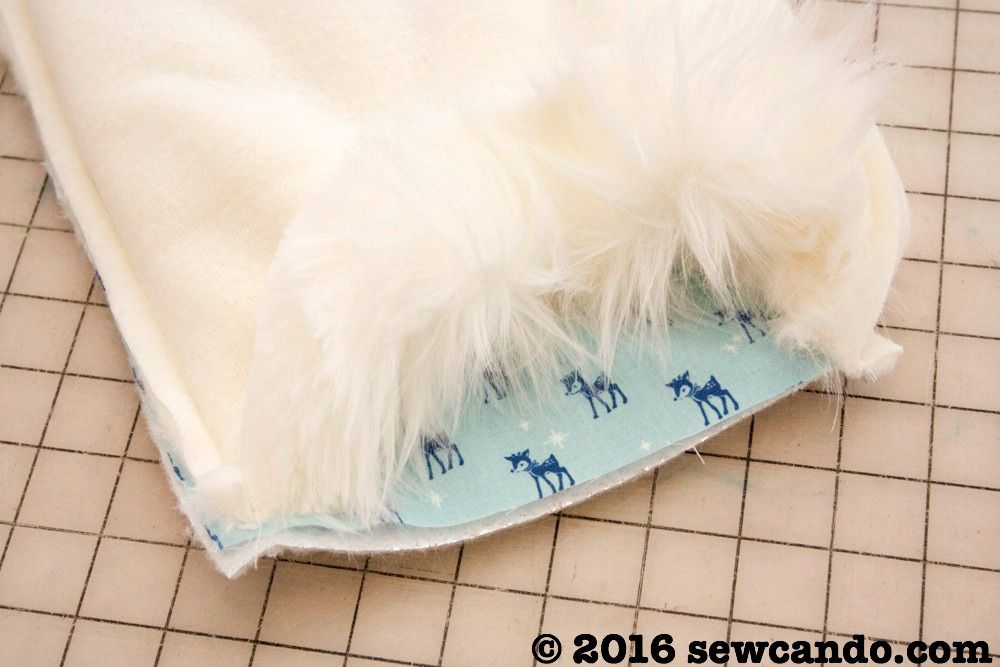
This is what it will look like turned right side out:
To do the seam turning into a cylinder: with the muff wrong side out, match up the raw edges of the faux fur and outer fabric and clip/pin together to form a short tube like this:

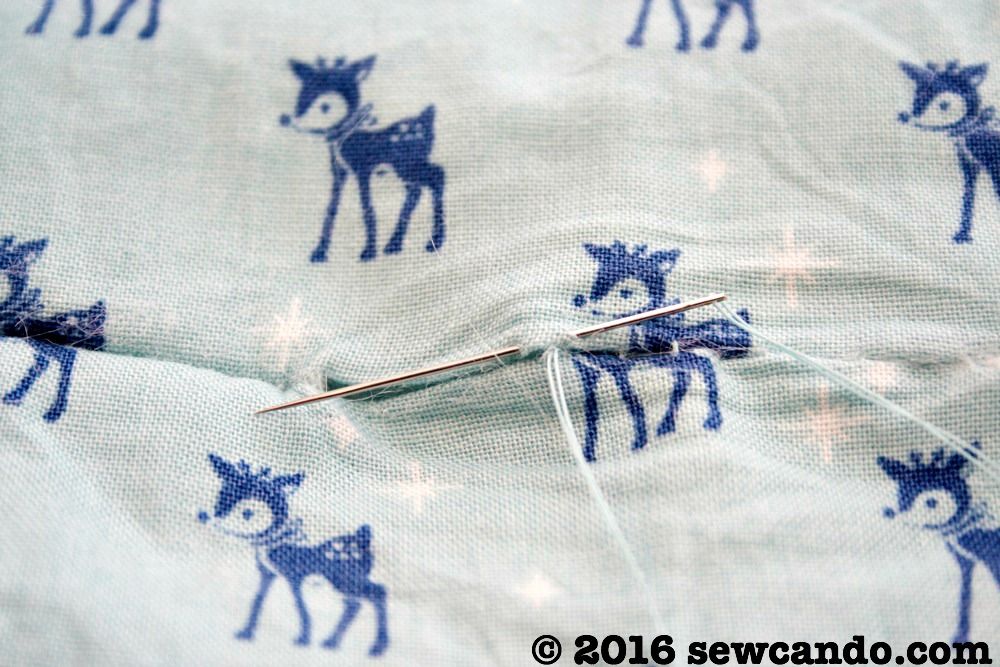
Stitch all the way around, but leave a several inch gap on the outer fabric bit for turning. Turn right side out when done.
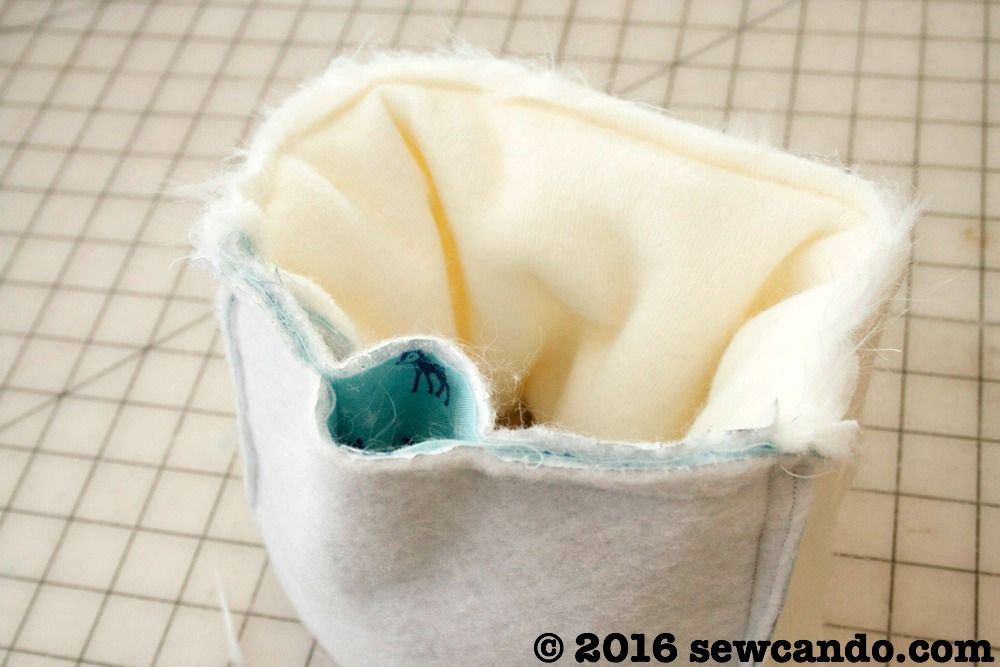
Then slipstitch the opening closed and the muff is done.
It's a perfect companion to the new Veruca Faux Fur coat I recently got for my little lady too. In case you're wondering, it's from Mini Boden's Charlie and The Chocolate Factory Roald Dahl collection. We're huge fans, so it only seemed right to make a cute fur muff to go with it!


I was not financially compensated for this post. I received fabric from Kawaii Fabric, to review & use as I desired. The opinions are completely my own based on my experience. For my complete disclosure policy, click here.
Hi, Cheryl! This is the cutest project! You've inspired me to dig out my sewing machine once more. Love all the step-by-step photos, they will definitely help me out a ton! The reindeer fabric is perfect! Pinning for later, thanks for sharing! Have a fabulous Thanksgiving!
ReplyDeleteErica @ thefirst-taste.com
Hearing that makes my day Erica! Happy Holidays:)
DeleteBrings back memories - I had one of these as a child!
ReplyDeleteI did too and now my daughter loves using hers.
DeleteI have been wanting one of these for YEARS as it's almost impossible for me to wear gloves or mittens. I'm so excited about this tutorial! Thanks for sharing!
ReplyDeleteThat's music to my ears Wanda! So glad others love the idea of bringing these back to winter.
DeleteHi - I'm making these for my grandchildren - but I do have one grand son. Any ideas how to make this more boy-ish?
ReplyDeleteI was thinking of using his favorite super hero fabric, and make the cotton fabric a bit longer than the fur. Then I could sew a pocket for elastic on the ends, with all the fur inside and all you could see would be the Spiderman fabric. Would that work?
Yes that would be a great idea. Another option would be to use a more "boyish" lining like a black sherpa.
Delete