
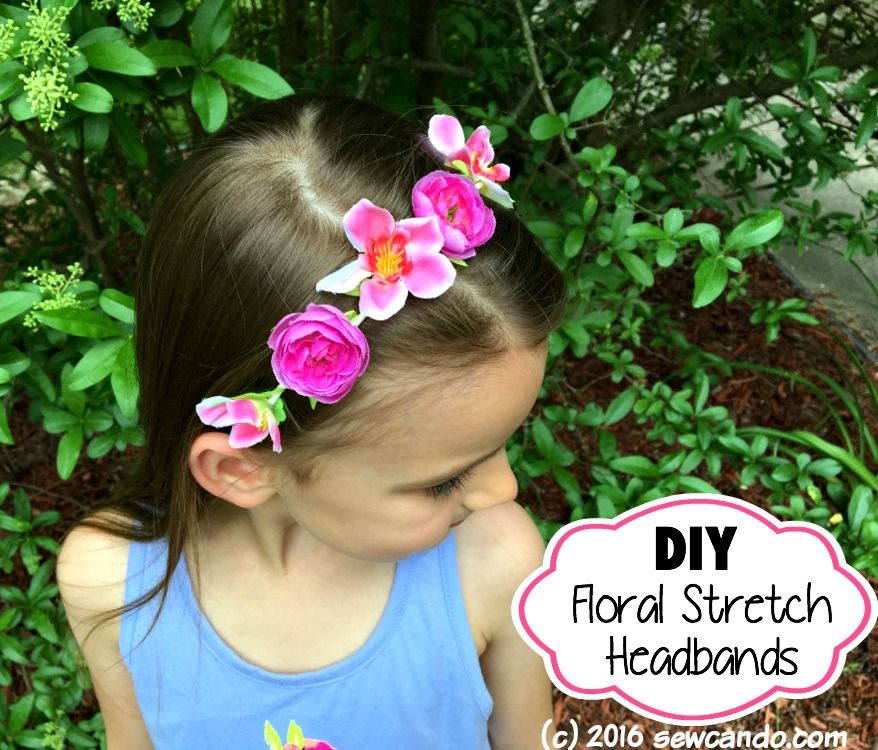
Lately I have been feeling super slow on progress with new projects. Like a sloth could craft quicker than me these days. It's a busy time of year and cleaning up has trumped a lot of "I wanna make something" time. Luckily this how-to was fast, fun AND gave me a chance to use up some supplies collecting dust, so it's a stash-buster too! DIY Floral Headbands. SO worth making!!

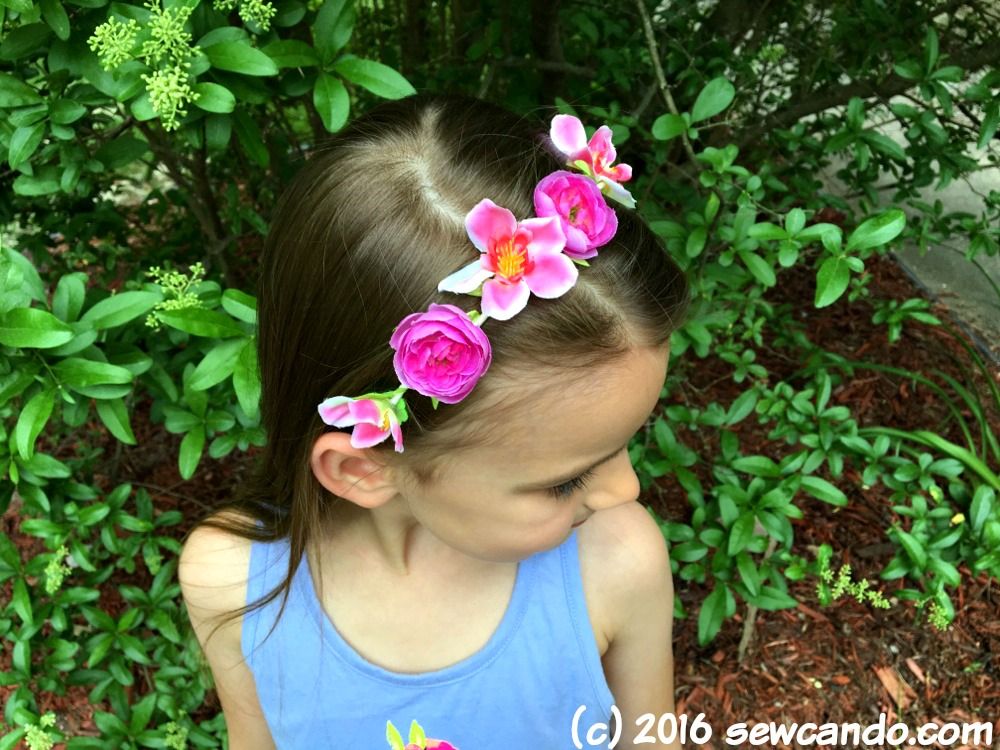
I've seen a lot of make-yourself headbands over the years, but a lot of styles just don't work for us personally. The versions with wider elastic bands or that use plastic headbands never really stay put or feel comfy for me or my little lady. These totally do and match almost everything in her summer wardrobe. Plus, they look so lovely on:

I literally could not stop taking pictures of them outside!
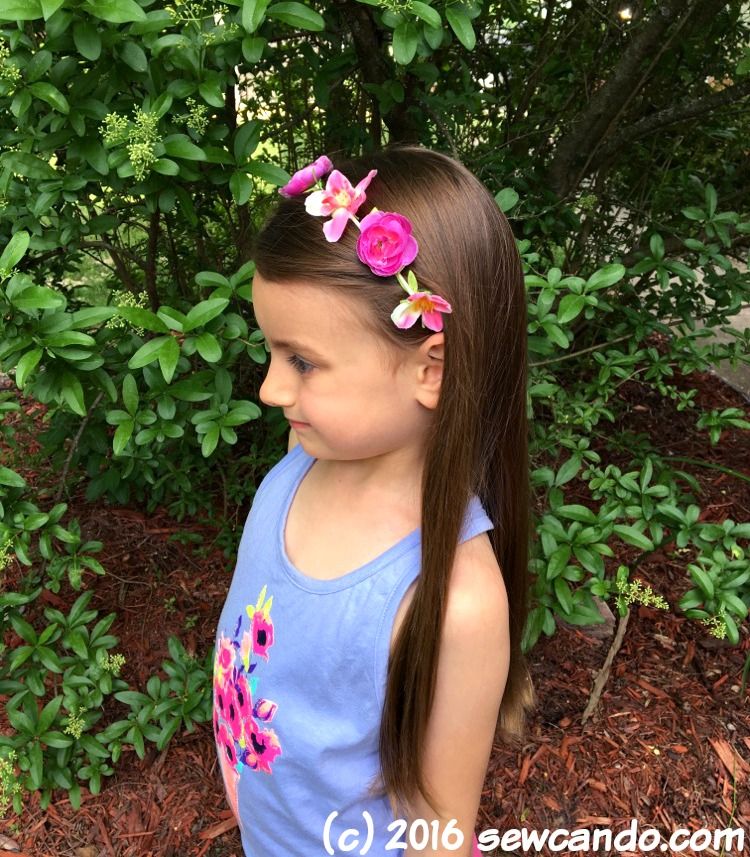
They look like we just plucked them from the garden, which I love:

Making them is pretty easy AND cheap (in my case free, since I had all the gear in my ridiculous hoarder stash).
Materials:
- Thin elastic hairbands (can find at drugstore)
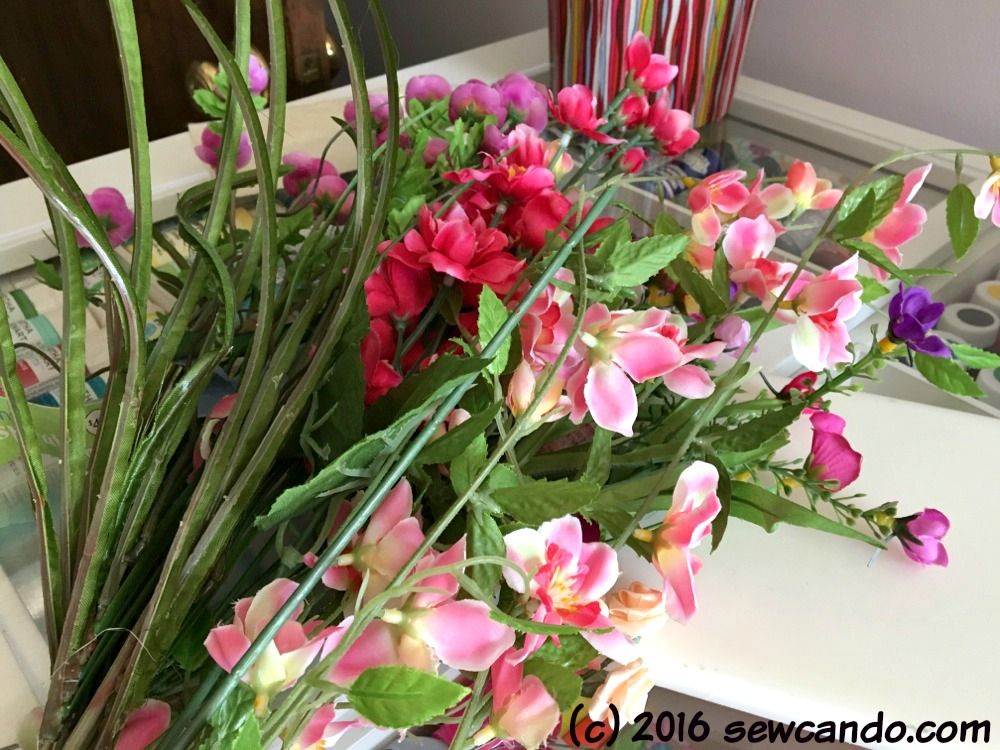
- Faux flowers & leaves
- Felt
- Hot glue gun
- Scissors
- Optional: Cuttlebug or die-cutter
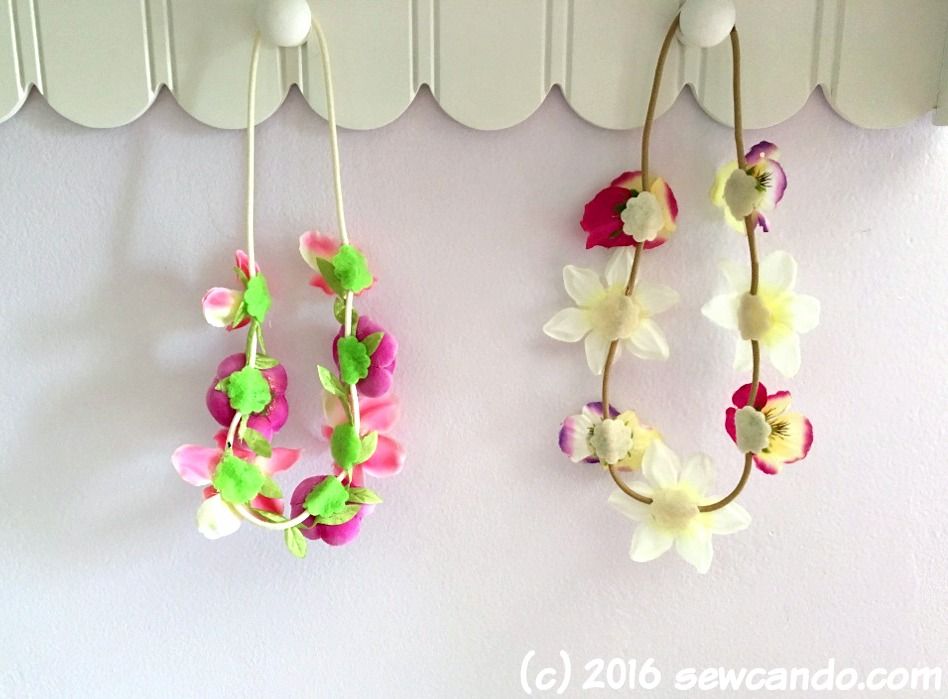
To attach everything to the elastic, I used small felt shapes. You could just cut some plain circles or strips, but I was feeling fancy (and had this little flower shaped die), so I cut a bunch with my Cuttlebug.

This makes them look pretty on the back side too:
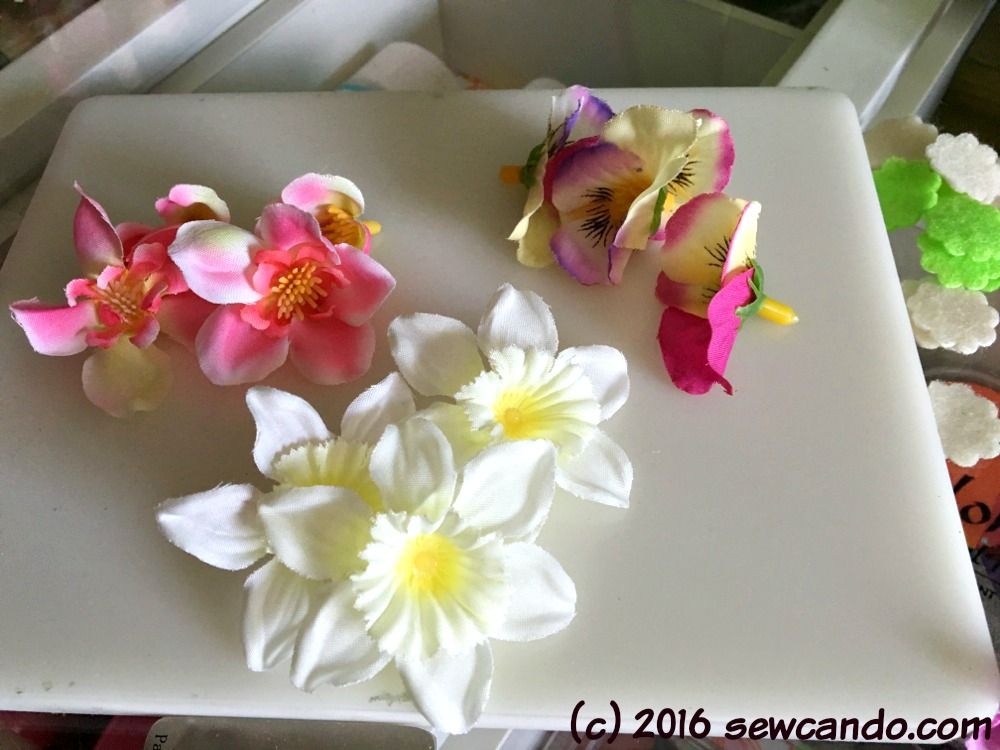
I pulled some flowers off the random bunches I had:
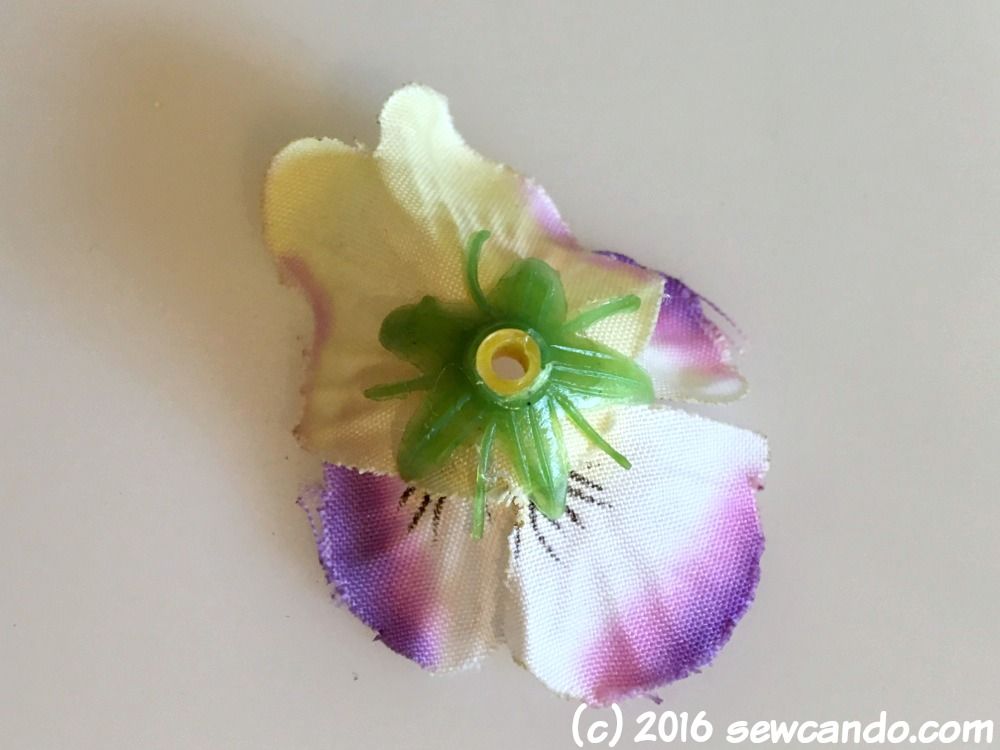
I made sure the centers stayed intact:
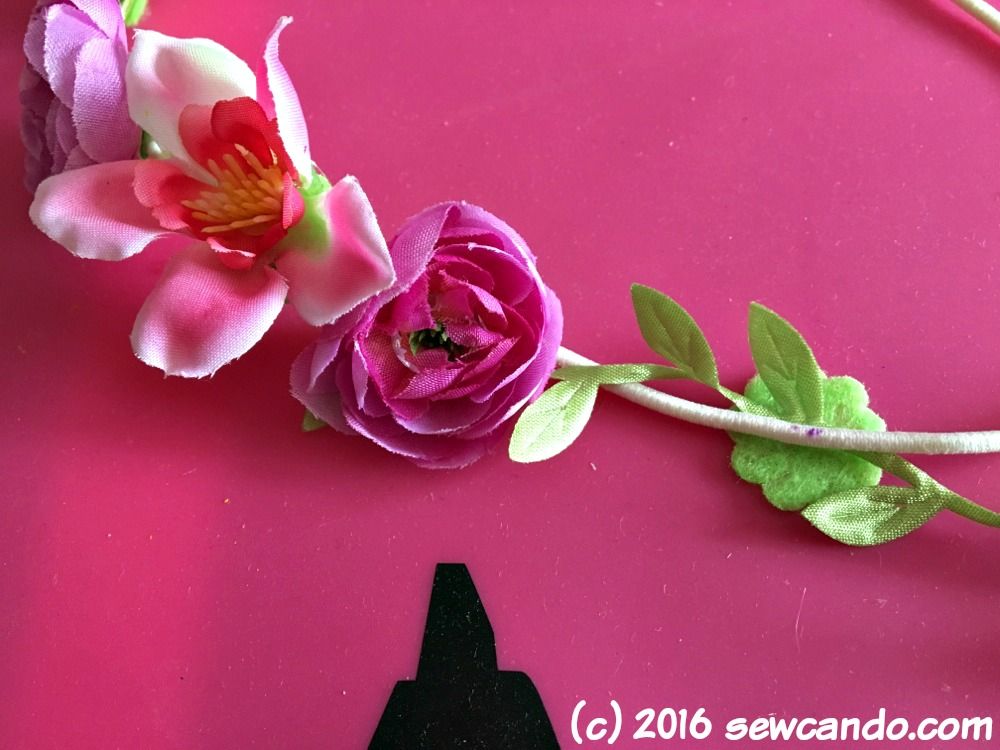
I then clipped off the plastic bits at the back that stuck out so they would lay flat, adding a little hot glue to keep the layers all together:
I layered a felt piece under the hairband and then a blob of hot glue.
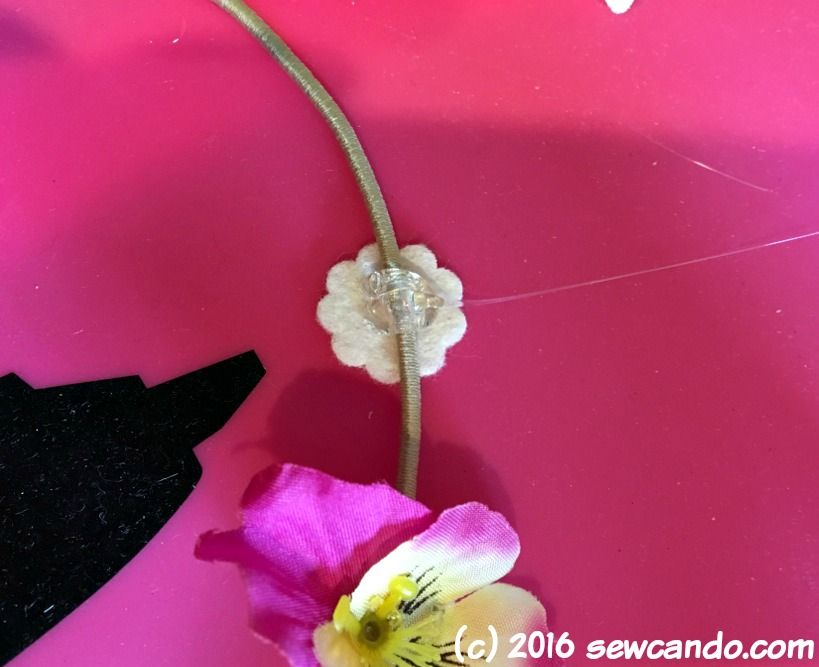
I put a flower on top and pressed the felt towards the flower to get everything to stick together.

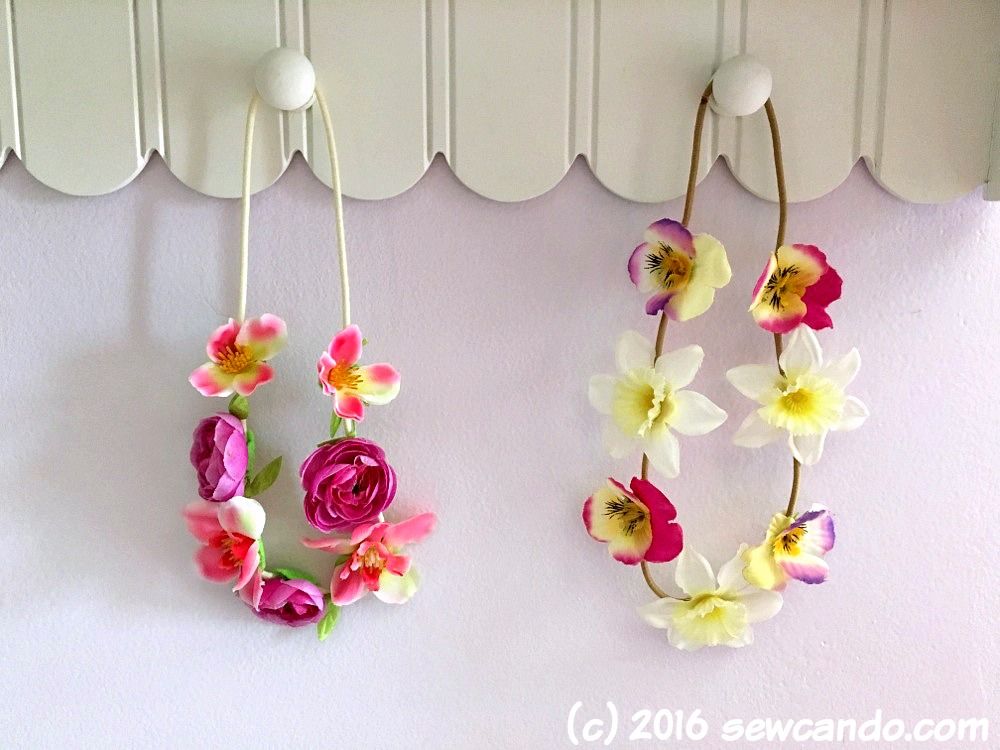
I continued with more flowers to get the looks I wanted on each of them. For one I also wove some leaf ribbon around as I added flowers for a garland look:
They look just like some I've seen in stores, but were a lot thriftier and also had the exact color combinations I wanted to match various outfits.
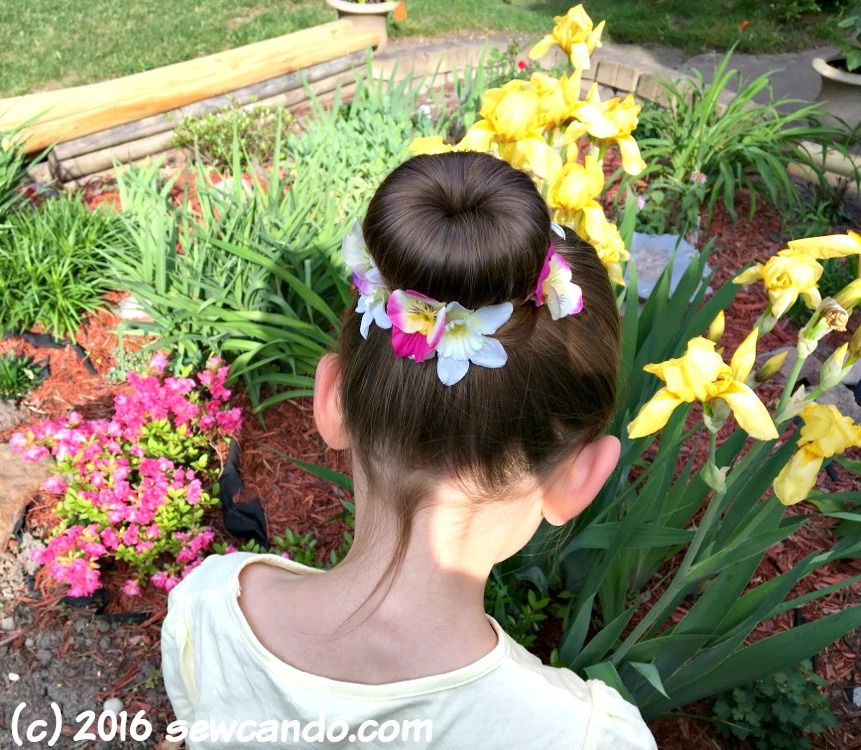
These are great to wear in the usual headband ways, but also are great double wrapped around buns for easy up-do decoration:
I've got a few bands left, so I'll be making a few more. That way I don't have to steal these from my 6 year old. Mom's got to have pretty hair too, right?

Absolutely adorable Cheryl. Great to see you over at Blog Handmade this week too :D - Chris
ReplyDeleteThanks Chris. I've been a bit swamped with non-blog things lately, so I'm happy I was able to get this up and come over to visit:)
DeleteThis is so cute! Love this DIY :)
ReplyDeleteBlessings,
Edye | Http://gracefulcoffee.wordpress.com
Thanks Edye. It was fun to make them too!
DeleteDoes the glue hold with the stretching of the band?
ReplyDeleteYes - I haven't had any trouble with it. Leaving a bit of space between the flowers allows for some "give" room.
Delete