
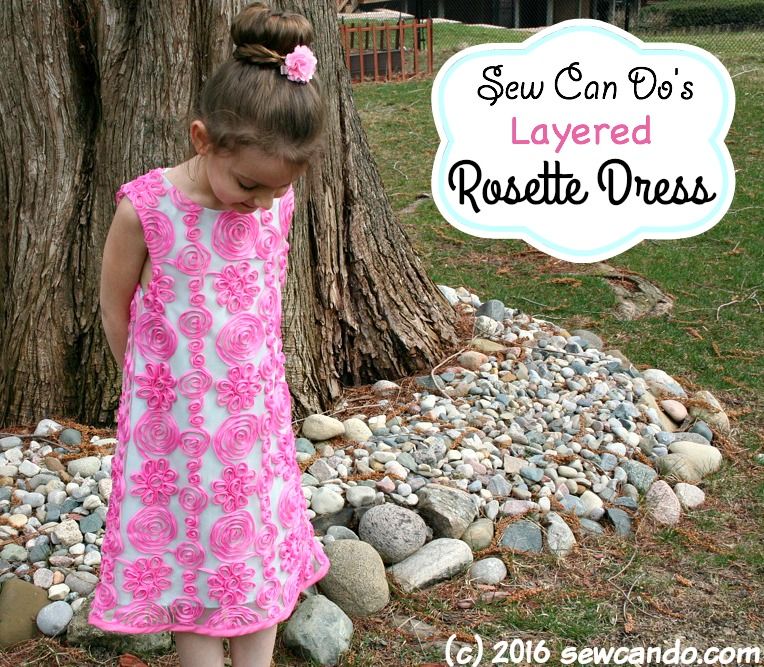
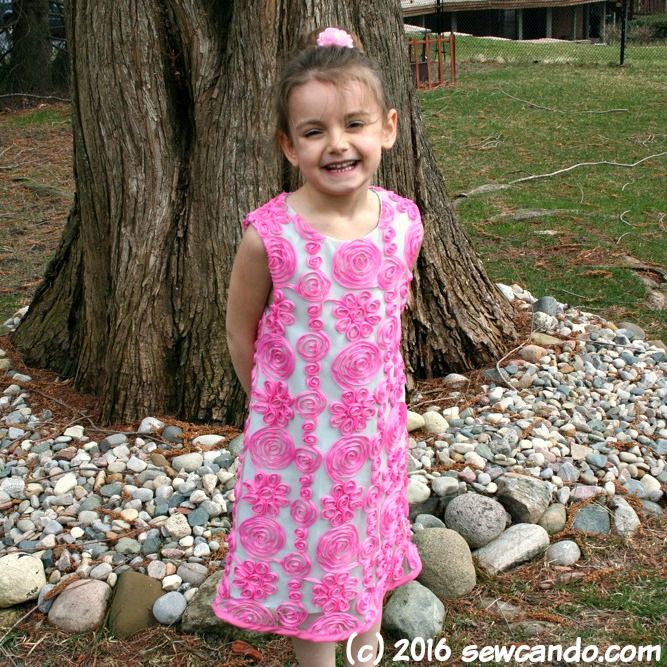
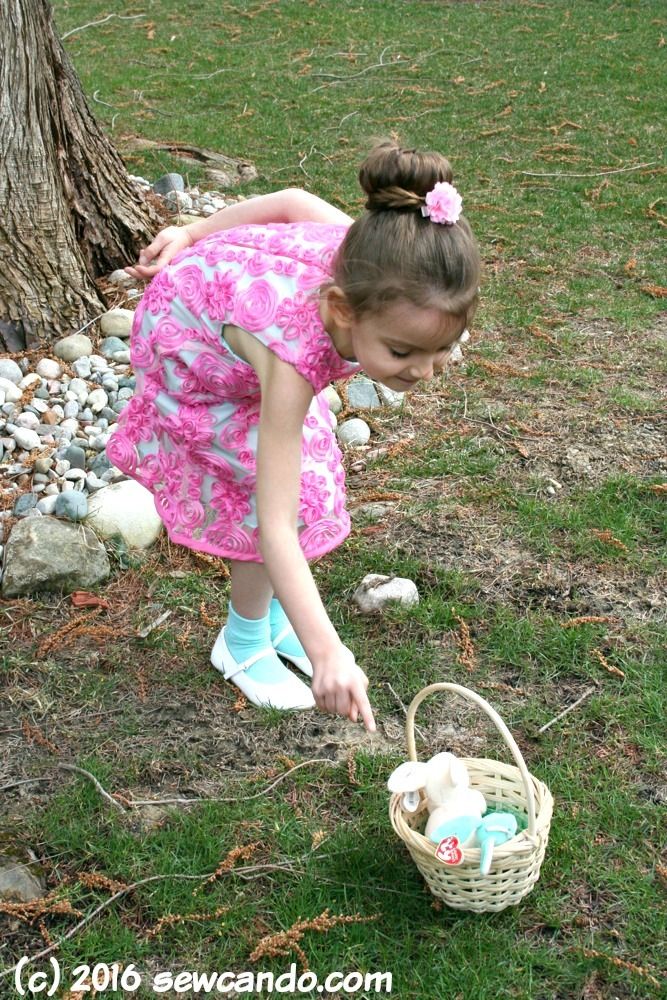
Making an Easter dress for my little lady has become a tradition. I never see quite what I want in the stores and I'm thrifty so I don't want to spend much for something that's not going to be worn a lot. Of course this year I was also short on time, which meant I needed something I could make in a weekend. My results were this Layered Tulle Rosette Dress.
With a little cardigan it's just perfect for finding eggs and cuddling bunnies:

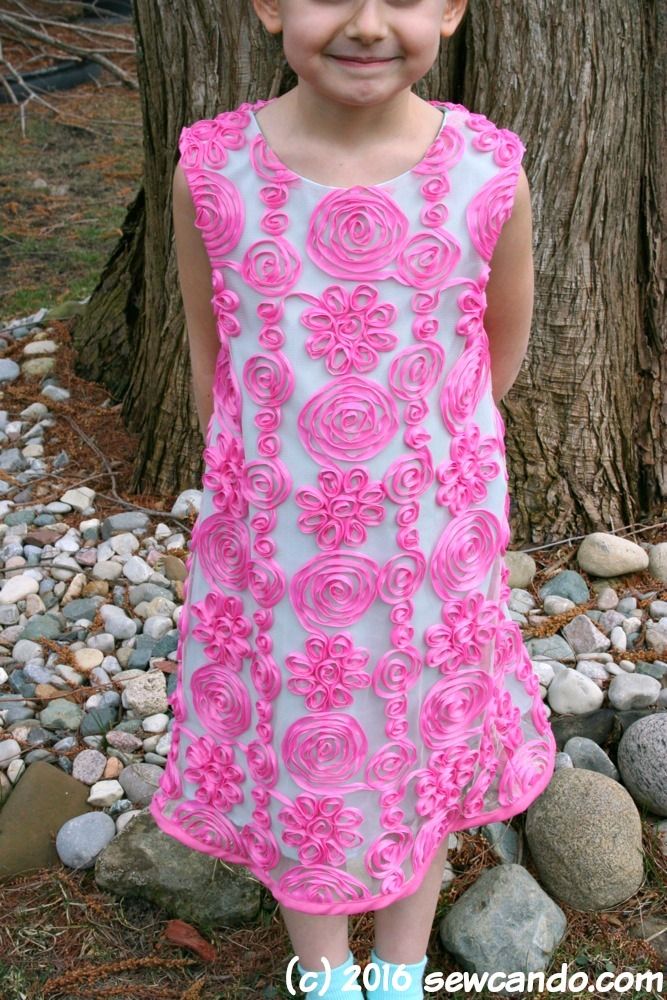
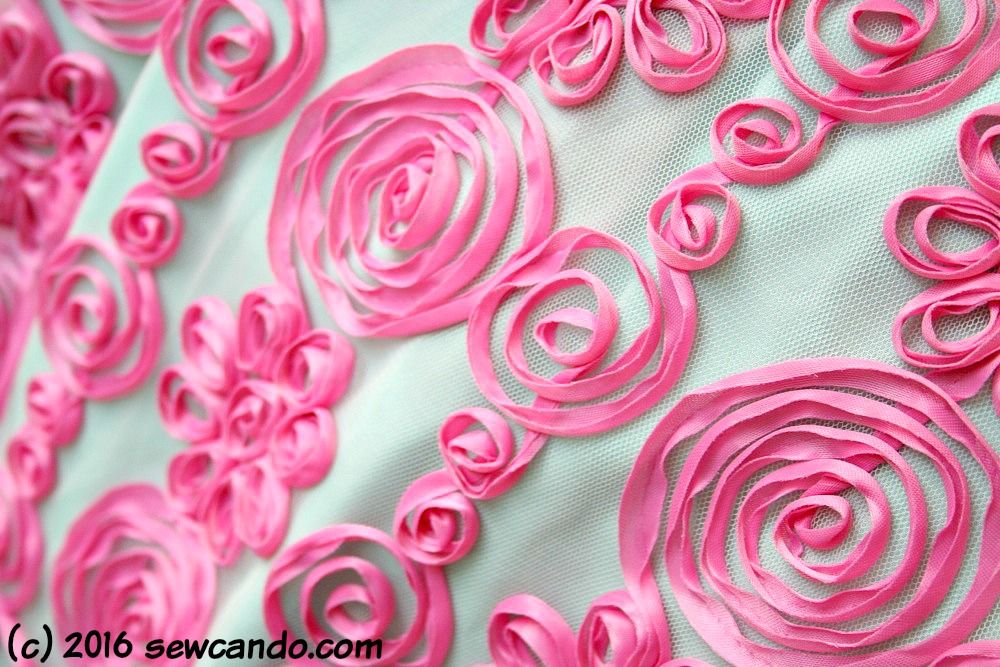
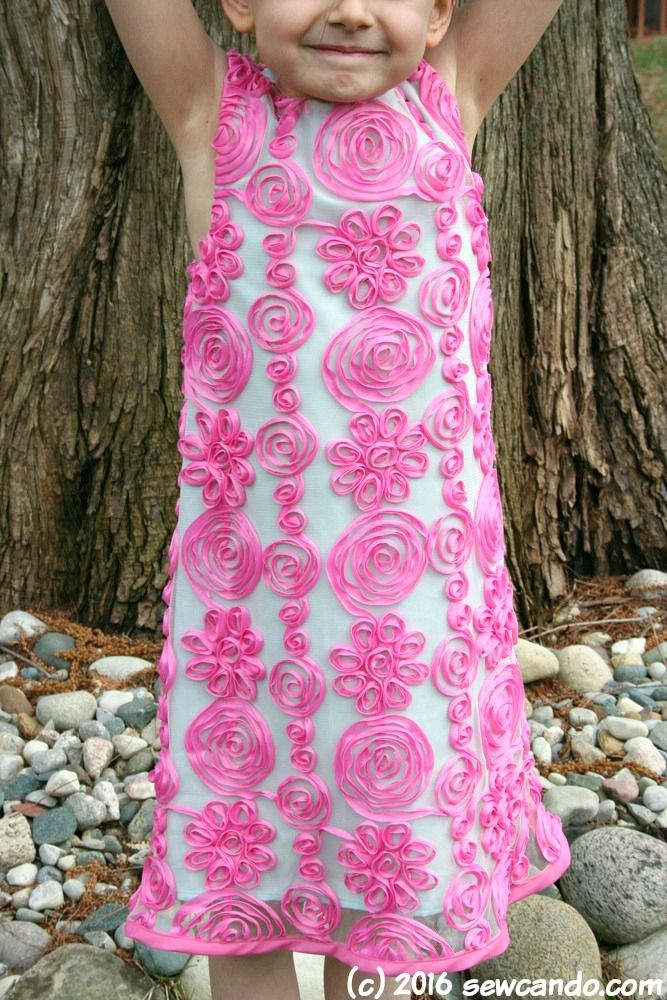
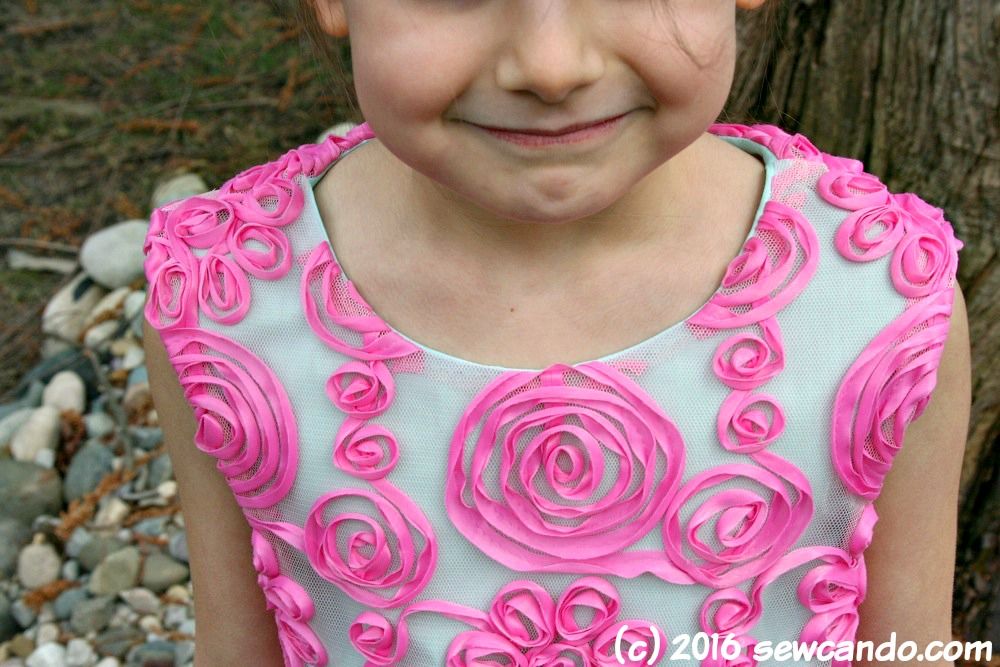
By using a pale aqua cotton for the lining, the pink ribbon on the tulle really stands out:
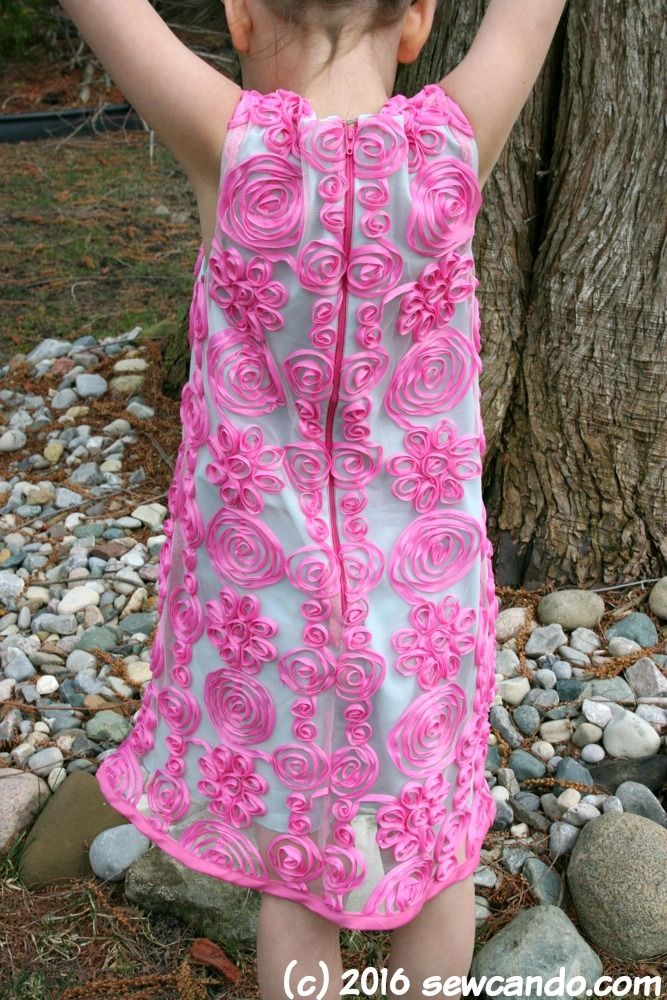
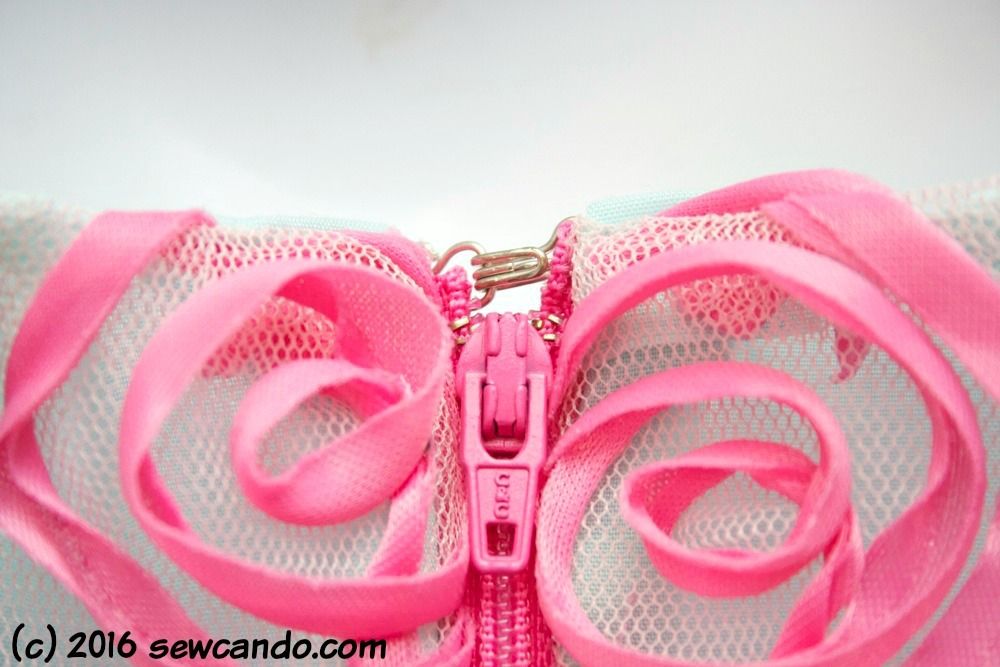
It's also easy to get on & off with a nice long back zipper:

Even though it's a busy & bright colored fabric, it still feels light and flowy since the layers are only attached at the neck and arms.
The best part? I only had to buy the zipper & bias tape. In keeping with my no-more-fabric-hoarding mantra, I dug the fabrics out of my stash. I'd bought the tulle years ago with the usual "Ooohh pretty! No idea what I'll do with it." non-plan and left it in a bin. Now it finally has it's time in the sun!
For the dress design I made a new variation using my DIY Lots of Looks for Knits Pattern as a base. This is the 4th style I've made with this pattern and I love it. SO much easier than buying or drafting something all new every time and it works great with loads of fabrics.
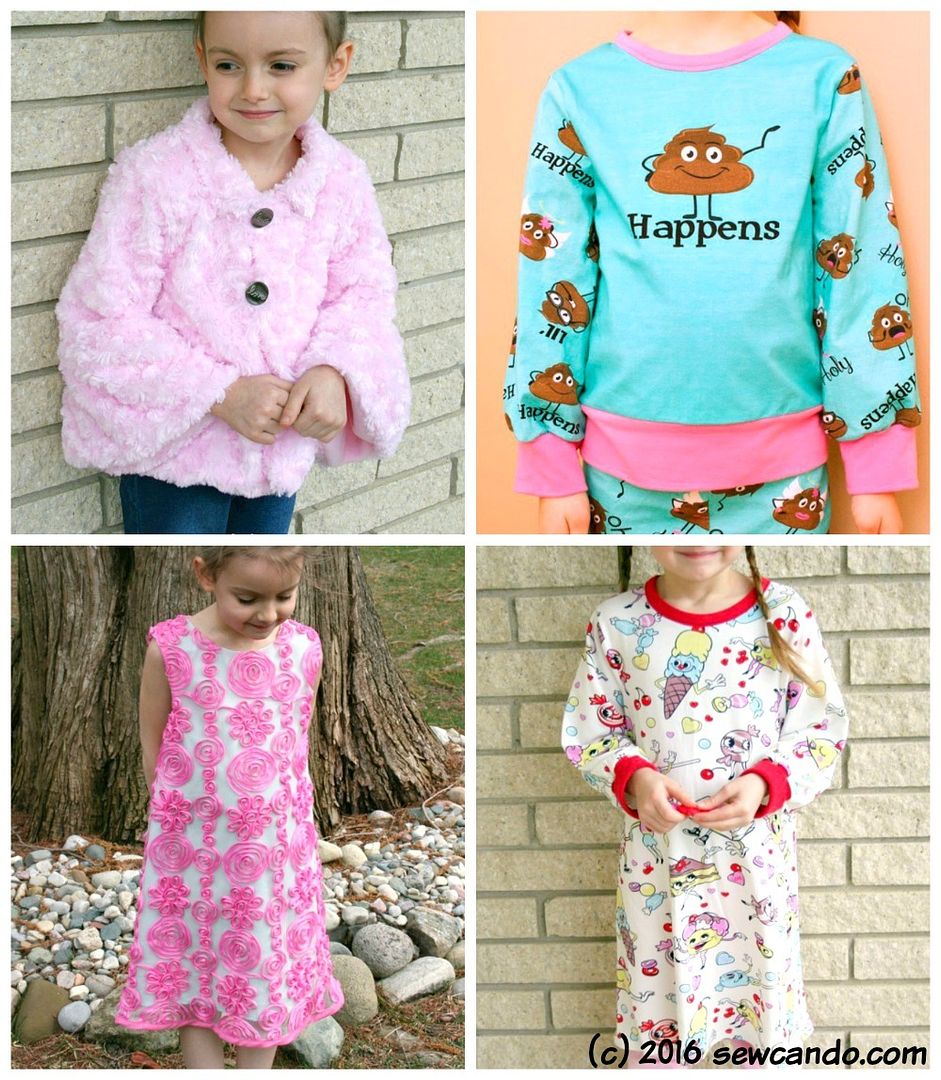 |
| Chic Cuddle Coat, Poo Pajamas, Tulle Rosette Dress & Knit Nightgown |
Here's how I made the Layered Rosette Dress....
Materials:
- Embroidered tulle fabric
- Solid cotton fabric
- 16 inch Zipper
- Double fold bias tape
- Zipper foot & walking foot
- Notions (pins, rotary cutter, iron, tailor's ham, hand sewing needle, matching thread)
- Hook & eye
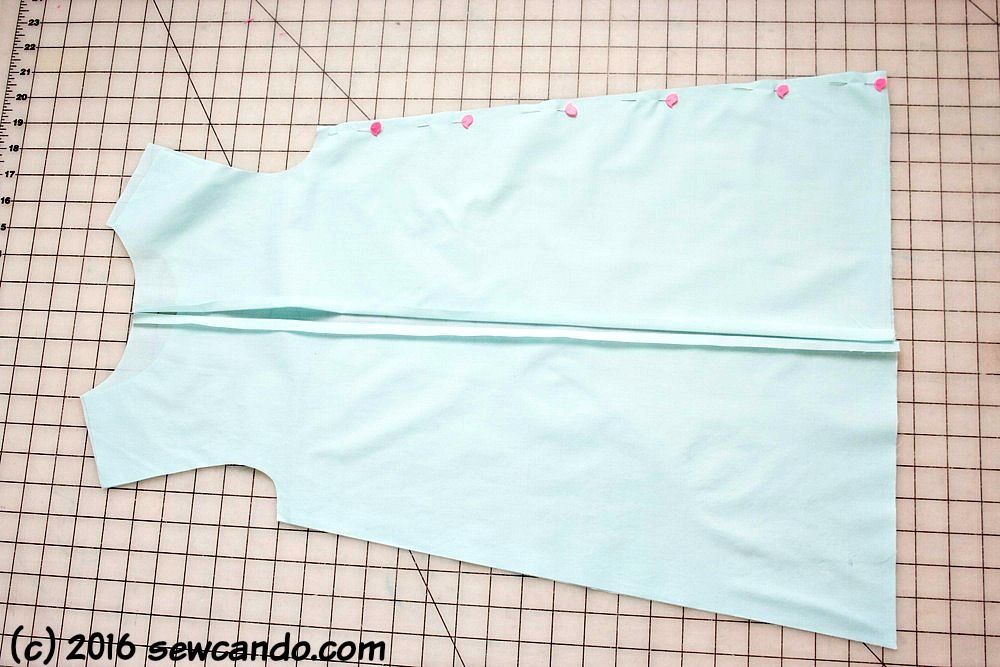
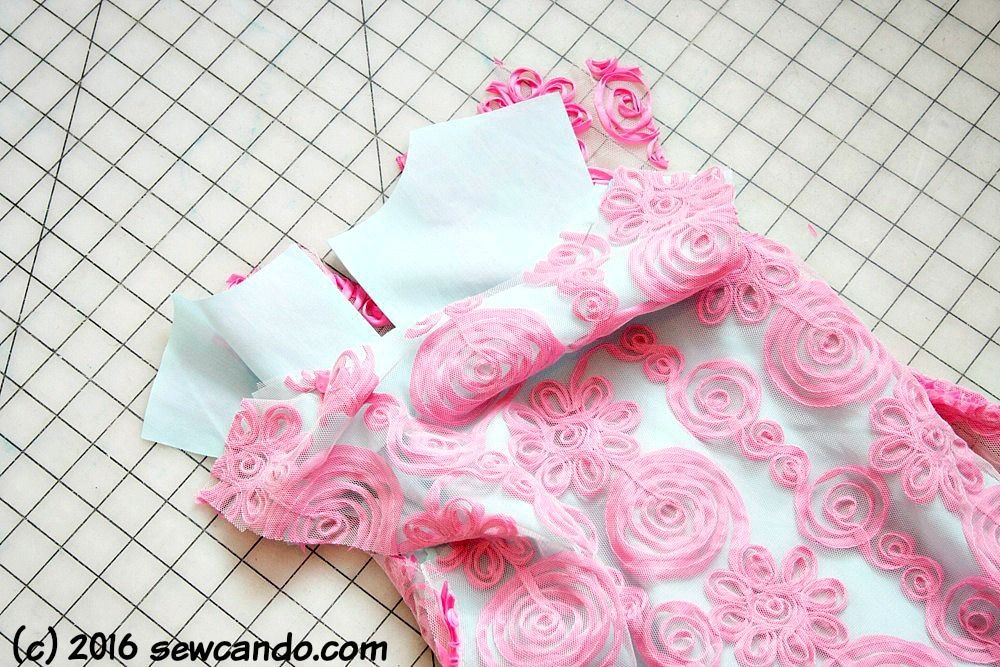
I started with my handy pattern and cut the front pieces of the lining and tulle on the fold and the back pieces all the way around so I'd have two mirrored halves.
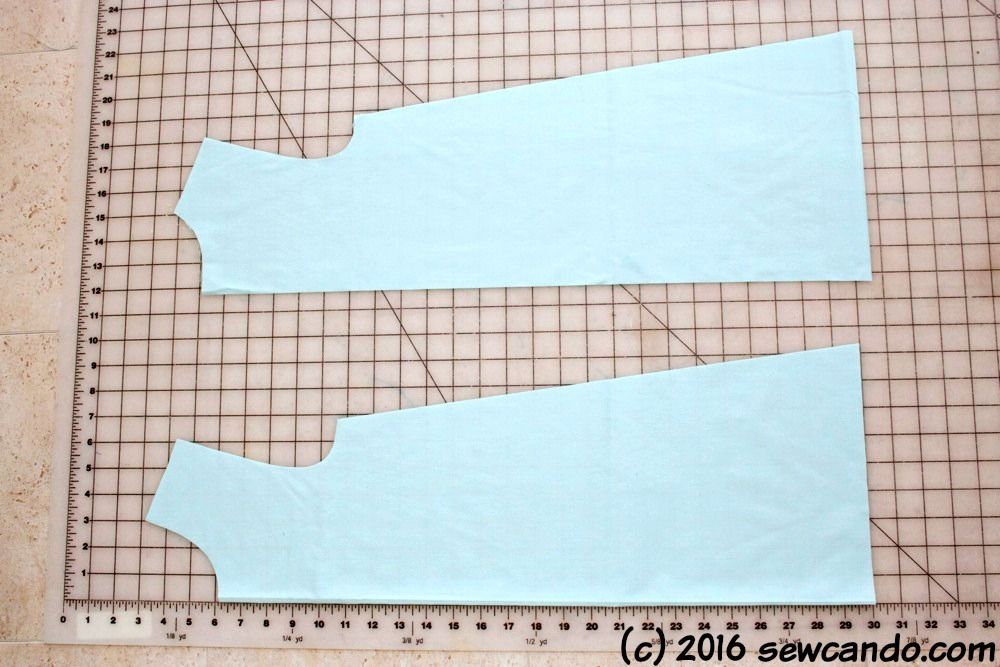
I made sure to add an extra 3/8 inch seam allowance to the back where the zipper would go.

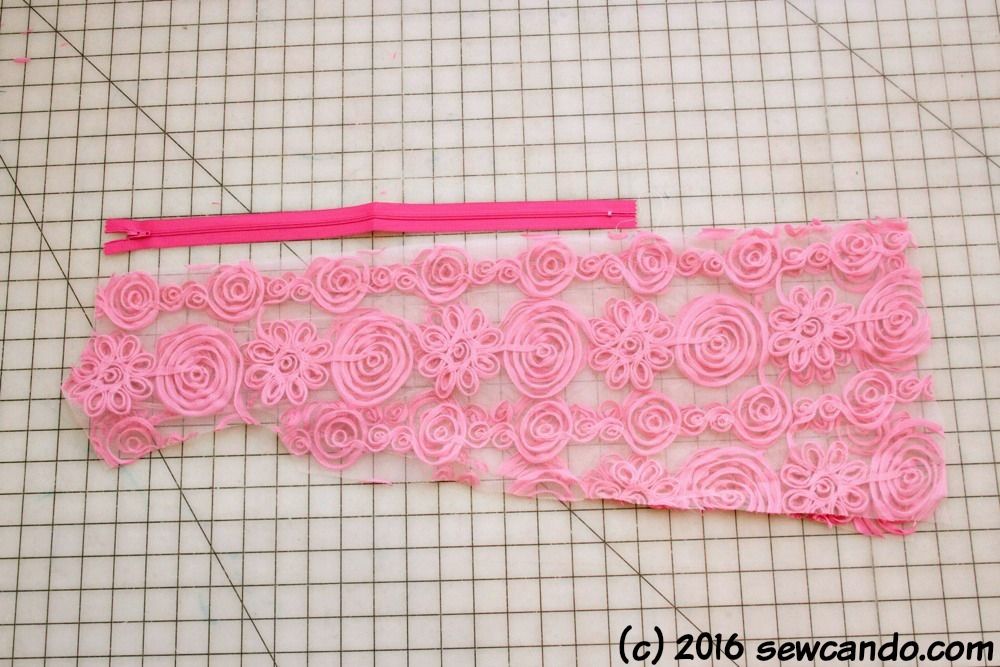
I started with attaching my zipper. I laid it out and marked on my tulle to have a 3/8 inch allowance at the top and where the zipper would end.
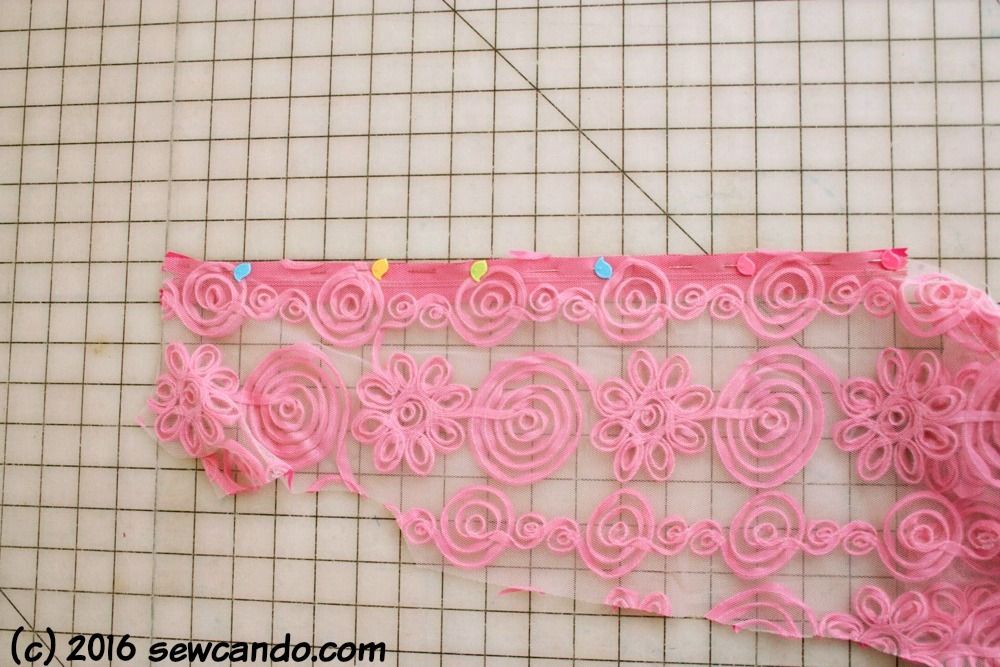
I pinned the zipper tape face up to one back piece that was face down and stitched with my zipper foot. I worked slowly so I wouldn't pull or stretch the tulle:
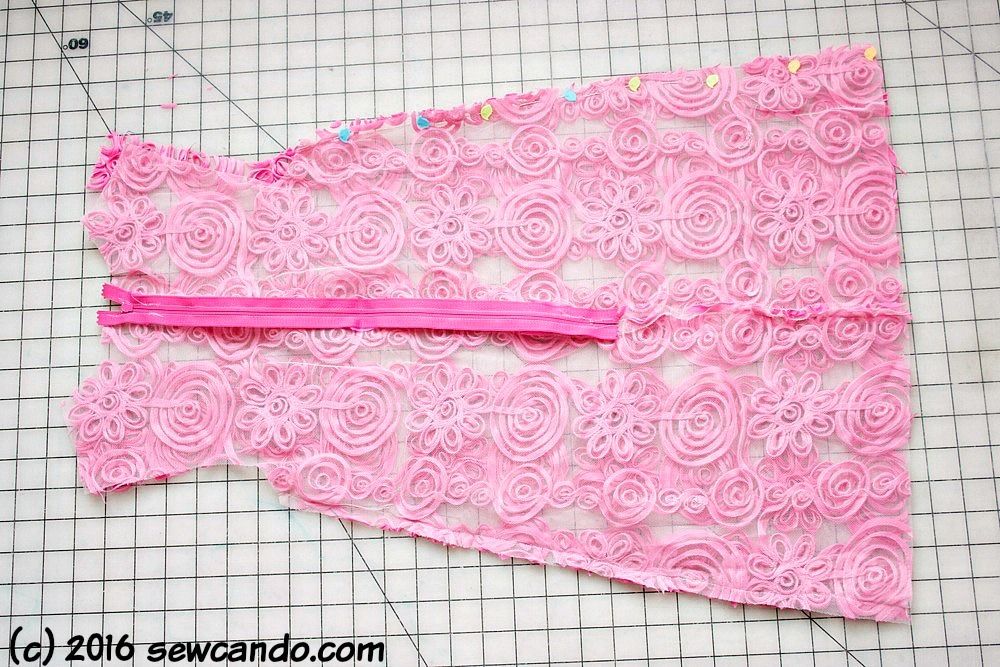
Then I repeated with the other back piece. I stitched the rest of the center seam together too. Instead of stitching the shoulder seams of the front & backs together right away, I left them unattached - this is key for the layering. I pinned and stitched the front & back sides together. For this I used a walking foot - it really helps keep layers from shifting when working with stretchy or slippery fabrics like this:
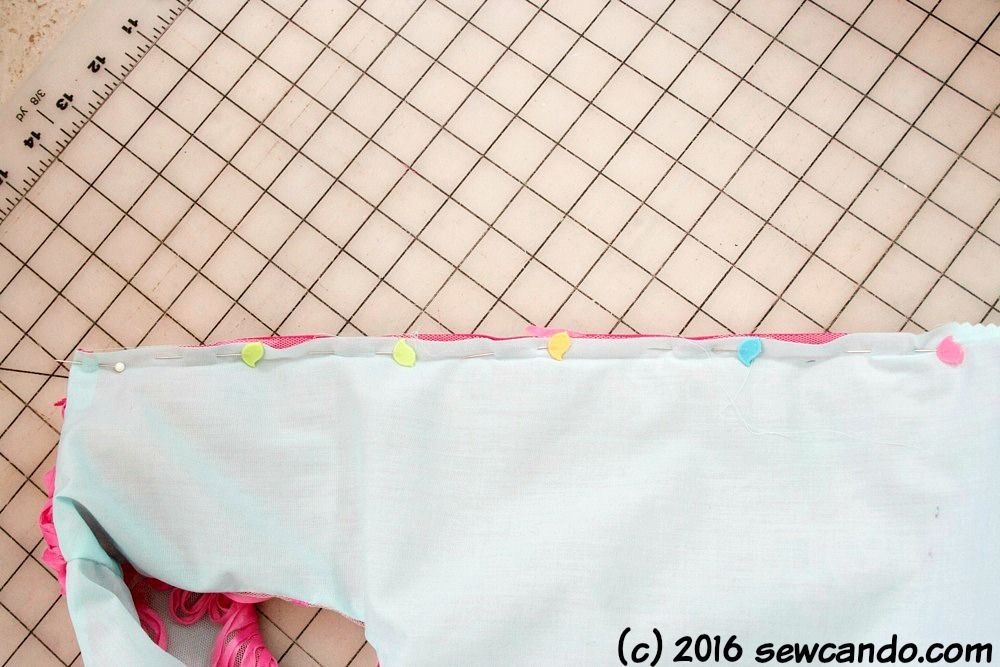
For the lining I pressed a fold that was 3/8 inch along the back seam area on both halves (towards the wrong side of the fabric) that would make it easier to attached the lining to the zipper later:
Then I stitched the side seams of the front & back together:
Next I inserted the lining, wrong sides out, into the tulle layer with its wrong sides out too:
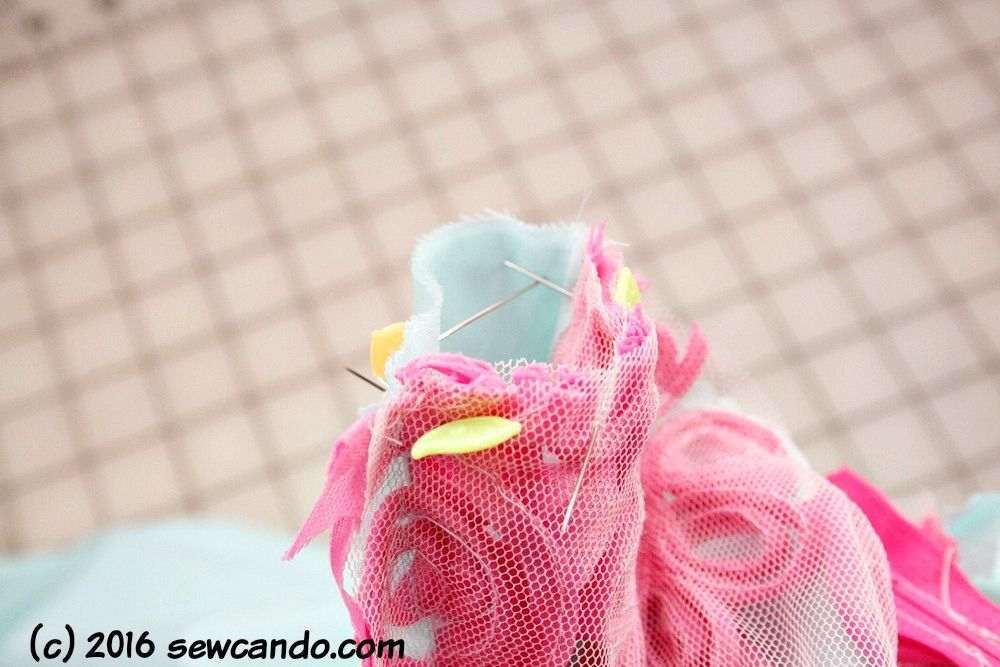
I pinned and stitched together the lining & tulle at the underarm areas and front neck:
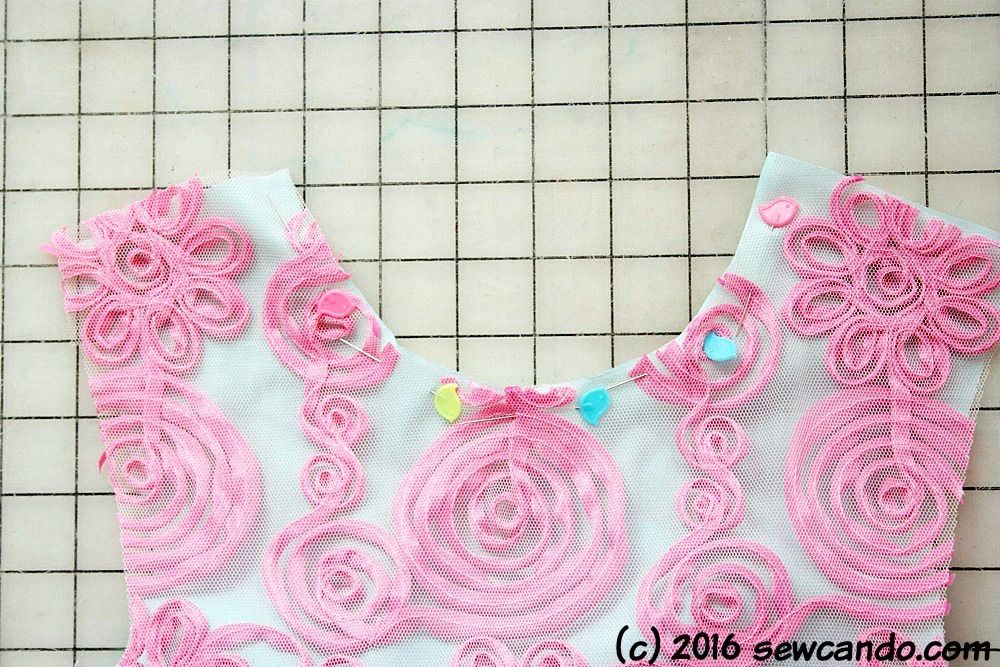
For the back neckline I started & stopped 3/8 inch from each side so it would be easier to attached the lining later. I used pinking shears to trim down the seam allowances.

I pulled the dress all through so that right sides were facing out and the wrong sides were sandwiched inside.

Now here's the crazy, but critical bit. I put a hand between the layers, up through one shoulder piece of the front, reached through and grabbed the corresponding shoulder of the back and pulled it through so the one shoulder is within the other. This makes that first side that was reached through now inside out. I've got further step-by-step photos of this step here.

I matched up the seams of the raw edges and pinned. It looks like a tube at this point:
I also added a hook & eye to the back of the dress just above the zipper:
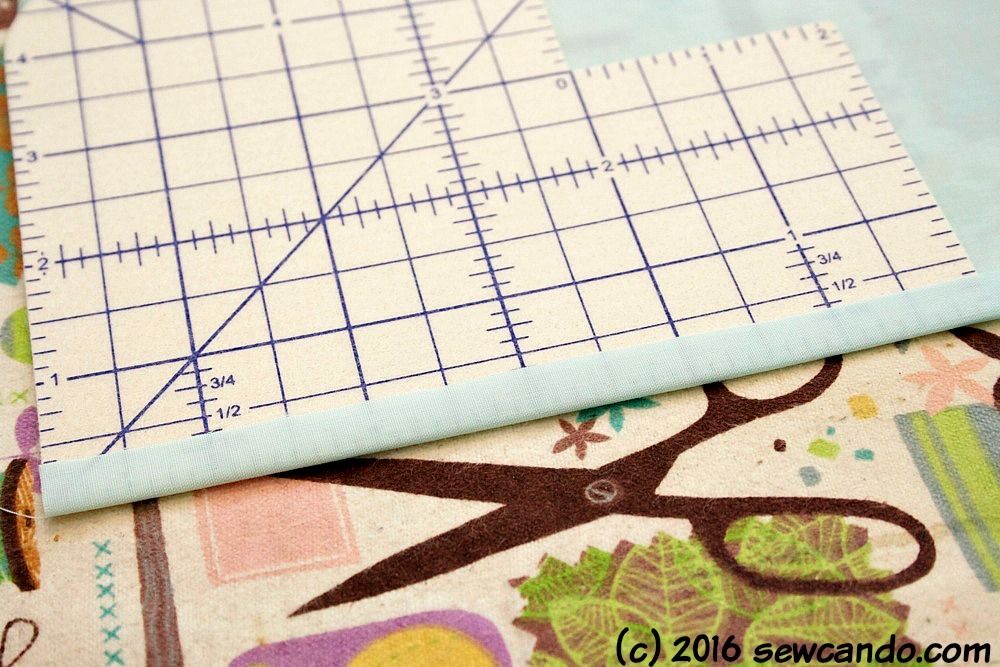
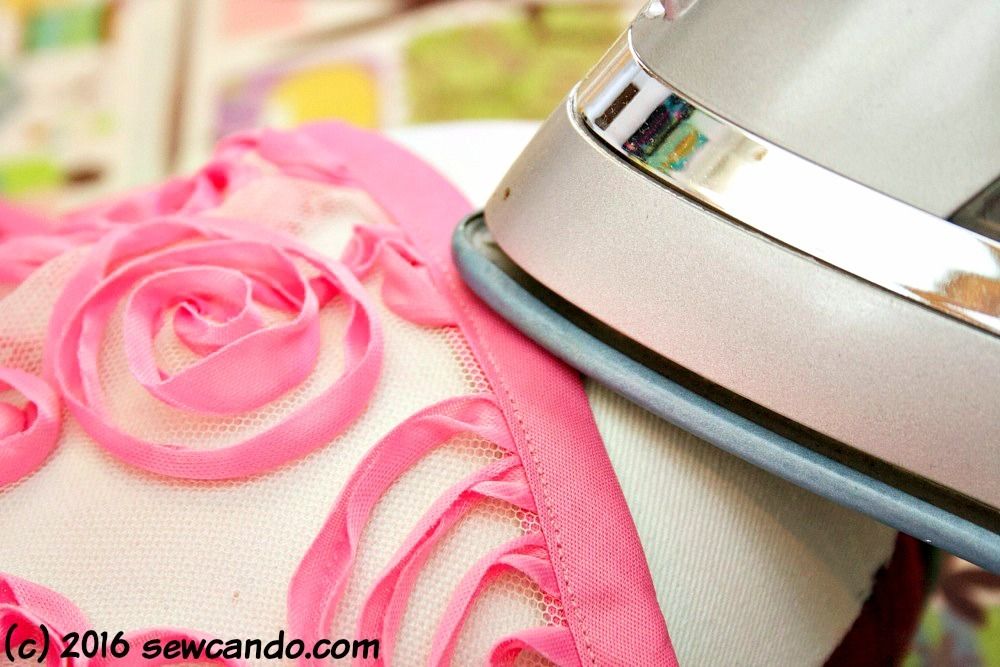
Last was the hemming. Since my tulle had stretch and is a little heavy thanks to all the ribbon, it ended up a little longer than my lining layer. Next time I'd probably cut the lining a little longer to compensate. For this one I did a very narrow double fold hem on the lining and then used bias tape to enclose the edge of the tulle. I pressed it on my tailor's ham to give it a nice shape:
I'm pretty happy with the results and plan to make more dresses like this. Just glad I was able to crank this one out in time for the big day!


This is such a beautiful dress, I just love everything about it! You make me wish I could sew! Thank you so much for sharing this gorgeous design with us, your photos are amazing! Big hugs, Jennifer XO
ReplyDeleteAw thanks Jennifer! Hope you had a Happy Easter XOXO
DeleteWonderful dress Cheryl! Lovely photos too! Thanks for sharing great tutorial!
ReplyDeleteHappy Easter to you and family!
Hugs and love from Portugal,
Ana Love Craft
www.lovecraft2012.blogspot.com
Thank you so much Ana - the weather didn't want to cooperate, so I'm happy the photos turned out:) Have a beautiful Easter Week!!
Delete