
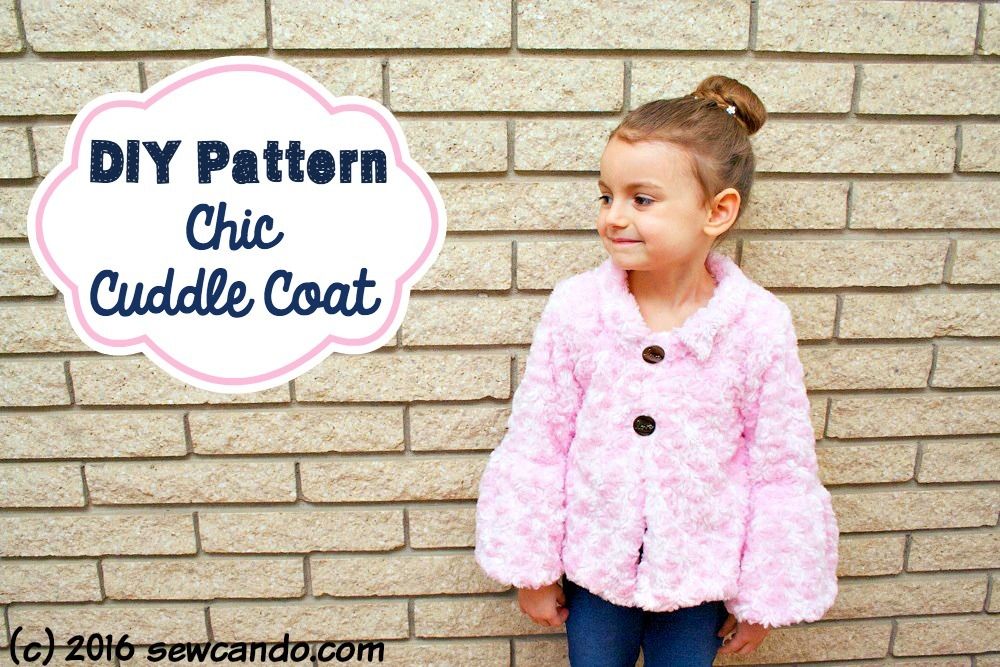
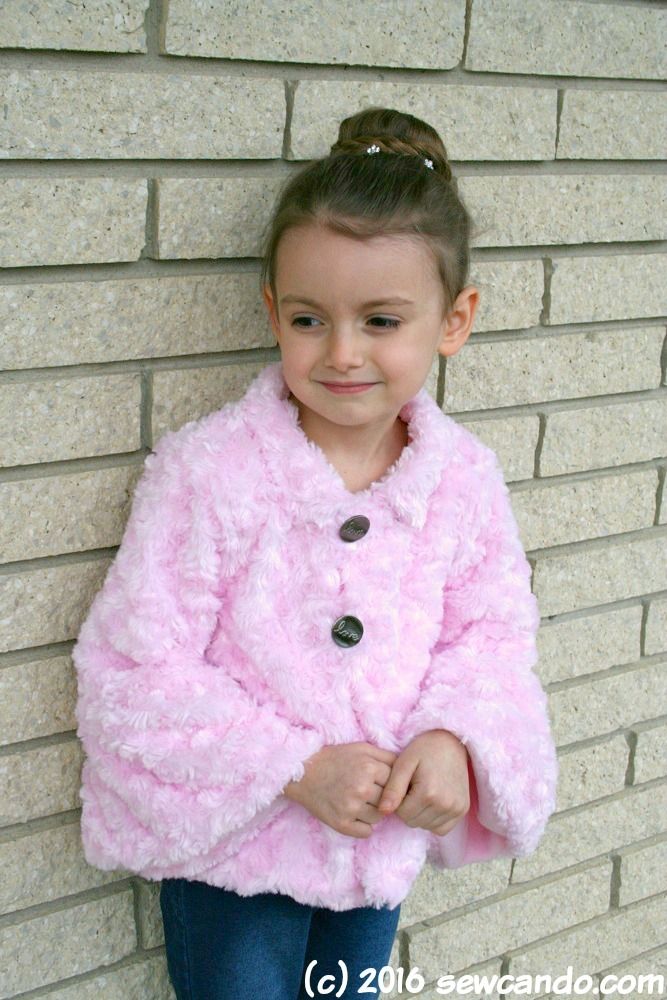
Last week I shared the first installment of my Lots of Looks For Knits Pattern. I made a basic pattern that can have loads of looks by making a few minor changes. Now, I'm sharing look #2 (using the same pattern base): my Chic Cuddle Coat.

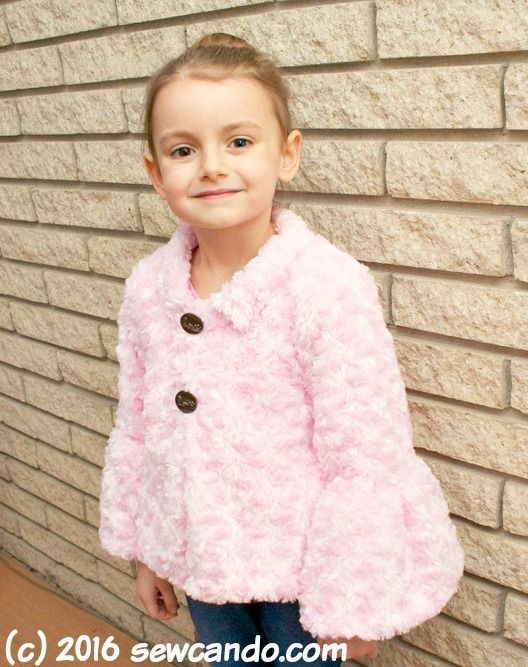
This new look has a slightly A-line shape:
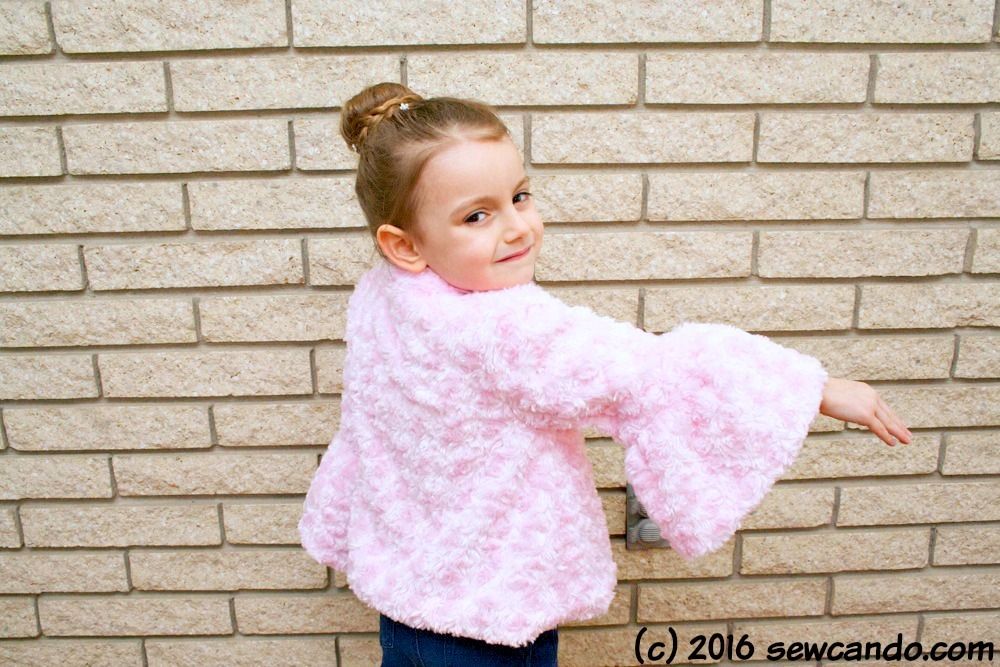
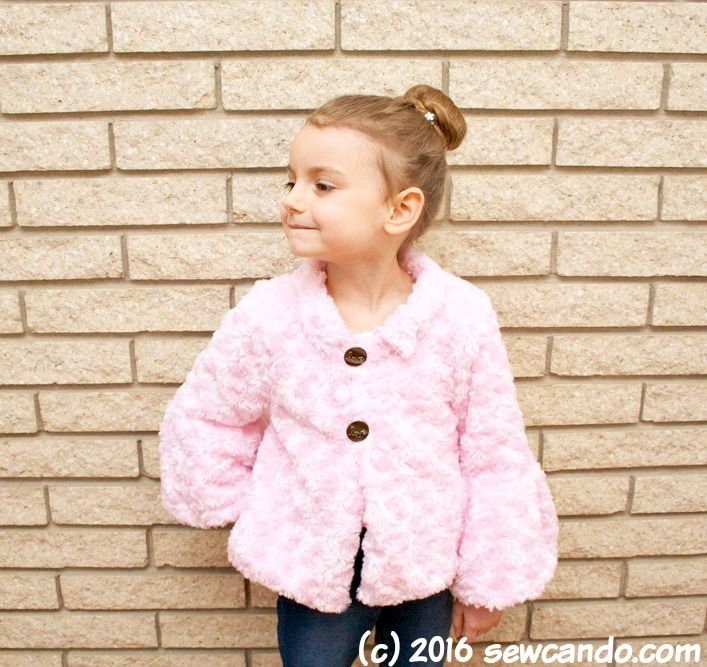
And features a chic collar and flowy gathered sleeves:

I made it with some lovely rose cuddle fabric and pink anti-pill fleece lining. It's light enough to wear as a top on its own, but with a shirt underneath it can be a little coat for spring too.
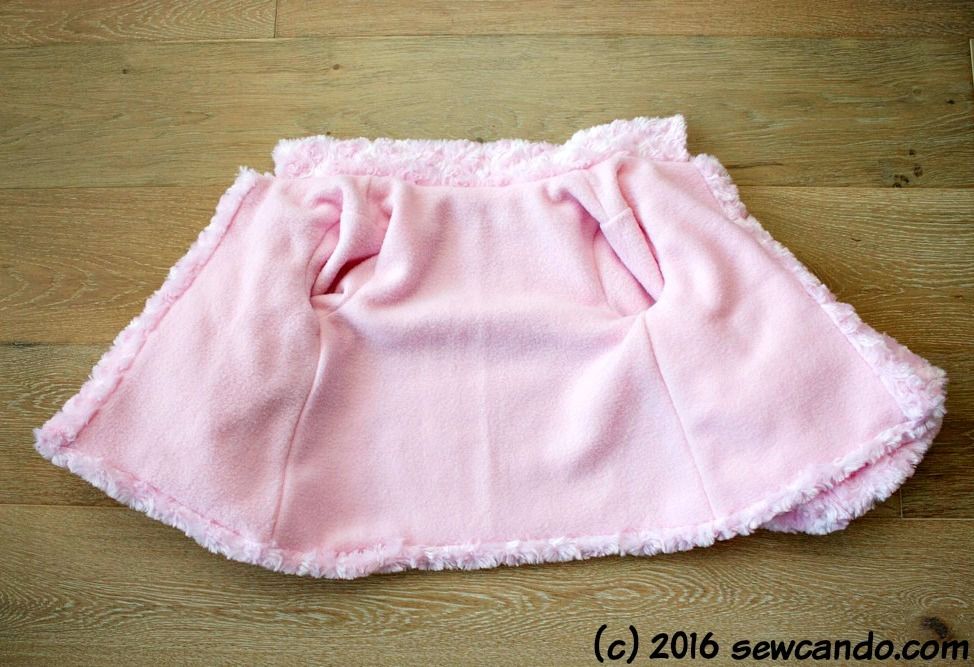
Like the Faux Fur Capelet I made a year ago, I wanted it to have a tailored look, so my design features a slightly smaller lining so that the cuddle folds inward at the hem, front and sleeves. Having a lining sagging outward at the edges is not a good look.
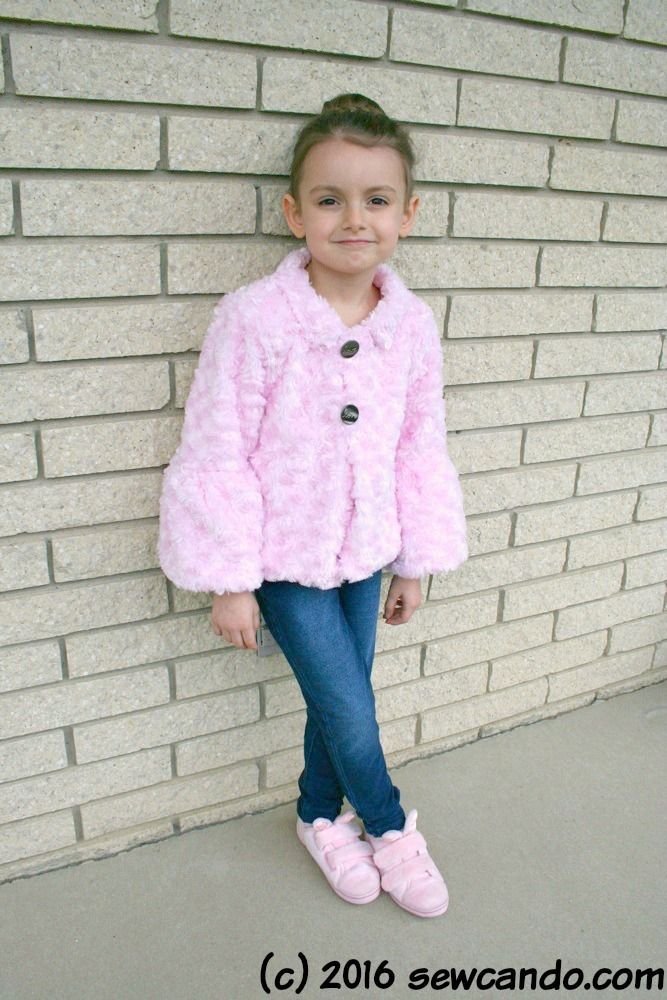
It also gave me a great reason to use these fabulous love buttons I'd been hoarding (again, waiting for the "perfect" project).

Here's how I made it....
Materials:
- Rose Cuddle Fabric
- Anti-pill fleece
- Buttons & 1/4 inch wide elastic
- Lastin clear elastic (for gathering)- Top to trace, paper & pencil
- Shears/rotary cutter, pins, hand sewing needle
- Optional: Design ruler
- Shears/rotary cutter, pins, hand sewing needle
- Optional: Design ruler
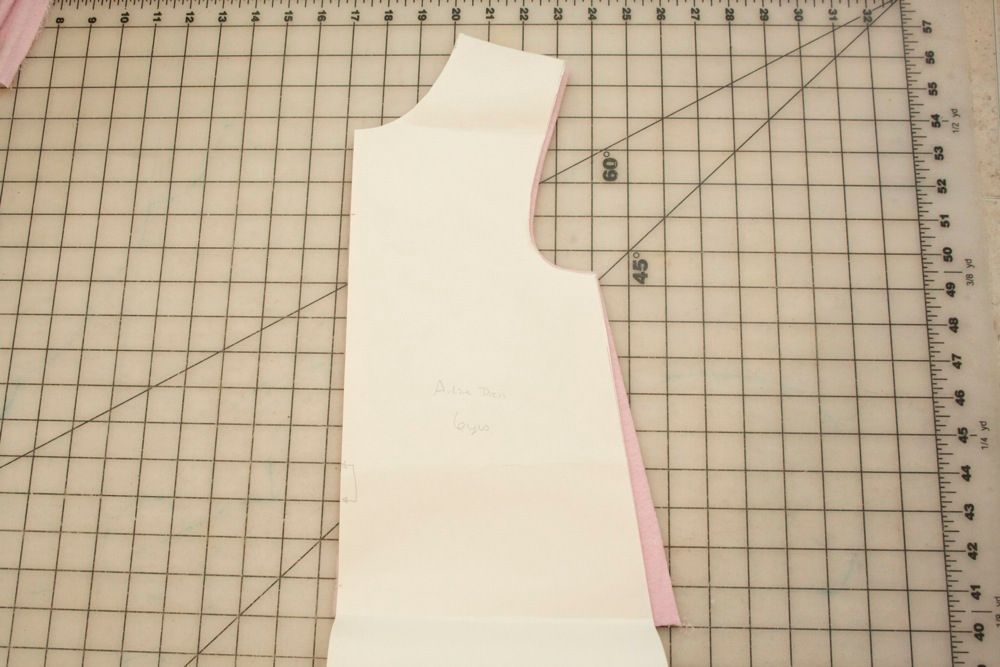
Making the pattern: I share my details on making the base pattern HERE. In essence, I used a good fitting shirt to create front, back and sleeve pieces and added a seam allowance on all sides.
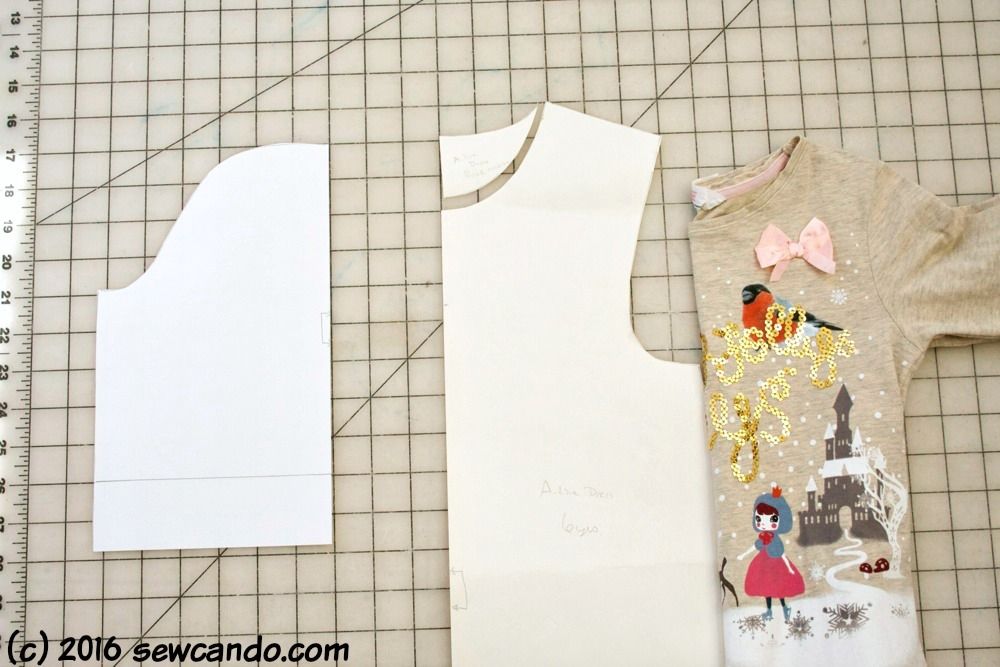
Since my original pattern is dress length, I used a yard stick to make a shorter waist length and made the sides flare just a little bit more too:
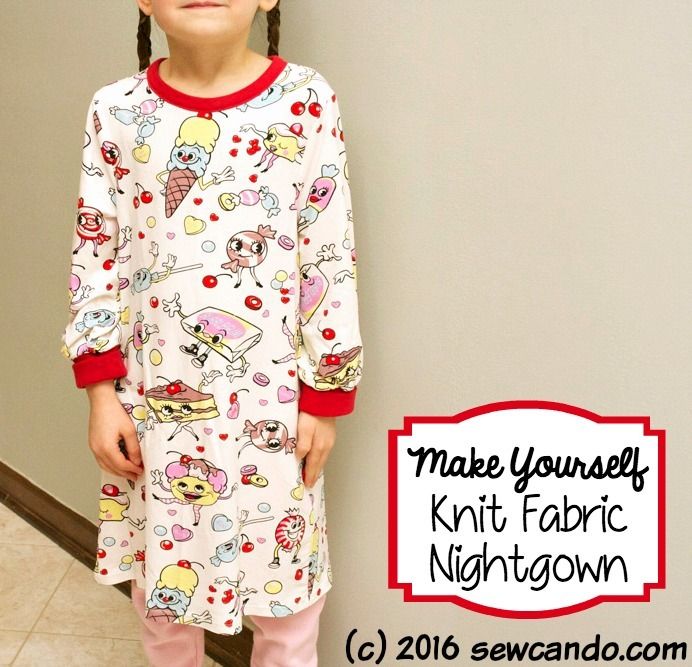
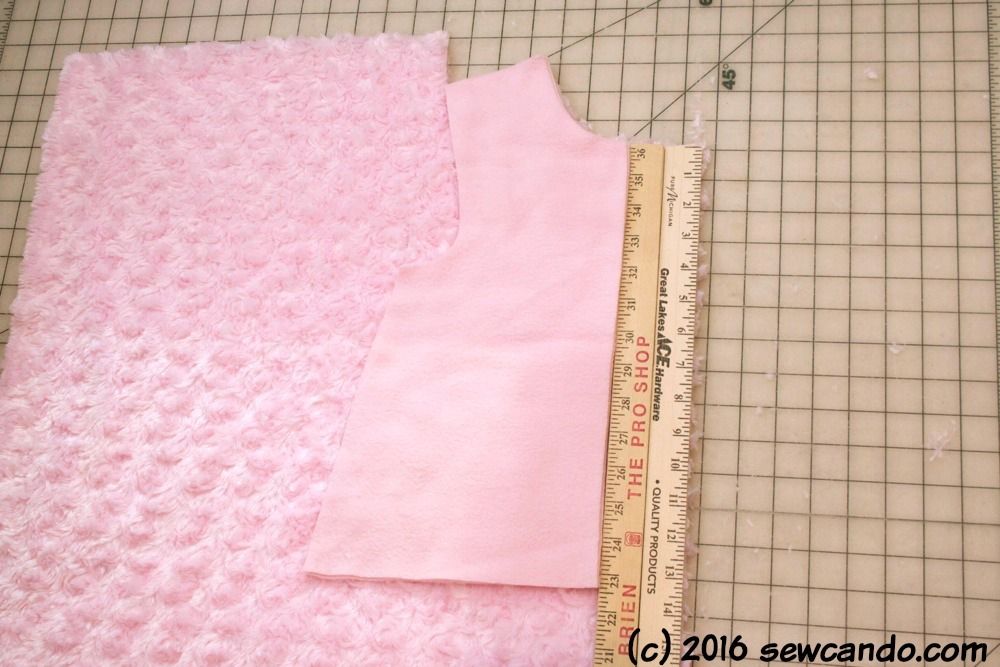
To make this little coat, I started by cutting the lining out first. I cut the back on the fold, with my insert piece in place. Unlike my previous nightgown made with this pattern, which had the front cut on the fold as well, I cut two mirrored front pieces for this front.
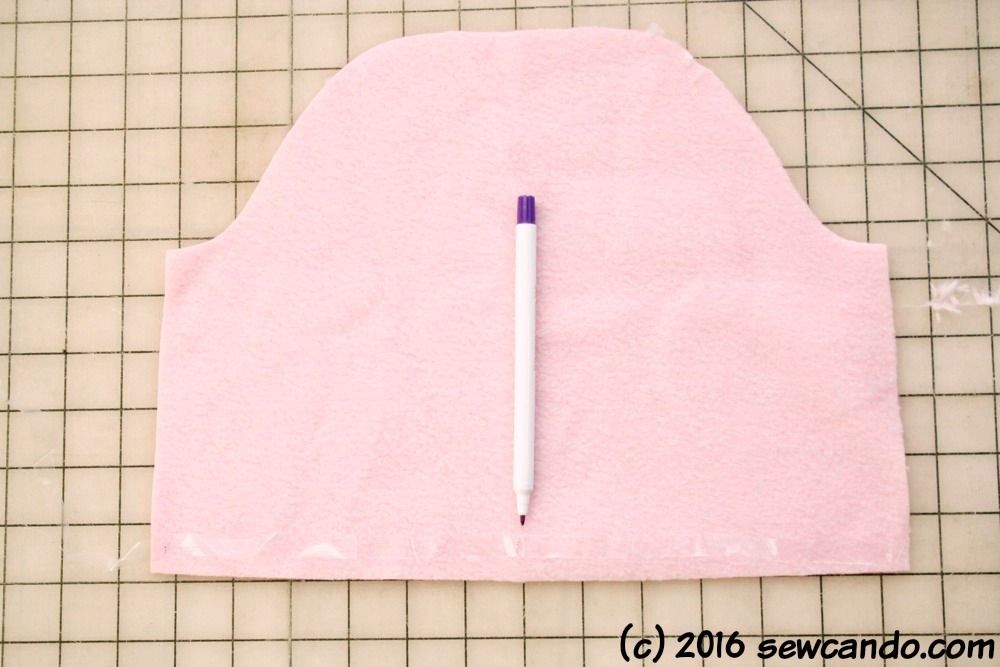
I cut out both sleeves, but made them about 5 inches shorter since I'd be adding the gathered bell cuff. I cut the separate cuff pieces so that they were 6.5 inches high and 22 inches wide (which was about double the width of the main sleeve). Then it was time to cut the outer pieces from the cuddle.

Cuddle Cutting Tip: I love working with cuddle fabric, but it sheds A LOT when cut and puts a lot of fluff into the air. I like to vacuum around the edges of each piece as soon as I cut it and then shake them out over a big trash can or outside to get rid of any loose bits. I even use a painting respirator while I do it and while sewing the raw edges. No joke. The fluff dust particles really hang in the air and that fluff is better worn outside of your lungs!
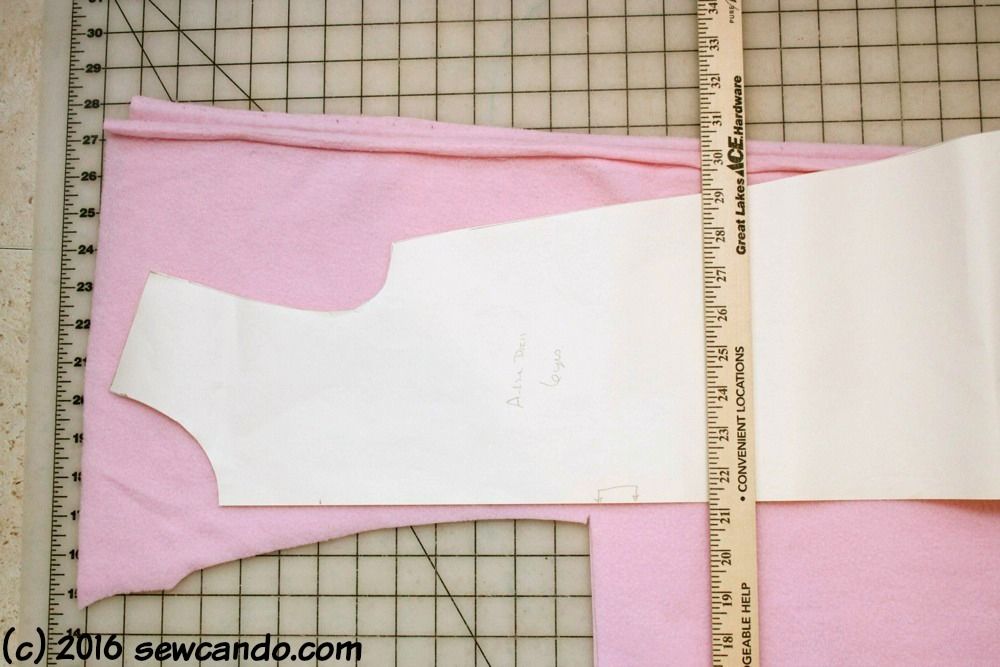
Since I wanted my outer fabric to wrap inward at the front and the bottom, when I cut the cuddle I made it two inches longer at the bottom of each piece:

I also added an extra 2 inches more to each of the front sides than each the fleece lining pieces. Using two yard stick together makes cutting it easy. I also cut a collar piece that was 5 inches high by 17 inches wide (this would fit the neckline and still allow a small overlap of the front sides for the closure).
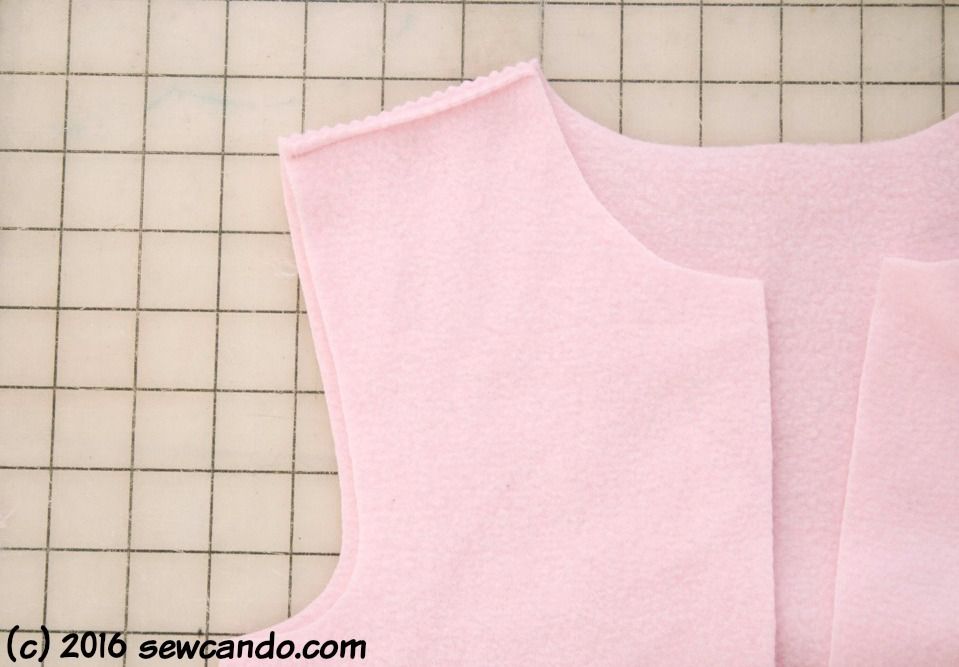
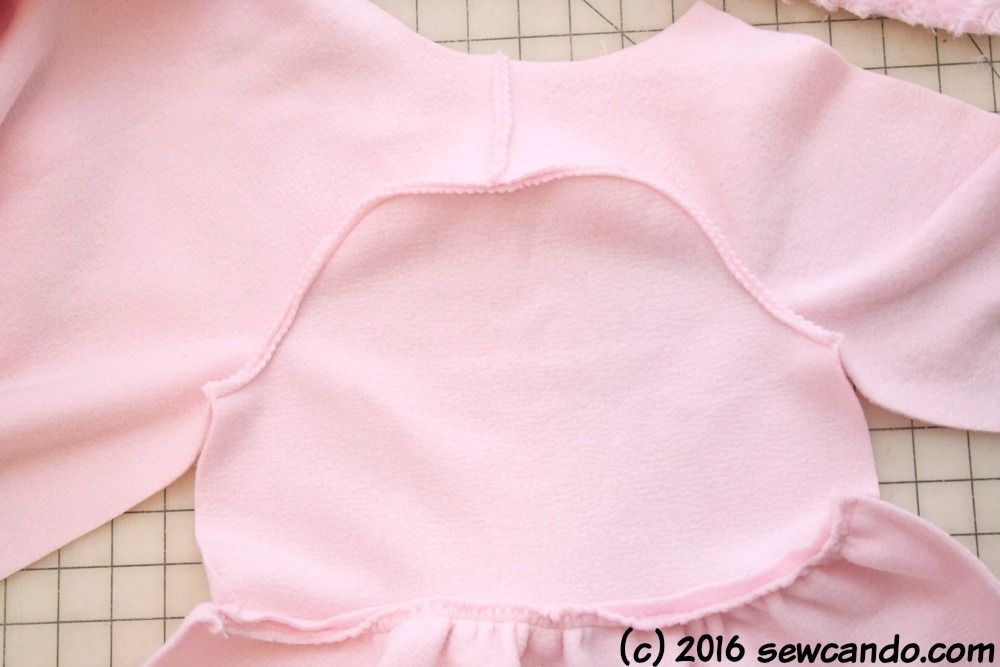
I started the assembly by doing the lining. I attached the front and back pieces at the shoulders with a 3/8 inch seam allowance. I also used a walking foot to keep the fabric from shifting (which is key with fluffier fabrics).
To assemble the sleeves, I first had to gather the cuff piece. The quickest way for me to get an even gather was to use Lastin (clear elastic). I measured a piece that was the length of the bottom of the main sleeve and marking the center.
Then I pinned the center of the elastic to the center of the cuff strip and starting at one end, stitched them together with a zig-zag, stretching the elastic to fit:
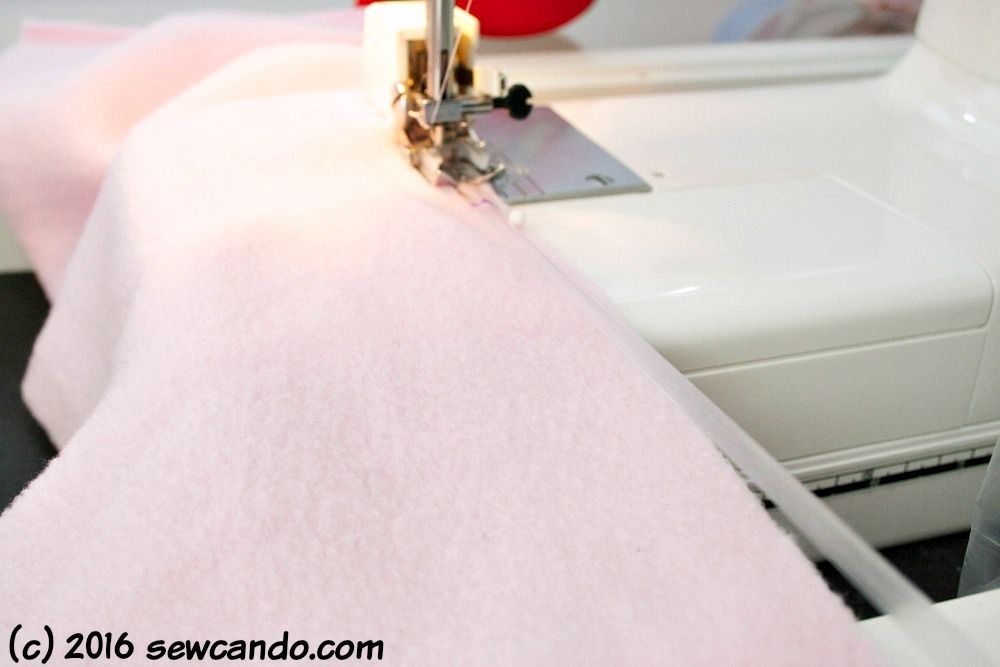
Then there's an even gather that's easy to stitch to the bottom of the sleeve:
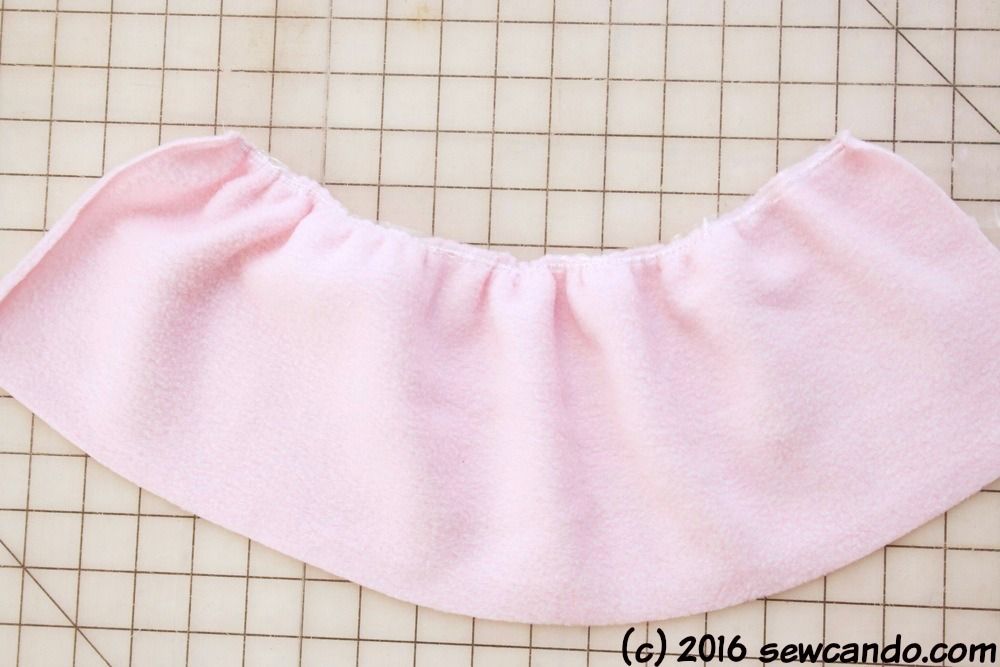
I matched the center of the sleeve curve to the shoulder seam and stitched those together:
Then I pinned the sides together and stitched down from sleeve edge down to hem. I did all the same with the outer pieces.

For the collar, I folded the piece in half and stitched the short ends together (right sides facing), angling inward 1/2 inch towards the open end.
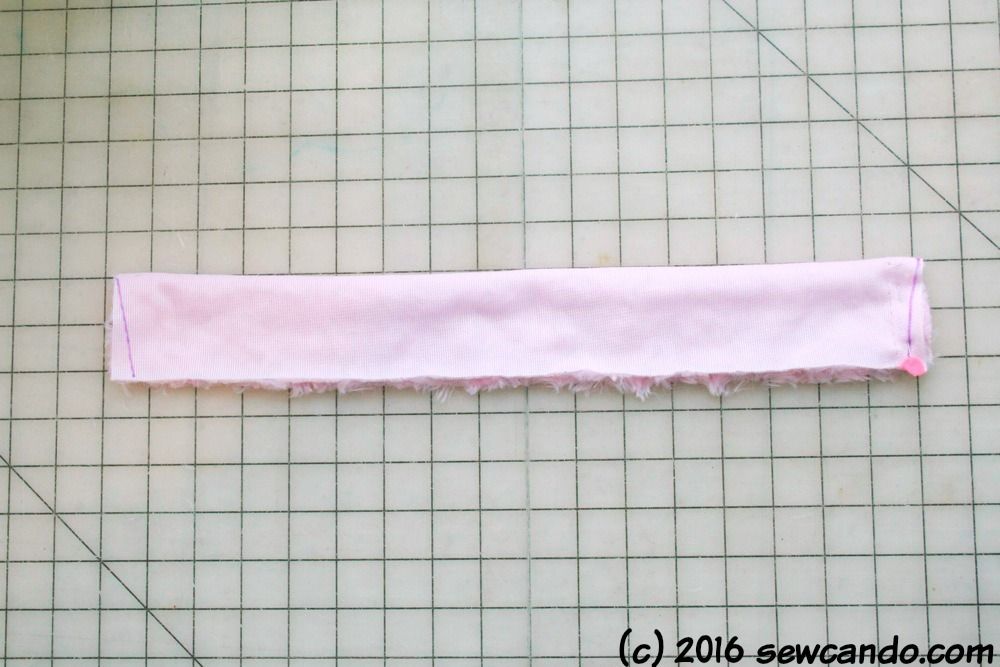
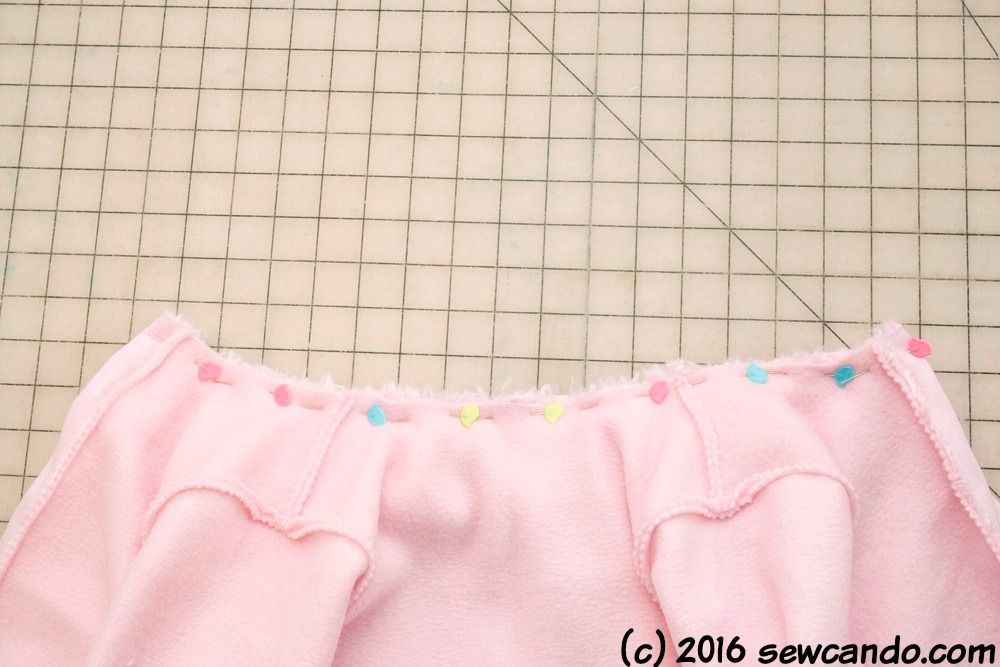
I turned the collar right side out, then pinned & basted it to the top edge of my outer coat:

Then I pinned the lining and outer together at the front seams, with right sides facing, and stitched.
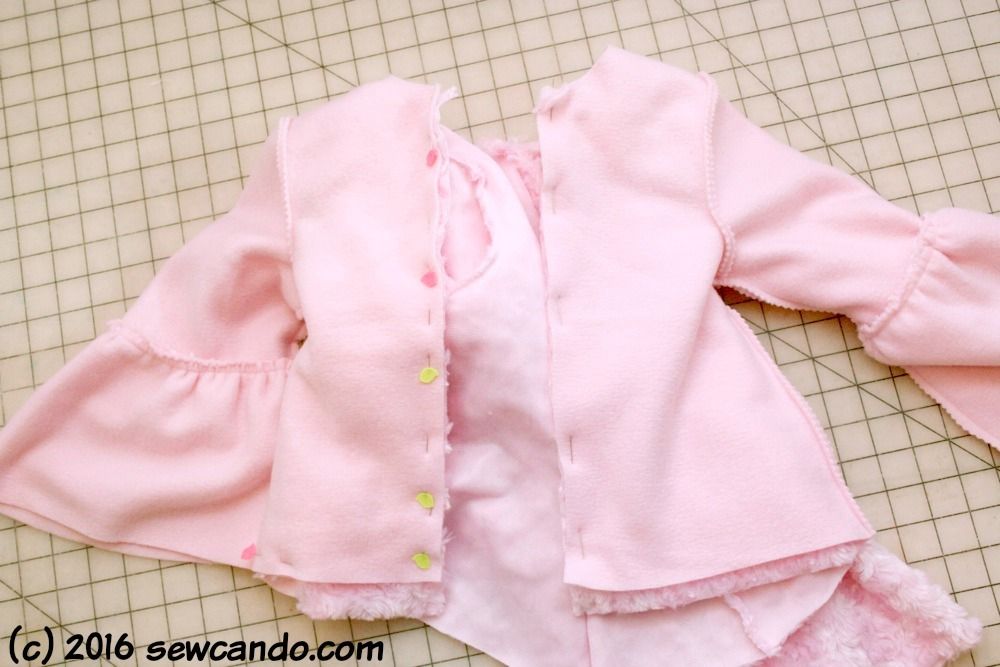
Next was sewing up the top edge. I pinned all the way across first.
This meant that the cuddle "rolled out" at the ends so it'll wrap around to the inside of the coat when complete.

The bottom seam was next. With the roll over on the side and bottom, the corner's didn't line up perfectly. I'll admit there's probably some expert sewing trick for this, but I needed a quick solution, so I trimmed off the overhand and stitched across, leaving a 3 inch gap for turning.
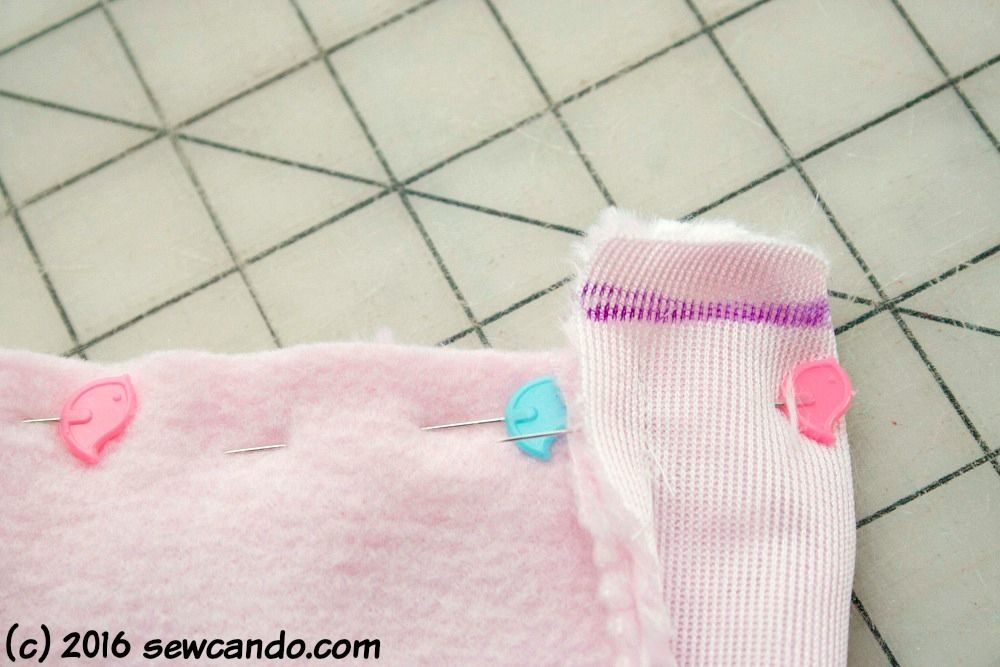
The last bit was to attached the sleeves of the outer & lining. I used this method: fold the sleeve cuff of the lining right side out:
Insert it into the corresponding sleeve of the outer and pin together, matching up the seams then stitching:

This will look and seem totally illogical. I'm really visual and every time I do this I still feel like there's no way it's going to work, but it totally does!

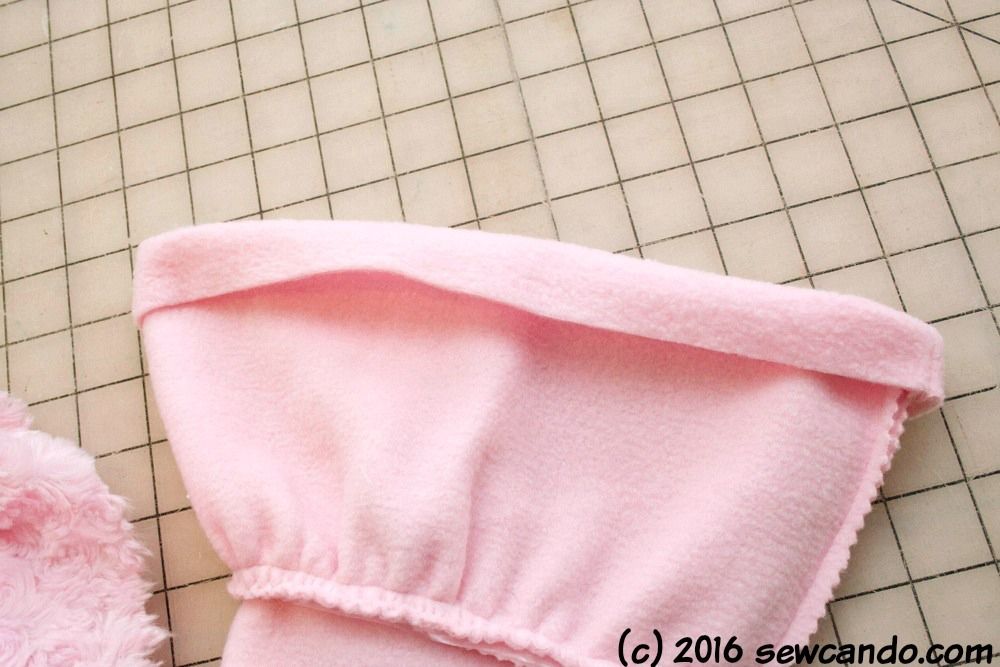
I pulled the jacket right side out, fed the lining of the sleeves into outers and hand stitched the gap closed. The sleeves have a perfect edge on the outside:

Then I hand sewed my buttons to the front and stitched a loop of elastic for each to the other side.
So far that's two ways to use my DIY Lots of Looks For Knits Pattern. Plus, my little miss loves her glamorous new look.
Stay tuned for more designs!

Beautiful jacket! I've got a Craft Gossip post scheduled for later today that features your tutorial: http://sewing.craftgossip.com/?p=86622 --Anne
ReplyDeleteThanks so much Anne!!
DeleteThis is so beautiful!! I love the color and material, makes me want to learn to sew again! XO
ReplyDeleteYou should go for it - this has Sugar Pink style written all over it:)
DeleteThe pattern is comprehensive and easy for me to understand. I'll bookmark it in case my daughter in law has a girl! Thank you for sharing at the Thursday Favorite Things blog hop. Your post has been pinned!
ReplyDeleteCheers,
Jennifer
http://awellstyledlife.com
Thanks very much Jennifer. That's always my hope and I hope you get a chance to try it for your new grand-baby!
DeleteThat's a wonderful compliment - thank you! It's a lot easier than it seems. I never dreamed I'd be able to make things like this 10 years ago, so it's totally possible.
ReplyDeleteThat jacket is so beautiful and it looks adorable on your little girl. My "little" girl is in college now, but back in the day she would have adored this jacket. Great job!
ReplyDeleteThank you Jennifer. Before I know it, she'll be that big too, so I've got to hurry and makes these things now!
DeleteSooo cute!
ReplyDeleteSo, so sweet, Cheryl, especially with the bell shaped sleeves.
ReplyDeleteFeatured today, Cheryl, both your cuddle coat and blog.
Delete