


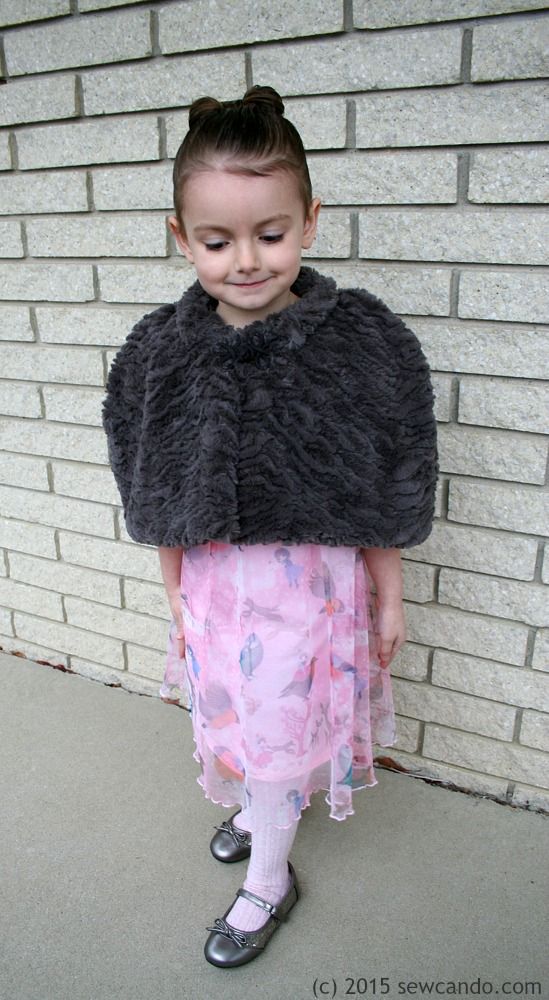
Today's project was one of those things that was a last minute idea & ended up better than I'd hoped: a Faux Fur Capelet. It worked out so well, I can't believe I didn't do this sooner!

I made it with some lovely faux fur-style cuddle fabric and anti-pill fleece lining so it's lightweight, but still nice and warm. Plus the soft cuddle is easier to work with than typical faux fur because 1.) it has a little stretch and 2.) it doesn't have that heavy, carpet-y backing that's a pain to sew through.
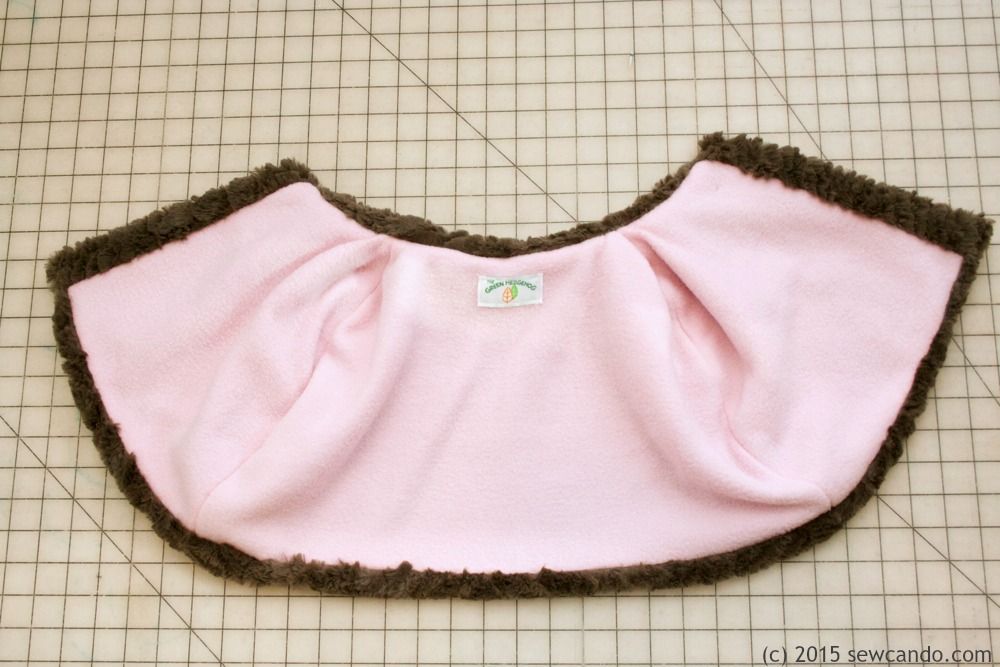
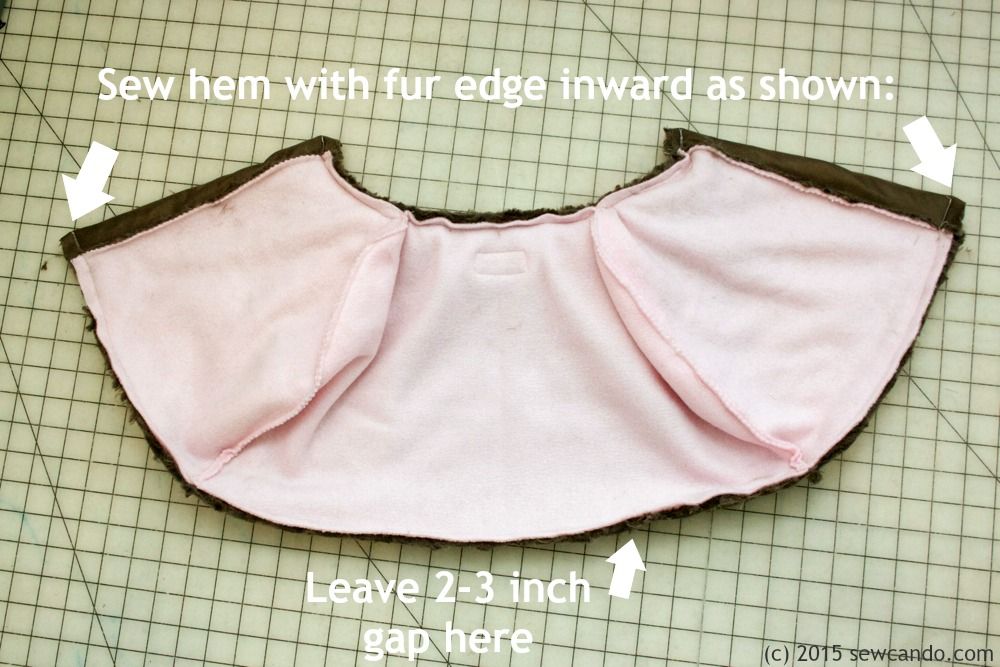
This way the contrasting lining doesn't ever roll out at the edges.

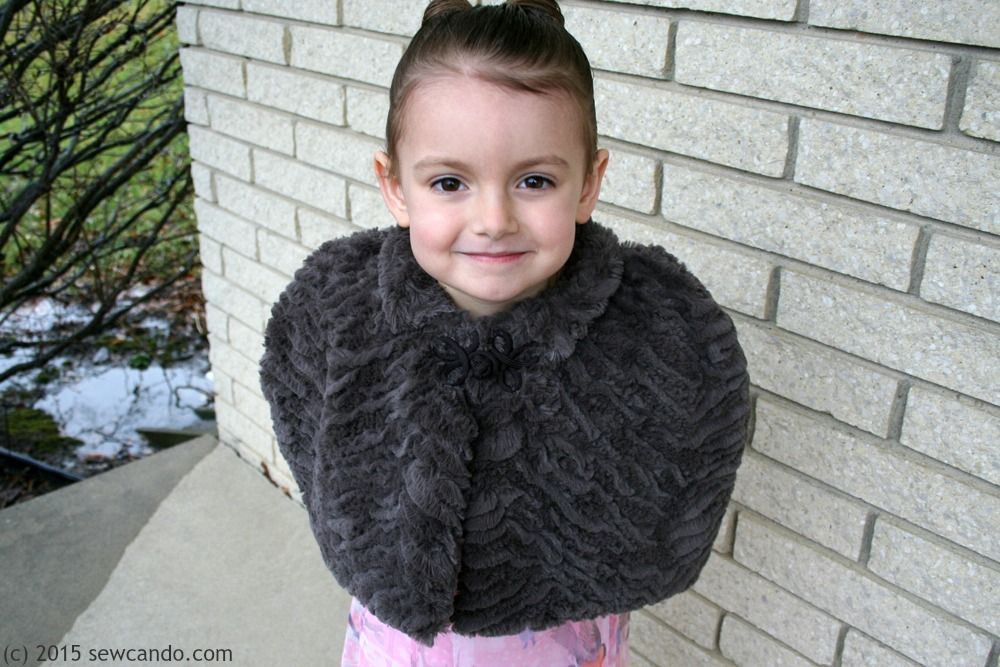
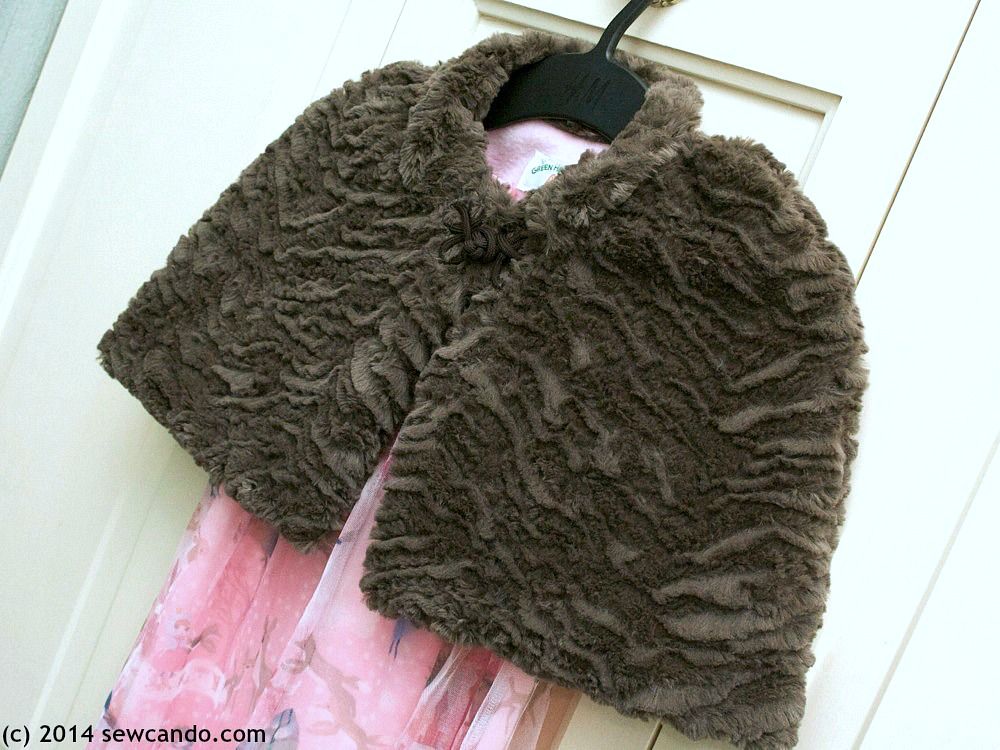
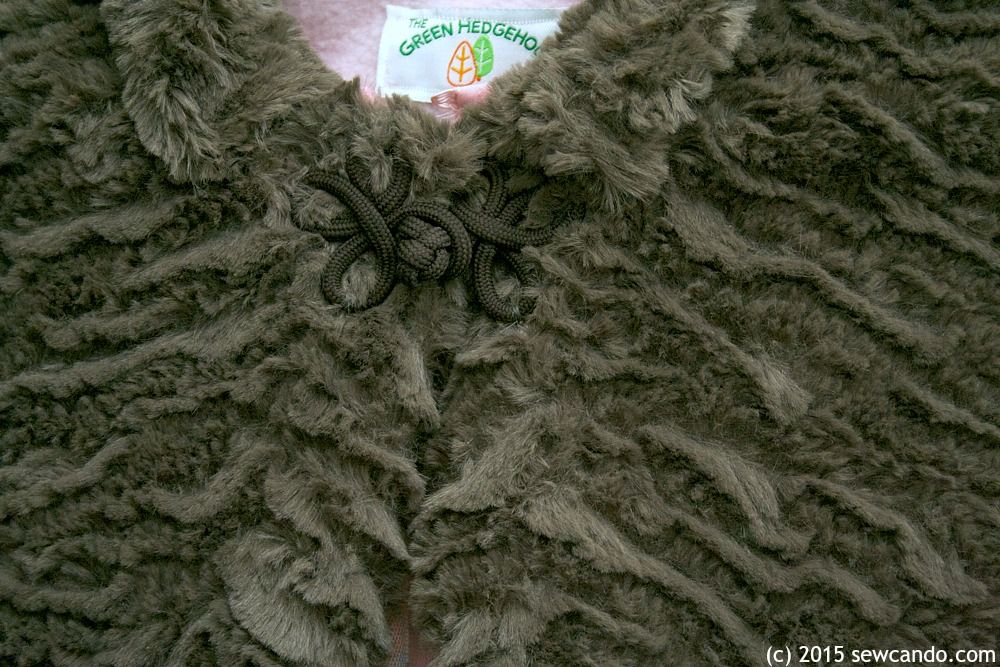
It also has a little collar and fanciful frog closure front for a classic look.
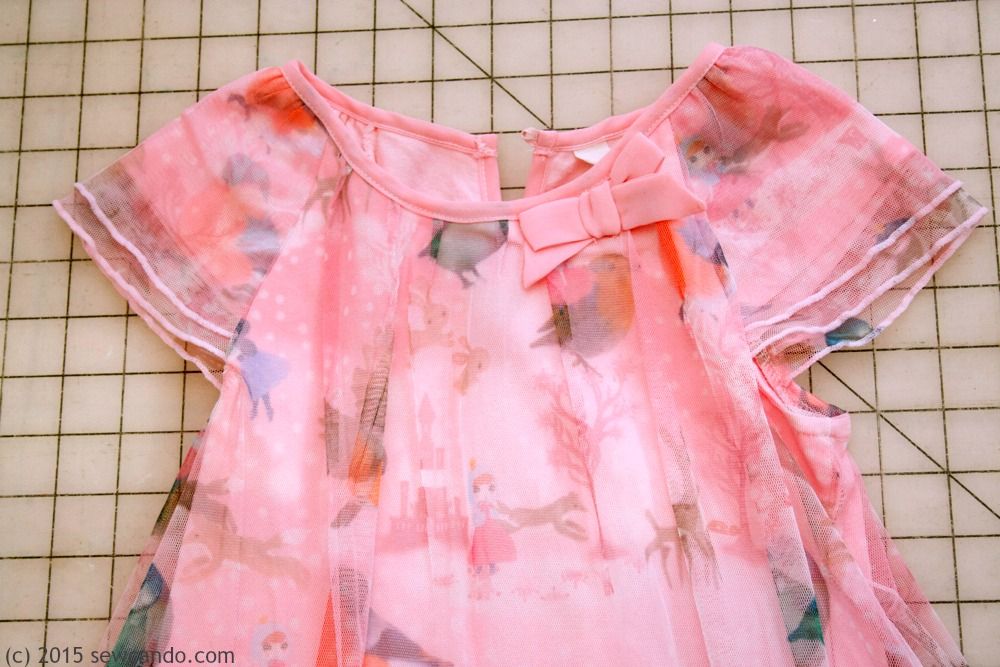
You may be asking why a capelet? Well, it was kinda out of necessity. I ordered a cute, inexpensive dress for my daughter to wear for the holidays. I thought "Great! Christmas attire sorted!". Then things hit a snag when it arrived. Despite it's wintery print, it was totally un-wintery fabric - super thin knit with a thin mesh overlay + short sleeves. We live in Michigan where 30 degrees is considered balmy this time of year. Doh!
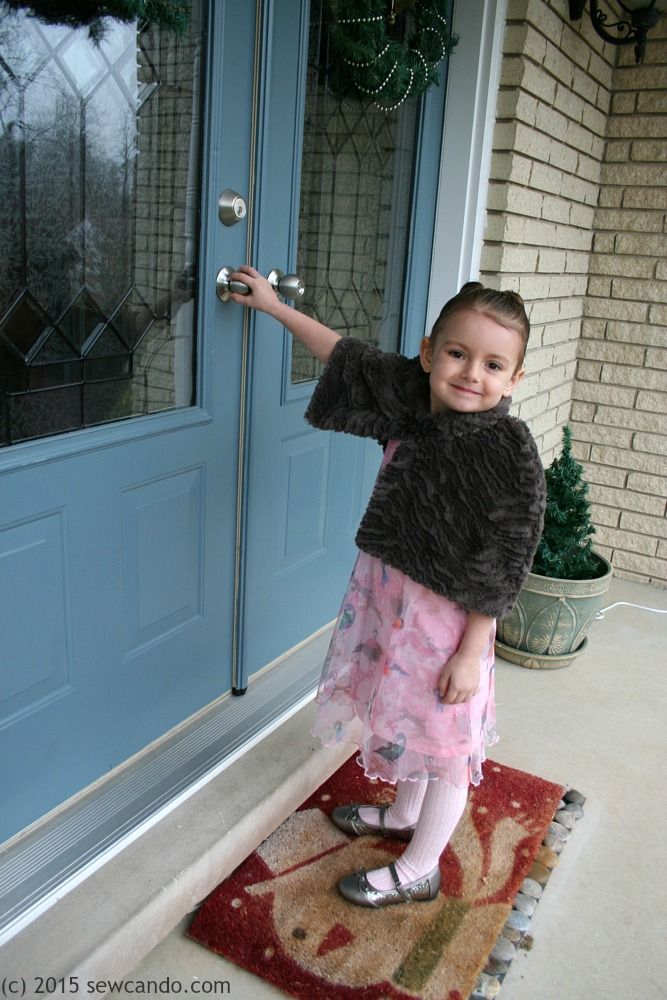
I didn't want to spend more money on a new outfit or have to totally cover-up the dress to keep her warm, so I sifted through my stash and realized I had some cuddle fur & fleece in the perfect matching colors. It was just enough to do a little cape or basic coat, so I wouldn't need to get a pattern either. After asking for opinions on coat vs. capelet on the Sew Can Do FB page, everyone said go capelet. So I did:
Now you can too! Here's how I made ours....
Materials:
- Faux Fur Soft Cuddle Fabric (I used Bengal in Pewter by Shannon Fabrics)*
- Anti-pill fleece
- Frog closure
- Top to trace, paper & pencil
- Shears/rotary cutter, pins, hand sewing needle
- Optional: Design ruler
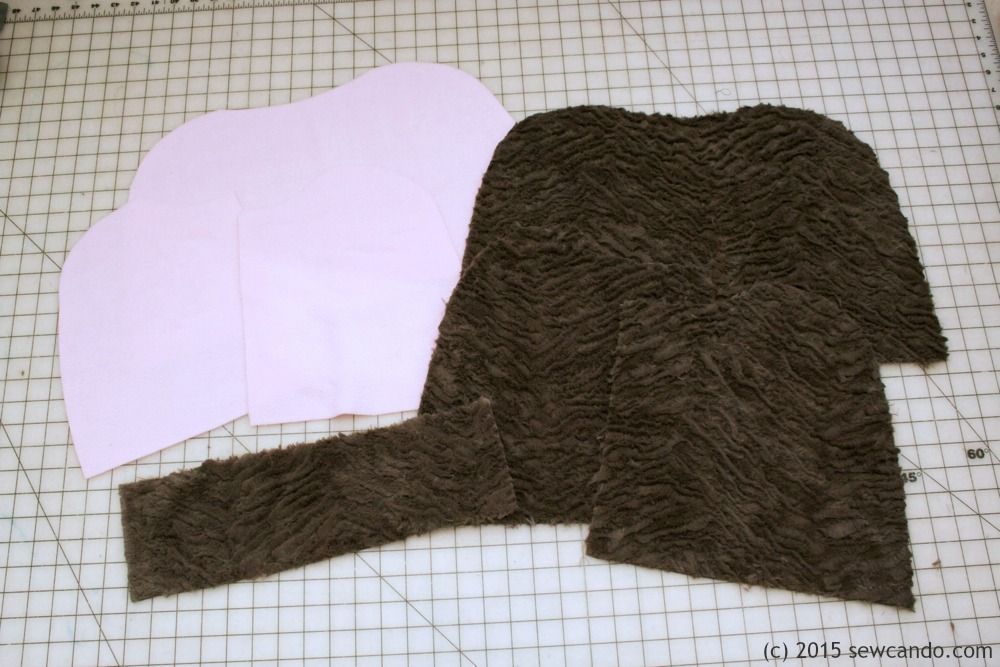
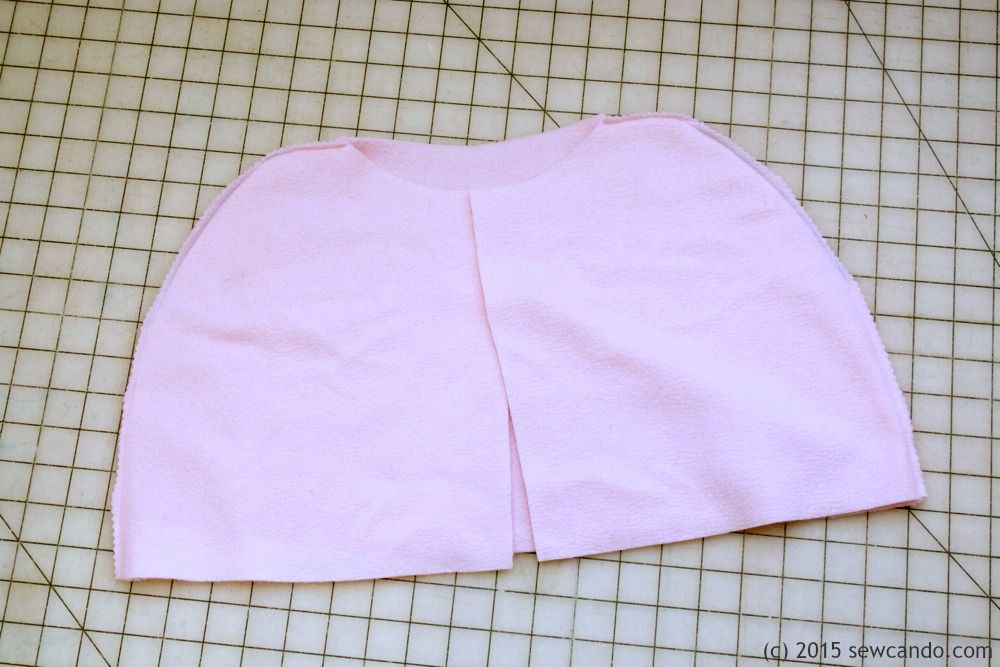
First step is to use a shirt or coat in the desired size to trace around for the neckline and shoulder slope for a single back piece and for each of the front sides. I used my design ruler to get really nice, even curves. Add a seam allowance of 1/2 inch around all sides. For length I went to my daughter's natural waist. For the rectangular collar piece, I measured the total neckline area (back + both front pieces) for the length and made it 4.5 inches high.

Since I wanted my outer fabric to wrap inward at the front and the bottom I cut the cuddle fur one inch longer at the bottom of each piece and added an extra 2 inches more to each of the front sides than each the fleece pieces.
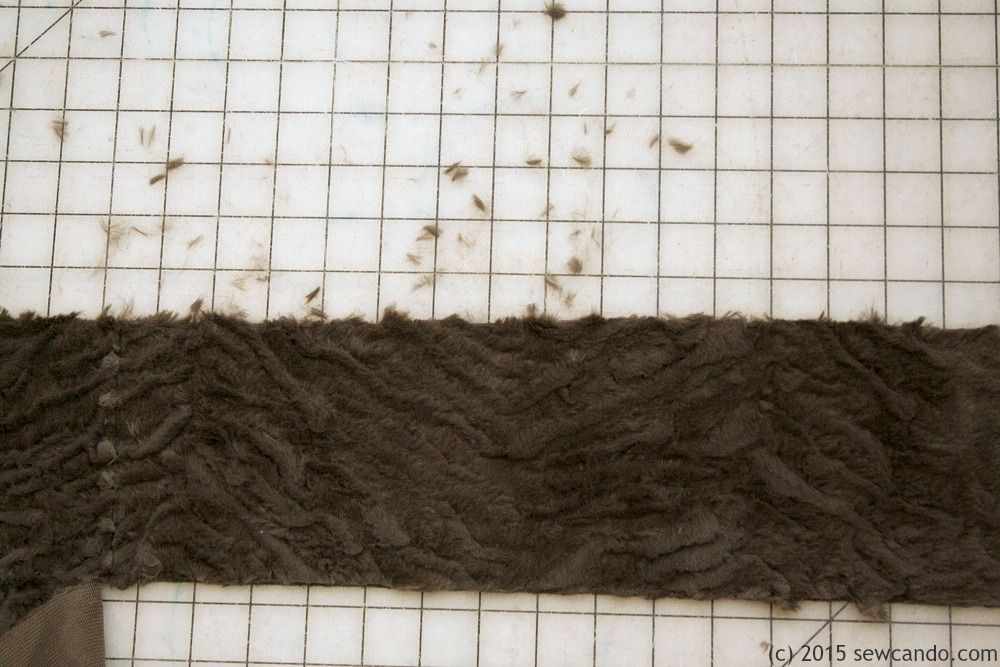
FYI - Cutting cuddle fabric can be a messy job. The fluff comes off like crazy when you cut it and can get everywhere! I like to have my vacuum's crevice tool ready to suck the bits up and also run my hands over the raw edges of each piece into a garbage can to keep it to a minimum.
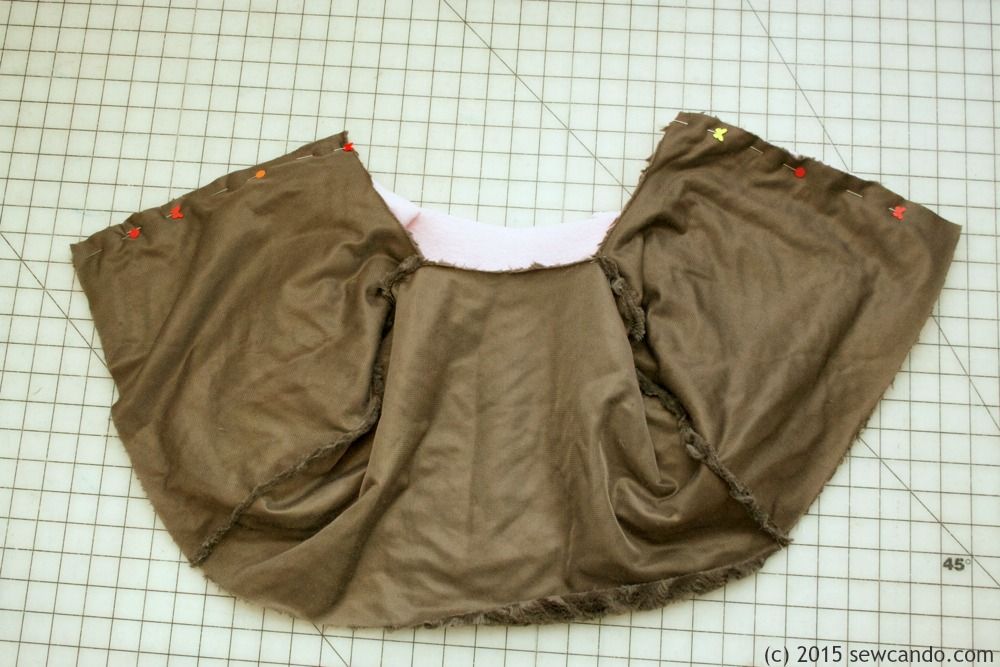
I began the assembly by sewing the front halves to the sides of the back at the shoulders and down the sides for the lining and trimmed down the seam allowance. Then repeated with the cuddle fur:
With right sides together I stitched the front seams of the lining and cuddle fur together:
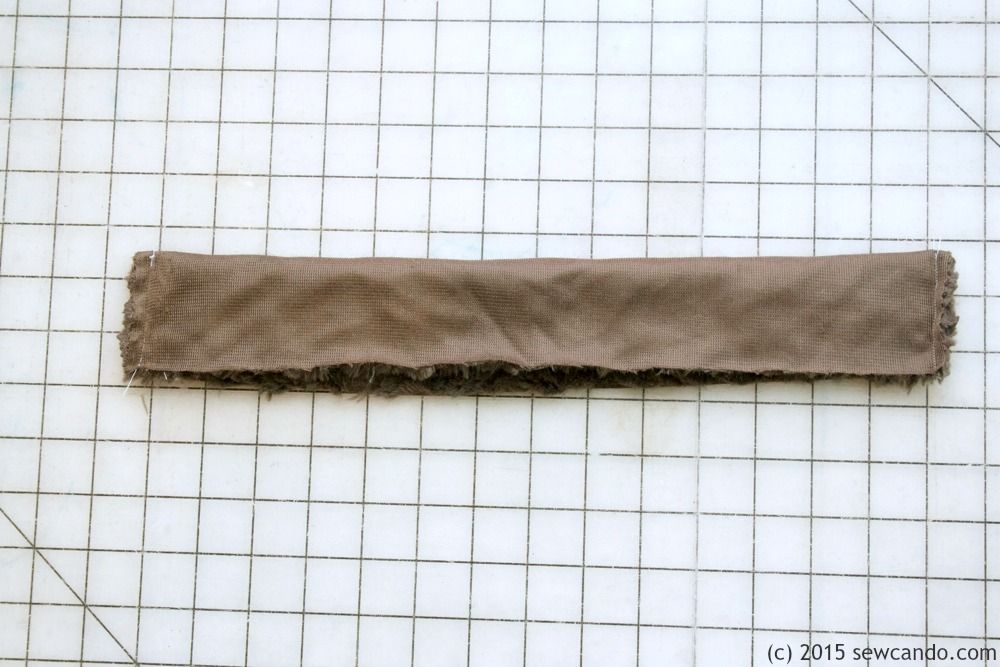
For the collar I folded the collar down with right sides together and stitched along the short sides, trimmed the seam allowances, then turned right side out. I also basted the long open side so the edges would stay in place when attaching it to the capelet.
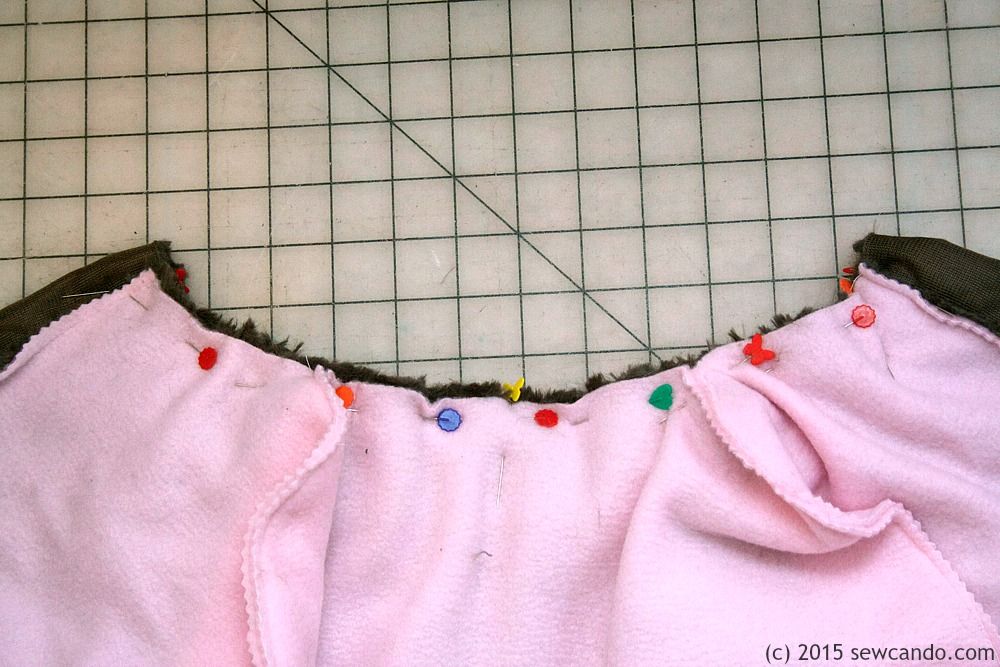
I inserted the collar in-between the lining and fur, lining up the raw edges so each ends of the collar matched each end of the lining. This made the cuddle fur overlap on either end so it will wrap inwards. Then I pinned & stitched the layers together:
Then it was time to do the bottom hem and leave a few inch gap in the middle for turning it right side out. I pulled it right side out and slip stitched the opening closed.
For the last step, I laid the frog closure onto the front, making sure each side was evenly spaced and pinned it to the cuddle fur.
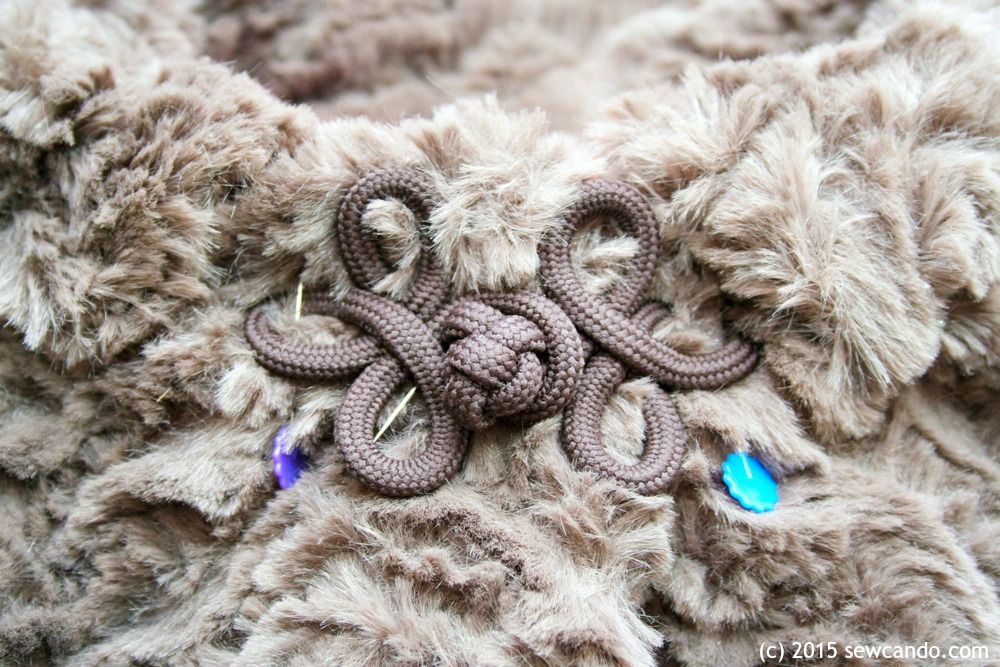
Then I hand stitched it into place around the loops, careful to only stitch through the cuddle fur, so the stitching wouldn't show through on the inside. I also tacked down the corners of the collar so it would lay nicely.
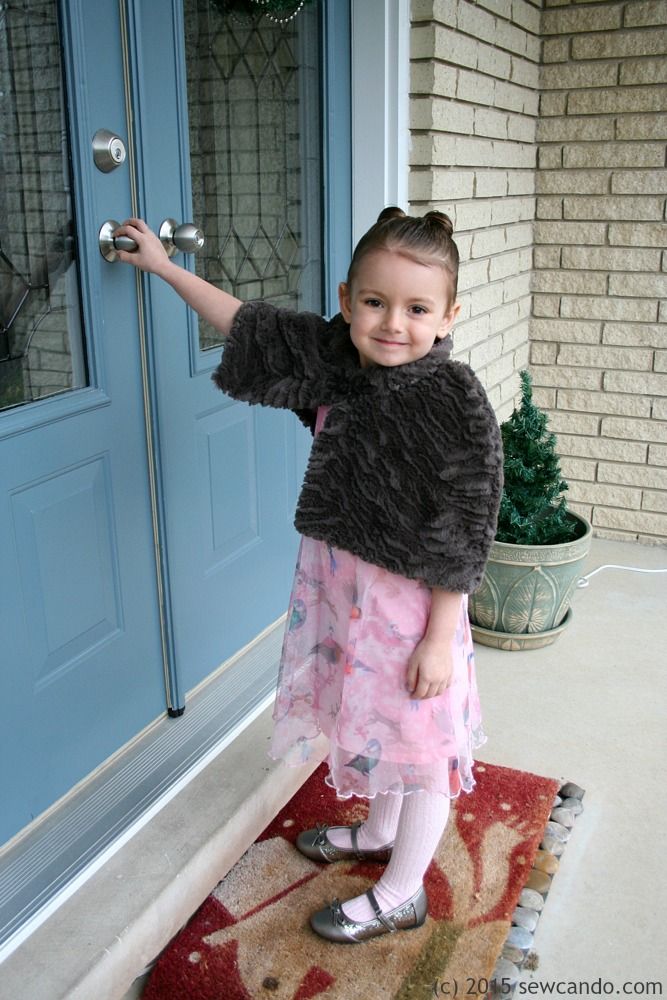
By adding some cable knit tights for the lower half, I was able to turn a filmy, lightweight dress into a cosy, winter ensemble. Now we now have the perfect layering alternative to sweaters and it's fun for playing dress-up in too:)

So cute! Great job and thanks for sharing.
ReplyDeletePerfect for any little princess! She's darling in her little "fur" caplet.
ReplyDeleteThanks - I just loved how much it made this into an outfit.
DeleteBeautiful!!! I've got a Craft Gossip post scheduled for later this morning that links to your tutorial:
ReplyDeletehttp://sewing.craftgossip.com/tutorial-girls-faux-fur-capelet/2015/01/29/
--Anne
So cute! Pinning now. :D
ReplyDeletetotally adorable and I like the capelet too! :) Such a great idea and much more versatile than a stuffy old coat!
ReplyDeleteIt really is more versatile and definitely gives things more of a styled look too:)
Delete
ReplyDeleteThis is really gorgeous! I love your capelet! The little girl is so adorable! Thank you for sharing great tutorial!
Hope you have a wonderful weekend!
Hugs and love from Portugal,
Ana Love Craft
www.lovecraft2012.blogspot.com
Thanks so much Ana - I'm doubly proud since both are my "creations";)
DeleteSuper cute! Love it! Pinned and tweeted. We love to party with you, so I hope to see you tonight at 7 pm. That would be so awesome.
ReplyDeleteHappy Monday! Lou Lou Girls
Thanks very much Kimberly!! I'll have a new project to link up next week.
DeleteSo cute and fancy! I love it! Thanks for sharing at Submarine Sunday! I may have to make something like this for my little girl!
ReplyDeleteI hope you do - it was a lot easier to put together than I thought it would be.
Delete