
I've used it to make this fluffy bolster pillow:

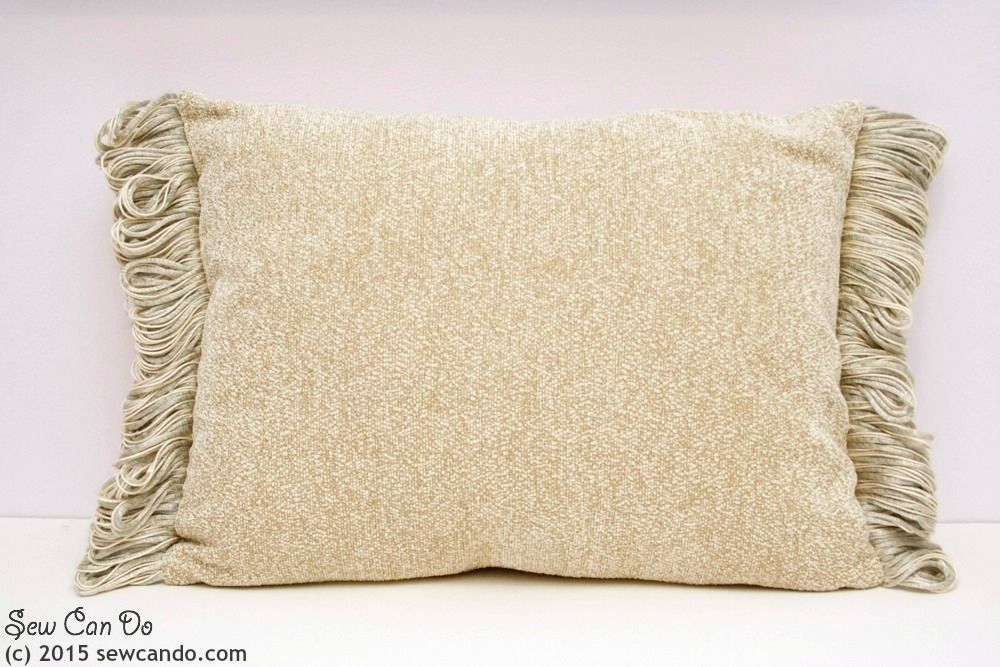
this fringed throw pillow:
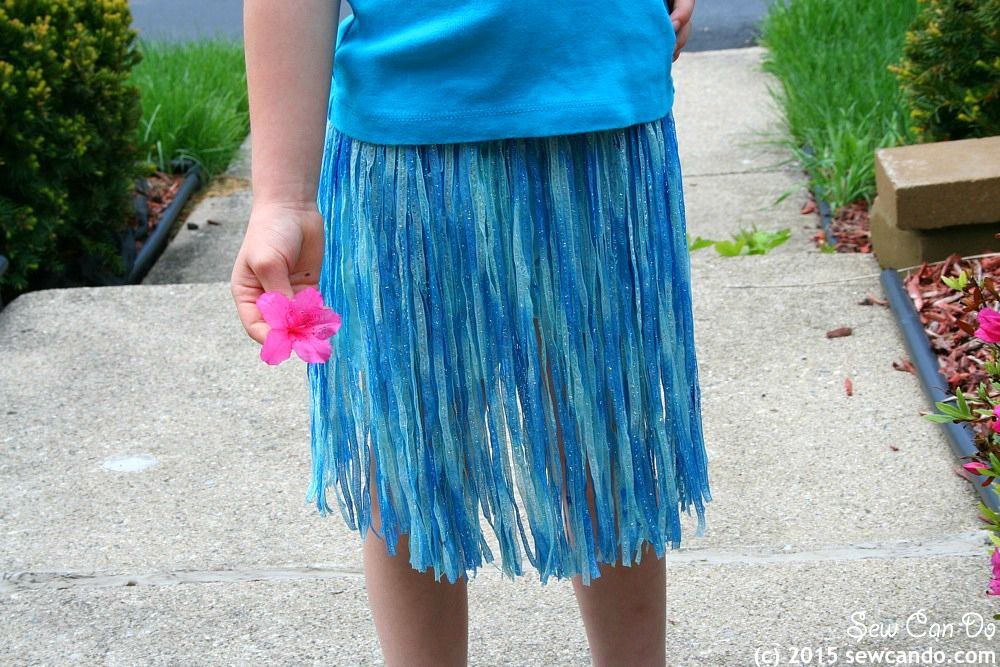
and even this little wearable number:
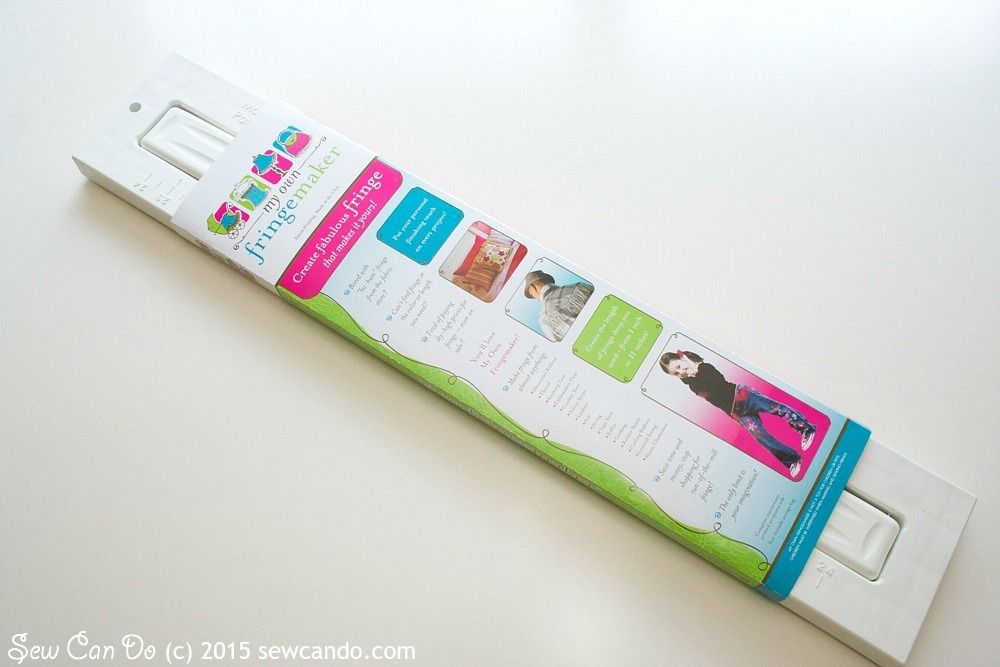
About a month ago, Debi, the inventor of My Own Fringemaker, contacted me about trying out this tool as a review. I'm pretty picky about reviewing products these days, but liked that this isn't sold in retail stores and was designed by a real sewing enthusiast, not a giant corporate team with a slick gimmick & little else. I was intrigued by all the things you could make with this tabletop tool: custom fringe, tassels, pom poms, boas, wigs...you can even weave & knit on it!
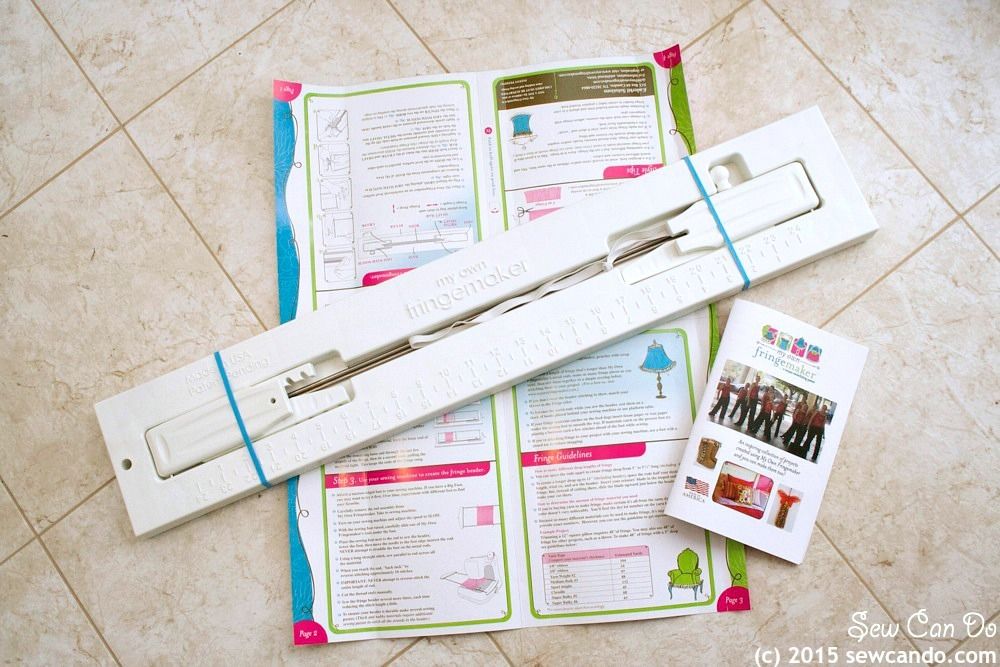
By choosing your own ribbons, yarns or strings, this tool will make whatever custom look you want for trim in minutes. You can mix textures & colors, do a looped or cut finish and make just about any length - all the way up to 13 inches long!
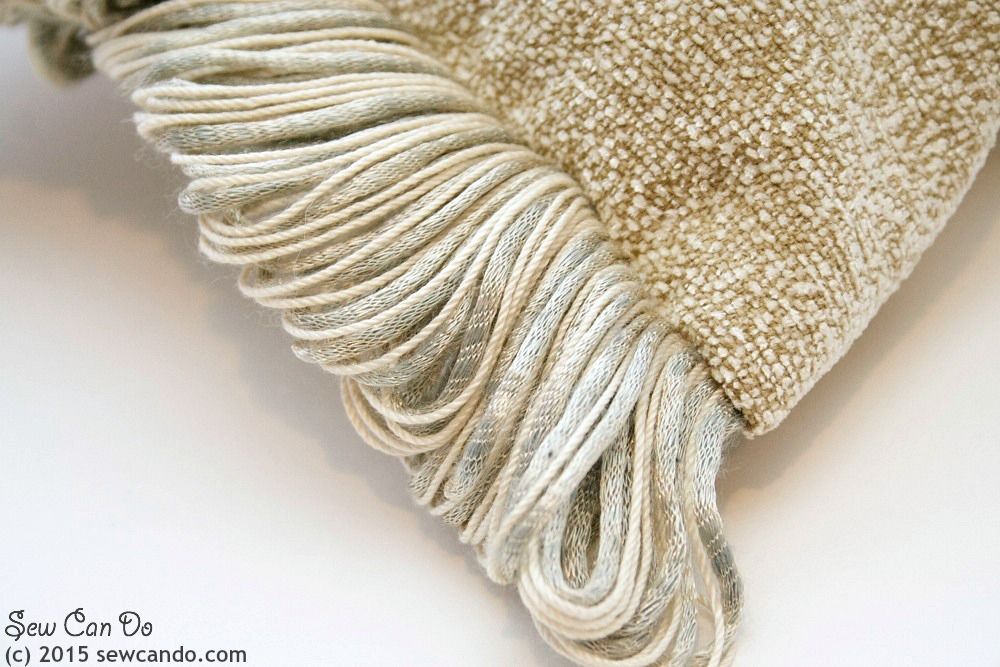 |
| My multi-textured looped fringe |
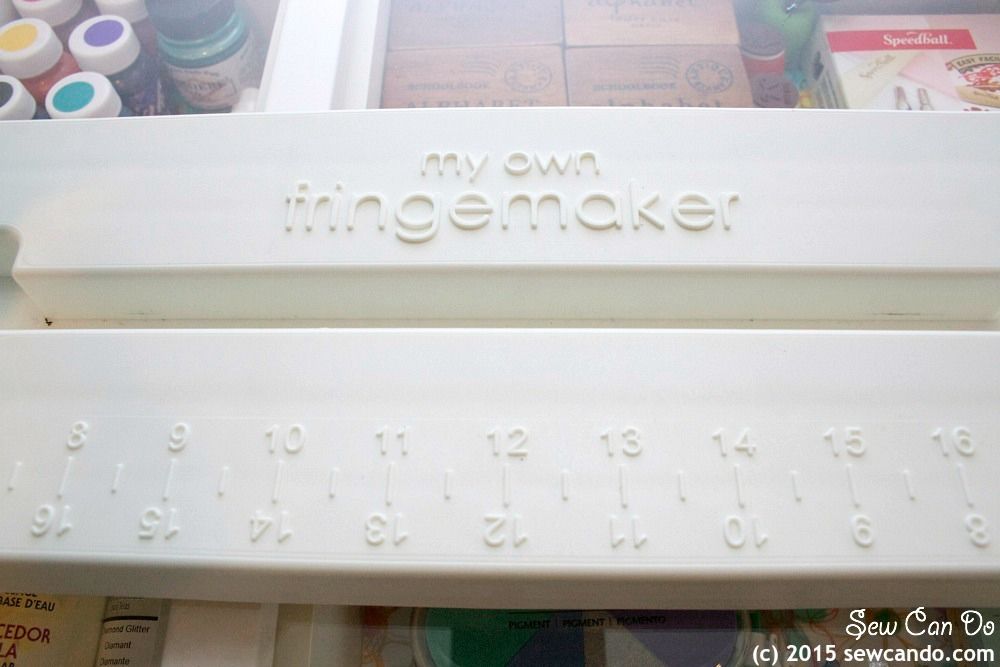
There's also a handy measure built into the base so it's simple to make exactly what you need. And it folds up flat, which is a big plus with my craft room's limited space.
Ready for a test-drive tutorial?
Here's how I made my DIY Designer Bolster Pillow with it:
Materials:
- 1/2 yd Home Dec fabric
- Pillow form - bolster/neckroll size (14in x 6in)
- My Own Fringemaker tool
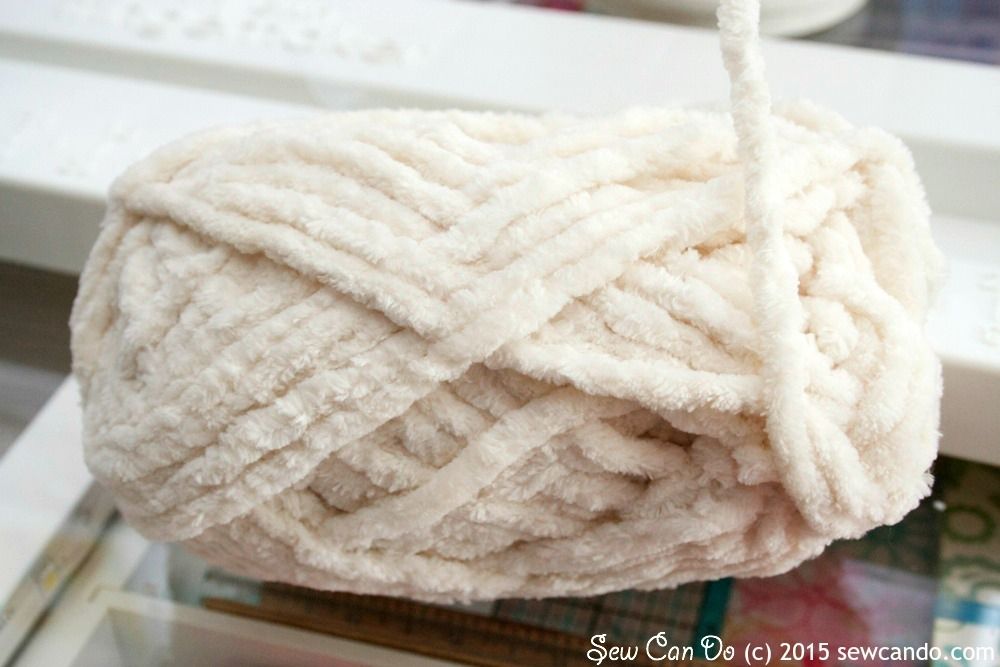
- Plush yarn (mine was bulky 5)
- 14 inch zipper
- Sewing notions (marking pen, rotary cutter, pins, zipper foot)
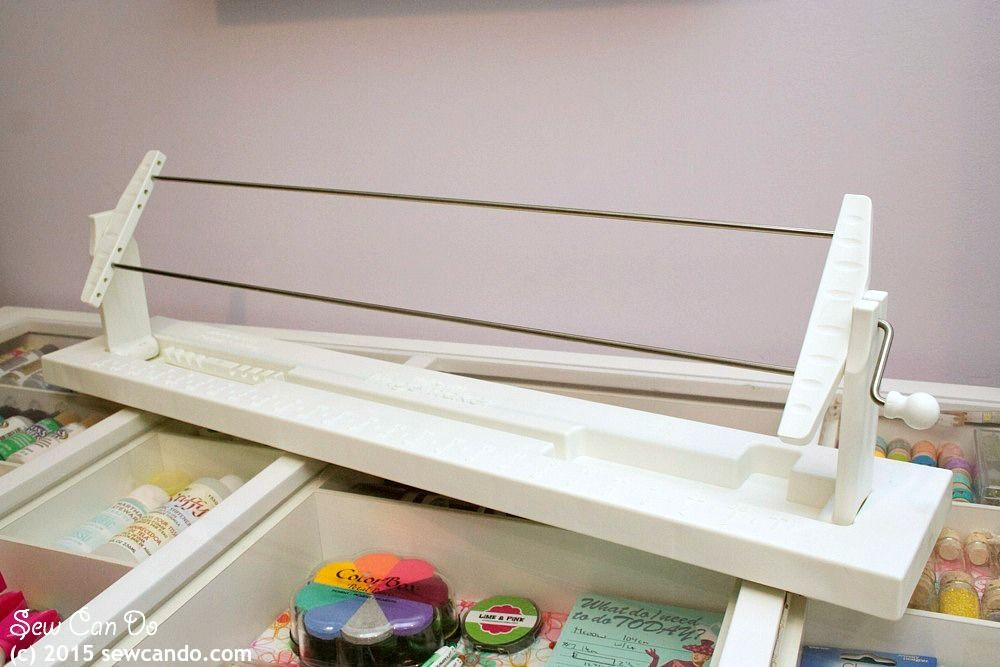
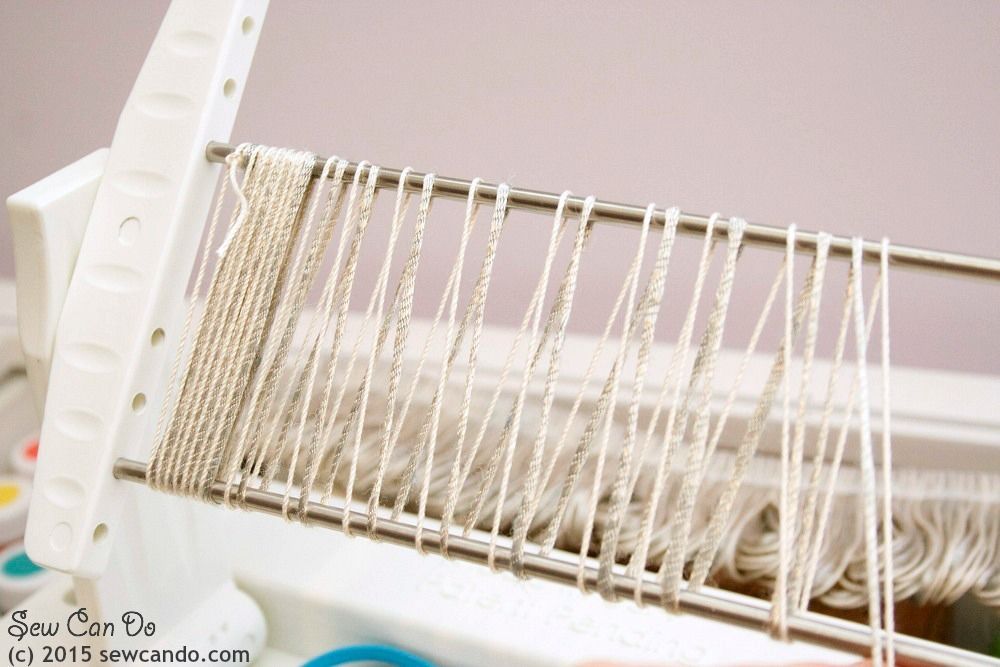
I set the rods to the length I wanted and tied one end and began turning the handle:
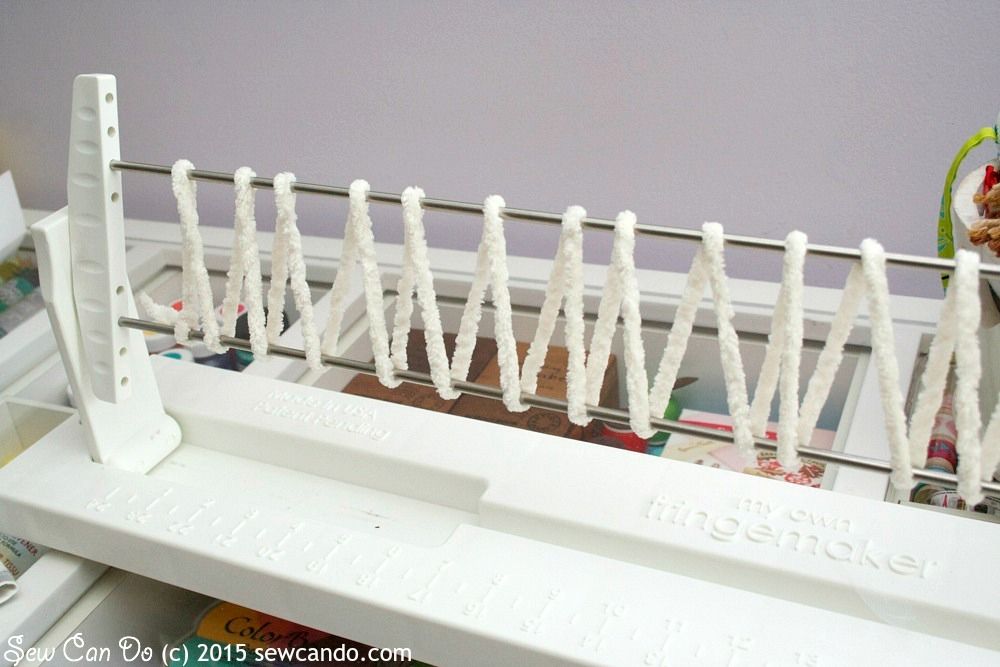
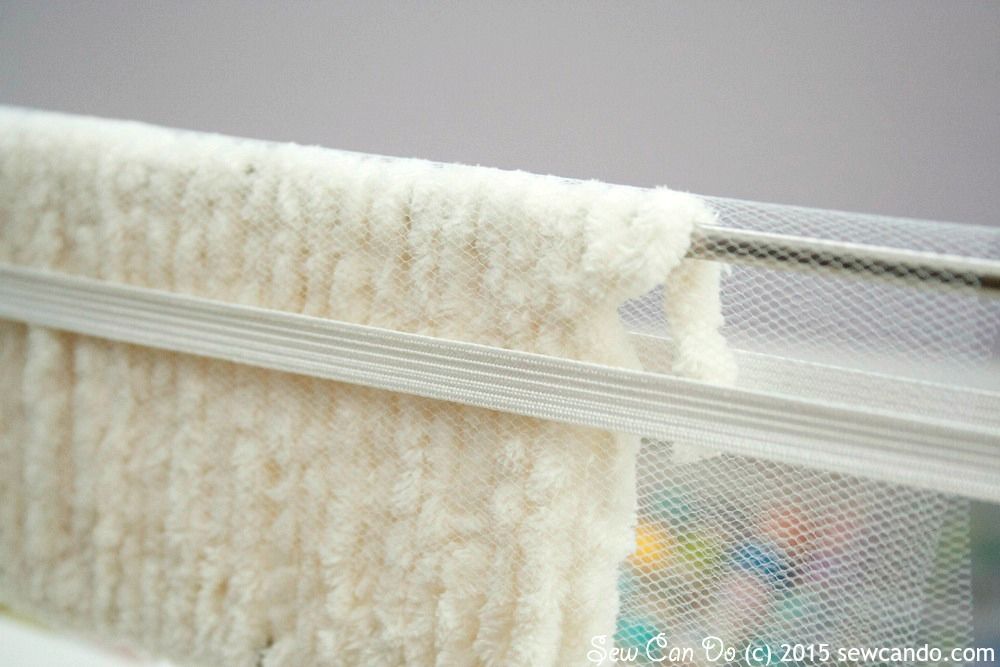
You cinch the yarn together to get an even fullness and tie it off at the desired width - mine was 19 inches. Then I placed a piece of tulle (included with the My Own Fringemaker) over the top rod and used the elastic band to hold it in place. The tulle makes it easier to sew the header & not get any yarn caught on the presser foot.
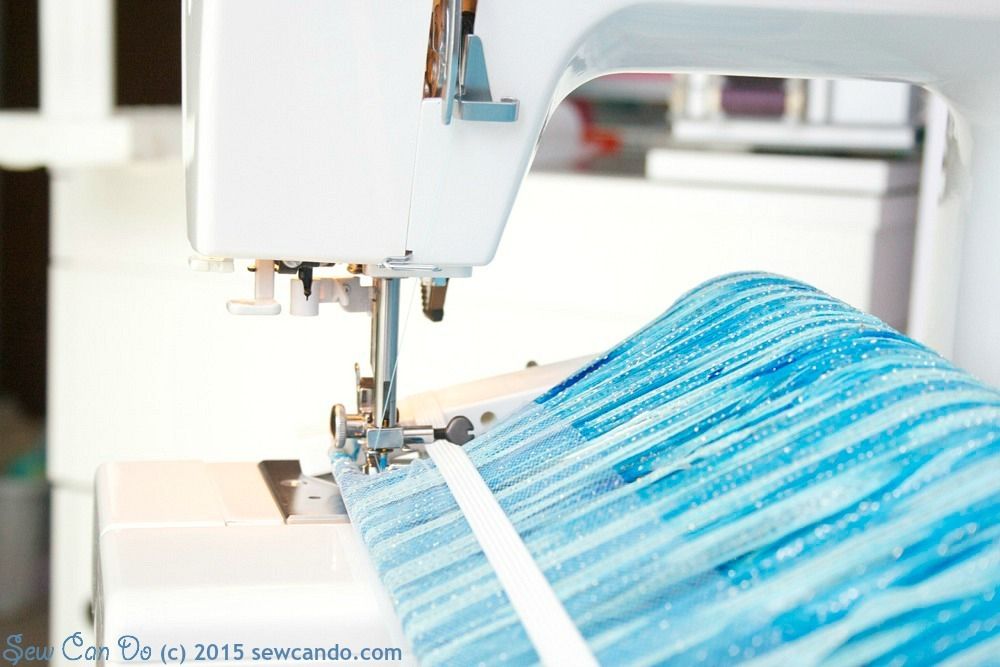
Then the rod unit gets removed off the tool and, using a zipper foot, you stitch close to one of the rods on the inside and repeated several more overlapping rows to make a sturdy seam. This takes a little practice and plenty of clearance behind the machine as you sew. Excuse the inconsistent color here - I didn't have a clear enough pic of this part with the fuzzy yarn:
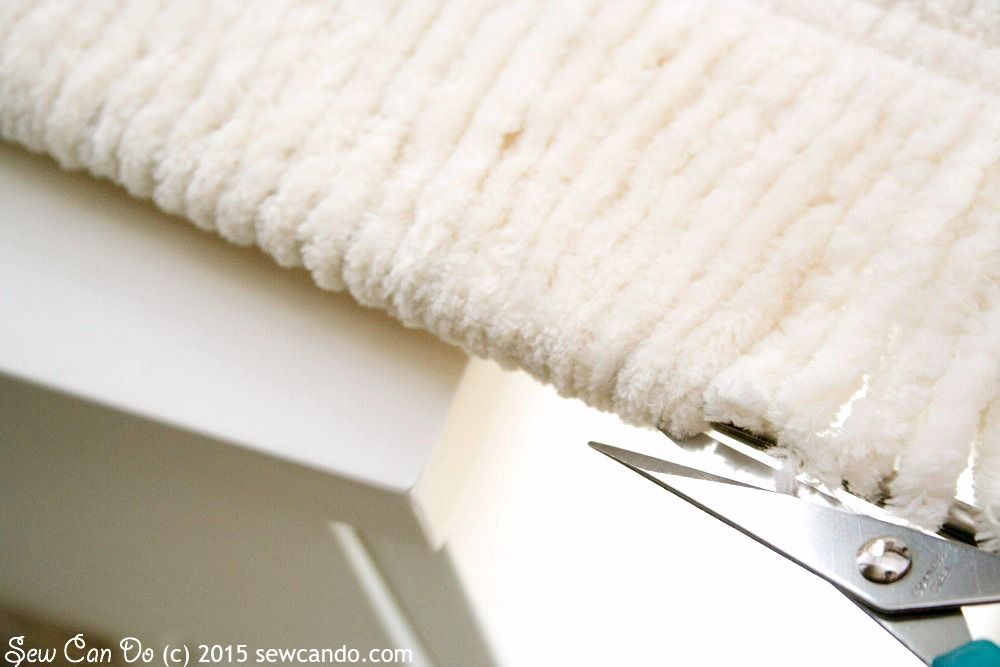
Since I wanted my fringe cut, not looped, I cut the lower edge while it was still on the rods to get it perfectly even:
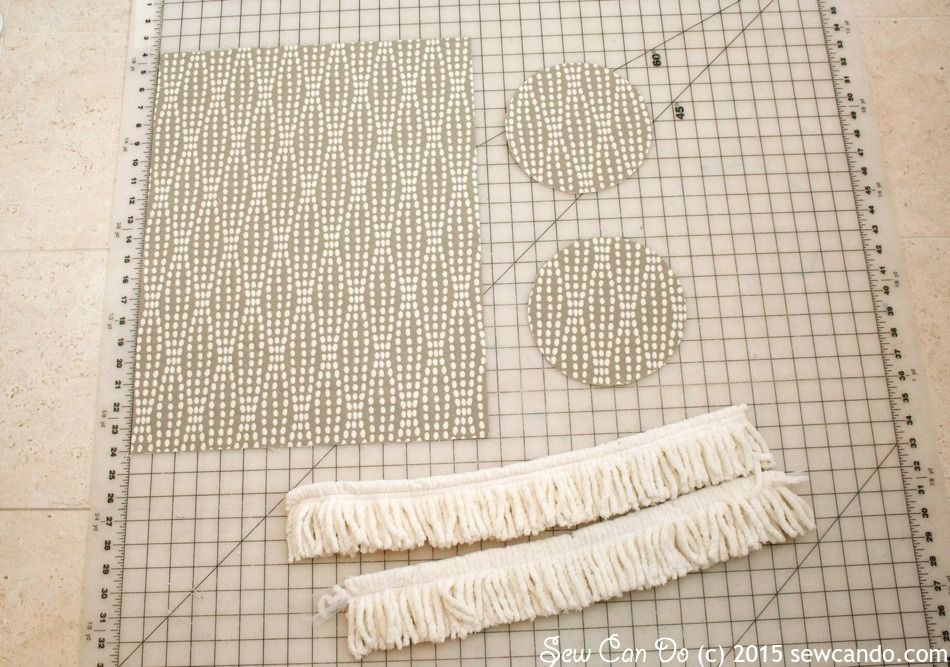
Then I cut the sides and body pieces from some fancy home dec fabric I'd won from Waverly when I designed my fabric clock project a while back. I cut circles that were 6 1/2 inches in diameter and a 15 1/2 inches by 20 inches main piece.
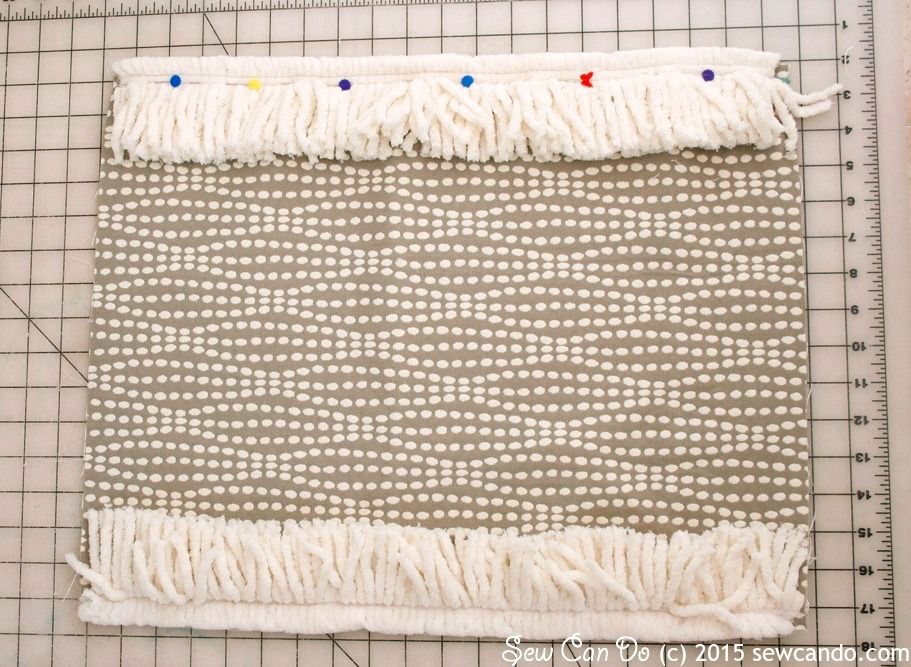
I pinned the enclosed edge of the fringe to each of the longer sides of the main fabric so that there was 1/2 inch extra fabric space on either end (for my seam allowance later) and basted them together:
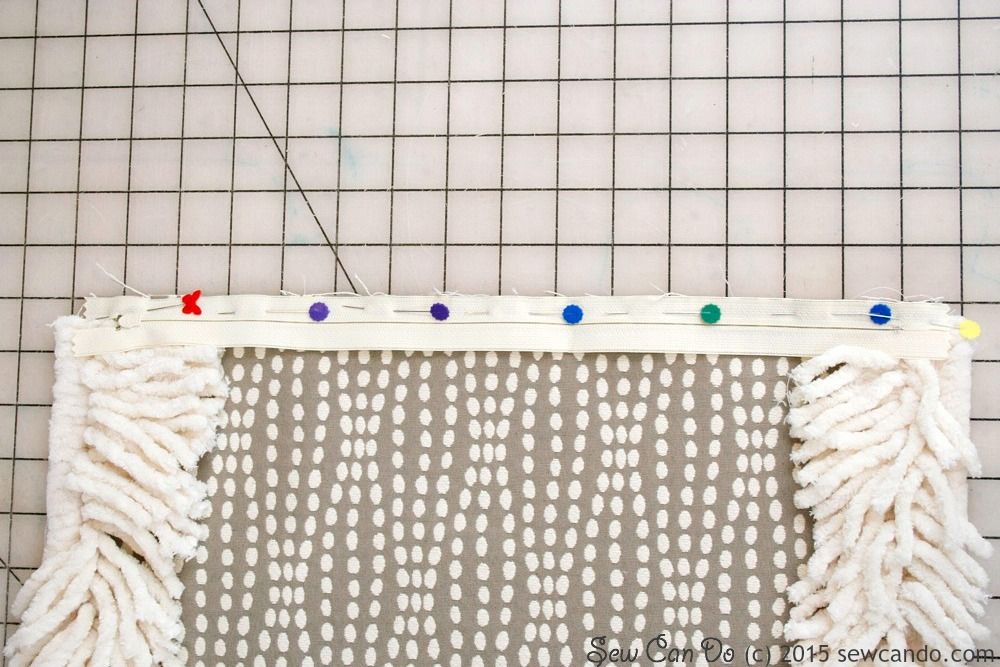
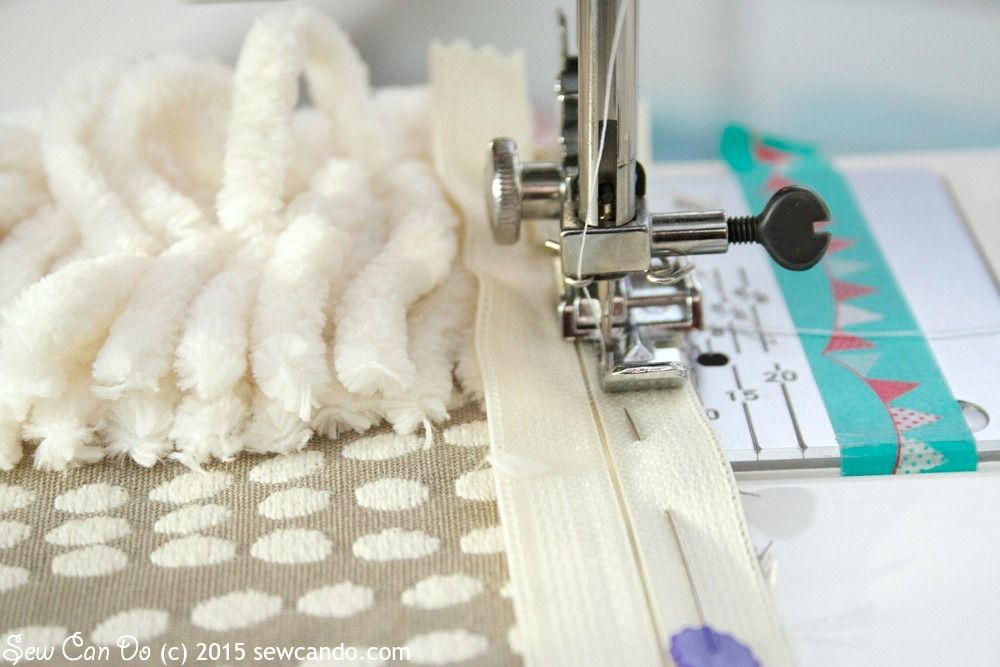
Then I attached the zipper to one side, face down:
I stitched nice & close to the teeth (I like to start after the zipper tab and then come back and do there with the zipper open because it's easier):
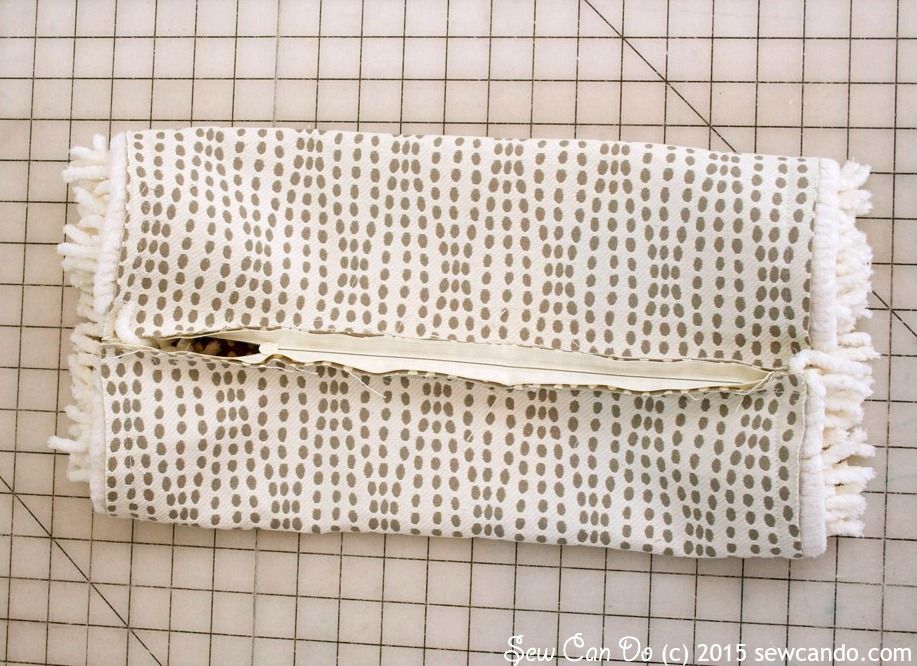
I pulled up the remaining fabric side and pinned that to the other side of the zipper tape and stitched those together:

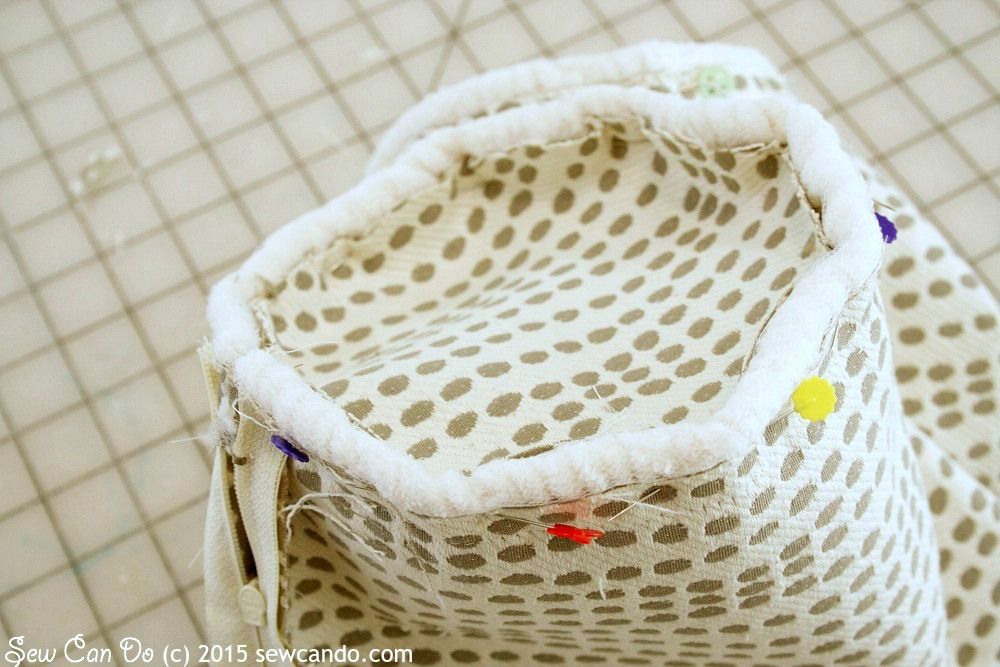
Now I had a pillow "tube" and pulled the zipper open a few inches.
I pushed all the fringe inward and pinned the circular pieces to either side, right sides facing and stitched with a 1/2 inch seam allowance:
I pulled the pillowcase right side out, inserted my pillow form, and my stylish, fluffy-fringed pillow was ready:

To make my multi-stranded loop fringe I used thin crochet and silky metallic knitting yarns:
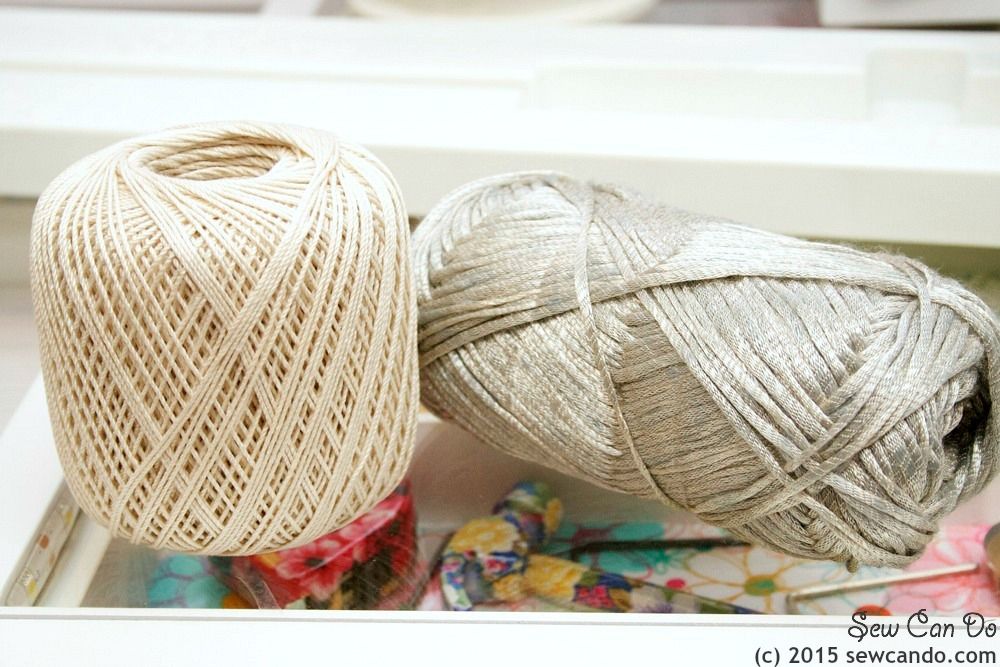
Blending them is super easy - just tie them on and start turning the handle. The tool keeps them even as you wind:
I followed all the same steps as the bolster, except I kept this fringe looped and I didn't need to make side pieces for my rectangular pillow.
The fringe looks pricey, but per yard it was way less than anything similar I could buy and it's the precise colors, textures and length I wanted.
When I calculated out the prices of the materials used (including my coupon using skills), each pillow - including the form - came out to about $12 total and there's still tons of yarn left for other things. And they were exactly what I wanted, so definitely better than buying "just sort of matches" readymade. I'm proud to say I've made all my bedroom's designer-style throw pillows and feel like they look just as good (if not better) than what I could find in a store:

FYI: I've got tutorials for the other pillows I made too:
 |
| Getting Gathered Pillow |
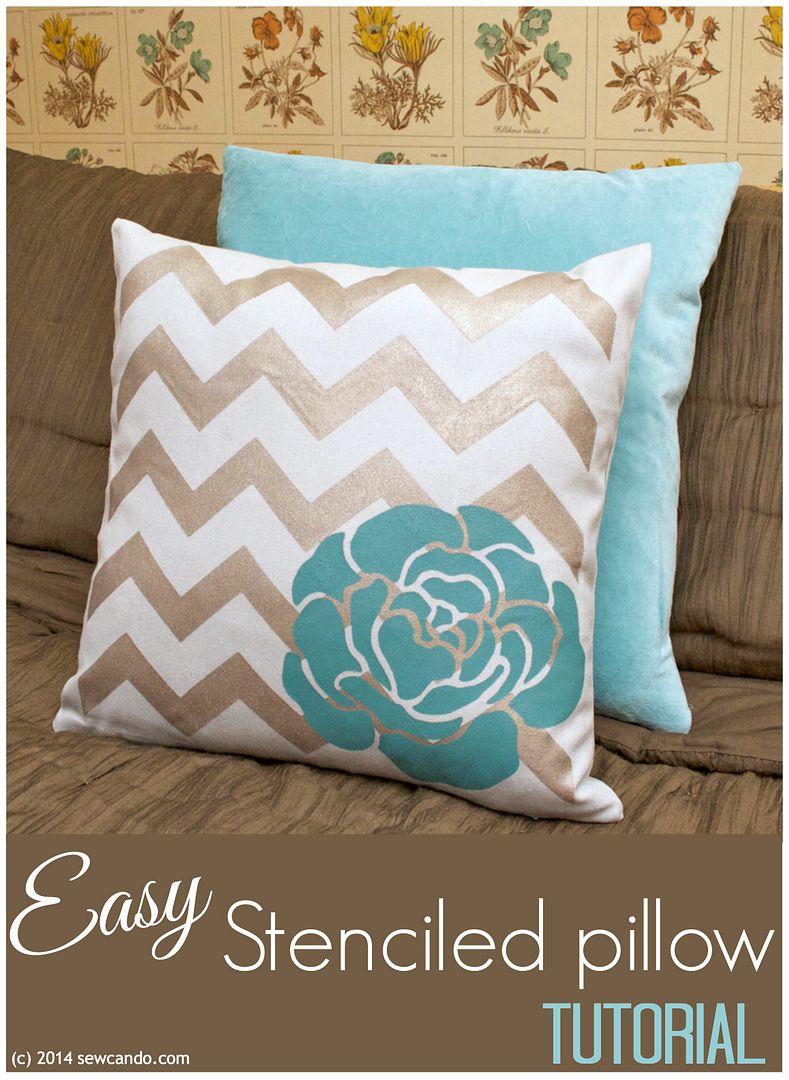 |
| Easy Stenciled Pillow |
The My Own Fringemaker is an upfront cost, like any tool, but in the long-run I think it makes a big savings because of it's versatility with so many kinds of projects. I'm usually a big cheapskate with sewing supplies, but now that I know just how much can be done with it, I'd have bought it even if I hadn't gotten one to review. I plan to keep experimenting to make some tassels, wigs & try my hand at a bit of weaving on it. Chic drapes, valances, bedding, scarves, toys - sky's the limit now!
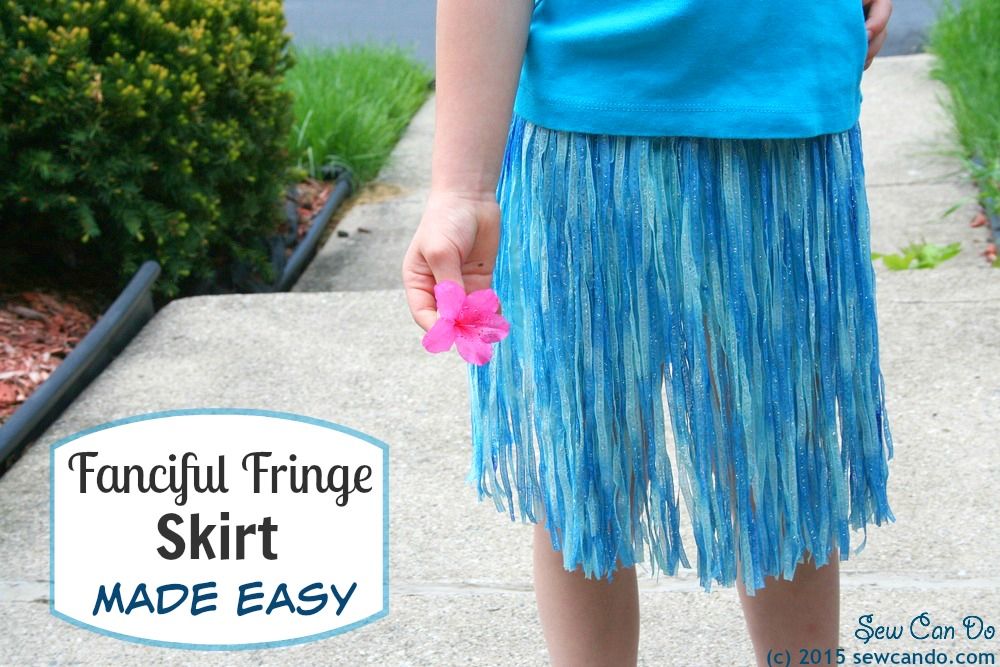
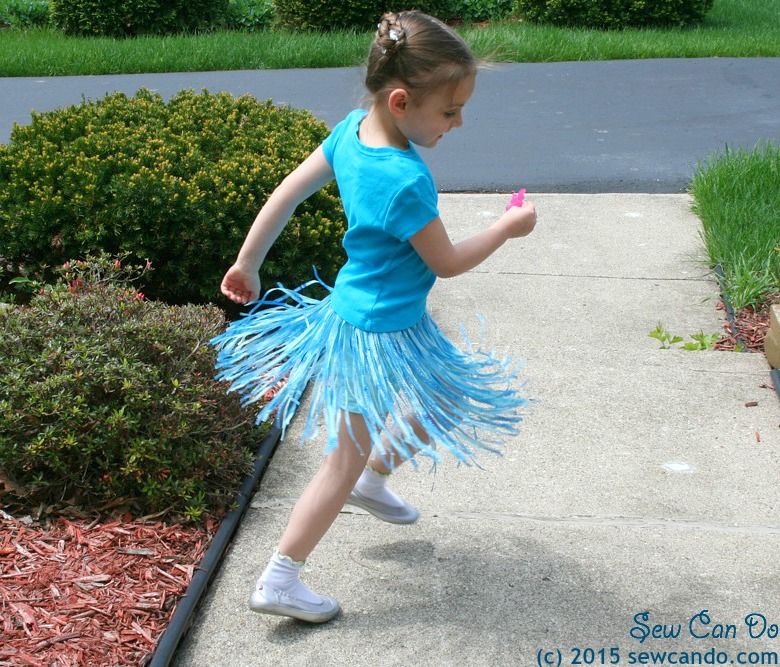
Plus, later this week I'm going to share how I made this fun fringe skirt with it (find it here). It's super easy & inexpensive to make:
And kids LOVE how it twirls:
What would you make with My Own Fringemaker? What should I try to make next?

I was not financially compensated for this post. I received the My Own Fringemaker® tool to review. The opinions are completely my own, based on my experience. For my complete disclosure policy, click here.
Those pillows are darling! I may need to pick up one of those fringe makers...
ReplyDelete~Jamie
You'll be so glad when you do Jamie. I never thought I was a "fringe person", but this tool is so versatile and fun to use. It's giving me loads of new ideas for projects.
DeleteI love these pillows sooo much! Thank you for sharing your diy tutorial at the Thursday Favorite Things blog hop. Watch for your feature on Monday xo
ReplyDeleteThanks so much Katherine! I can't wait:)
Deletehow fun is that fringe!!! Love all that you can do with that fringemaker, looks really handy and your projects turned out great!
ReplyDeleteIt's so addicting to make Emily and you really can do tons with this thing. It's a big help keeping me from spending at the fabric store for trims and finding uses for things in my stash I didn't know what to do with before. I highly recommend it!
DeleteI love a well thought out product that makes creating easy. Your pillows are just gorgeous.
ReplyDeleteThanks & this item is really made by a crafter, for crafters so all the right features are there (plus it's made in the USA too!).
DeleteHi, Cheryl ~ My Own Fringemaker looks like SO much fun! I've definitely added it to my wish list. I love to make home decor items: pillows, curtains, valances, etc., so I'd make good use of it. Thanks for sharing!
ReplyDeleteThat's awesome to hear Tiffany and you would absolutely get tons of use out of it for home decor (and whatever else you'd want to make).
DeleteWow how cool! If loving fringe is wrong, I don't wanna be right. Because I'm a fringe addict. Where can you get one?
ReplyDeleteShannon from Bohemian Junktion
Shannon you made me laugh out loud! You can purchase your fix at www.myownfringemaker.com (I've got the links in the post too).
DeleteI love these pillows! I've been making pillows lately, and they're so much fun to make! I think the Getting Gathered Pillow is my favorite. Any my daughter would love that fringe skirt! Thanks for sharing your lovely pillows and fringe skirt at the Submarine Sunday Link Party!!
ReplyDeleteThey are - I've gotten so addicted to making them I'm looking for reasons to make more;)
DeleteGirl, I am in awe! You are so talanted! I would buy everyone of those pillows! I wish I could make my own :)
ReplyDeleteThanks so much for sharing with me for Something to Talk About!
Karen
Aw thanks Karen. It's so much easier than you'd think - if you can sew a basic straight line, you can make them!
DeleteLove your pillows and the fringing makes them extra special :)
ReplyDeleteThanks for sharing at Creative Mondays
I never knew how much fringe made a difference until I made these. It's totally addicting!
DeleteYour pillows look very high end! My Own FringeMaker is so cool. Trim makes all the difference and making your own sounds fabulous. Thanks for linking up at the Stitch It, Blog It, Share Link Party. I hope you’ll join us every Sunday night at 7 with more of your creative sewing projects.
ReplyDelete~Bonnie @ Behind the Seams Sewing
Thanks Bonnie and you're so right - it really does give it that designer edge. Thanks for hosting too!
DeleteHey Cheryl! I featured your gorgeous pillows at this week's Submarine Sunday Link Party! :-)
ReplyDeleteThanks very much T'onna! I've now got the Star Shipmate button on my Featured On page.
DeleteHello beautiful! Super cute. Pinned and tweeted. I hope to see you on Monday at 7pm because we love to party with you! Happy Memorial Day! Lou Lou Girls
ReplyDeleteCheryl, I'm still lovin' your tutorial and the skirt sends me twirling! Love love love it! Please stay creative.
ReplyDeleteDebi Weinert, My Own Fringemaker.com
Thanks Debi! I haven't had much time to lately, but I definitely will. Thanks for switching me on to the My Own Fringemaker - it really is a cool crafting tool.
Delete