
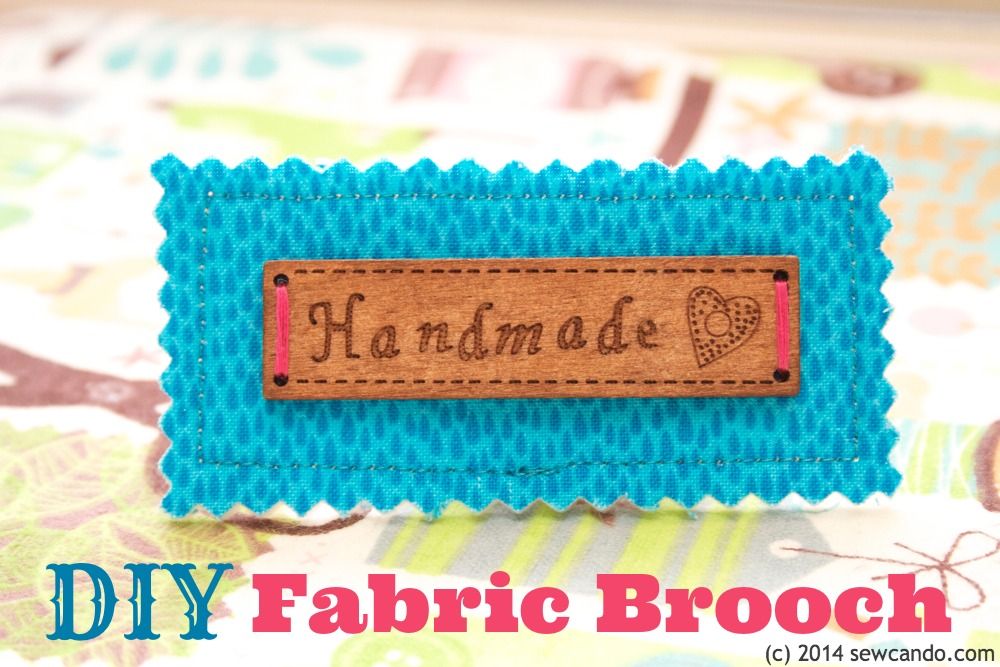

I literally whipped this project up an hour before going to a craft event. I wanted to be able to wear something crafty, that I'd made, and this worked out perfectly. It's also a great way to feature a design or character from a busy fabric as well.
Materials:
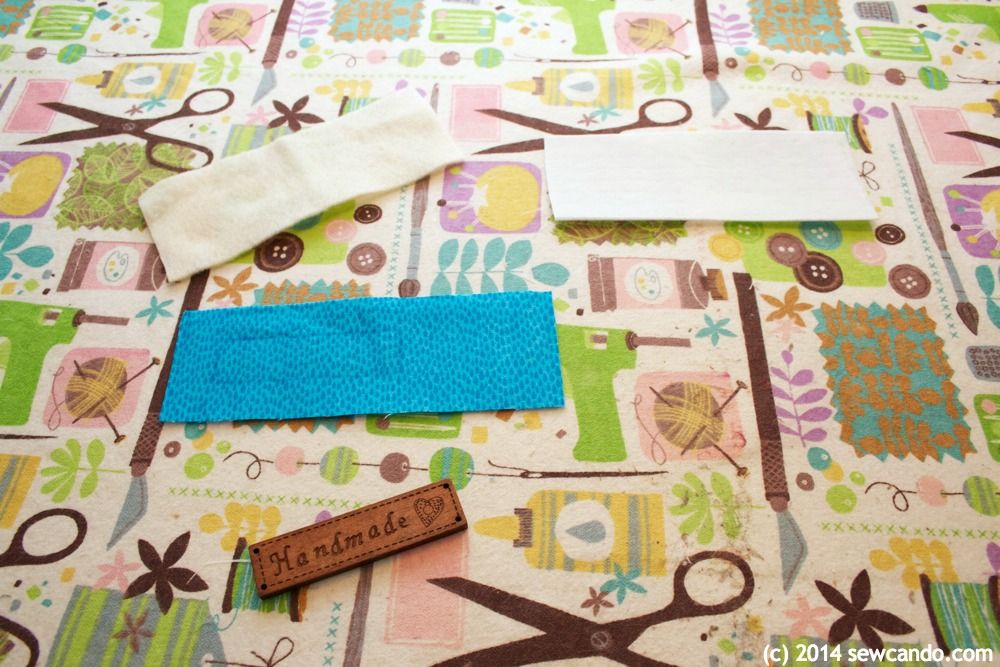
- Scrap of quilting cotton (the fabric I used is Rain Basic in Aqua by Timeless Treasures)
- Scrap of felt
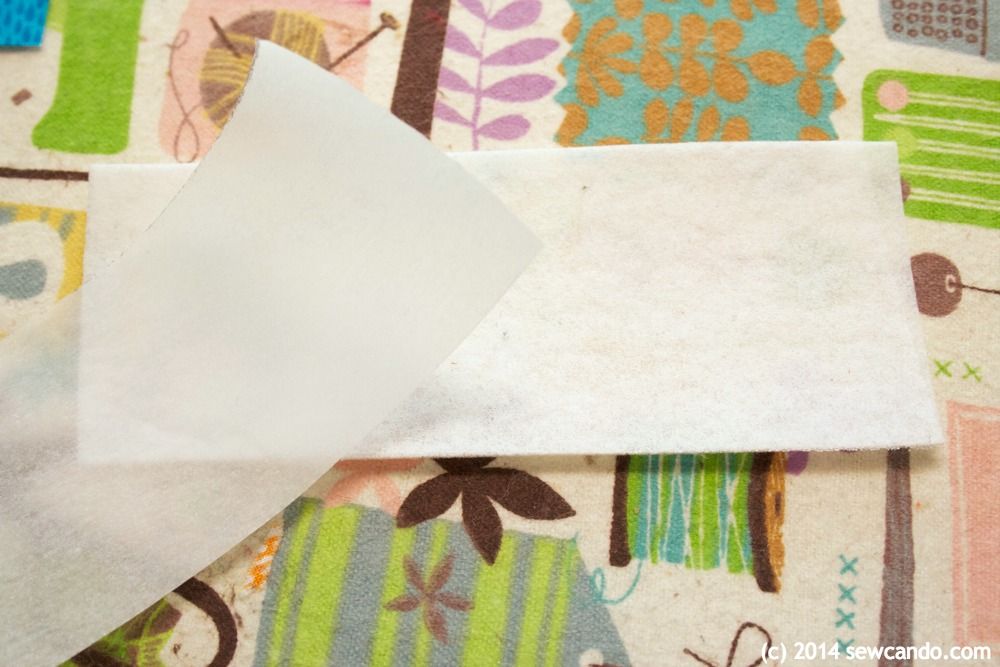
- Small piece of ultra firm stabilizer
- Safety Pin
- Sewing notions (disappearing marker, shears/scissors, iron)
Optional: paper-backed fusible web, button/embellishment, pinking shears, embroidery floss, hand sewing needle. The "Handmade" wood embellishment I used can be found here.
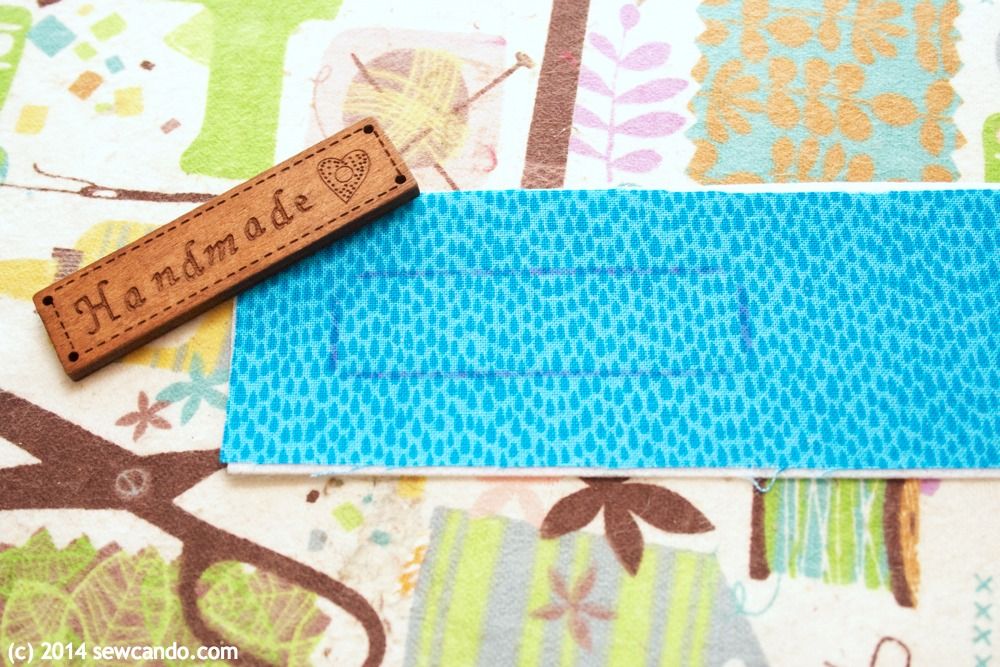
Start by cutting your desired shape from your fabric, felt and stabilizers. Since I was going to add a rectangular embellishment on top, I echoed that shape, but made it about an inch wider and higher all the way around.
Use disappearing marker to draw the outline of any embellishment if that will be the shape you want to sew around. This makes sure things centered & gives a guide to sew around to make sure the topstitching will be even and straight.
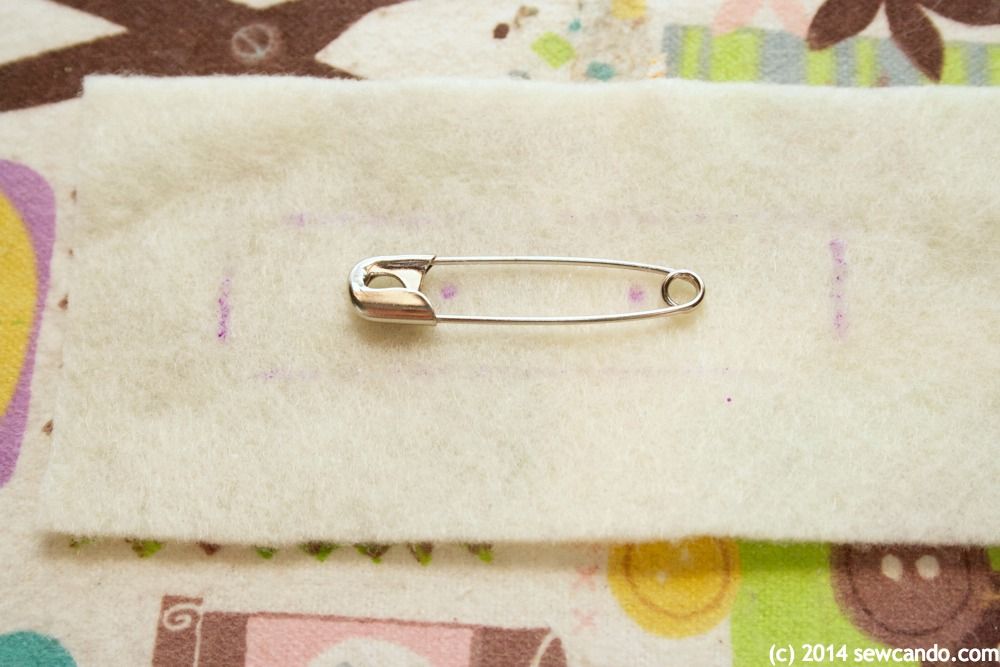
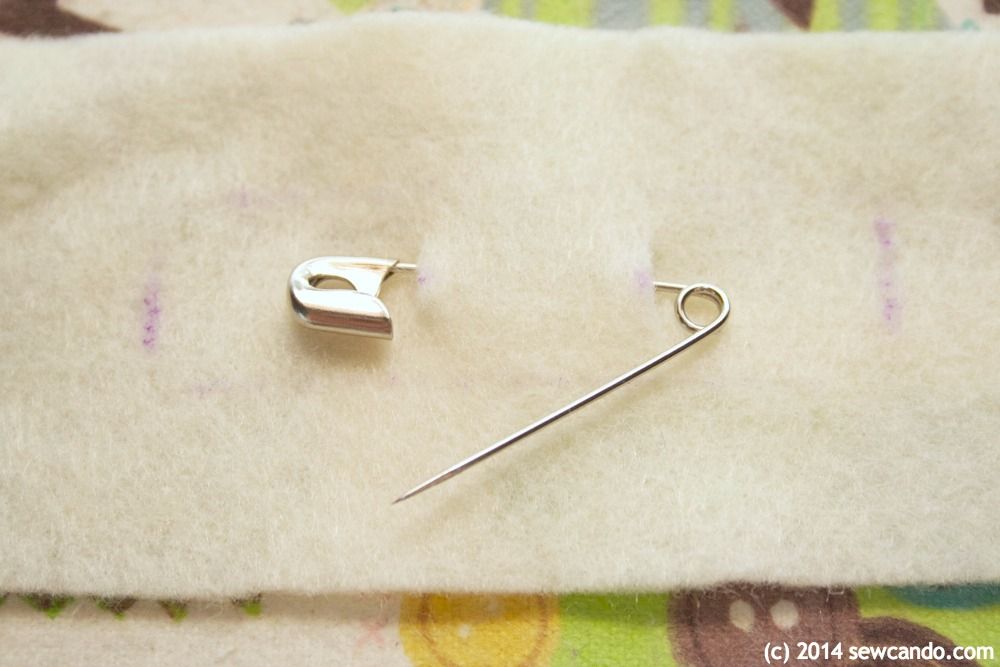
Snip the two marking points to about 1/4 inch high and slip safety pin in to make sure it fits. Slip back out and add after brooch is complete.
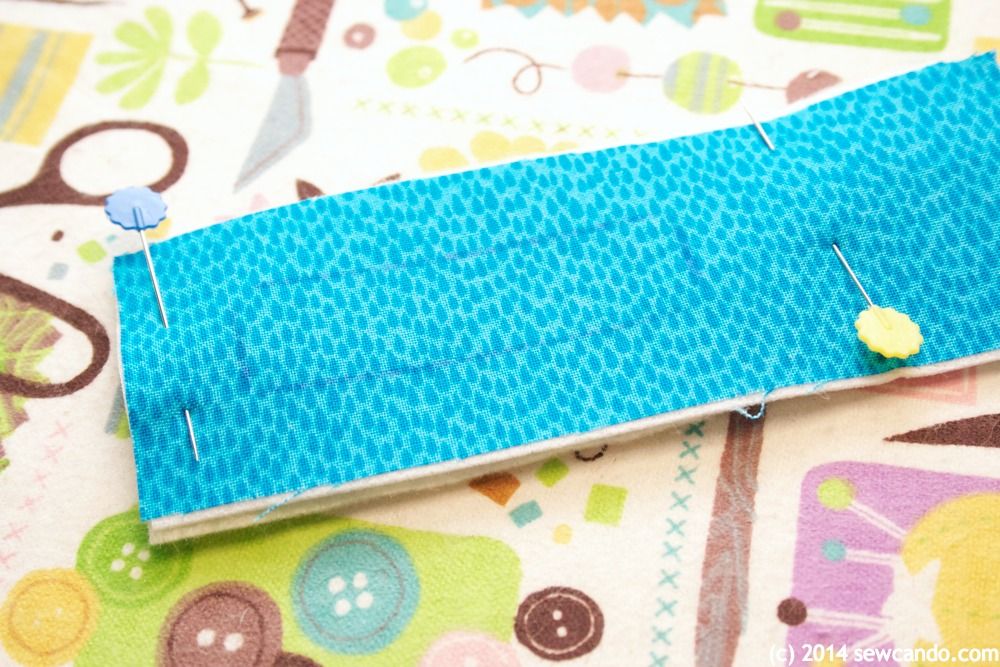
Place felt behind the fabric "sandwich" you've made and pin layers together:
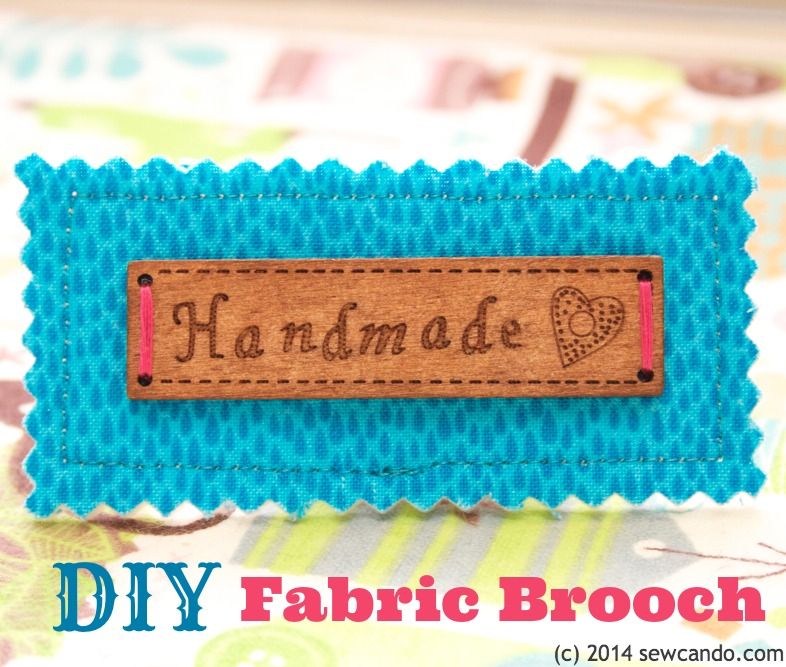
Topstitch all the way around. I did about 1/4 inch away from the outline of my wood piece. Trim just outside the stitching. I used pinking shears for some extra decorative detail and to prevent fraying. If using regular shears, add a little Fray Check around the raw edges to seal them.

If you're using an embellishment or decorative button(s) like I did, hand sew them on. I used bright pink embroidery floss for some extra color. Slip safety pin through slits in the back. Now the button is done and ready to wear!

I'm also sharing this project with my FAVE LINK PARTIES.
Click HERE to check them out!
Great idea, like most crafters (I imagine!) I have tons of fabric scraps needing used up.
ReplyDeleteGayle x
http://makethriftlovelife.blogspot.co.uk
Hi Cheryl, this is lovely! Thanks for sharing the nice idea!
ReplyDeleteHave a wonderful day and week!
Hugs from Portugal,
Ana Love Craft
www.lovecraft2012.blogspot.com
Great way to be penny-wise while looking cute, crafty, and creative!
ReplyDeleteI hate throwing away even the tiniest piece of fabric, I can imagine all sorts of variations on this theme, thanks!
ReplyDeleteThis is an awesome idea! I like to keep my scraps, but never know what to do with them. Thanks for the idea!
ReplyDelete