

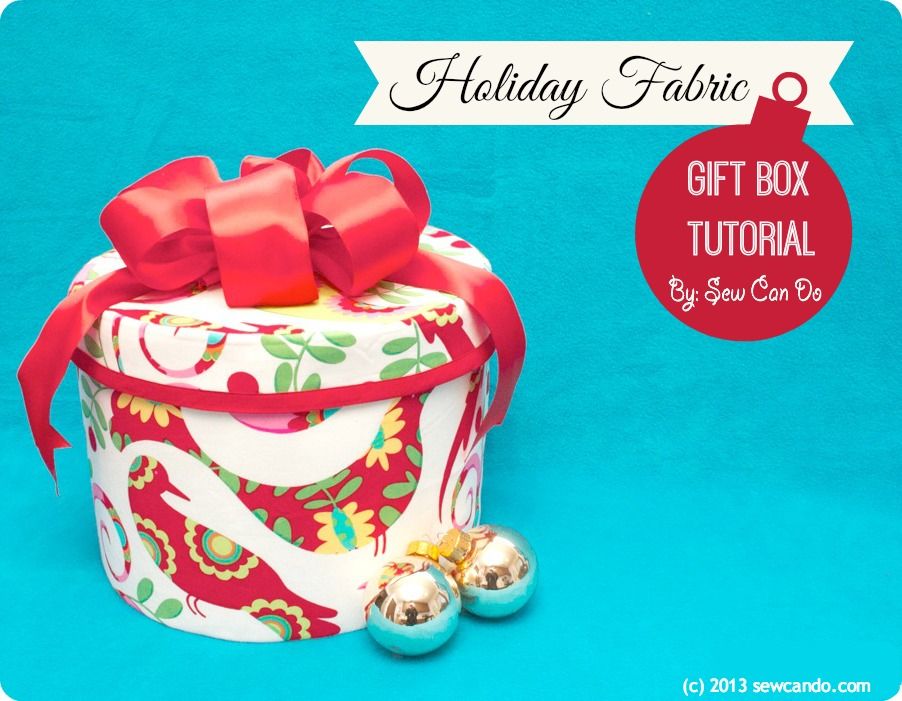
Gift shopping & wrapping for the holidays getting challenging? Want some packaging that will wow and also won't get tossed in the trash in a hot second? Make my Holiday Fabric Gift Box! Today's tutorial shows how to use gorgeous holiday fabrics to make your gifts look amazing and keep wrapping easy. Added bonus, they can be used year after year, so one box will last a long time!
It's also a much nicer presentation than a boring paper box or bag - the inside is just as pretty as the outside:
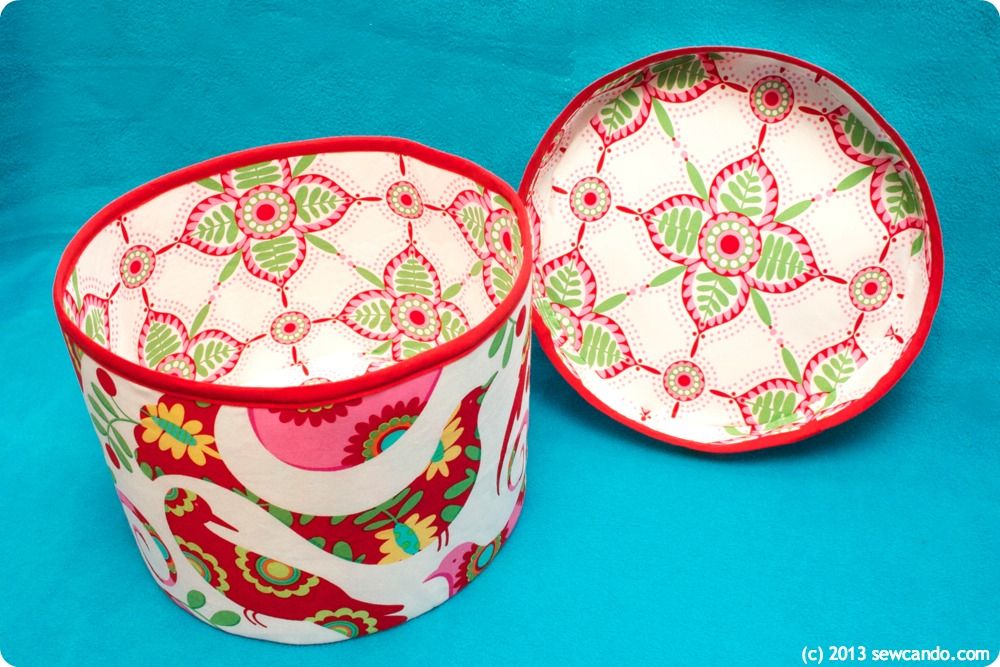
And my how-to makes a generous sized box. No teeny-weeny, holds-next-to-nothing containers here! This one's approximately 8 inches high by 10 inches around. It's perfect for packaging clothing, toys, hard to wrap shapes or using for storing holiday items like ornaments or decorations:
I was lucky enough to get my hands on some lovely holiday fabric from modeS4u, a great Kawaii-themed online shop that specializes in beyond cute fabric, stationary & accessories.

They have some seriously adorable items & ship worldwide, so I was thrilled when they asked me to pick out some Christmas fabrics to try out and design a project around them.

And check out how cutely it came packaged - a present for me to make a present tutorial for you!!

Now, let's get to how to make your own fabric gift box:
Materials:
- 1 yd Extra Firm Sew-In Stabilizer
- 1 yd Medium Weight Fusible stabilizer
- Spray Adhesive
- 1 package double fold bias tape
- Notions (iron, pinking shears, rotary cutter/shears, pins, heavy duty sewing needle)
Cut the following pieces:
- 8 inch high by 33 inch wide rectangle from outer + lining + fusible stabilizer
- 2 inch high by 33 inch wide strip from outer + lining + fusible stabilizer
- 10 1/2 inch diameter circle from outer + lining + fusible stabilizer

Also cut a 7 1/4 high by 32 inch wide rectangle and a 10 inch diameter circle from the Extra Firm sew-in stabilizer:

Start by fusing the medium-weight stabilizer to the wrong side of the lining pieces (base, side, lid top, lid edge strip). Fold the side pieces of the outer fabric width-wise, with right sides facing, and stitch along the short side with a 1/2 inch seam allowance and repeat with lining piece. Do the same with the lid strips, but use a 3/8 inch seam allowance (this will make the lid fit better later).

With right sides facing, pin the circular bottom to the box side piece and stitch together.

Repeat this with the lid outer and lining pieces, again using a 3/8 inch seam allowance. Trip all raw edges with pinking shears or clip around curves.

Now the lining half of the box & lid is set:

Personally, I hate trying to sew Extra Firm/Ultra Firm stabilizer into place on a curved item. It's hard to get on the machine, adds a lot of thickness to seams and tends to shift around when sewing. Even a careful job, with an expert hand, can end up looking wobbly and lead to some profanity, mutterings about throwing the project out the window, etc. So here's what I do to save my sanity on projects like this: grab a can of spray adhesive and lightly coat the stabilizer (tip: do it outside or on scrap paper so you don't get sticky spray on everything around it). This is where it's important to have cut the stabilizer smaller than the fabric pieces, as mentioned earlier, so it will fit together like a glove when the seam allowances are gone.

Smooth the circular pieces into place on the wrong sides of the box bottom and lid top. If there are wrinkles or it's not centered, just peel it up and move. That's what you can't do when sewing & it slides around (unless you want to unpick all the stitching and start over, which I rarely want to do).

Repeat with the side piece on the outer fabric. It takes a little time, but I feel like it's much better than wrestling with it on the machine. It helps to start pressing it on it's side and then sit the box up and smooth like this:

No need to add it to the lid's edge, so one less thing to spray! Once everything looks good, insert the lining into the outer box, smooth together, and pin along raw edge at the top. Repeat with the lid.

Encase the edge in the bias tape and stitch along the tape edge, using a heavy duty needle. Repeat with the lid.

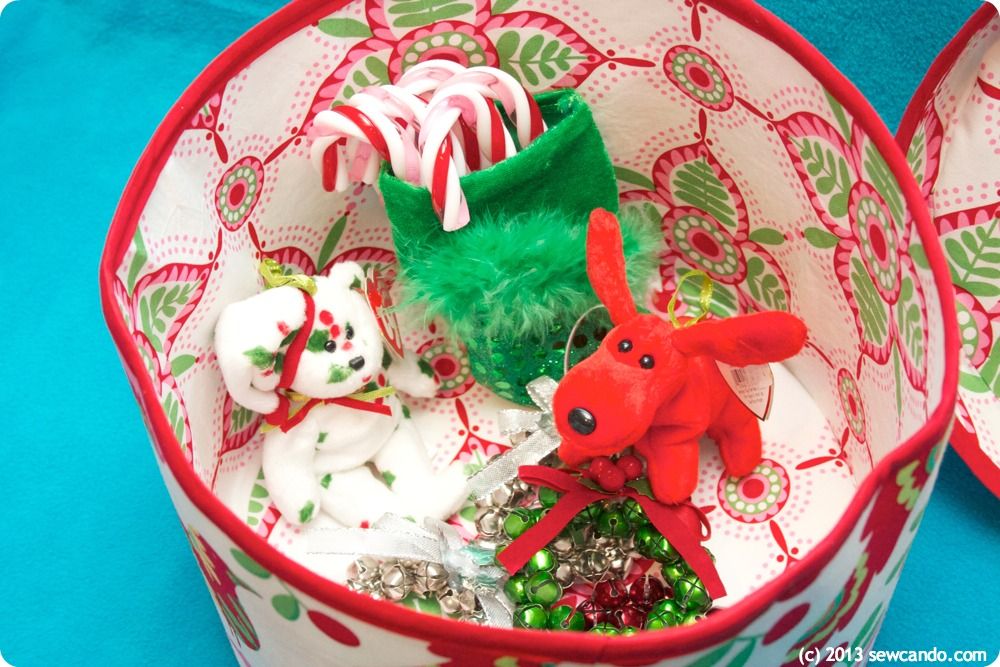
Now the box is ready to fill with all sorts of holiday goodies:

I love how both fabrics are bold and mid-sized designs, but they totally compliment one another. Add a bow on top and be ready to wow this season!


I'm also sharing this project with my FAVE LINK PARTIES.
Click HERE to check them out!
I was not financially compensated for this post. I received fabric from modeS4u, to review & use as I desired. The opinions are completely my own based on my experience. For my complete disclosure policy, click here.
Found this on Someday Crafts...beautiful craft, great instructions!
ReplyDeleteThanks so much Cynthia! That's music to my ears:)
DeleteSuper opis!!! Pięknie to wyszło :)
ReplyDeleteThanks Anna! Moja rodzina jest z Polski, więc jestem szczęśliwy widząc cię tutaj:)
DeleteCute idea as boxes can be kept for decorative and pretty storage.
ReplyDeleteLove this idea! Looks very nice!
ReplyDeleteHi cheryl!
ReplyDeleteI love this adorable box; I don't think I would want to give it away ;D
I would love for you to link up at my Holiday link party happening now at: http://www.urbanejane.com/2013/12/baby-print-hospital-tag-ornament.html
Thank you for the inspiration! :)
I hear you Jane. I'm thinking I'll use this one for one of my kids so I'm sure to get it back;) Thanks for inviting me over - I've linked up to your party.
DeleteI love this gift box that you made with fabric.. Thanks for linking up! :)
ReplyDeleteThis is such a fantastic idea. Thanks for sharing on the weekend re-Treat link party! Hope to see you again Thurs at 7PM EST.
ReplyDeleteBritni @ Play. Party. Pin.
hi
ReplyDelete
ReplyDeleteYour tutorial on creating reusable holiday fabric gift boxes is both innovative and eco-friendly. For those interested in enhancing their gift presentations, collaborating with reputable PETG Shrink film Suppliers can be advantageous. Kingchuan Packaging offers high-quality PETG shrink films that provide a sleek, professional finish to any gift wrap. Incorporating such materials can elevate the overall aesthetic and make your gifts stand out.