Showing posts with label iron-on transfers. Show all posts

Thursday, May 17, 2018

DIY No-Sew Fabric Keepsake Handprint Gifts


For my mother and mother-in-law this Mother's Day I decided to make some fun keepsake items: DIY Fabric Kid Handprint Gifts.  They captured each of our four kids handprints in their actual sizes right now.  It's extra special since the tiniest one is our new baby:) 


And I made sure each hand was named:


I used some fabric scraps I had left from my DIY 3-D Candy Wall Art project:


That wall art is still my favorite project of 2018 so far (apart from my little guy!):


Now, here's how I made the handprint gifts:


Materials:
- Cotton fabric scraps
- Heat n Bond Ultra Bond fusible
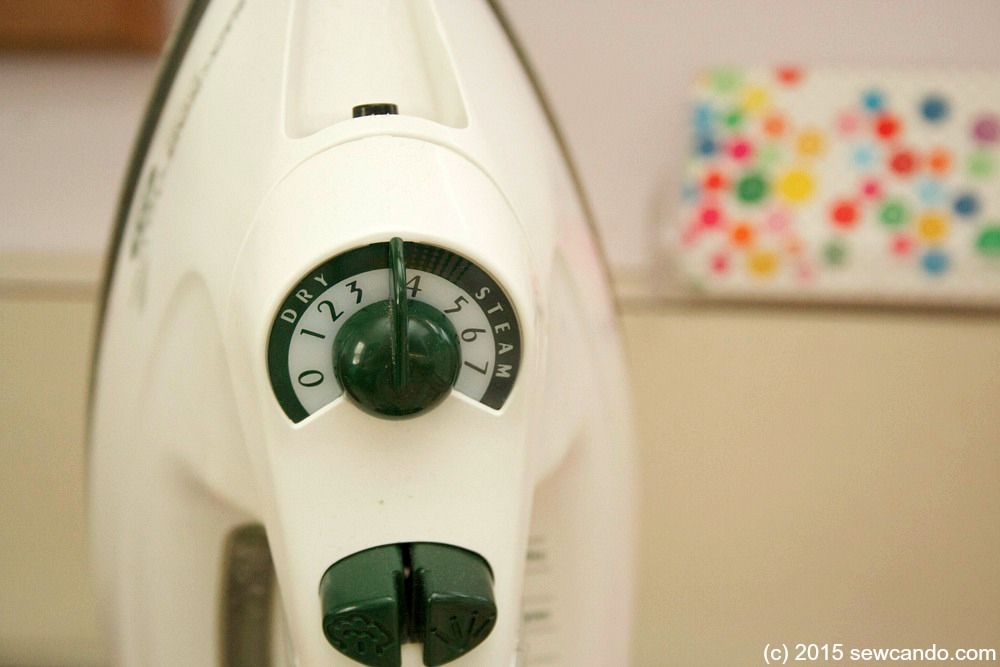
- Iron
- Paper, pencil, scissors
- Optional: Heat transfer vinyl, Cricut Easy Press, Cricut Explore (for lettering)

I traced each of my kids' hands and cut them out.


I ironed some Heat n Bond Ultrabond on the back of each fabric.  It's a super strong paper backed fusible that will then fuse fabric to fabric.  It takes just seconds for it to adhere, but it fuses really well, so it's perfect for adding fabric to finished fabric items when you can't stitch them on.


I took my hand patterns and traced each one on the paper side of the Heat n Bond and cut them out:


When you peel the paper off, you can see the nice shiny layer that now makes it fuse so well.


I arranged the handprints to get an even design balance for my items. 


I pressed my blank tote & cushion cover nice & flat to be wrinkle free.


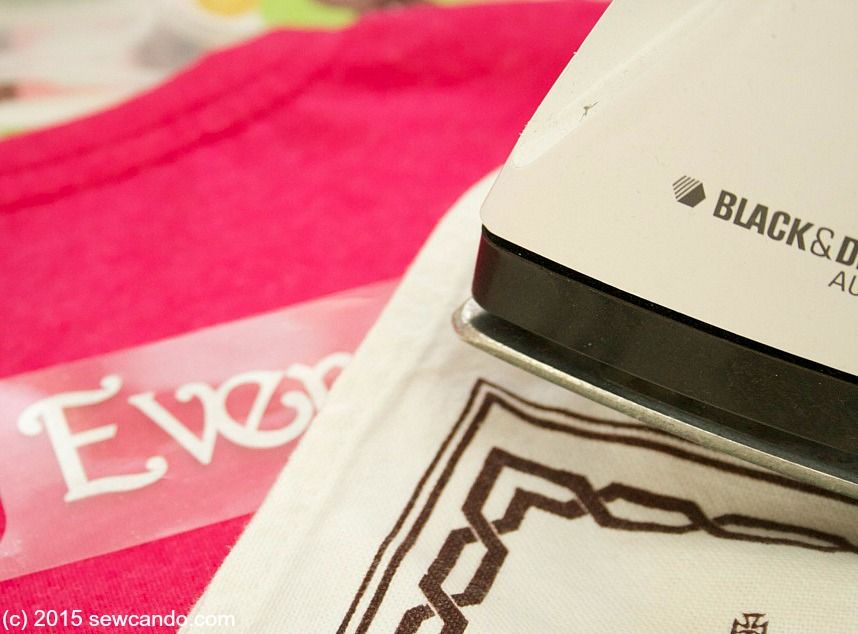
Then it was time to fuse the hand onto the items themselves.


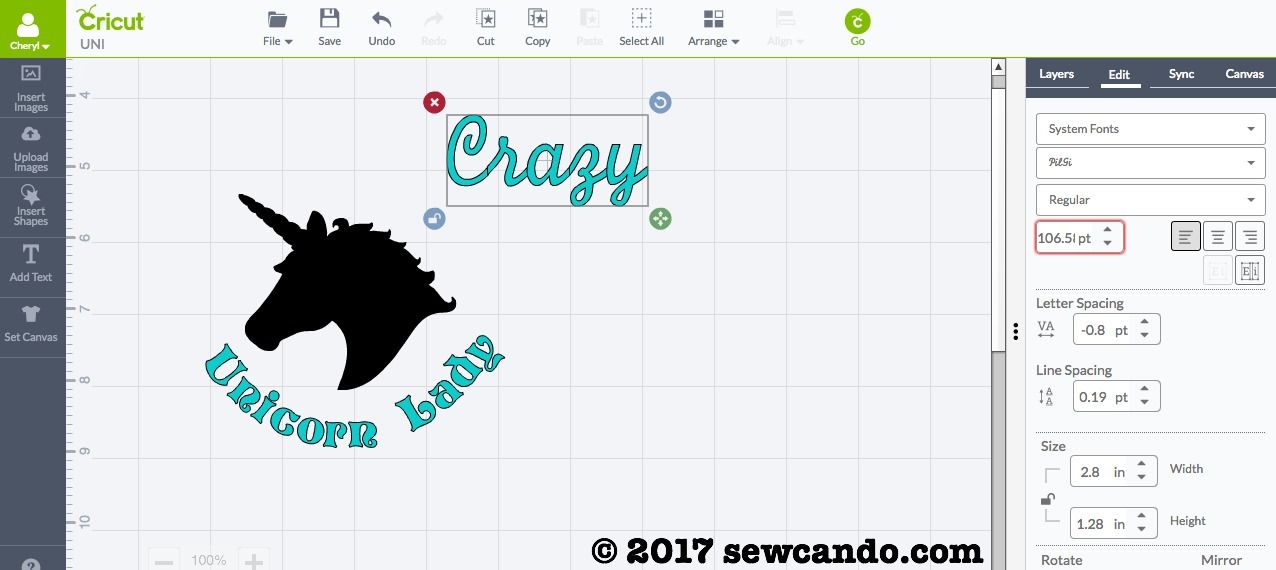
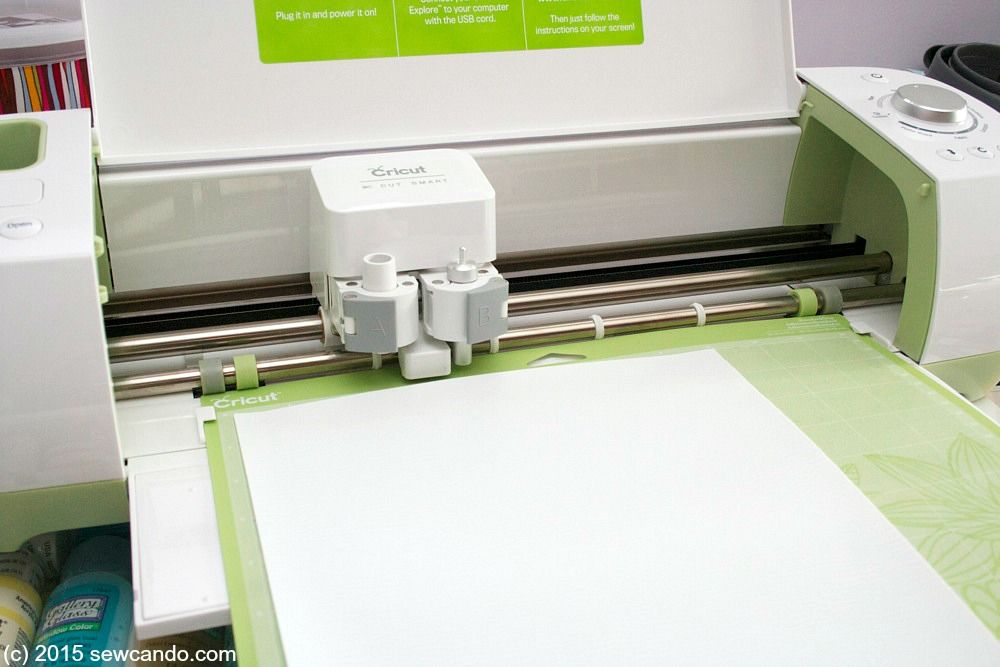
I decided to add a little extra detail by cutting out each of the kids' names with heat vinyl transfer on my Cricut and then heat pressing them onto their hands so they'd be able to remember whose hands they were years from now. 


They were a big hit with both grandmas and a project this busy mom could knock out during a brief nap time.


Wednesday, August 9, 2017

Flocked Crazy Unicorn Lady Bag Tutorial


I'll be honest, I've not been feeling super crafty this summer.  I've had a few things keeping me from the craft room, but even when I have unfettered time, I've just not had the excited "I wanna make this right now!" vibe.  I'm trying to be a bit more in the moment of summer with the family and less Mom's alone crafting in her cave.  While it feels great in some ways, it also makes me feel a bit uncreative/unmotivated.  Sigh.  

The one exception is quick & easy projects.  If it's something I can make fast and still get that rush of making something I really dig, then I'm for it.  That's today's project: my Crazy Unicorn Lady Bags.


With unicorns being all the rage these days, why not express the love of the mythical horned horse with a fun bag?  It's fast to put together, so I made several colorful versions too.  Gotta show off that unicorn love!


And they all feel soft and lovely (just like unicorns should) thanks to flocked heat transfer material.  For me, that kicks it up a notch above the shiny plastic stuff and also has a hint of dimension to it too:    


Materials:
- Blank cotton tote bag
- Flocked heat transfer
- Cutting machine 
- Iron & press cloth

I used my Cricut Explore to cut out my heat transfer, but it could be done with any cutting machine or even by hand (although that would probably negate the quick & easy aspect).

I found a nice side image of a unicorn silhouette and imported that into Cricut Design Space.  I used a free cursive font to do the top word and welded the letters together.  Then another fun free font to do the bottom words and then angled them a bit to get a curve and centered everything around the unicorn:  


The material goes face down on the mat, with the plastic carrier still on.  The machine also needs to be set to heat transfer to cut. 


Cutting it out with the machine on the vinyl setting was super fast, but it's important to set the cutting to mirror so the right side faces out.


Fuse time!  I always iron the tote first so it's warm when the transfer is placed on it - this helps it adhere better, since I don't have a fancy heat press.  Then I use a press cloth between the iron and plastic carrier when adhering the transfer.  When cooled I turn it inside out and iron on that inner side too.  Then I peel the plastic off when totally cool.  Keeping the iron temperature moderate - cotton no steam - is key too.  Higher temperatures won't make it stick any better, just wreck the transfer.  When it's cool, the bag is ready for any unicorn lover!


Are you feeling the unicorn vibe this summer or is there some other theme that's caught your eye?   


Wednesday, February 11, 2015

Easy Fairy Tale Romance Flocked Shirt


Do you love fairy tales?  Want to make a fast & easy Valentine's Day top that can be worn all year long?  Then today's project is for you: a super Easy Fairy Tale Romance Shirt!  


What makes this shirt a little "fancier" is what I used for the main design.  The cut-out heart is actually flocked heat transfer material.  I thought this would be nicer than the usual shiny plastic look of most iron-on transfers and give a richer, velvety finish:


For the lettering I used glittered heat transfer material for a bit of sparkle.  It's hard to photograph glitter, but it looks more metallic and eye-catching in person:


Materials:
- Flocked and glitter heat transfer material 
- Blank t-shirt
- Iron and press cloth
- Cricut Explore or Expression or other cutting machine*
- Optional: weeding tool/pick

I don't get any sort of compensation from Cricut or Silhouette. I've always bought my own machines and have no vested interest in promoting any particular brand, so what you see here is a regular person experience.  No amped-up enthusiasm or over-simplified rave reviews from an affiliate/team member/recipient of free branded products.  Seriously, how objective is that opinion really going to be?  I'll be sharing more as I try things further and will do some brand comparisons + detailed reviews in the future too.

Design Info: If you want the same prince & princess heart shape, you'll need to buy it from Cricut's online design store or use the cartridge Love Struck 2010.  I bought myself a Cricut Explore a couple months back, when I saw a fantastic sale price under $200.  It even came with a free 3 month subscription, plus free bluetooth, so it's gotten me to try their designs more frequently than I had before.  Still trying to decide if I'm going to pay to keep the subscription when the freebie period is up...


In the Cricut Design Space online software you can select your project canvas, so I picked a shirt.  You can also specify general size.  I did Toddler (the custom size feature doesn't seem to work right) and picked a pink color close to my actual shirt.  This made it really easy to figure out my sizing for the lettering & heart.  I hid the background layer on the heart so only the lace bit remained.  For the lettering I used the font Nursery Rhymes.  I inched the spacing a bit closer so most of them could be welded together for easier placement on the actual shirt.  The lettering was also mirrored so it faced the correct side when cut.


The material goes face down on the mat, with the plastic carrier still on.  I set the machine to heat transfer and cut.  Even though the flocked one is a bit thicker, the Explore still did a good job cutting.  I was glad I had a weeding tool though, since it took a little patience getting all the tiny bits out of the nooks and crannies.  Then it was iron time. 


I'll be honest, I hadn't had success with heat transfers in the past. No matter how well I thought they were fused, they started coming off right away, & got worse after washing.  I gave up on them for years.  Then I got this machine and figured there had to be some tricks. I researched, then tested a few and found a couple of key tips that really work:

1. Iron the shirt first so it's warm when the iron-on is placed on it - this helps it adhere better.  Then use a press cloth between the iron and plastic carrier when adhering the transfer.  When cooled turn the shirt inside out and iron on that inner side too.  Peel the plastic off when totally cool.   


2.  Keep the iron temperature moderate - Cotton no steam.  It's better to make several passes (with cooling time in between) on that temp than going hotter and just melting the material. Higher temperatures won't make it stick any better - just wreck the transfer.


3.  Wash it on delicate, inside out and line dry.  Too much turbulence or hot temps in the washer & dryer are just going to stress the iron-on and make it peel off around the edges.  DIY versions using a home iron aren't just like manufactured shirts.  Nobody really mentions the longevity of their transfer shirts or shows how they look after a few washes, but here's ours after some washing:


4. Be prepared to re-iron a little.  After a full day of active wear on my daughter (aka rolling around on the ground, stretching like a maniac...aka a 5yr old being a 5 yr old), I noticed the tip of the heart coming up a little and re-iron it before washing it.  I also did a little lint rolling since she'd collected a lot of fuzz on the flocking from the aforementioned rolling around.  I examined it when it was dry & it looked just as good as when first fused. Heat transfer success at last!

My little lady's first comment when she saw the shirt was "It's you and Daddy!".  It's pretty nice to know she thinks of us as being Happily Ever After.  And to know this heat transfer shirt experience has a happy ending too:)


LinkWithin

Related Posts with Thumbnails