

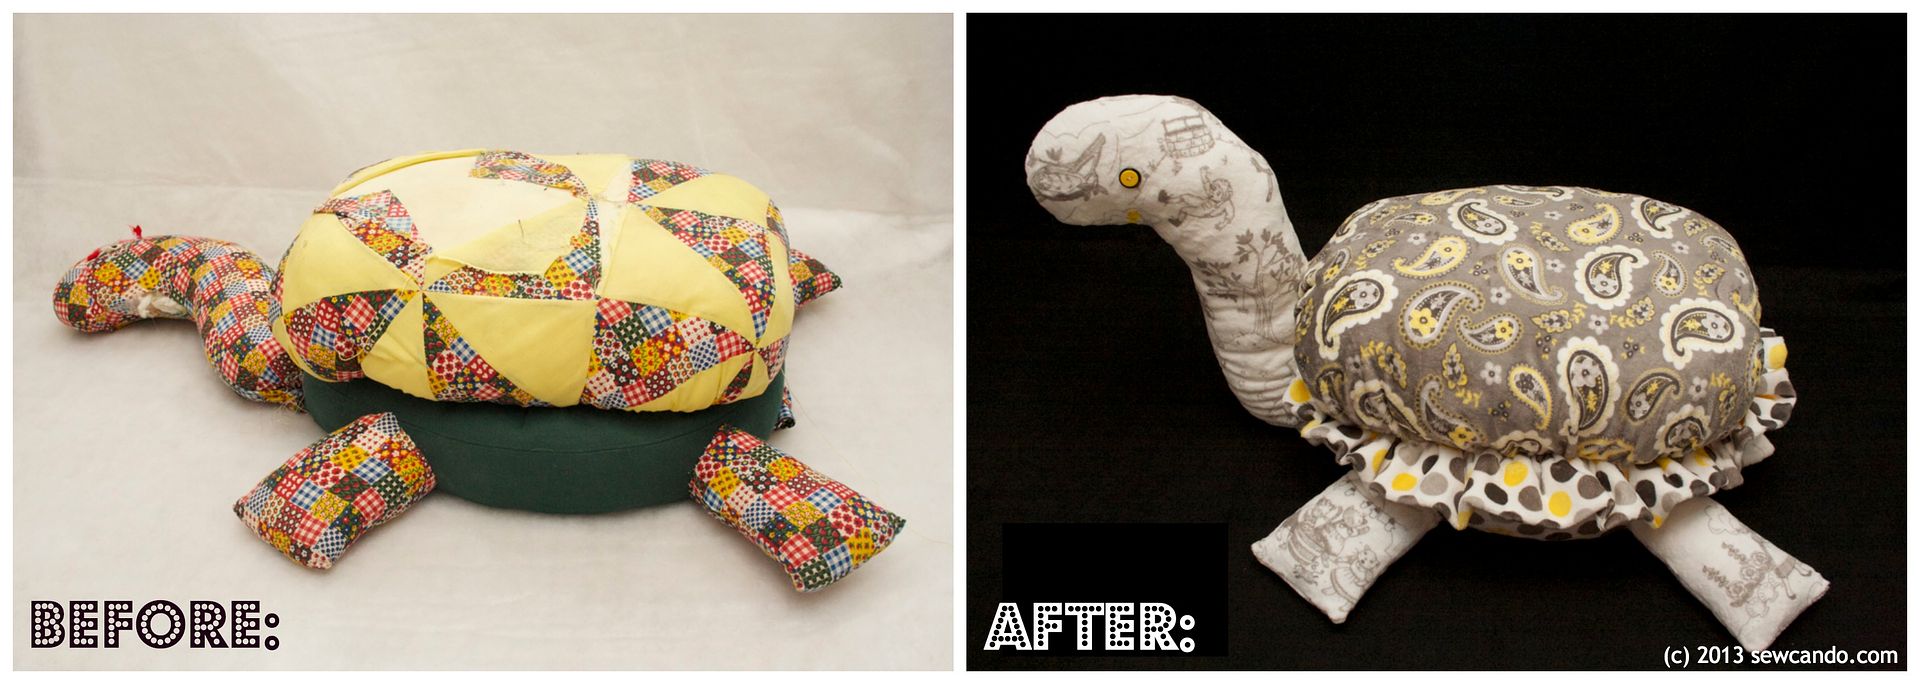
Today's tutorial is a real cinderella story for an old friend AND has a fabulous fabric giveaway to go with it!! My parents were cleaning out their basement and found a old stuffed turtle footstool that had been in my childhood nursery many moons ago. I had a lot of fond memories of it and hated to bin her after all these years, but to say she'd seen better days was an understatement. She looked like she'd been hit by a truck:

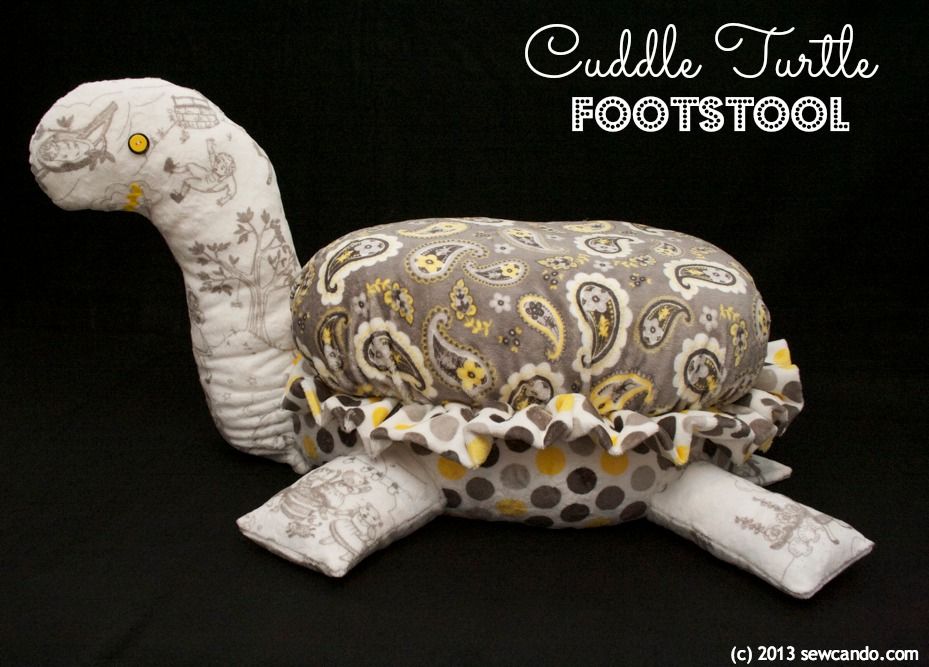
But instead of tossing her out, I saw her potential to be beautiful again by using a little TLC, seamstress wizardry and some incredible fabric. Now she's looking fresh, modern and extremely huggable:

My plan was to redo her in some fabric that would look really nice, but also be hard wearing & kid-friendly. The answer was Shannon Fabrics Cuddle™ Fabric.

Their motto is Making The World A Softer Place™ and believe me, they totally do. They offer the world's largest selection of plush fabrics: Cuddle™ (aka minky), Faux Fur, Sherpa, Terry Cloth - every soft & cuddly fabric type you could want and in a rainbow of colors and designs. I used a trio of their yellow & grey Cuddle Classics prints for my turtle's transformation:

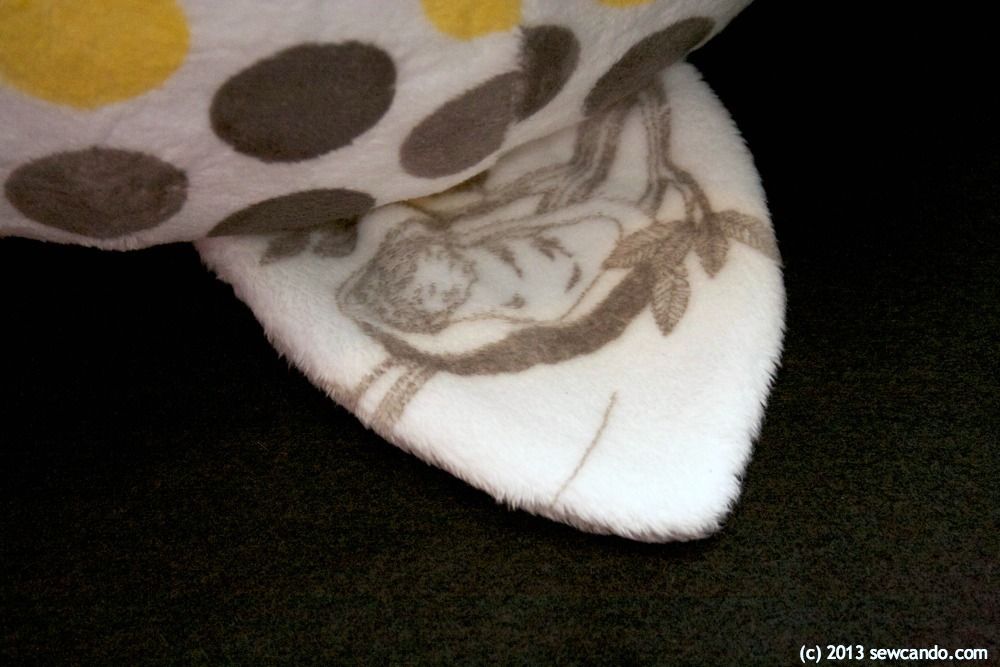
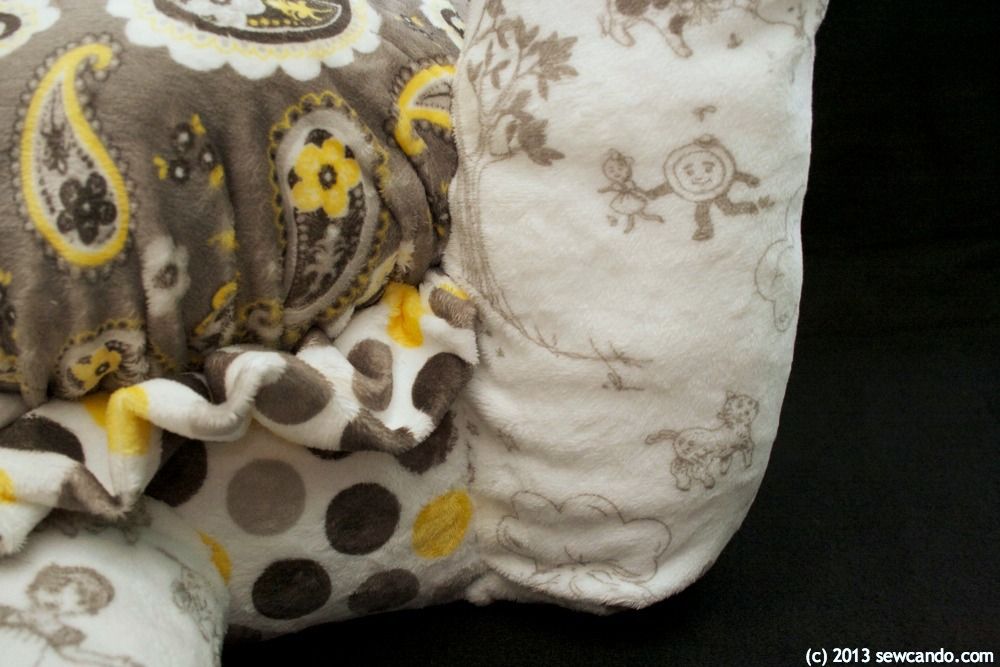
For the head and limbs, I used this adorable nursery rhyme toile and cut it so the front legs feature the 3 little kittens that lost their mittens:

The back legs have Jack & Jill tumbling down the hill:
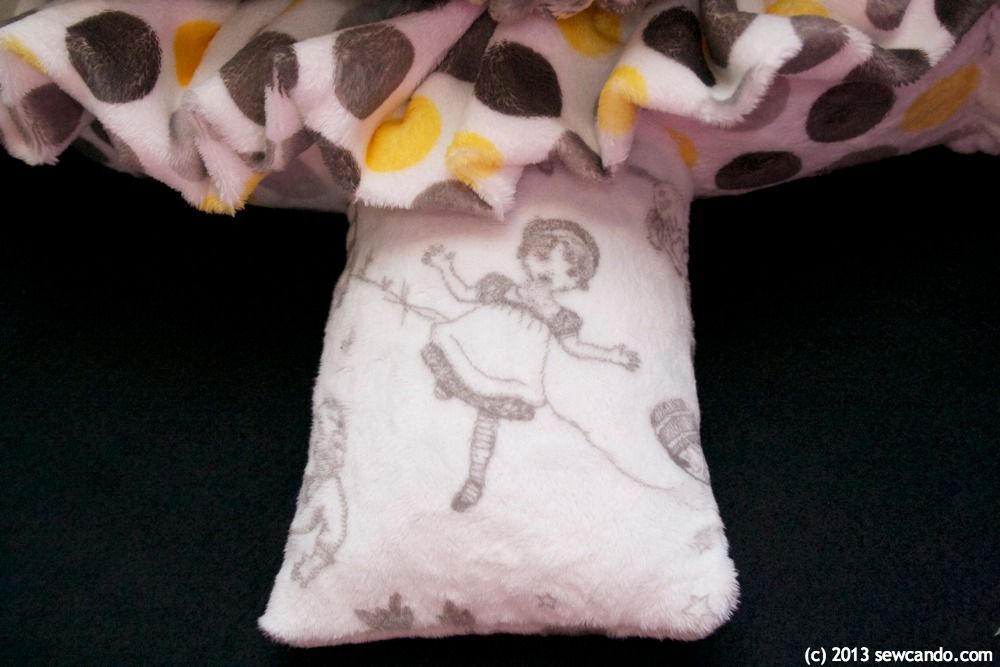
Even the tail has a little rock-a-bye baby:
From total trash to a real treasure - it's a pretty big difference:
I thought I'd share how I made this major transformation and give away some of this wonderful fabric, so you can make your very own turtle footstool too!
- 3 yds Cuddle fabric - I used Shannon Fabrics Pretty Paisley Lemon, Mod Dot Lemon/Silver, Toile White/Charcoal
- Cotton stuffing (for limbs), foam & batting (for shell interior)
- Upholstery thread
- Hand sewing needle
- Paper & pencil
- Notions (ball point needle, rotary cutter/shears, pins, 2 buttons, scrap of ric-rac)
Optional: walking foot, pinking shears, elastic thread, curved upholstery needle
Tips for working with Cuddle fabric:
- Keep a vacuum handy, since it does tend to shed when cut.
- Pop cut pieces in the dryer on air dry for a few minutes helps remove any loose fluff on edges.
- A walking foot isn't absolutely necessary, but it will help keep Cuddle fabric (and other thick or knit fabrics) from shifting or stretching unevenly.
- Use a stitch length of 3, this is better suited to fabrics with a bit of stretch.
- There is a nap, so make sure it is facing the same direction when stitching pieces together.
I started by taking apart the turtle with a seam ripper to have all the main components separated:

For the front legs I cut two rectangles 9 inches wide by 8.5 inches high and for the back legs I cut two rectangles 11 inches wide by 7.5 inches high from the Toile. I folded each leg widthwise, with right sides facing and stitched along the bottom and side with a 1/2 inch seam allowance, then turned right side out and stuffed. I also cut two 4.5 wide by 5.5 inch high curved pieces for the tail and stitched them together leaving a small gap on the flat end for turning.

I drafted a pattern 6 inch wide by 19 inch high piece for the head/neck on paper cut out two halves and stitched them together with right sides facing, leaving the bottom open to turn and then stuffed.

I like to trim the seam edges with pinking shears since it's faster than clipping into the curves and there's a little less shedding:

For the top of the shell I cut an oval 29 inches high by 26 inches wide and a smaller 16 inch wide by 13.5 inch high for the underside from the Pretty Paisley. I basted two rows 1/4 and 1/8 inch away from the edge around the top piece.

I placed my original shell stuffing in the center and pulled up on the bobbin threads of the basting to fit the fabric around the interior. If making from scratch, I'd suggest cutting some foam in an oval that will be 13in wide x 16in long x 5in thick and covering it with a layer of quilting batting to make a shell inner. Then I covered it with the smaller oval, pinned in place (folding it's raw edges under) and slipstitched them together.

Then it was time to do the base. From the Mod Dot print, I cut two pieces that were 12 inches wide by 24 inches high and stitched them together on one short side. Then I folded the new piece widthwise and stitched one short end and down the length and turned right side out.

I stuffed the original base piece inside the new outer and stitched the open end closed. I brought the short ends together and hand stitched them together with a slipstitch using upholstery thread.

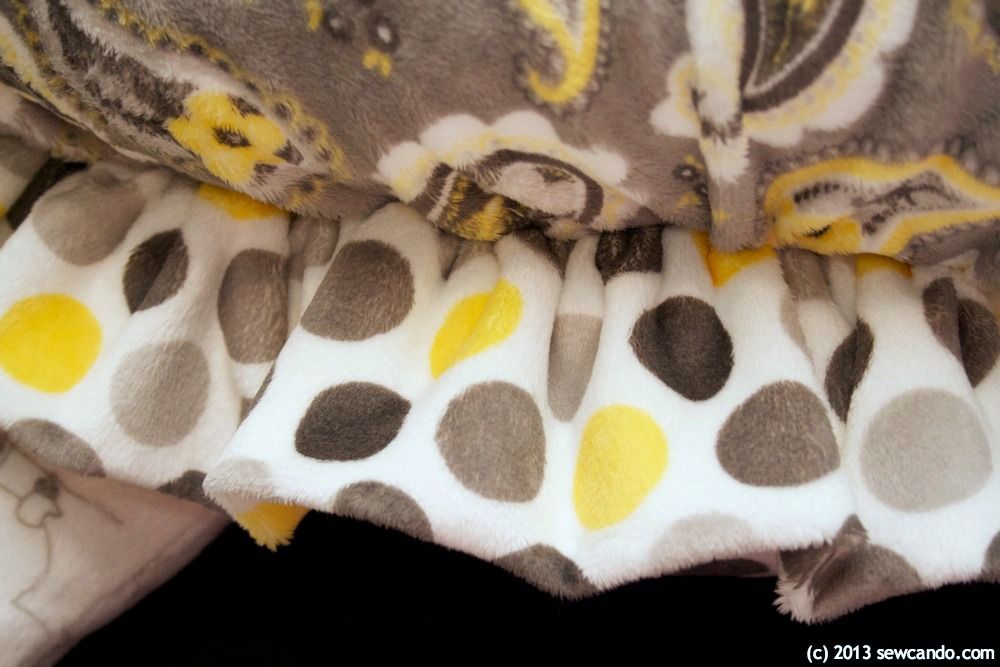
To make the ruffle addition I cut three pieces 36 inches wide by 8 inches high and stitched them together on the short sides to make one long strip. Like the base, I folded this piece widthwise and stitched one short end and down the length and turned right side out. I overlapped the short ends and stitch them together to form a loop.

I ran a basting stitch 1/4 inch from the seam and a second one 1/8 inch over. Because this fabric is thicker when folded, & this is a big piece to ruffle, I used elastic thread in my bobbin at this point. It won't break as easily as standard thread when being pulled this much and will help ruffle up the fabric. I pulled up bobbin thread and spread the ruffles evenly to fit around the base edge. Pin onto base as shown and then hand stitch together with a slipstitch.

Next I added the shell on top of the newly ruffled base and flipped it all upside down. The underside of the shell was then slipstitched to the inside edge of the base. This is where the curved upholstery needle really came in handy to get into the tight curved spots. I also flipped it right side up and stitched along the outer edge of the shell, going through the ruffle into the outer edge of the base, so it can really withstand the kids playing with it.

After stuffing the original legs into the new outers, I folded the raw edges inward and pinned them and the tail to the base and slipstitched together.

I did the same with the neck, stitching from bottom, all the way around the shell and back down.
Button eyes and a ric-rac mouth were added and the revamped turtle became ready to cuddle & love. Look at that smile - she's feeling better already, thanks to her new look:

Now how about a chance to win this very fabric for yourself?
Shannon Fabrics is giving one lucky reader a
3 yard trio Cuddle Classics Fabric!

a Rafflecopter giveaway

I'm also sharing this project with my FAVE LINK PARTIES.
Click HERE to check them out!